Canvas Halloween Door Decor TodaysCreativeLife.com

Today I have a special guest rockstar for you! Kim is here to show you how to whip up the quickest Canvas Halloween Door Decor.

Kim is the creative goddess behind Today’s Creative Life. She truly has an eye for the awesome. I mean have you seen her bathroom makeover for $110?

She effortlessly pairs colors and textures together in the blink of an eye. Get ready to learn how to make holiday decor as quick as a guitar riff.
Rockstar DIY Series

Welcome Kim, our next Rockstar to take the stage!

page_break_2

Hello Pretty Handy Girl readers! I’m thrilled to be hanging out at Brittany’s place today sharing a quick and original way to decorate for Halloween with this DIY Halloween Canvas Door Decor.

DIY Halloween Canvas Door Decor
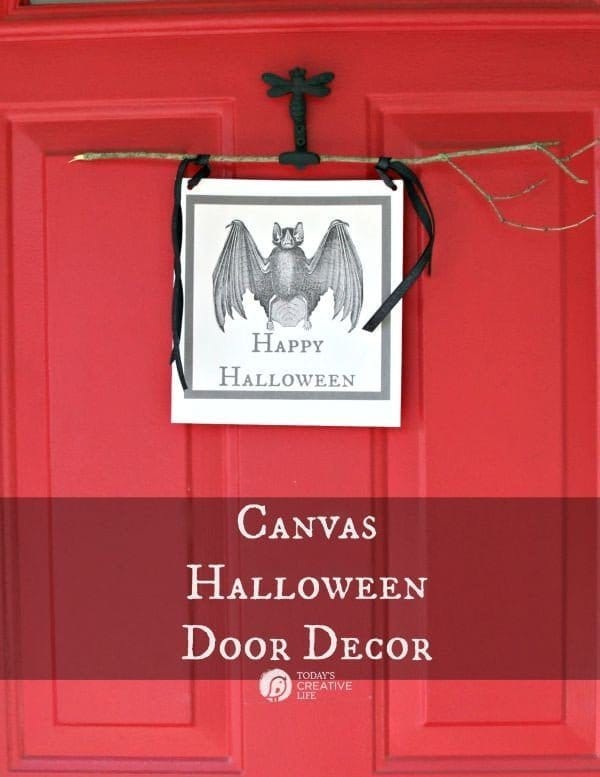
Canvas Halloween Door Decor TodaysCreativeLife.com

If you follow Today’s Creative Life (formally Today’s Creative Blog), then you know I’m not talented like Brittany in the ways of building, but I sure do love me some quick and easy ways to bring more creativity to my home!

I share DIY Decor, DIY Projects and Recipes for families. You’ll find easy to follow tutorials for bringing creativity to your home and a lot more for holidays!

I’m always looking for something a little out of the ordinary for decorating my door for Halloween. Sure, I could just slap a wreath on the door and call it good, but that would be way to sensible.

Last year, I created a fun Halloween wreath from a ceiling medallion.

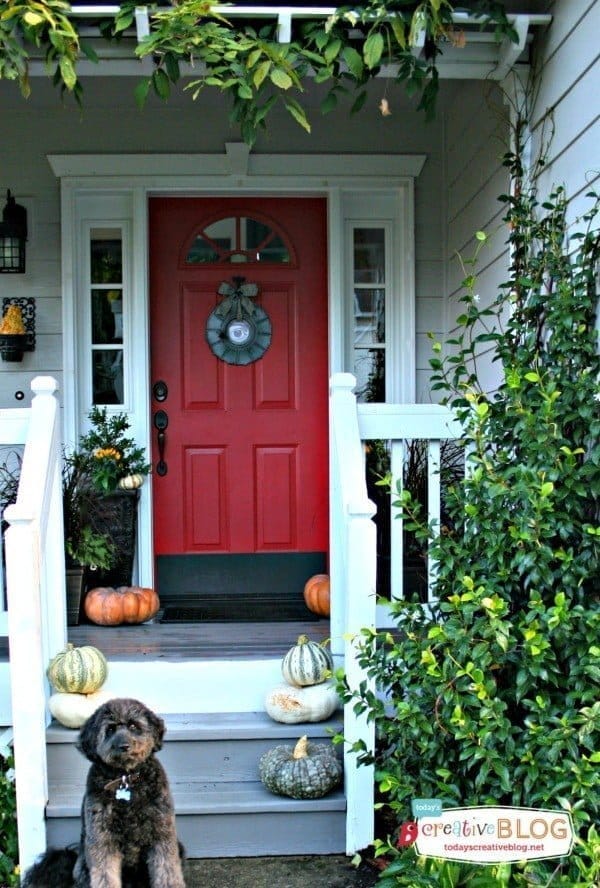
Fall Halloween Porch TodaysCreativeBlog.net

I love the way it turned out and may use it for my Halloween mantel this year.

This year, my ideas kept coming back to using fabric or canvas somehow. My first idea was to use Iron On Transfers with the fabric from a drop cloth and then, I remembered I had some printable cotton canvas that was printer ready.
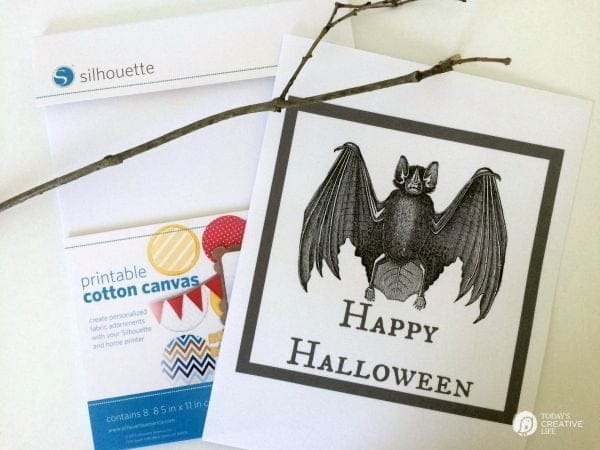
Halloween Door Decor

Materials:

  • Printable Graphic (I used The Graphics Fairy)
  • Printable Cotton Canvas
  • Ribbon
  • Stick
  • Paper hole punch
  • Paper Trimmer

Instructions:

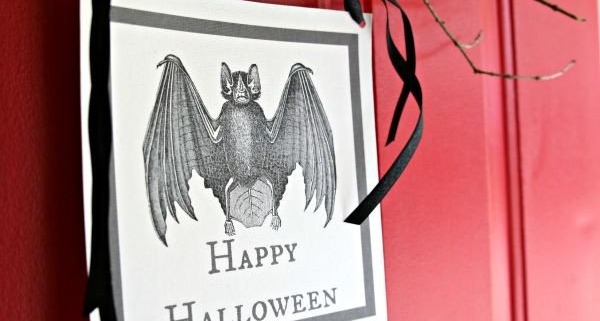
1. I found and downloaded the image I wanted from The Graphics Fairy, as I do for all my iron on transfer projects. She has just about any image you’d ever want for any time of year. Such a great resource.

2. I used PicMonkey to create the text and frame, but any photo editing tool would work. Of course you could just print the image only and keep it really simple.

3. I printed it on printable cotton canvas. This particular paper ended up having a self adhesive backing, so I just left the protective paper backing in place.

4. Using a paper trimmer, I trimmed the bottom.

5. I punched a hole in each upper corner with a paper hole punch.

6. I tied a coordinating ribbon to a stick from the yard (actually I broke it off my lilac bush) and called it good!
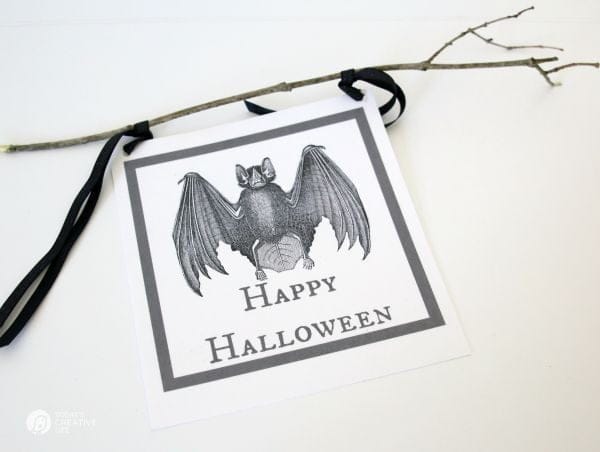
diy door decor for halloween

After I got it hung up and looked at it for a day or so, I think I may try to age it a bit for an older distressed look. You can do that easily by brushing on brewed tea and lying it out to dry.
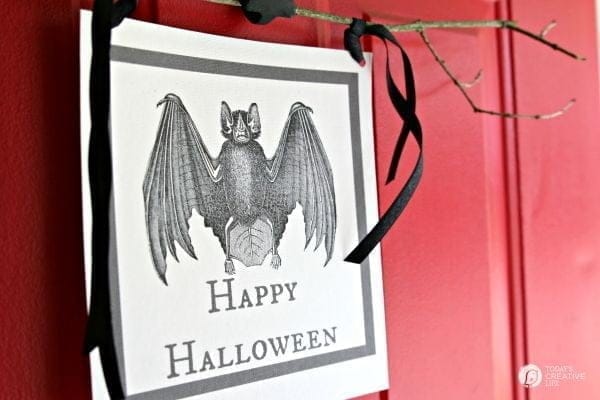
diy halloween door decor

I like the way it looks. It’s original and can be used anywhere in the house. The possibilities are plenty!
divider

Here’s more creative Halloween ideas from Today’s Creative Life.
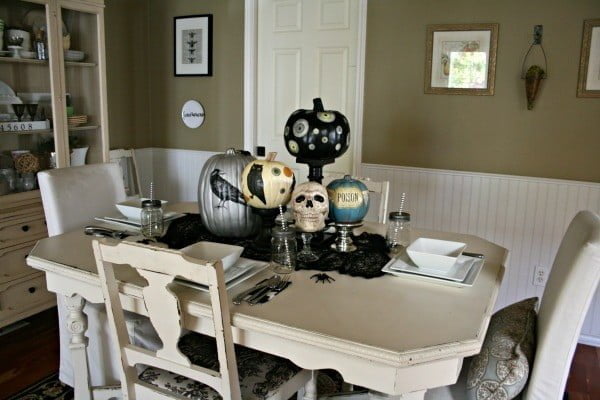
Halloween Table Centerpiece | TodaysCreativeBlog.net

DIY Halloween Table Decor

Halloween Spirit DIY Halloween Decorations | See more on TodaysCreativeLife.com

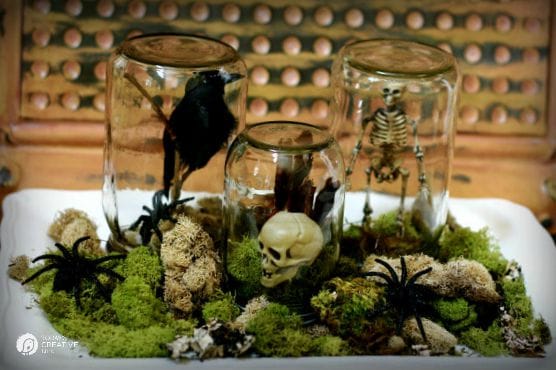
DIY Halloween Terrarium


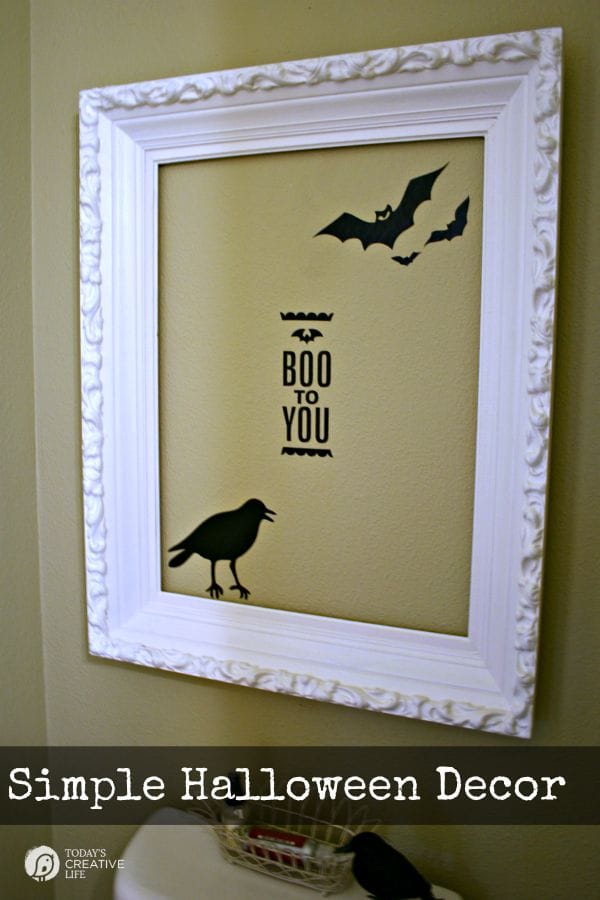
Silhouette Cameo Halloween Decor | Easy DIY Home Decor projects on TodaysCreativeLife.com Simple Halloween Decor

page_break_2

Are you running off to make your own Halloween decor now? Me too! I hope you are enjoying the Rockstar DIY series and are ready for more talent next week.

Rockstar DIY Series

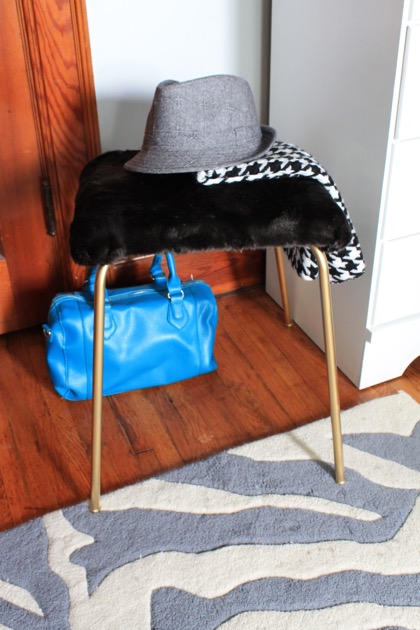
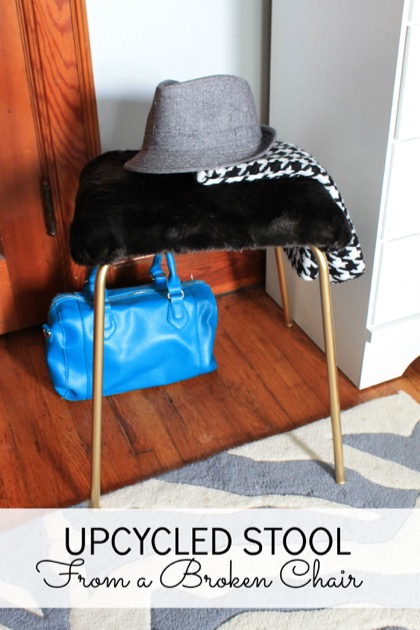
Turn a Chair into a Stool

Upcycled Stool from a Chair

I love this upcyled project from Jessica! Today’s Rockstar is probably familiar to you because she performs as a monthly contributor on Pretty Handy Girl. Jessica is here with the tutorial to Upcycle a Stool from a Chair.

JessicaBioPic

When Jessica isn’t performing here on Pretty Handy Girl or playing with her adorable new baby, she is blogging at Decor Adventures. Jessica and her husband have been renovating their old home since they bought it in 2010. Jessica is right at home behind the power tools and can create the most amazing transformations! I can honestly say that Jessica and I have been blogging friends since we both started blogging in 2010. Rockstar DIY Series

I hear the sound of a reciprocating saw! Jessica is storming the stage now!

page_break_2

We all have unused furniture around our house right? Whether it’s a table that no longer fits in your room; or a chair you’ve grown tired of; or maybe something that’s broken and you can’t bring yourself to throw it out. Well now you don’t have to, you can turn some of those old pieces into something new with just a few supplies and some DIY skills.

Turn a Chair into a Stool

For the longest time we had a set of these wooden chairs in our house. Although three of them are in great shape, one was broken and couldn’t be used anymore. Instead of getting rid of it, I decided to turn it into a fun and functional stool. Here is a quick tutorial on how to turn a broken chair into a stool.

Materials

  • Broken chair
  • Pencil
  • Reciprocating saw
  • Safety glasses
  • Sanding block
  • Spray paint
  • 1-inch foam
  • Spray adhesive
  • Scissors
  • Fabric
  • Hot glue gun and glue sticks

Instructions

For this project, you’re going to cut off the back of the chair to reuse the seat and legs. All chairs are different, so you can cut or even dis-assemble the chair to your liking. Mark the chair with a pencil where you will cut it.

Upcycled Stool fro a Chair

Read more

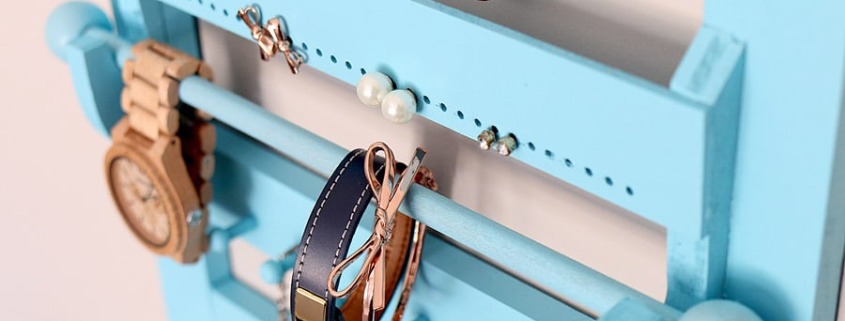
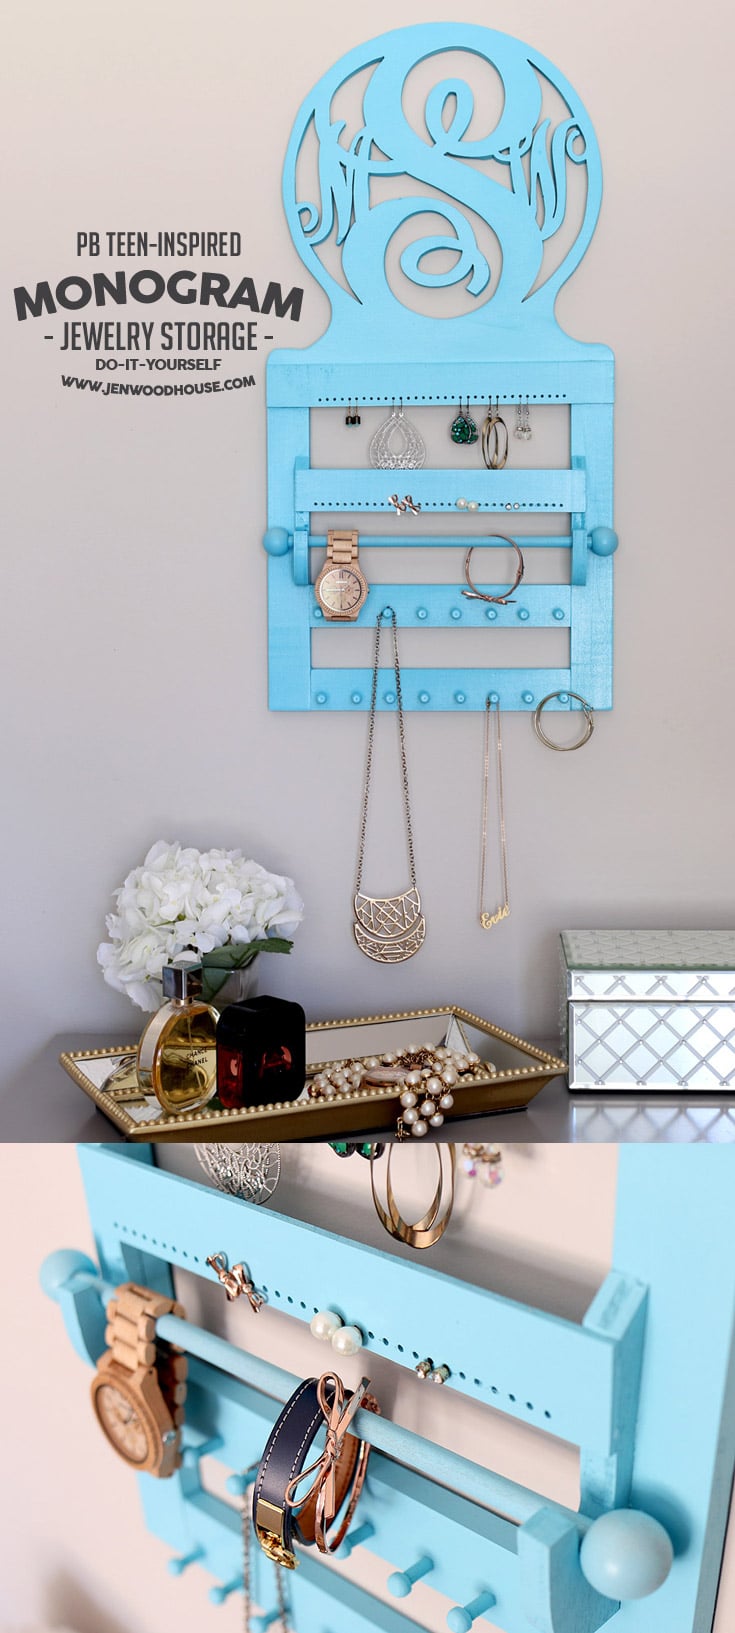
How to build a DIY Pottery Barn Teen-inspired Monogram Jewelry Storage

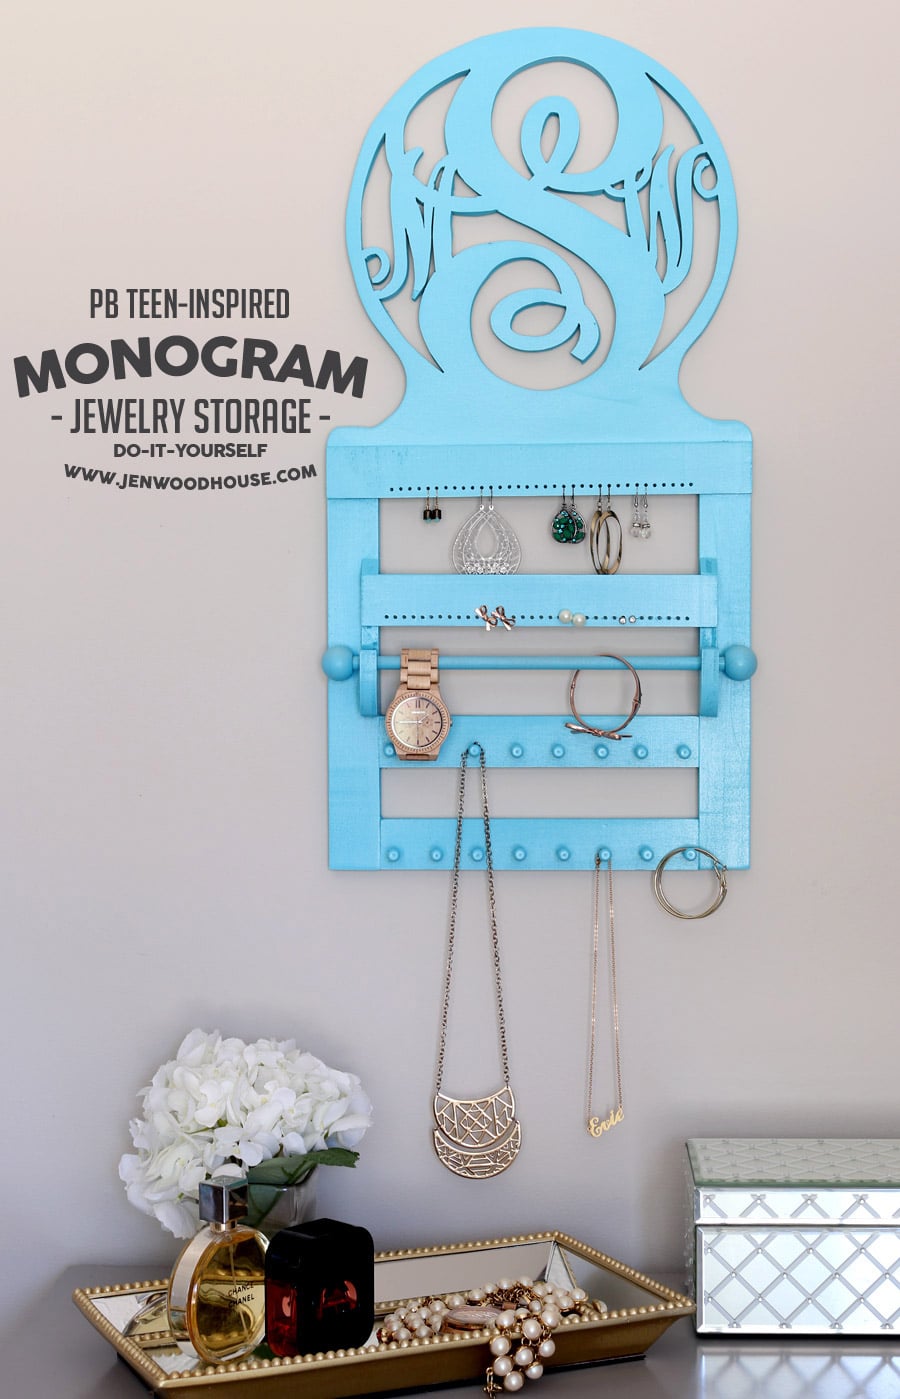
Today, I’m super excited to have Jen Woodhouse here to present the tutorial to make this Pottery Barn Teen Inspired Jewelry Organizer.

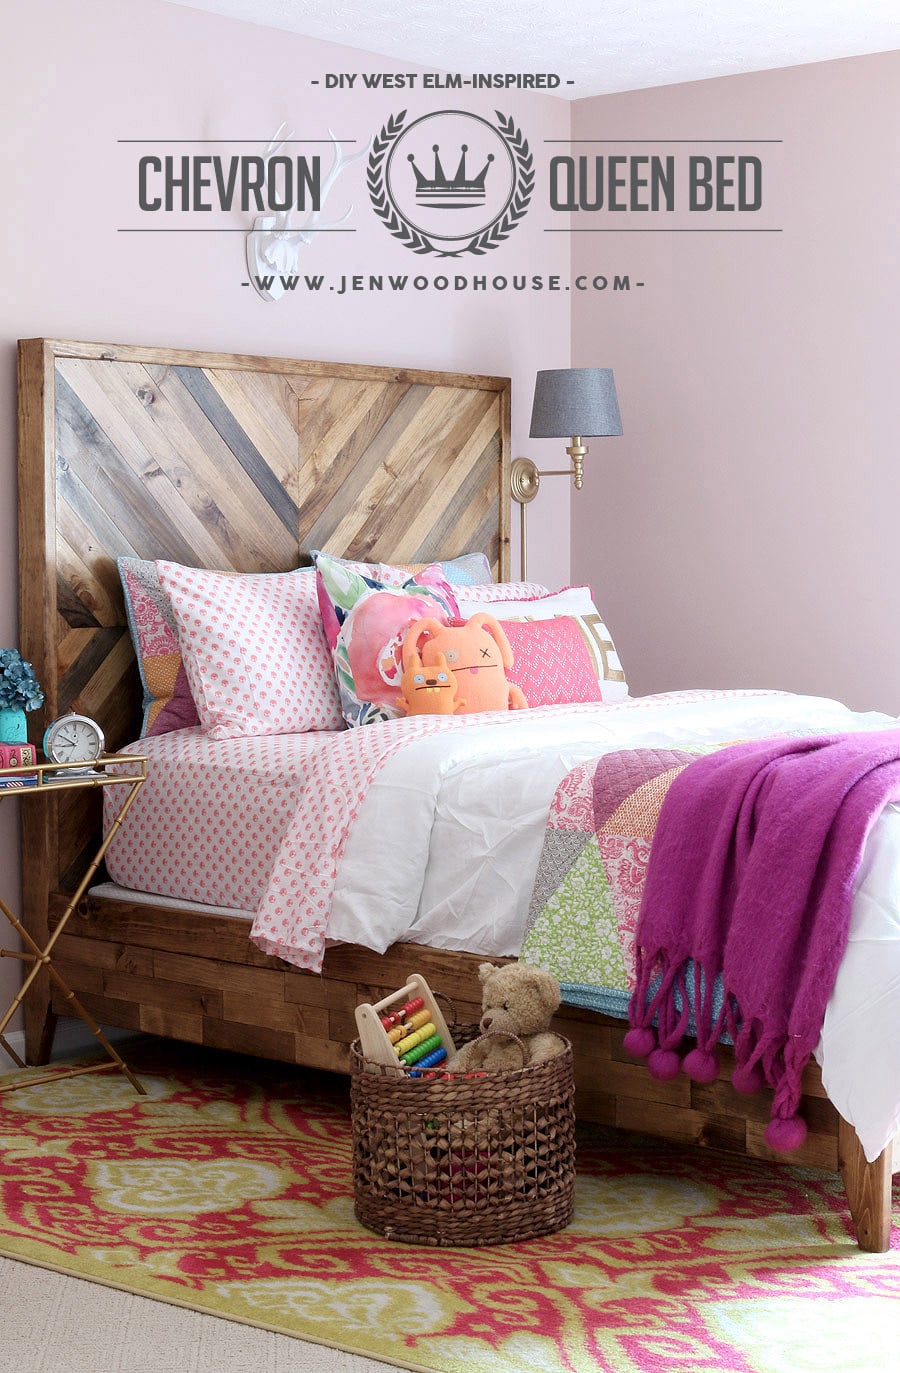
Jen is the creative muscle behind The House of Wood. She recently knocked my socks off with this West Elm Inspired Queen Bed.

And let me tell you, besides being a kick ass builder and crafter, she can sign! Whoa, can she sing. But, today we’ll find out if she can sing and build at the same time!

Rockstar DIY Series

So, put your hands together and let’s hear it for our next Rockstar to take the stage! Take it away Jen.

page_break_2

Hi Pretty Handy Friends! Jen Woodhouse from The House of Wood here, thrilled to be hanging out with y’all today, sharing my PB Teen-inspired monogram wall jewelry storage. While flipping through the PB Teen catalog, I spied this pretty jewelry organizer and instantly thought, “I bet I could make that!”

So I did.
The End.

How to build a DIY PB Teen-inspired Monogram Jewelry Wall Organizer #DIY #PBTeen #monogram #PotteryBarn #jewelry #organizer
Only kidding. I’ve got you covered with free plans and a tutorial so you can build it yourself!

Click here to download the PDF plans for this PB Teen-Inspired Monogram Wall Jewelry Storage.

How to build a DIY PB Teen-inspired Monogram Jewelry Wall Organizer
*This post contains affiliate links.

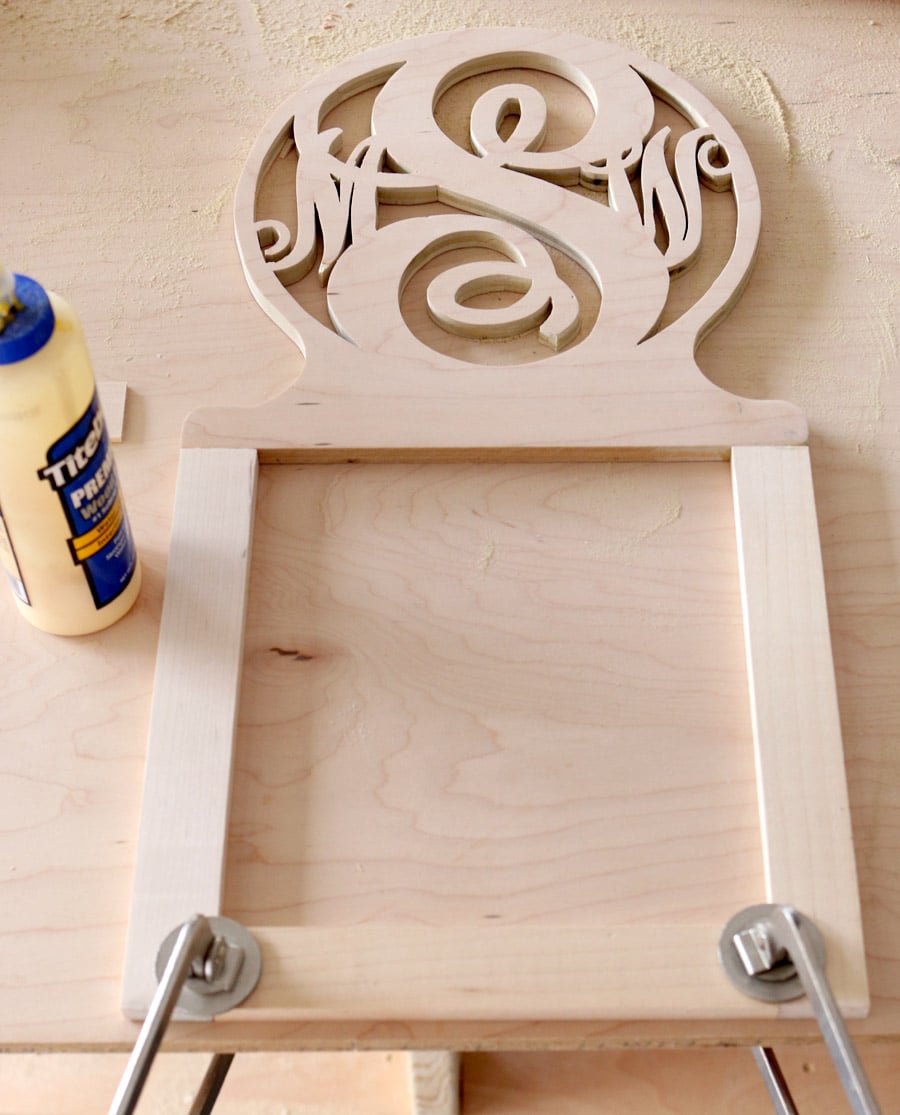
I’ve gotten pretty handy (see what I did there?) at using a jigsaw because I sell these custom wood name signs in my Etsy shop, so I knew cutting out the monogram wouldn’t be too difficult. It was a bit time-consuming, especially because I had to break out the scroll saw for those teeny tiny spaces, where my jigsaw blade wouldn’t fit. As you can see, I am less adept at using a scroll saw.

Then I dug through my scrap wood pile and found a few 1×2 boards, which I planed down to 1/2″ thickness, to match the thickness of the plywood. I used only wood glue to construct this entire thing – no screws or nails! Cut, join, glue, clamp, and dry.

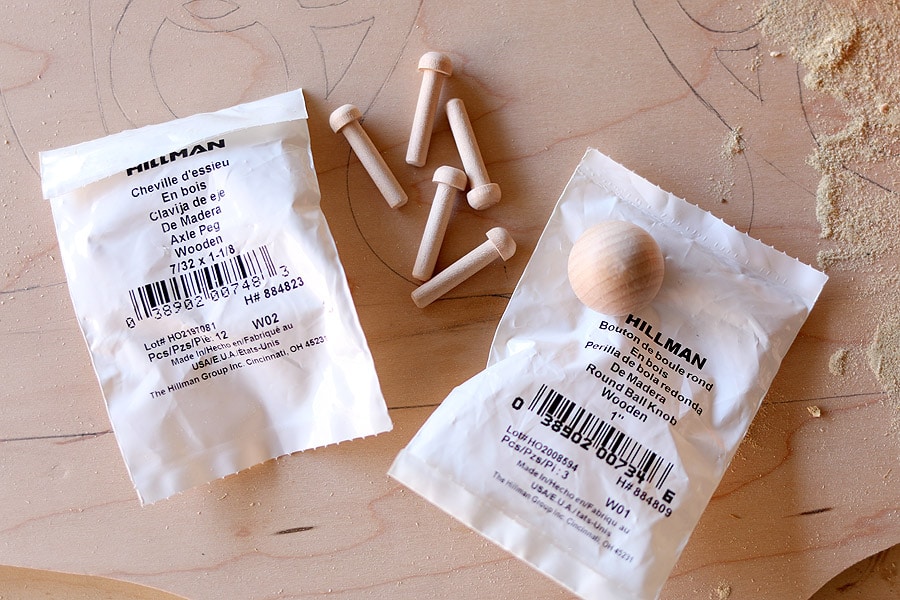
Then I picked up a couple packages of wooden pegs, round wooden balls, and a 3/8″ wooden dowel at the home improvement store. I found it in the hardware section, where all the different types of screws and fasteners are kept in those long metal drawers.

monogram03
Next, I made a drilling template out of a piece of scrap wood, so that my drill holes would be evenly spaced and perfectly aligned. I used a 3/32″ drill bit for the small earring holes and a 13/64″ drill bit for the wooden pegs then hammered the pegs into place. Read more

How to Caulk Like a Pro

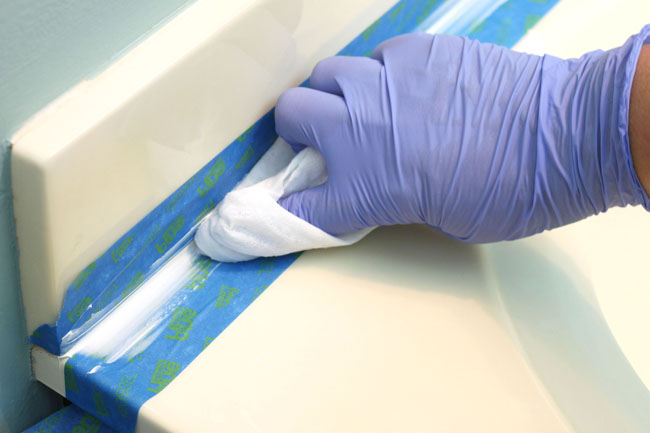
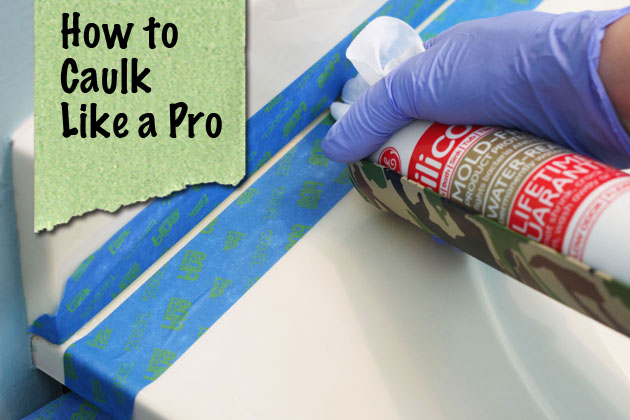
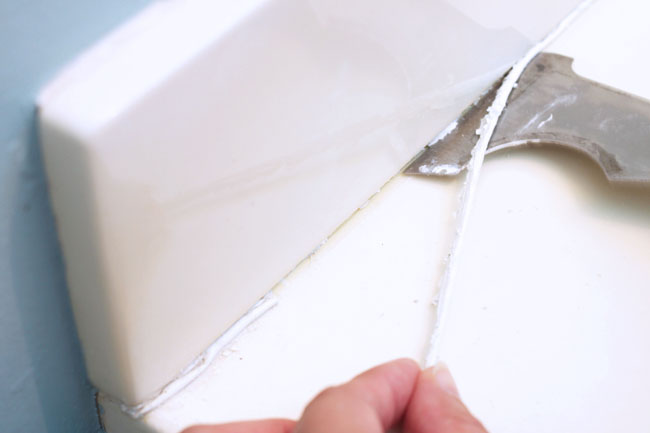
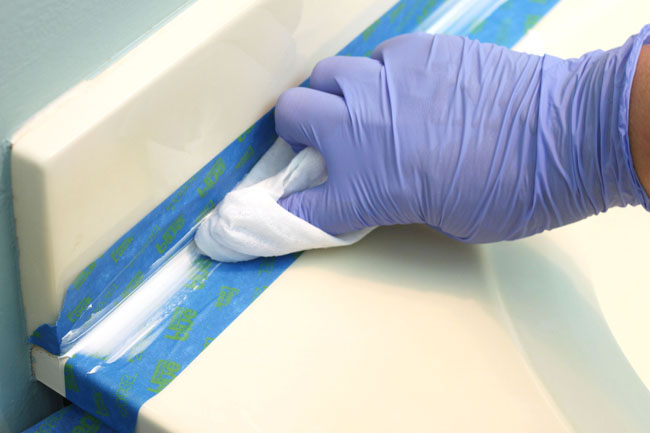
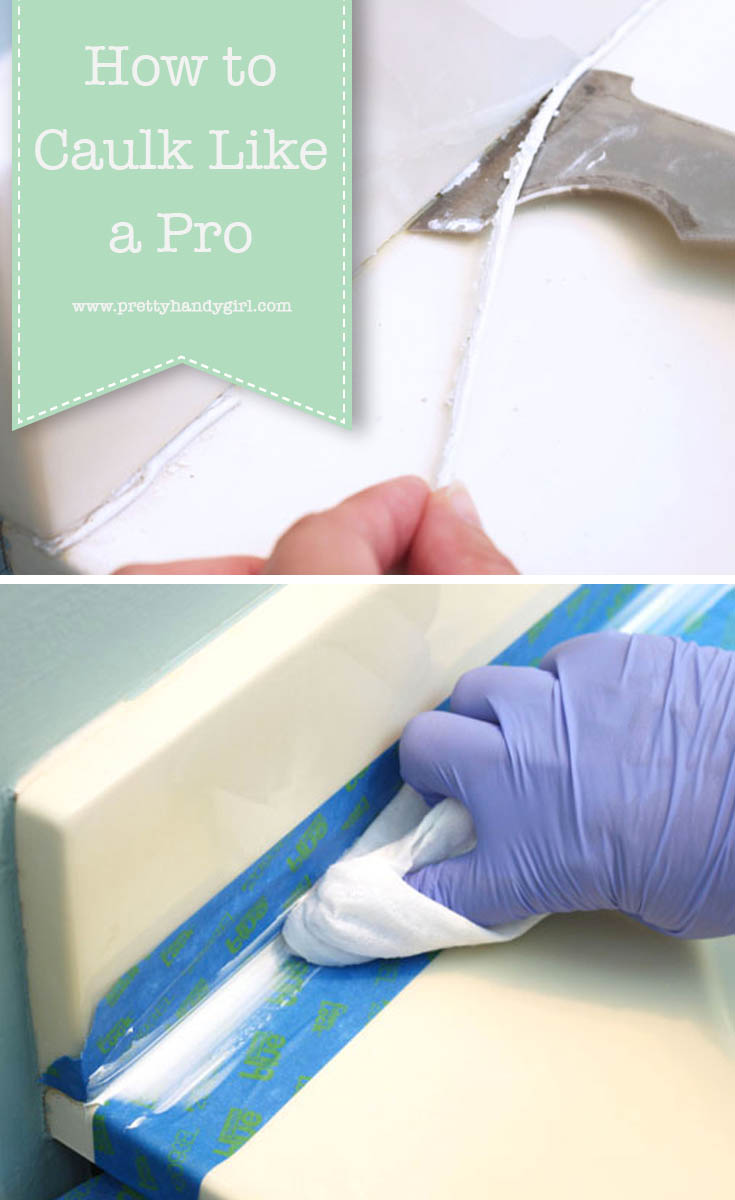
Knowing how to caulk is a valuable DIY skill. A good looking caulk bead can turn a mediocre trim job into one that looks like a professional installed it. Replacing caulking around your home can also help you save money on heating and cooling. Replacing cracked and worn caulk in your bathroom and kitchen will help protect your home from mold, mildew and water damage. So let’s learn How to Caulk Like a Pro.

pull-caulk-bead-off-sm

Today is your day to learn How to Caulk Like a Pro! I worked with GE Sealants to create two posts that will help you bring your “A” game next time you need to spread a clean bead of caulk.

How to Caulk Like A Pro

spead-caulk-wipe-finger-sm

That’s it, just two simple tutorials to help you learn how to Caulk Like a Pro. See you over there!

PHGFancySign

Disclosure: I partnered with GE Caulk to bring you this post. I have been compensated for my tutorials written for the CaulkYourHome.com website.


Pin for later!

How to Caulk Like A Pro

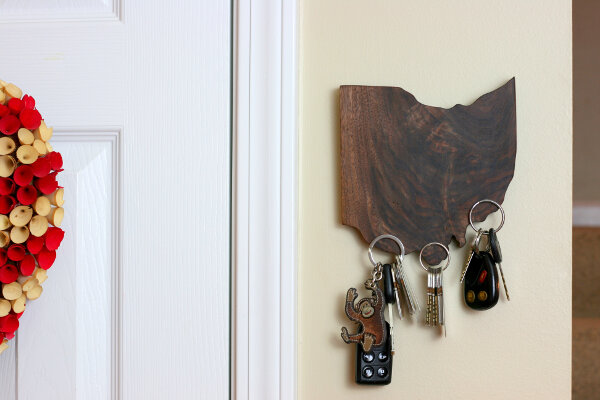
state-pride-magnetic-key-holder-22

State Pride Magnetic Key Holder

Today on the Rockstar DIY stage is Brad! Brad is our first guy rocker to join the tour. He has an amazing creative brain and woodworking skills that will blow your mind. Brad has created this State Pride Magnetic Key Holder for you to build. And if you look close you’ll notice that it’s magic because there are no hooks in sight!

I told you he’d blow your mind. Brad normally rocks on his home turf at FixThisBuildThat.

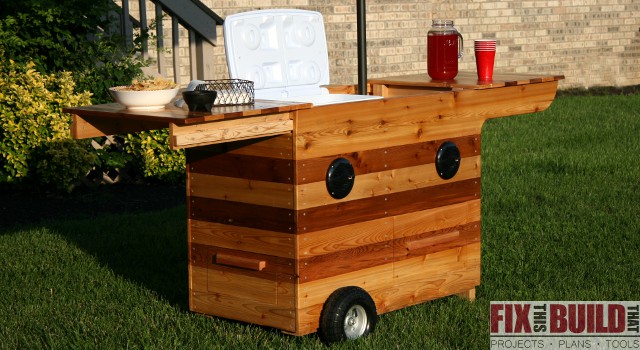
You may have seen his amazing Party Station recently. This cart comes complete with a spot for your beverage cooler, storage drawers and speakers. See, I told you he rocks!

Rockstar DIY Series

I hear the whine of the scroll saw now, so let’s give it up for Brad!

page_break_2

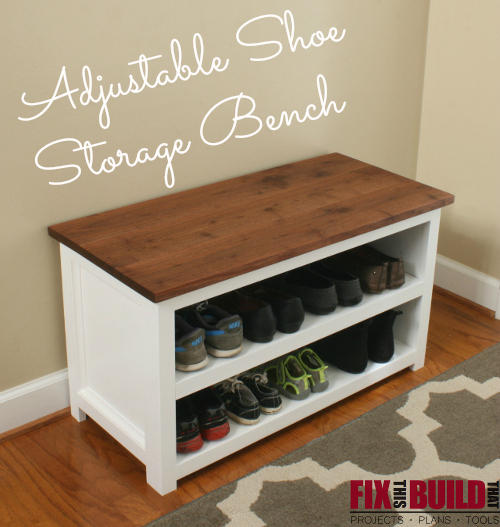
Hey, everyone! Like Brittany said, I’m Brad from FixThisBuildThat.com. My site is all about helping you with Woodworking & DIY Projects, Posts and Plans. And today I’m happy to be here on Pretty Handy Girl to show you how to make this fun State Pride Magnetic Key Holder. If you want to check out some of my other work you can see one of my most popular posts, the Adjustable Shoe Storage Bench.

I’ve always been in love with state signs and cut outs and I’ve made several large state signs. But I wanted do something smaller, and I also wanted to solve the issue of always looking for my keys. In my house finding a set of keys is a little like playing Marco Polo…except the keys don’t usually call back!

I had a really nice piece of figured walnut I wanted to use for something and that’s when it hit me. State sign + really nice wood + key holder = Awesome project. I’d seen some similar things around the interwebs so I knew the perfect project to solve my issue.

Here is what you’ll need for this project.

Materials:

  • Approx 6″x6″ piece of 3/4″ wood (size varies by state)
  • 12 neodynium super magnets – 0.47″ dia x 0.10″ thick
  • Quick set epoxy
  • Picture hanger hardware
  • Spray adhesive
  • Jigsaw or scroll saw
  • Drill
  • 1/2″ forstner drill bit (brad point or twist will work too)
  • Sandpaper
  • Stain/Finish of your choice

Instructions:

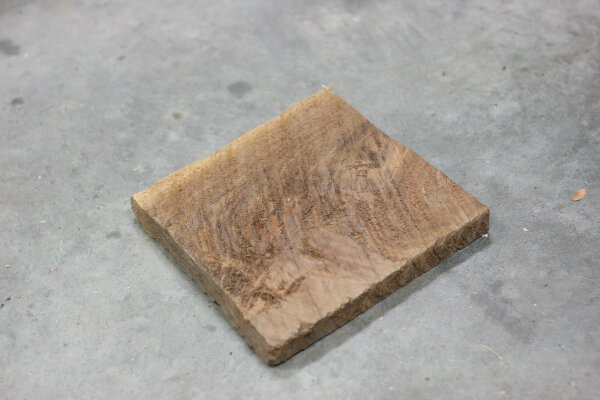
Here is the piece of wood I started with. It is approximately 6″ by 6″ rough cut walnut that was just under 7/8″ thick. I had to do some serious sanding to this thing, but knew there was beautiful grain underneath to uncover.

State Pride Magnetic Key Holder

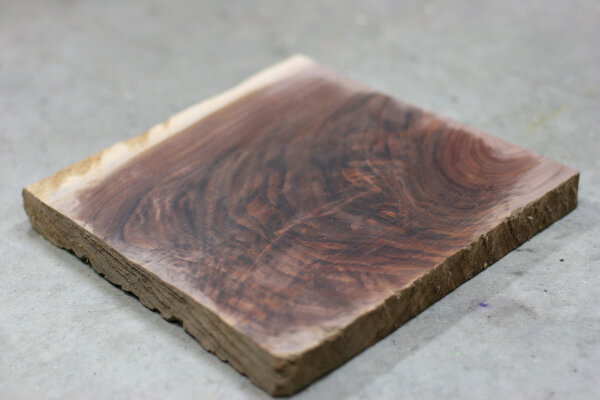
After a ton of sanding I got it down smooth to 3/4″ and here is what was underneath it…gorgeous! (I added a little mineral spirits to show off the grain)

State Pride Magnetic Key Holder

If you have a special small piece of wood this is the perfect project for it. If you don’t have any nice hardwoods laying around this could be your perfect chance to try working with walnut, cherry, maple, mahogany or something else. Go to your local woodworking or lumber store and see if they have any small offcuts. If you want to stay with wood from the home center then a 1×6 or 1×8 will do just fine as well.

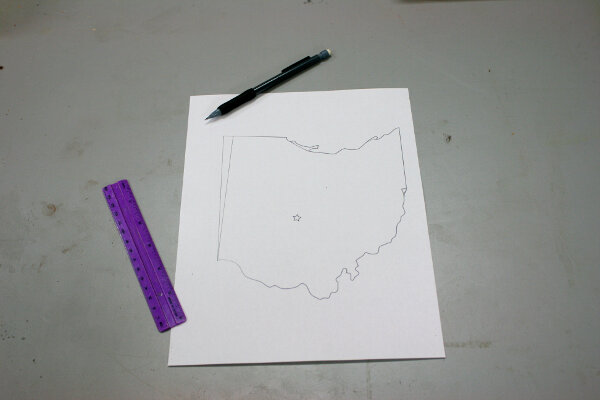
I decided to use Ohio as my state for this project. My wife and I lived there for 13 years, but really it’s just because it fit way better on my board than Tennessee would have 🙂 To get the state shape onto my wood I used a printed outline of Ohio. I found a site called Coloring Castle that has state outlines for kids to color. The outlines are softened a little so it was just what I wanted.

I copied the image of Ohio and pasted it into Powerpoint and sized the image until it fit my board the way I wanted it. You can use a host of different programs or photo editors to do this.

After I printed out the Ohio shape I decided to take a little creative license with the shape of the state. I wanted straight sides and didn’t want to mess with some of the more intricate tight curves like the peninsula up top. So I just drew in new lines where I wanted to cut. Empower yourself and redraw state lines as you see fit!

State Pride Magnetic Key Holder

Next you need to temporarily glue the outline to the wood. Cut the shape out leaving about 1/4″ around the edges. Then spray a light coating of spray adhesive onto the backside of the cutout. Don’t go crazy here or you won’t be able to get the paper off without scraping or sanding. Practicing with some scrap wood and paper will give you a feel for how sticky your specific spray adhesive is. Read more