how-to-pick-paint-colors

How to Pick Paint Colors

Do you know Lindsay? Makely Home Lindsay (the rockstar blogger formerly known as Living with Lindsay?!)

lindsay - Makely Home

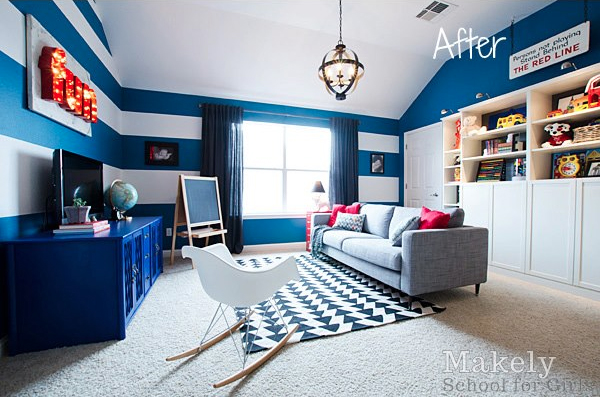
The gal who is so bold with color that her playroom looks like this!

Makely Home Playroom

Well, I have the honor of saying that Lindsay is a friend of mine. But, she is also my idol when it comes to choosing colors. She literally has no fear when it comes to buying paint! When ever I find myself being too safe with color, I think to myself “What Would Lindsay Choose?” And this, my virtual friends, is how I push myself out of my comfort zone.

Glidden has partnered with Lindsay to create some really great Show Me How videos. Check out this short video to learn how Lindsay picks out her beautiful vibrant and daring colors for her home. It’s a great way to be sure before you paint:

If you’re still uncertain, you can try out your color by using this virtual room painter tool at Glidden’s Show Me How site.

Just remember, if you want to push yourself out of that builder’s beige comfort zone, ask yourself “What Would Lindsay Choose?” And you’re halfway done.

Get more tips, tricks and tutorials for your next painting project at Glidden’s new Show Me How website!

PHGFancySign

Disclosure: This is a sponsored post for Glidden brand paint. I was compensated for my time to write this post but the thoughts and opinions expressed are my own.

Reinforcing You Door is Easy

Reinforce an Entry Door

Burglar proofing your home is easy. Especially f you have a gazillion dollars to hire security guards, attack dogs and a web of lasers. Ahh, to dream a dream. But, for those of us who actually have a budget there’s a quick solution. And it’ll help you sleep a lot easier at night.

Having a home invasion is nerve wracking to say the least (yes, I’ve experienced this), I understand the fear many homeowners face:

A  passionate desire to keep our family safe from all the badness in the world.

Think about this, in many instances the only things stopping a robber from kicking open your front door are 1/2 inch screws, some thin metal (in the form of hinges and  strike plates), and at best a wimpy 1 inch piece of wood called your door jamb. Um, I think my 74 year old dad could kick open most people’s doors.

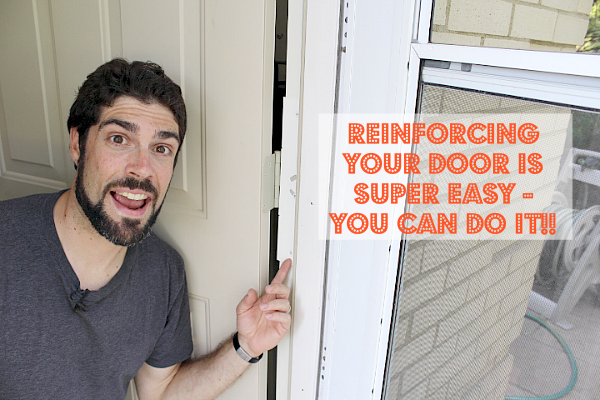
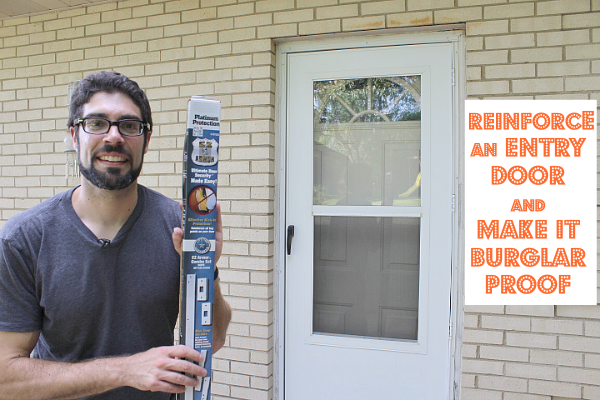
Today I’ll walk you through the installation of EZ Armor (affiliate link). And How to Reinforce an Entry Door and Make it Burglar Proof!

EZ Armor is a door reinforcement kit you can buy for $69. You need limited tools and 15 minutes.

Here’s a supply list to help you get started:

(I’ve included affiliate links for your convenience. I earn a small percentage from a purchase using these links. There is no additional cost to you. You can read more about affiliate links here.)

I promise you’ll boost your home’s safety by leaps and bounds by using EZ Armor. It only take a few minutes to understand why.

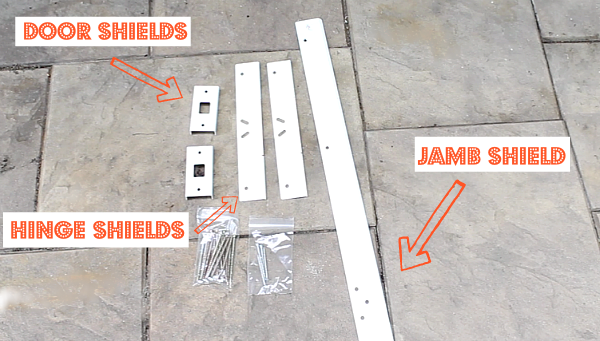
The EZ Armor kit I bought came with the following accessories:

  • Jamb shield (1)
  • Hinge shields (2)
  • Door shields (2)
  • 2 1/2 inch screws (4)
  • 3 1/2 inch screws (17)

Reinforce an Entry Door and Make it Burglar Proof

Okay, if you’re an excitable DIYer like me you might dive right into the installation. You can watch the video or read the photo tutorial below:

Read more

Autumn Mantle Décor and Vignettes | Pretty Handy Girl

Autumn Mantel Décor and Vignettes | Pretty Handy Girl

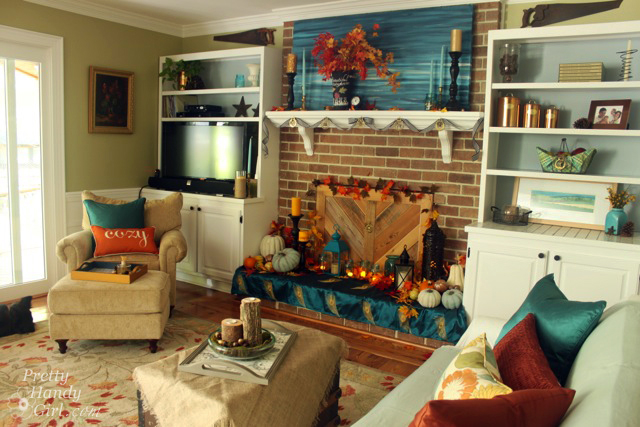
Fall is here! Hip Hip Hooray! I’m not exactly a summer gal (although I was born in June.) I prefer the cooler temperatures, the colorful landscape and jean weather! When the first cool day rolled into North Carolina, I was ready and waiting! But, my living room was still stuck on 4th of July (you know I’m a procrastinating decorator, right?!) I trudged up to the attic to pull down some fall décor. But, frankly, I wasn’t excited about putting the same stuff out again. I wanted a new look, something with bright colors and BLING!

Come on inside to view my Fall mantel and living room vignettes and cozy up near the hearth.

Autumn Mantel Décor and Vignettes | Pretty Handy Girl

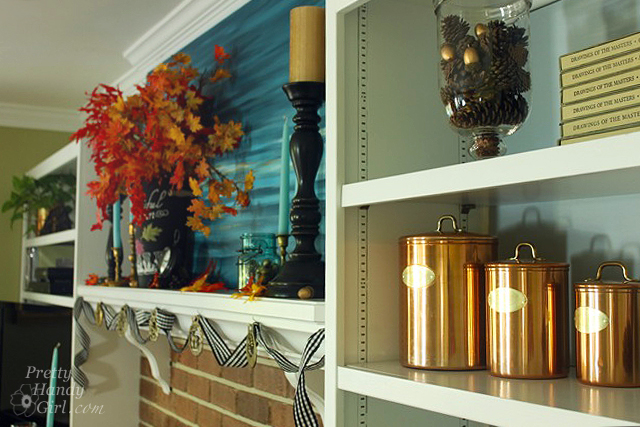
I knew upfront that I wanted to use an aqua and vermillion color scheme. I really love the bold contrast of colors.

Autumn Mantel Décor and Vignettes | Pretty Handy Girl

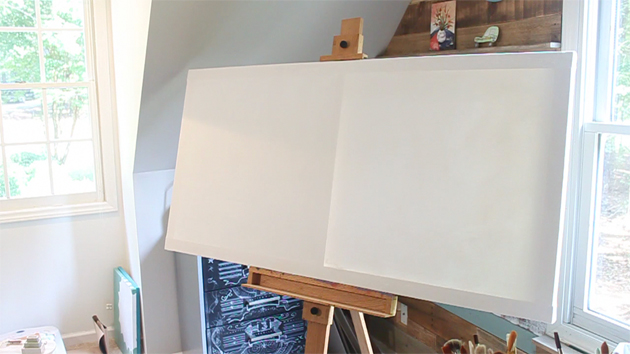
I ordered a lantern and some faux leaves, for decorating. While I waited for them to arrive, I spent an hour building a giant canvas with scrap 2″ x 2″ pieces of lumber and cheap fabric.

blank_canvas

The next day I created a giant abstract water painting. You’ll be thrilled to know that I’ll indulge you with a video tutorial so you can create your own!

Autumn Mantel Décor and Vignettes | Pretty Handy Girl

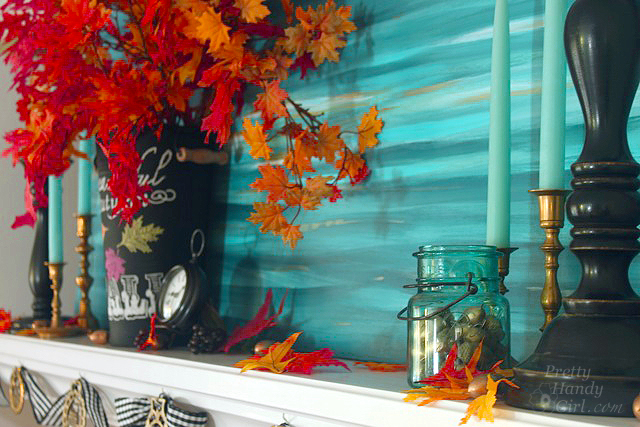
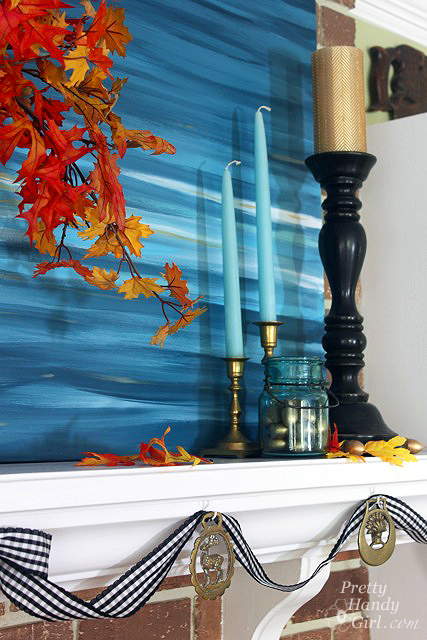
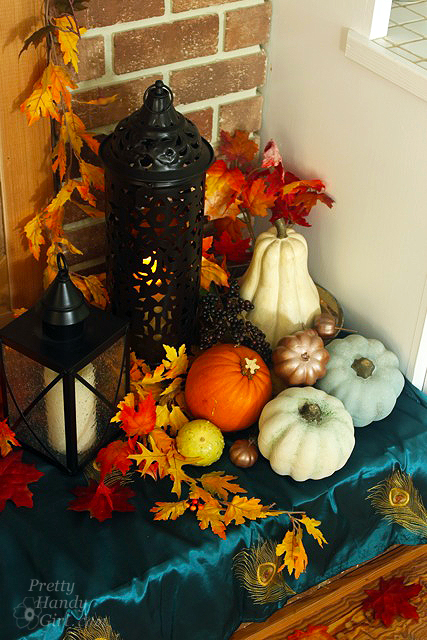
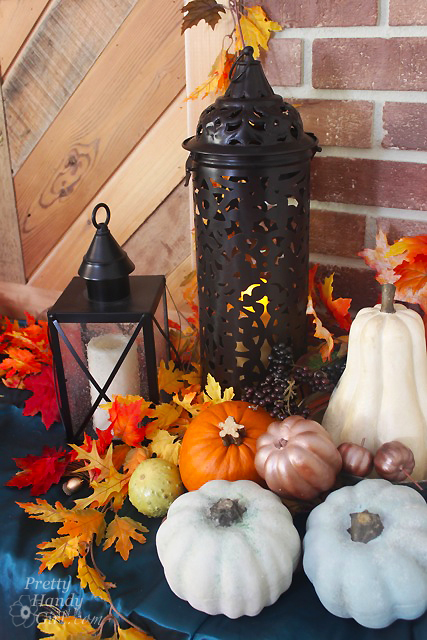
When my order arrived, I integrated the Pottery Barn items (see if you can spot them) with several other objects that I already had. The two leaf branches I ordered weren’t enough on their own, so I grabbed a few bunches of dried leaves at the grocery store (check in the floral department.)

Autumn Mantel Décor and Vignettes | Pretty Handy Girl

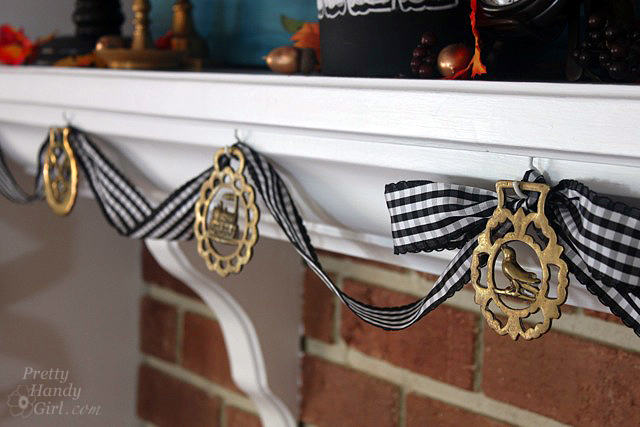
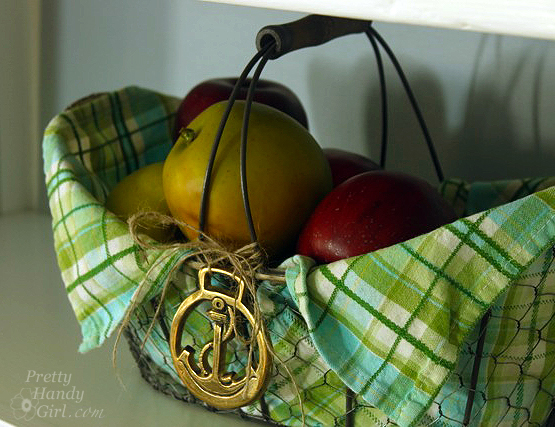
The brass medallions are vintage British horse bridal medallions. They are actually a gift from a friend upon her return from England. (The perks of dog sitting!)

Autumn Mantel Décor and Vignettes | Pretty Handy Girl

Autumn Mantel Décor and Vignettes | Pretty Handy Girl

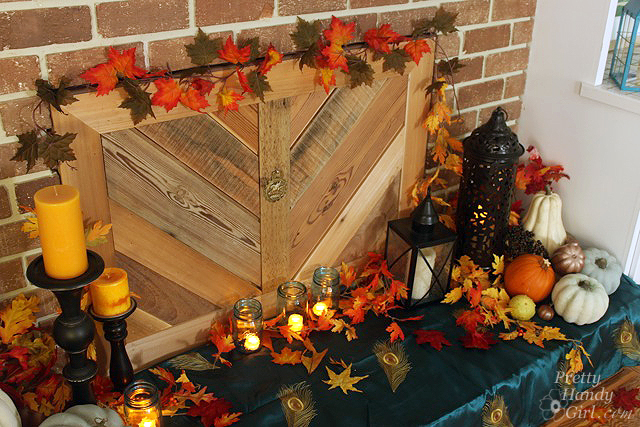
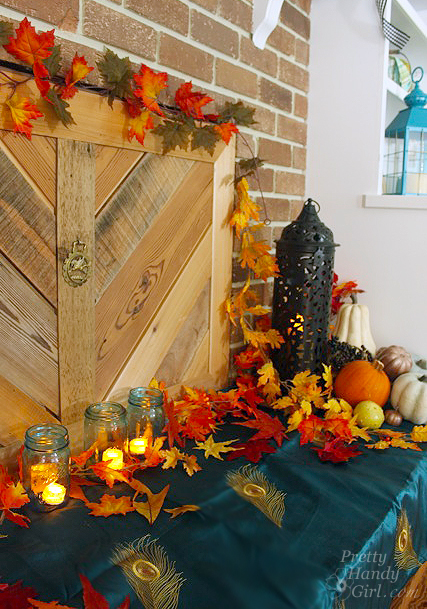
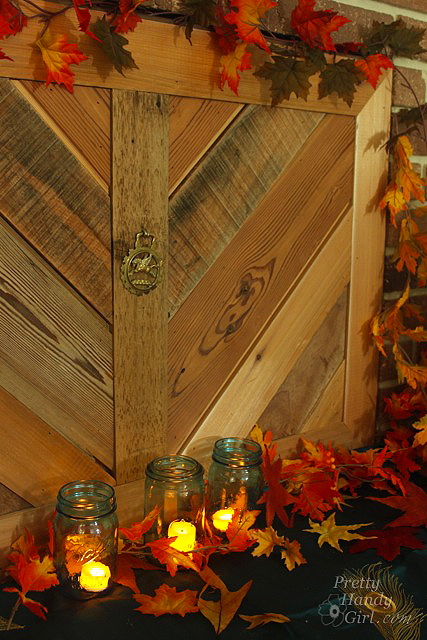
On the hearth, I added more faux leaves and candles to further decorate the fireplace.

Autumn Mantel Décor and Vignettes | Pretty Handy Girl

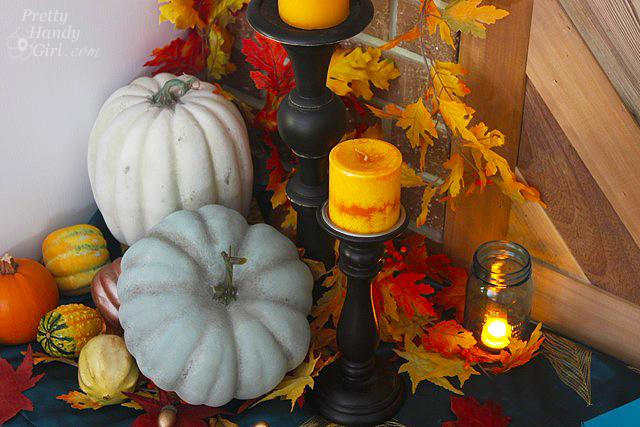
I also popped some gourds and pumpkins onto the hearth.

Autumn Mantel Décor and Vignettes | Pretty Handy Girl

Can you spot the fakes? (If you’re having trouble, good because I have a tutorial on how to fake a fake pumpkin.)

Autumn Mantel Décor and Vignettes | Pretty Handy Girl

The fabric was a last minute purchase that I made at Pier 1 Imports. It’s actually a curtain panel. The color coordinated perfectly with my painting on the mantel.

Autumn Mantel Décor and Vignettes | Pretty Handy Girl

The Pottery Barn lantern fit in nicely on the other side of the hearth and added some needed height to the arrangement (it is tall despite being the small-sized lantern!) I added in my DIY PB inspired lantern for a collected look.

Autumn Mantel Décor and Vignettes | Pretty Handy Girl

Autumn Mantel Décor and Vignettes | Pretty Handy Girl

Do you have a drafty fireplace? If so, you’ll want to learn how to make this rustic fireplace insert to stop drafts!

No more drafty winter evenings and the insert is a beautiful backdrop instead of a big black hole.

Autumn Mantel Décor and Vignettes | Pretty Handy Girl

Autumn Mantel Décor and Vignettes | Pretty Handy Girl

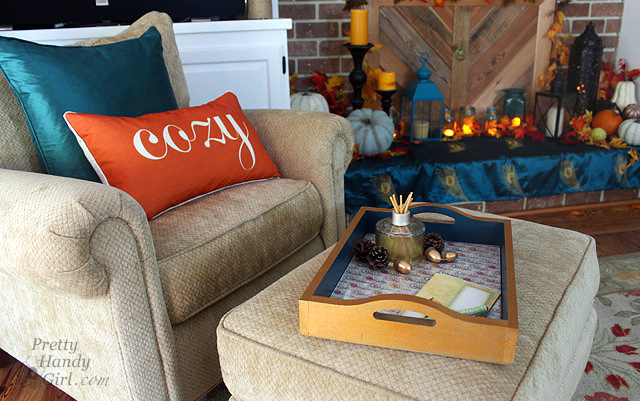
This tray was literally a quickie makeover using an old tray I had on hand. I’ll be sure to show you this transformation in the coming weeks.

Autumn Mantel Décor and Vignettes | Pretty Handy Girl

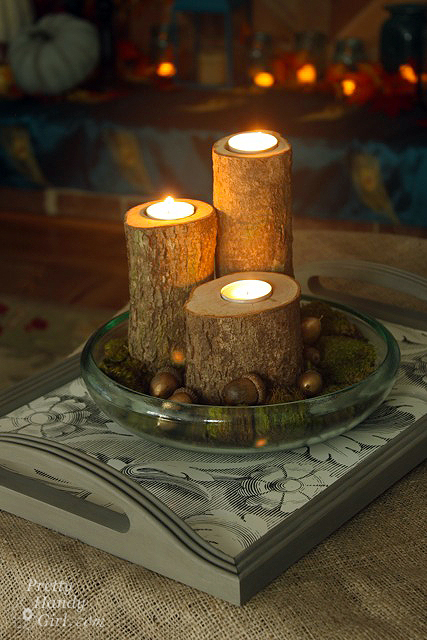
Recognize these log pillar candles from the tutorial I gave you last Christmas?

Autumn Mantel Décor and Vignettes | Pretty Handy Girl

Autumn Mantel Décor and Vignettes | Pretty Handy Girl

Autumn Mantel Décor and Vignettes | Pretty Handy Girl

Autumn Mantel Décor and Vignettes | Pretty Handy Girl

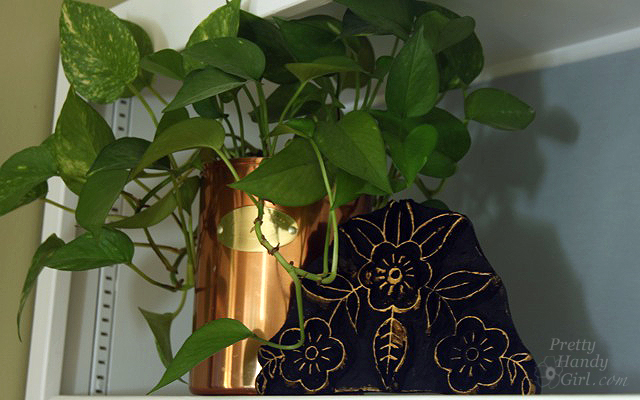
This was one of my souvenirs I brought back from our vacation in England. A printing block. I thought it was for sari printing, but I was told it was for making an impression on furniture that would then be relief carved. It was dark black until I rubbed some gold Rub n’ Buff over the raised areas.

Autumn Mantel Décor and Vignettes | Pretty Handy Girl

The black bucket was a yard sale find that I spray painted with chalkboard paint and added a fun message that I designed.

Autumn Mantel Décor and Vignettes | Pretty Handy Girl

Finally, I want to leave you with this little gift.  Feel free to download this Autumn inspired printable to use in your own home:

Chalkboard Autumn Free Printable - Autumn Mantel Décor and Vignettes | Pretty Handy Girl

Which was your favorite item or vignette? Are you on pins and needles waiting for a specific tutorial? Do tell.

PHGFancySign

lights_on

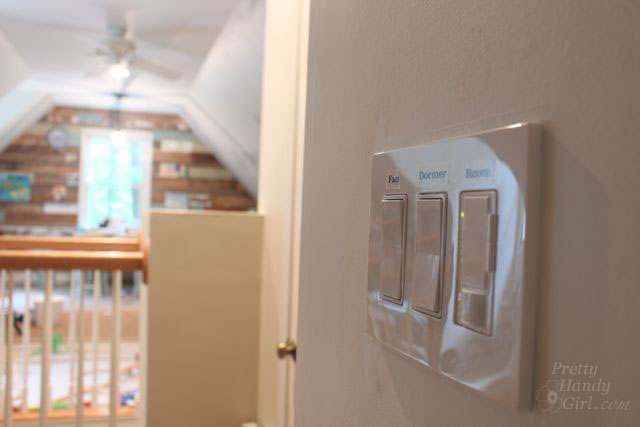
Well, it’s been a while since I installed the Lutron Maestro Occupancy Sensor in our Art & Craft Studio (+ toy room, train room, general overload of stuff room.) And I can honestly say that I LOVE IT! I changed the timer to keep the lights on for 30 minutes after sensing motion (because we have a long room and I wasn’t sure that the sensor would see me across the room.) So far,  it hasn’t shut off on me yet. But, it has turned itself off many times after the kids have been playing and vacated the room.

I’ve also tried to sneak in the room several times to see if Maestro will miss me. And he doesn’t, he catches me from about 10 feet away! See:

But, here’s the best part. No more lights left on and energy wasted.


PHGFancySign

Lutron_logo

Disclosure: This post is a sponsored post for Lutron. I was compensated for my time and project materials. All opinions and words are my own. Lutron is a company that I was happy to partner with because they make quality products that I have used for years. Rest assured that I will not partner with brands that I don’t value or respect. 

coffee_serving_tray_map

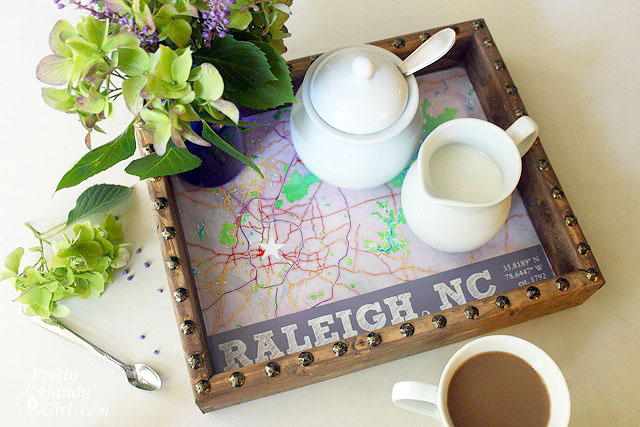
Whether you are looking for a quick and easy gift idea or want to make this for yourself, this DIY State Capital Rustic Tray was fun to make and easy to create!
coffee_serving_tray_map

DIY State Capital Rustic Tray

Are you proud of your hometown? Want to create a personalized gift tray for someone you love. Today I have a special project you’re going to love!
City_map_shadow_box

Materials:

(I’ve included affiliate links for your convenience. I earn a small percentage from a purchase using these links. There is no additional cost to you. You can read more about affiliate links here.)

Optional: Scrap of pegboard

Instructions to Make DIY State Capital Rustic Tray:

Visit Maps.Stamen.com that turns maps into works of art! Simply enter your city, state or favorite location and watch as it instantly turns into a watercolor drawing! When you have the view you want, download the graphic to your computer.

If you wish, you can play with the hue and saturation of your image in your photo editing software.

raleigh_watercolor_map

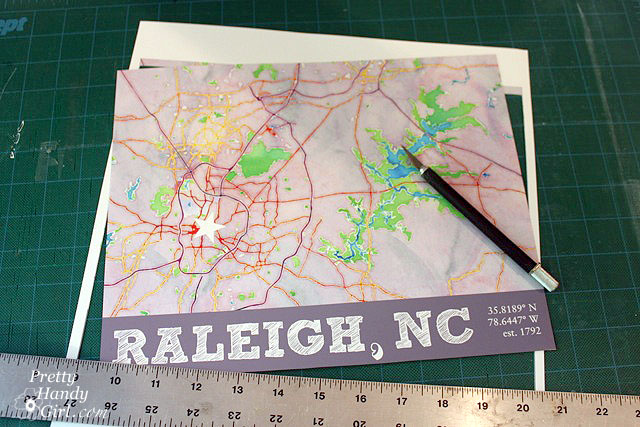
For fun and more graphic interest, I added “Raleigh, NC” (using Sketch Block font) and the global coordinates for my capital city. Plus, the date Raleigh was founded. (All available at Wikipedia.)

raleigh_nc_graphic_map

Print your map onto paper and use the x-acto knife and metal ruler to cut out the map.
print_out_raleigh_map

Cut out a piece of plywood (or board) the same dimension as your map. (I used a circular saw and the Kreg Rip Cut, but you can use a table saw, jig saw, or have Lowe’s cut a board for you.) Sand the board to remove any splinters.
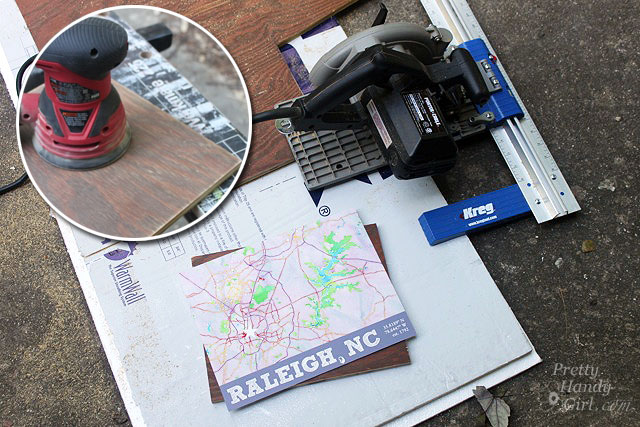
kreg_rip_cut_sand_base

Check your map printout against the base and trim the map if needed.
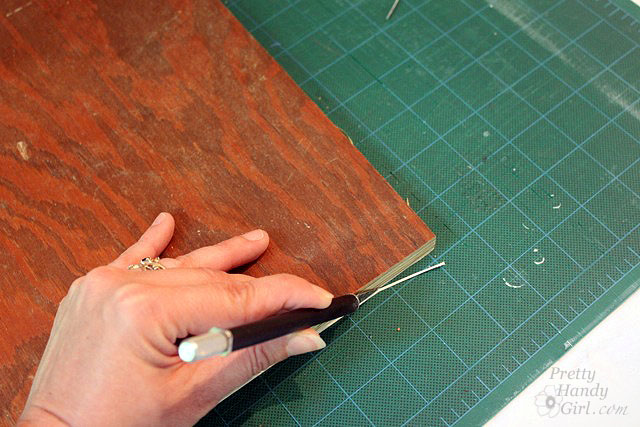
trim_map_to_base

Cut one end of a 1×3″ board at a 45 degree angle using the miter saw. (Never used a miter saw before? Watch this video tutorial to learn how to use a miter saw.)
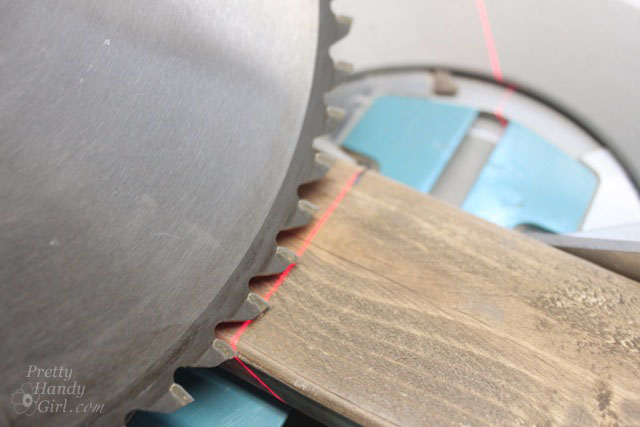
cut_mitered_45_end

Line the board up against the plywood base. (Line up the inside of the 45 degree angle at one corner.) Make a mark where the other corner meets the 1×3.
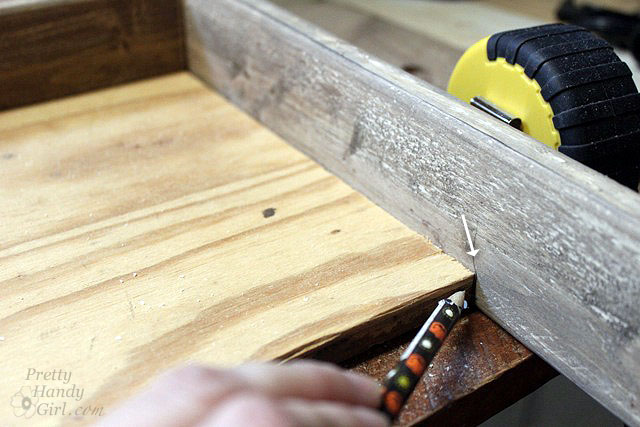
mark_wood_side

Cut the 1×3 at an opposing 45 degree angle, lining up the saw with your inside angle mark. Continue marking and cutting your 1×3 boards to create the sides of your tray.

miter_cut_ends

Dry fit the sides against the base. Make any adjustments to get a tight fit. Run a line of wood glue along the ends of the 1×3’s.
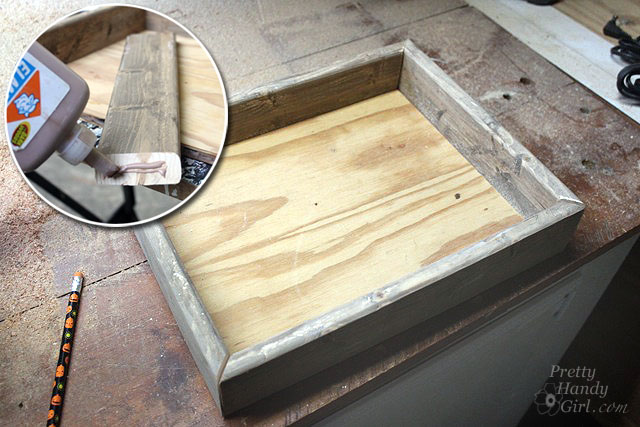
glue_corners

Run a bead of glue along the sides of the base piece.
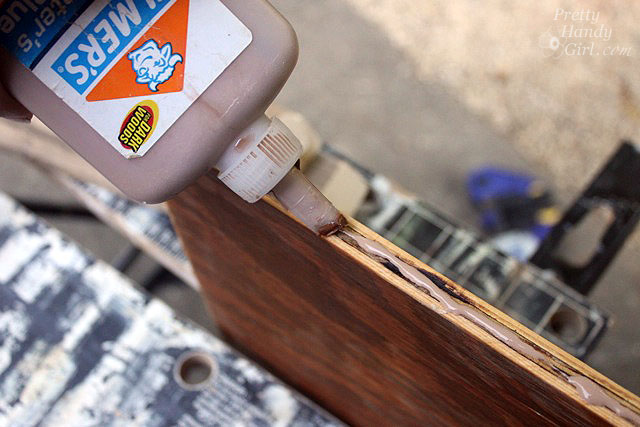
glue_tray_base_perimeter

Clamp the tray together making sure the base is flush with the bottom and all the sides meet.
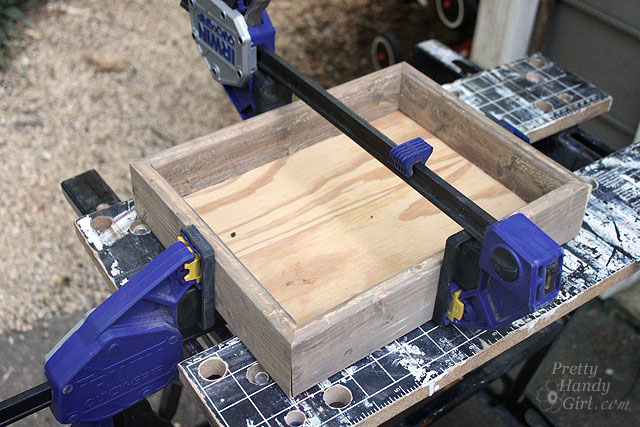
clamp_box_frame

Use the finish nailer to shoot 1.25″ finish nails into the corners of the tray. Then secure the base to the sides by shooting more nails through the sides into the base.
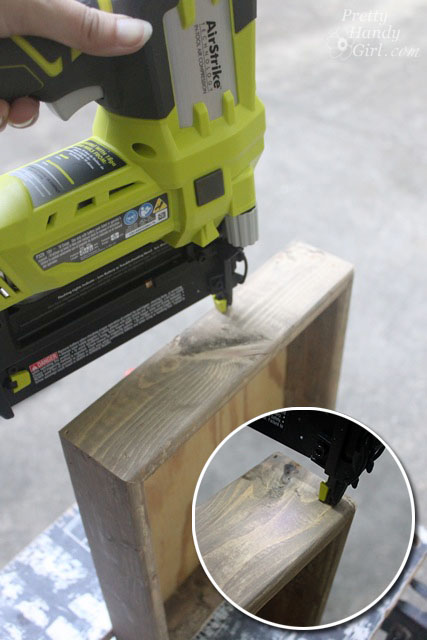
secure_tray_trim_nails

Stain the tray and base with a foam brush. Wipe off any excess with a dry rag or paper towels.
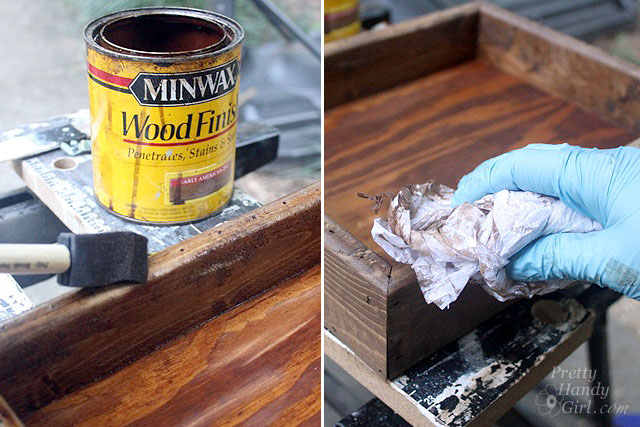
stain_tray_wipe_off

After the tray dries, use the pegboard scrap to mark even spots along the tray edge for the nailhead trim. Hammer nail heads into the edges of the tray. (If the wood is hard, you might have to pre-drill holes.)
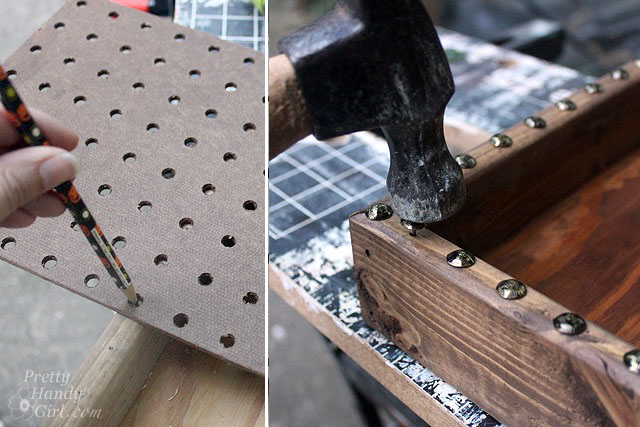
space_hammer_nailhead_tacks

Test fit your glass to make sure it fits in the bottom of the frame. Clean off the glass with window cleaner. Wipe off any lint.

wipe_glass_clean

Set your map print on the bottom of the tray. Lay the glass on top of the map.
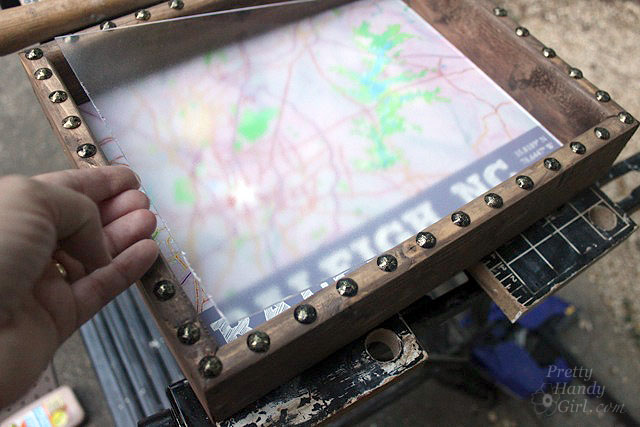
drop_glass_inside_frame

Run a line of clear caulk along the edge of the glass. Wipe the caulk with a wet wipe to smooth and remove excess caulk.

caulk_around_glass

Let the caulk set and then feel free to fill your tray! I use my tray in the kitchen to neatly hold our coffee supplies.

coffee_serving_tray_map

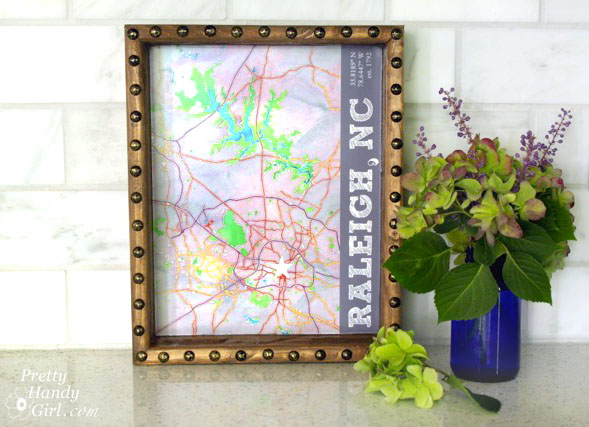
But, you could also add D-rings to the back of the tray and hang it as art!

City_map_shadow_box

I’m curious, where are you from? Or where do you call home? Don’t you think this would make a fabulous present for someone who is proud of their hometown?

PHGFancySign