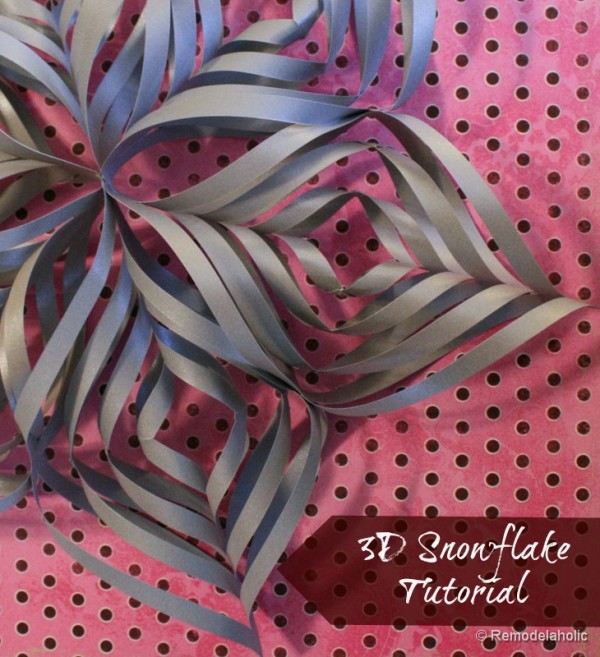
3-D Snowflake Tutorial by Remodelaholic

3D Paper Snowflake
Today’s guest is the queen of DIY! She’s all about doing it herself from huge home renovation projects down to small ornaments. Please welcome Cassity from Remodelaholic!
![]()
I think it is fun to let your kids get in on gift making, not just buying! Something simple that brings you together as family and doesn’t break the bank? This not so little 3D snowflake is the perfect answer to getting your kids involved!
Supplies:
- Double sided Scrapbook paper (12″ x 12″ will result in less wasted paper!)
- Glue, tape or staples
- paper clips
Instructions:
1. Begin by cutting your paper to 6 pieces of 6″ x 6″ paper. At this dimension you will get 4 sheets from a 12 x 12 scrap book paper and less waste. *I also did smaller 2 1/2 inch square version, that might work as an ornament!
2. Fold each of the 6 pieces of paper in half, diagonally.
3. Cut *several lines on each side of the triangle from the folded edge, parallel to the outside edge. (See arrows below) Make these cuts on both sides. Leave about 1/2 inch to 3/4 in the center of the paper uncut.
*The larger square of paper the more cuts you can make, for the small I did 3, for the larger size, 5.
Optional: I cut a small triangle out of center so that it wasn’t so solid in the middle. But you don’t have to do that.

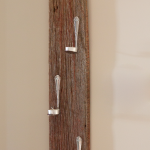
4. Unfold your paper. Now, take the two inside cut pieces together to form a tube. Put a little glue on the corner and paperclip two sides together to form a roll. You should see open triangle shapes on each side of the roll.
Optional: to make it easier on the kiddos, you could tape or staple these pieces together. Remove the paperclips after it is completely dry.
 |
 |
 |
 |
5. Turn it over and roll the next two cut lines in, gluing and securing with paperclip like before. After each roll is secured, turn the paper over and make another roll on the opposite side, until all the cut pieces have been joined. (side view below just FYI.)


6. Repeat the rolling, and gluing until all 6 pieces look like this (below). When glue is dry, remove paper clips.

7. When all 6 pieces are done, lay them out to form your snowflake.

Take 3 of the completed rolled diamond pieces, and join them together at the center tip, glue and paper clip till dry, (or staple)!

Glue where the two outer loops come together (where I pointed out above). Repeat with other three. When dry, glue the two center joining points together, and the side rolls together. And you are done.


Please come check out my blog Remodelaholic for other great Christmas ornament ideas!

Incredibly beautiful, gives the tree an extra sparkle! Great tutorial!
Beautiful! I’m looking for inexpensive decorating ideas and this will be a fantastic addition to the rooms!
I think I have some metallic finish paper that should really sparkle as these. Great ideas!
Wow these are amazing. I am going to give it a try and see what happens!
Cassidty, these snowflakes are so cute!