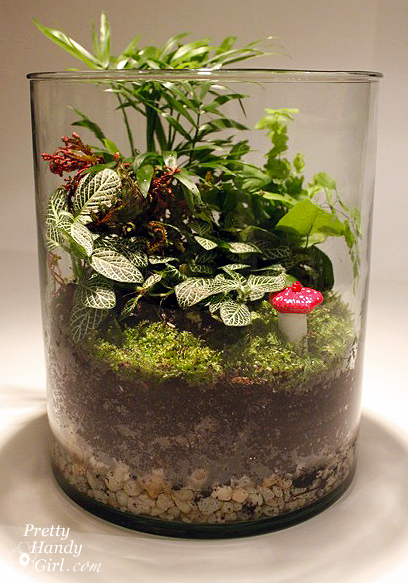
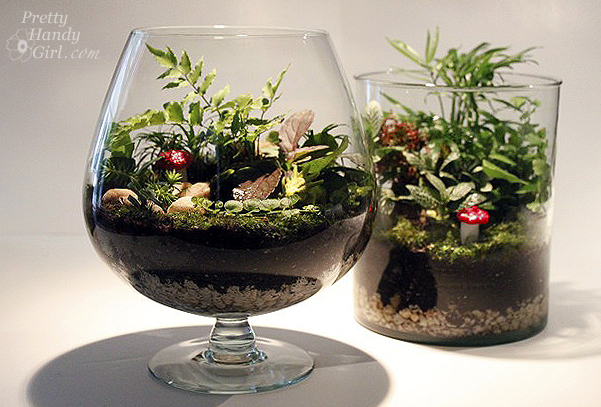
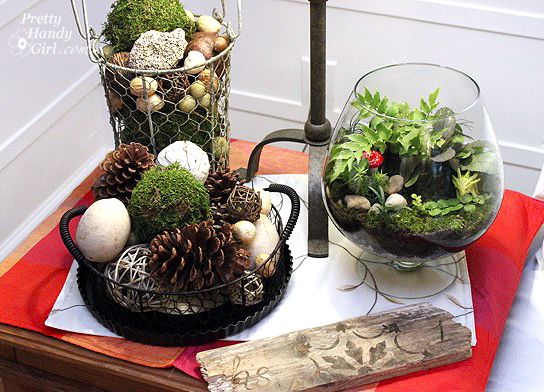
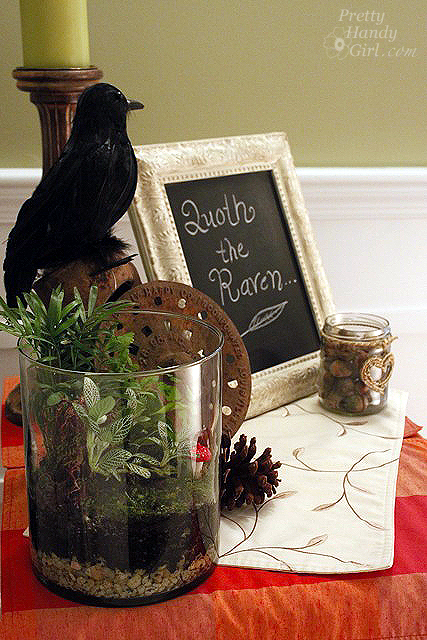
Did you see the cute little red and white mushrooms in my terrariums that I made? They were super easy to make. I can show you how and this will only take a second.

Materials:

Instructions:

Mark the height you want your mushrooms to be on the dowel rod. Add 1/2″ to the height for anchoring it into the soil. Cut your dowel rod (or a branch in a pinch.)

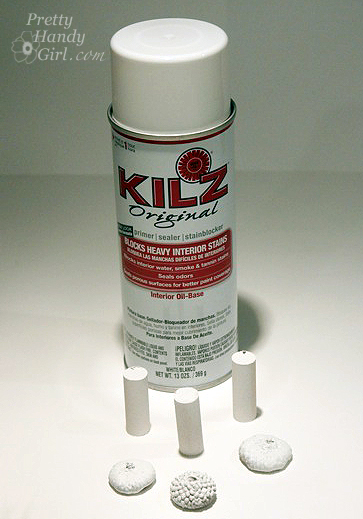
Spray your cut dowel rods (or branches) with spray primer. Be sure to coat all sides. Spray the acorn caps at the same time.

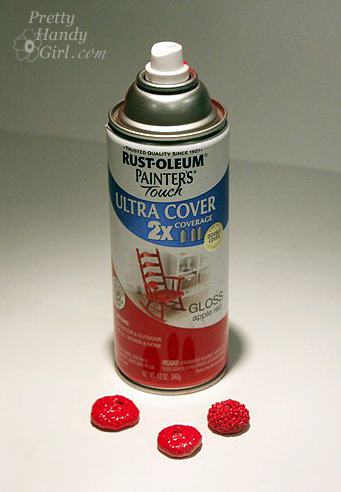
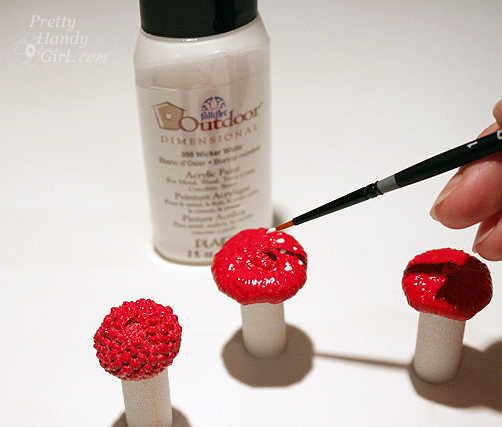
Spray paint your acorn caps red.

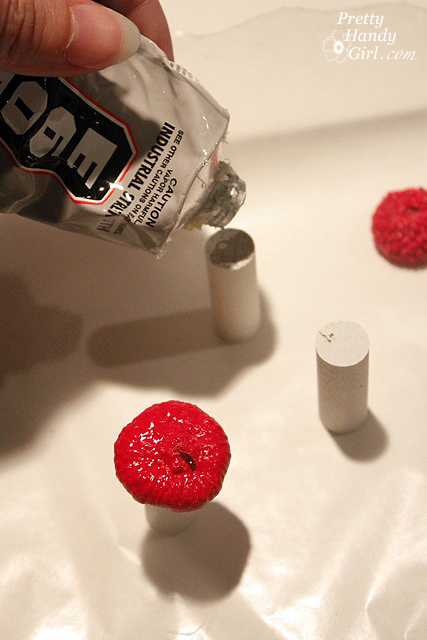
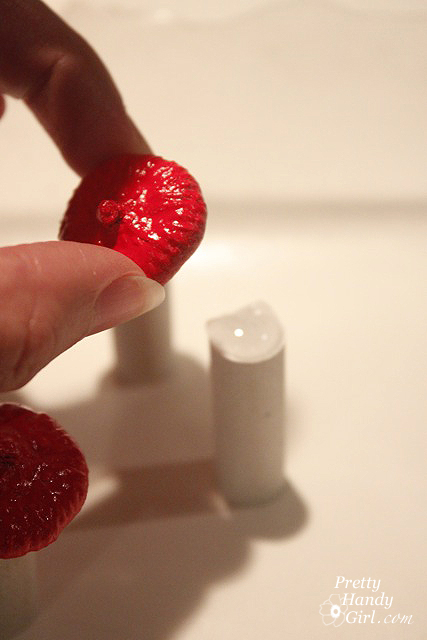
After the paint has dried, glue the acorn tops to the dowel rods using E-6000 glue.

Let the glue harden (about 30 minutes.) Add some dots of white paint onto the red caps.

Press your adorable little mushroom into the soil in your terrarium and then sit and wait for a fairy to move in.

See, I told you it would only take a second! Well, besides waiting for the paint to dry, this project takes less than five minutes.

I have a mushroom leftover, but I don’t have any more terrariums. Any ideas what I can do with a little lone mushroom?

UPrinting.com Giveaway Winner

I have to tell you that I really enjoyed reading all your comments on the UPrinting giveaway. Some of you had some amazing photos that you really wanted to have printed. And some of you brought tears to my eyes when reading about photos of loved ones who have passed on. You made me think about both my grandmothers who passed away over 5 years ago and who I still miss almost daily. I wish I had a photo canvas for each and everyone of you. If you didn’t win, I really hope you will look into having your photo printed as a rolled canvas and stretch it yourself to save money. Your photos are too precious not to! (Oh, don’t make me cry again.)

We do have ourselves a winner of the UPrinting.com rolled canvas! And she has a special photo in mind.

Deborah wrote: “Thank you for posting this. I would never have known you can do this yourself. I would love to have my favorite picture of my 3 kids printed in a huge size for over out sofa in the living room.”

Deborah is a blogger and homeschooling mother of three children. This month she is writing a series (inspired by The Nester) on 31 days to Slash Your Budget Painlessly on her blog Green Willow Pond.

Green Willow Pond

She has some great tips and ideas on saving money. From making your own linen napkins to making your own laundry detergent! Truly a woman after my own frugal heart.

Congratulations Deborah. Please check your email and get back to me asap to claim your prize.


Make Your Own Terrariums


Terrariums are making a comeback in home décor. Gone are the octagonal mirrored terrariums. They have been replaced by sleak apothecary jars, tall cylinders and lidded glass vessels (to name just a few shapes.)

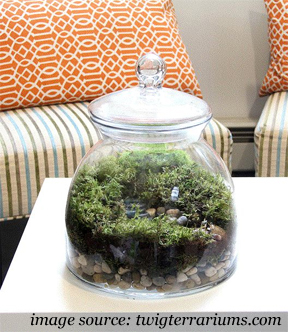
Twig Terrariums has an amazing array of beautiful ready made terrariums or DIY kits for sale! Some of them have stunning details, right down to a little miniature person inside the lush world. The terrarium below sells for $200.

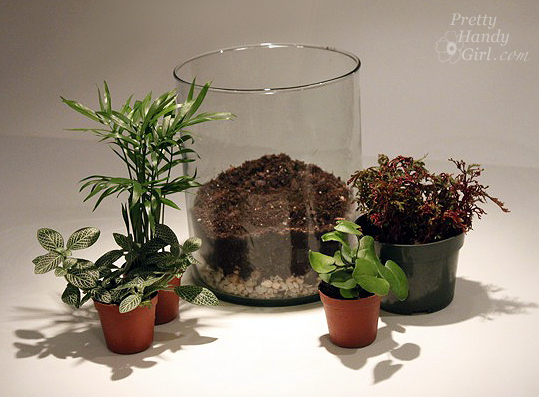
If you want to create your own version that is a little more budget friendly, it isn’t hard to do. In fact you can get some plants from a local nursery or as close as your own backyard!

Materials:

  • Glass container (with or without a lid)
  • Small decorative pebbles or pea gravel
  • Potting soil
  • Live Moss
  • Terrarium plants (small shade loving plants)
  • Potting shovel
  • Water

1. Clean your glass container with soap and water and dry it.

2. Add a layer of gravel or decorative pebbles to the bottom of your glass container.


3. Add a layer of potting soil. No need to level it.


4. Collect your plants and think through the plant placement in your head.


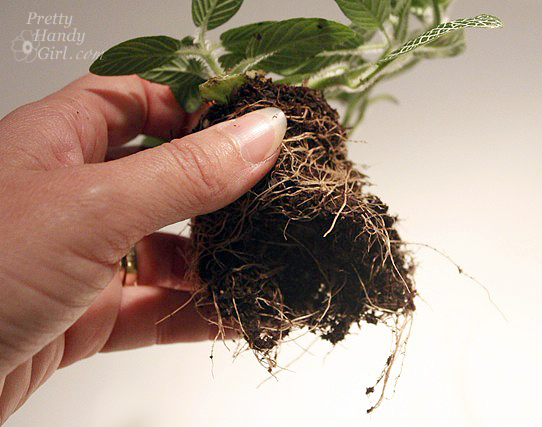
5. Gently remove a plant from the pot.

If it is root bound (all the roots are wound tightly around the bottom) gently tease some of the roots free and break apart the roots at the bottom of the plant.


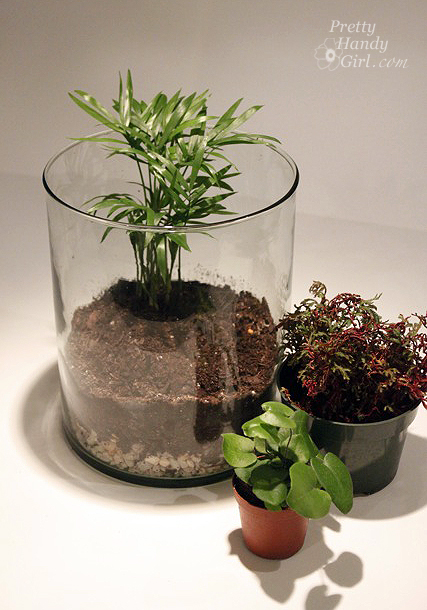
6. Insert your plants into the soil.

Put taller plants at the back and the shorter ones in the front so you can see all the plants.


7. Cover the soil with moss. You can cut or tear pieces to fit flush with the edge of the terrarium.

8. Fill your terrarium and let the water soak in. The water should reach the top of the rocks. Check the water level a few times a week and be sure to refill when the water gets low. If your terrarium has a lid you won’t have to water as often as a lidless variety.


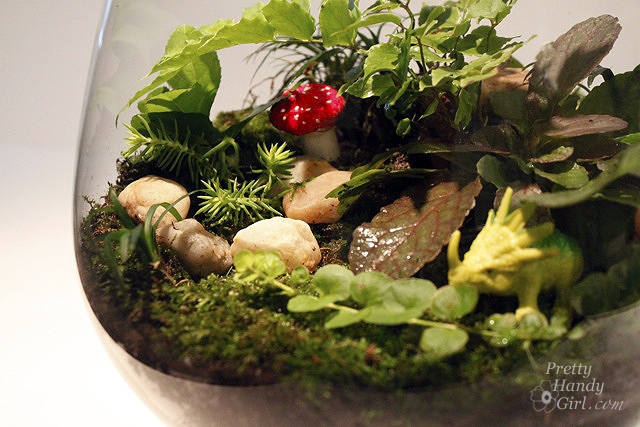
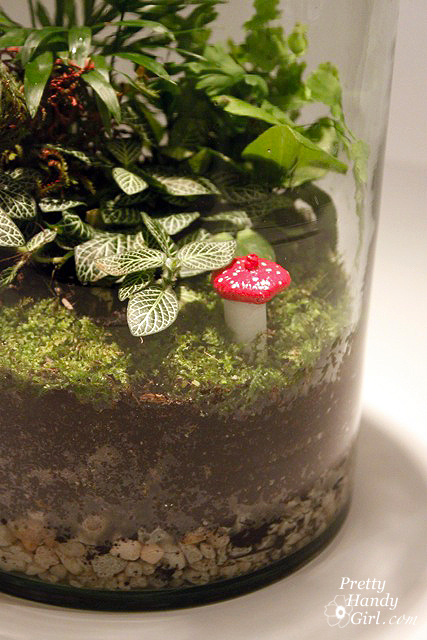
9. Add any decorative embellishments like these faux mushrooms (tutorial HERE)…

…or my sons’ favorite, a little plastic dinosaur!

Terrariums make the perfect year round accessory. I have them prominently featured in my living room along with some other natural elements.

This version was made entirely with plants that I have growing in my shade bed. Small ferns, arugula and creeping ground covers. Plus, I added a few round pebbles for visual interest.

I might pick up a tiny person or two at a hobby shop next time I’m near one. Anyone seen any that look like the characters in “Land of the Lost” heh, heh, heh!


In the meantime, I’m loving my cost effective terrarium. Yes, terrarium singular, because the cylinder terrarium was a gift for our friends who dog sat for us.


I almost wouldn’t be surprised to see a fairy take up residence in one.

I’ve been busy working on some more projects to show you, so hang tight and check back soon! 😉 In the meantime, I hope you have a fabulous weekend and are enjoying Fall!


“It’s a Party and I’ll Paint if I Want to…Paint if I Want to… Paint if I Want To…You Would Paint Too if you had Scotch Bluuuueee!”
I think I’m going to call 3M ScotchBlue right now and suggest this as their new jingle. Kind of catchy isn’t it?!
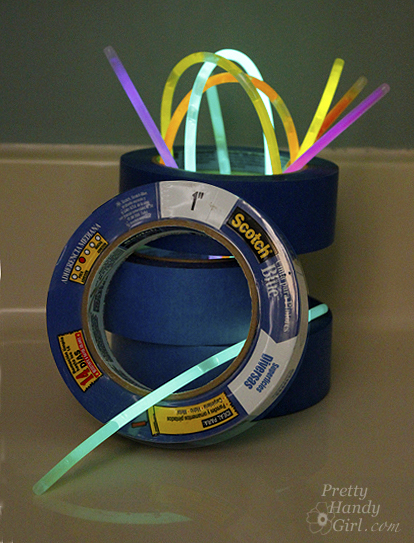
Check out my project tutorial on revamping an old cabinet door below.

Go ahead, grab your paint and brushes — and don’t forget a roll of ScotchBlue painter’s tape!

I have been using ScotchBlue painter’s tape for a while and I really like it. I am not being paid to say this (even though they did send me a few free rolls of painter’s tape.) You’d know I like ScotchBlue tape if you have read the backlit bookcase post, painting the bamboo rug post and the painting like a pro post (where I share some tips for using ScotchBlue Painter’s Tape!)

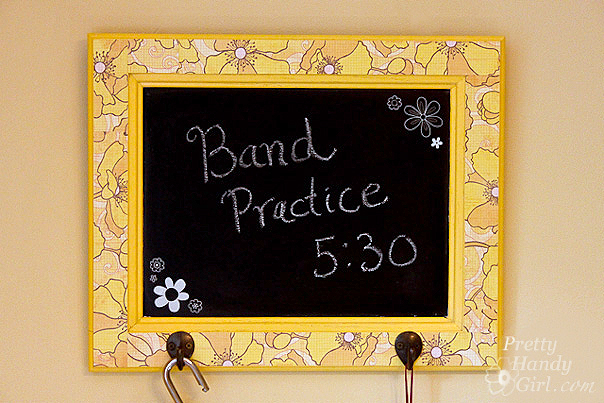
But, enough looking back, I want to share with you how to make something out of a disgustingly filthy grease covered discarded cabinet door. So, let’s hop to it! While building my mudroom bench, I took off the doors and kept them in the hopes of being able to use them another day. I’m working on a new bench for my Habitat ReStore demonstration, so I have more cabinet doors now! I devised a plan to reuse the doors in a creative way, a way that would be fun and yet help us keep track of our comings and goings. Meet my cabinet door turned into a chalkboard message board with hooks:

Materials:

(I’ve included affiliate links for your convenience. I earn a small percentage from a purchase using these links. There is no additional cost to you. You can read more about affiliate links here.)
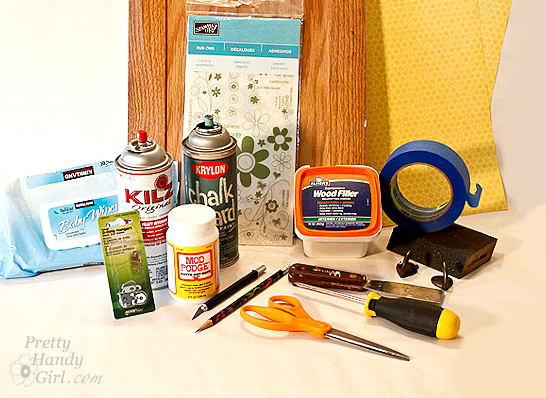
Instructions:

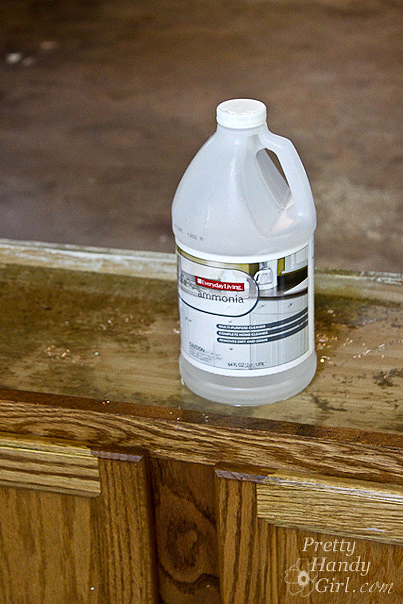
Clean the doors! If you have a cabinet that has finished it’s first life as a kitchen cabinet, and has so much grease on it that you could grease a pig…well, you need to clean it off. I experimented with several different techniques (GooGone, Dawn Detergent, Shakelee DeGreaser Spray, and Ammonia), but the one that worked best was inexpensive ammonia mixed with hot water.
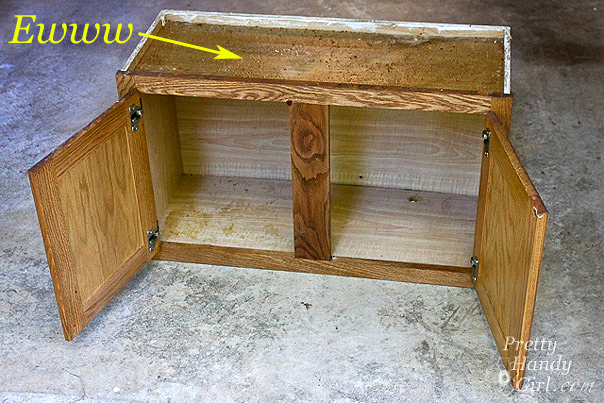
 

I saturated the cabinet with the ammonia mixture. Let it sit for a few minutes and voila! The grease came off like butter (no pun intended.)
 

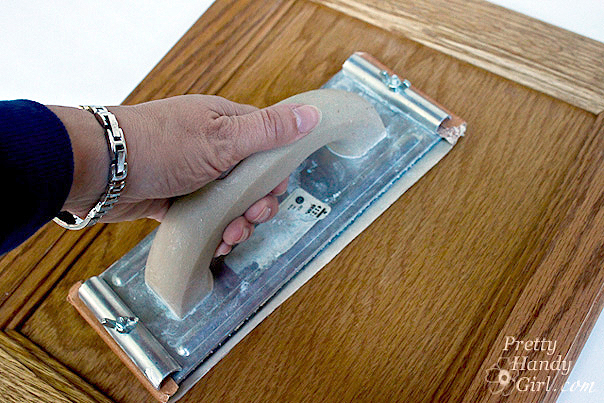
Dry the cabinets and gently sand all the surfaces to rough them up slightly. (Don’t rough ’em up too much boys, we need him to be alive. LOL! Spoken like a true Western character.)
 

Wipe off the door thoroughly with a damp baby wipe.
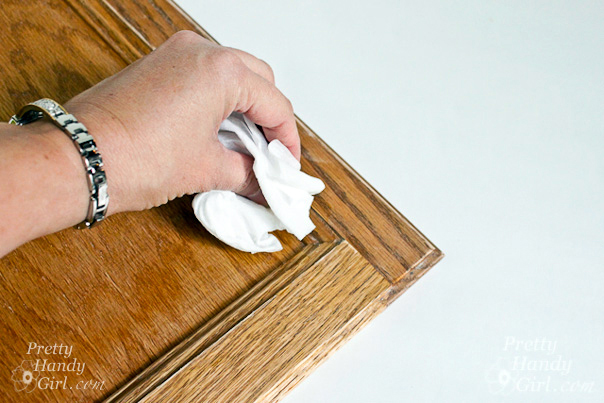
 

Use wood putty to fill in the wood grain on the middle panel of the cabinet. (You could also fill in the cracks on the frame of the cabinet too, but I have other plans for the frame.)
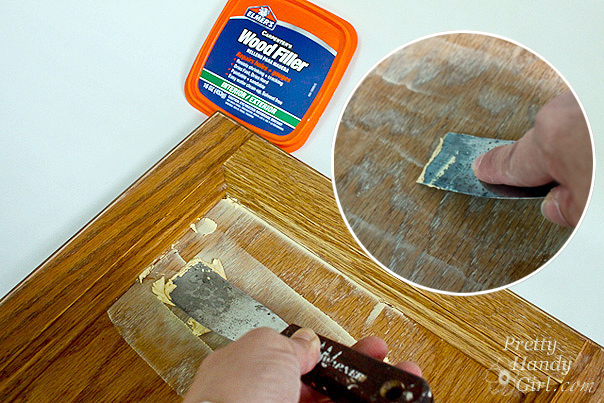
 

Let the putty dry for about 10 minutes. Sand the panel until it is smooth.
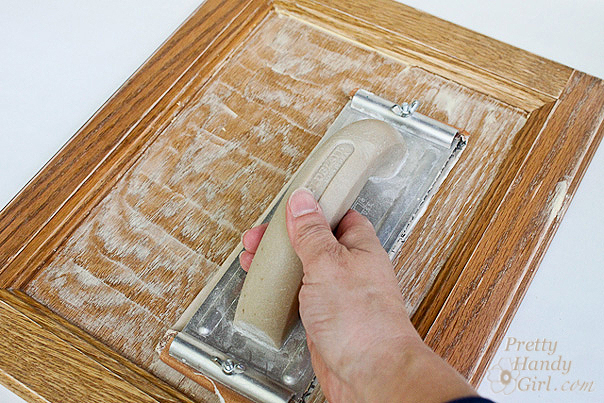
 

Wipe off the cabinet door again. Be sure to get all the sawdust off.

Spray your cabinet door with spray primer. One coat should be enough to cover the door. It helps to elevate the cabinet with a block or two underneath so it doesn’t stick to your drop cloth.
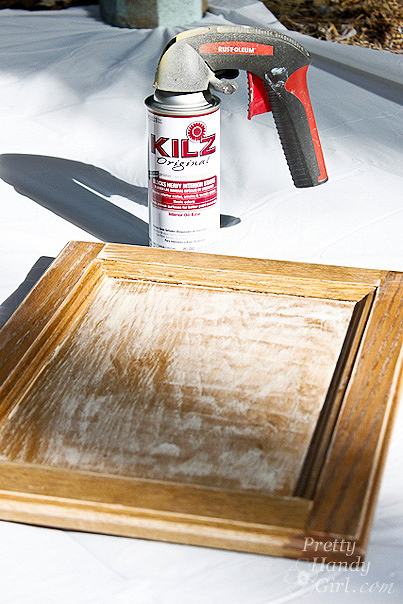
 

Mask off the middle of your door with newspaper and ScotchBlue Painter’s Tape. Press the edges down firmly by running a finger along the edge. (If your cabinet door is very textured, you can seal the edges by brushing matte medium where the tape meets the door.


Spray the frame with 2 even coats of the summer squash yellow color (allowing the paint to dry between coats.)


Remove the mask, now ooo and aaaa over that clean edge! Give the paint about an hour to cure before the next step.
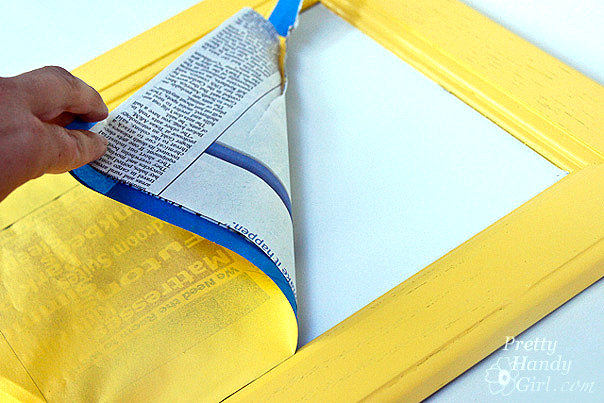
 

Wrap newspaper around the back of the cabinet door and fold the edges up. Use ScotchBlue painter’s tape to tape the edges of the frame off (cover all the yellow with tape or newspaper.)
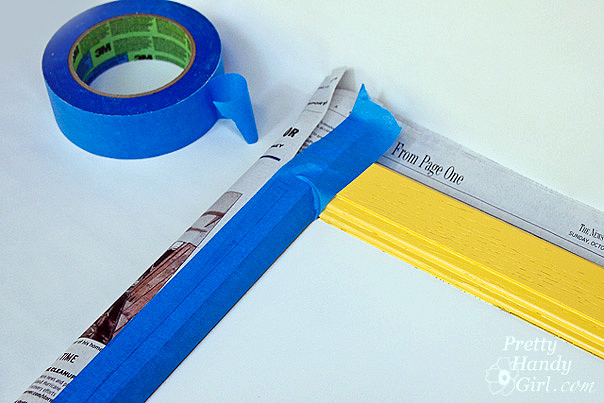
 

Spray the inside panel with 2-3 even coats of the chalkboard paint. Let it dry throughly before you remove the tape and newspaper mask.
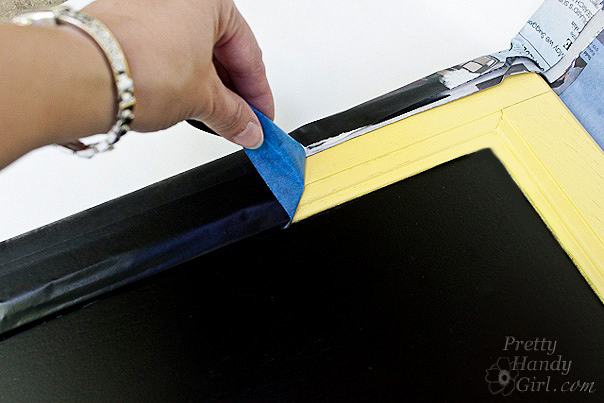
 

It is starting to look rather purrrrdy, ya think?! Feel free to stop here and say that you are done…
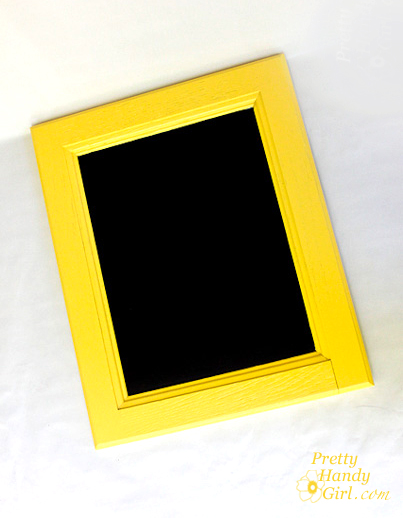
 

…or if you are a perfectionist (like me), you will want to cover the woodgrain on the frame with scrapbook paper.
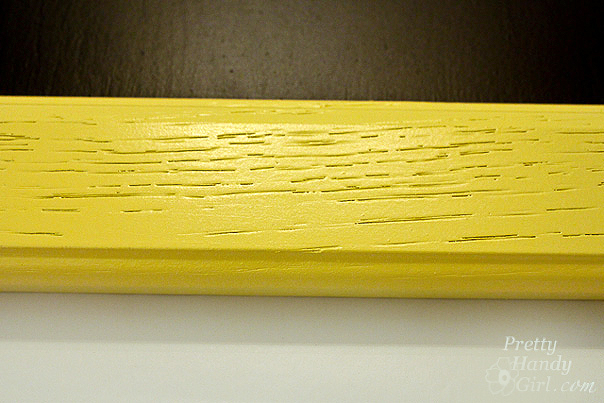
 

Simply measure your border and cut scrapbook sheets to that width. It is okay if your sheets aren’t long enough to fit on one length, you can tile them.
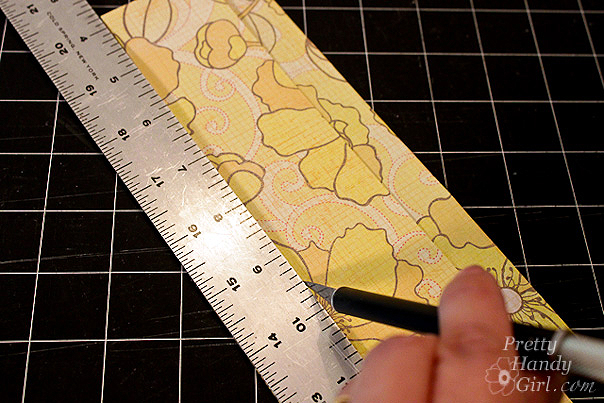
 

Brush one layer of mod podge onto the frame then lay the scrapbook paper on top of the mod podge. Press out all the air bubbles. Let the mod podge/paper dry for a few minutes.


Then brush 1-2 coats of the mod podge on top of the scrapbook paper borders to seal the paper.


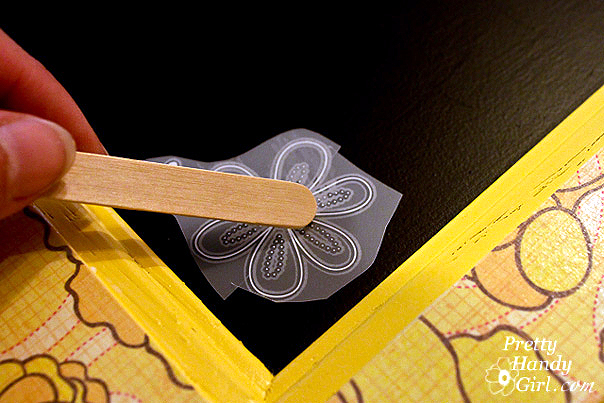
If you want to embellish your chalkboard frame, you can rub on transfer decals (or paint some decorations using white acrylic paint.)
 

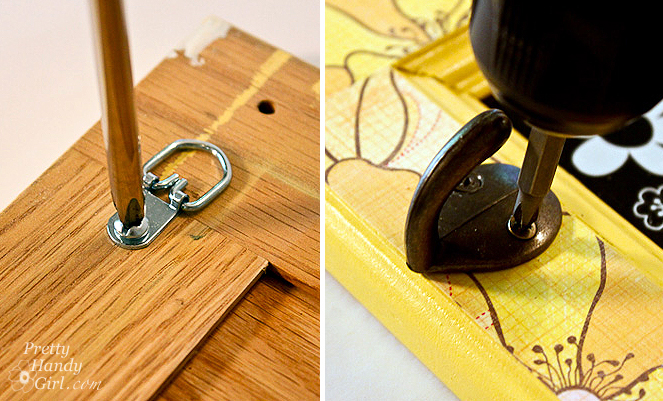
To make your chalkboard frame more functional, add 2 D-rings on either side of the back for hanging purposes. Then add some garment hooks to the front.
 

Don’t forget to season your chalkboard. (I prefer Old Bay seasoning…just kidding! I always wanted to say that.) Rub a piece of chalk on its side all over the surface and then wipe it off with a dry rag.
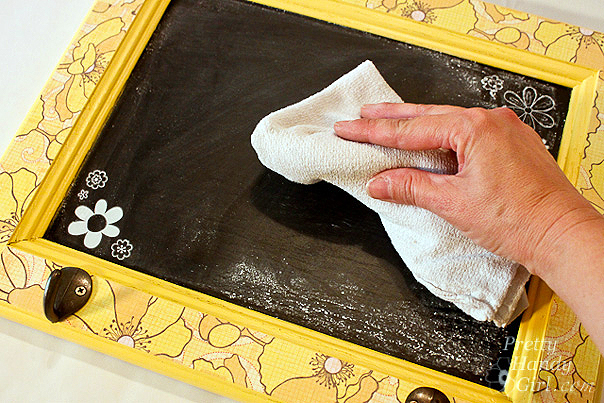
 

And that concludes the tutorial. Don’t you think the results are sweet! Especially because it is made from something that would have otherwise been discarded.
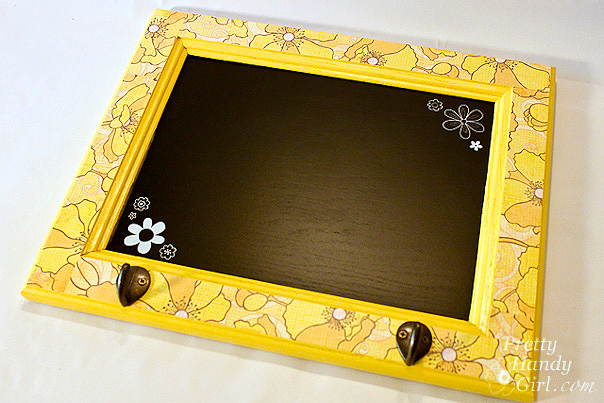
 

I envision a wall with several of these chalkboard frames lined up, one per family member. That way a message can be written to each person. I guess I better get busy and make 3 more.
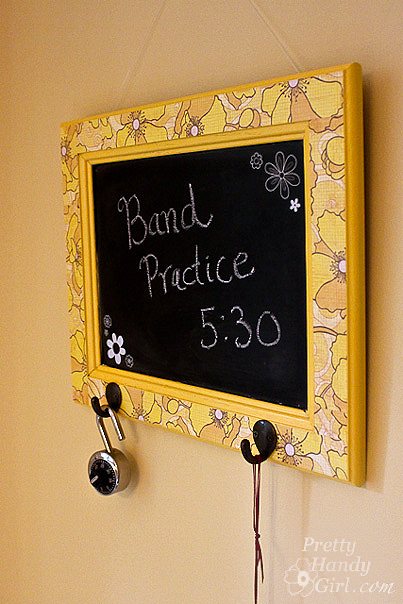
 

I love how the hooks add additional storage! Be sure to use two picture hangers (one for each D-ring hook.) If you have good eyesight you might have noticed my fishing line that is hanging the cabinet above. This was for photography purposes only. Unless you want your frame to rip the drywall and land on the floor the first time your child wants to hang something heavy on the hooks, do as I say, not as I do.
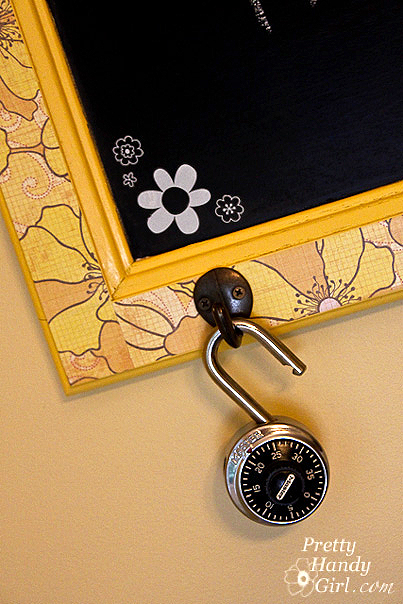
 

Awww, isn’t she just a perfect little slice of sunshine on a blank wall? She makes me happy.


You made it through another one of my insanely long tutorials! Congrats!


Disclaimer: I was one of the bloggers chosen to host a ScotchBlue Painting Party. I was not paid or compensated for this post. I was sent a few rolls of ScotchBlue painter’s tape, but I honestly can’t remember if it was 2 or 3 or 5 because they promptly got added to the collection of ScotchBlue tapes I already own.
Tealight Centerpiece

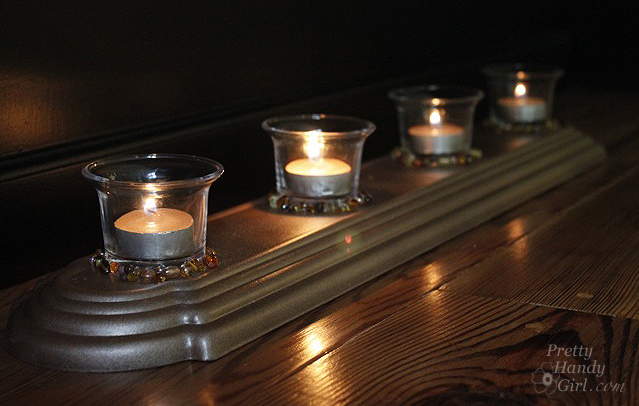
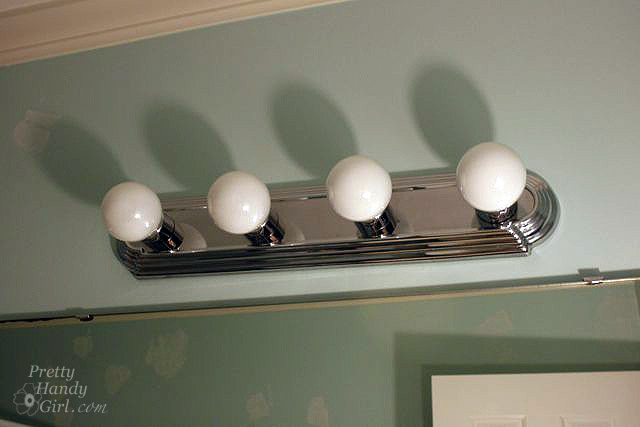
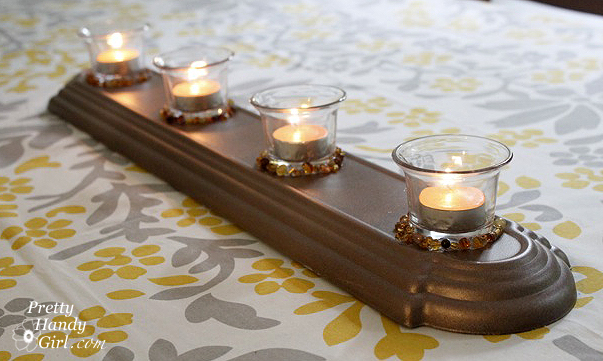
In my constant attempt to save things from the landfill, I came up with this nifty transformation of an old Hollywood light fixture.

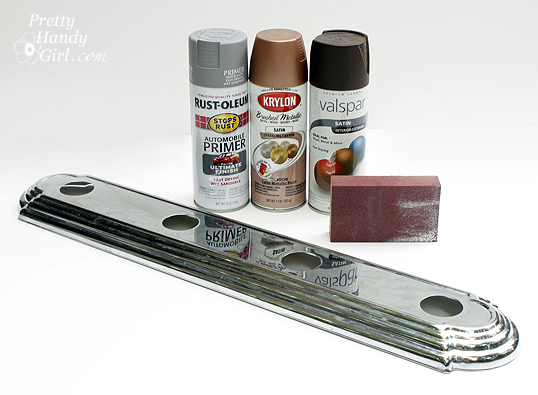
Can you believe that I took this…

And turned it into this?

Materials:

  • Trim (canopy) piece of an old light fixture
  • Sandpaper or sanding block
  • Spray primer (automobile primer works best on metal)
  • Valspar java brown spray paint
  • Krylon sparkling canyon spray paint
  • Drop cloth (or plastic sheet)
  • Votives
  • E-6000 glue
  • Brown and amber beads
  • Hot glue gun and glue sticks
  • Scoop or spoon to pour beads from
  • Popsicle stick
  • Tweezers

You are sick of staring at that old hollywood light fixture in your bathroom. Come on, you can admit it. It’s okay, you are among friends. If you need help, I’ll even show you how to remove that dated style offender. And hey, if you are lucky enough to live in a house without one — but you still want to replicate this project — head on over to your local Habitat for Humanity ReStore. I guarantee they will have plenty to choose from.

1. Start by wiping off the light fixture (unless you are a fabulous housekeeper and yours doesn’t have years of collected dust like mine did.)

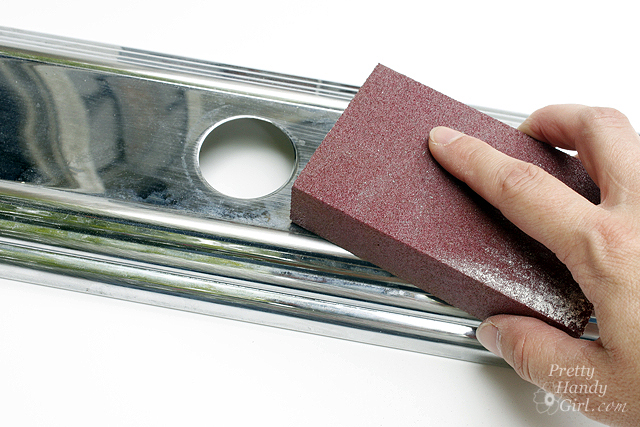
2. Scuff up the metal surface with sandpaper.


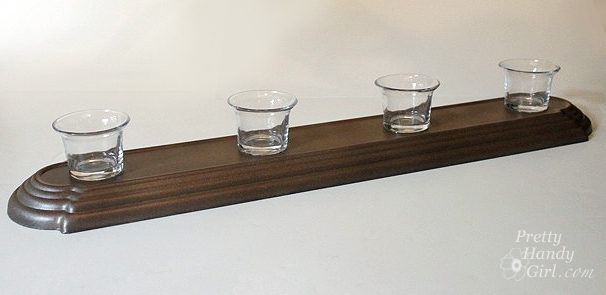
3. Spray the light fixture with the spray primer. Let it dry. Then spray a coat or two of the java brown spray paint. After the brown paint is dry, lightly dust the light fixture with the sparkling canyon spray paint until you are happy with the color.


4. Try to let the painted fixture dry overnight to allow the paint enough time to harden.


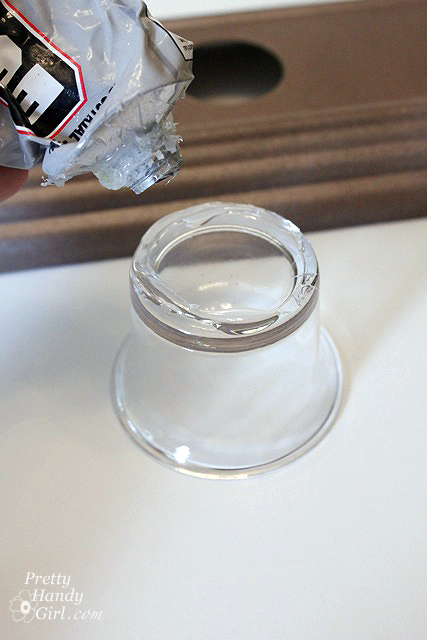
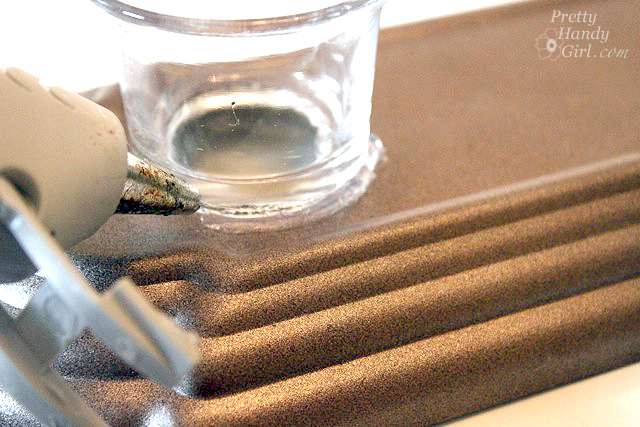
5. Clean your votives with some soap and water and let it dry thoroughly. Squeeze a line of glue around the bottom of the votive.


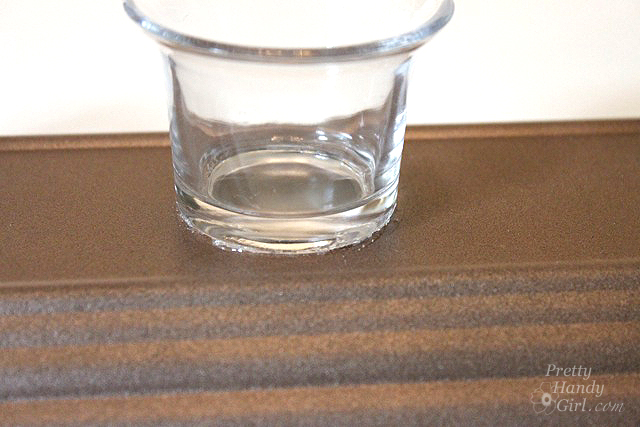
6. Center the votive over the hole on the light fixture.


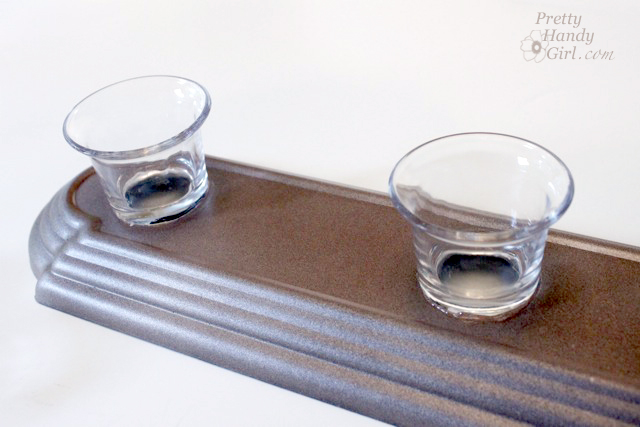
7. Repeat for the rest of the holes.

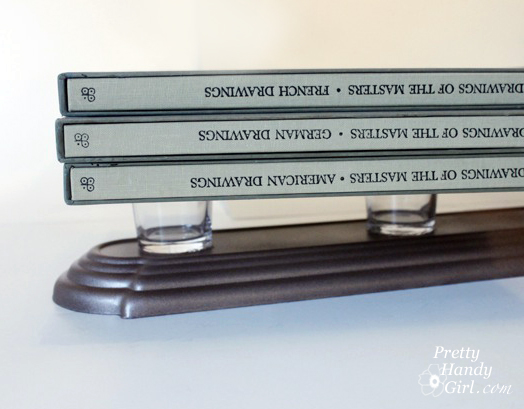
8. Weigh the votives down with some books while the glue sets (a few hours.)


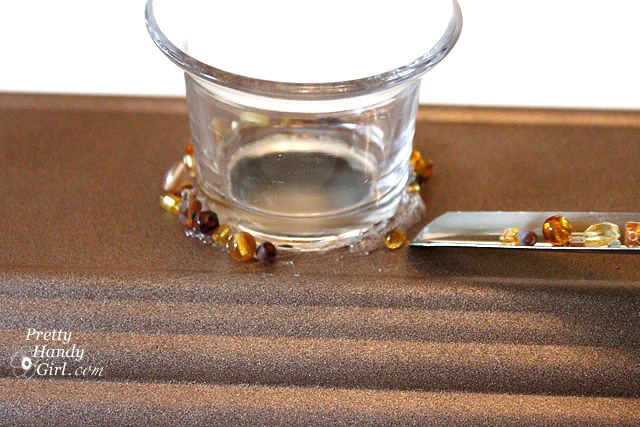
9. Plug in the hot glue gun. (Have you read my Hot Glue Gun Safety post? If not, you should because your fingers will thank me.) While it is heating up, take out the beads you want to use. Set them in a little scoop or spoon.

10. Run a bead of hot glue around the votive. Only work in a small 1-2″ section at a time. This will give you enough time to arrange the beads before the glue hardens.

11. Pour the beads into the hot glue.

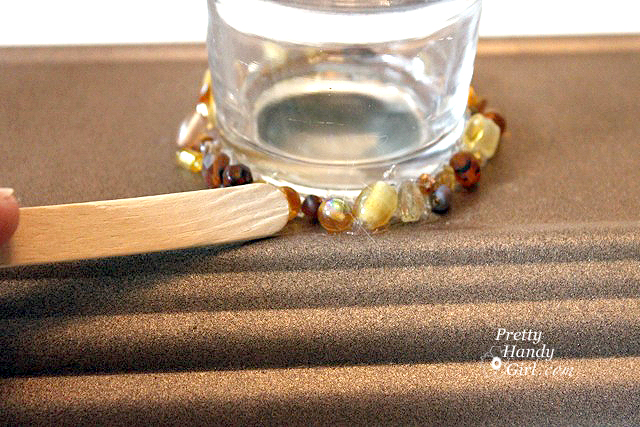
12. Use your popsicle stick to maneuver the beads into the glue.

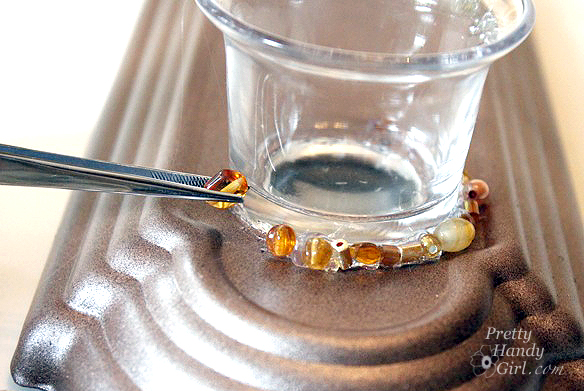
13. Use the tweezers to place any singular beads and perform any detail work.

14. Glue beads around the base of the other votives. Let the glue cool and then pull off any hot glue strings.

15. Put your tea lights into the votives and set it on your table…

…bathtub edge or sideboard.

What do you think? Do you like it or I am just trying to put lipstick on a pig?

Sharing this post with:

Hi, y’all! I’m enjoying an absolutely gorgeous weekend at the beach. We are staying on Topsail Island in NC. Not to gloat, but it is wonderful living only a few short hours from the beach. But, I wish you were here too. The weather is cool, but not too cold. We spent Saturday exploring the southern most tip of the island. There are no roads leading to it. However, if you own a 4WD vehicle you can get a permit to drive on the beach to park and fish. Honestly, because we were walking, seeing the beach used as a parking lot kind of ruined the view.

But, no worries, we went exploring around the point and found plenty of beautiful vistas!

Like this frame worthy gem!

What do you think? I love having vacation photos to display and remind me of the wonderful time we had.

I have been thinking about getting several of my photos enlarged and reproduced via UPrinting.com.

UPrinting is an online printing company. Visit their website and find various printing services like canvas printing and more.

I have a little tip for you: Having your pictures printed on a rolled canvas is a more cost effective way of dealing with photo enlargements. For one, you don’t have to buy a frame! And two, you don’t pay the excess charge for stretching or the higher shipping charges.

When your rolled canvas arrives you can stretch it yourself! It really isn’t difficult. You can buy canvas stretcher bars at any art supply store. They come in almost any whole inch length. And as you can see, the prices are inexpensive.

I found this YouTube video that shows how easy the canvas stretching process is.

After you’ve stretched it, why not try one of these creative ways to display your canvas(es)?

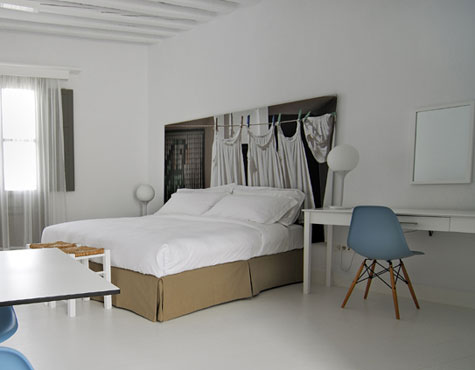
Get an extra large printed canvas and use it as your headboard.

Photo source: Anemi Hotels

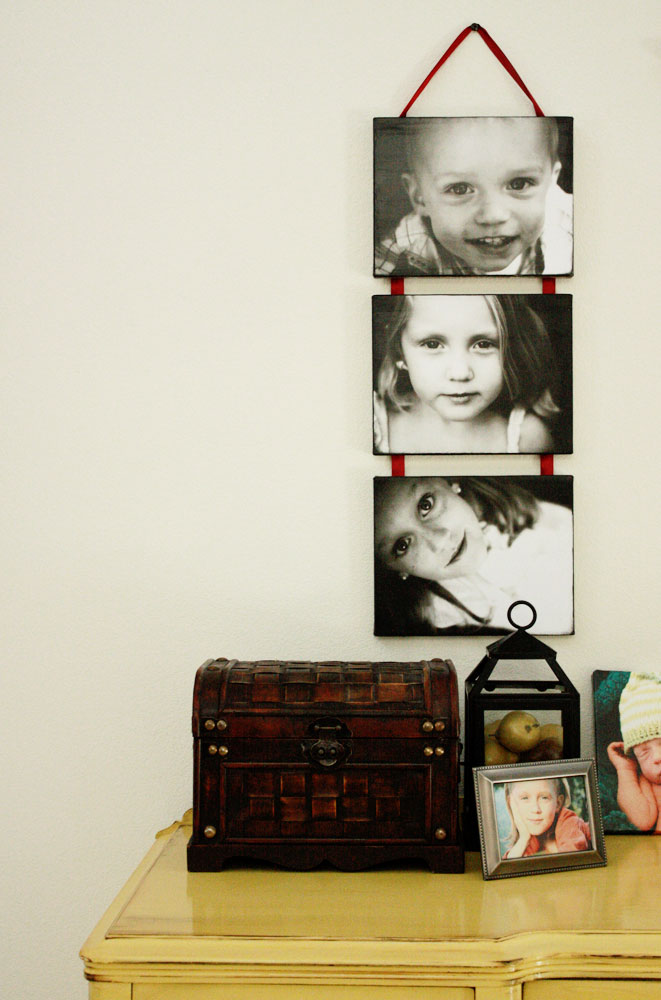
View this tutorial by The Sassy Pepper to create a hanging triptych of canvases.

Photo source: The Sassy Pepper

The Sassy Pepper also shows how to dress up the edges of the canvases. Cute, huh?!

Photo source: The Sassy Pepper


Disclaimer: This post is sponsored by UPrinting. Thanks to companies like UPrinting, I am able to continue blogging and bring you great tutorials. I hope you take a moment to view the products that Uprinting has to offer. Photo canvases are only one of the products you can have printed through their website. Business cards, letterhead, calendars and greeting cards are just a few more.