DIY Firepit and Seating | Pretty Handy Girl

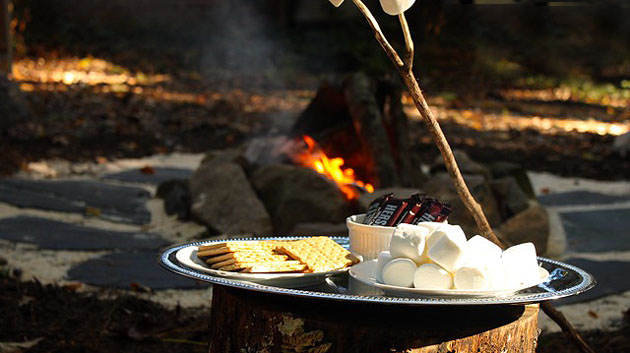
With the arrival of Autumn, I am looking forward to some fires in our fire pit and — of course — some S’mores! I made a fire pit in an afternoon last year after we had 14 trees taken down (boo hoo!) Sadly, they were dying or diseased. But, I was able to turn a negative into a positive by using some of the stumps for seating and the spot where two trees used to be as my fire circle.

Here are the detailed instructions about how I built (or rather dug) the fire pit. I guarantee you don’t need any special skills to create your own!


Halloween is just around the corner. And in honor of that spook-tacular holiday, some blogging friends and I are hosting “Trick or Tip Week” from Monday, October 24th – Friday, October 28th. We’ll end the week with a Link Party for all your tricks or tips! So be ready to link up Friday, October 28th. Your trick or tip will show up on ALL of the blogs simultaneously (thanks to some super secret Wizard magic we obtained.)

Your tips can be about anything! Heck, if you are a witch and know how to put a hex on a troll, we want to hear about it! And if you have a tip but no blog, PLEASE by all means leave a comment letting us know what you tip is! Anything goes (obviously nothing vulgar or profane, etc.)

These fabulous bloggers will each have a tip to share next week. So be sure to stop by their blogs and yell “Trick or Tip!”

Monday: SAS Interiors – Paint

Tuesday: Sawdust and Paperscraps – DIY

Wednesday: In My Own Style – Decor

Thursday: Madigan Made – Blogging

Friday: Pretty Handy Girl – Tools


Be sure to end up back here on Friday, the 28th for another Tool Tutorial Friday

AND a Tip on using Jigsaws

AND the Link Party! WOW, you won’t want to miss it! Oh, and don’t forget to spread the word. The more the spookier merrier!


Today you have been invited to take a house tour at my friend Holly’s home. Holly is a good friend of mine, so luckily I didn’t have to beg too much for her to let us into her home. But, before we go in I want to tell you a little more about her. She wears many hats. She is a wife and mother of two boys first and foremost. But, she also runs Storywood Designs, a furniture refinishing business and Framed by Storywood, her Etsy Shop. She has a wonderful eye for color and design (which is evident in her furniture pieces and home décor.) When I first walked into her home, I knew I could live there and not have to change a thing.

Holly and her husband bought their 1980 home a few years ago. There were plenty of touches from previous owners that she worked with or covered in a creative way. I scanned the real estate flyer (sorry about the quality) to give you an idea what their house looked like when they bought it. The changes they made are phenomenal and yet they didn’t break the bank to do it.

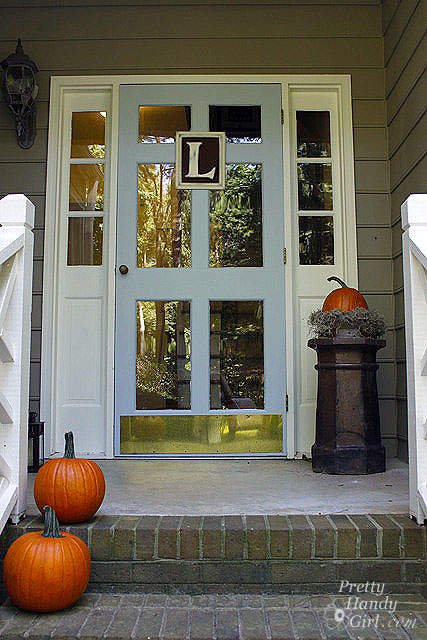
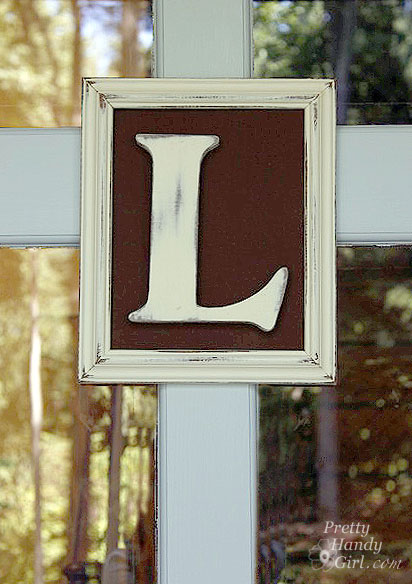
Are you ready for the tour? Wipe your feet and come on it. Do you like the initial on her door?

She sells them in her Etsy shop!

Here we are in the living room, but this is what the room looked like a mere 3 yrs. ago:

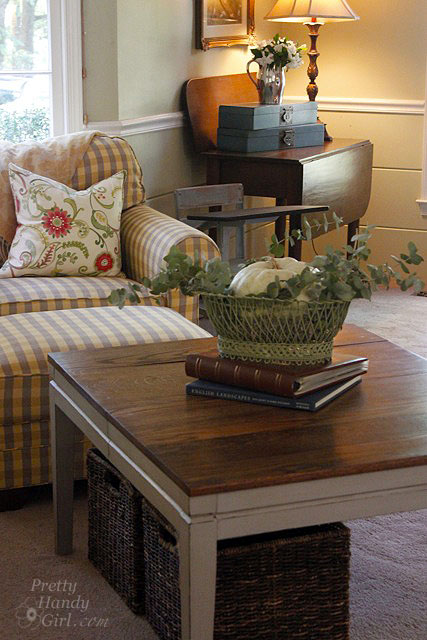
And here is the living room today!

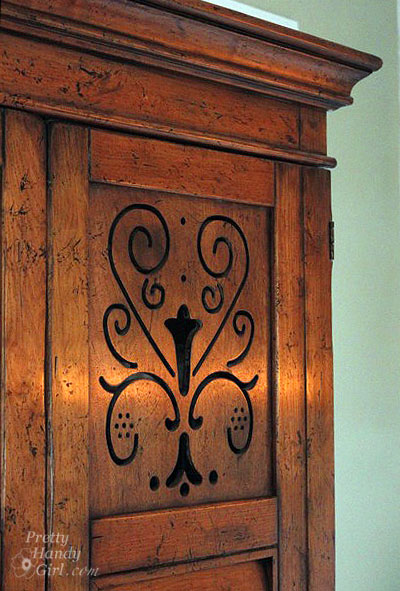
I know armoires are starting to go out of style, but this one is gorgeous with the cut out panels! If she ever tries to get rid of it, I’m grabbing it!

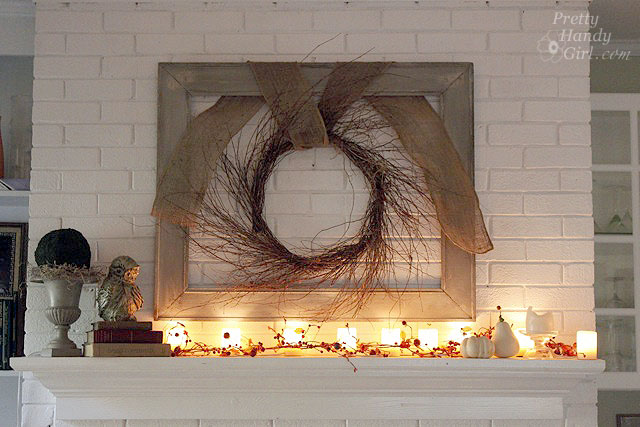
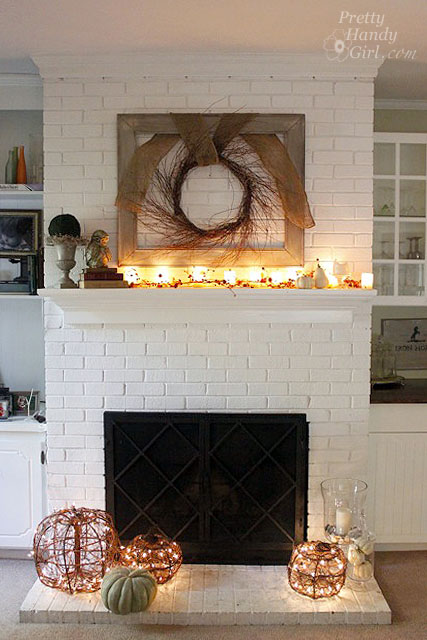
They painted the fireplace white and it really brightens up the room. See, I can appreciate a painted white fireplace, even though I repainted ours to look like brick.


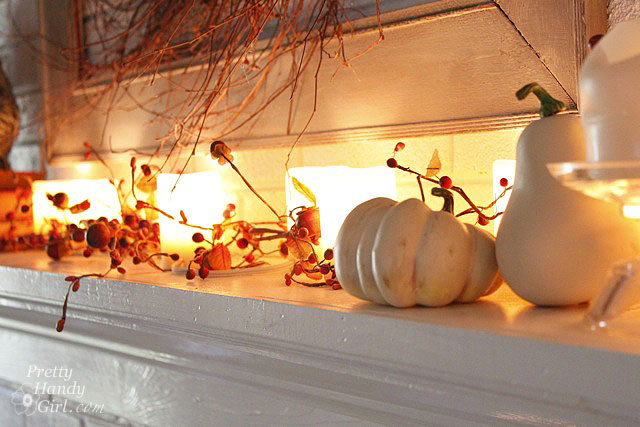
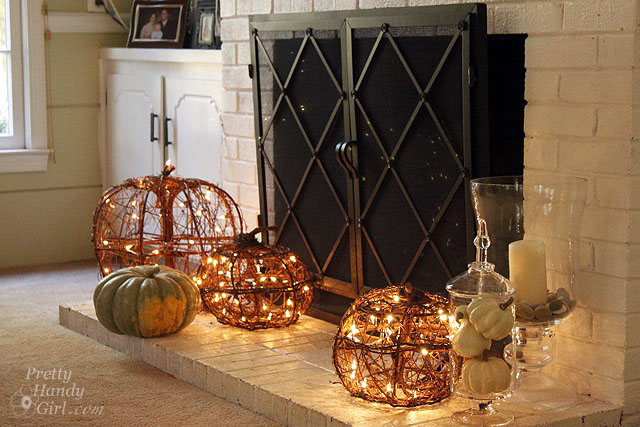
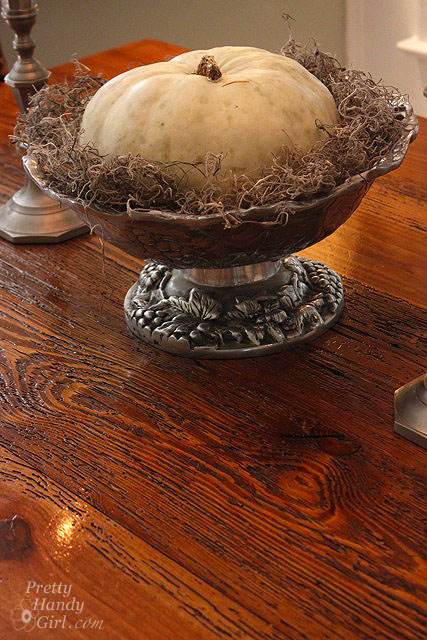
I love all her fall décor. Especially the lit pumpkins on the hearth.


Beside the fireplace are sweet built-in cupboards and cabinets with wood countertops. It adds charm to the small niche.


Now we make our way into her kitchen  — my favorite room and the most stunning transformation. This was the kitchen before:


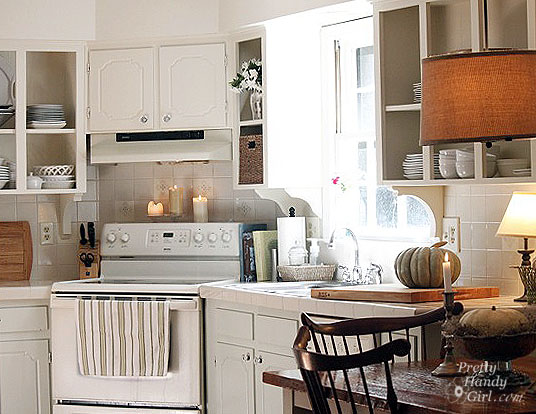
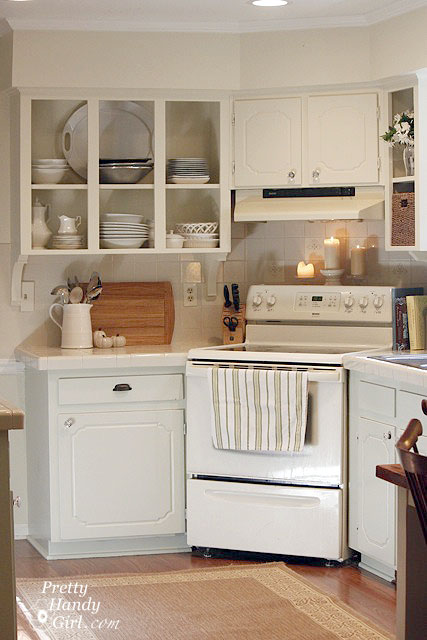
Get ready to catch your jaw before it hits the floor.


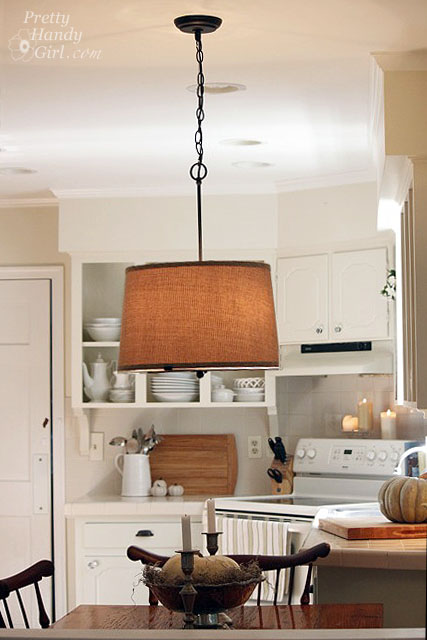
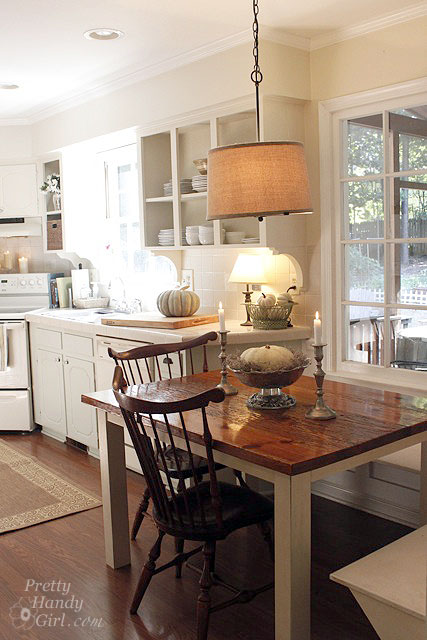
The pendant light adds lots of warmth and texture to the space.


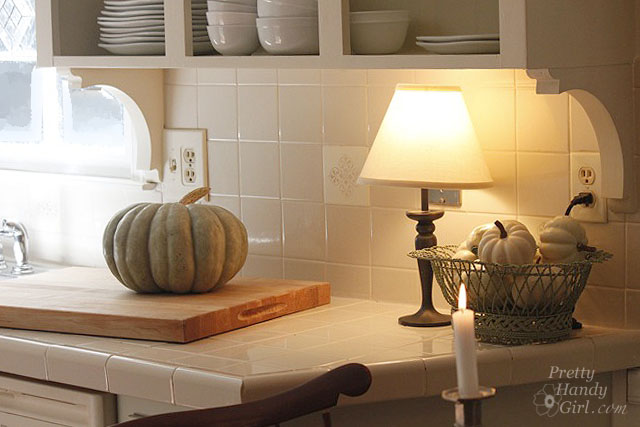
Adding corbels under the upper cabinets was a genius idea for adding instant charm. I am itching to do the same thing to our kitchen cabinets. When I do, you can be sure I’ll share a tutorial.


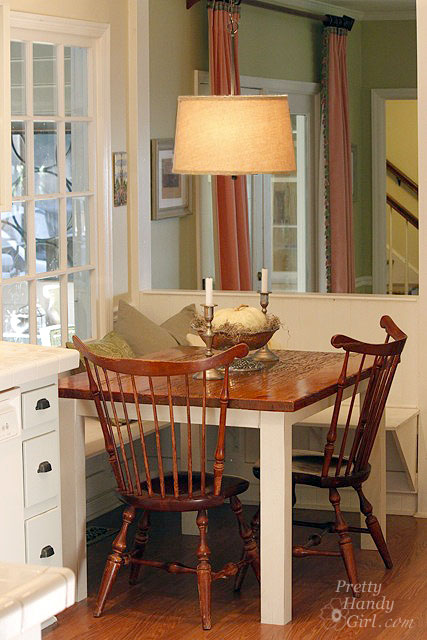
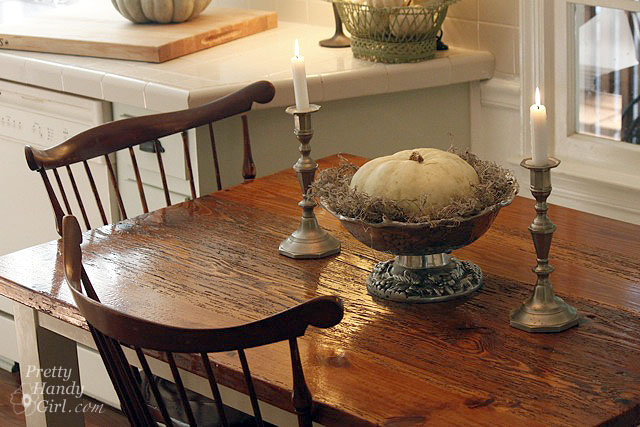
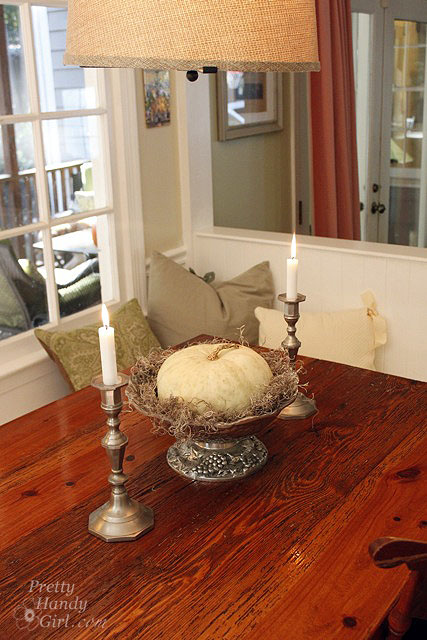
Holly and her husband made the kitchen table. The wood was whistling for my attention the entire time I was photographing the kitchen. And with lines like this, how could I help but stare?


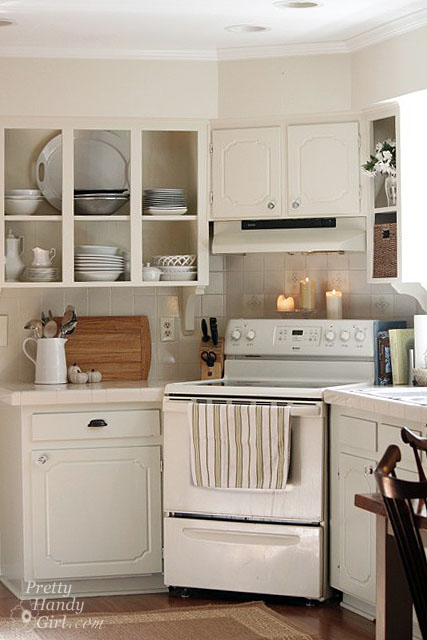
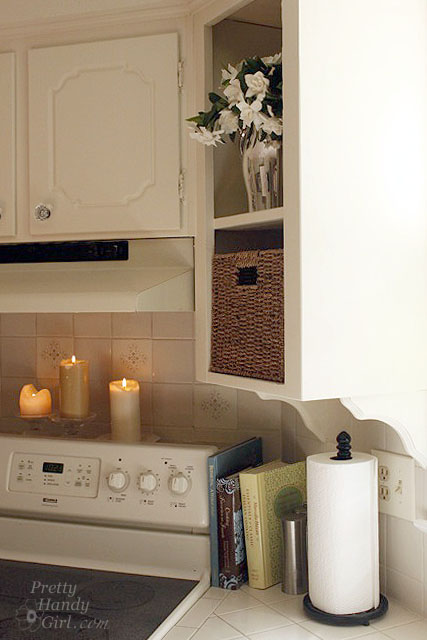
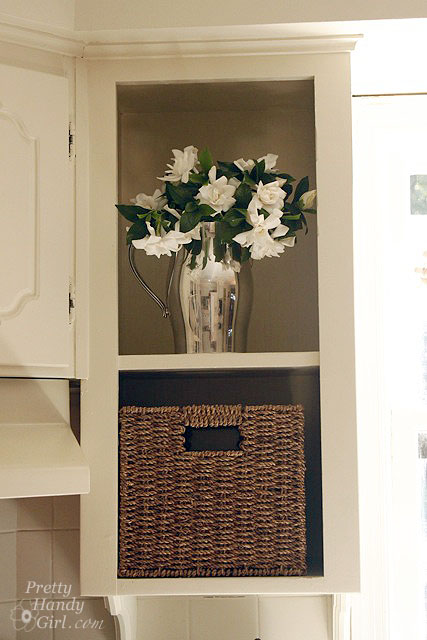
By removing many of the upper cabinet doors they made the kitchen feel larger and more airy.


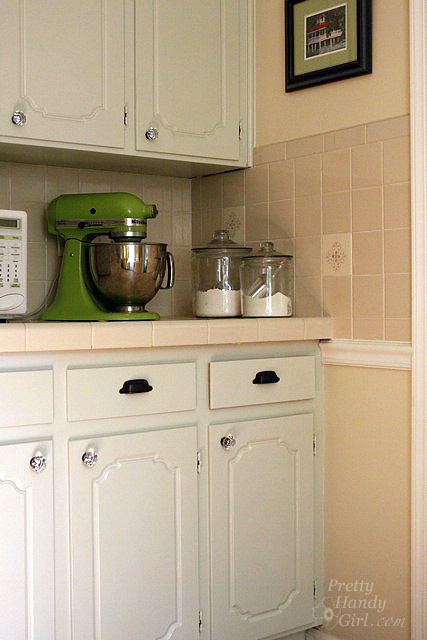
Did you see those little decorative tiles? Would you believe that they had hideous country scenes before. Holly simply painted over the scenes and added a stencil! What a smart idea!


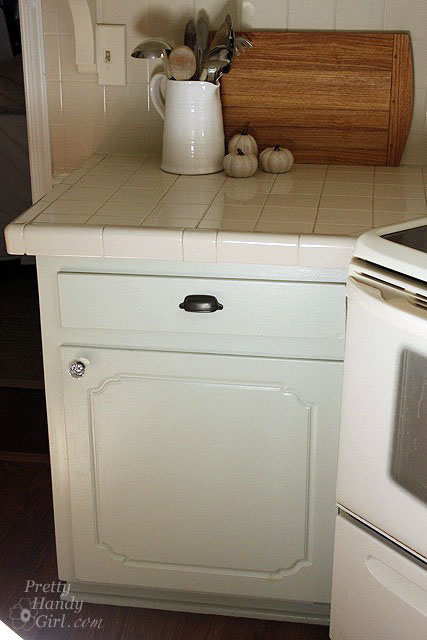
Just in case you wondered (because I definitely wanted to know), the base cabinets got a coat of white sage paint by Olympic. (Holly says that Olympic discontinued the color so Lowe’s had to custom mix it in their kitchen and bath enamel paint.) The top cabinets and walls are painted Benjamin Moore Lancaster White.


Setting out a little lamp adds some warmth to this corner of the kitchen.


The breakfast area has built-in benchs on two sides. The pillows make the space feel cozy.


One of Holly’s frames turned into a chalkboard:


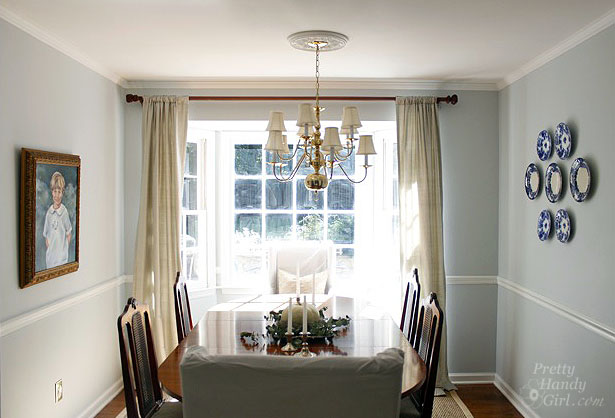
Okay, right this way to the dining room.


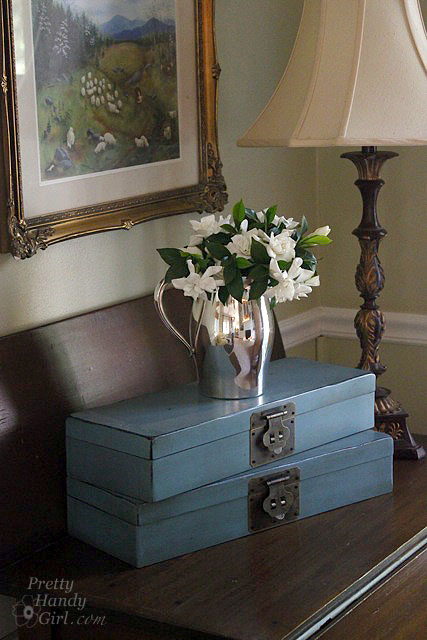
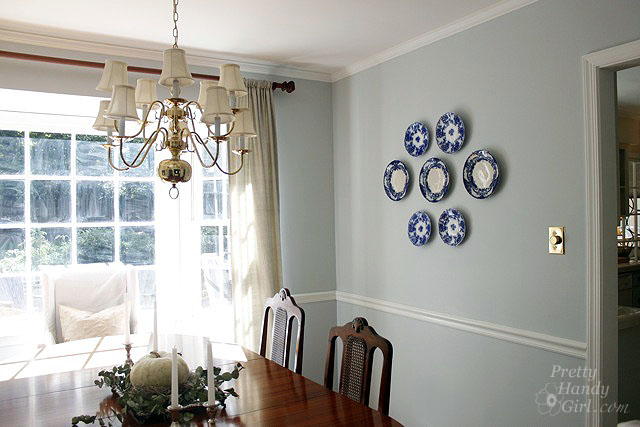
I really want to display my blue and white china like she has done on this wall.


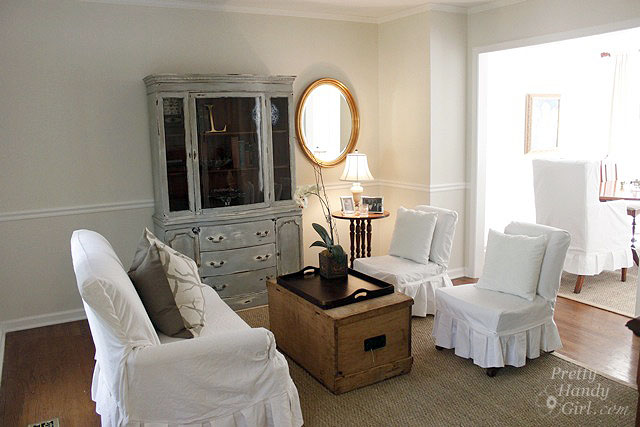
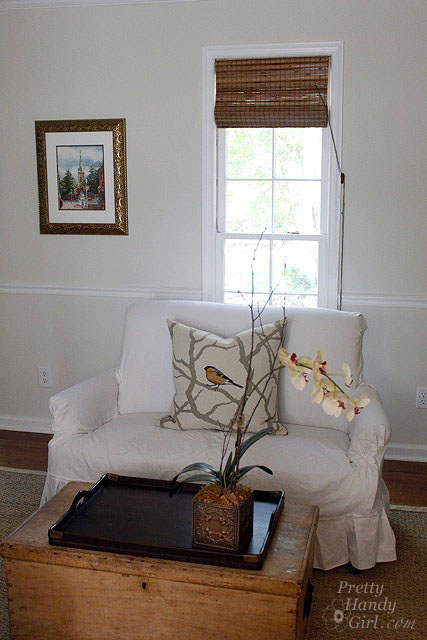
Adjacent to the dining room is her sitting room. Here is the before picture of that room:


She and I (well mostly Holly) just repainted the room a very neutral gray. I can’t believe what a big difference it made.


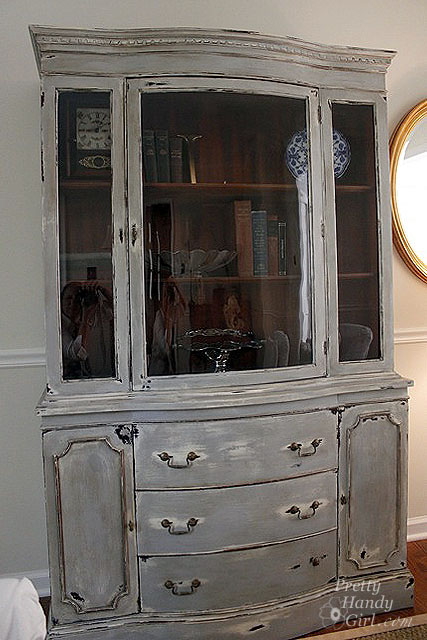
The china cabinet is a recent refinishing project that Holly just completed. The distressing on this piece is perfect!


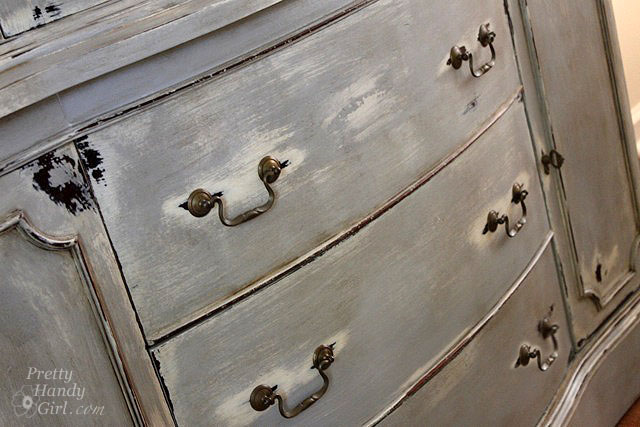
Check out those layers of paint and glaze. Scrumptious!


And the bowed front and curved glass make this cabinet unique.


Speaking of distressing, here is another one of Holly’s tables that she refinished. This little table would make a perfect breakfast table or just a side table. It is for sale right now!

I’m jealous of her talent. Maybe I can convince her to take me as her understudy.


Thank you Holly and family for letting us tour your home. Your hard work really shows in your beautiful home.

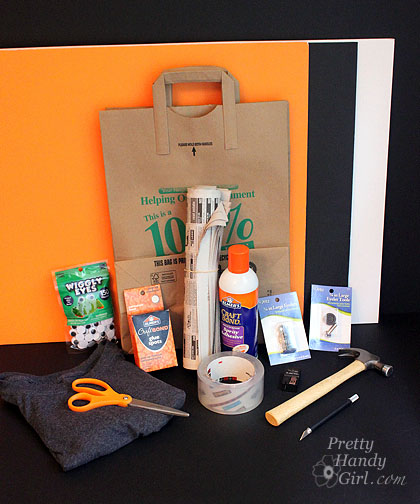
My kids like to raid our recycling bin. They make the most imaginative things out of milk jugs, strawberry pints and toilet paper rolls. In fact, my five year old has been making his own Halloween costume from paper bags and tape. So, when #CollectiveBias sent out a challenge to make trick or treat bags with Elmer’s Craft Bond Glue Spots and Elmer’s Foam Board, I knew right where to head for supplies: Walmart AND the recycling bin! I hereby invite you to join me (and my escort) as we gather the supplies for this project.

Materials:


Instructions:

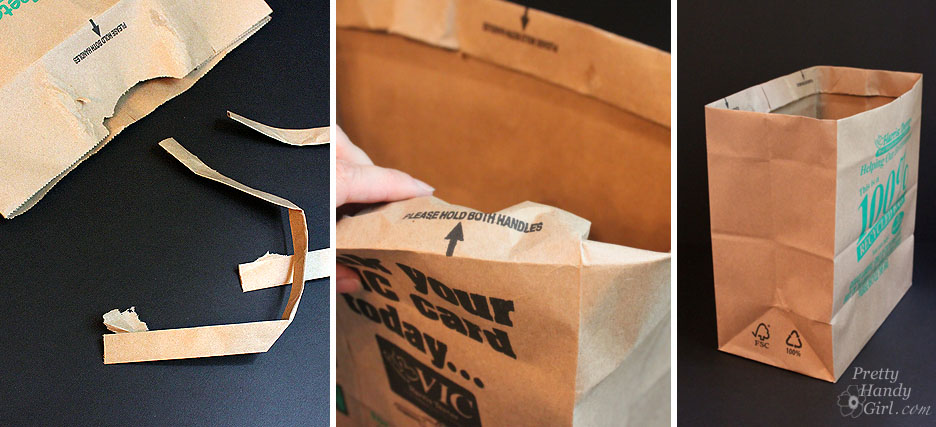
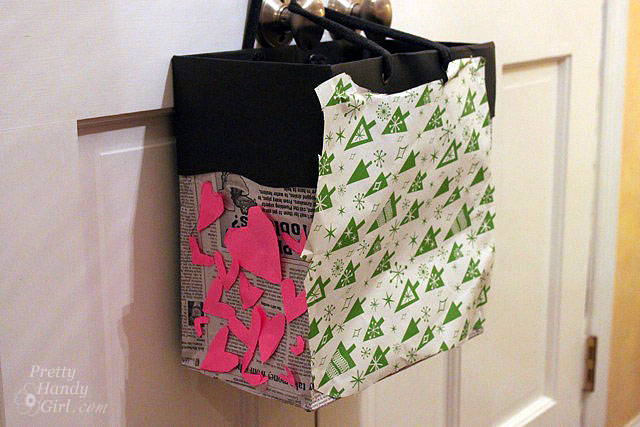
Start by removing the handles from the paper grocery bag and then cuff the top of the bag by rolling it under two times.

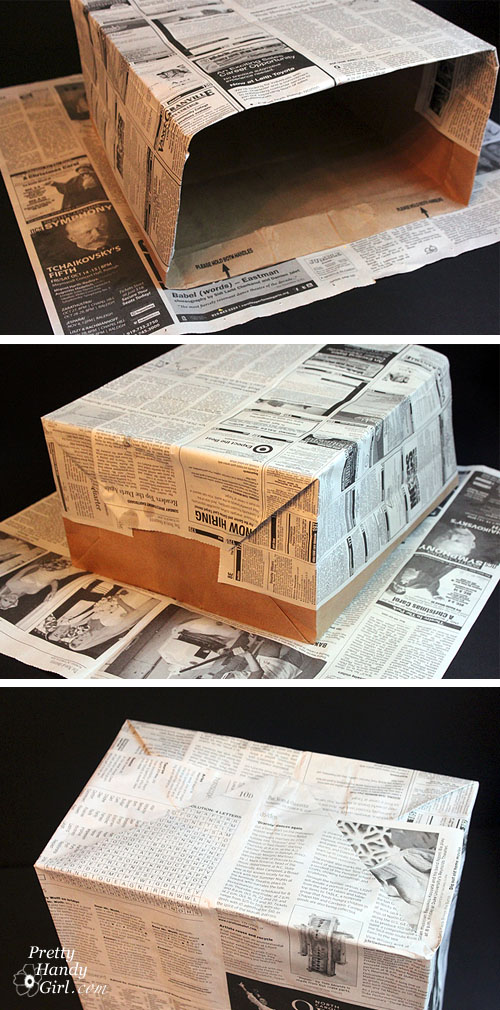
Pick out two sheets of newspaper (I used the obituaries. Truly Halloweeny don’t you think?!) and bring the paper bag and newspapers outside and spray them with spray adhesive.

It is important to wrap the paper bag with the newspapers as soon as possible for a maximum bond.

Wrap the bag neatly like a present with the newspaper. Use clear packing tape to tack any loose edges down. Also add a strip of packing tape to the inside of the bag cuff for extra support for the handle (should your child bring home pounds of candy!)

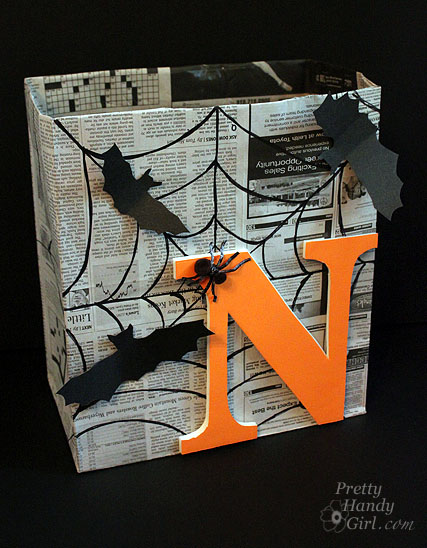
Take out your sharpie pen and draw lines in a spiderweb pattern on the bag.

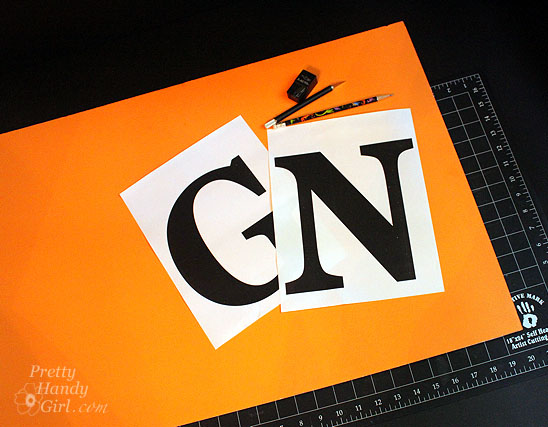
Set the bag aside and collect the orange foam board, x-acto knife (with a fresh blade), pencil and the letter print out.

Set the letter on top of the foam board. I usually line the edge of the letter up with the edge of the foam board for less material waste.

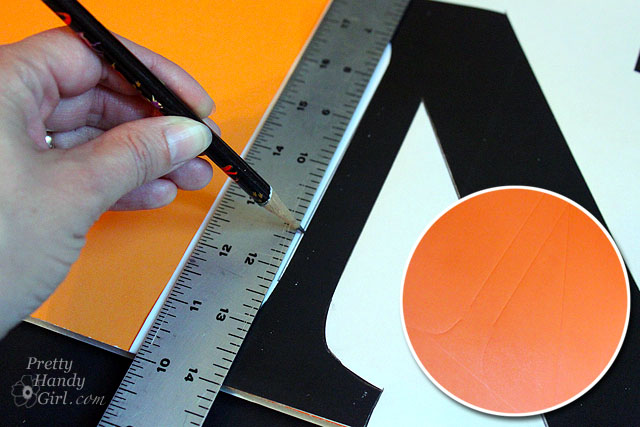
Press firmly with the pencil as you trace around the letter. When you remove the print out you should see an indented outline.

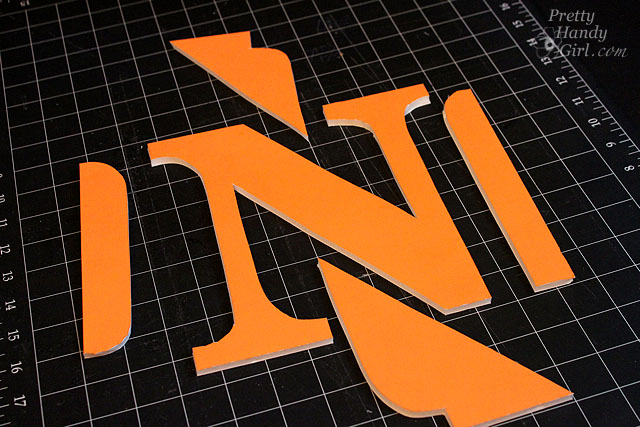
Using the x-acto knife, cut out your letter shape. Use a metal ruler to cut straight lines. If your knife starts to tug and pull at the foam board, put a new blade in.

Clean up any ragged edges with the x-acto knife.

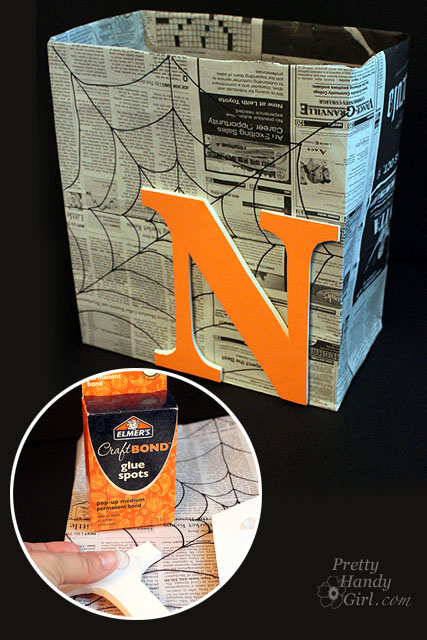
Use a few Elmer’s Craft Bond glue spots to affix the Elmer’s foam board letter to the bag.

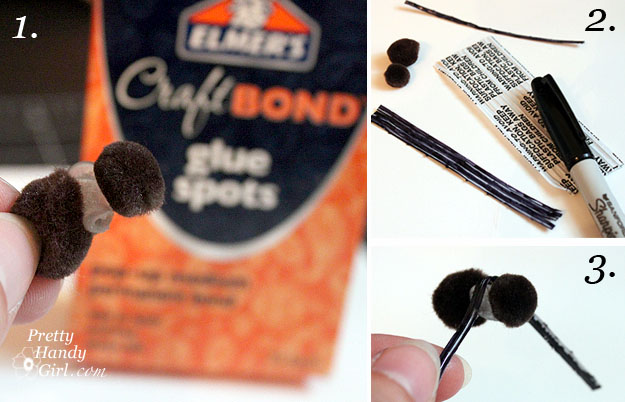
To create a little spider, glue two pom-poms together with another glue spot. If you have black twisty-ties you are good to go aren’t you special, you don’t have to color them. (I only had white ties so I colored them with the black sharpie.) Wrap four twisty-ties around the middle to create the spider’s eight legs.

Use another glue spot to glue the spider to the bag.

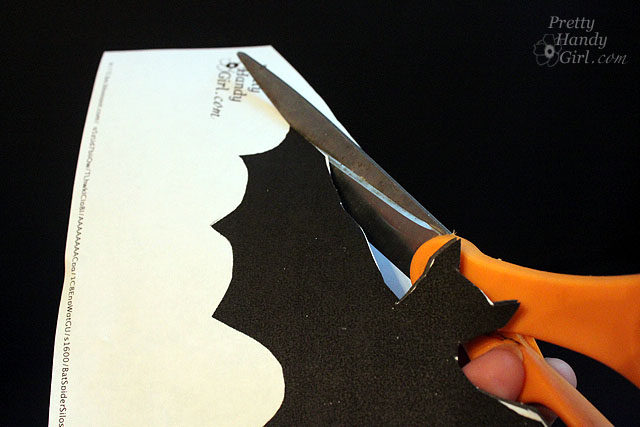
Print out a bat silhouette downloadable template and layer it on top of black poster board. Cut out a few bat silhouettes.

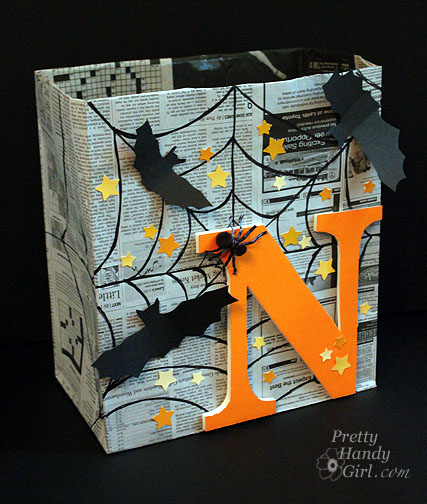
Use a glue spot on the center of each bat to glue them to the bag. Fold the bats wings up for more dimensional interest.

Add stickers (or pre-punched paint chip stars using Elmer’s Glue-All multi-purpose glue) to the bag.

I incourage you to decorate your bag anyway you like. Bust out your craft supplies for inspiration.

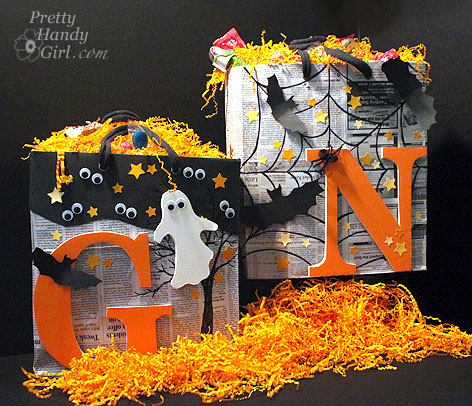
If spiders and bats aren’t your thing. How about spooks and spirits?

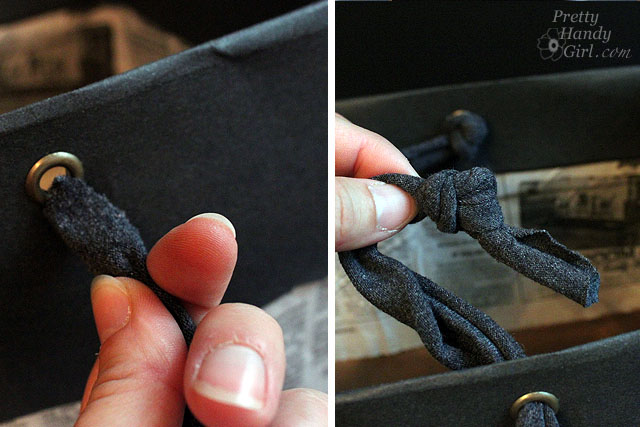
To add the handles, follow the directions on your grommet kit. 1. Punch a hole in the bag at the top of the bag using a hole punch. 2. Insert a long grommet through the hole. Lay a short grommet on top. 3. Hammer the grommets together using the metal rod tool that came with the grommet kit.

Cut off the sleeves from a t-shirt. Cut two 2.5 – 3″ wide strips. Then stretch the sleeve loop in opposite directions. This will make the shirt material roll.

After you have stretched and rolled the sleeve loops, cut them at the seam. Then thread each end through the grommets on the bag and tie a double knot on the inside of the bag.

Now gather up your little trick-or-treater and give him this unique candy collection bag! My sons’ had the biggest smiles on their faces. Definitely worth the effort to make these bags.

This eency weency spider is my favorite!

Way more personalized than these generic plastic pumpkins, don’t you think?!

Which one is your favorite? I can’t decide, because I love them equally as much. Spook or Spider?

Eeeeeekkk, we can hardly wait for October 31st!

Disclosure: This project has been compensated as part of a social shopper insights study for Elmer’s #gluenglitter #CollectiveBias #CBias. The ideas and opinions shared in this post are purely my own from my own crazy creative head.

Follow up: Well, my youngest loves his bag so much that he told me, “Mom, we should decorate every side with a different holiday.” And that is exactly what he did today during quiet time. I just want to stop time and keep him five forever!

Do you want to give your landscaping a face lift? Are you tired of the builder’s grade boxwoods in your front yard, but you don’t really have the money to buy new plants. You shouldn’t have to! Get new plants, bushes, flowers, seeds, bulbs and more for FREE! Plus, I guarantee you will also get loads of horticultural advice from experts who are familiar with your soil and light conditions. Those experts and generous donors happen to live right around the corner from you!

Sound too good to be true? It’s not — and honestly — I’m not writing an infomercial here. You just need to organize a neighborhood plant swap!

I have been doing just that for the past four years. The time commitment is very small and yet the rewards are big. Since doing the plant swaps, I have filled our landscaping with lots of plants that are low maintenance because they grow in abundance in our neighborhood (most of us share the same soil and light conditions.) Plus, I’ve learned enough to avoid killing most of my plants now.

It all started about five years ago when I read an article about organizing a community plant swap. I thought the idea was genius! But, I was a little hesitant because I didn’t know much about plants, rooting, dividing and all that fancy gardening stuff. But, it turns out I didn’t need to know much. My neighbors have been more than gracious in sharing their gardening tips and knowledge with me. Every year I walk away with a slightly greener thumb.

Here are the details of how I organize our neighborhood swap every year. I host ours in October because fall is the perfect time to plant. Plants go dormant as the weather cools, so they need less water and are less likely to go into shock when transplanted. Some plant swaps are held in Spring when new shoots are easy to cut and root. And — because frankly — Spring is the time of year when everyone is coming out of hibernation they want to see flowers and plants (not snow.)

1. Set a date – mornings on a Saturday is best for most folks.

2. Scream it from the rooftops – advertise the swap in your neighborhood newsletter, online bulletin, flyers or individual invitations. Here is the message I send out in the newsletter and to our neighborhood online bulletin:

Neighborhood Plant Swap

Saturday, October 8th 10am (Rain Date TBA if needed)

Locations: your street or other communal location

Do you envy your neighbor’s landscaping? Want to bring more diversity into your yard? Looking to meet some of your neighbors?

Come join us for the Annual Neighborhood Plant Swap!

Divide those bulbs! Dig up seedlings! Root some clippings! Bring some seeds! Or just come empty-handed.

We hope to see you there!

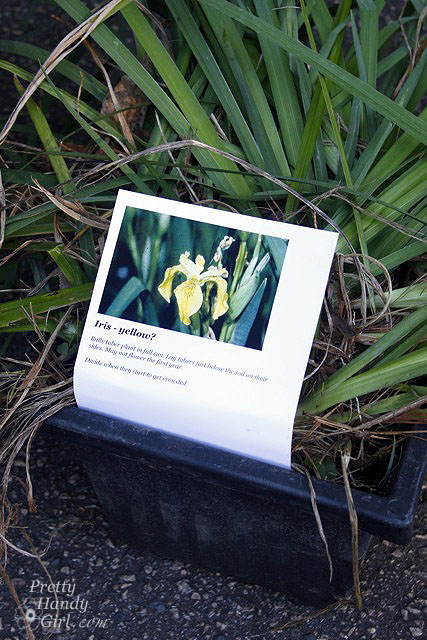
Help some of us new gardeners by labeling plants with as much information as you can:

Name, light requirements (sun, shade, part sun, etc.), soil and water requirements and a short description (height, color, flowering, etc.)

3. Yell a little louder – continue to publicize as the date nears – send out an emails, recruit friends to come, and set out signs a few days before the swap to drum up interest.

4. Contain it – Start collecting used pots, recycled yogurt containers, plastic bags, and anything that can hold a plant that you dig up.
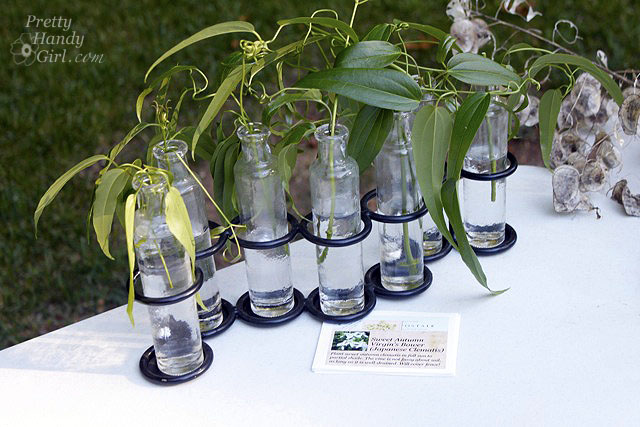
5. Cut it out – 2-3 weeks before the swap, take your clipping and do research online about getting them to root (Sand & Sisal has a great post about getting your clippings to root.) Some clippings only need to be set in a vase of water and put in a sunny window. Others may need you to nick the stem and dip it in rooting hormone.
6. Dig in – 1 week before the swap (or the morning of! Yup, I’m the queen of procrastination.) Dig up your plants, collect seeds, divide bulbs. Set them  in containers. Don’t forget to keep the plants watered or they may die before the swap. (Seeds and bulbs or tubers don’t need watering.)
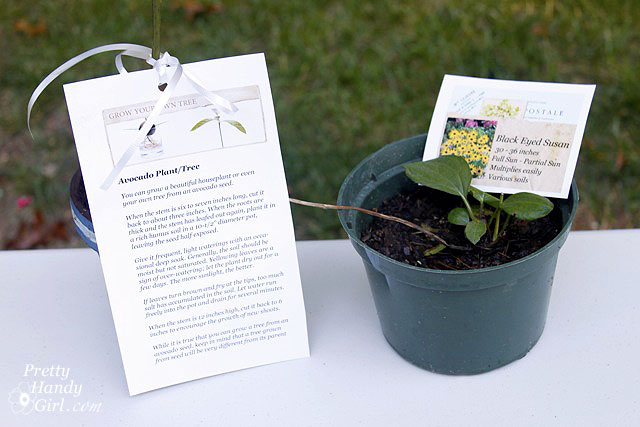
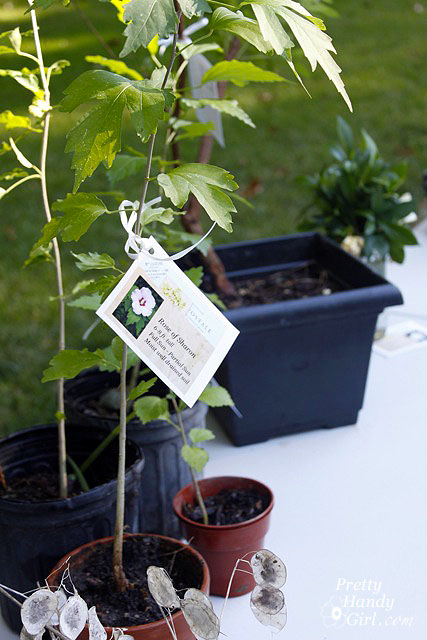
7. Tell me more – Label your plants with as much detail as you can. At the very least, the tag should have the plant name, preferred light conditions, height.
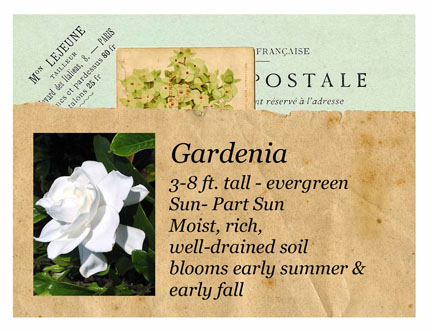
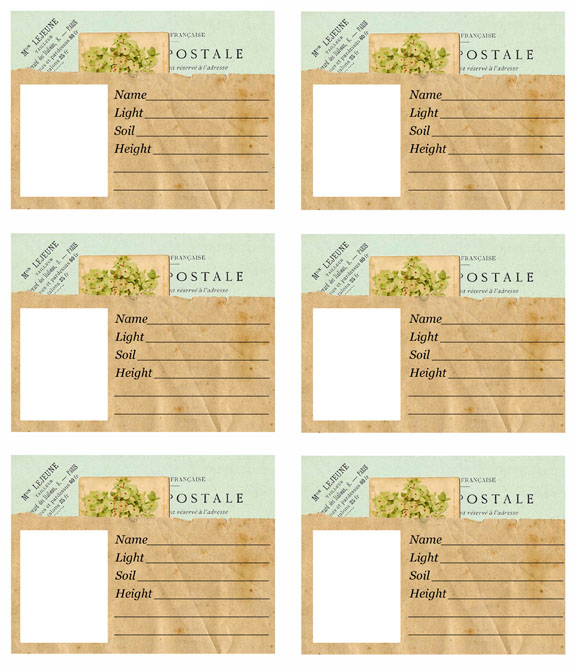
Here is a plant tag template for your convenience. Special thanks to Karen, The Graphics Fairy for sharing this design. It is actually a blog background design, but I turned it on it’s side and cropped it.

You can make your own tags (several people just handwrite the info on a 3×5 index card.) But, the graphic designer in me had fun making these vintage french tags. (PDF download for your own personal use by clicking on the picture below.)
8. Day of the Swap – Put a big sign and some balloons at the end of your street. Set up a few folding on the street or in a driveway. I use two 8′ tables (plastic tables are best since they wipe easily and aren’t damaged by water) and one card table for coffee and donuts. Refreshments are optional (a little coffee and sugar makes any occasion a bit more fun.)

Have a few supplies on hand:

  • Rag and spray cleaner for clean up afterwards
  • Tape
  • Paper for signs
  • 3×5 cards for last minute labels
  • Sharpie marker
  • Twist ties or string
  • Baggies
  • Wagon or wheel barrel to bring home your new precious plants (assuming you walked to the swap.)

Label three areas on the table: sun, partial, shade.

When people arrive direct them to set their plants on the table according to the amount of sun they need.
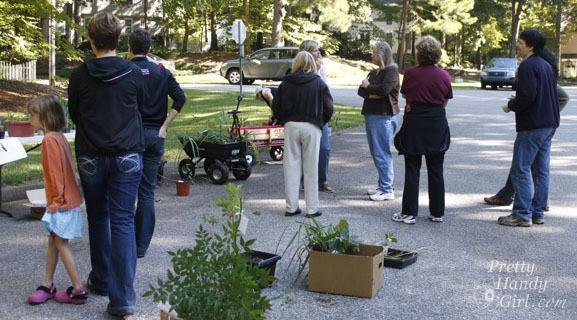
Time for some browsing and mingling. Allow your neighbors plenty of time to talk, look at the plants, and ask questions. We normally wait about 20 minutes before actually swapping plants. This gives plenty of time for late stragglers to show up. AND, this is the time to gather all those expert tips and information. All you have to do is stand over a plant, point at it and ask, “Anyone know anything about this?” Naturally those expert gardeners’ ears will perk up and they will be happy to show off their knowledge. Be sure to put on your listening ears because you will get a wealth of information.

After people have had time to mingle, you can start the swap. I’ve heard several ways of doing this. Some swaps allow people to take as many things as they brought to swap. Our group is a lot more laid back, and yet we ALWAYS have plenty of leftovers. We all start by taking one plant. When everyone has one, then we go back for seconds, etc. etc. At the end we try to “sell” the leftover plants and convince each other to take them home.

Ultimately we are usually left with a dozen or more orphan plants. Therefore, after the swap, I leave the tables up for the rest of the day and send an email letting people in the neighborhood know that there are FREE plants for the taking. At the end of the day I clean up and take home any orphaned plants and try to find a spot for them.
Have you ever been to a plant swap? Do you have the desire to create your own plant swap? I’d love to hear about it.