2011 Fall Home Tour

Fall is here, fall is here! Finally the cooler temps are near!

I’m not sure about your area of the world, but this summer seemed a little too hot for my liking. My husband told me about the term “Global Weirding“. It seems fitting for all this nonsense Mother Nature is throwing at us lately.

Luckily fall seems to have come just on time. Fall is my favorite time of year. Maybe it is the painter in me that loves all the colors. Or maybe it is the nature lover in me that longs to be outdoors in the fresh crisp air. Whatever it is, I love FALL!

I spent some time this past week putting out some autumn inspired décor. Although I’m definitely self conscious about my decorating skills, I tried to abide by my words from last year about not striving for perfection. So, now I’m taking a big breath and pressing the publish button to share my home looking warm and cozy (in my opinion.)

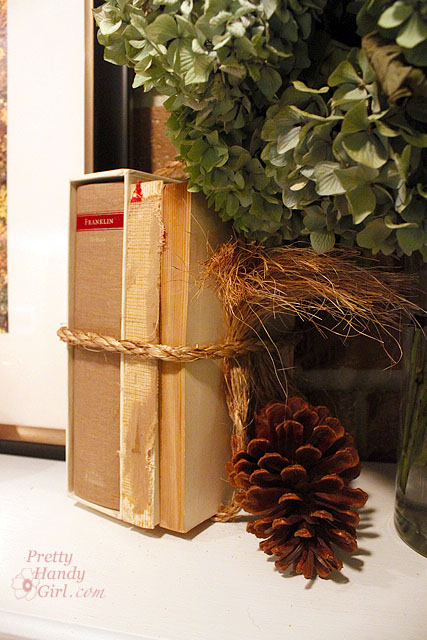
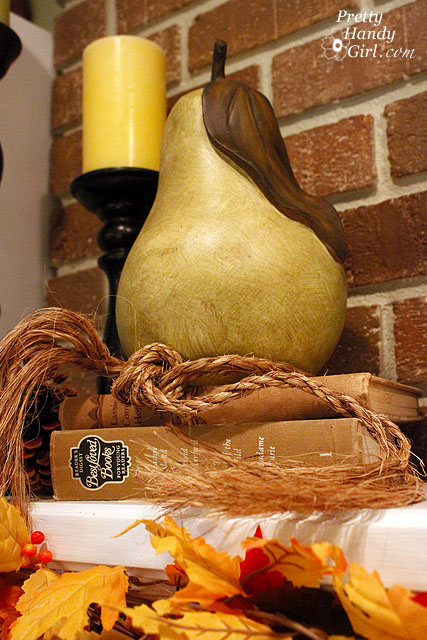
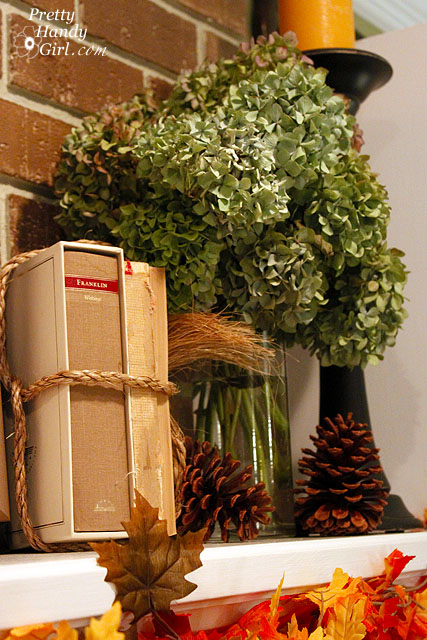
Antique books are my go-t0 decorating objects. I love books and I love those old linen covers. Even a torn and tattered book looks nice lassoed together with some friends.

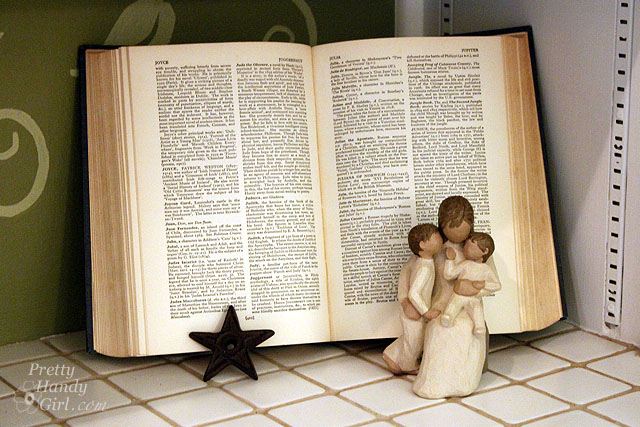
Sometimes, even an open book can look warm and inviting.

I was so happy to bring my Ballard knock off painted pear out of storage. He really looks handsome with the autumn colors.

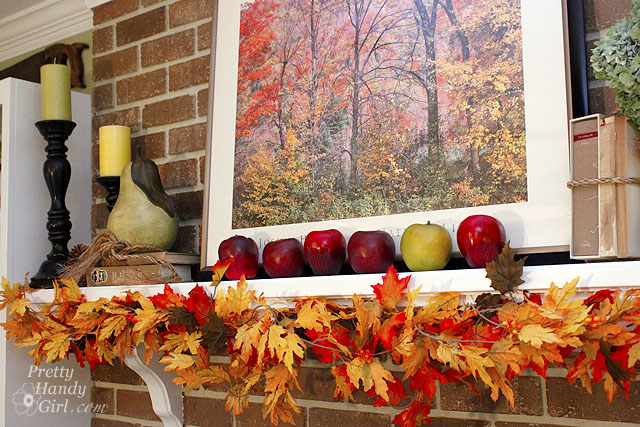
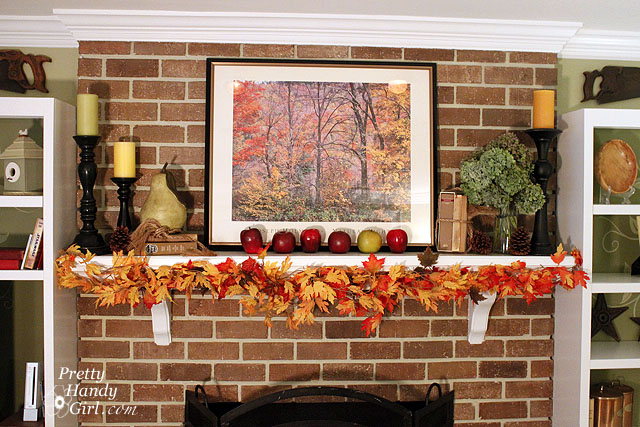
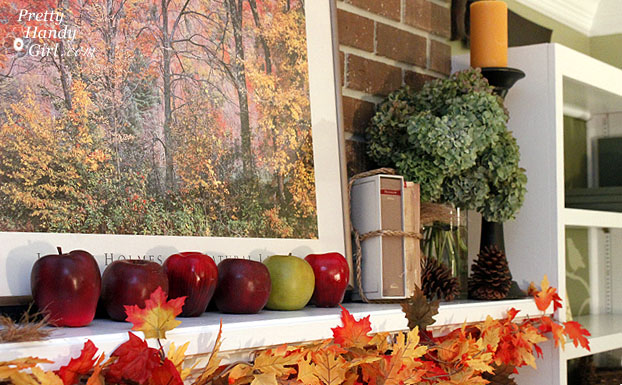
I love all the colors in this photo! I can’t imagine having a monotone autumn mantle.

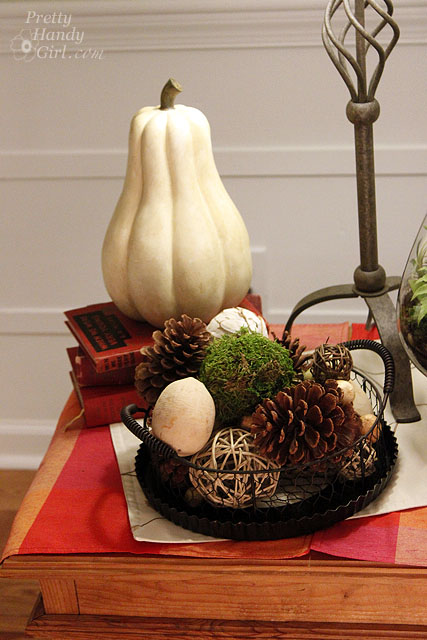
Of course, Mr. Gourd looks handsome too. (Shhh. I don’t want to hurt his feelings, but I do love the pear more.)

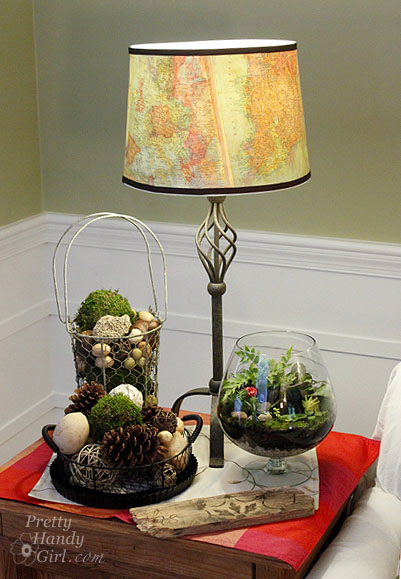
Yes, I’m still switching things in and out like a high school football coach. I actually like the gourd, so he’s back in but the chicken wire basket is out. However, I wanted to show you the vintage map lampshade I made. The tutorial will be served up before you know it! Hopefully I’ll have a new lamp by then. This one is just a substitute for one on injured reserve.

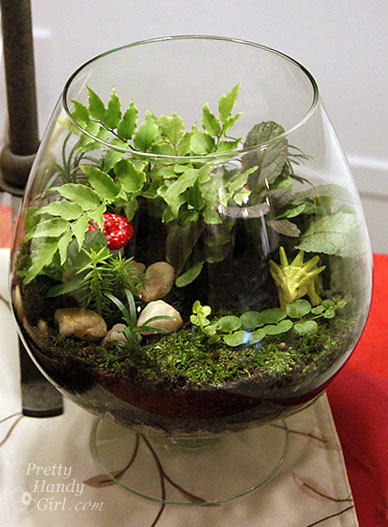
You may have noticed this little terrarium on the side table. I was inspired by some insanely expensive versions here. Never fear, I will have a tutorial so you can make your own soon!

A full view of the mantle decorated. It is hard to believe that in a few months the stockings will need to be hung.

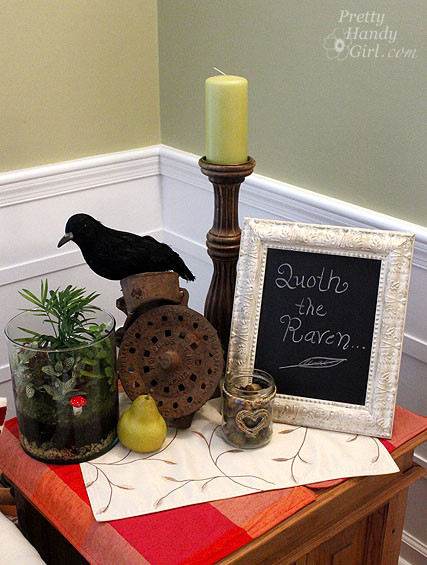
I had fun with this little vignette. A crow in an antique corn grinder? Now that is pretty silly. And another terrarium that makes me smile.

Quoth the Raven “Nevermore”

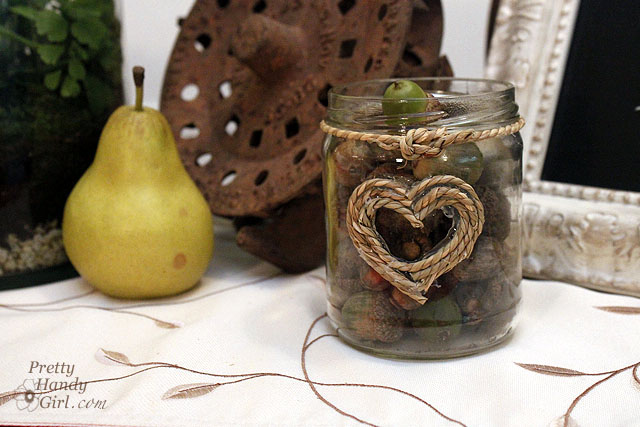
The acorn jar was an afterthought. It was just a quick little hot glue craft. Speaking of which, if you haven’t read my post about hot glue gun safety, it is a must! Your fingers will thank me.

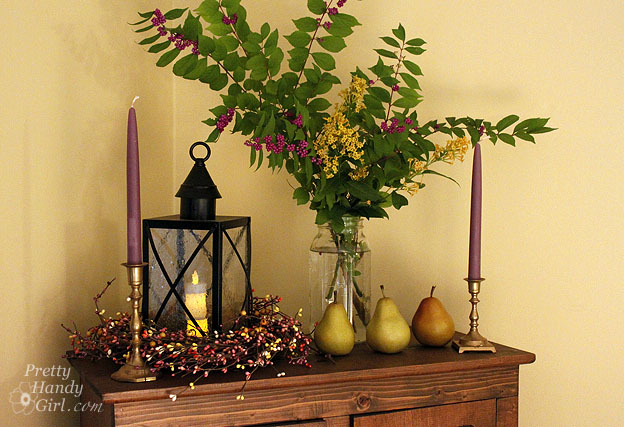
It is fun having another surface to decorate. The top of our armoire (also known as the family command center) has some pretty purples and greens.

My Pottery Barn knockoff lantern makes a re-appearance.

Beautyberry and Orange Peel Cestrum from our yard.

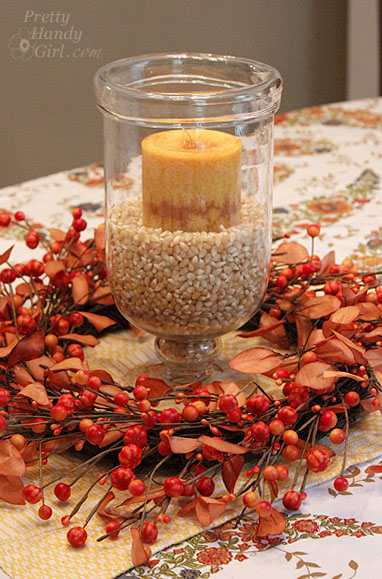
The dining room has a simple centerpiece made with corn kernels and a candle.

But, I might be switching it out once I get this beauty back from my friends at the Habitat ReStore. Can you guess what it used to be? I’ll give you a hint: Hollywood glam never looked so good.


According to my facebook and twitter friends, I am not the only one who gets burned EVERYTIME I use a hot glue gun. For this reason, I typically will hand sew, nail, or E-6000 something before I will use a hot glue gun. But, every once in a while, there is just no substitute for hot glue. For example, when working with faux flowers and moss, nothing beats hot glue.

So, this week I decided to put an end to hot glue gun burns!  I googled “Hot Glue Gun Safety” last week and learned a few tips about using a glue gun. If you are like me, you may do a head slap and feel pretty stupid after reading this post. If you are already the intelligent being who never gets burned when using hot glue, well then you can close your browser and I now bequeath you with a “genius” award. Now scram! For the rest of us, keep reading.

Dedication: I dedicate this blog post to my dear friend Sarah VMK! She and I were discussing all the burns I tend to get while using a glue gun and she remarked, “You really need to do a post about this.” So, here it is Sarah!

Remember to use EXTREME caution:

The most important thing to know about using a hot glue gun is that it is dangerous! Never mind that you can buy one for $5 or less and some of them look like they were made by the same company that makes McDonald’s happy meal toys.

Or that most of them do not come with instruction manuals. Treat this little “gun” like a power tool and use extreme caution when using it. Don’t let those dual temp glue guns fool you. “Low” temperature is still hot enough to burn you. Listen up y’all so we can say goodbye to glue gun burns FOREVER!

photo courtesy of HelloHayley

Proper tools:


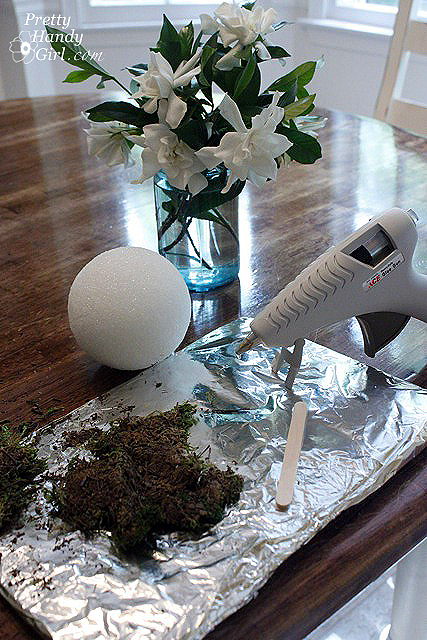
When you get ready to use a hot glue gun, be sure you have these things close at hand.

(I’ve included affiliate links for your convenience. I earn a small percentage from a purchase using these links. There is no additional cost to you. You can read more about affiliate links here.)

  • Heat resistant mat – a foil wrapped piece of cardboard, silicone mat or a cookie sheet will work fine
  • Needle-nosed pliers or tweezers for holding small objects
  • Popsicle sticks for pressing the glue down – Keep the popsicle stick in your hand so you won’t be tempted to use your finger
  • Bowl of ice water
  • Clean dry washcloth
  • Hot glue gun with dual temp (use it on low setting)
  • Extra glue sticks

There are also finger caps sold to protect your fingers if you are really concerned about safety.

Long vs. short power cord:
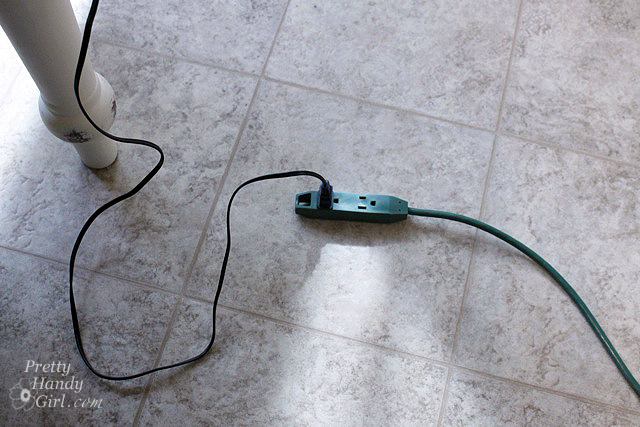

The power cord on my glue gun is not very long. It barely reaches to the nearest outlet. Don’t allow your cord to dangle in mid-air for someone to snag or trip on. Get an extension cord so that it can lay flat on the floor while you are working. This will also give you more reach while working with the glue gun.

If the cord does get snagged and your glue gun starts to fall over, resist all the temptations to grab it. Just let it fall (and hopefully it won’t land on you or anyone else.)


Your glue gun at rest:

Ideally, you want to rest your glue gun upright on a flat heat resistance surface. I use mine on this foil wrapped piece of cardboard. But, inevitably the gun falls over sideways. I used to instinctively try to stop it from falling. But, that is a burn hazard waiting to happen.
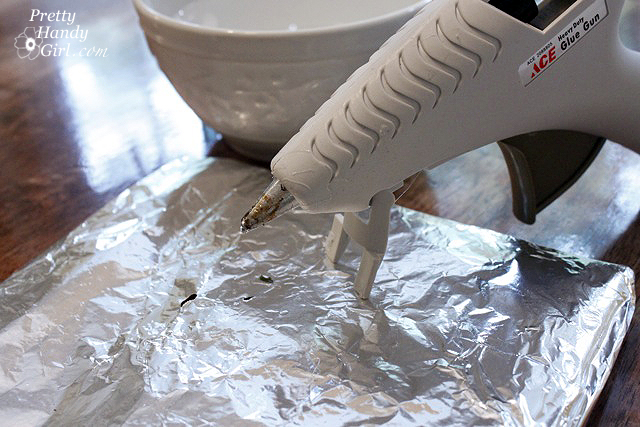
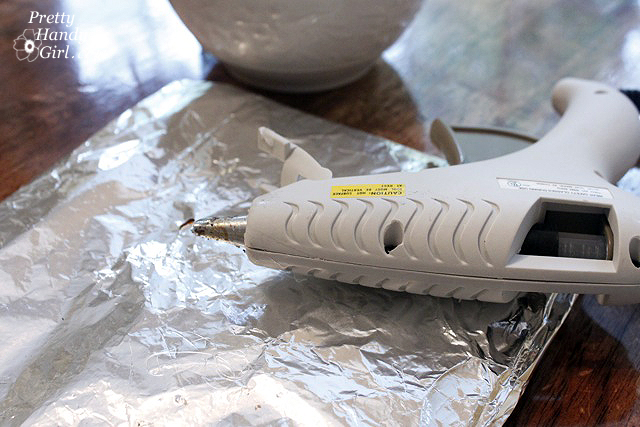
Now I just lay the glue gun on its side making sure that the hot tip is not touching anything. No more tipping glue gun.
 

Working with your hot glue gun:

Gather all your craft pieces together and make sure that they are within reach so you don’t have to lean over your glue gun to retrieve anything. Make sure all distractions, children, pets, etc. are out of your way. Remember, this is a dangerous tool!

Think about your project before you start. Are you going to put glue on the object or press the object into glue. What is the best procedure that keeps your fingers the furthest from the hot glue.

Squeeze hot glue onto the object you want to glue. For decorative moss balls, I decided it was best to drizzle hot glue onto a piece of moss.
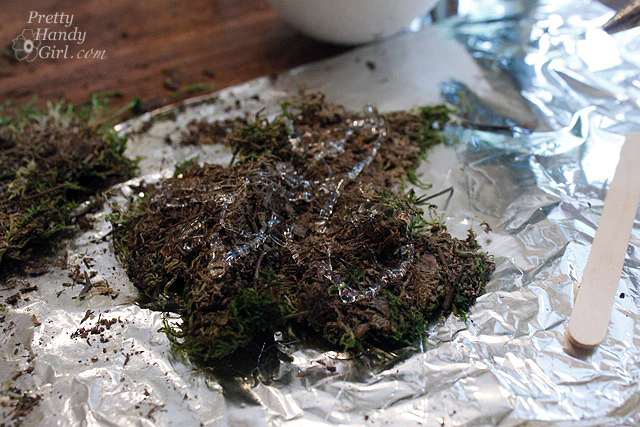
Roll your ball or light bulb onto the moss. (That’s right, I mossed a light bulb! Hey, I had to find something to do with these bulbs leftover from the hollywood light fixture.) Be very careful to keep hands away from the moss.
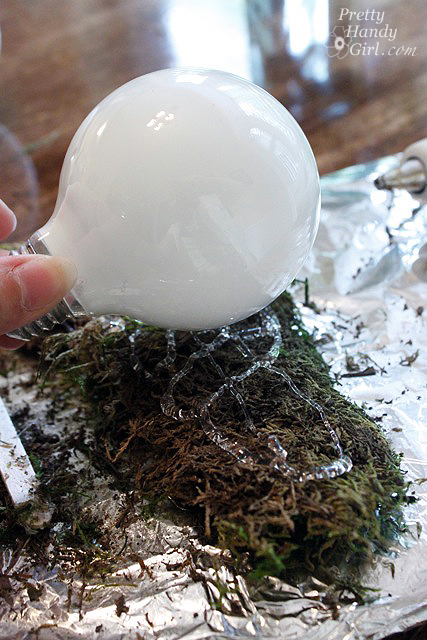
Use a popsicle stick to press the moss to the ball (or lightbulb.)
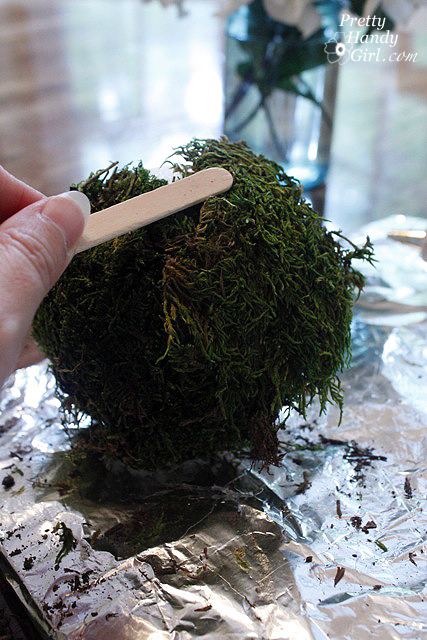
As the bare spots get smaller, you may decide to add hot glue to the ball (err, light bulb.)

Lightly set the moss into the glue, then use a popsicle stick to press it firmly into the glue.
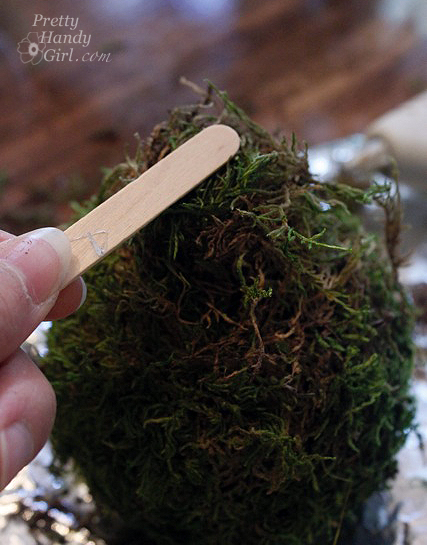
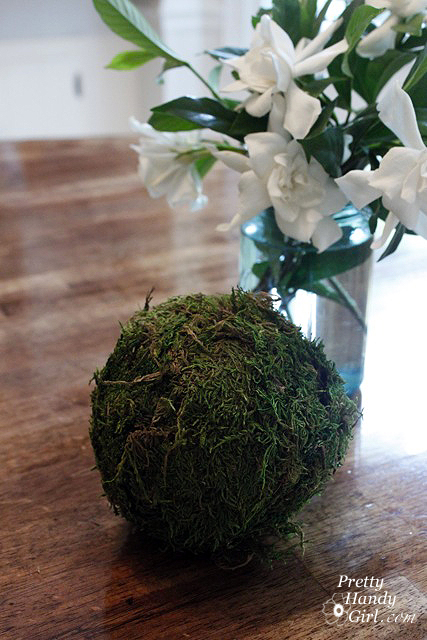
 

As long as you face the bulb base away from the viewer, no one would ever guess that it was actually a light bulb!

When working with smaller objects, DO NOT hold them with your fingers. It is best to put glue on the larger object and press the smaller ones into the glue. Pick up your small object with needle-nosed pliers or tweezers.
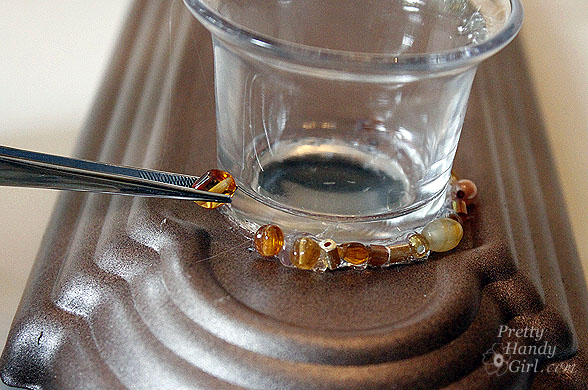
Place it, then use your popsicle stick to firmly press the small object into the glue.
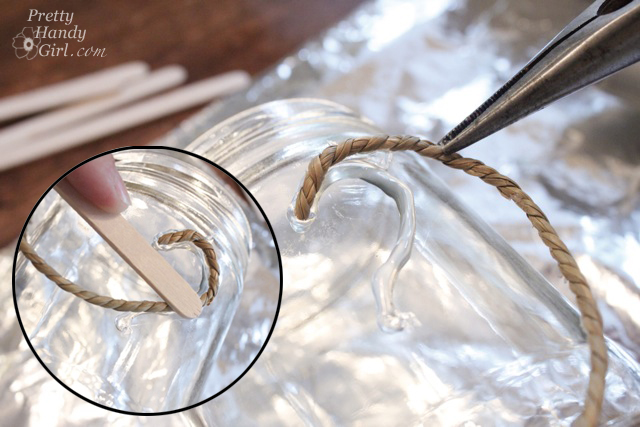
If you absolutely have to put glue on a smaller object. Do not use your fingers or hands! Use the tweezers or pliers to hold it while you add the glue.
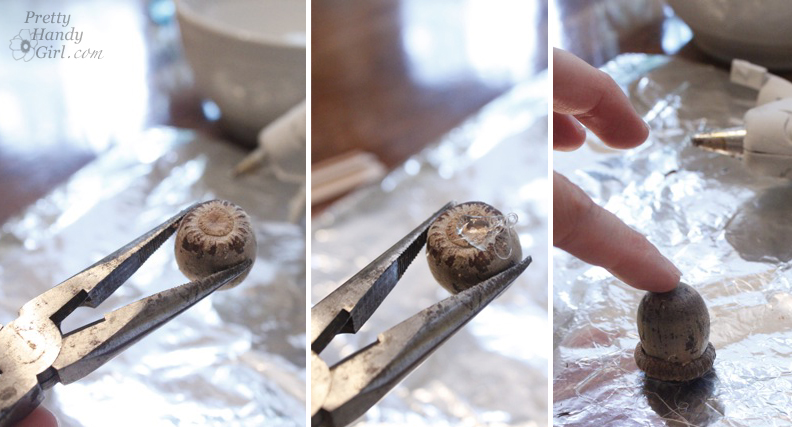
Okay – and I know – sometimes there is no substitute for using your fingers. If you decide to take the risk of putting your fingers in mortal danger, let the glue cool for a few seconds, then you can gently reposition the object as long as there is NO glue near your flesh.


If you do get burned:

Even the most careful preparation and concentration will not protect you from an occasional accident. So, think like the Boy Scouts, be prepared.
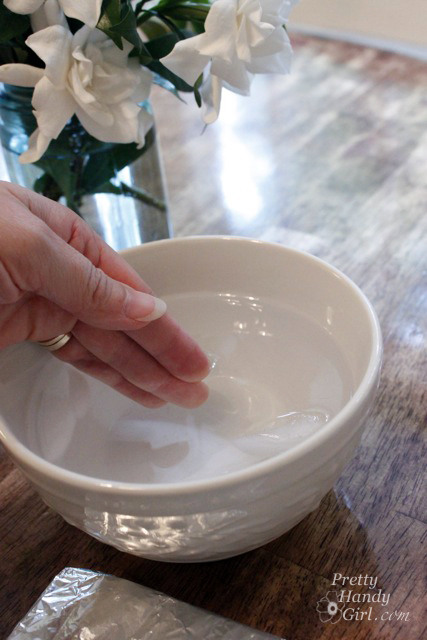
Keep a bowl of ice water nearby. If you burn your finger tips, dunk them in the ice water as soon as possible. Keep a washcloth at hand in case you burn your arm, leg or something that can’t be dunked in the bowl. Then you can wet the washcloth and apply it to the burn. It is crucial to cool down a burn as soon as possible to reduce the damage.


After your project:

Unplug your hot glue gun as soon as you are done with your project. Pick the cord up off the floor so no one can accidentally tug on it. Let your gun cool COMPLETELY before storing it away.

Inspect your glue gun periodically for signs of splits or breaks or signs of wear and tear. As soon as you discover any problems, discontinue using the hot glue gun and discard it. Remember, they are cheap and can be easily replaced! Your fingers will thank you.



As a mother of two boys, my life is CHAOTIC! No matter how hard I try to contain the chaos that surrounds those two, I have come to terms with the fact that there are some things in life that cannot be controlled.

A week ago Tuesday night, while my dear husband was away on business, I had some super chaos thrown my way.

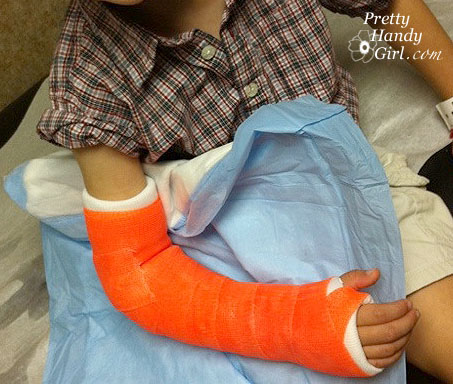
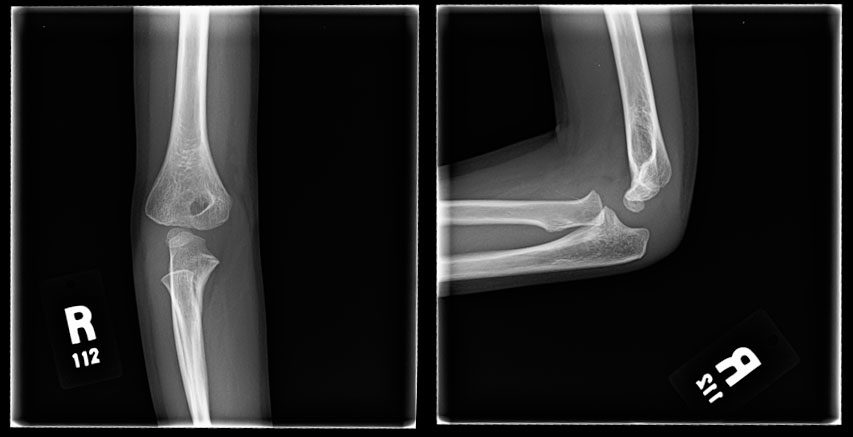
My boys were 5 ft. from me as I was putting away the dishes. They were showing off their “untrained” ninja moves to each other. My youngest proceeded to show his older brother an amazing kick that had so much momentum it swept him off his own two feet and sent him falling backwards. As anyone would do, he put his arm behind him to catch his fall. The results were 5 hours in the ER, a big fat co-pay, and this:

So, while I cannot control my boys’ crazy antics, what I can control is the chaos that exists in my home in closets, in drawers, and even under the kitchen sink!

I took an organizing 101 workshop back in the spring, and it was a great exercise in motivation and follow through for me. Over the course of 7 weeks, I learned  how to tackle small projects first. I learned what tools to use while organizing, what my road blocks are and many more useful tips.
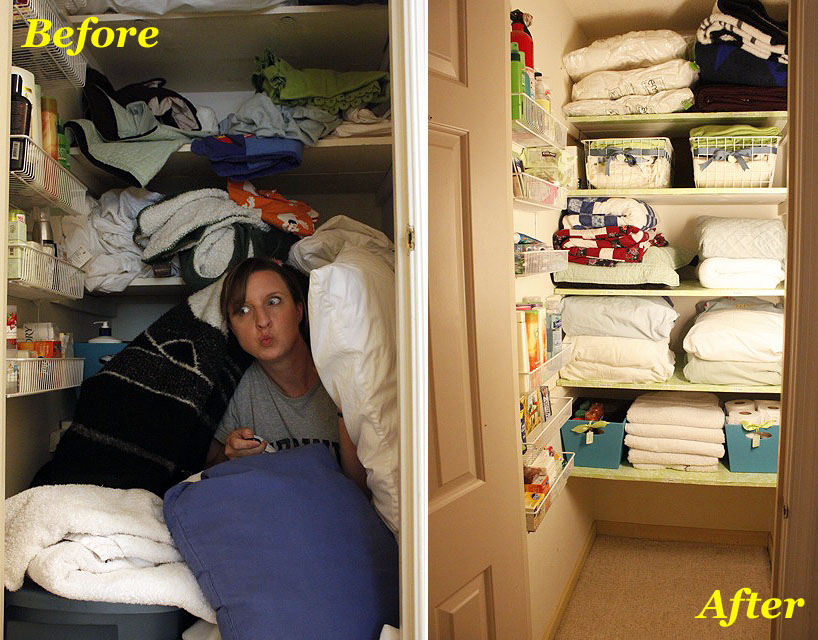
Here is just a sampling of the organizational projects I’ve completed since taking the workshop:

Linen Closet

Under the Kitchen Sink

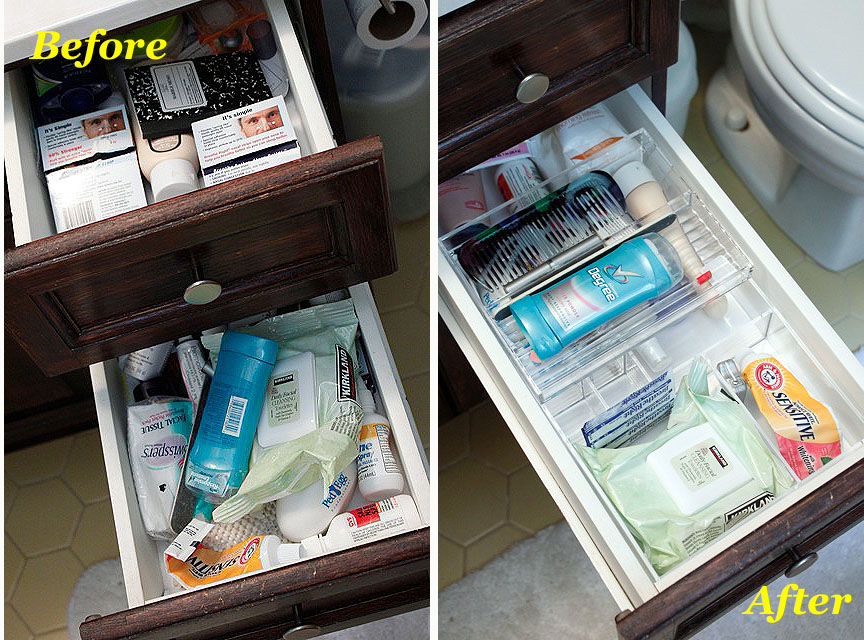
Bathroom vanity

and our Family Command Center

Having a more organized home has allowed me to have a more organized life. Which in turn gives me more patience and time to deal with little surprises, like this:

What about you? Do you want less CHAOS in your home and life? Well, meet your teachers:

Aby & Jay are the geniuses behind simplify1o1.com. Their goal statement says it all:

Our goal is to teach you skills and techniques to get more organized, as well as to provide you with the products and tools that will make getting the job done more fun and efficient. We’ll help you become a more productive, more energized and happier version of yourself. You’ll have more time and more energy to do the things you love (plus, you’ll be able to find everything you use to do those things you love!)

They help people take control of their homes which transfers to better control of their lives. By organizing your home, you can save countless hours a year. By simplifying and organizing your home, you will also save money. Best of all, having a neat and organized home will help you reduce CHAOS!

What better way to start the school year? Get control, get organized, and simplify your life. Banish the chaos that you CAN control!

In Organizing 101, you’ll learn a simple approach for de-cluttering your home. Plus, you’ll find out how to organize and store all the things you keep, so they’re easy to use (and put away when you’re finished!)

If you’d like more tips on organizing your home or office top to bottom, sign up for Simplify 101’s organizing newsletter right here ! You can also follow the blog and get even more daily tips.

Good luck!

Disclaimer: This is a sponsored post paid for by simplify101. However, in all honesty, I can’t say enough good things about simplify101. I will end by telling you that I thoroughly enjoyed the workshops I have taken so far (Organizing 101 and Organizing with your Kids).

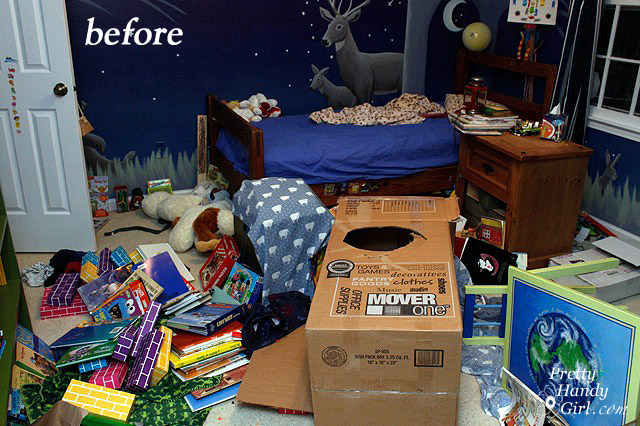
My 7 year old son and I worked together to take his room from this:

to this:

And the best part was that he enjoyed doing it and asked every night if we could work together on organizing his room. We worked in 15 minute segments over several days. You would not believe the things that were stuffed underneath his bed! I can’t even tell you because it was that bad. But, on the bright side, my oldest is learning to live in a less chaotic room. 😉


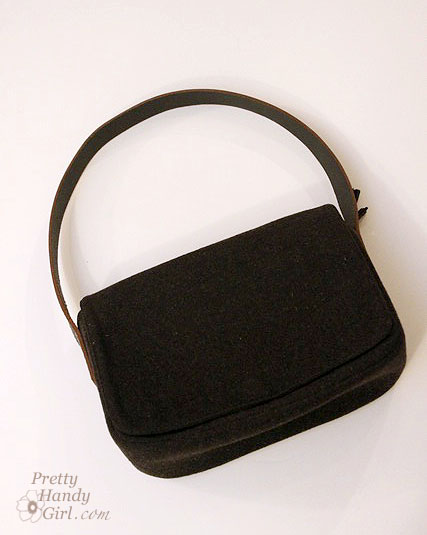
Most people would have probably walked past this plain jane wool purse.

I almost did, but then the price tag caught my eye. THREE DOLLARS! Immediately I pictured dressing it up with a few fabric rosettes.

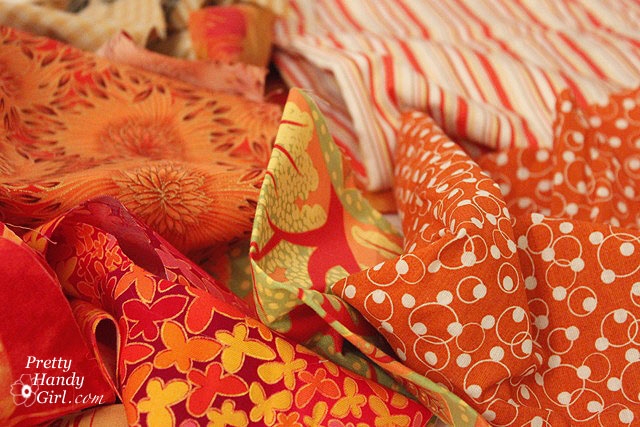
With fall on the horizon, I decided to work with some orange fabric scraps I had lying around. Within an hour I had a stylish new fall purse!

Materials:

  • Fabric scraps
  • Hot glue gun and glue sticks
  • Felt
  • Safety pins
  • Scissors
  • Foil covered cardboard or other work surface

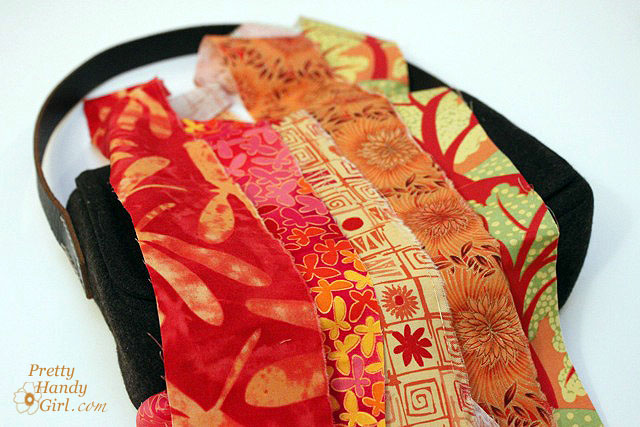
Pick out your fabrics and rip them into 3″ – 4″ strips.


It may help you visualize what colors to use by laying them on your purse.

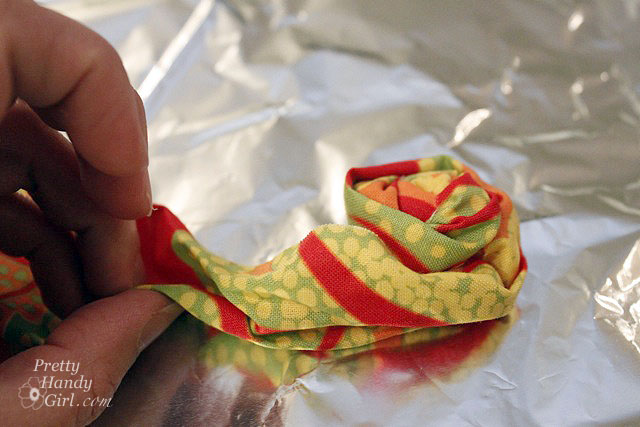
Start by rolling one end of the strip.

Add some hot glue and keep rolling the fabric strip.

Fold and twist the fabric for more interest and to hide the raw edges.

Finish by folding the end over and gluing it to the rosette.

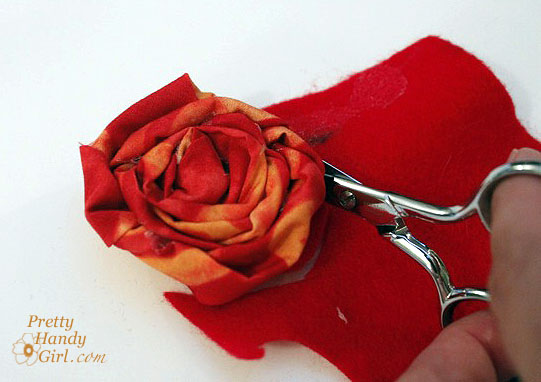
Cut a piece of felt in a circle shape slightly smaller than the rosette.

Check to make sure the felt circle doesn’t extend beyond the edges of the rosettes.

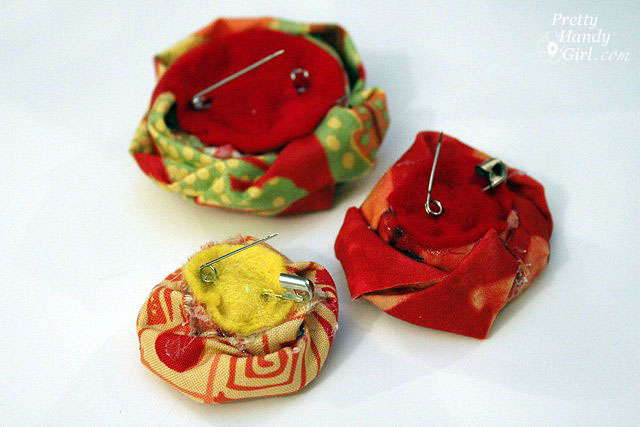
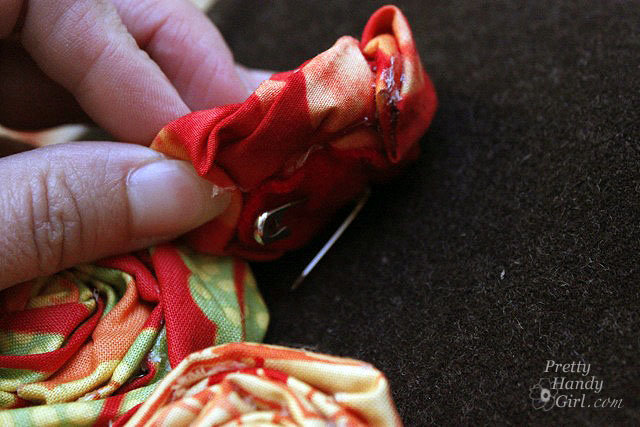
Snip two holes in the felt circle and feed a safety pin through.

Put some hot glue onto the back of the rosette…

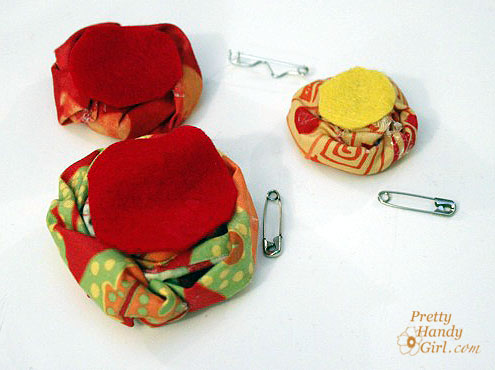
…and glue the felt circles and safety pins to the rosettes.

Pin the rosettes onto the purse. Adjust them until you like the arrangement. Feel free to add more or less rosettes.

Personally, I like odd numbered groupings.

The best part about this project is that I can swap them out and add different colored rosettes depending on the season!

Do you like? What other colors do you think would look nice on the brown? I thought about creams and whites for winter. Hmmmm. You could also add felted wool roses instead of fabric.

And now it is time to announce some lucky winners! If you know one of these people you might want to ask them to send you some of their lucky vibes.

The 3M Product Giveaway goes to:

Lisa! Her translation was:
He says: Don’t watch, you’re making me nervous.
He means: I don’t have a clue as to what I am doing.
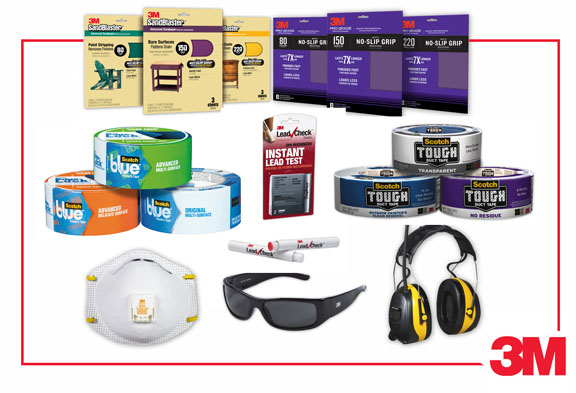
I hope you enjoy the 3M product packet as much as I did.

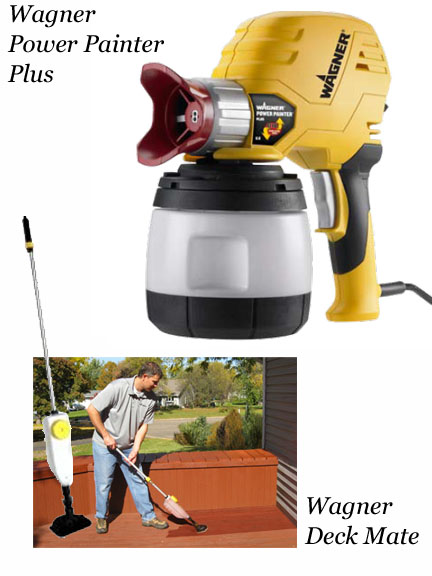
And the two winners of the Wagner PowerPlus Paint Sprayer and the DeckMate stainer are:

Rhonda Jones!
Her comment was: Brittany, this is the BEST tutorial I have ever read! You did an amazing job explaining how you did this project. I must say, I really liked how you used your phone to show the amount of time each step took. You have inspired me to get to work on several pieces of furniture that I have that needs to be painted! I am headed to prowl around your blog now! Your entire blog is amazing! I am your newest follower…I am a fairly new blogger. I hope you will come visit me sometime! ~~~rhonda~~~ \ABlissfulSpirit/

Monique!
Her comment was: I’ve always wondered about using a sprayer. Do you think there would be less overspray if something more substantial (with less openings) such as a chest or buffet was painted? I’m looking forward to reading about your next spray painting project. Thanks for the giveaway!
Congratulations to all the winners. Stay tuned this week I have another giveaway for you on Wednesday ;-).

Today I am going to show you how to Make Your Own Fall Wreath. If you’ve been following me for long, you were witness to my one wreath with many different looks for one year. Well, I’m ready for a change. So, I decided to create something completely different.

When I think of fall, I think of cooler weather, sweaters, autumn leaves and flowers. This wreath encompasses all those elements.

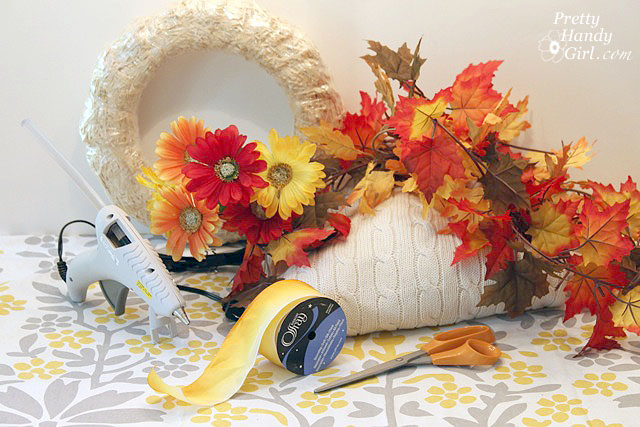
Lucky for me I had all the materials on hand. Especially the XL cable knit sweater that I picked up at Goodwill thinking I could make sweater vases out of it.

Materials:

(I’ve included affiliate links for your convenience. I earn a small percentage from a purchase using these links. There is no additional cost to you. You can read more about affiliate links here.)

Instructions:

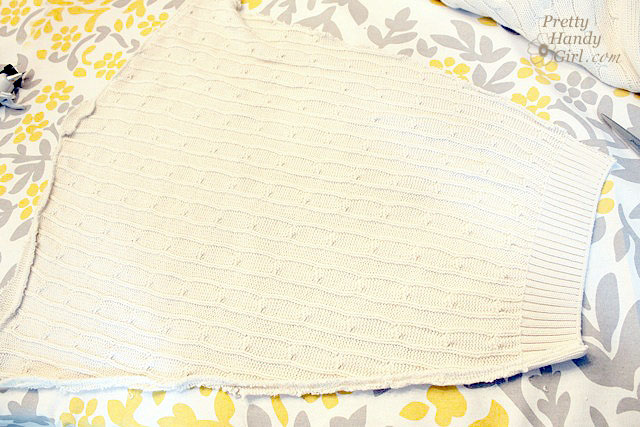
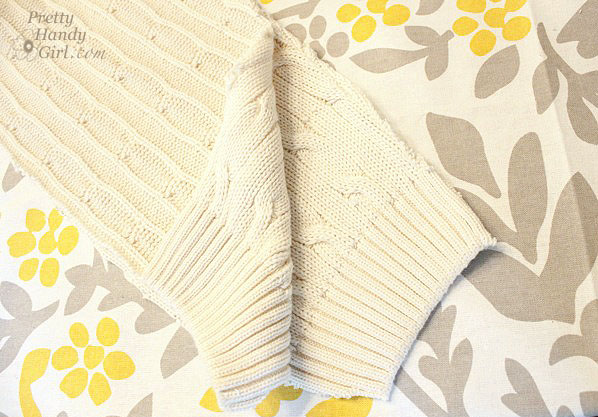
Start by cutting off the sleeve of the sweater.

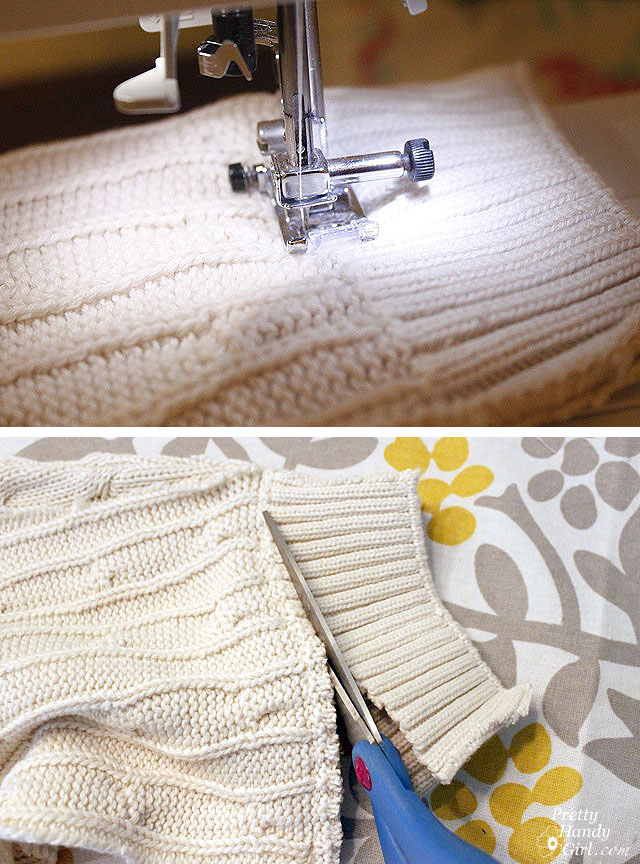
Cut, the sleeve in half lengthwise. Then put the right sides together.

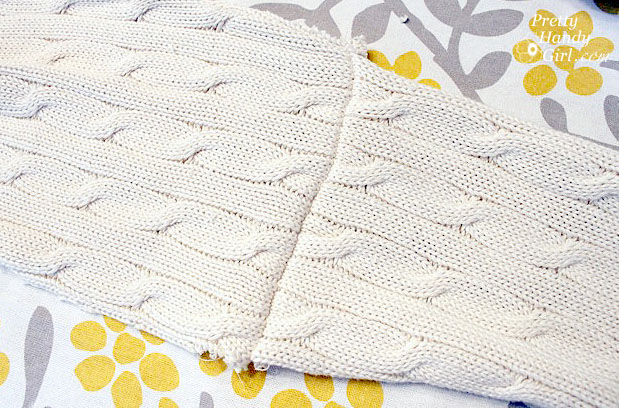
Stitch the ends together (try to line up the stripes or cable knitting.) Trim off any excess.

Open your sleeves up to give you one long length of sweater material.

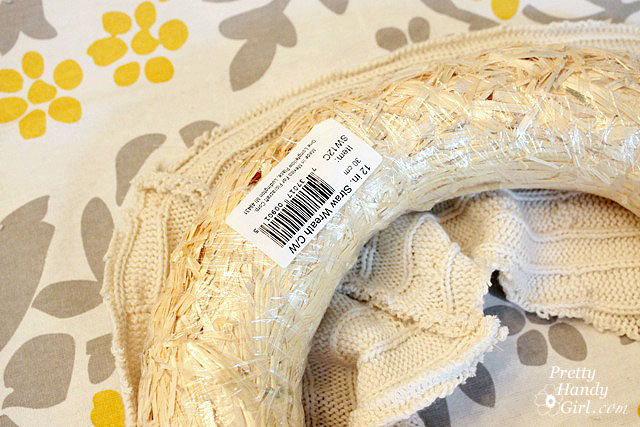
Preheat the hot glue gun. Lay the wreath form on top of the sweater material.

Put a bead of hot glue on the back side of the wreath form and glue one edge of the sweater material to the wreath.


Squeeze out another bead of hot glue, wrap the other side of the sweater material up and glue it against the already glued piece.


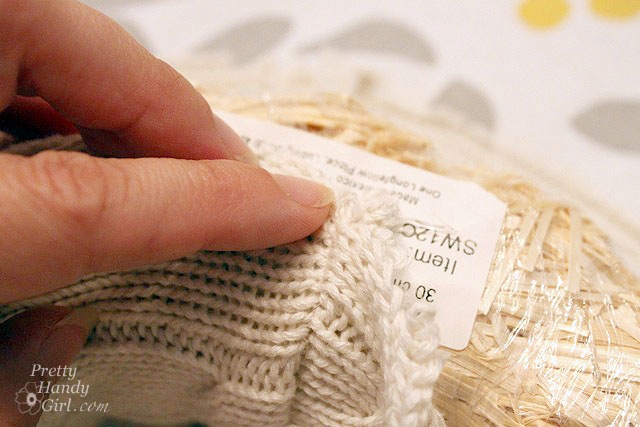
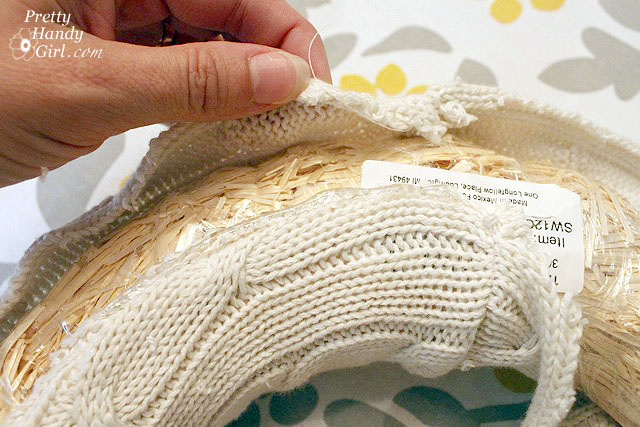
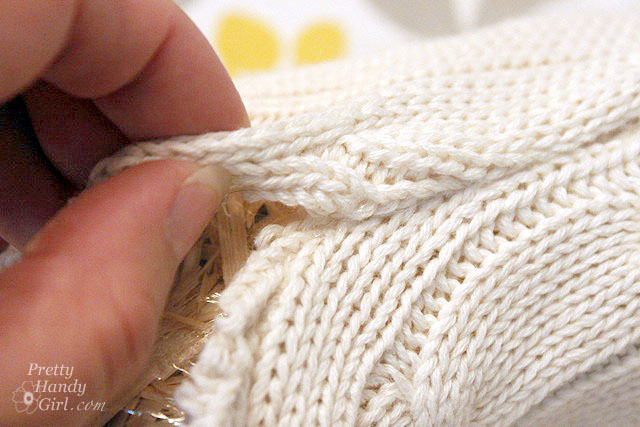
Realistically, this is the backside of the wreath, but if you have a see through door like I do, you will want to roll under your raw edges to hide the seams.


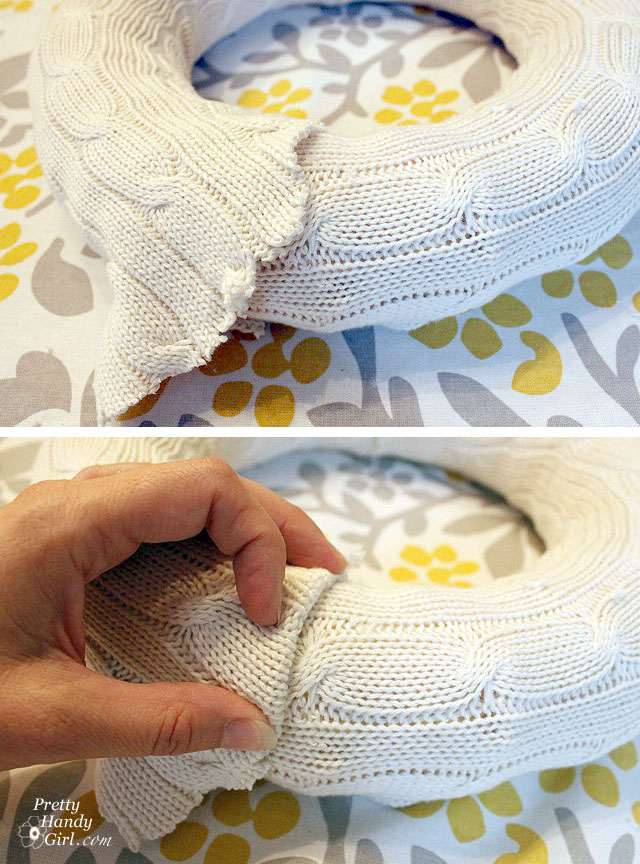
Work in 3-4″ sections, adhering one side and then the other until you reach the end of your wreath. Cut your sweater material slightly longer than you need, then roll under the raw edge and glue it down.


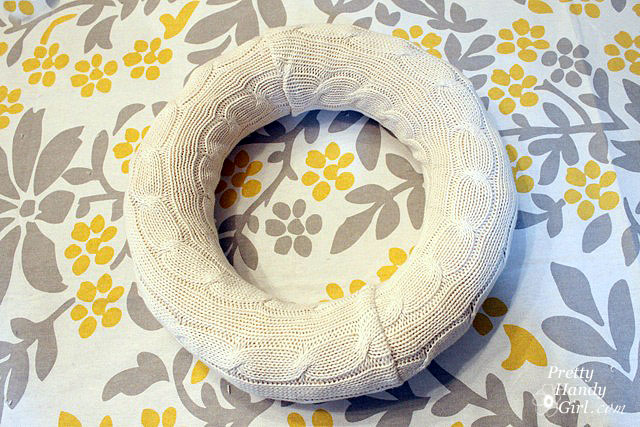
Your wreath should resemble something like this:


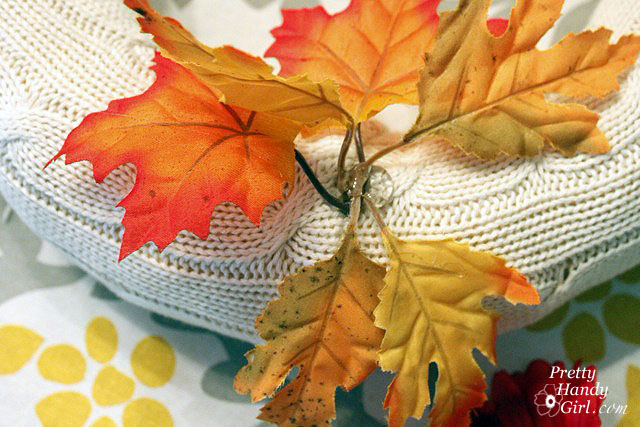
Hot glue some leaves onto the wreath covering one of the seams.


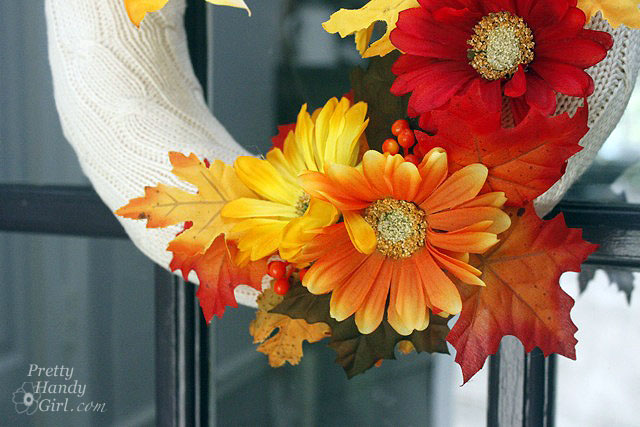
Then add some flowers. And more leaves, and more flowers, until you have burned your fingers to smithereens!


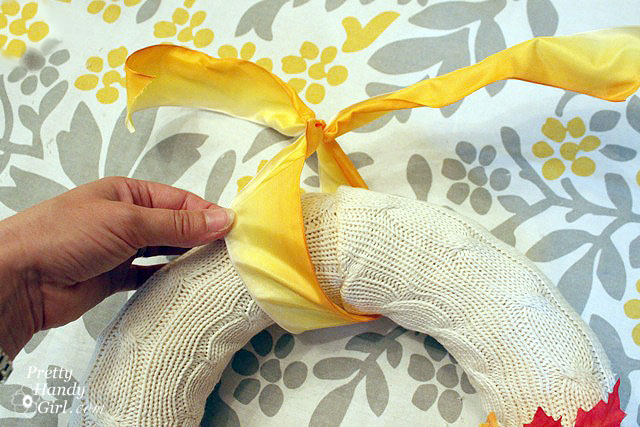
Next tie one loop of ribbon to cover the top seam.


Tie more ribbon to the loop to give your wreath a more “substantial” bow.


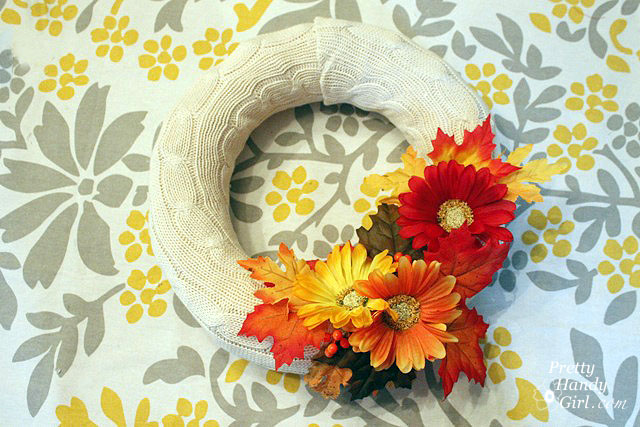
And now you have a warm, cozy and colorful fall wreath! What do you think? I just want to snuggle up to it every time I walk through the door.


Have you started to decorate for fall? Do you have your wreath yet? I’d love to hear about your unique wreath project. And if you need more ideas, enjoy these 24 more Fall wreath ideas:

24 Creative Fall Wreaths | Pretty Handy Girl
Y’all have a fabulous weekend!