
1970’s Guest Bathroom Makeover
I’ve been super busy this weekend finishing up some projects. I’m very excited and can’t wait to show you some of them.
However, because several of them are tutorials (which take a little longer to write up), I decided to share with you a guest bathroom makeover from our old house.
This poor bathroom had an identity crisis.
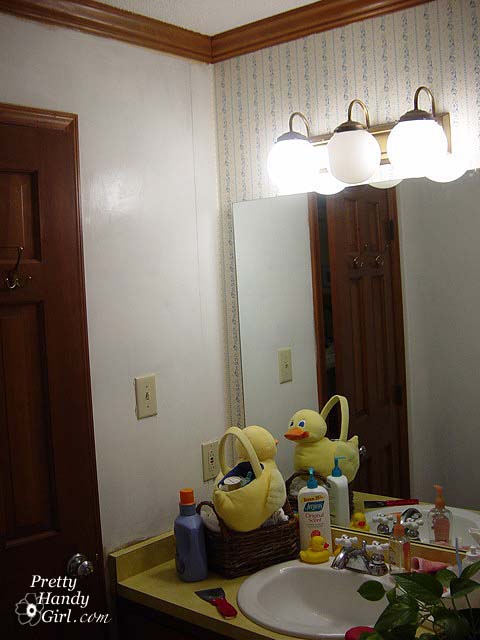


and Laura Ashley style wallpaper.
The first thing we did was strip the wallpaper in this room. If you have never stripped wallpaper, there are two types of wall paper stripping projects. The easy ones and the hard ones! Luckily we had an easy one.
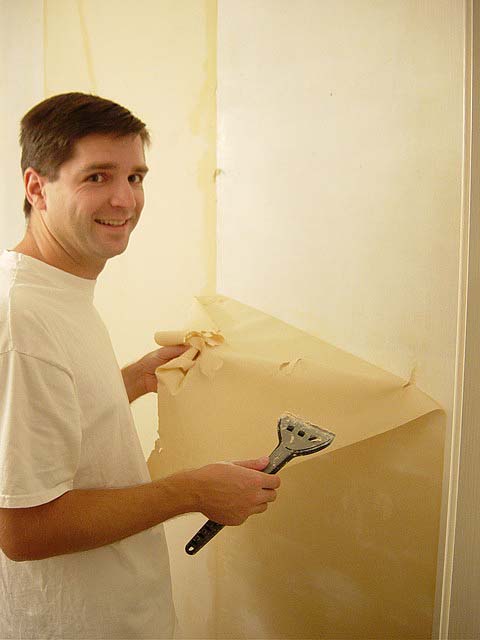
The walls had been primed before the wallpaper was attached (as opposed to gluing the wallpaper on top of the drywall (or sheetrock as some people call it.)
Forget the steamer, forget the chemicals, we used these tools:

- Cheap, cheap, cheap pink fabric softener mixed 1:1 with water
- Spray Bottle to pour your fabric softener mixture in
- Paper Tiger or wall scoring tool
- Wallpaper scraper – We really liked the Piranha shaver since it has a razor sharp blade
- Or Wallpaper Trim Tool
You start by scoring the wall with the Paper Tiger or similar tool. The more holes the better, so put on some dancing music and get busy.
Then you spray the walls with your fabric softener mixture. Really saturate them! Wait 15 minutes, then spray them again. Now, use your scraper to start peeling. I truly hope your sheets come off in nice big sheets like ours did. If not, you may have to have your walls re-skimmed with spackle or joint compound.
Or, I hate to mention this, but you could paint over the wallpaper. We have two rooms in our current home that this was done in (we know for a fact that the wallpaper was glued to the drywall without priming first.) If you take this route, I want to let you in on two secrets:
- Use an eggshell or satin finish paint (it will not show the edges or imperfections as easily.)
- Take the time to make sure all the wallpaper seams are glued down and then spread some joint compound or spackle over the seams and sand it smooth. This will get rid of the tell-tale seam lines when you paint over wallpaper.
After you have removed all the wallpaper you need to wash your walls really well to remove the glue. We saturated the walls again with the fabric softener and then cleaned it off. Finally, we used TSP cleaner (available at any home improvement or hardware store) to get the walls perfectly cleaned.
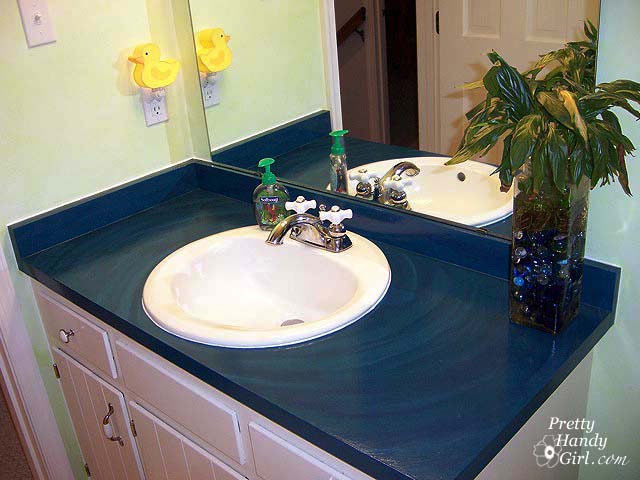
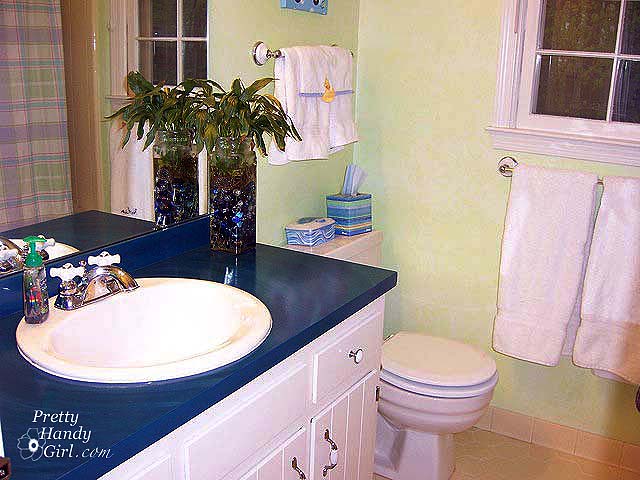
Then I painted the walls a bright Nickelodeon slime green. I kid you not, but I didn’t take a picture of it in that state. My friends thought I had flown the cuckoo’s nest. But, I went back with a creamy lemon glaze and ragged it on top. The result was a beautiful lime sherbert color (perfect for a little boy or girl’s bathroom.)

Next, the light fixture had to go, and it went quickly!

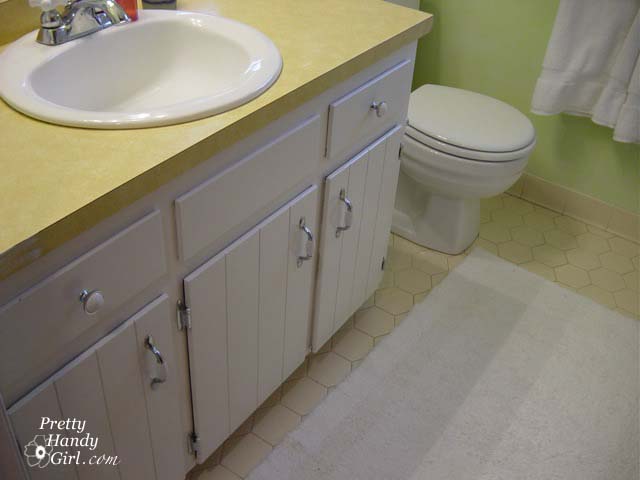
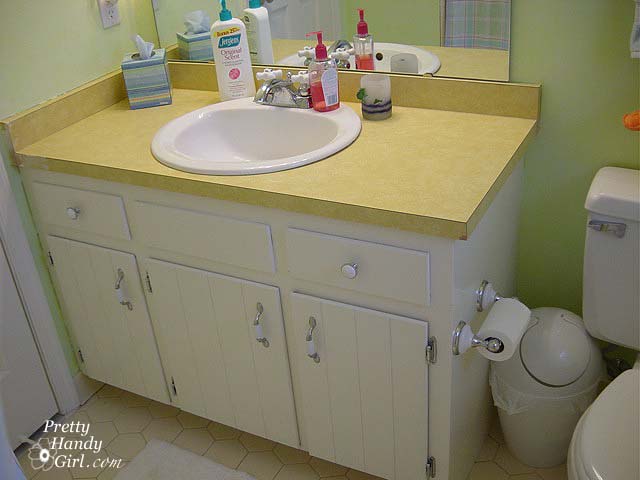
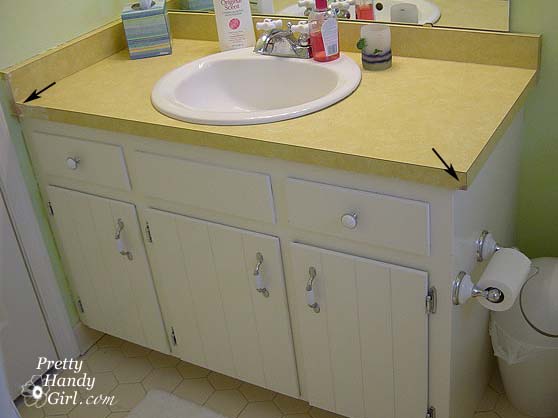
But, that harvest gold vanity would not stop shouting “groovy dude” whenever I saw it. So, it had to go too. Unfortunately, we were on a limited budget, so I had to get creative.

so I could do this:


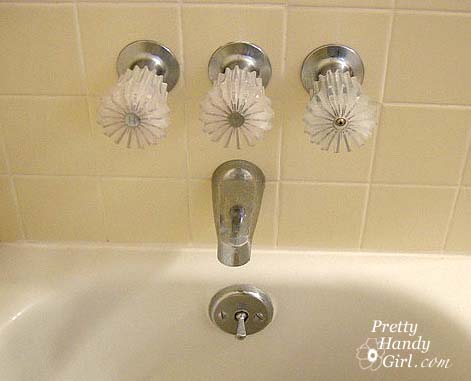
Oh those old handles made me wince! What were those manufacturers thinking? Love the new look though. Very cute and crisp/clean looking.
Very nice!!!
Wow! What a metamorphosis THAT was! You breathed new life into that bathroom and took it from the 70's to now! Just beautiful! And I never would'ave dared to paint a countertop, but you've inspired me. Happy MM to you!
xoxo laurie
I'm pretty sure that is my exact bathroom. well, except for the window. I don't have a window. But seriously – EXACT.
oh, and mine has super super dark black wallpaper with flowers on it.
Cute redo – I can't wait until i get around to doing mine. but for now it is black wallpaper mixed with frogs for my son. go figure.
I am amazed it held up for so long, it really looks great! You will always remember changing out that faucet :0
What a neat makeover! I love how you painted the countertop to look like that. I'd love it if you'd link it up at Project Diaries today!
Christa
You guys rocked it out!! We had to do the same thing here. We put that blue color on the walls and ceiling. (crazy..I know). We changed the same hardware to the same you chose. Hope someone loves it the minute they see it. For sale. lol
This is fabulous! I have an OLD house built in the 20s and I swear it has the same kitchen counter top from when it was built and I have been dying to paint it but didn't know how to prep it or what to use. So thanks for this info! I'm gonna try it….even if I royally screw it up it can't look any uglier than it does right now! LOL
Corinna
Great job! The blue water sink was unexpected…in the most wonderful way! I love it! 🙂
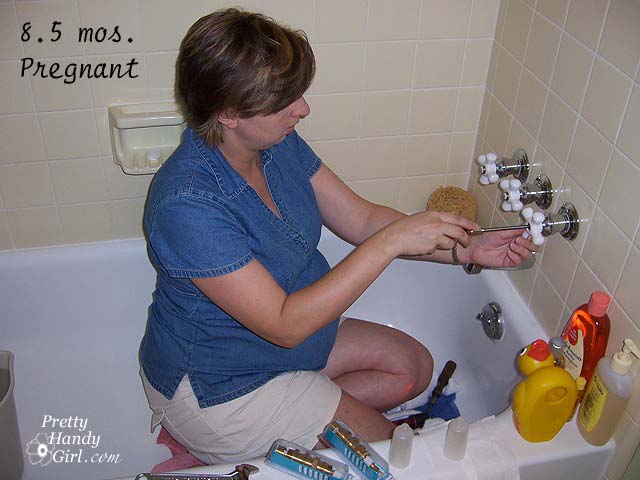
Wow! such an inspirational Blog!I'm impressed!8.5 months pregnant Did an outstanding job! Truly stunning transformation!such an educational blog too..I'm thrilled to be your newest follower!thanks for Sharing.
That counter was great. The entire change was a good one, but I knew it would be because you did it! I am a dental hygienist. I worked all day and had a doctor's appointment at 4pm. I fixed a dental chair before I left. I got to the dr appt and he said I needed to go to the hospital. I was in labor all day and didnt' know it!
You did such a great job- what motivation at 8.5 months! I love the duck theme as well 🙂
-Kendall
{songbirdsandbuttons.blogspot.com}
Great work. 8.5 month pg! Love it!! I always tried to put myself in labor doing extra hard work, never worked, LOL. You get so used to be pg and huge, you forget how much easier it is to work non-pregnant.
That looks great! Question about your groovy, harvest gold counter top: What material was it made out of? Is it laminate? I might want to try this on the counters in our old house (which is a rental now) before we sell it.
Amazing what paint can do! That was such a transformation. My crazy pregnancy story was that I was mowing the lawn 9 months pregnant with my two year old daughter on my hip as I mowed. Went into labor that night!