
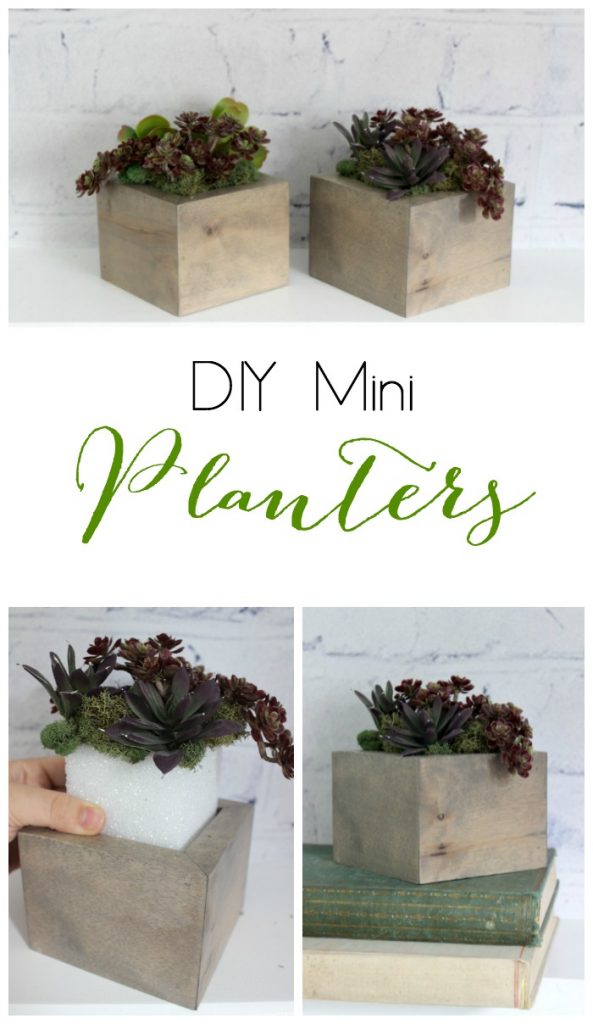
Hi everyone! This is Lindi, visiting again from Love Create Celebrate. I’m really excited to show you how to make your own mini planters. Tis the season for filling up our homes with garden plants (or faux plants if you lack a green thumb!) With only a few tools and a couple hours you can make your own simple DIY Mini Planters.
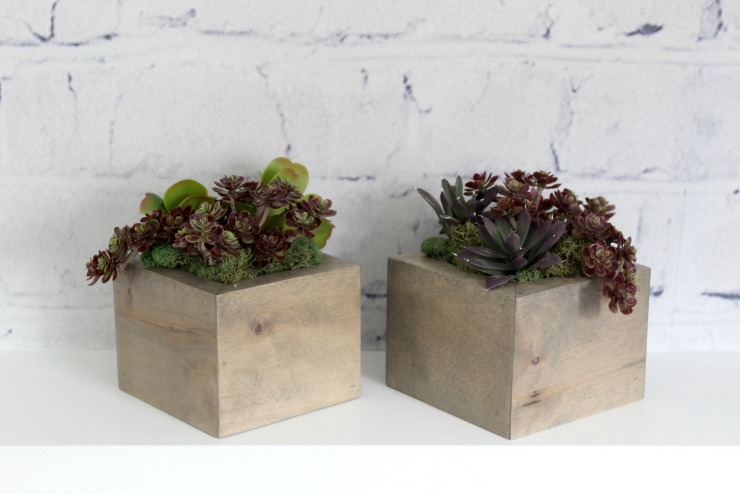
I LOVE these planters! They are the perfect mix of chic and rustic. I actually made them from maple, although any wood will work. The wood from this project came from an old pallet! Most pallets in Canada are made with cheap pine, but we lucked out. Lesson learned: always check your pallets! Now let’s get busy and make a few DIY Mini Planters.
Materials:
- 1″ x 6″ x 4′ board
- 4″ x 4″ ¼” plywood piece (per planter)
- Wood glue
- Wood stain of your choice
- Styrofoam square (optional)
- Faux florals (optional)
Tools:
- Speed square
- Measuring tape
- Miter saw
- Table saw or router table
- Nail gun
- Sander
- Clamps
Instructions:
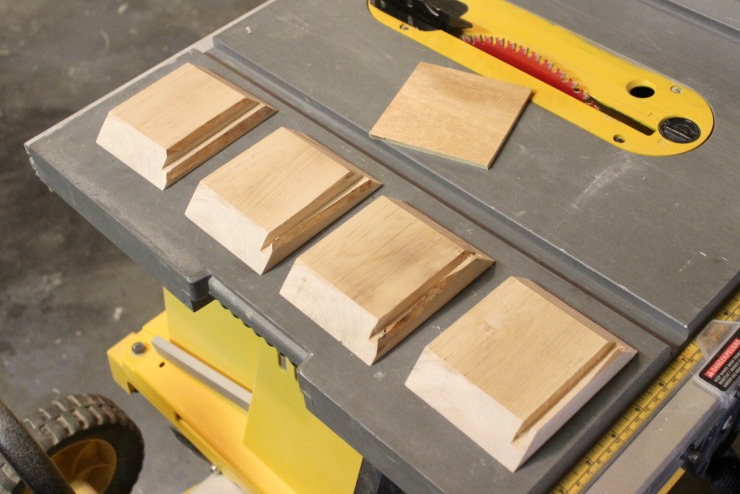
Use your miter saw to cut your 1″ x 6″ board into four 54 3/4″ long pieces. Then use the table saw to cut all four of those pieces to 3.5″ wide (these will be your sides.) Cut your plywood into a 4″ by 4″ square.
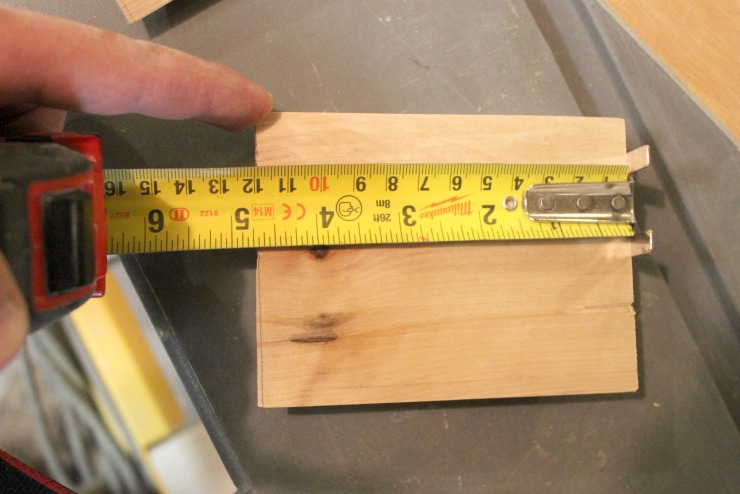
Use your speed square to mark a 45º angle on both edges of your 4 side boards. Cut along those marks with your miter saw. You will have four boards measuring 4 3/4″ x 3.5″ on the outside edge, with 45º cuts on both sides.
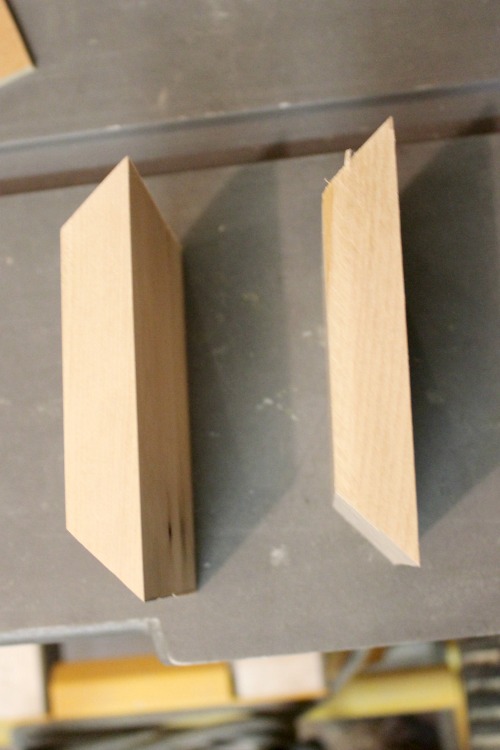
Next use your table saw or router table to make a 1/4″ groove about 1/4″ inch above the bottom of your 4 3/4″ x 3.5″ boards.

When all of your pieces are cut and grooved, it’s time to assemble them.
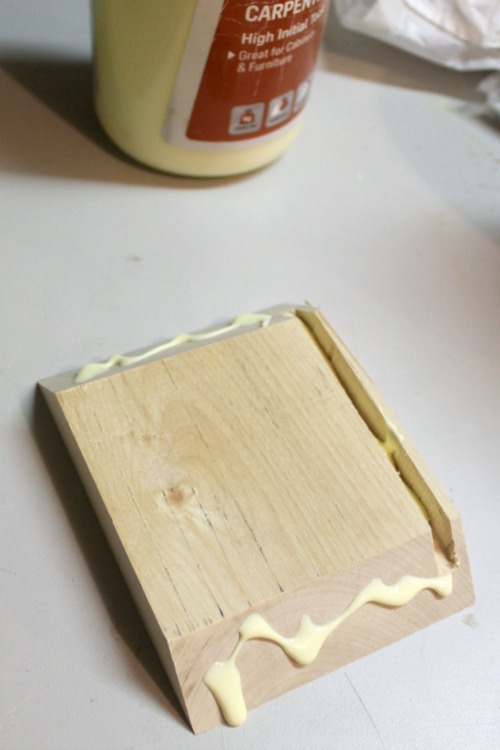
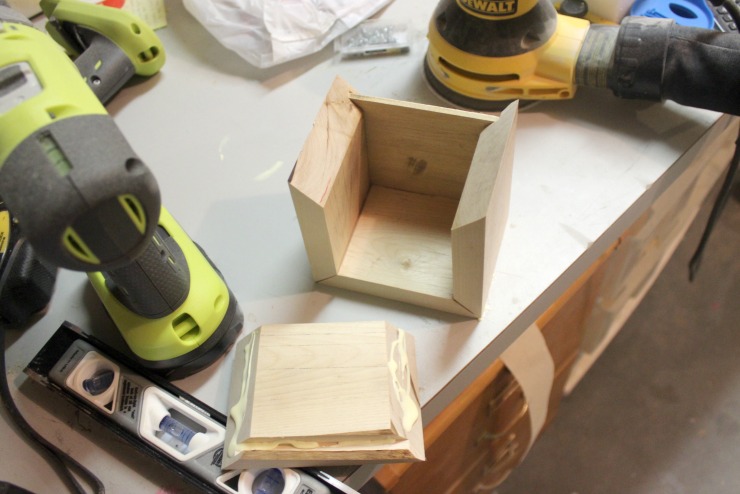
Put wood glue on the edges of the first piece, fit the two edges of either side of it and use your nail gun to attach these three sides.
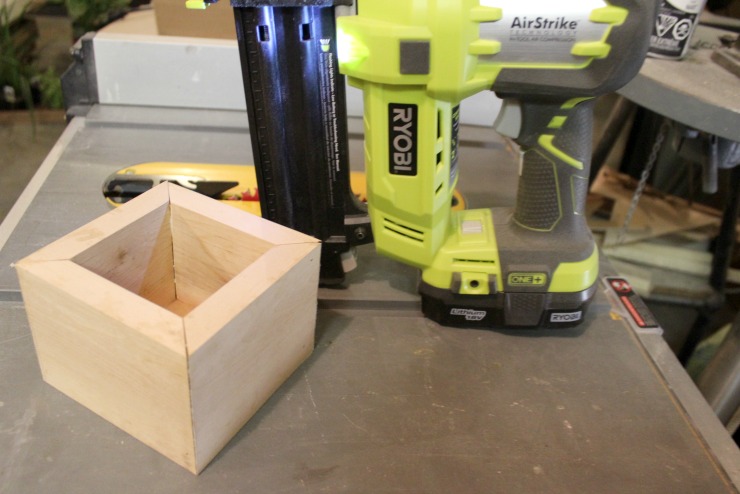
When three sides are attached, slide your plywood into the groove you created. Add more wood glue and nail the last piece in place.
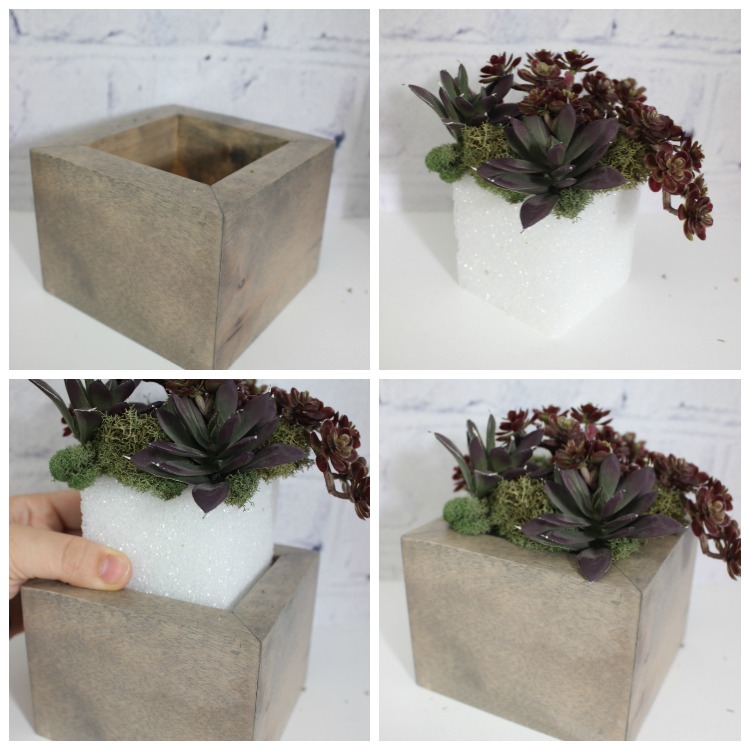
Once the glue is dry, give the planter a quick sand and stain it whatever color you would choose. Add a styrofoam block with some faux florals! If you want to add real plants, line the planter with plastic and add soil and plants.
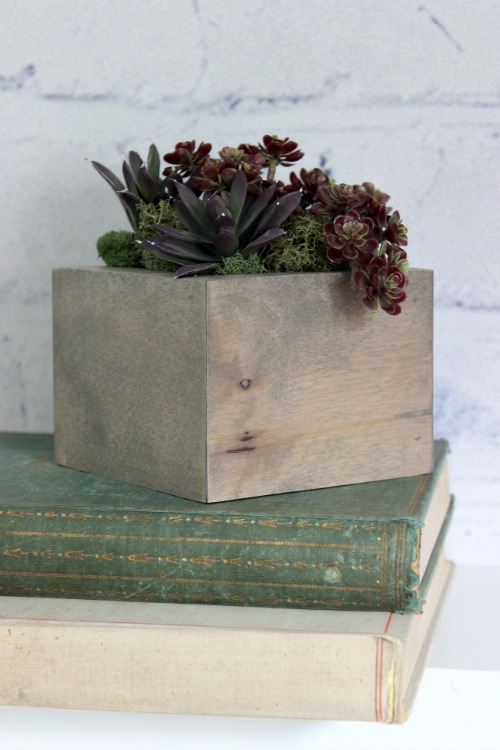
I LOVE these planters!

I made them in no time at all and they look amazing in my living room!
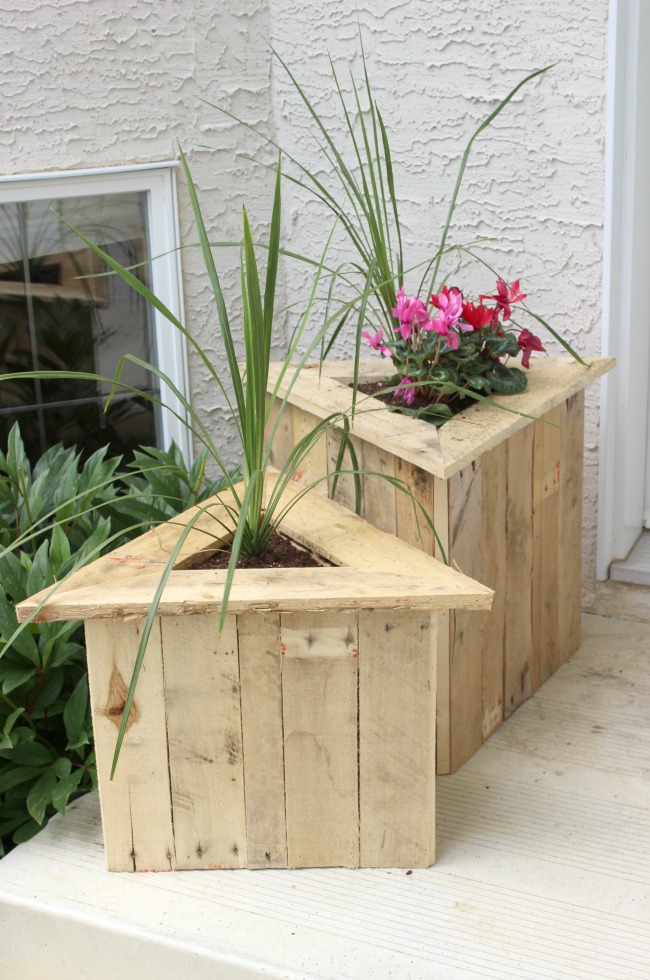
If you like planters, you’re in luck! I’m sharing these Triangle Planters from Pallets over at Love Create Celebrate!
For more DIY decor inspiration visit Love Create Celebrate.

Pin for later!
