Tag Archive for: halloween

This black and silver Halloween sign is a spooky way to decorate for the holiday.

Decorate for Halloween with this spooky spider Halloween sign!Spooky Spider Halloween Sign

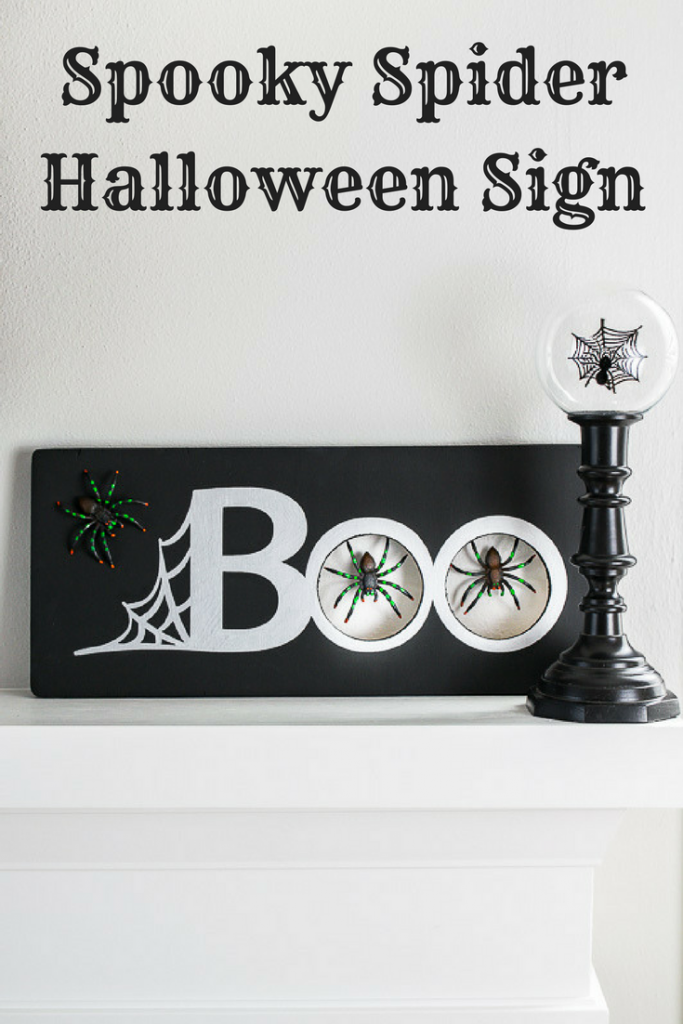
Hi there, Pretty Handy Girl readers! I’m Vineta from The Handyman’s Daughter, back with another tutorial for you! This time, I’m making a spooky spider Halloween sign to coordinate with the rest of my black and silver Halloween decorations.

I love making signs out of scrap wood because a) they’re free and b) it whittles down my enormous scrap pile! You may have seen this teacher sign I posted here a few months ago. My personal favorite is the Let it Snow sign I created for my winter mantel.

This Let it Snow sign is the perfect addition to your holiday mantel!Creating a three dimensional element to a sign really makes it pop! I’m adding plastic spiders to this Halloween sign for a similar effect. Nothing creeps me out more than a dangling spider!

Materials:

(I’ve included affiliate links for your convenience. I earn a small percentage from a purchase using these links. There is no additional cost to you. You can read more about affiliate links here.)

How to Make a Spooky Spider Halloween Sign

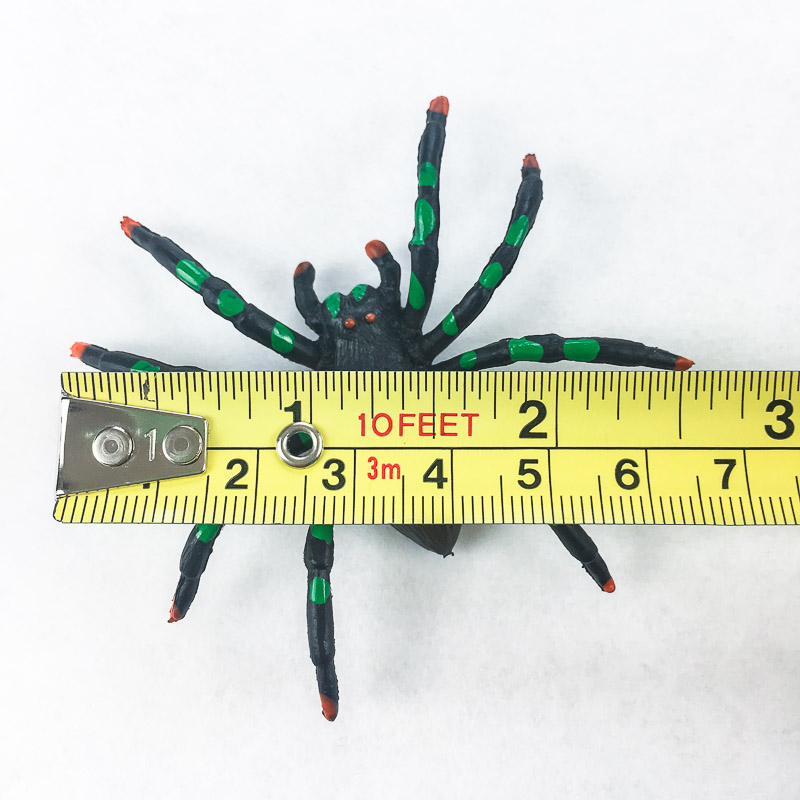
Measure the size of your plastic spiders. Mine are about 2 1/2″ across. This will determine how big a hole you need to make.

Measure your spider to determine the size of the hole in your Halloween sign.

The spiders will dangle in the center of the holes, so words like BOO or SPOOKY will work best for this Halloween sign. You can create a design using a Silhouette or Cricut machine (this is the file I used), or use a simple letter stencil.

Cut out a stencil for your spider Halloween sign.

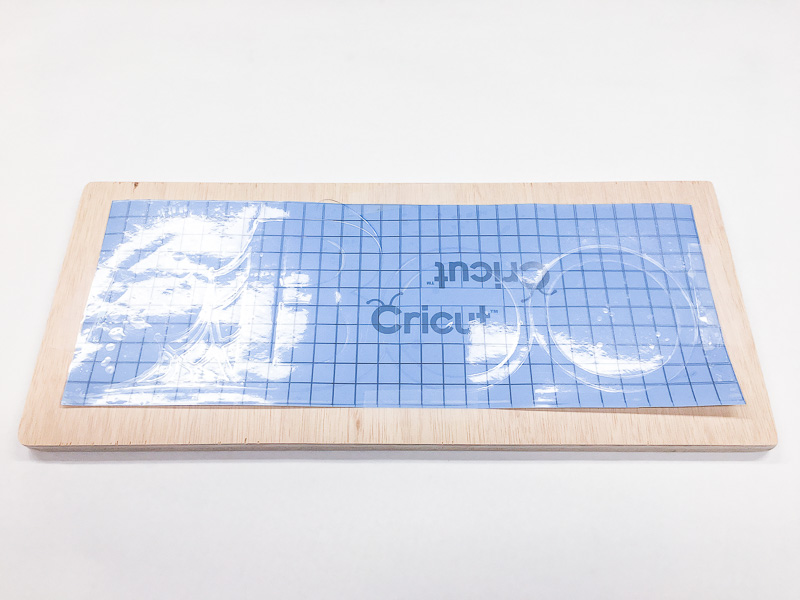
Mark the center of the O with a small drill bit.

Drill a hole to mark the center of the O's on your Halloween sign.

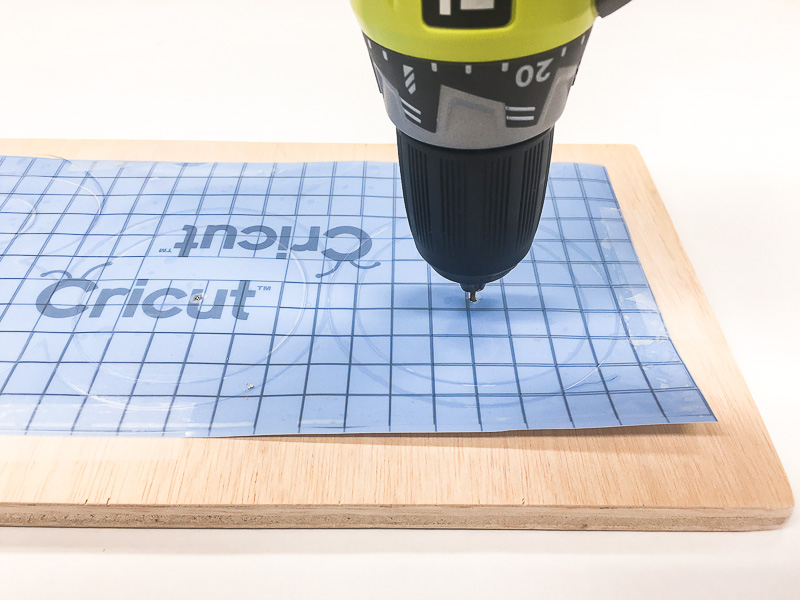
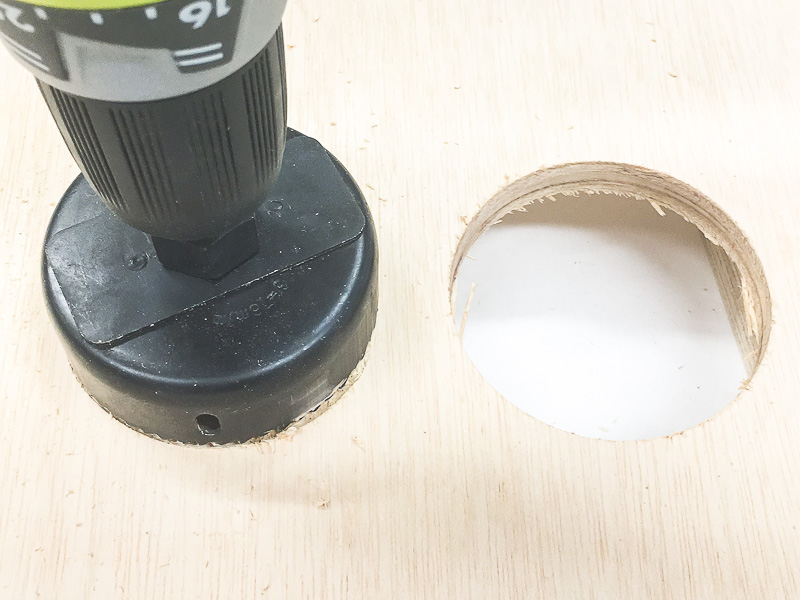
Place the bit of a 3″ hole saw on the mark and cut a circle all the way through the plywood. Sand all the edges smooth.

Cut holes for the O's in your Halloween sign with a hole saw attachment.

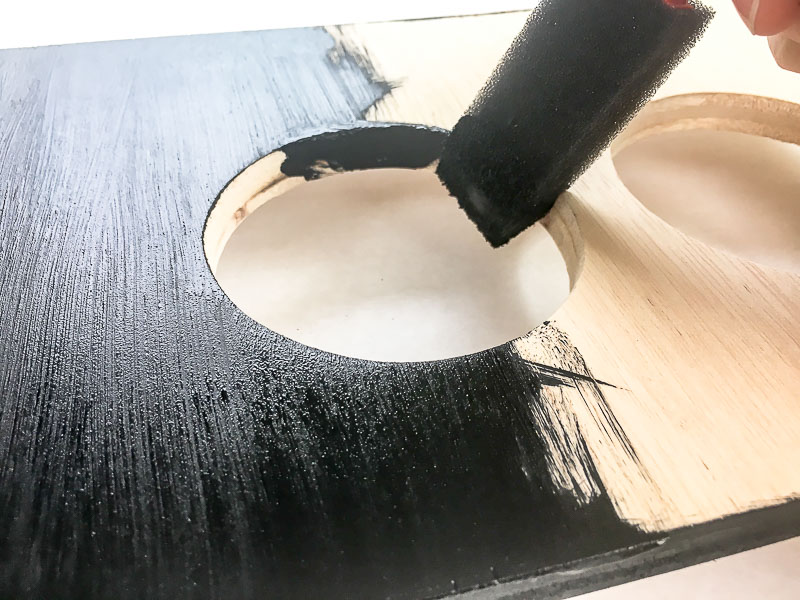
Paint the entire board including the inside of the holes black.

Paint the entire Halloween sign black.

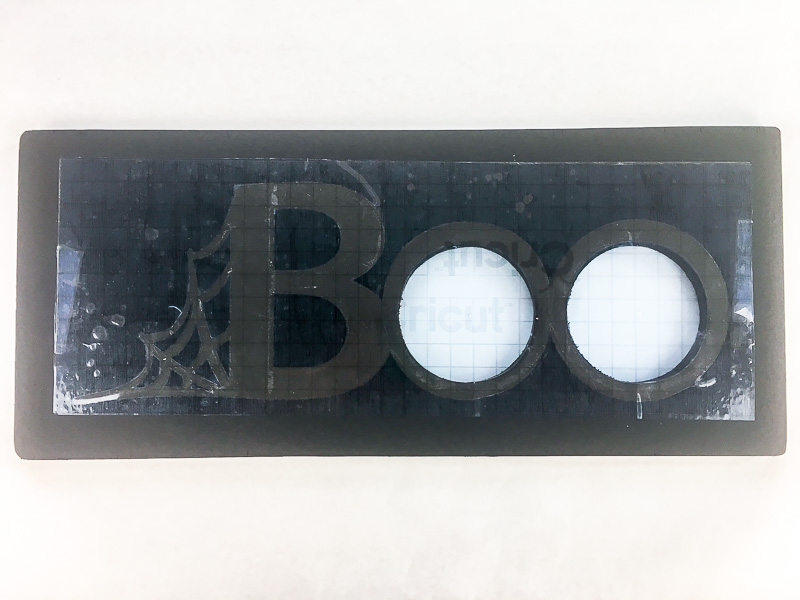
Apply the stencil to the board, centering the O’s over the holes.

Center the O's in the stencil over the holes in the board.

I decided to try this silver paint marker instead of regular paint to see if it helped prevent bleeding under the stencil.

I used a silver paint marker to fill in the stencil of the Halloween sign.

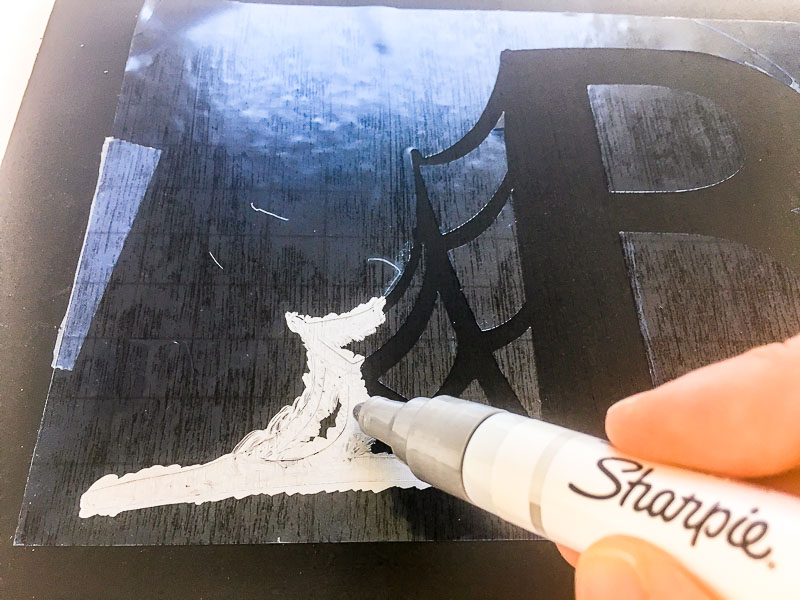
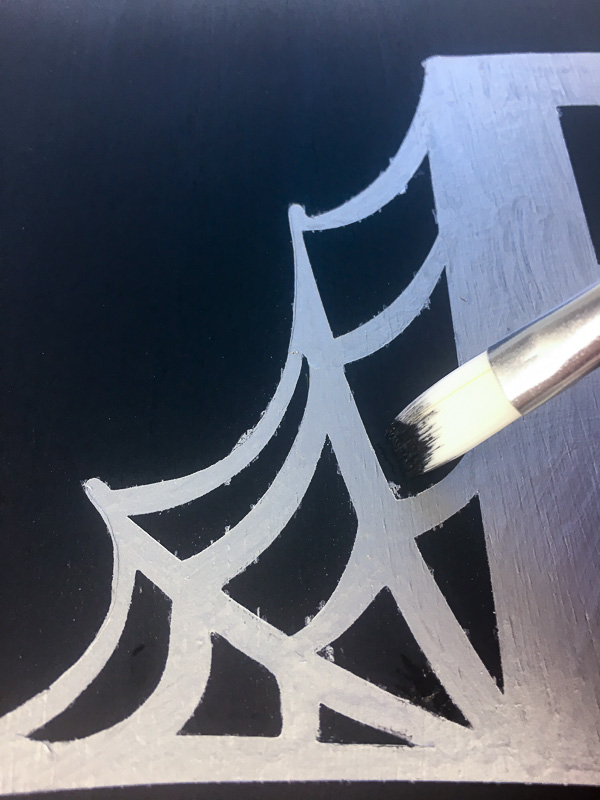
Unfortunately, I still needed to touch up a few spots with a flat bristled artist brush. Sigh.

Touch up any areas that bled through with black paint.

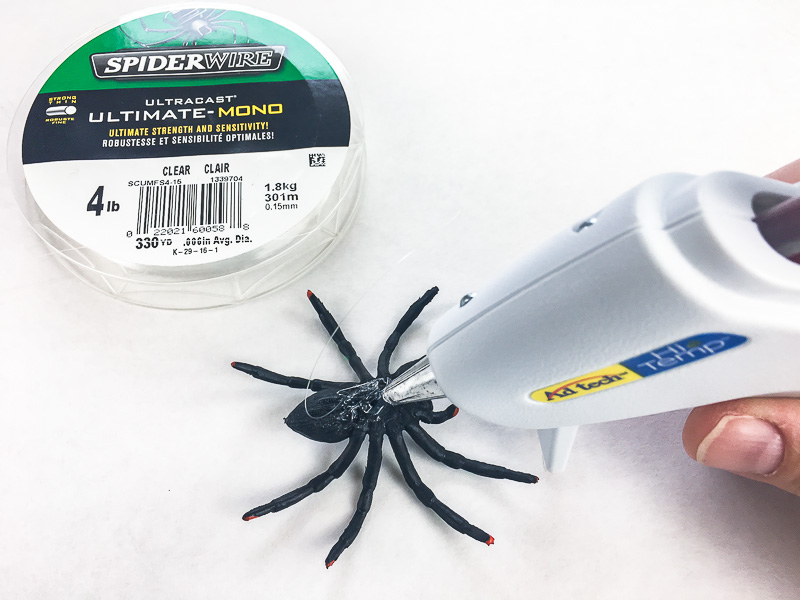
Time to add the spiders! Use a hot glue gun to attach a strand of fishing line to the back of the spiders. I had this fishing line left over from creating my kokedama, and it just happened to be the SpiderWire brand. How fitting!

Add fishing line to the back of the spider to hang in the Halloween sign.

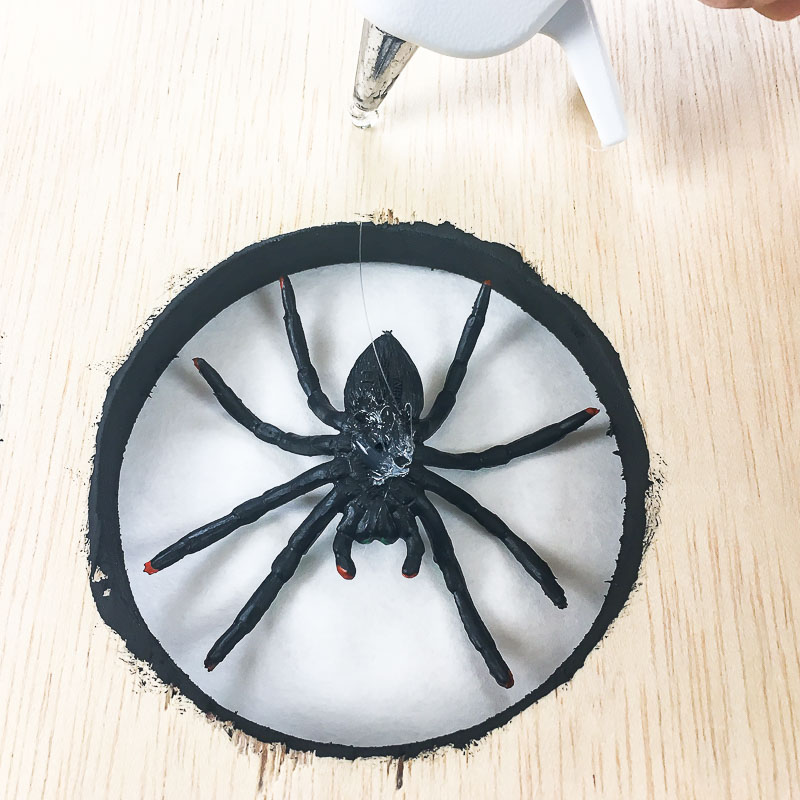
Center the spiders in the holes, and attach the other end of the fishing line to the back of the Halloween sign. I also hot glued the top ends of the spider legs to the top of the O’s to keep them from twisting on the line.

Attach the other end of the fishing line to the back of the sign.

I added another spider to the front of the sign with hot glue. Now it’s ready to join the rest of the Halloween decor on our newly remodeled mantel!

This spooky spider Halloween sign is the perfect decoration for your mantel!

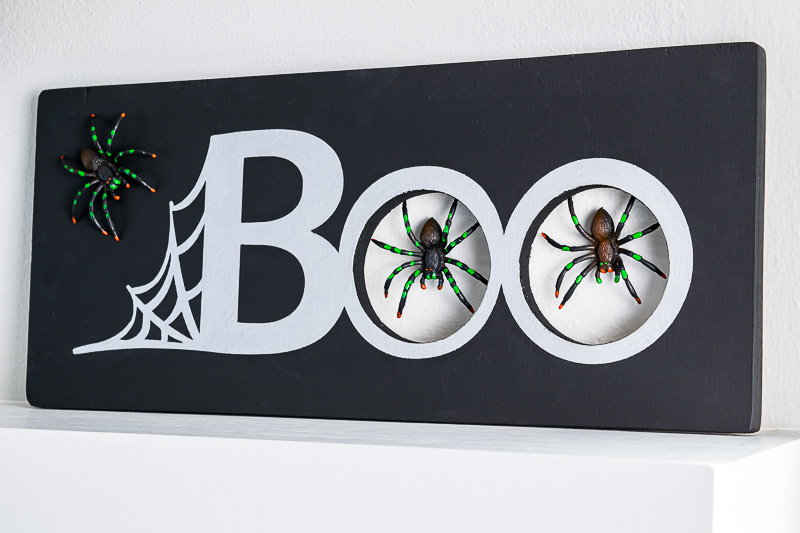
I’m not a huge fan of orange, so most of our Halloween decor is silver and black. This Halloween sign fits right in!

This black and silver Halloween sign is a spooky way to decorate for the holiday.

Have a happy Halloween!

 ~ view more of Vineta’s projects ~


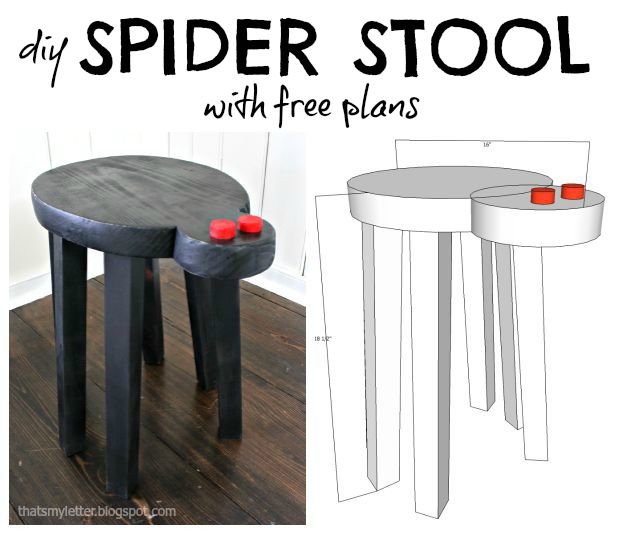
Did you like this project? If so, I know you’re going to go crazy over these DIY Spider Stools:

DIY Spider Stools with Free Plans

Ghostly Fairy Garden Planter

Ghostly Fairy Garden Planter

Hey everyone! It’s Jillian from I Am a Homemaker here today to share a little twist on the typical fairy garden with my Halloween Ghostly Fairy Garden Planter.

Fairy gardens are so fun and they add a little something special to your flower bed or planter.

I chose to add this one to a planter by my front door. It will be the perfect decoration to greet all my trick or treaters on Halloween.

Let’s get started.

(I’ve included affiliate links for your convenience. I earn a small percentage from a purchase using these links. There is no additional cost to you. You can read more about affiliate links here.)

Materials:

Instructions:

In the fall, you will typically find mums, cabbages and kale to add to your garden. These are great choices and can add perfect fall color to your porch or flower bed.

Choose flowers in a variety of coordinating colors and varying heights.

Add a fun Halloween Ghostly Garden to your fall planter. | PrettyHandyGirl.com

You can find fun fairy garden decorations for your planter online or in a craft or hobby shop.

I found some corn cobs and adorable ghost decorations but you could use tiny scarecrows and plastic vegetables to make a scarecrow garden or get a little more into the Halloween spirit with skulls and witches.  The possibilities are endless!

Add a fun Halloween Ghostly Garden to your fall planter. | PrettyHandyGirl.com

You will want a fairly large planter so you can accommodate the plants and the decorations. I made this one from some pallets and scrap wood.

Add a fun Halloween Ghostly Garden to your fall planter. | PrettyHandyGirl.com

Once your planter is filled with dirt, dry fit your plants to see how they will fit with the decorations.

Be sure to plant taller plants in the back, taking into consideration their size when full grown (not just the size they are now.)

Add a fun Halloween Ghostly Garden to your fall planter. | PrettyHandyGirl.com

Nestle the plants into the dirt. Water the plants at this point to may make it easier for you to settle the dirt and place your decorations.

Add a fun Halloween Ghostly Garden to your fall planter. | PrettyHandyGirl.com

Place your corn cobs on the front of the planter with some floral wire. You can add a little nail on the inside of the planter to help attach the wire.

Add a fun Halloween Ghostly Garden to your fall planter. | PrettyHandyGirl.com

Place the large decorations first. These are your anchor pieces that will stand out the most and keep things from looking busy and cluttered.

Add a fun Halloween Ghostly Garden to your fall planter. | PrettyHandyGirl.com

Add your accent pieces. I used gravestones, a jack-o-lantern and a “Keep Out” fence.

Add a fun Halloween Ghostly Garden to your fall planter. | PrettyHandyGirl.com

Don’t forget to include some residents! My house came with two cute ghosts sticking out, but having another in the “front yard” is fun too.

Add a fun Halloween Ghostly Garden to your fall planter. | PrettyHandyGirl.com

If you are using a house, a path is a great addition. For a planter like this you can use sand, glitter, rocks, fish bowl rocks or pre-made decorations. I found giant bottle caps on clearance last year turned them into a cute path. You could upcycle bottle caps of your own with spray paint and glitter.

Add a fun Halloween Ghostly Garden to your fall planter. | PrettyHandyGirl.com

Now all you have to do is remember to water your planter! I’m not so good at that. But the best part is, if all the plants die you can just say it’s part of your Halloween theme :).

Add a fun Halloween Ghostly Garden to your fall planter. | PrettyHandyGirl.com

What’s next on your Halloween list? Is the candy bought? If you dress up, I would love to hear what you are going to be!

Jillian's Signature

-Read more of Jillian’s tutorials-