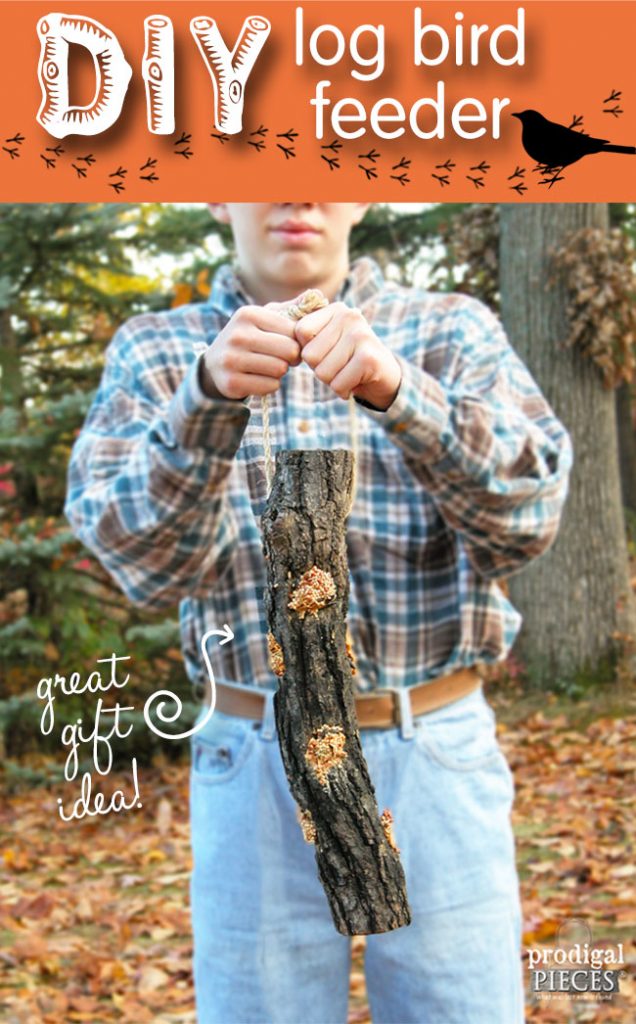
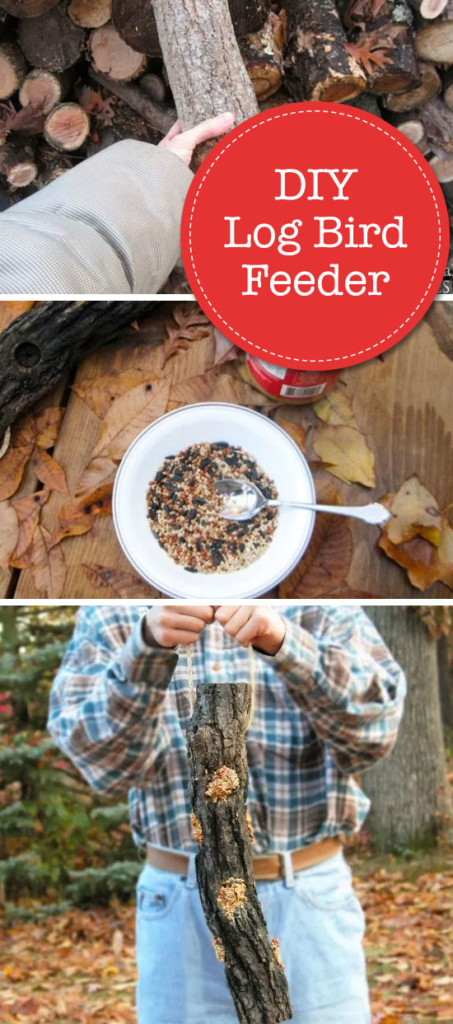
Hello readers, I’m Larissa coming to share with you a nature-inspired DIY project. Today, we’ll learn how to create a special DIY Log Bird Feeder treat for our feathered friends. The best part is that this can be a family fun activity to do AND to give as a gift for anyone who loves bird watching.
DIY Log Bird Feeder
We are avid bird lovers in our home and were delighted when a friend of mine gave us this bird feeder made from a piece of firewood and rope. How easy is that?

What a delight it is to see our tree clinging birds (nuthatches, tufted titmice, and woodpeckers) come for a visit and see their excitement at the treat they’ve found, especially the birds that overwinter. Did you know that migratory birds will remember your home the next time they’re passing through and will come back again year after year if you continue to provide nourishment for them? It’s like a reunion each spring and winter. Fun!
So, let’s grab some materials and get ready to create a DIY log bird feeder!

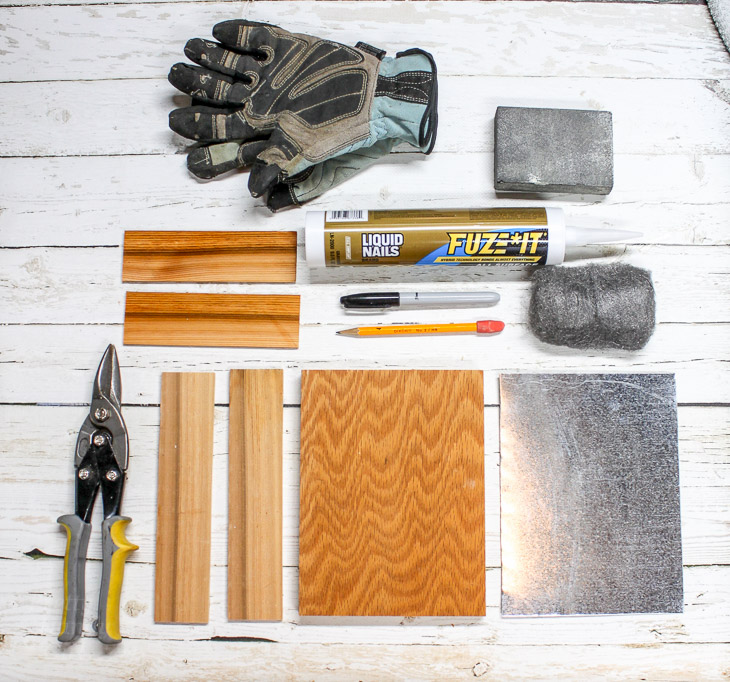
Materials:
(I’ve included affiliate links for your convenience. I earn a small percentage from a purchase using these links. There is no additional cost to you. You can read more about affiliate links here.)
- a log (can be firewood) about 3-4″ diameter and 16″ long or as long as you like
- 1/4″ diameter rope
- scissors
- drill
- 1″ spade bit
- 5/16″ drill bit
Picking Your Log:
We are blessed to have a fireplace, so we always have a stash of firewood on hand. For your log, you can use a downed branch or head to your own stash to grab a piece of wood.

The tree-clingers prefer a chunky bark, but any tree variety will do.

Instructions:
Clamp your log and keep your hand clear from the drill bit. Wear appropriate eye protection.

To start, use a 1″ spade bit to drill a hole approximately 1/2″ deep, 2 inches down from the top.

Drill a second hole on the same face about 6″ below the first.
Roll the log a quarter turn and drill in the next face starting with the first hole about 5″ from the top and then a second hole 6″ below that one. (This does not have to be exact and gives a more rustic feel when randomly chosen.)

Repeat those steps until you have two sets of matching faces on opposing sides.
Drill your rope hole using a 5/16″ bit. Starting on the face that has the first hole 5″ down, drill your rope hole 2″ from the top, making sure to go completely through the log.

Cut a 2′ or longer piece of rope and thread it into the hole. If you turn the rope in the direction of the braid (counter-clockwise) while inserting it, that will help the rope go through smoothly.
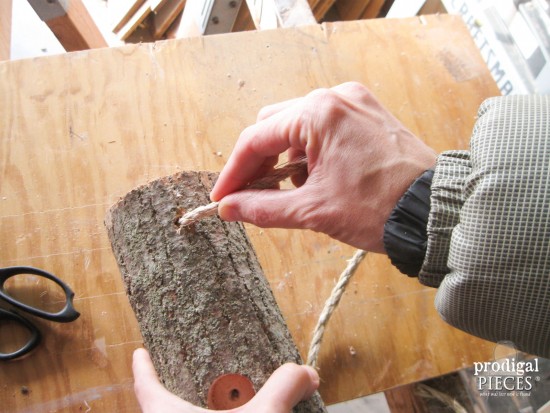
Once through, tie the rope ends together using a basic knot.

On to the fun part! Birds burn a ton of protein flitting about, so they need to store up as much as they can. We prefer to use chunky peanut butter and then roll it in seeds like this.

Grab a tablespoon of peanut butter and place it in a bowl of birdseed.

Then sprinkle the peanut butter with seed.

After coating with the seed, press the mixture into the holes using the back of a spoon, or if you’re nutty like me (catch the pun?) it’s more fun to use your fingers.

The kids love this part!

You’re done and it’s ready to hang. Yay!

For a fun twist, and if you’re feeling handy, you could also add dowels for other species to be able to roost at each hole, but for this project I kept it simple.
Got questions? Please feel free to ask.
If you enjoyed this project, do pin and share!

Pin this project for later!
Liked this project? Then you’ll love these birdhouses:


 DIY Bread and Cheese Board

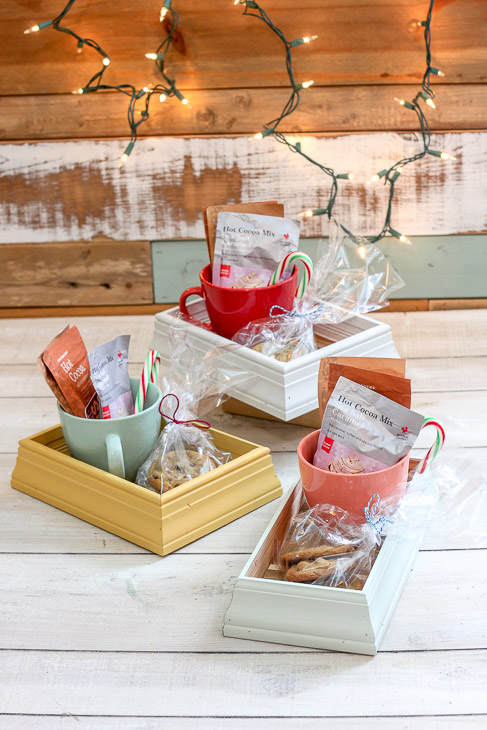
 DIY Sheet Metal Gift Trays