Hello everyone, I’m Shara from the DIY blog Woodshop Diaries. I am excited to be a new contributor on Pretty Handy Girl!! If you don’t already know me, it’s very nice to “meet” you! I’m a DIYer with a passion for woodworking and remodeling.
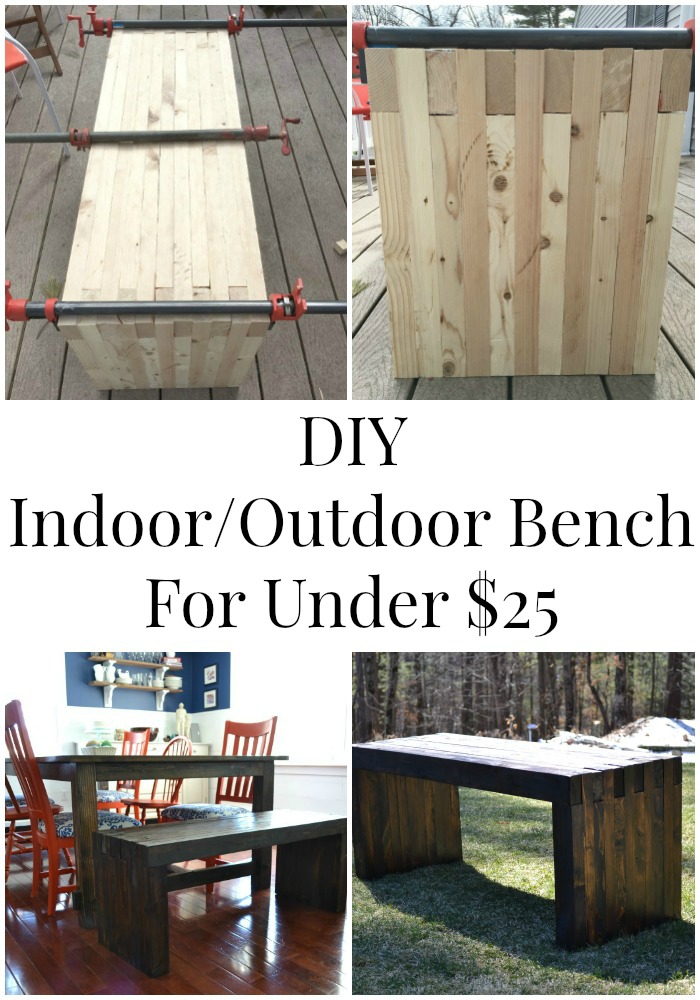
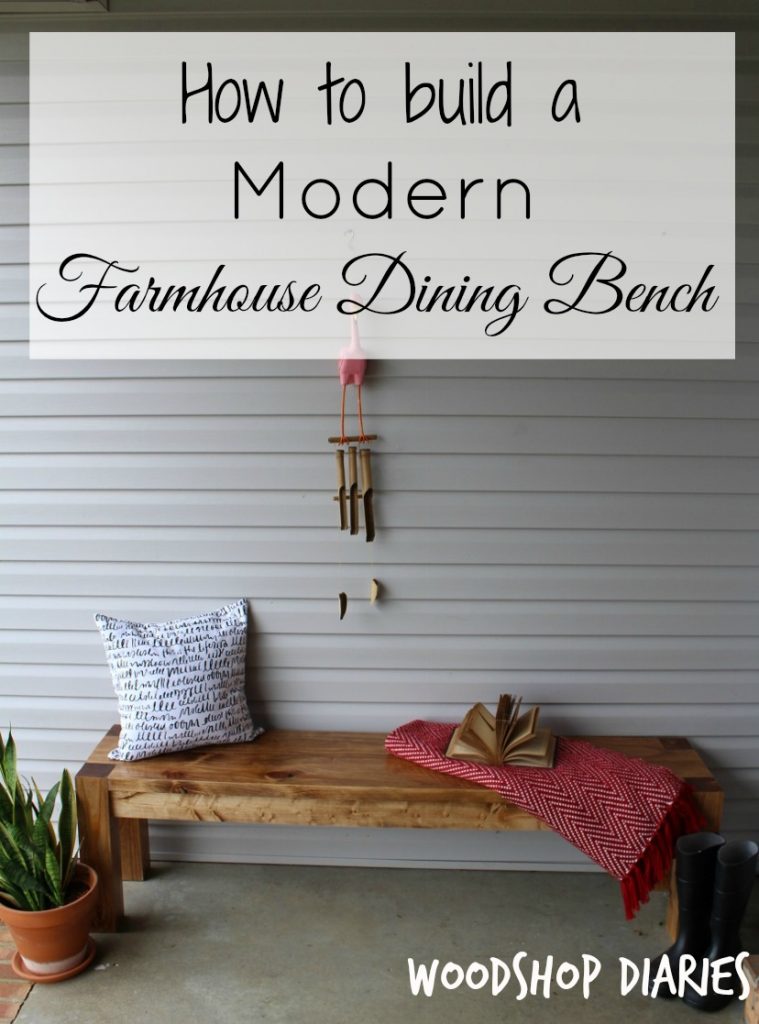
That being said, I’ve been super busy building in the shop lately and one of my latest (and favorite) projects was this modern farmhouse table. But of course, no farmhouse table is complete without at least one matching bench, right? Today I’m going to show you how to build a modern farmhouse bench. 🙂
Get your building music ready, and let’s get started.
Materials:
- (2) 2″ x 8″ x 8′
- (3) 2″ x 4″ x 8′
- (1) 4″ x 4″ x 8′
- 2 ½” pocket hole screws
- 2 ½” wood screws
- 4″ wood screws
- Wood Glue
- Miter saw
- Circular Saw
- Drill
- Jig Saw
- Kreg Jig for pocket holes
- Sander
- Stain or Paint and Polycrylic
Instructions:
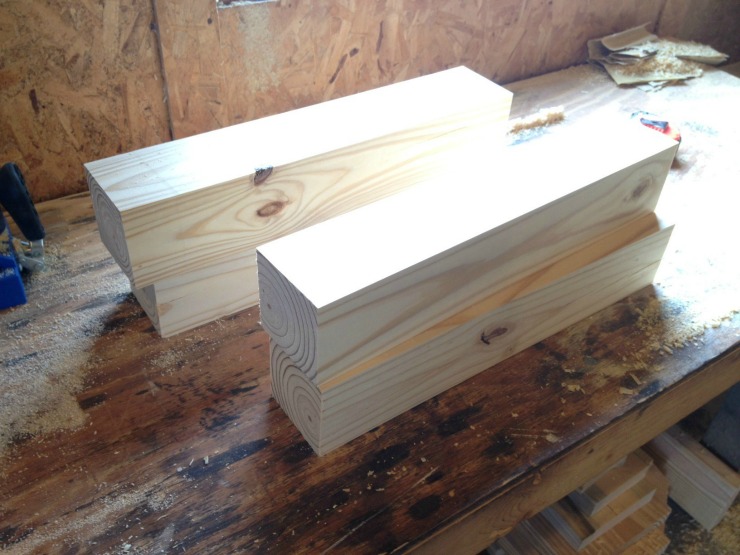
Step 1: Cut the Legs.
Cut four legs from the 4×4’s at 18″ long using a miter saw.
Step 2: Assemble the top
Using glue and clamps (or using 1 ½” pocket holes and 2 ½” pocket hole screws), attach the two 2″ x 8″ x 8′ boards together.
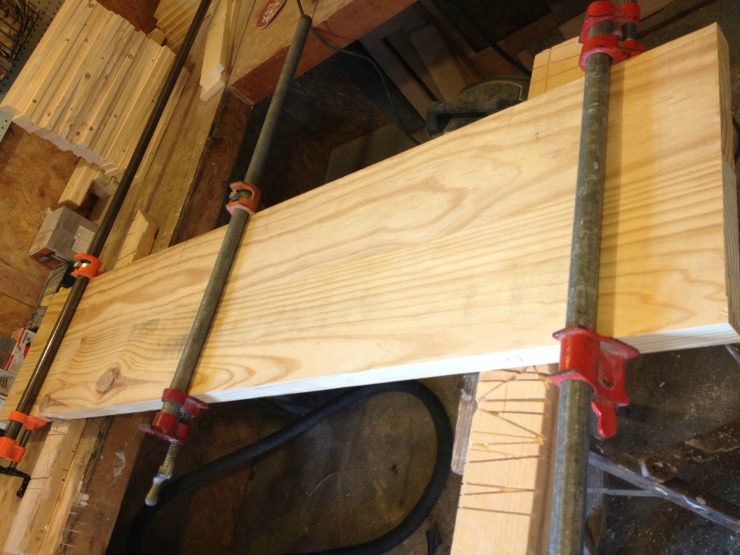
Once the glue is dry, trim down to your desired length using a circular saw and a straight edge (beware of the location of your screws if you used pocket screws).
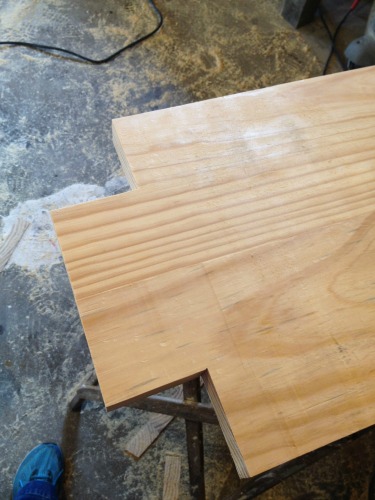
Step 3: Cut corners for legs
Using a jig saw, mark 3 ½” squares on each corner and cut out. This is where the legs will go in the next step.
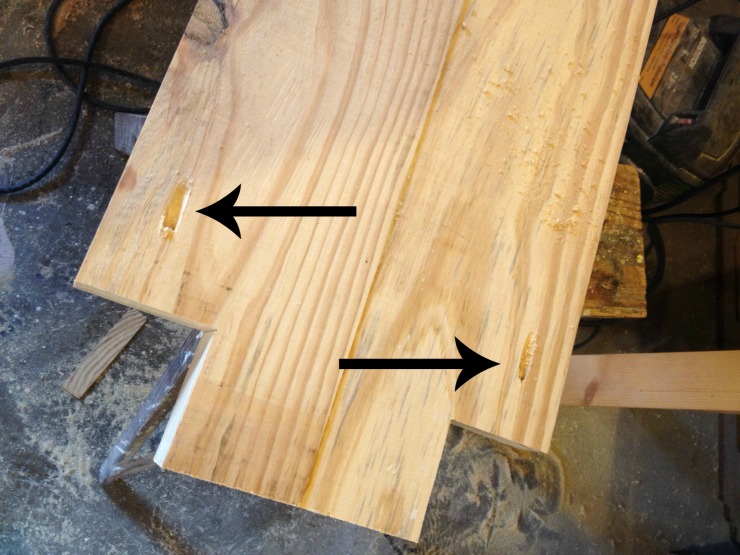
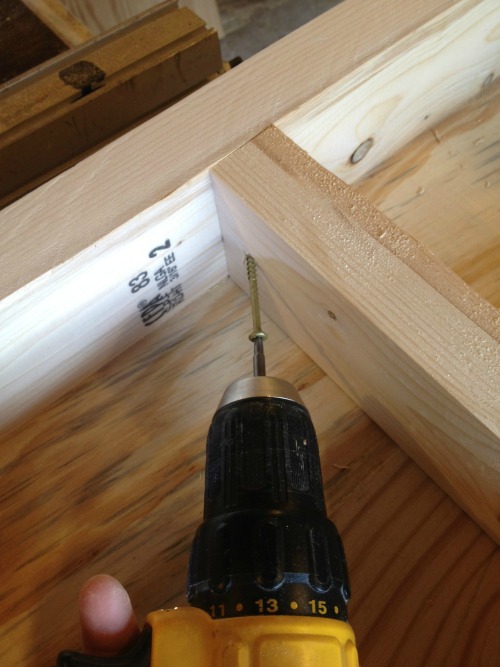
Once your corners are cut, drill 1 ½” pocket holes as shown below. Repeat for each corner.
Step 4: Attach the legs
Set a 4×4 leg into each corner. Make sure the leg tops are flush with the top of the bench. Secure the legs into the corners using 2 ½” pocket hole screws. You will add more support in the next step, so don’t worry if the legs feel a little flimsy. The screws simply hold the legs in place while you add the supports.

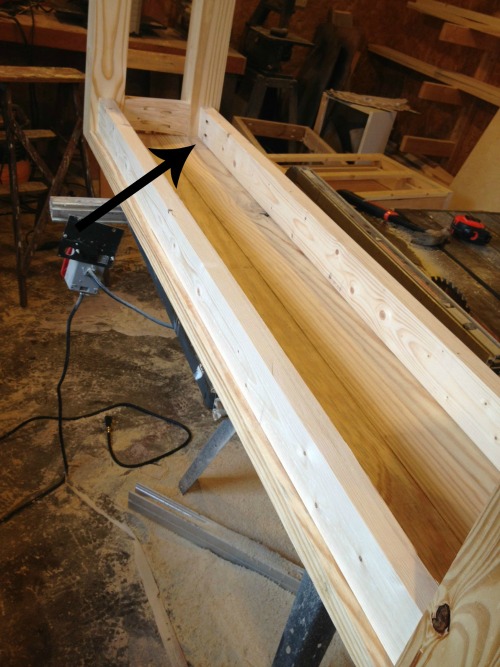
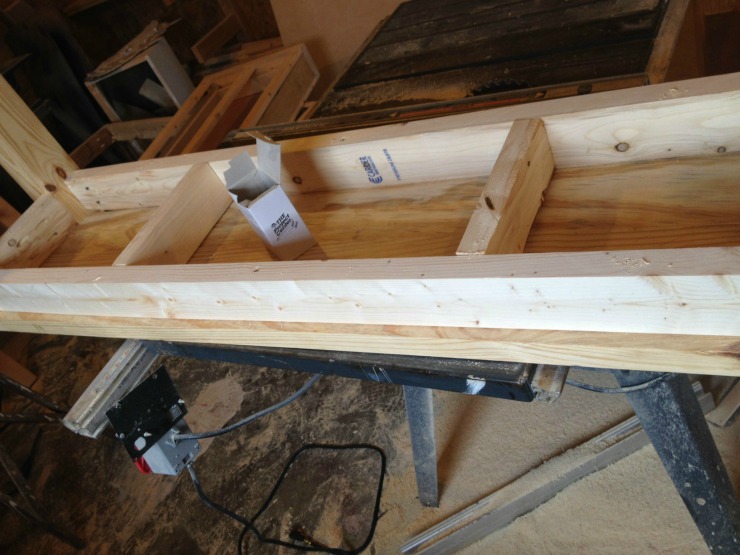
Step 5: Add bottom supports
Measure the distance between all your legs. Cut the 2″ x 4″ boards to fit between the legs. (Depending on how accurate your jig saw cuts are, one side may be slightly longer than the other.) The 2″ x 4″ support pieces must fit snug between the legs. Drill two pocket holes in both ends. Line up the supports approximately 1 ½” from the edge of the bench top. Attach the supports between the legs using 2 ½” pocket hole screws. Note: You will have to attach the short pieces first or you won’t be able to fit the drill in between the longer side pieces.
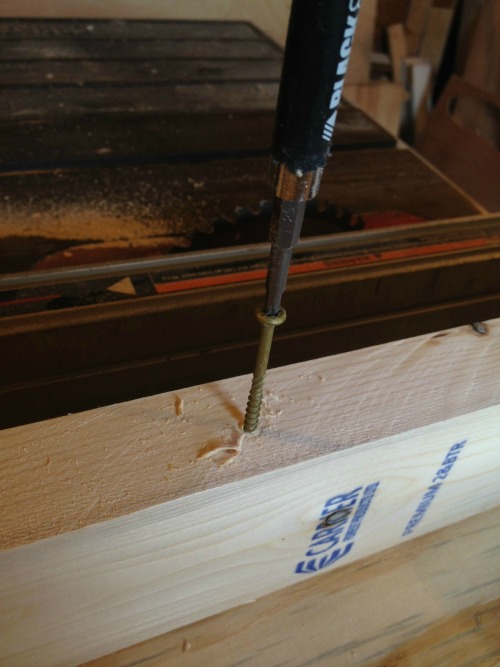
Pre-drill holes (to avoid splitting the wood) through the supports into the bench top. Use 4″ wood screws to secure the supports to the bench top.
Cut two more pieces of 2×4 to fit between the two long supports. Attach these small 2×4’s to the supports using 2½” wood screws driven in at an angle.
For added stability, drive a few more 4″ screws through these smaller supports into the bench top.
Step 6: Finish
Flip your bench over and give it a good sanding. Finish off with stain or paint of your choice. (I stained my bench with Minwax Early American and finished it with Minwax Polycrylic.)
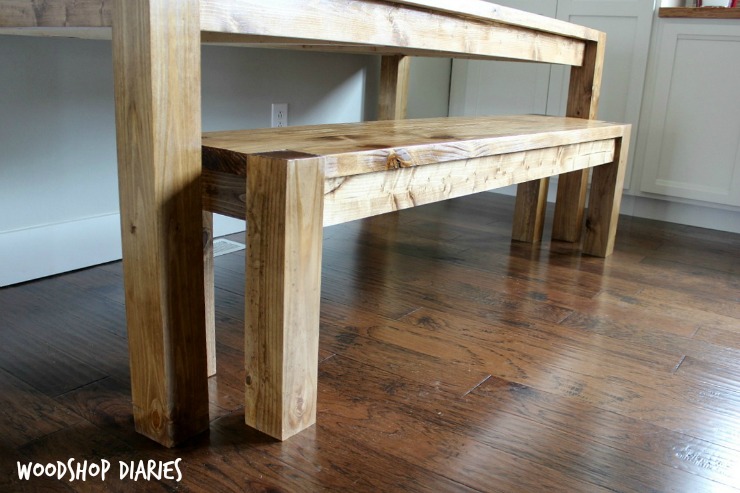
This bench matches perfectly with the modern farmhouse table I recently built for a friend.
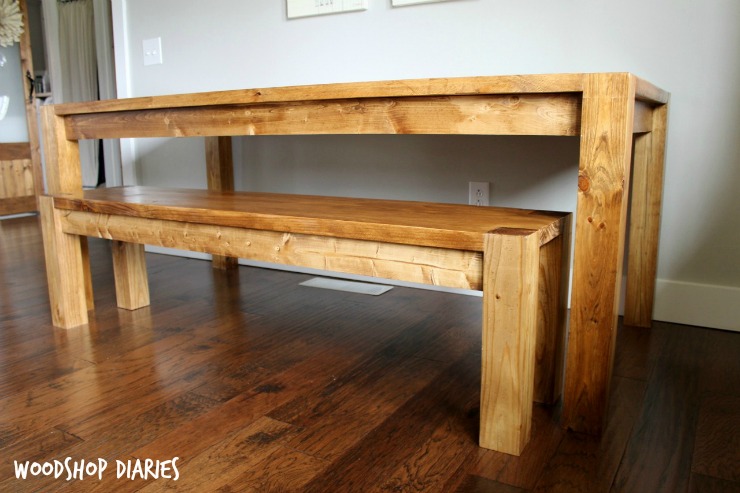
Conveniently, it looks handsome inside or outside your home.

What do you think? Want to build this Modern Farmhouse Bench for your home?
Be sure to visit me over at Woodshop Diaries and join in on all the shenanigans ;). Until next time, happy building!!