Tag Archive for: bathroom

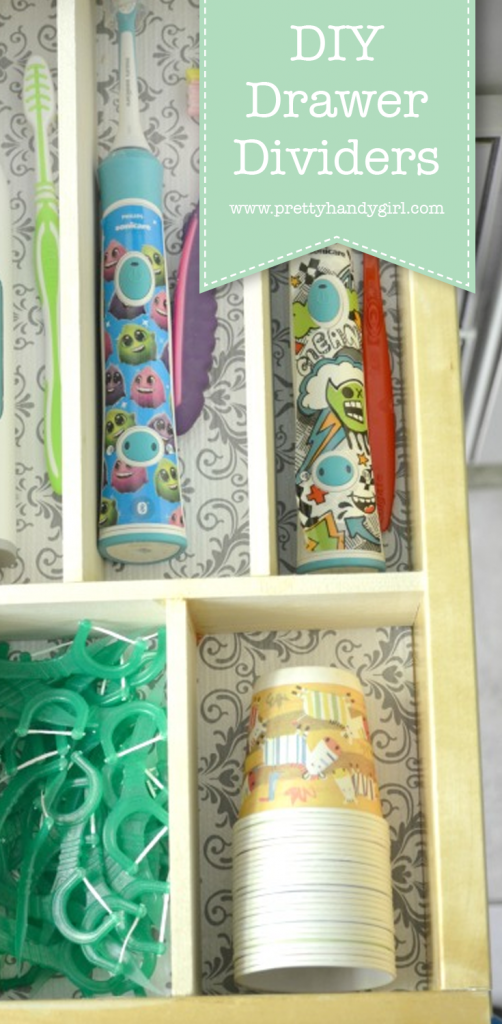
Does your bathroom need a little sprucing up? If you’re anything like me, you get a little tired of the same boring thing year after year. The 33 projects in this collection are inspiration for how you can DIY Bathroom Upgrades!

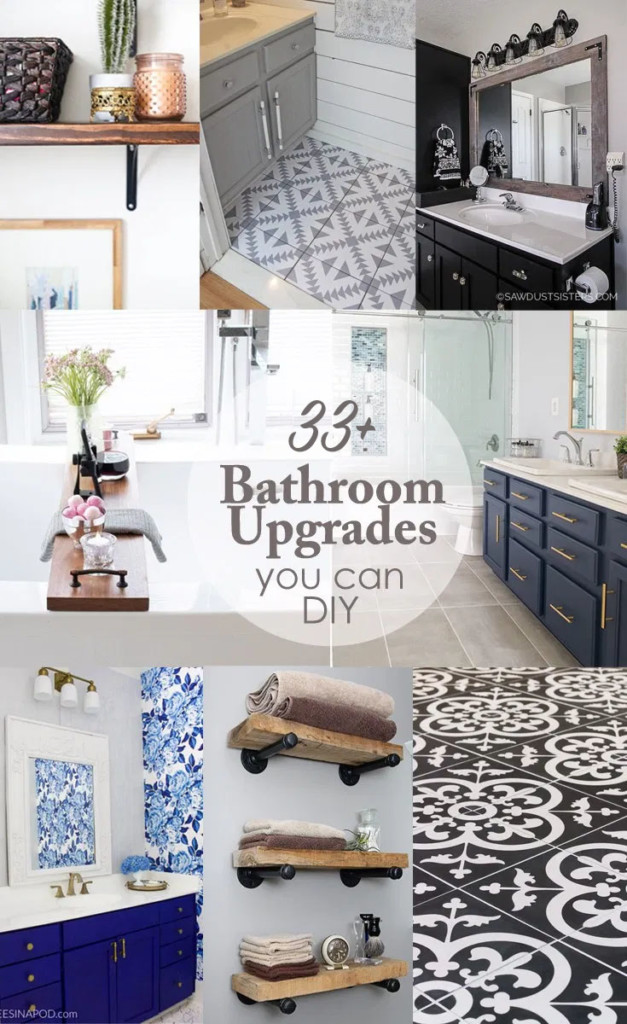
Bathroom Upgrades You Can DIY

If your how was built with builder-grade materials and you’re looking for ways to upgrade different things to make it more personalized and beautiful, today is the day to get some inspiration to make a change in your bathroom. The good news is these are all projects that you can put together with just a few supplies and a little time and elbow grease.

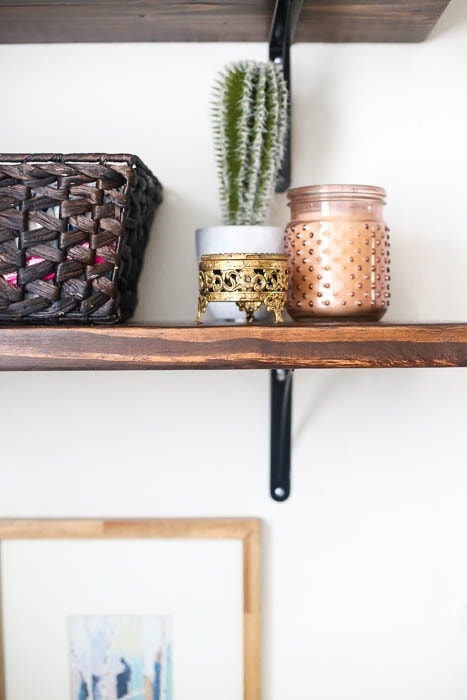
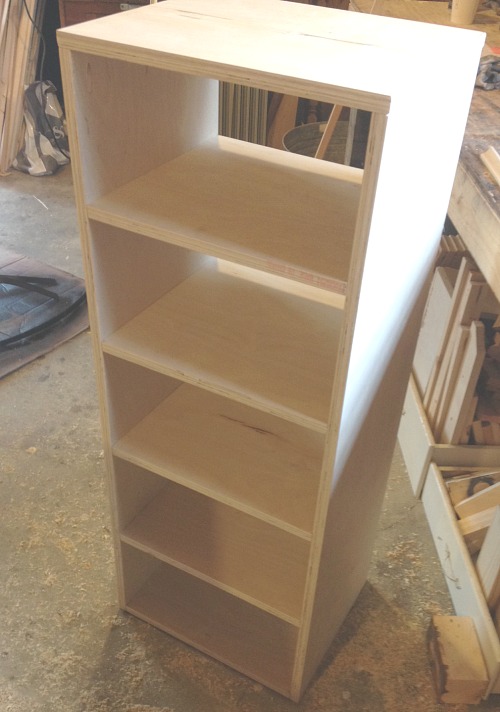
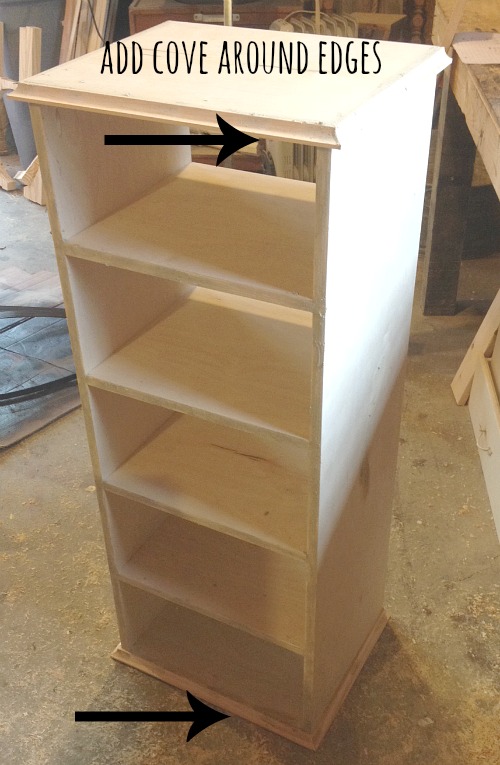
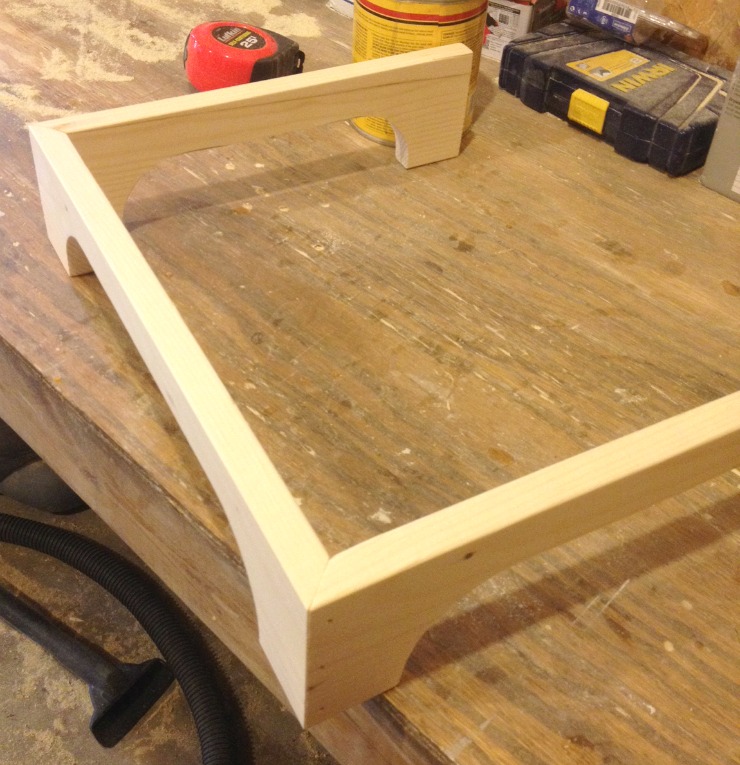
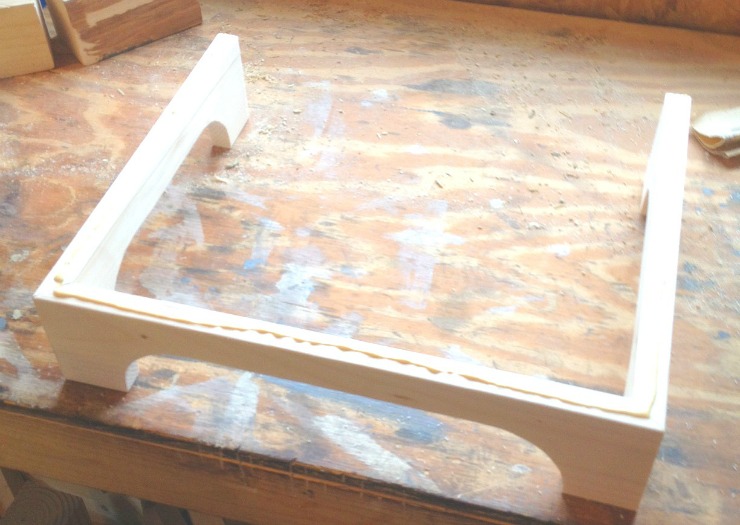
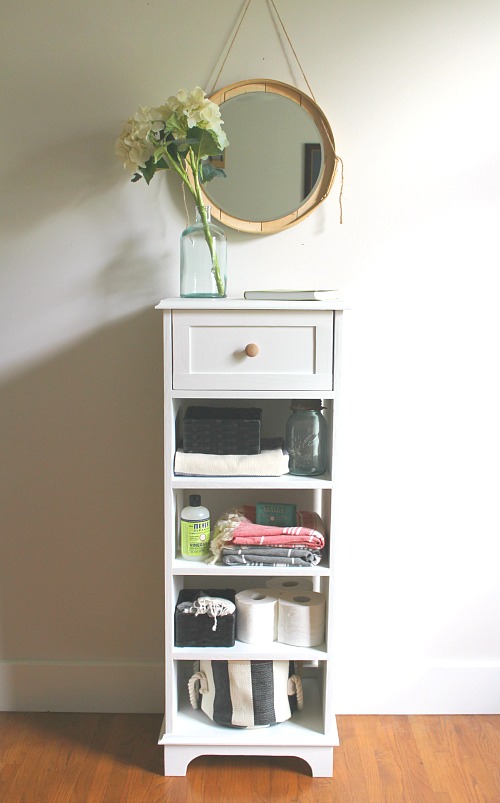
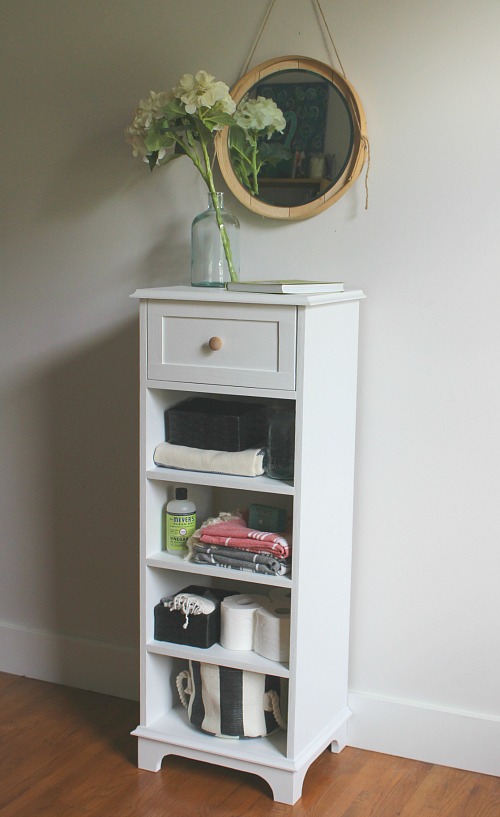
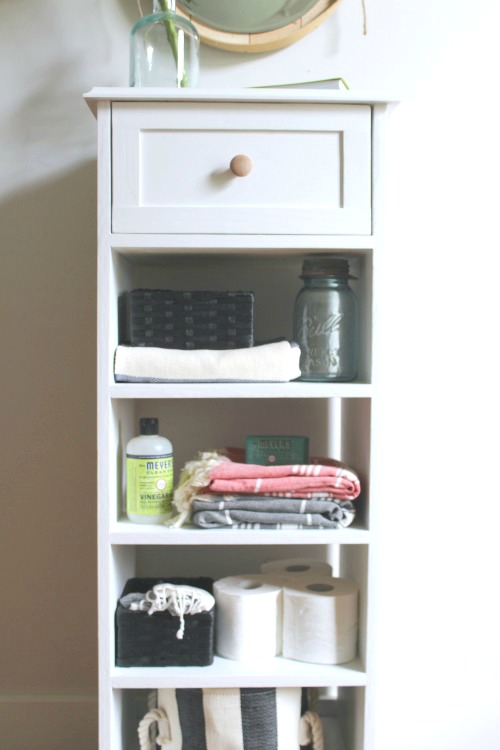
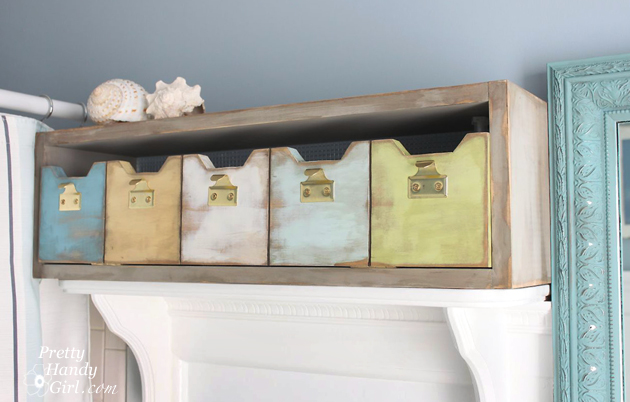
Create more beautiful storage in your bathroom with these easy bathroom shelves.


Provide a little privacy without blocking light by applying this privacy film to your bathroom windows.


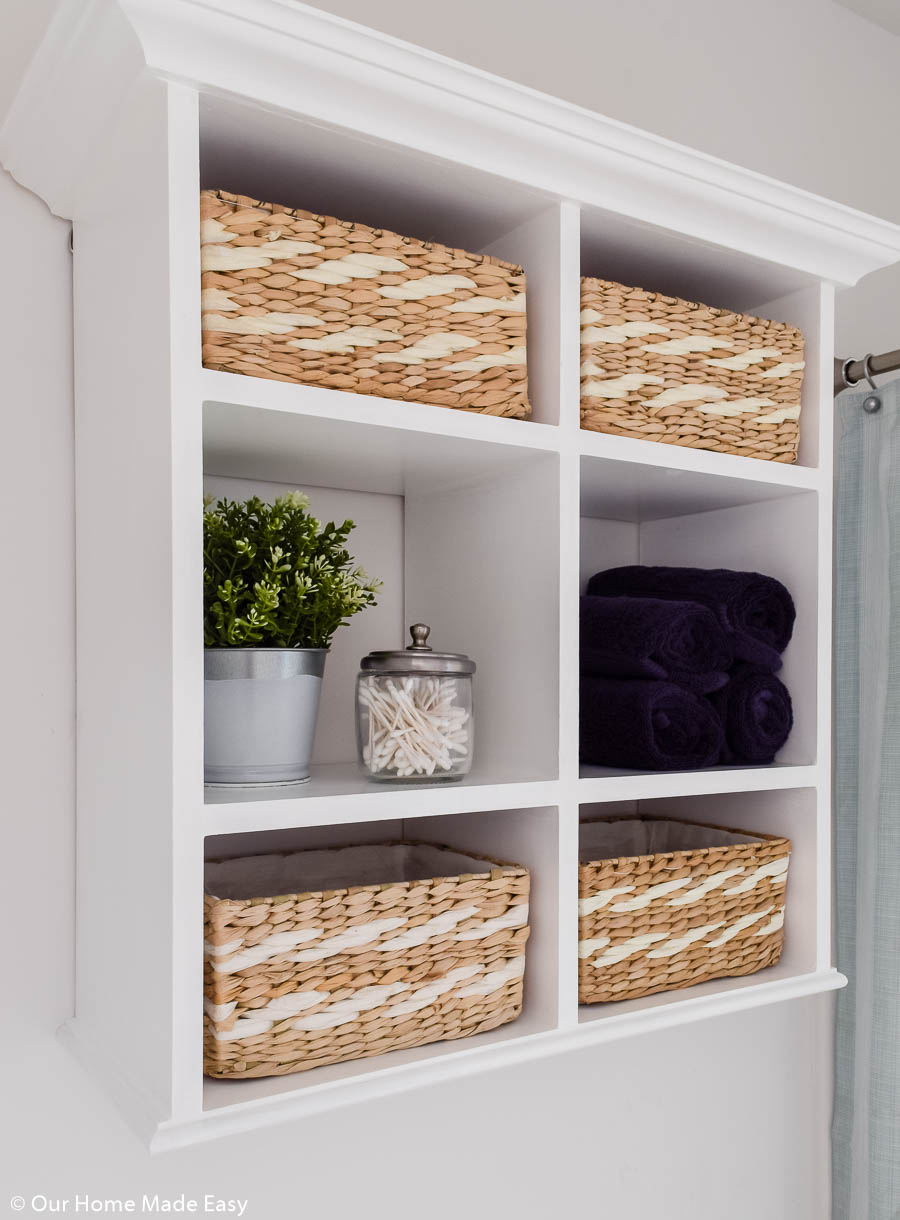
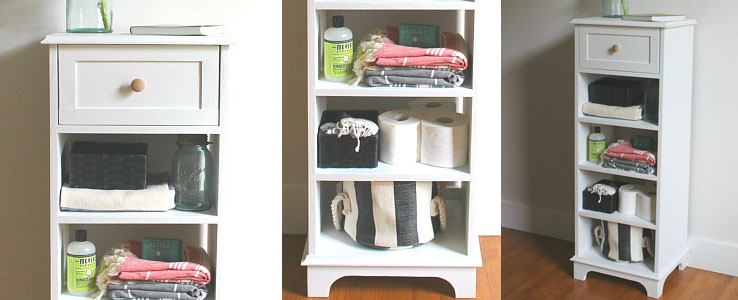
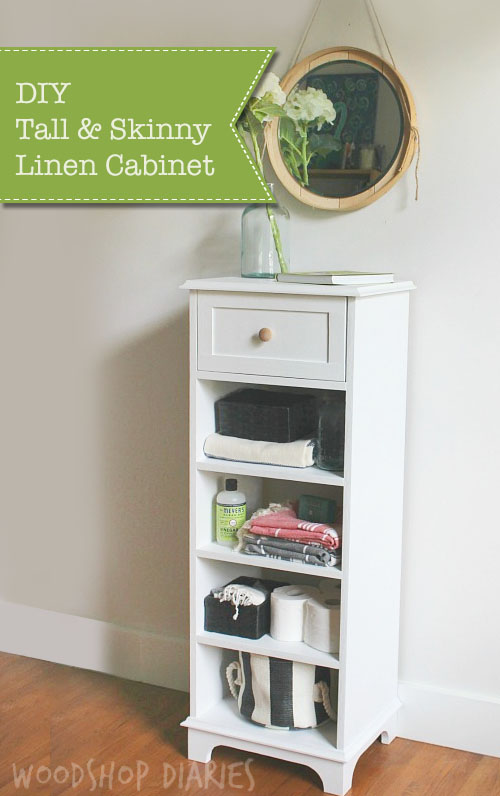
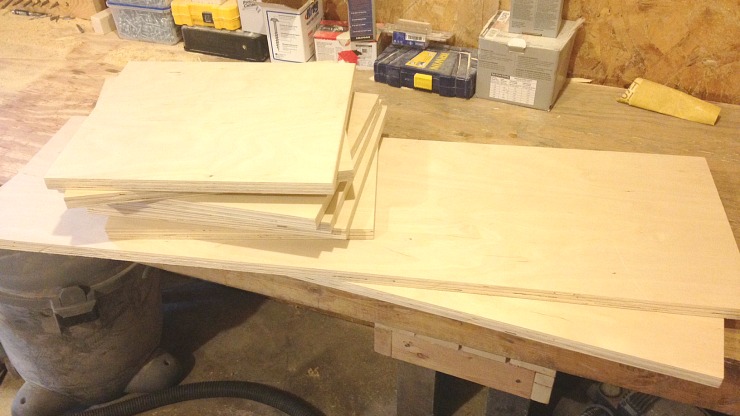
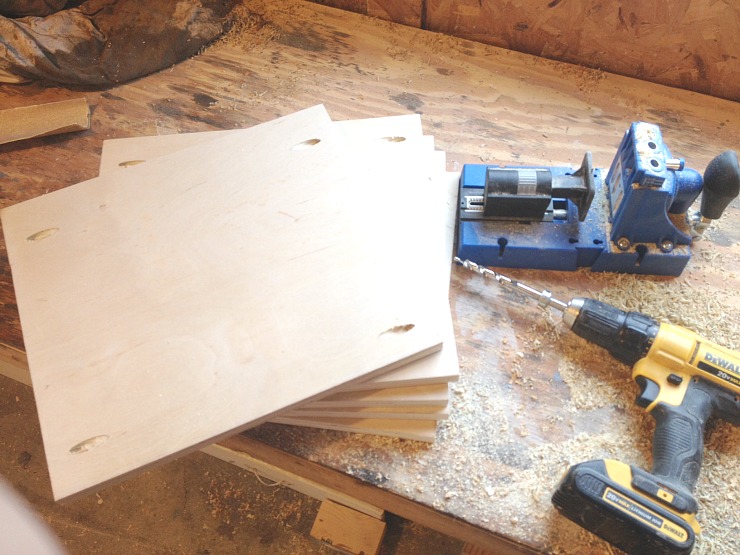
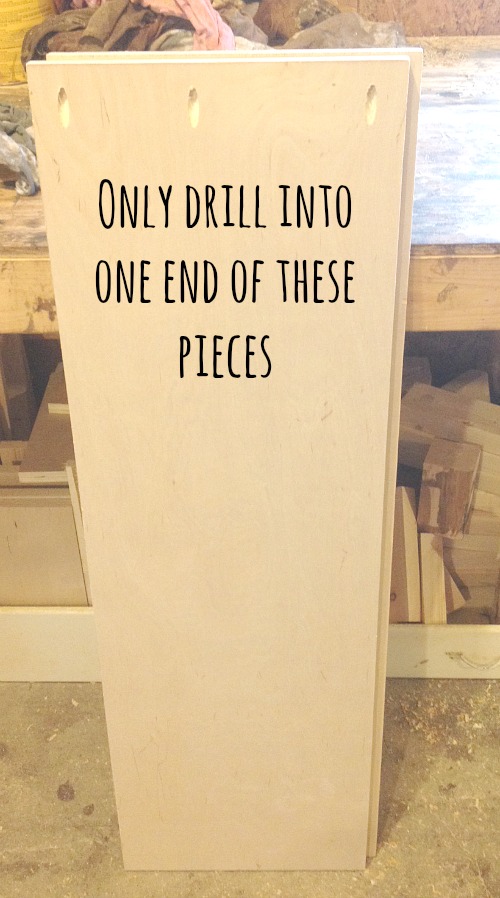
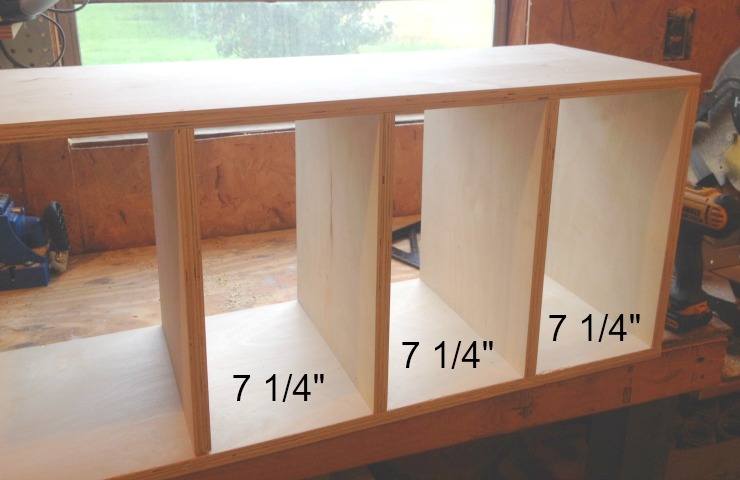
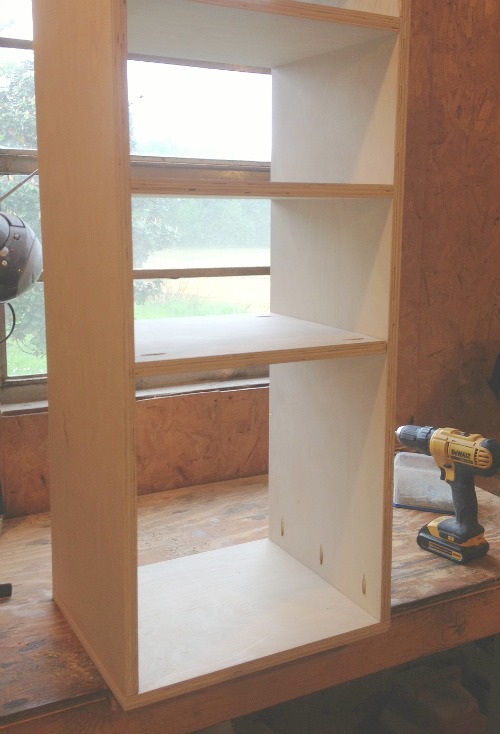
Build this DIY bathroom wall cabinet to create another place to store toiletries and towels.


Learn how to install cement tiles on your own so you can create the floor of your dreams!


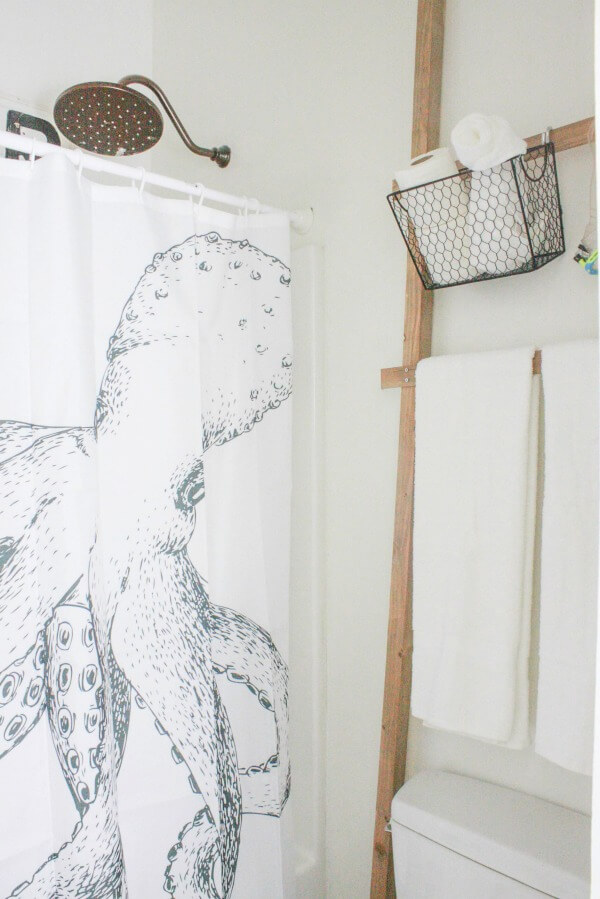
If you need a place to hang some towels, build this simple rustic ladder for your bathroom.


Plenty 'o Storage from One Board | Pretty Handy Girl Plenty 'o Storage from One Board | Pretty Handy Girl

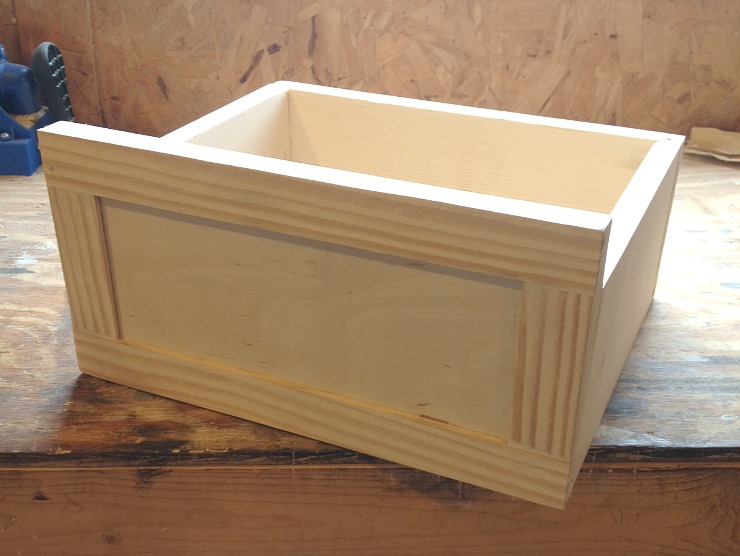
Build a simple storage box to put bathroom essentials out of sight using only ONE BOARD!


diy rolling racks by hazel and gold designs

Another option for towel storage is this rolling bathroom towel rack; perfect if you don’t have ample wall space.


Learn how to install and update cabinet hardware for a more modern look to your bathroom.


Rustic Wood Bathtub Tray | Pretty Handy Girl

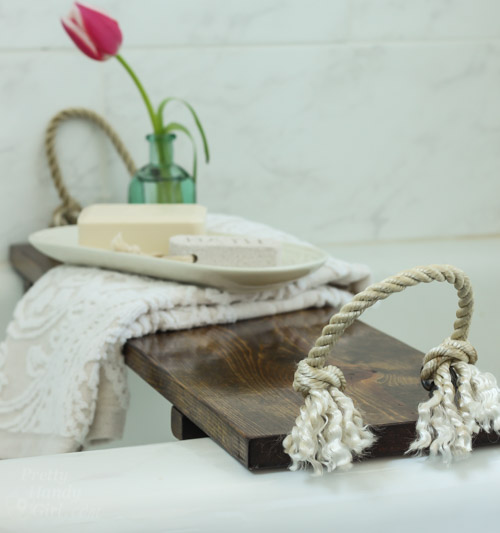
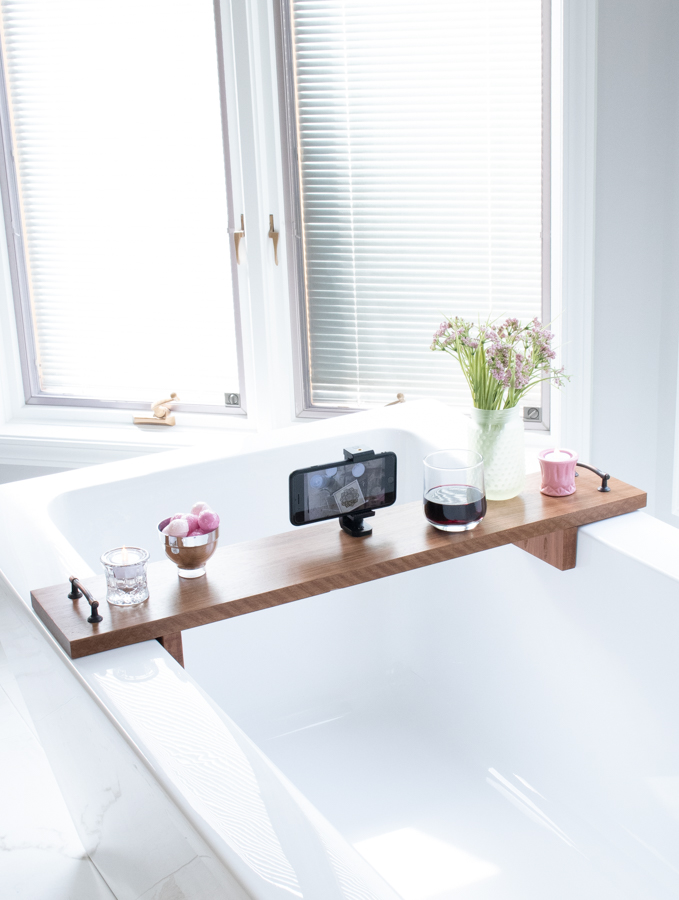
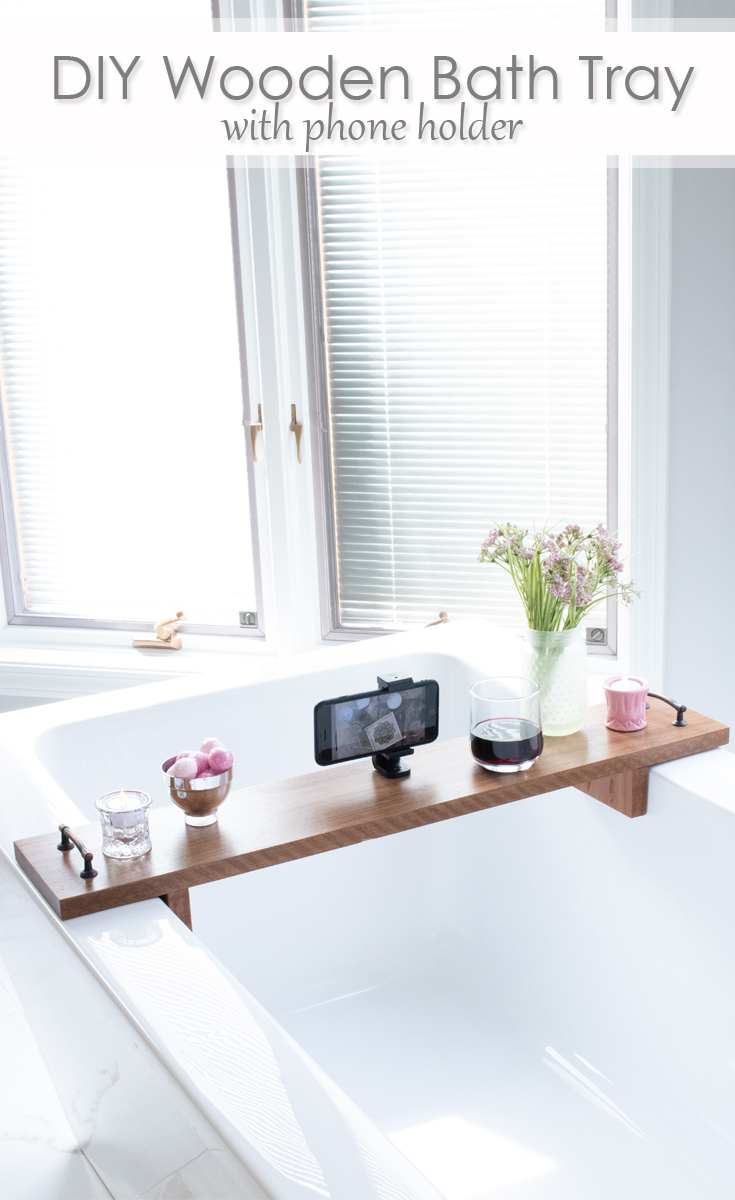
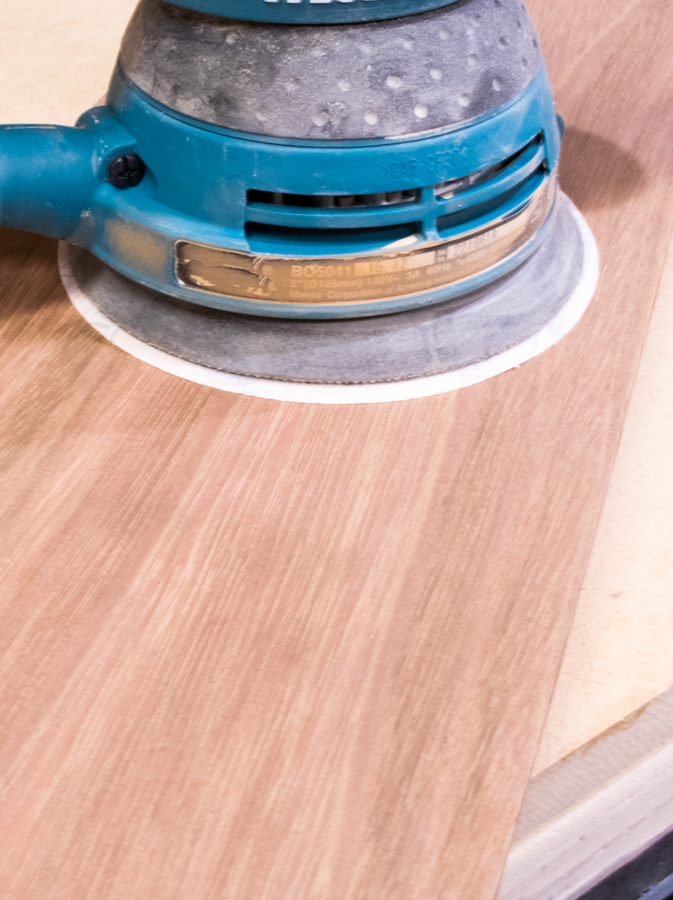
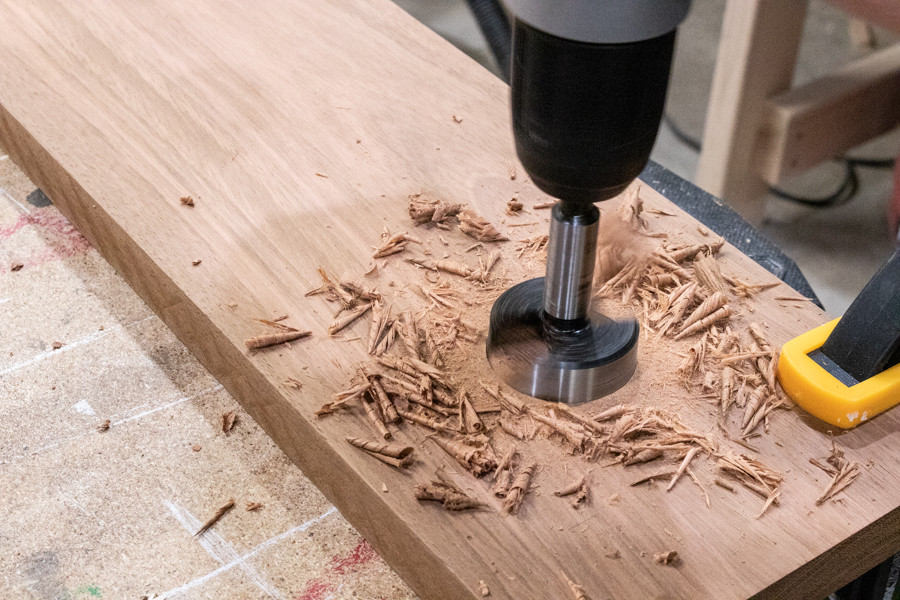
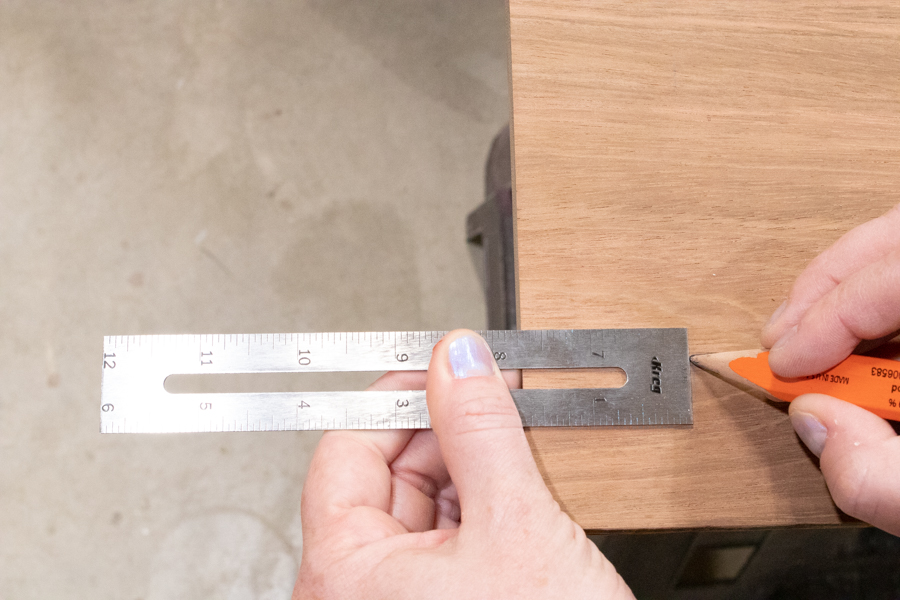
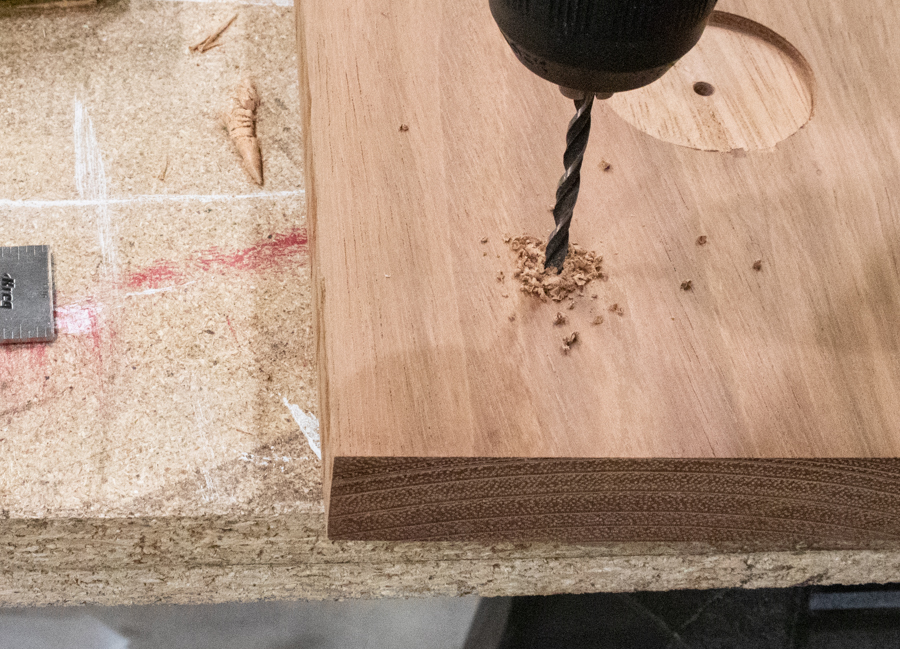
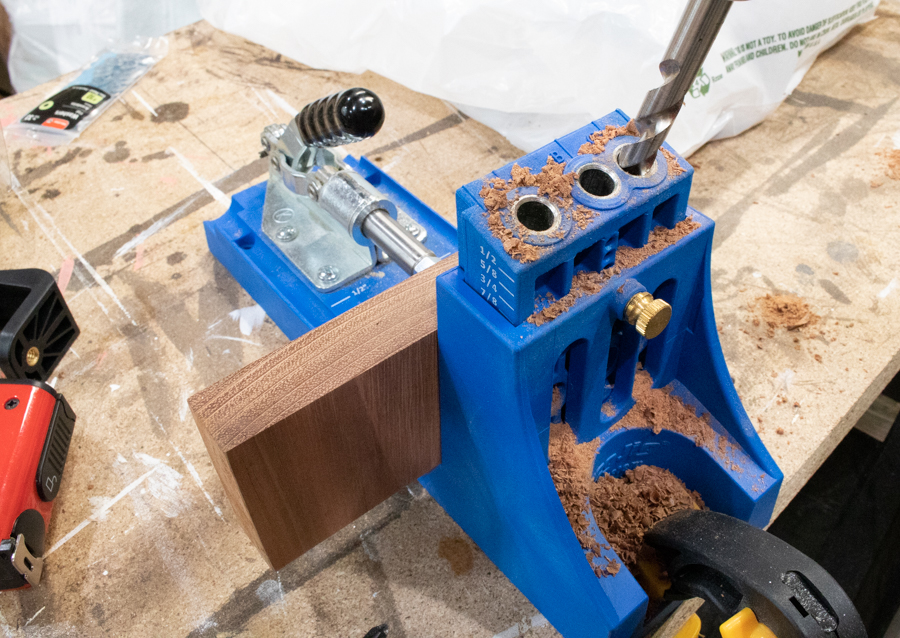
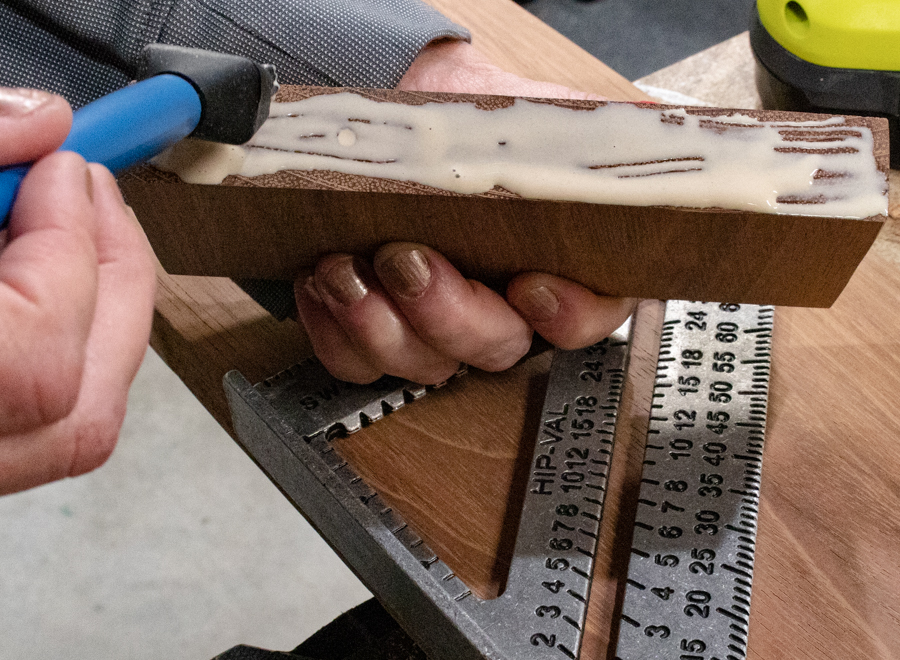
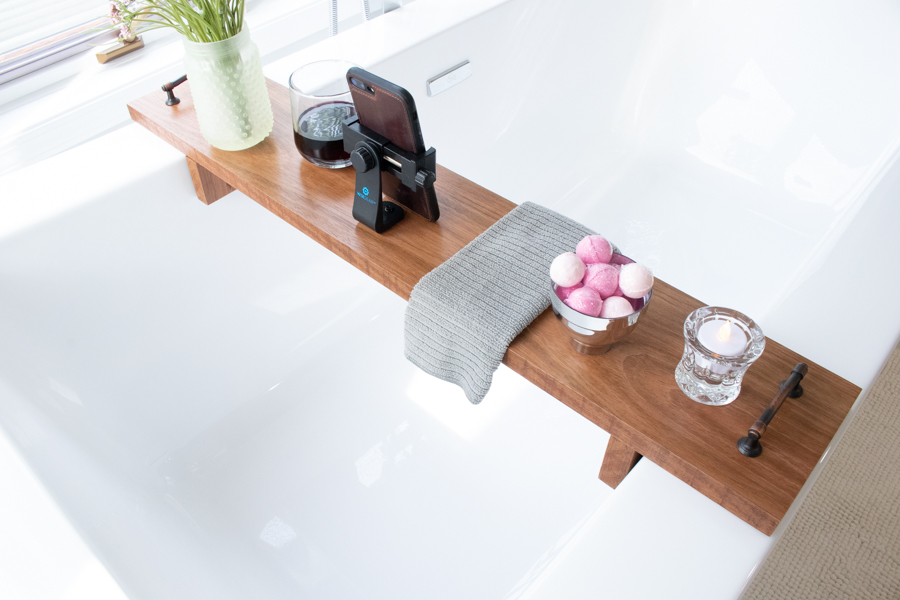
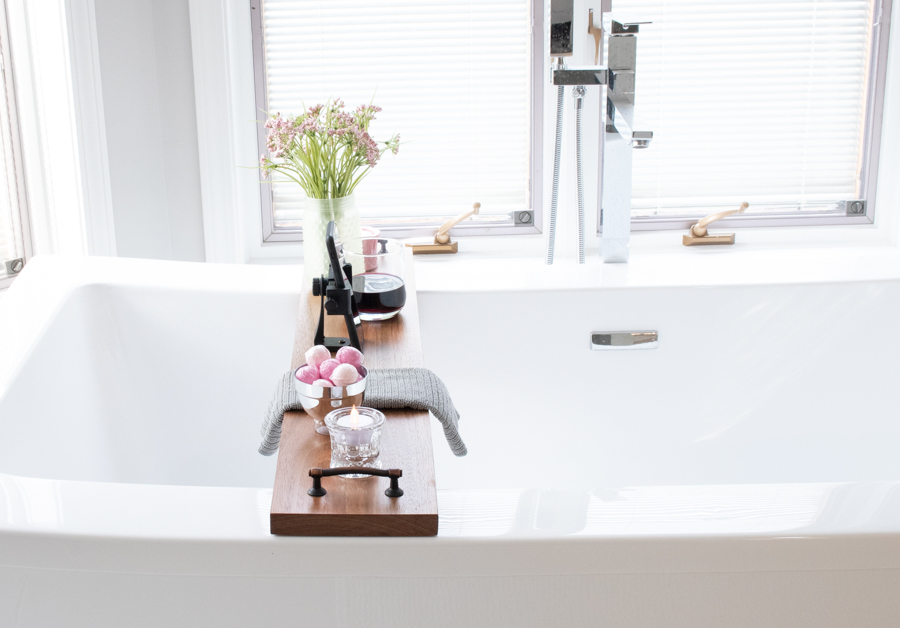
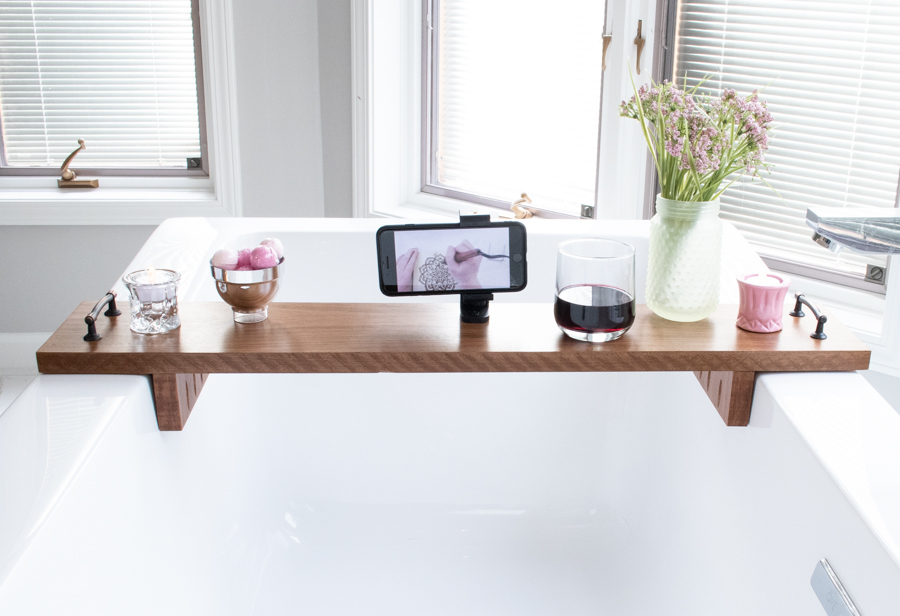
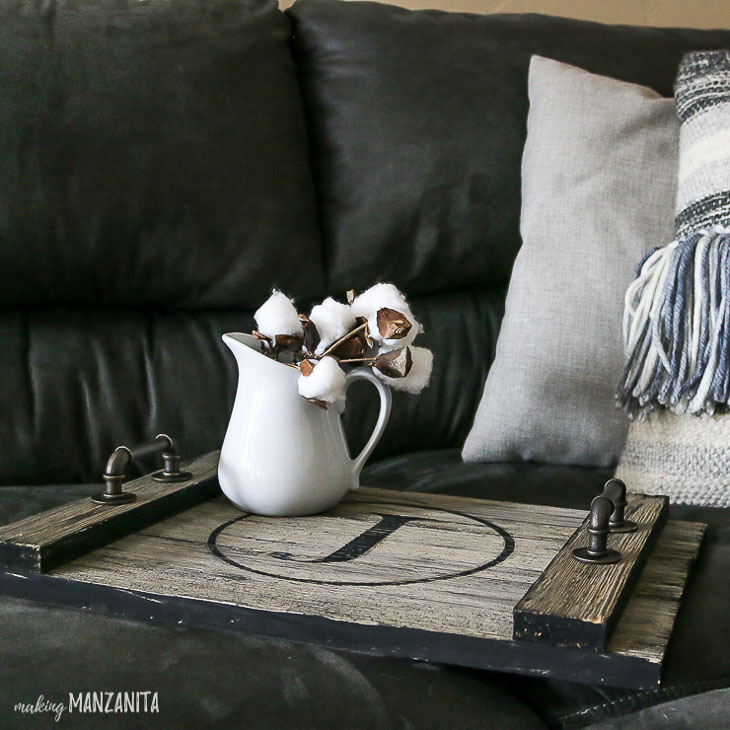
Make this beautiful and useful wooden bath tray that will hold your phone while you bathe. It’s great decor too!


Update your bathroom with customized towel hooks rather than rods.


If you’re looking to change your mirror, consider learning how to hang a frameless oval mirror.


If you like the rustic look, consider updating with unique things like this branch towel bar.


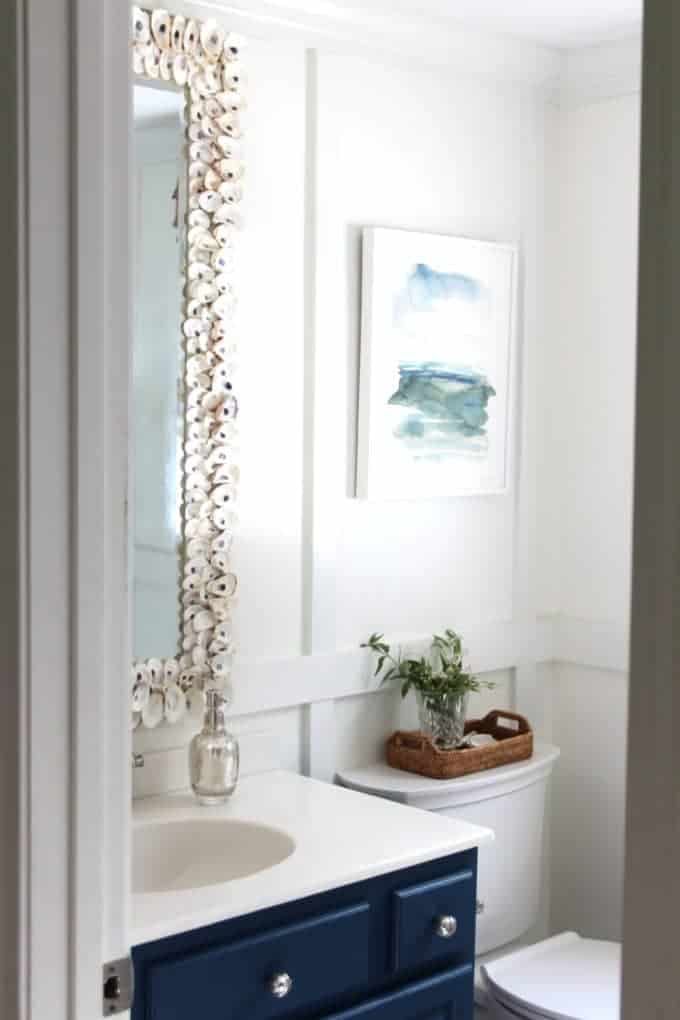
 A oyster shell mirror is perfect way to upgrade a coastal themed bathroom.


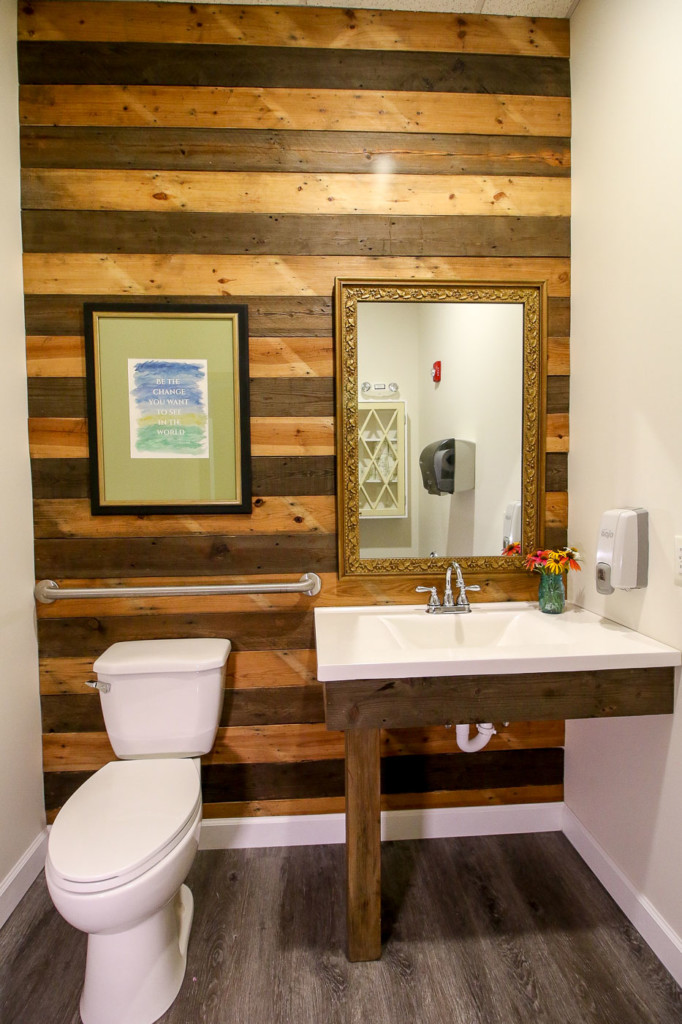
Add a beautiful rustic and warm touch by planking one wall in your bathroom.


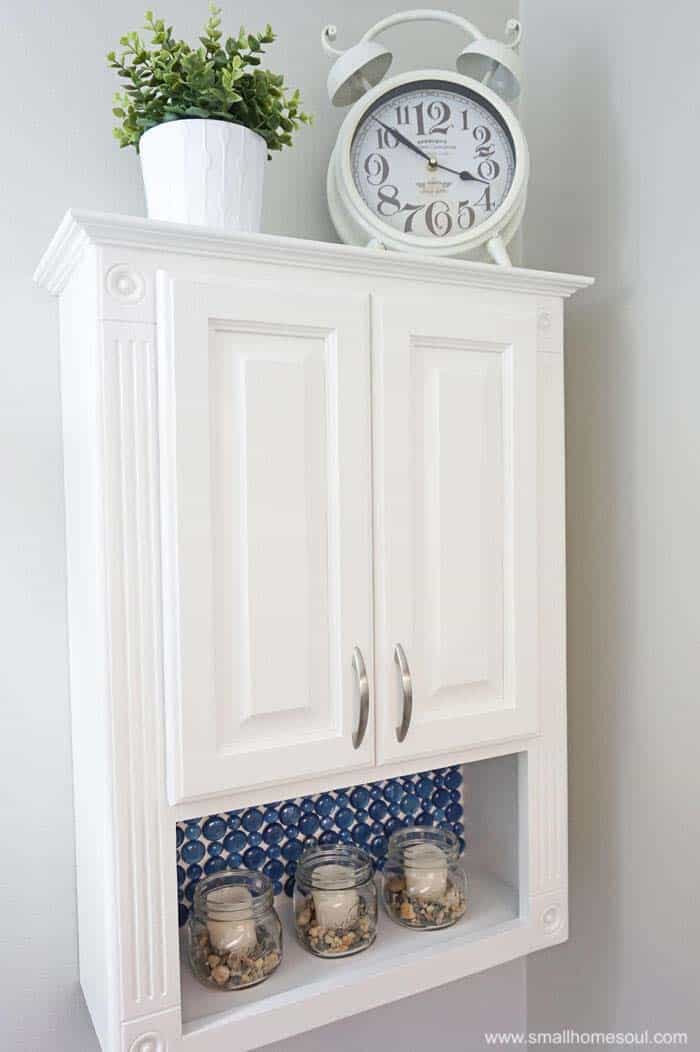
Install a beautiful backsplash inside a cabinet or on a wall.


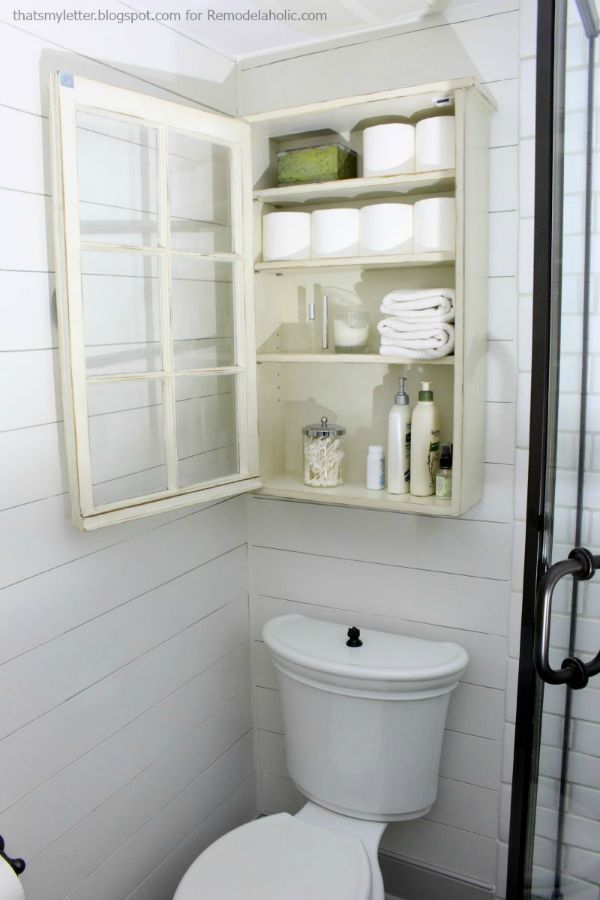
Repurpose an old window to update your bathroom with an awesome bathroom storage cabinet.


Upgrade your plain walls with DIY shiplap in your powder room.


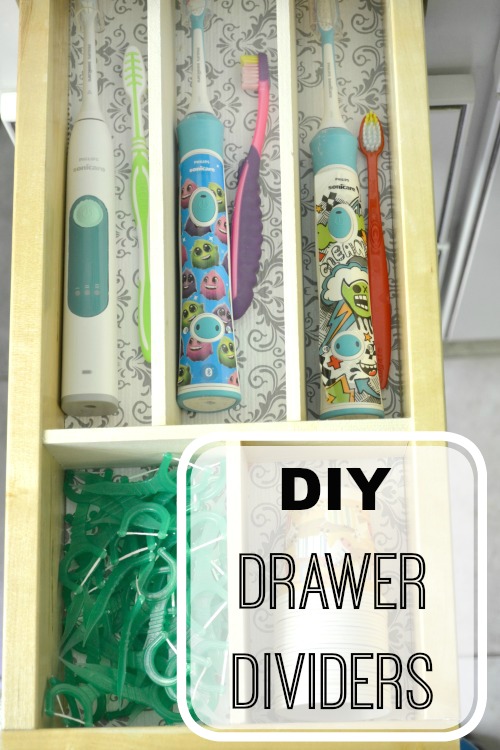
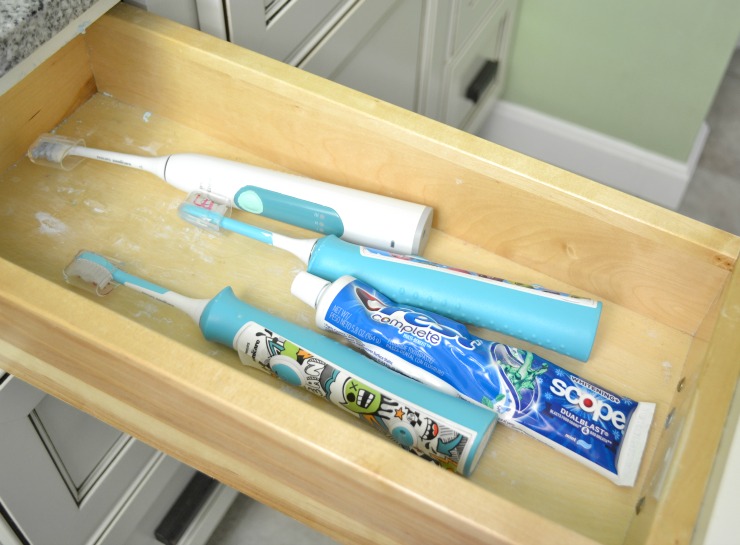
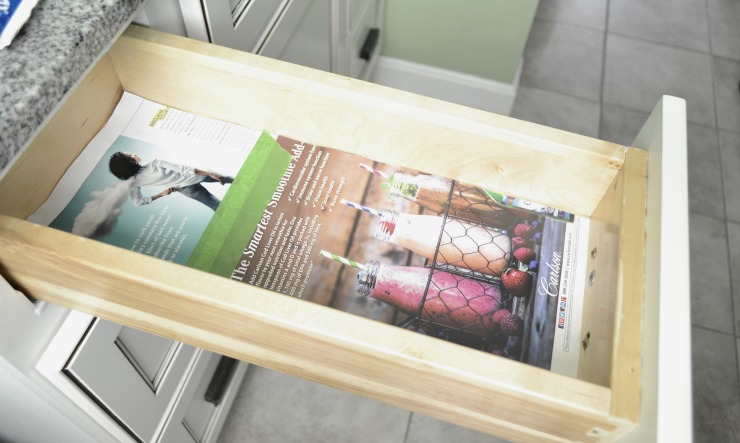
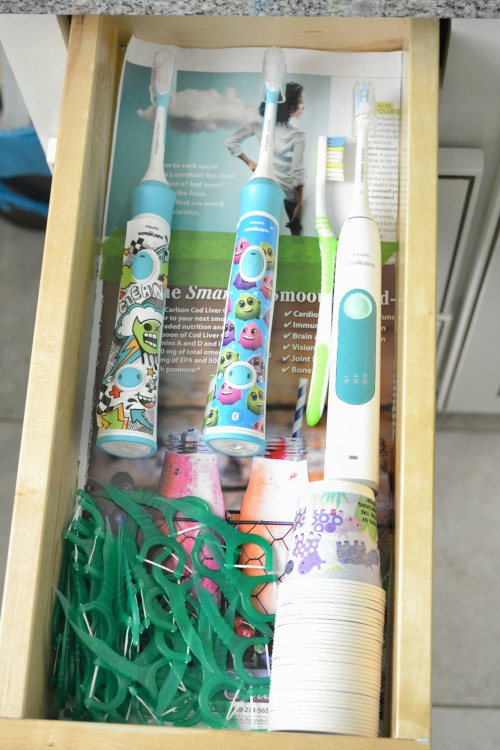
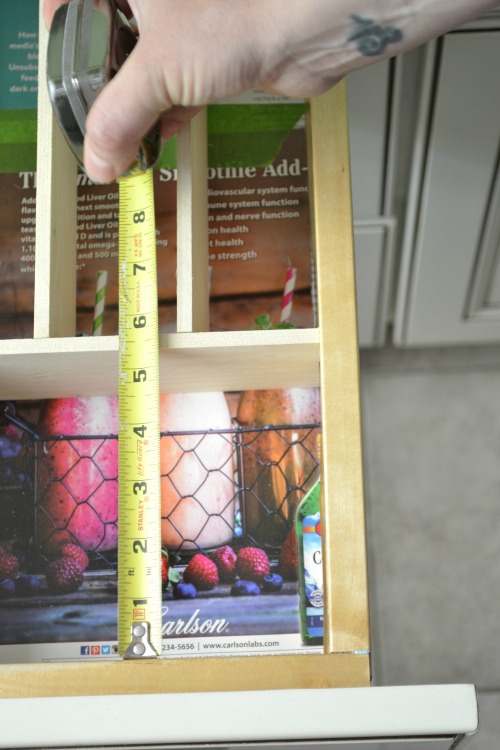
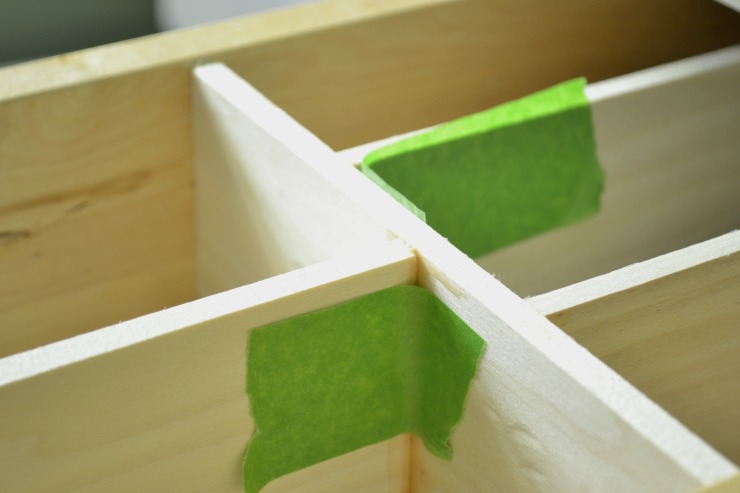
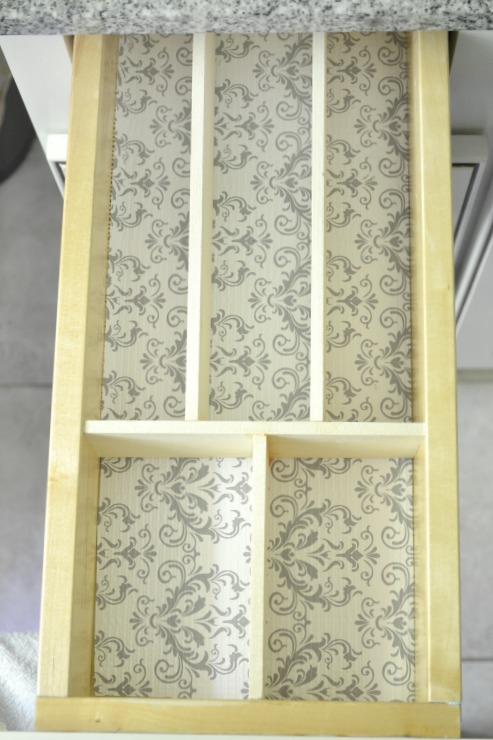
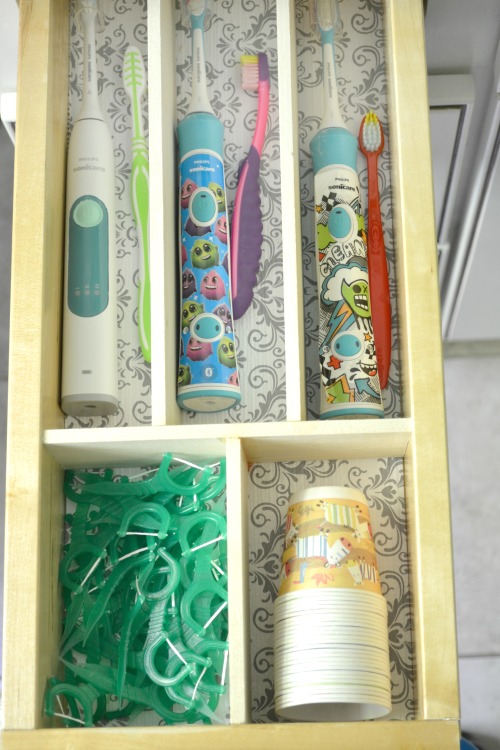
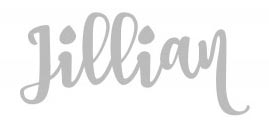
If you’re looking for more organization, update your bathroom drawer storage with DIY drawer dividers.


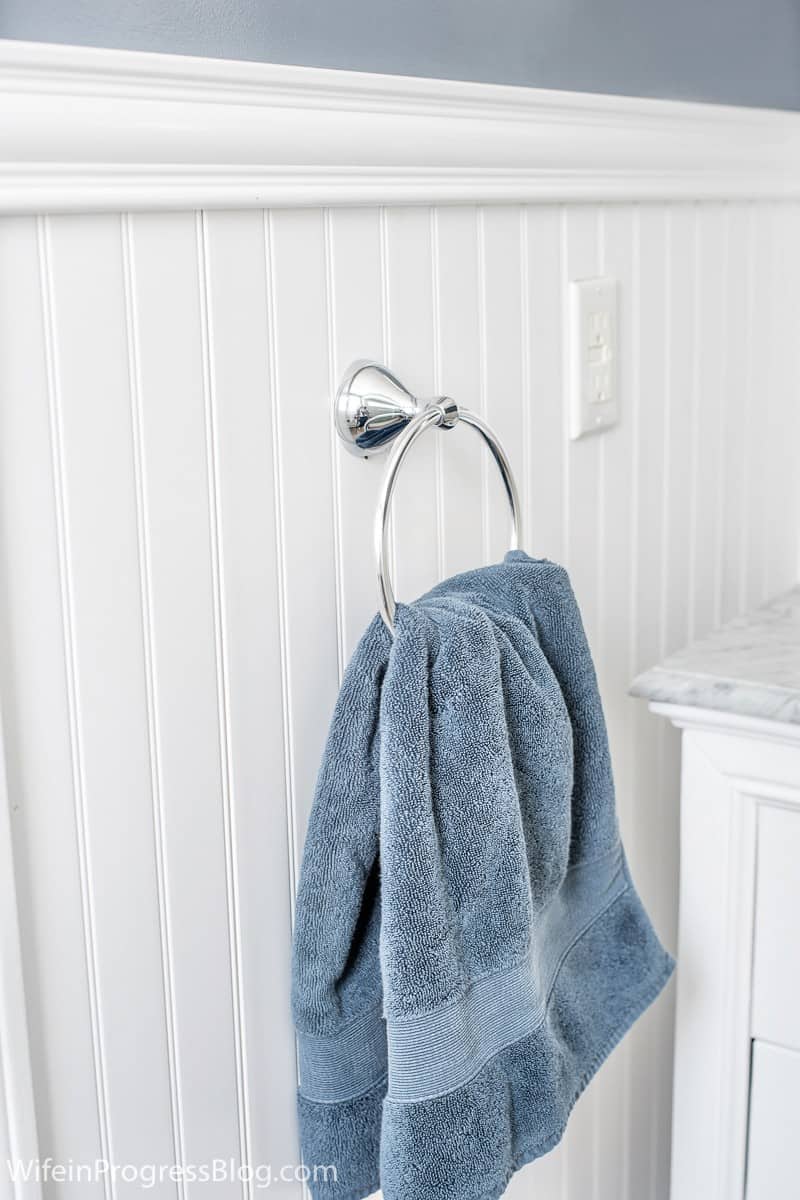
Give your bathroom walls an upgrade by installing beadboard on the bathroom walls.


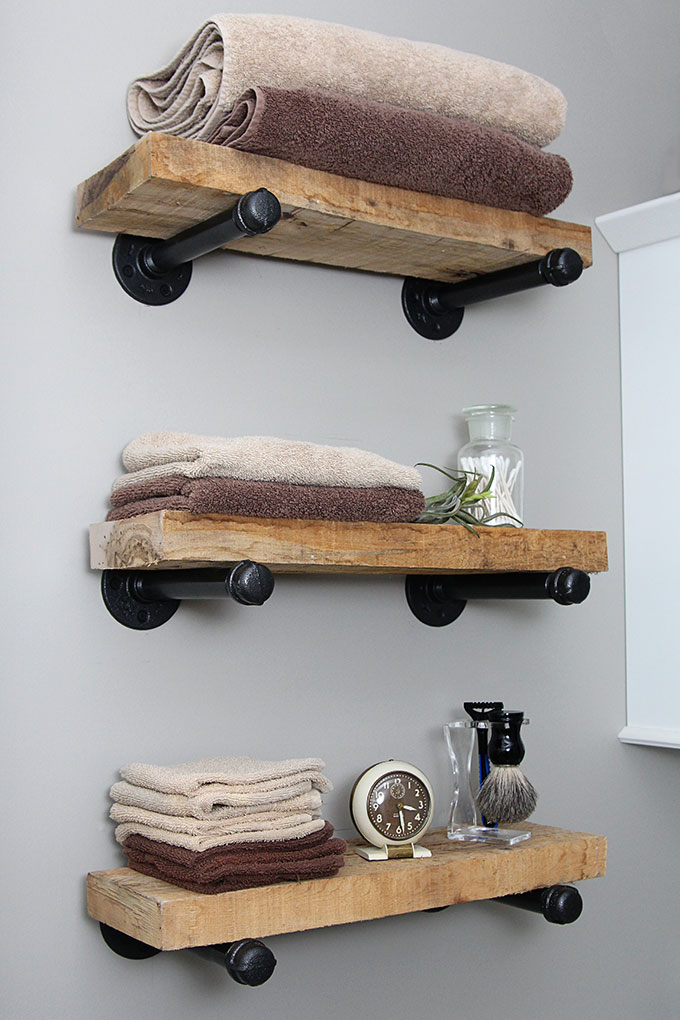
Decorative industrial shelves are the perfect upgrade for your bathroom.


This stick-on bathroom mirror frame makes such a huge impact and you can absolutely make it yourself.


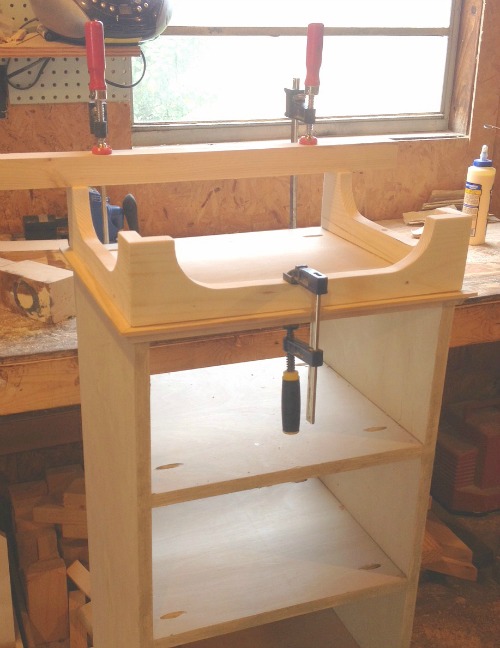
Build your own small DIY bathroom vanity so you have exactly what you need.


diy-drawer-dividers

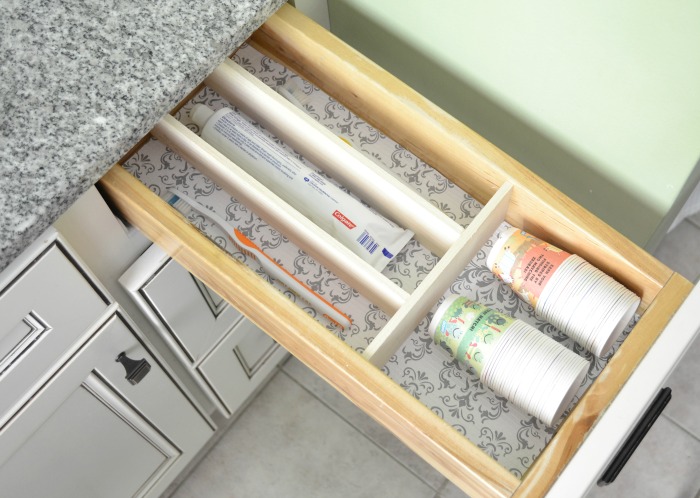
Add built-in dividers to your bathroom drawer to improve organization.


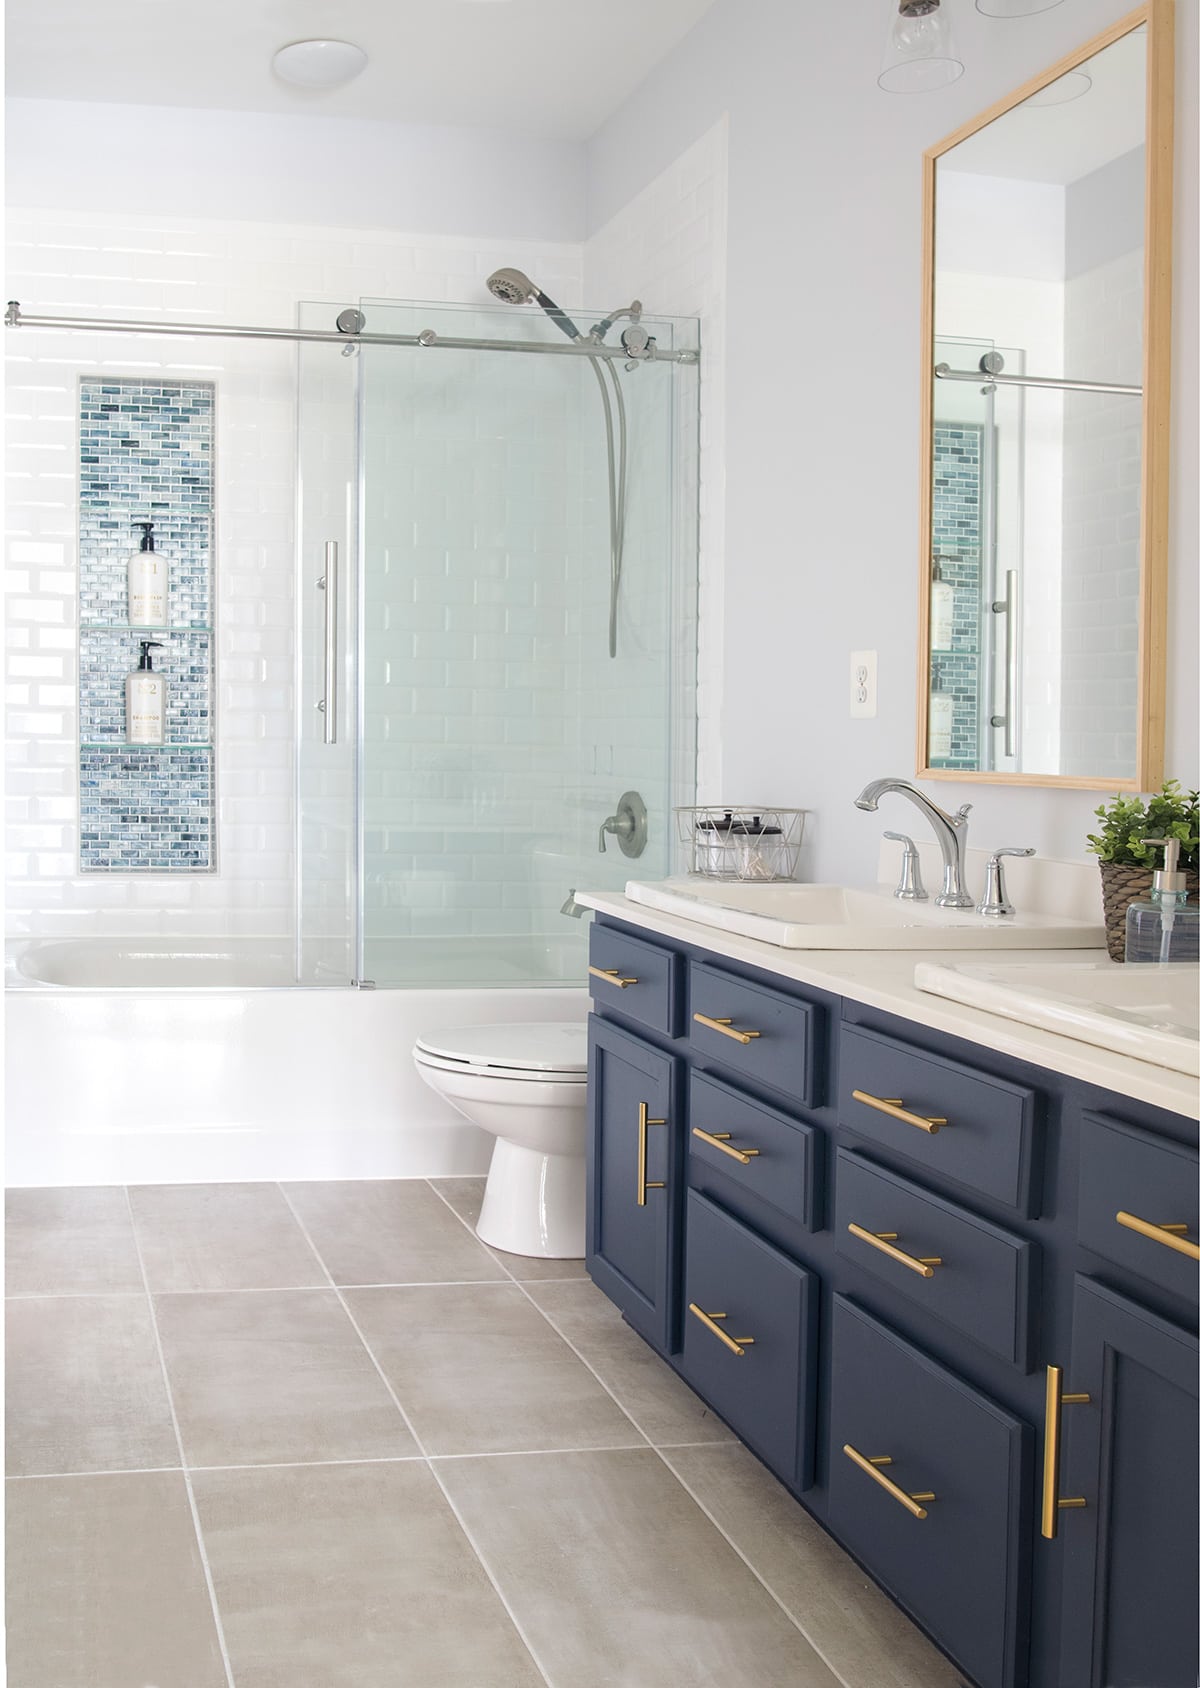
Upgrade your old cabinets by doing a vanity makeover with paint!


If you love modern rustic decor, these DIY bracket shelves would be a perfect bathroom upgrade!


Change up your bathroom by painting a faux concrete wall and making it look more customized.


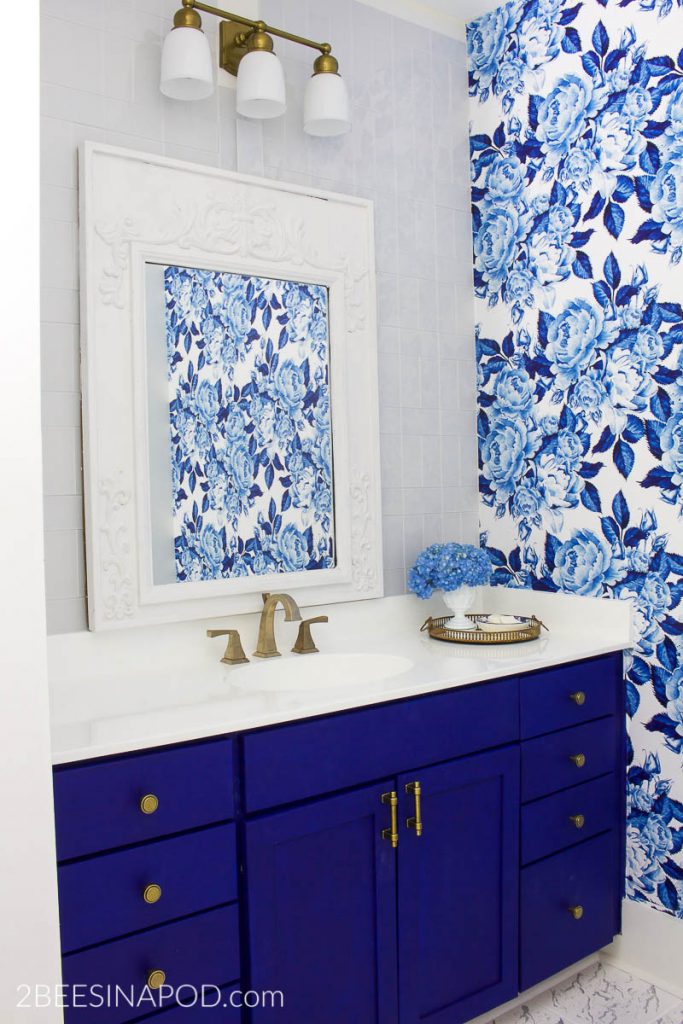
Apply floral wallpaper to one bathroom wall to make a huge visual impact without overwhelming.


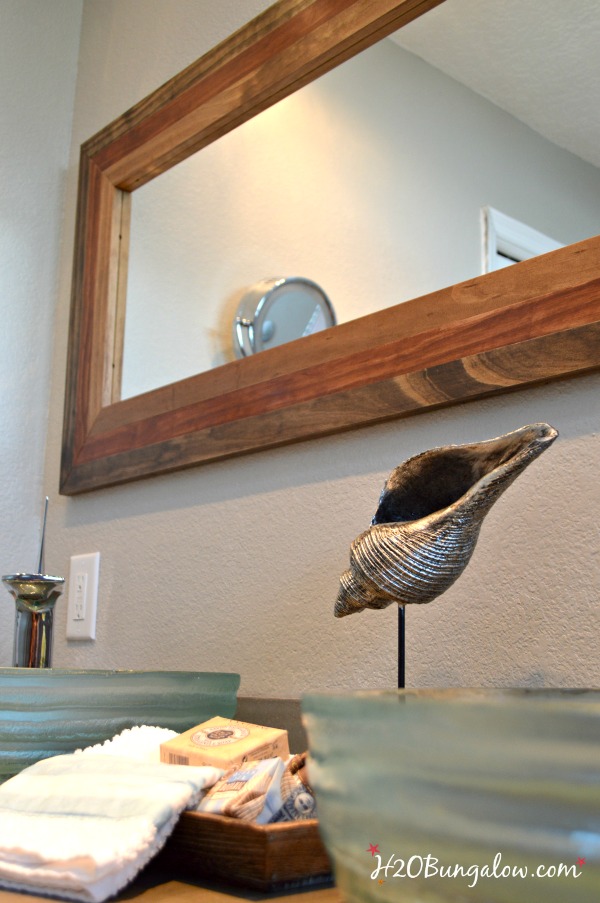
Build an awesome wooden DIY rustic mirror frame to upgrade a simple mirror.


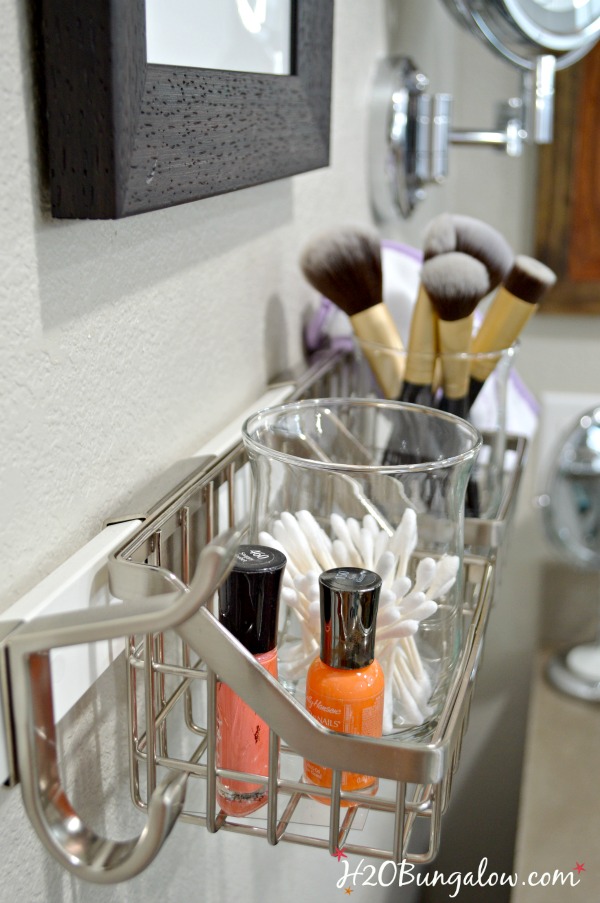
Add some simple storage by installing creative organization to the walls.


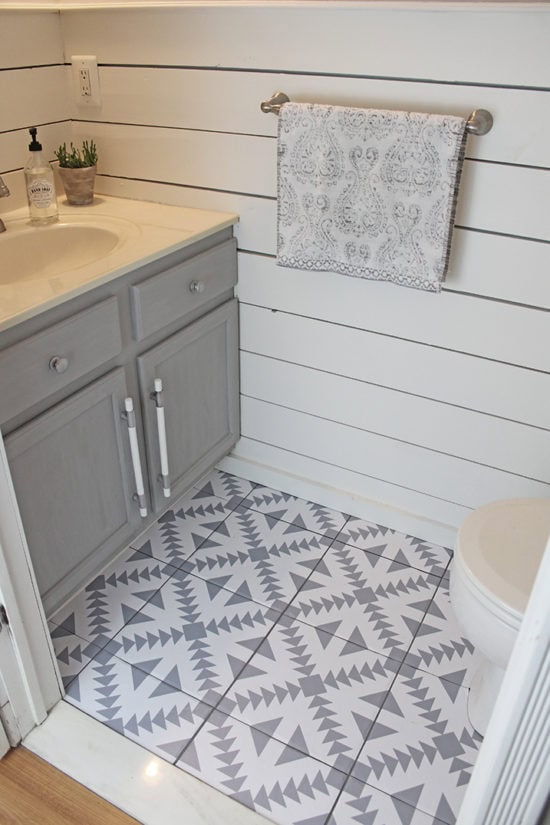
Want to change your floors without tiling? Use floor stickers to update your bathroom flooring with a whole new look.


Apply tile to the walls in your bathroom for a beautiful, classy upgraded look.


Use stencils on the bathroom walls to create a faux wallpaper look.


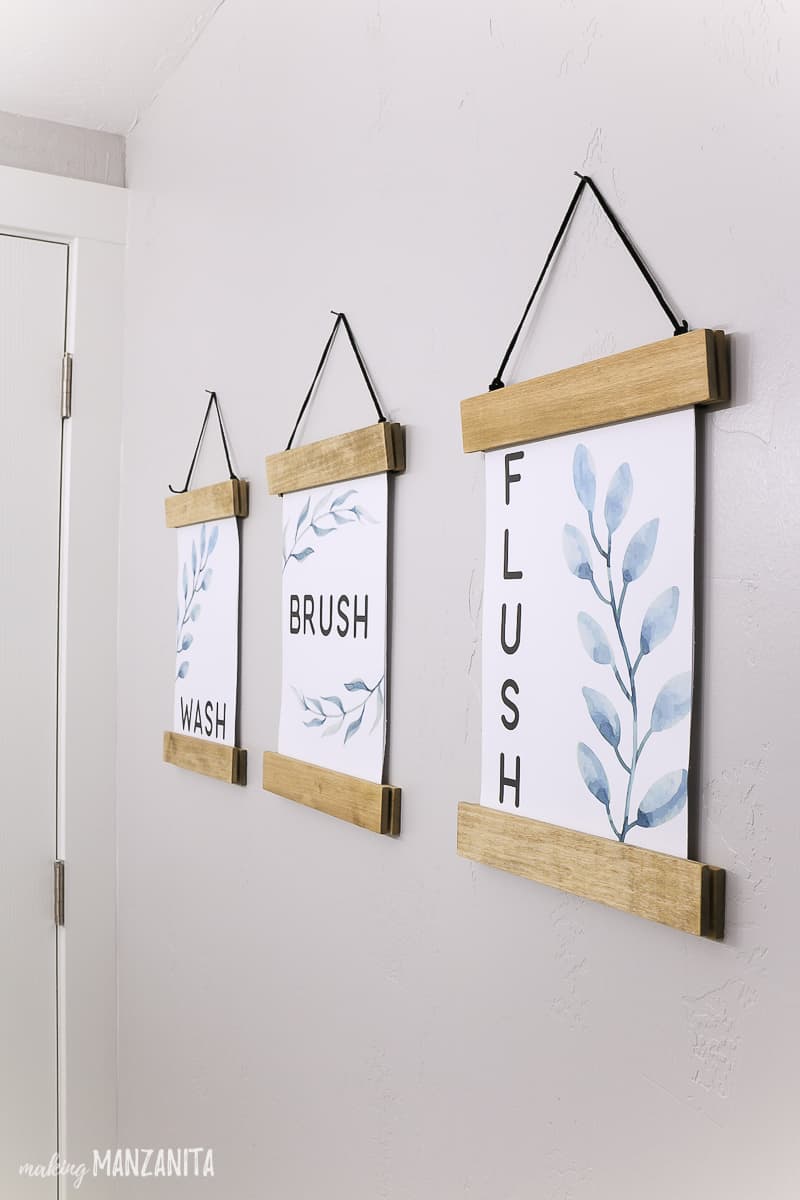
Create simple wall frames to upgrade those plain walls and make them prettier.


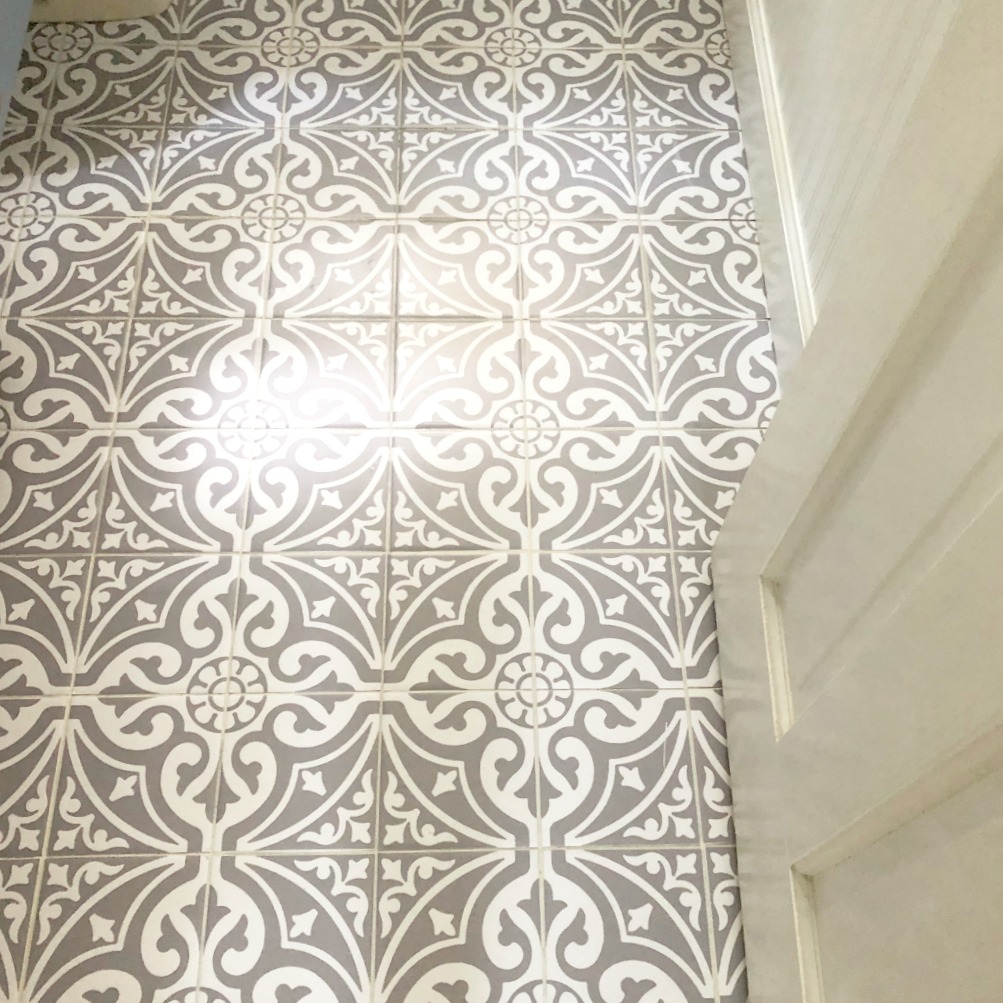
Give your bathroom a whole new look by applying these beautiful patterned tile stickers.

I hope you loved these ideas and found inspiration on how you can create something similar for your home. Comment and let me know what you think! Which is your favorite?

Hi, I’m Sheri from Hazel + Gold Designs. Here are a few fun stats about me: I like love chocolate and peanut butter (together of course.) If you like stats, I have been crocheting for about 16 years, crafting for 20, and woodworking for about 4 years. I found a passion in making and being creative and began documenting my projects online at Hazel + Gold Designs.

When not working on projects, I enjoy spending time with my husband, four children, perfect dog, and ornery cat. You can find me on Facebook, Pinterest, Instagram and Twitter.

Read all of Sheri’s tutorials.

~Find more of Sheri’s projects here ~

diy wooden bath tray

DIY Wooden Bath Tray with phone holder Pinterest imageDIY Wooden Bath Tray with Phone Holder

Are you looking to add some beautiful functionality to your bathroom? This DIY Wooden Bath Tray (with Phone Holder) is the perfect addition! It turns a plain bath tub into the perfect place to relax and unwind.  I’m Sheri from Hazel + Gold Designs, and I am excited to share this DIY Wooden Bath Tray with you today. The best part about this tray is the added mount to secure your phone (so you can browse the web or watch a video while you’re relaxing.) Keep reading for all the details on how to make this bath tray yourself!

Materials:

(I’ve included affiliate links for your convenience. I earn a small percentage from a purchase using these links. There is no additional cost to you. You can read more about affiliate links here.)

Instructions:

1. Prep the wood

The first step in this project is to cut your wood pieces. This diagram shows the measurements for my bath tub tray, but you will need to measure your tub and adjust the measurements accordingly.

DIY bath tray woodworking plan

Next, sand your wood pieces. If your wood is fairly smooth you can use a 180 grit then 220 grit. For rougher wood, use a coarser grit sandpaper first.

sand all boards2. Drill holes

Use a forstner bit to drill shallow holes the size of tea light holders. The candles will sit into the groove making them less likely to slide off the tray.

drill shallow hole with forstner bit

drill shallow circle with forstner bit

Use a ruler to mark where you will place the handles.

measure and mark where handles will go

Use a drill bit the size of your drawer pull screws and drill your holes as marked.

drill holes for attaching handles

Next, take your two small pieces and drill pocket holes into one side. This is a quick and easy way to attach the bottom pieces of your tray. If you don’t have a pocket hole jig you could use other methods of joinery.

cut two small pieces and drill pocket holes

Attach the bottom boards to the bottom of your tray with wood glue and pocket screws. Be sure you size these to fit just inside each side of your tub. This will prevent the tray from sliding anywhere.

apply wood glue

Attach small pieces to bottom with pocket screws

3. Finish with polyurethane

Finally, finish the entire DIY bath tray with polyurethane. You may want to use a poly that is made for exterior environments because you need a strong water-resistant finish. I applied three coats, letting each dry completely and sanding lightly with 220 grit sandpaper in between each layer. This gives you a beautiful smooth finish.

Coat with polyurethane that is water resistant or waterproof

Coat with polyurethane that is water resistant or waterproof

4. Add Handles and Phone Holder

Use your drill to attach the handles.

Attach handles through drilled holes in tray

Attach the cell phone tripod adapter to the center of the tray with one screw.

drill tripod phone holder to DIY bath tray

Completed DIY Bath Tub Tray

Your project is finished! Add a washcloth, flower, candles, bath bombs and a glass of wine! They tray turned out so beautiful you’ll want to take a relaxing bath immediately.

diy bath tray closeup

Be forewarned your bath times may extend longer than normal.

Finished DIY bath tray with phone holder back angle photo

This DIY Wooden Bathtub tray was easy to make! You should build one for yourself immediately.

diy bath tray from side angle

Bonus: Your phone holder can turn so you can view things vertically or horizontally! Netflix binge watching? Bring it on.

diy bath tray from front view

If you like this project, please share it on Pinterest so others can enjoy it too. Thank you for reading!

DIY Wooden Bath Tray with phone holder Pinterest image

Hi, I’m Sheri from Hazel + Gold Designs. Here are a few fun stats about me: I like love chocolate and peanut butter (together of course.) If you like stats, I have been crocheting for about 16 years, crafting for 20, and woodworking for about 4 years. I found a passion in making and being creative and began documenting my projects online at Hazel + Gold Designs.

When not working on projects, I enjoy spending time with my husband, four children, perfect dog, and ornery cat. You can find me on Facebook, Pinterest, Instagram and Twitter.

Read all of Sheri’s tutorials.

~Find more of Sheri’s projects here ~

Liked this project? If so, you’ll love this DIY Scrap Wood Laptop Stand:

How to build a laptop stand using scrap wood.

Or this DIY Farmhouse Style Serving Tray:

Farmhouse rustic wood serving tray on couch

Tall & Skinny Storage Cabinet

How to Build a DIY Tall, Skinny Linen Cabinet

Hey everyone!! It’s Shara from Woodshop Diaries back to show you How to Build a Tall & Skinny Storage Cabinet. This storage unit works perfectly as a bathroom linen cabinet. Of course, it could work elsewhere besides a bathroom. An entryway would make another perfect spot for it.  I use mine in the bathroom because it is the perfect size for towels, toilet paper rolls, baskets, and cleaning supplies.

If you need something a bigger, you can check out this “whatchamacallit” cabinet that would be really cute for storing linens and such. Ready to learn How to Build a Tall & Skinny Storage Cabinet? Let’s gather a few items and get building.

Tools:

(I’ve included affiliate links for your convenience. I earn a small percentage from a purchase using these links. There is no additional cost to you. You can read more about affiliate links here.)

Materials:

Cut List:

For Cabinet:

  • (2) 3/4″ x 13″ x 40″ plywood
  • (5) 3/4″ x 13″ x 14½” plywood
  • (1) 3/4″ x 13″ x 16″ plywood
  • (2) 1″ x 4″ x 13″ (beveled 45 degrees on one end)
  • (1) 1″ x 4″ x 16″ (beveled on both ends)
  • Cove molding cut to fit

For Drawer:

  • (2) 3/4″ x 5½” x 12″ plywood (for drawer sides)
  • (1) 3/4″ x 5½” x 12¾” plywood (for drawer back)
  • (1) 3/4″ x 7″ x 14¼” plywood (for drawer front)
  • (1) 1/4″ x 12″ x 14¼” plywood (for drawer bottom)

Instructions:

Cut down your 3/4” plywood. I used a Kreg Rip Cut to help with this, but you could also use a straight edge with your circular saw, or skip the circular saw altogether and use a table saw.

Cut your plywood into two 13” wide strips. Then, cut two pieces at 40” long. You will also cut five pieces at 14 ½”. And finally, one piece at 16” long. Did you get all that?? Lots of cutting at first, but the rest is easy 🙂

Cut plywood pieces to size

Drill pocket holes into both ends of all five of the 14 ½” pieces…

Drill pocket holes into the 5 shelves

…and into only ONE end of the 40” pieces.

Drill pocket holes in the top of the side pieces

Assemble the Cabinet

Attach the shelves between the two 40” boards using 1 ¼” pocket hole screws. Make sure you attach the bottom shelf on the opposite end from where you drilled the holes on the 40” boards. Those are for attaching the top later.

Space the shelves 7 ¼” apart. It helps to use a measuring tape and square to line them up.

Assembling the shelves of the cabinet

Space shelves evenly

Before you attach the last shelf, attach the top (the 16” long piece you cut in step 1 using 1 ¼” pocket hole screws.)

Attach top before the last shelf

Then, attach the last shelf in place.

Assembled shelves and sides of linen cabinet

Add Trim:

Measure and cut the cove molding to fit along the top and bottom edges of the cabinet. Using wood glue and 1 ¼” brad nails, attach cove molding along the edges of the top and bottom.

Add cove molding along plywood edges

Putty the nail holes and corners. Let the putty dry while you move on to the next steps.

Cut two pieces of your 1” x 4” board at 13” long and one piece at 16” long. Miter both corners of the 16” long piece at 45 degrees and miter one end of each 13” long piece.

Use a jig saw to cut out a decorative pattern in the pieces (if desired). I used a stain can to help me draw perfect curves.

Add decorative design to the legs

Sand all the pieces, then glue them together at the corners and use 1 ¼” brad nails to hold them in place.

Attach legs together at mitered corners

Flip your cabinet upside down and glue this piece onto the bottom making sure everything is square and lined up nicely. You can use a heavy object or clamps to hold it in place until the glue dries.

Add glue along edges of leg assembly

Clamp legs while glue dries

Construct Drawers:

You don’t necessarily have to add drawers. You could leave it open if you’d like. To see how to make drawers, check out my post about maknig drawers here.

You could cut a piece of ¾” plywood from the remaining sheet 5 ½” wide and then cut two pieces 12” long and one piece 12 ¾” long. Glue and nail the 12” long pieces onto the end of the 12 ¾” piece.

Cut a piece of 1/4” plywood to 12” x 14 ¼” and glue and nail it onto the bottom of the drawer box.

Then cut another small piece of 3/4” plywood 1/4” narrower and about 1/8 – 1/4” shorter. Making sure your box stays square, glue and nail this piece onto the front of the drawer. I added some thin wood strips to the front for decoration. That’s optional.

Make drawer for the linen cabinet

Finally, to keep the drawer in its place, glue and nail some small pieces of scrap wood onto the back to keep the drawer from sliding out the back side.

Add stops to the back for drawer

Putty and sand. You could add edge banding to the plywood edges if you plan to stain. Since I was painting, I just puttied and sanded the edges.

Once it’s sanded, prime and paint the piece any color you like. When the paint is dry, add a little knob to the drawer.

DIY Cute Bathroom Linen Cabinet

This is a great piece to add matching baskets to, or to leave open for storage.

DIY Cute Bathroom Linen Cabinet

DIY Cute Bathroom Linen Cabinet

If you’re looking for more linen and bathroom storage ideas, check out this storage from one 1″ x 8″ x 8′ board or  this gorgeous pantry cabinet.

Until next time, happy building!!

Shara's Signature

~ Find More of Shara’s Tutorials ~

DIY Drawer Organizer | Pretty Handy Girl | Storage and Organization

DIY Drawer Organizer | Pretty Handy Girl | Storage and Organization

I like to think of myself as an organized person, but that isn’t 100% true. I spend 15 minutes searching for my son’s baseball hat on the way out the door to his game; I shuffle papers from one pile to another; and I have that dreaded “drop spot” in my kitchen where everything seems to land when I walk in the door. The one thing I am good at is putting things back where they belong.  If an item has a spot to live in my home, it is easy for me to put it there.

Drawers can be tricky when it comes to organization because when you toss things that belong in, they can still become cluttered.  DIY Drawer Dividers help get your drawers more orderly and I can show you how to build them to suit your exact needs!

Materials:

  • 1/4″ poplar hobby boards (width and length will be determined by the size of your drawer)
  • Wood glue
  • Shelf paper
  • Old newspaper or other scrap paper
  • Painter’s tape

Tools:

  • Hand saw or miter saw

Instructions:

The first step is the most important.  Clean out your drawer. By emptying it completely and then adding back what you intend to keep, you are designing your storage around things you actually need.

I built my dividers for my bathroom drawers that hold our toothbrushes, toothpaste and floss so there wasn’t much to throw away, but there was plenty of cleaning to do.

DIY Drawer Organizer | Pretty Handy Girl | Storage and Organization

Once your drawer is cleaned out, line it with some pages from an old magazine or craft paper. This will protect the drawer from the wood glue later on.

DIY Drawer Organizer | Pretty Handy Girl | Storage and Organization

Next, add back the items you want to keep in your drawer.  This will help you with measuring and planning where the dividers will go. Use a marker to map out the compartments by drawing lines on the magazine pages.

DIY Drawer Organizer | Pretty Handy Girl | Storage and Organization

Take your measurements and cut your wood.  Then place them in the drawer for a dry fit.

You may need to do this in sections to get the right measurements.

DIY Drawer Organizer | Pretty Handy Girl | Storage and Organization

If you have a section that will run the entire width of the drawer, you can cut that piece to fit snug so it stays in place and then glue other pieces to it.

Glue the pieces together in your desired configuration and use the painters tape to hold them while the glue dries.

DIY Drawer Organizer | Pretty Handy Girl | Storage and Organization

(I don’t recommend gluing the dividers to your drawer sides. You never know when you may want to change the configuration.  By only gluing the sections to each other, you can remove them easily to clean without any damage to your drawers.)

After the glue has dried, remove the dividers from the drawer and remove the tape. Add shelf paper to the bottom of the drawer and put your dividers in place.

DIY Drawer Organizer | Pretty Handy Girl | Storage and Organization

All that’s left to do is add in all your perfectly organized items.

DIY Drawer Organizer | Pretty Handy Girl | Storage and Organization

This project was so easy, I made a DIY Drawer Divider.  My kids aren’t the only ones who need organized toothbrushes.  Now my husband and I have ours neat and tidy too.

DIY Drawer Organizer | Pretty Handy Girl | Storage and Organization

By creating custom drawer dividers you save time, effort and money. I have tried so many different ways to organize these drawers with no success.  These DIY drawer dividers have finally made this storage space work for me. I hope you have the same success.

Jillian's Signature

~ Read more of Jillian’s tutorials ~


Pin for later!

wooden drawer dividers