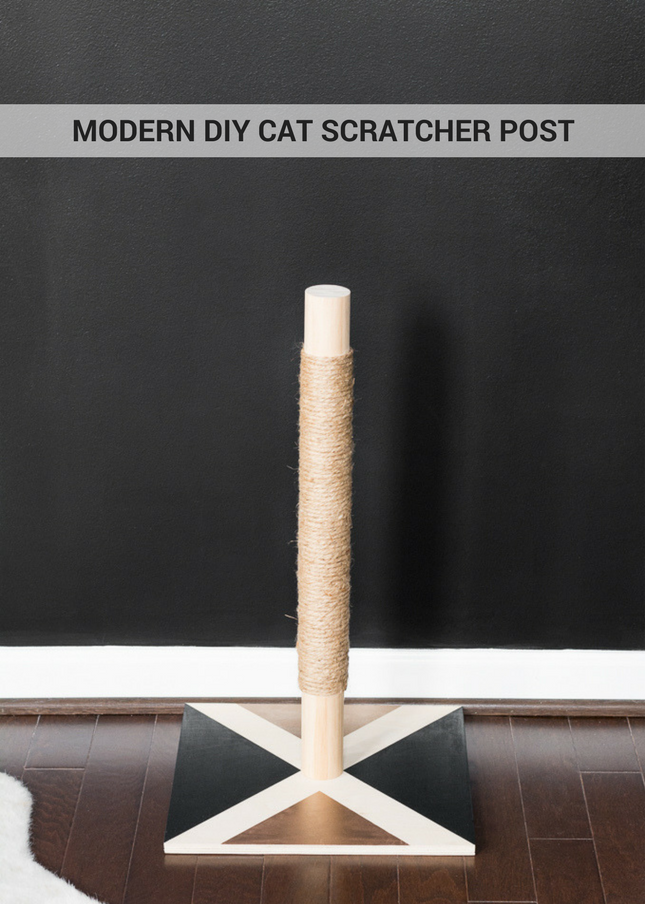
Modern DIY Cat Scratcher Post
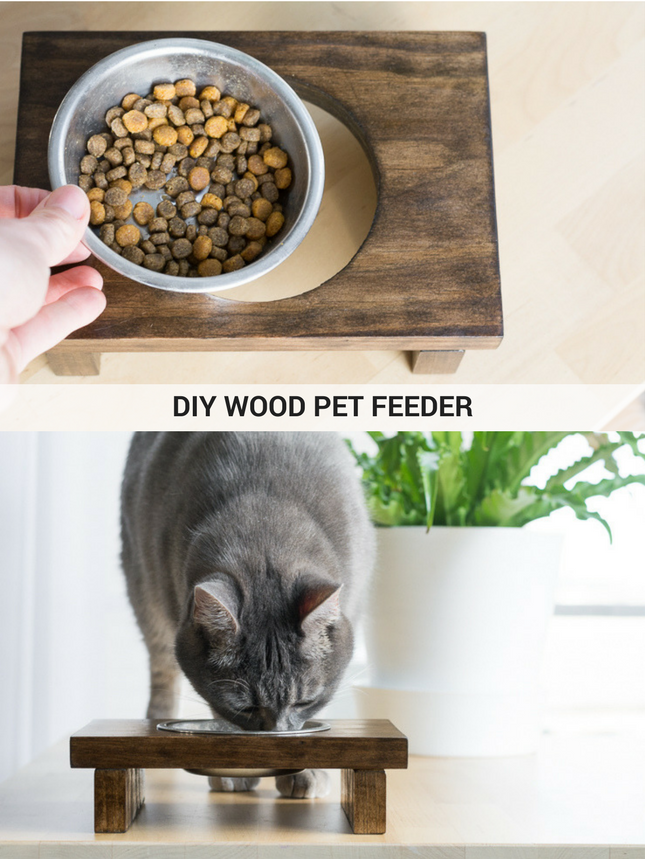
Hello everyone, it’s Brittany again from by Brittany Goldwyn, and this month I’m back to share another pet DIY. Last month I shared a tutorial on how to make a raised pet feeder—this month I’m sharing a tutorial for a simple and modern cat scratcher! Yes, I do love my babies. 🙂
This DIY is simple. I tried to keep the tools and steps to a minimum. This would be a nice alternative to the more complicated tree branch cat tree tutorial I created a few years ago. This one can be knocked out in a few hours (including the time it took the paint to dry.)
Want to make a Modern DIY Cat Scratcher Post for your kitty? Read on!
Materials:
(I’ve included affiliate links for your convenience. I earn a small percentage from a purchase using these links. There is no additional cost to you. You can read more about affiliate links here.)
- 3/4″ plywood, I used a scrap from my wood pile that was about 14″ x 14″
- 2″ thick wooden dowel cut to 24″ long
- Strong adhesive
- Hand-held staple gun
- Sandpaper or orbital sander
- Jute or sisal rope
- Scissors
- Disposable gloves
- Pliers
- Craft paint
- Painter’s tape
- Brushes
Instructions:
Step 1: Cut the base piece.
If you’re pulling from your scrap wood pile, find a piece that is large enough to make a stable base. (This one is 14″ x 14″, but something as small as 12″ x 12″ would probably be fine.) If you’re using a new piece of plywood, you can purchase a 2′ x 2′ piece of 3/4″ birch plywood at Lowe’s for about $10. They can help you cut it down to your desired size in store for free.
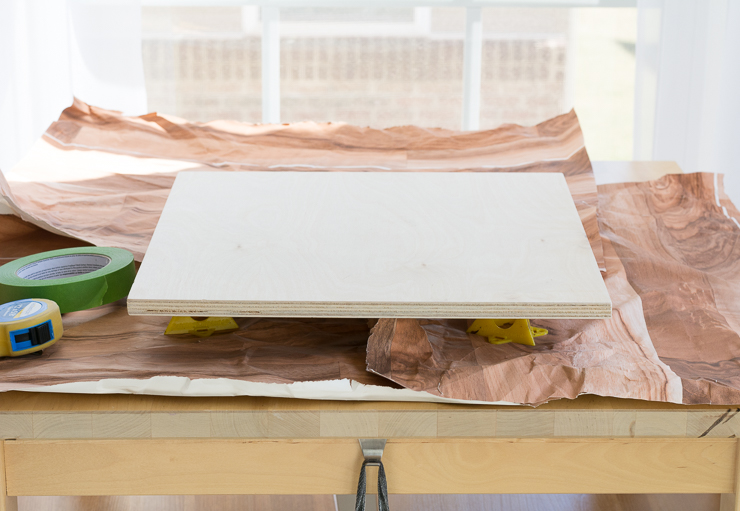
(Note: 1/4″ or 1/2″ plywood will work. However, the added weight of the 3/4″ plywood will help stabilize the base while your kitty is getting some scratches in.)
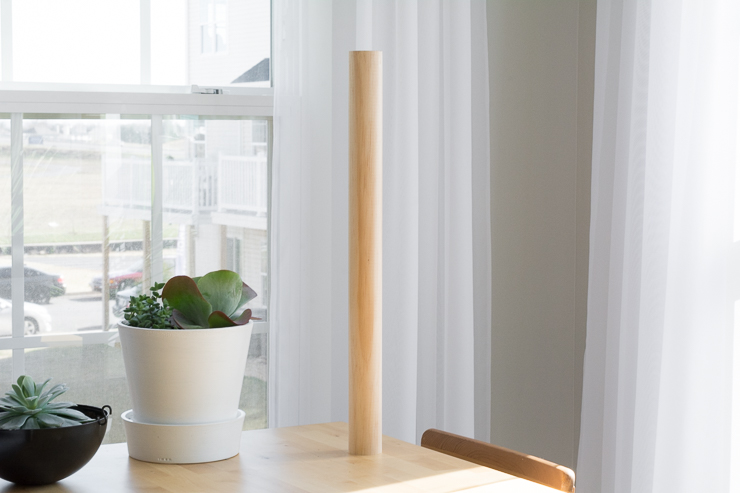
Step 2: Cut the scratcher piece.
If you’re purchasing a 2″ wooden dowel from a big-box hardware store, it will probably come in a 48″ length. You can have the cutting station cut it in half for you.
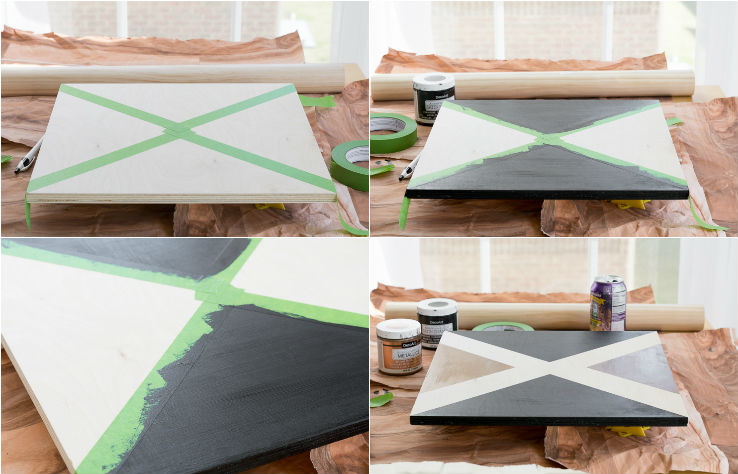
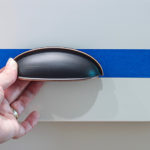
Step 3: Polish and paint the base.
Grab your sandpaper or orbital sander and sand the edges. To customize the piece, you can use painter’s tape and craft paint to paint a design onto the base. (This step is optional but gives a nice personalized touch to the scratcher, plus you can customize it to match your decor. I used DecoArt Americana Decor Satin Enamels in Classic Black and Metallics in Antique Bronze.)
Step 4: Start the scratching post.
While the base is drying, grab your jute or sisal, adhesive, and staple gun.
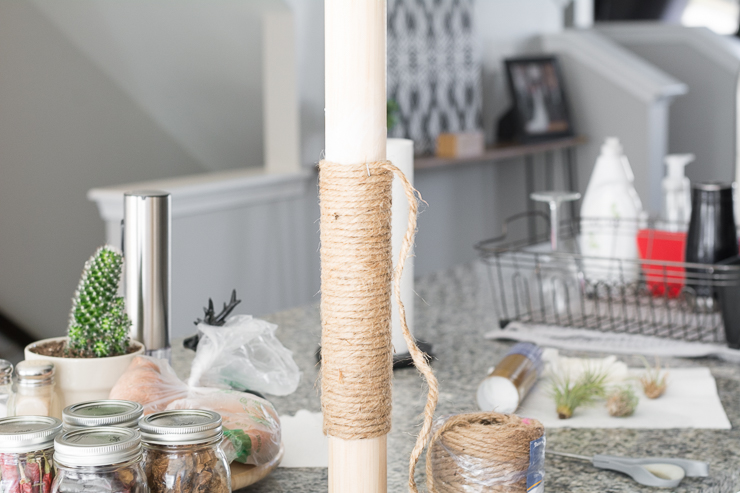
Put on disposable gloves and slather adhesive on the post where the rope will go. This is messy, but it’s the easiest way to ensure your rope remains firmly adhered to the post. Staple the end of the rope onto your post, making sure it is stapled over an area that has glue.
Begin wrapping the rope tightly around the post. stop every 30 seconds or so to ensure you’re not creating any gaps. Add an additional staple halfway through if you need to take a break.
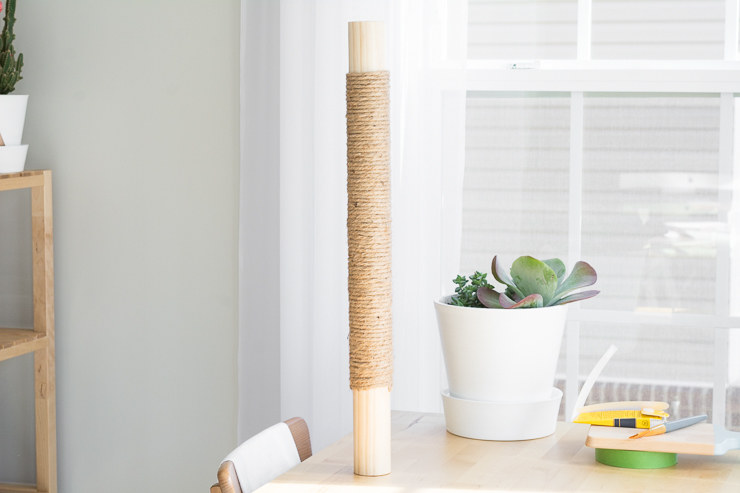
Step 5: Finish the scratching post.
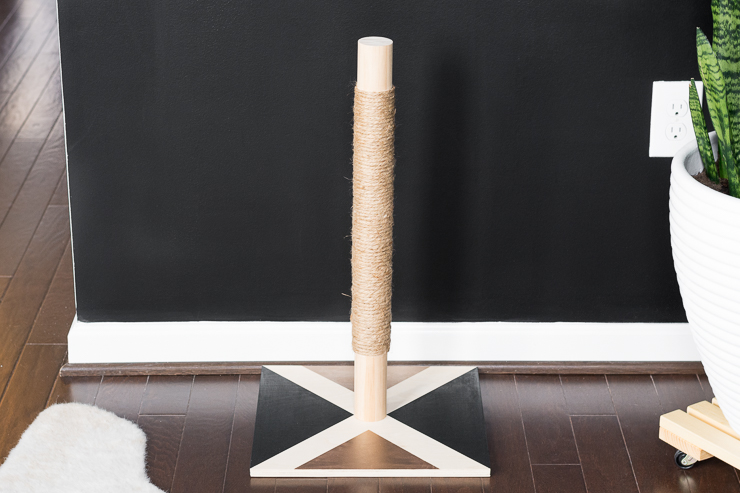
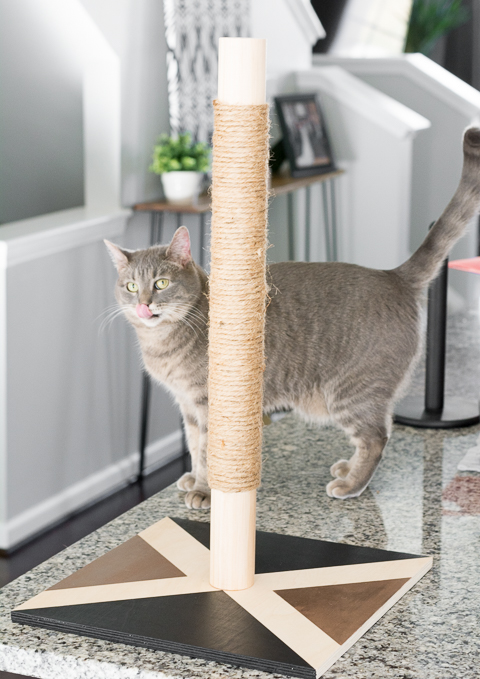
Add additional glue and continue wrapping until you’ve created your scratching post. You can wrap the entire post or just a portion of it as shown below. Secure the rope in place by stapling the end to the post.
Once the glue has dried completely, use pliers to remove the staples. (You don’t want kitty’s claws getting caught on one.) If the ends pop up simply add a dab and re-glue.
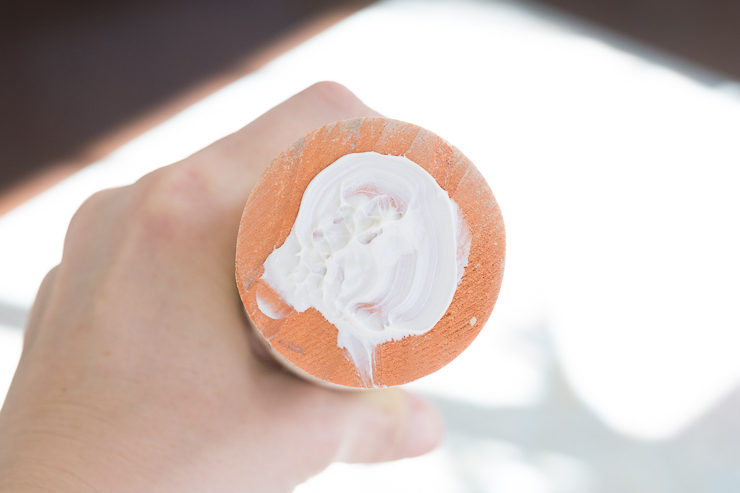
Step 6: Attach the post to the base.
Dab adhesive on the bottom of the post. You want to use enough to ensure the entire base is covered, but don’t use so much that it will seep out when you press the post onto the base. Press the post into the center of the base and let dry. If possible, add a book or something else to the top of the post to apply pressure.
Once the glue has dried completely, let your kitty check out the new digs and get to work tearing it apart!
I tried to get a photo of my girl using the scratcher, but every time I pulled out my camera she stopped. I even tried to bribe them with catnip…but this is the closest I got to a good photo.
If you like this project, you’ll love these pet projects:

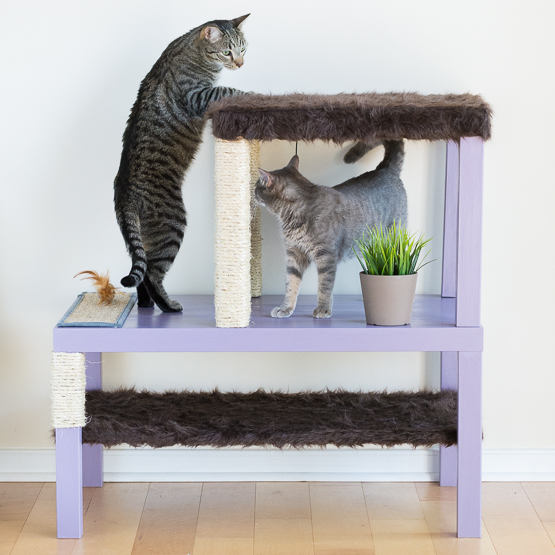
DIY Cat Tree Using Real Branches
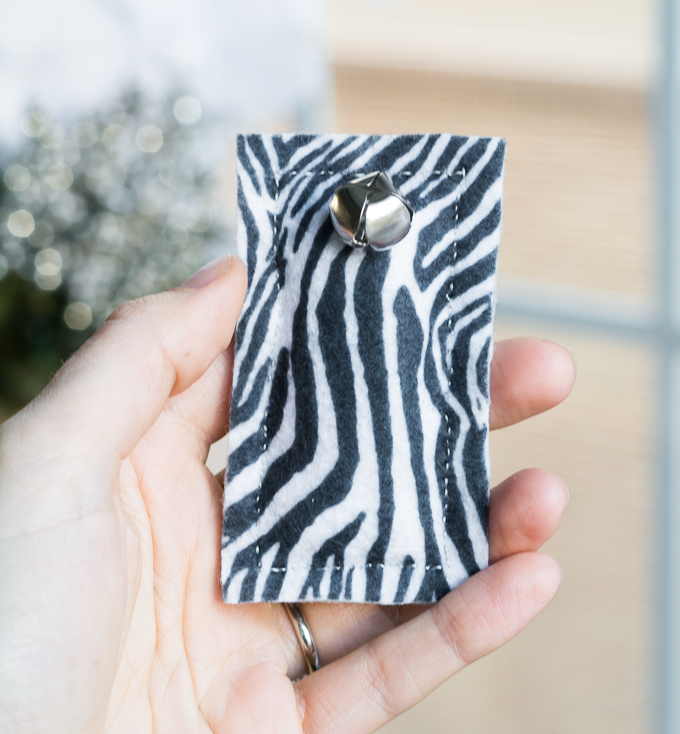
Easy Felt DIY Cat Toys & Petcube Camera Review


I just joined your site, which I really appreciate all the information. Other sites get you interested in just to find out that for each tutorial you must pay for. Thank you for showing us how to transform furniture into works of art!
Your modern DIY cat scratcher is turned out so beautiful. You really did a great job. You shared a simple and a very nice step by step tutorial. I really like this.