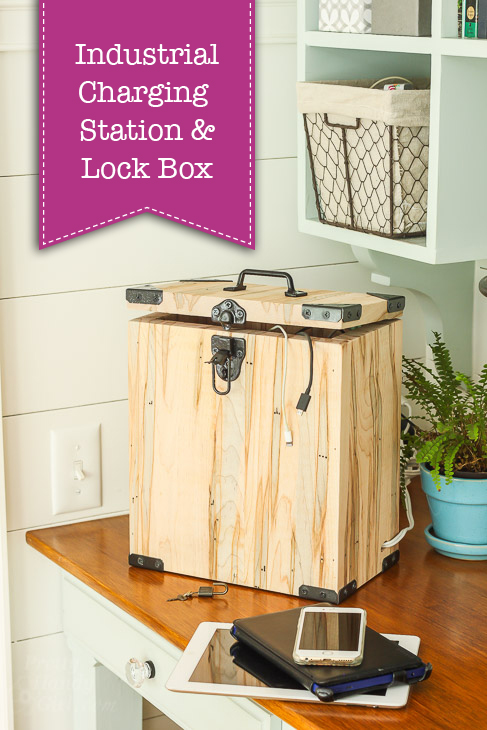
Industrial Charging Station and Lock Box
We’ve definitely entered the digital age. My boys love nothing more than to plop down with an “i” device in their hands and waste time playing some electronic game or watching TV. We’ve always had strict rules about screen time. My boys have 20 minutes a day and can earn an additional 2o minutes by doing an assortment of helpful things. In the past year, my boys have begun “sneaking” extra screen time. One morning my husband came downstairs to find Handy Boy #1 asleep on the couch with the TV on and the remote still in his hand pointed at the TV — BUSTED! Another time, we found the boys huddled in the closet playing on the iPad. Although we put passcodes on all the devices, these boys seem to figure out the codes (and we’ve changed the codes so many times I can’t remember the new code.)
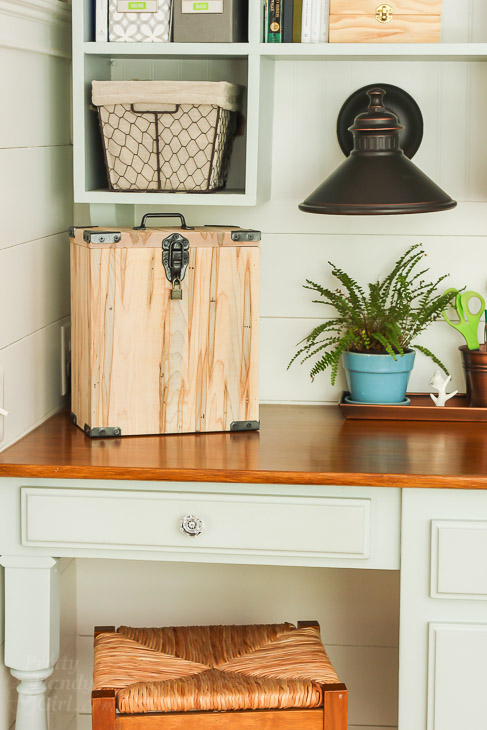
I decided to put an end to their shenanigans (and save my failing memory) by building an Industrial Charging Station & Lock Box. Want to make a charging station and lock box for your family? It’s an easy DIY project (sponsored by National Hardware) that will prevent your children from sneaking screen time.
Before we jump into this tutorial, can we take a minute to admire that beautiful wood I used? I visited my local Woodcraft store and found myself drooling over all the wood varieties they stock. I was especially drawn to this ambrosia maple. The beautiful blue streaks tugged at my heart and wouldn’t let me walk away without buying the board. Luckily, I was able to make the entire industrial charging station from one 8′ board.
Ready to build this puppy? Let’s gather the materials and tools!
(I’ve included affiliate links for your convenience. I earn a small percentage from a purchase using these links. There is no additional cost to you. You can read more about affiliate links here.)
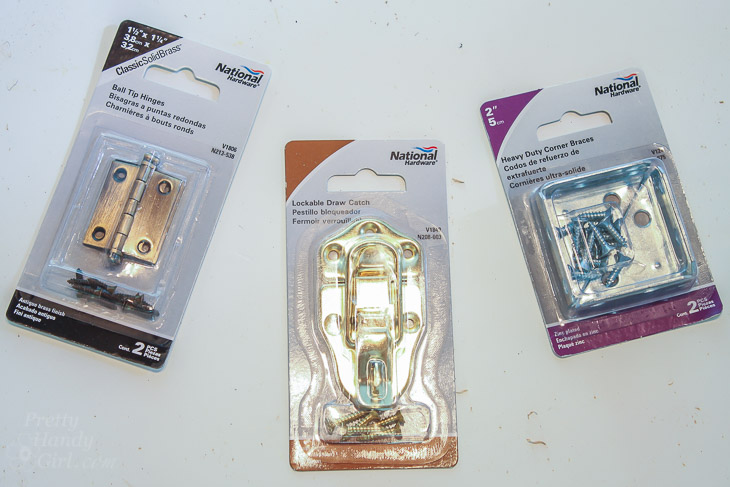
Materials:
- Miter saw
- Drill
- Drill bits (1/4″ and 1/16″)
- Hinges
- Utility pull handle
- Lockable draw catch
- Heavy Duty corner braces
- Felt pads
- Pencil
- Tape measure
- Wood glue
- Glue brush
- Clamps
- Hammered metal spray paint
- Nailgun
- 2″ finish nails
- Philips screwdriver
- File
- USB 5 port charger
- Padlock & key
- Adhesive velcro
Cut list:
(These measurements are actual size. Feel free to use your own measurements based on available lumber.)
- 2 – 1″ x 11″ x 12″ (front & back)
- 2 – 1″ x 5″ x 12″ (sides)
- 1 – 1″ x 5″ x 9″ (base)
- 1 – 1″ x 11″ x 7″ (top)
- 1 – 1″ x 2″ x 5″ (interior shelf)
Preparation:
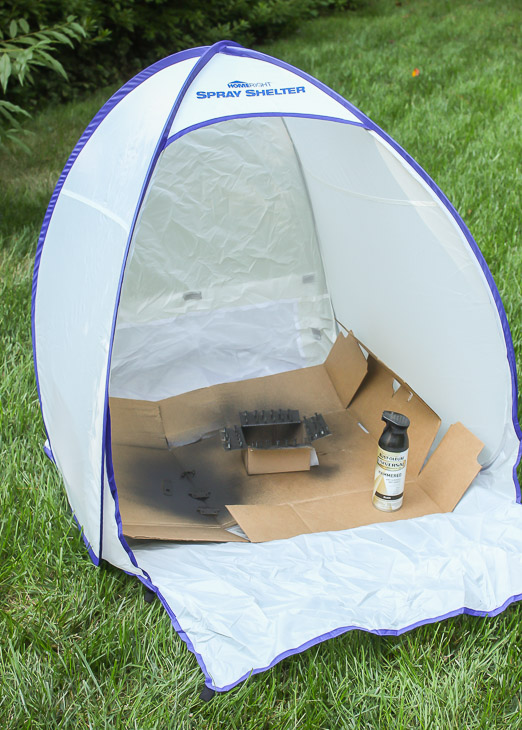
Spray paint all hardware to match using hammered metal spray paint. Let the hardware dry while you build the charging station.
Instructions:
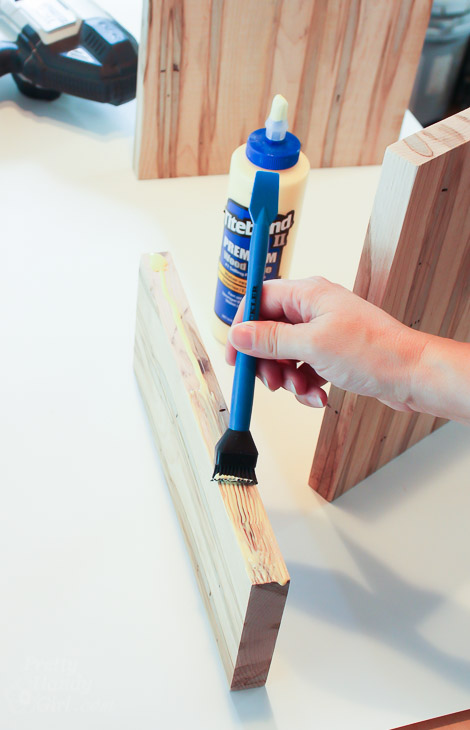
Add glue to one long side on each of the side pieces.
Line up the two sides with the back. Glue onto the back piece.
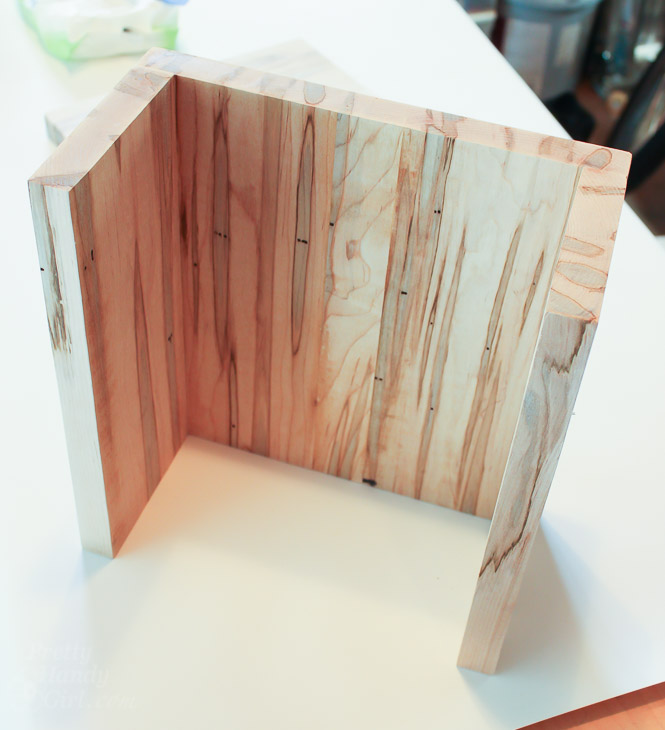
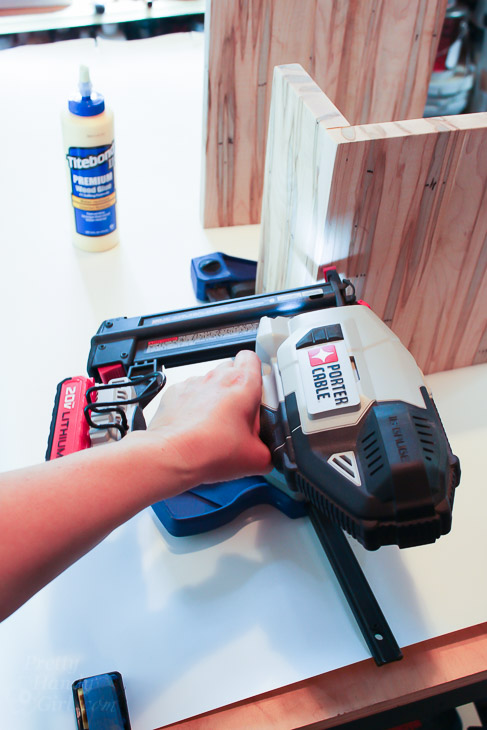
Clamp and secure with finish nails.
Add glue to the perimeter of the base.
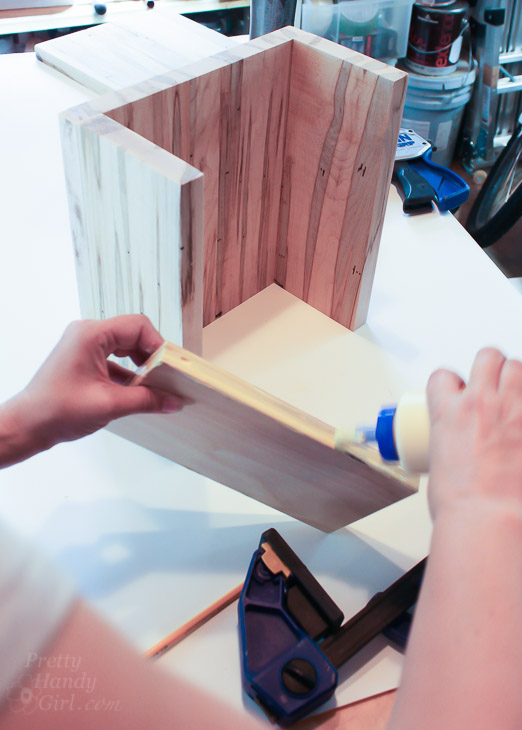
Set the base inside the box form.
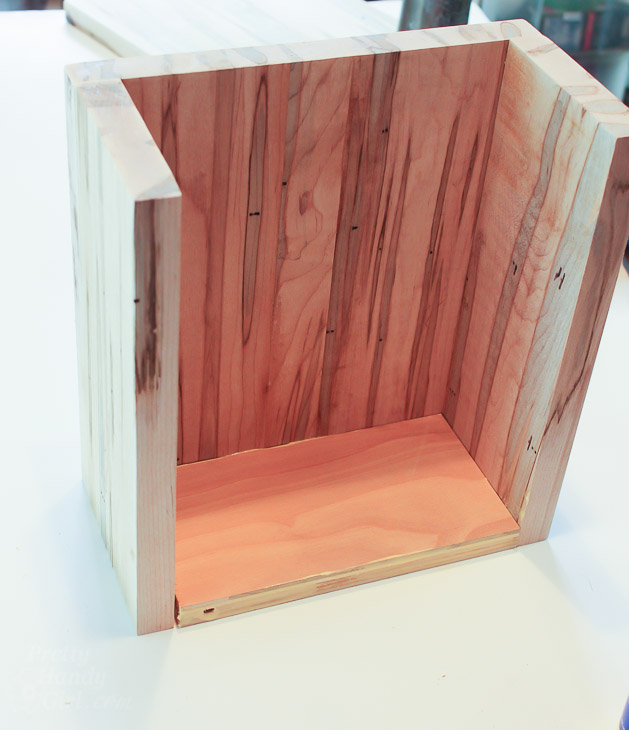
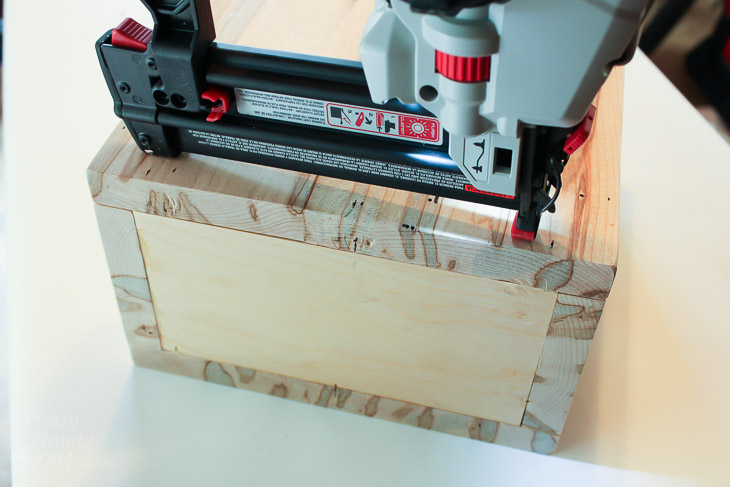
Add the front. Clamp and nail the front to the two sides.
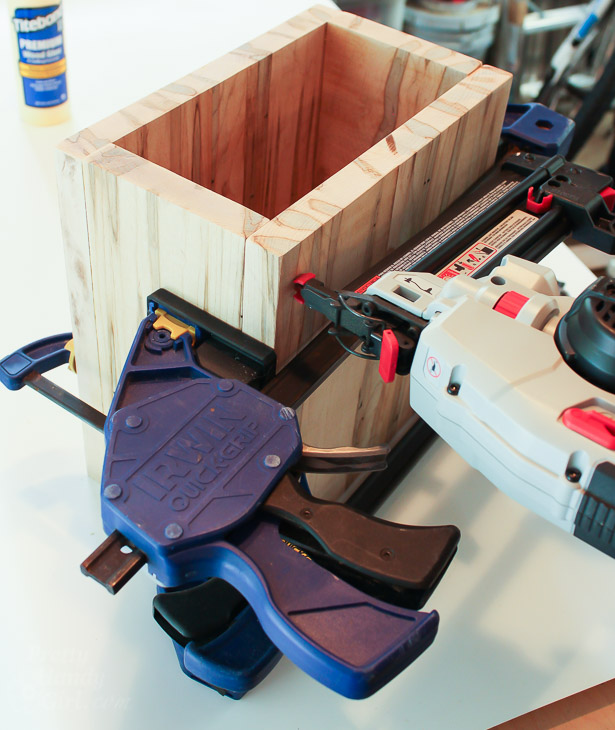
Secure all four sides to the base with finish nails.
Cut a notch into the 1″ x 2″ piece of wood to accommodate the USB power plug.
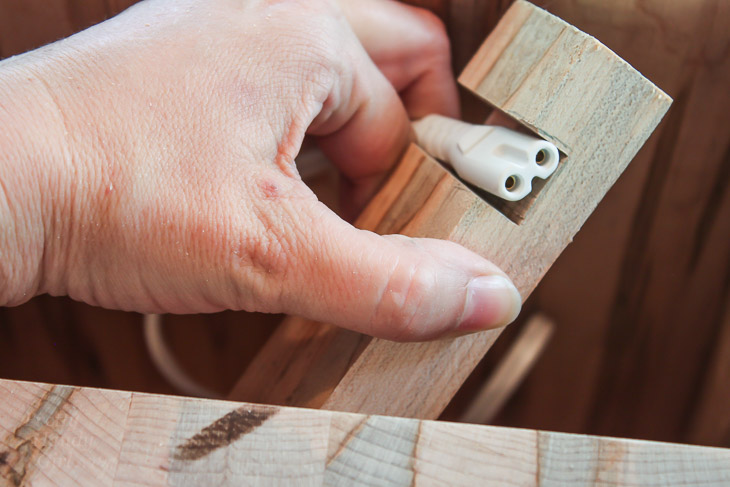
Glue the 1″x2″ piece 5″ down from the top of one side. (You can also drive two nails into the 1″x2″ for extra hold.)

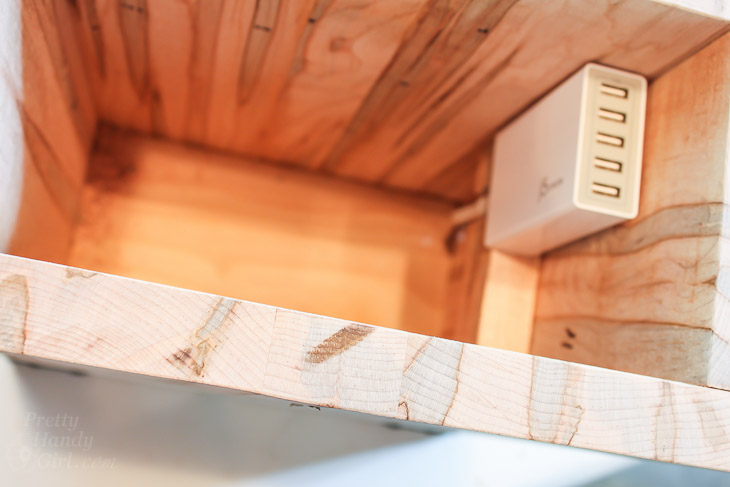
This will allow enough space for the USB charger and the device cords. Check measurements if you aren’t using the same port as I did. Use adhesive velcro to hold the USB charger against the side of the box.
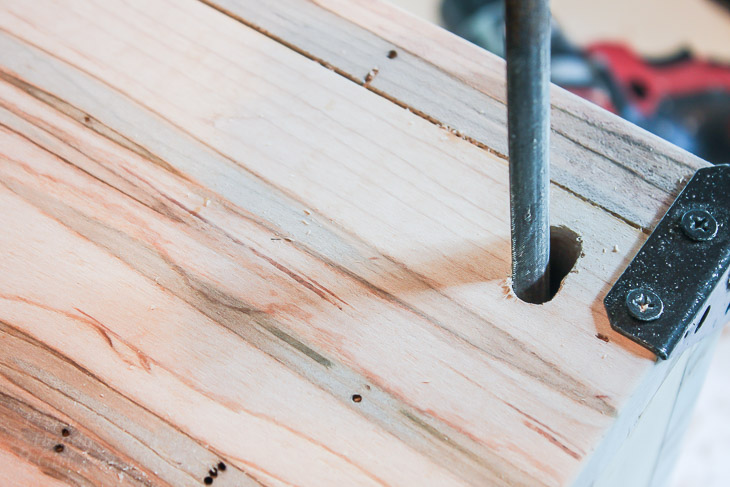
Decide where the power cord will enter the charging station/lock box. (Be sure to leave enough room for the corner brackets.) Trace the plug.
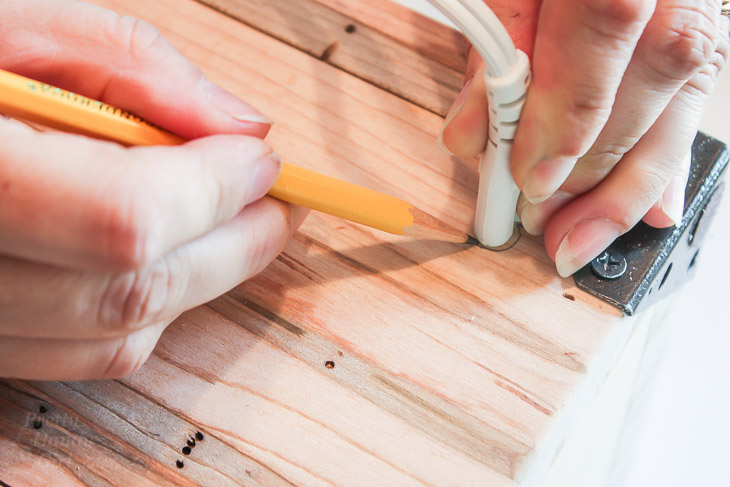
Use the 1/4″ drill bit to drill two holes side-by-side to accommodate the plug.
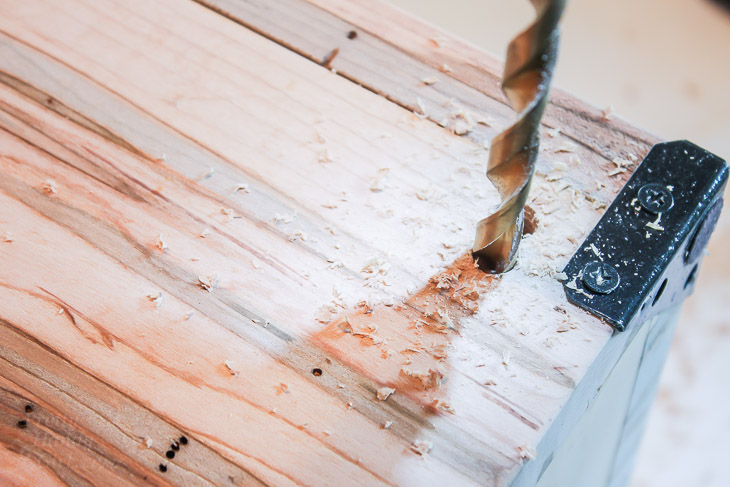
File the edges of the hole smooth.
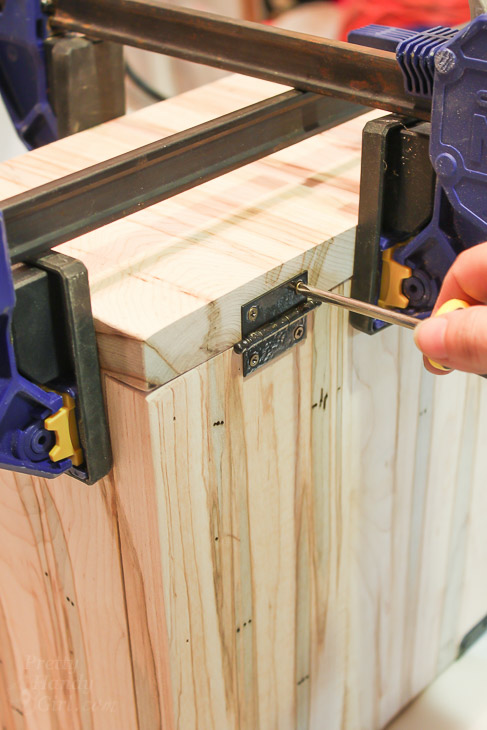
Line up the lid on top of the box. Clamp it in place. Pre-drill holes for the hinges.
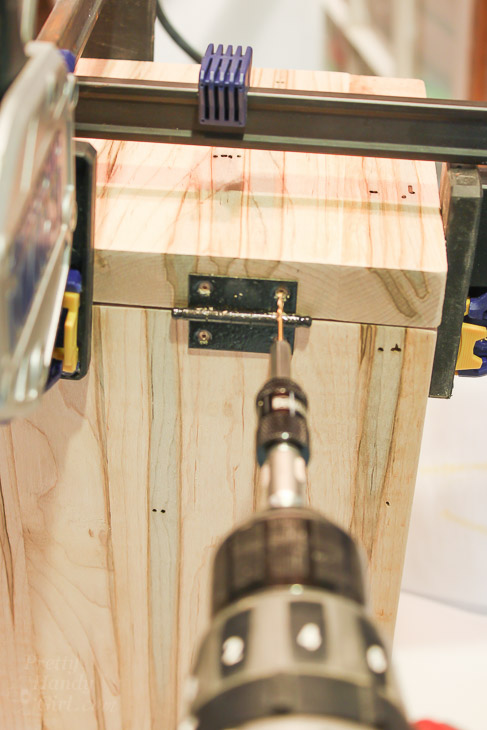
Use a screwdriver to secure the hinges to the back of the lock box and the lid.
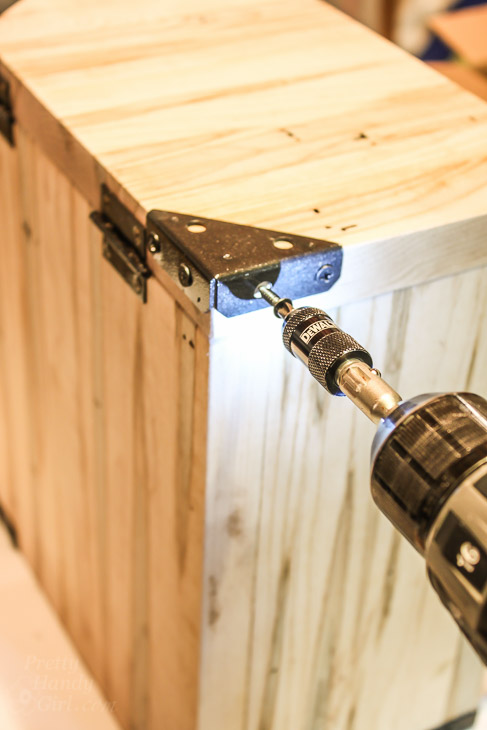
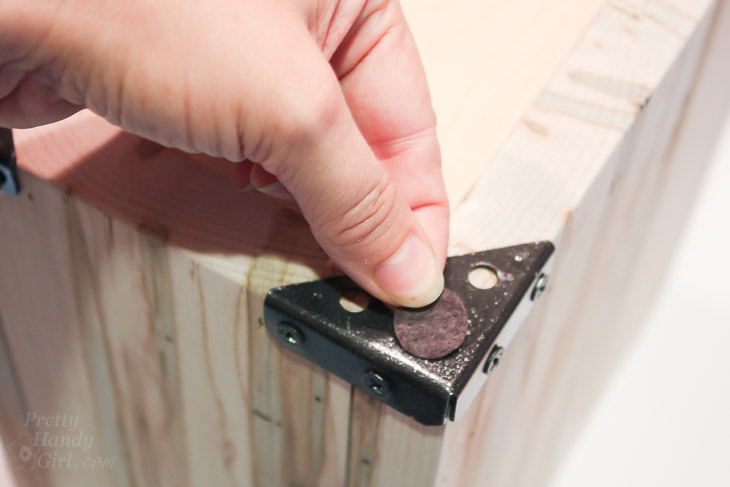
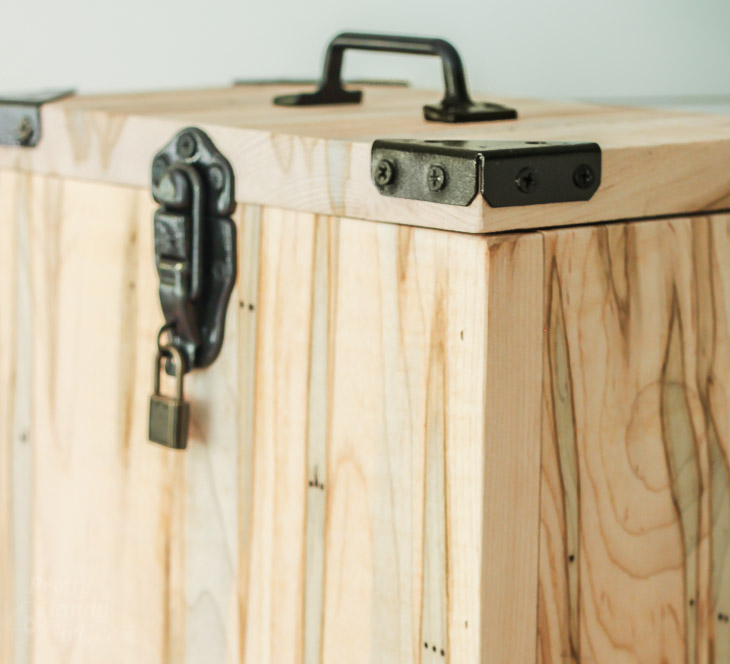
Add corner brackets to the four corners of the lid and the four corners of the base.
Turn the lock box over and add felt pads to the corner brace.
Find the center of the front and the lid. Attach the locking clasp to the front of the lock box (and lid).
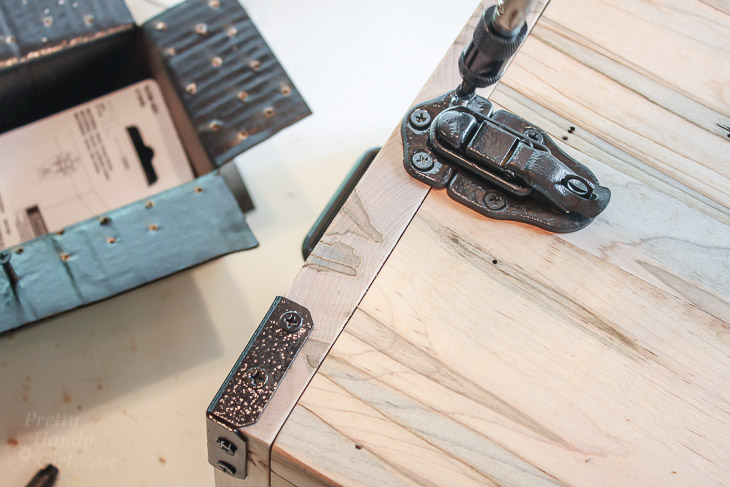
Add a handle to the lid if desired. (This makes it convenient for moving the box as it is heavy with all the devices inside.)
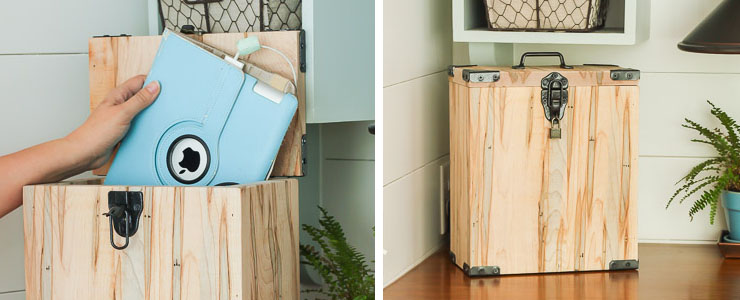
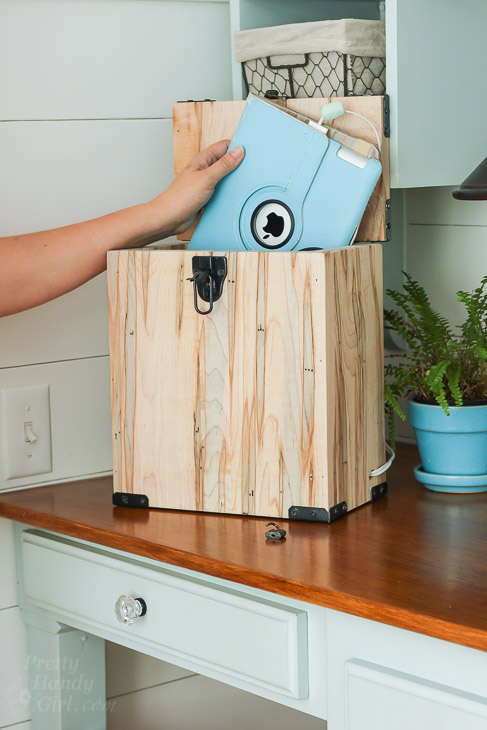
Fill the charging station with USB devices. Our lock box holds an iPad, a kindle, multiple iPods and iPhones. I left enough room to store the TV remotes as well. No more late night Netflix bingeing for my boys.
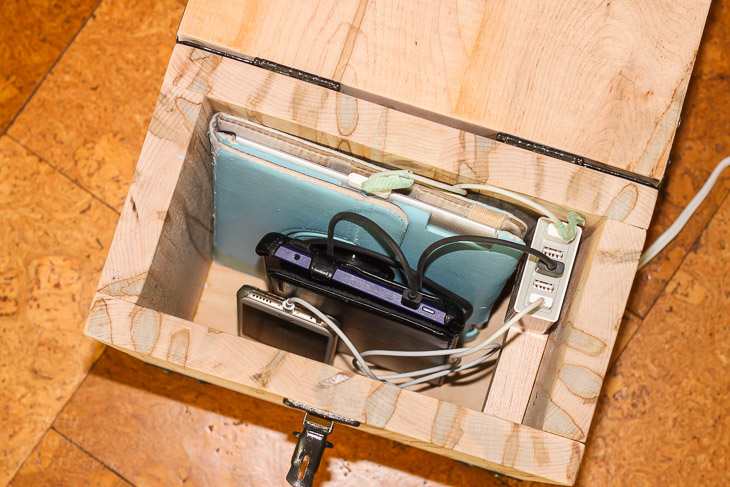
Now I need to train the boys to put their devices into the charging station and lock box when they are done. Currently I gather them up at night and set them in the box.
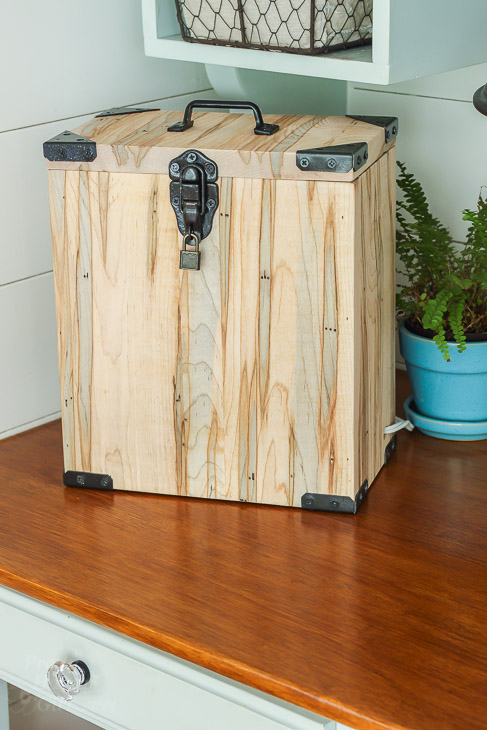
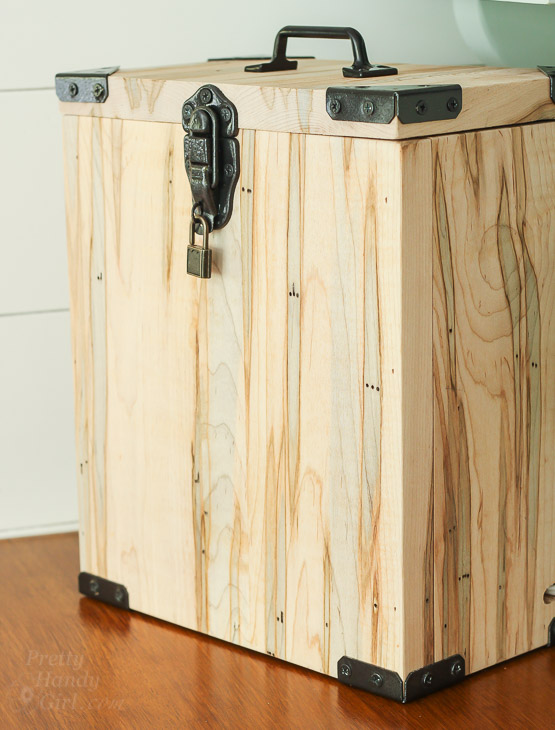
Then I put on the padlock . . .
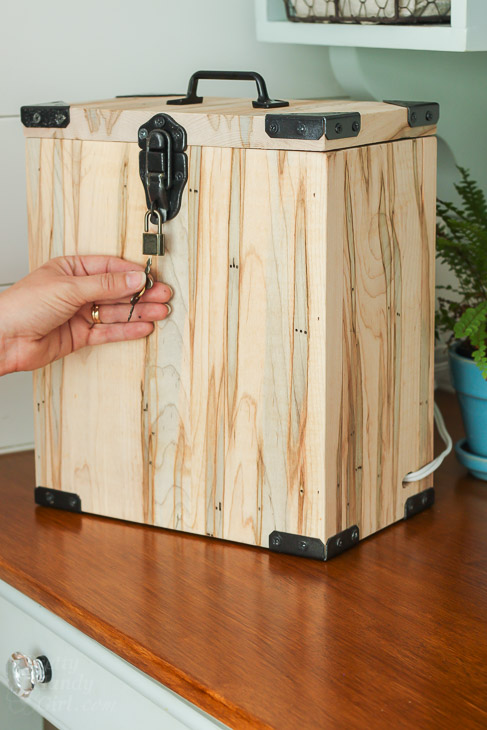
. . . and hide the key until morning. 😉
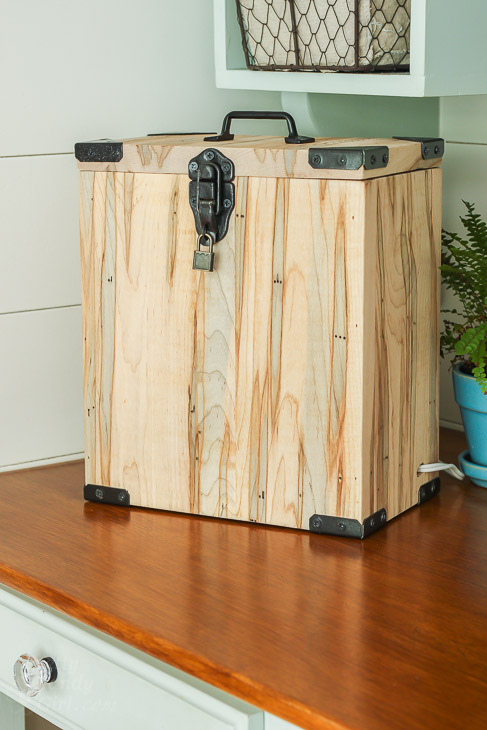
I really love the industrial style of this charging station and lock box. It adds that look of rugged tough security.
The charging station and lock box sits on my desk and plugs in. It can also rest on the floor near an outlet in the living room.
Finally, I can rest at ease knowing nobody is sneaking downstairs to play Clash Royale or watch The Flash after I fall asleep. We certainly don’t need grumpy sleep-deprived boys in this house! How about your family? Do you have issues with kids who sneak screen time?
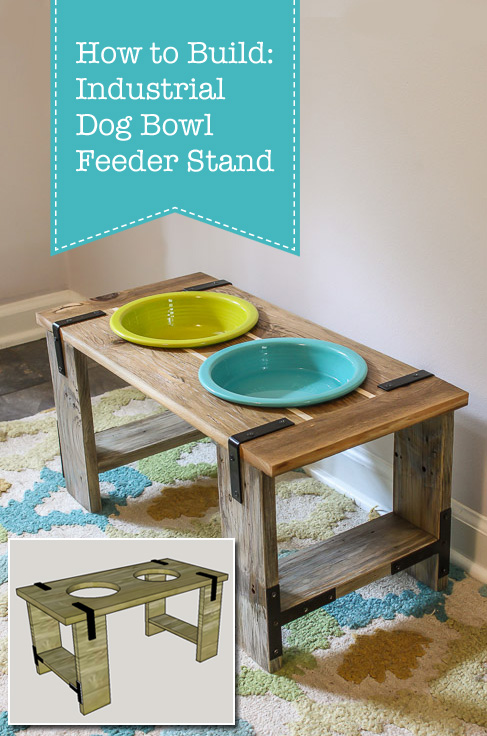
Did you like this project? If so, you’ll love building an Industrial Dog Bowl Feeder with an industrial design style.
Have a great week.
![]()
Disclosure: This is a sponsored post for National Hardware. I was provided complimentary hardware and was compensated for my time and efforts to promote National Hardware. I was not told what to write. All opinions are my own. I am particular about the brands I represent and will always let you know when you are reading a sponsored post.


One more suggestion…since it is a freestanding box, you should actually put the hinges inside the box. Basically, this looks like the kids could just unscrew the hinges, take their device out and screw the hinges back in.
LOL, you are correct and after several years, that’s exactly what my smart kids did!
I admire you and so many things about this. I would add two things. Vent holes so the devices can charge without getting hot and a built in keypad lock that has the ability to receive “unlock” from your phone or wifi, that way you can unlock it if you aren’t there in person. Mass produce this! Shark Tank!
Love this idea – we still use passcodes (but the boys do occasionally find out by watching when we aren’t looking) and have to change them. What we need a lockbox for, however, is sweets!
Ah yes! I need to build another one for sweets. 😉
The dog feeder stand is so cute, but I love, love, love the super, brilliant , best idea yet, in how to keep our kid from getting on any electronics when he should be asleep. I love this idea, and gotta have one to. Thank you.
I have to agree with the others about drilling holes. Maybe in the shape of an i on the back 😉
What a great idea Brittany! I don’t have anyone to hide these devices from except myself but I do have some form of discipline & tolerance, well most of the time anyway. I’d love to make this for myself anyway, so very clever!
This is brilliant! We definitely struggle with kids sneaking screen time. I’m going to make this very soon! Plus, it’s a great way to keep all those devices out of sight. Thanks for showing us how to do it. Love all your creations.
I like to monitor my daughters online time and have had something like this in mind for awhile now. This is a great idea!
I LOVE the wood you used! Gorgeous! My parents put a lock on our TV armoire in hopes of us not watching tv when we were grounded or whatever. Well… I (the younger sister) learned how to pick that lock! I was an angel.
I’d suggest a better lock… as a former kid, I know from experience how easy it is to pick that kind of lock. :>)
Nancy, I agree with you. We already upgraded to a combo lock. I was afraid I’d lose the key ;-D.
Beautiful wood…nice project, but that was my first thought too….will the devices overheat in the box. Maybe drill holes in the backside of the box to allow air flow?
Tricia, thanks for your comment and ideas. We haven’t had an issue with them overheating, but the devices don’t put off a lot of heat. If you found your’s heats up, go ahead and drill holes in the back (great idea.)
Super cute project! I’m curious, though, if this is a safety hazard considering devices get hot/warm when they are charging? And there are many of them in there at once with no air able to flow through and cool them?
We haven’t had an issue with them overheating. The devices we are charging put off very little heat. If you are concerned, yes you could drill holes in the back as Tricia recommended below.