
How to Cut and Finish an Old Tabletop to Create a Wood Desk Top

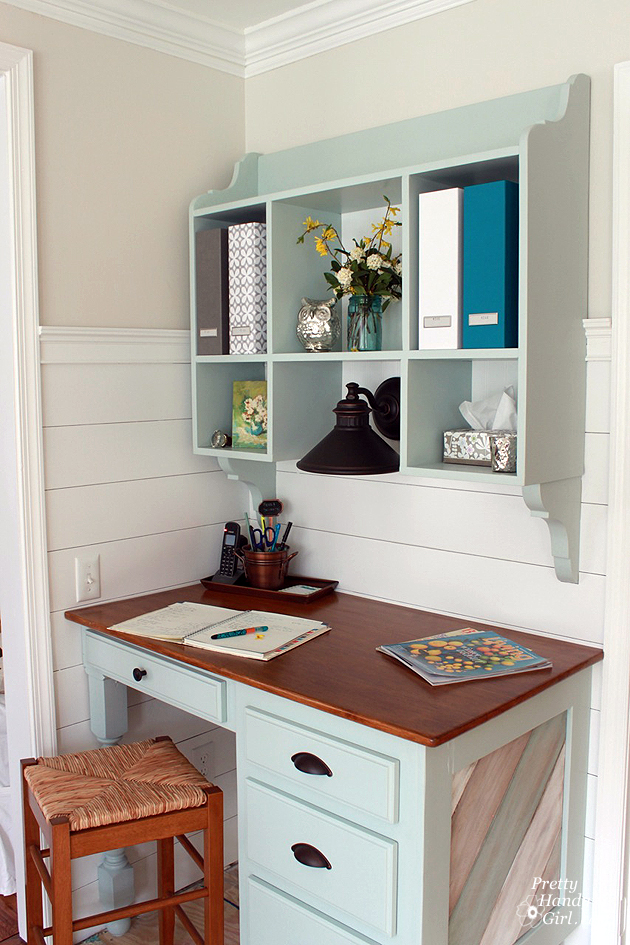
Have you seen my command center in the kitchen? It’s a beauty to look at, don’t you think? Especially that gorgeous wood desk top.
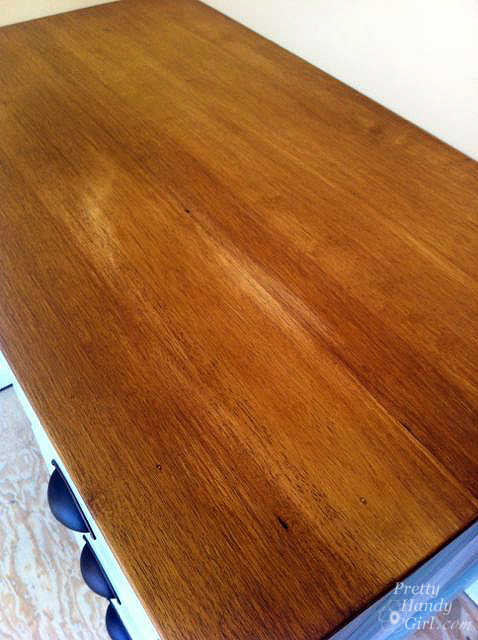
Well, I have a secret! It’s actually an old kitchen table top that was given to me for FREE! Yup, zero dollars, no moolah, nothing! And this is what the table top looks like:
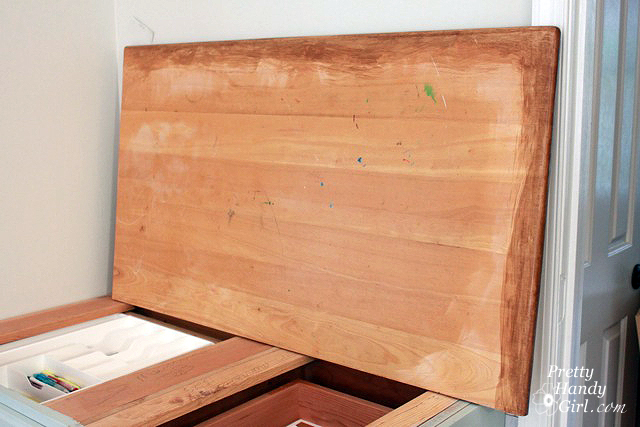
I actually flipped it upside down to refinish it. But, I’m jumping ahead of myself. Here are the details:
Materials:
(I’ve included affiliate links for your convenience. I earn a small percentage from a purchase using these links. There is no additional cost to you. You can read more about affiliate links here.)
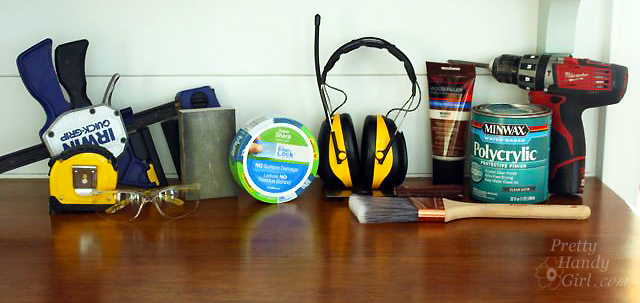
- Drill with screwdriver bit
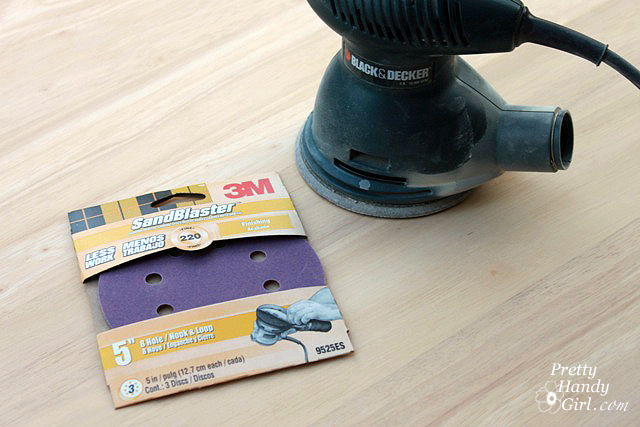
- 3M Sanding block
- ScotchBlue™ Painter’s Tape
- Clamps
- Straight edge
- Tape measure
- Pencil
- 3M Tekk Protection Ear Plugs
- 3M Tekk Protection Eye Glasses
- Circular saw
- Palm sander
- 3M Sanding disks (150 grit – 220 grit)
- 3M Wood Filler
- Putty knife
- Wood stain
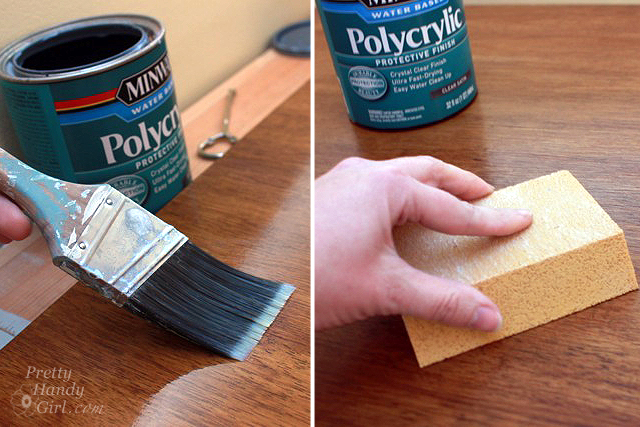
- Polycrylic
- Brush


Instructions:
Remove the table top by removing the screws from under the table apron.
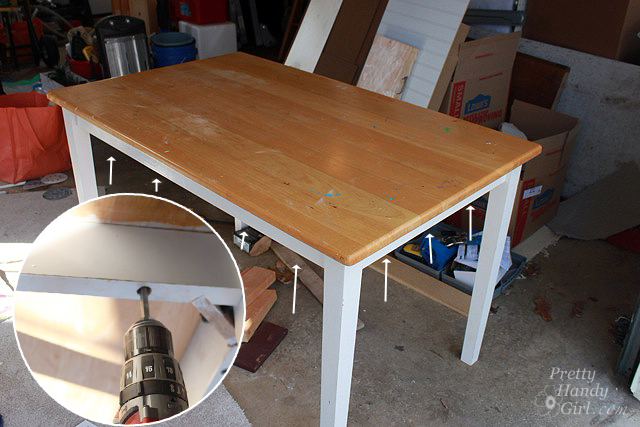
I used the underside of the table because it was unfinished and this saved me the time and effort of stripping the polyurethane off and sanding down any remaining finish.

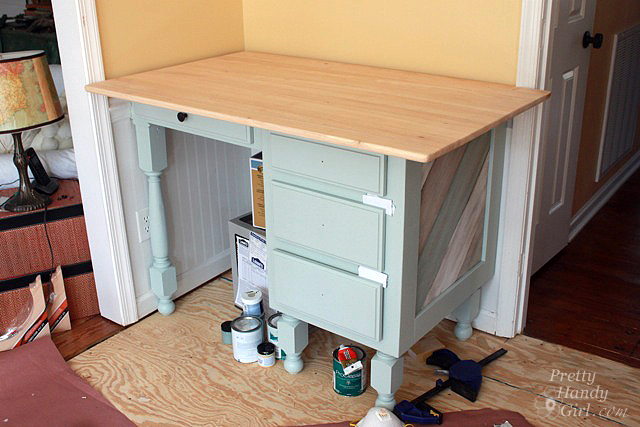
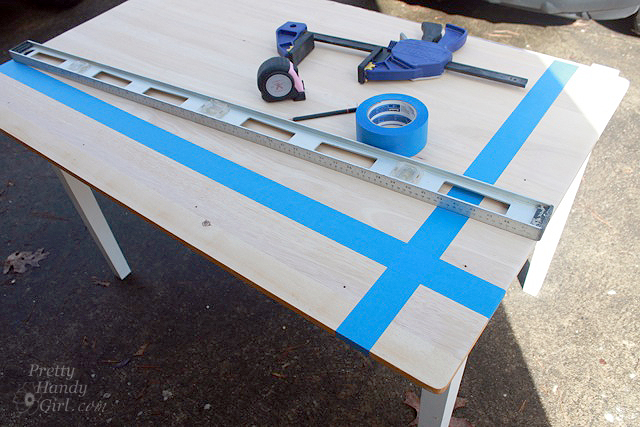
Set the table top onto the desk. Measure and mark where to make your cuts. (I allowed for an inch overhang on both the front and side.)
Use ScotchBlue painter’s tape to mark your cut lines.
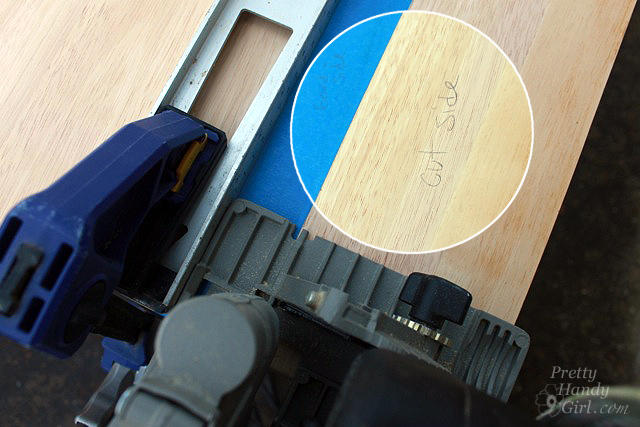
Clamp a straight edge onto the table at the proper set back for your circular saw. (To insure I don’t cut on the wrong side, I like to write on the cut side of the tape.)
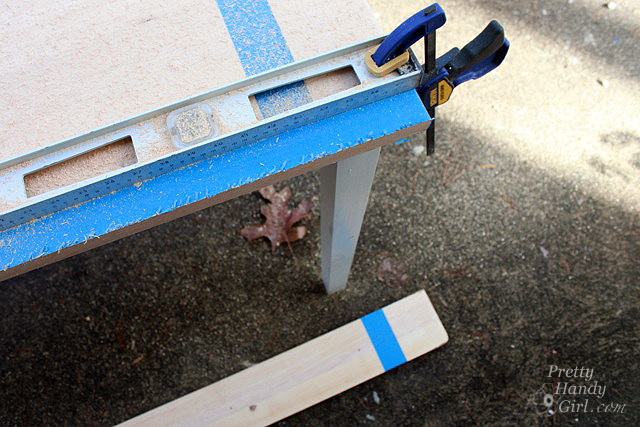
Set the miter saw blade depth to about 1/8″ deeper than the table top. Cut off the excess table top. Repeat for the second cut.
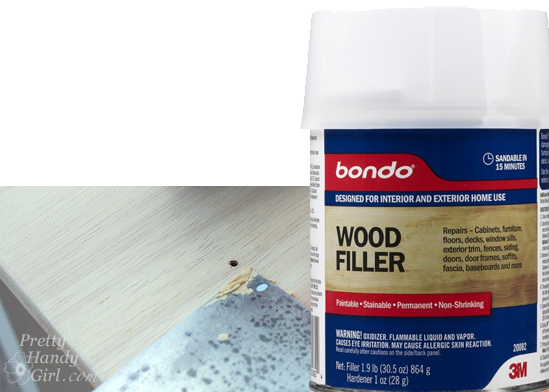
Check your tabletop fit. Fill the screw holes with Bondo stainable wood filler.
Sand the underside of the table down using 150 grit sandpaper up to at least 220 or 300 grit sandpaper.
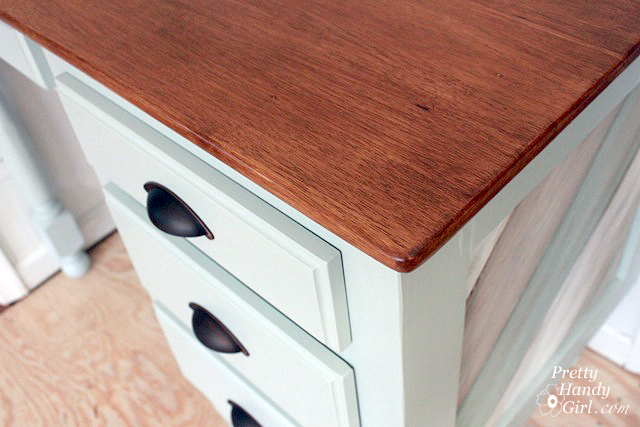
Stain the table top using your desired color. (I used Varathane Premium Wood Stain in Provincial Water-Based Stain.) After the stain has dried, add additional coats of stain as needed.
Just to prove that we all make mistakes (even Pretty Handy Girl), if you should accidentally work a water-based stain too much and get a less than desirable results. Wait for the stain to dry, then lightly sand the edges and re-stain your desk top.
Finish by applying 3 coats of Minwax Polycrylic protective finish. Sand lightly between coats.
Place the desk top onto the desk. You can glue or screw the top down.
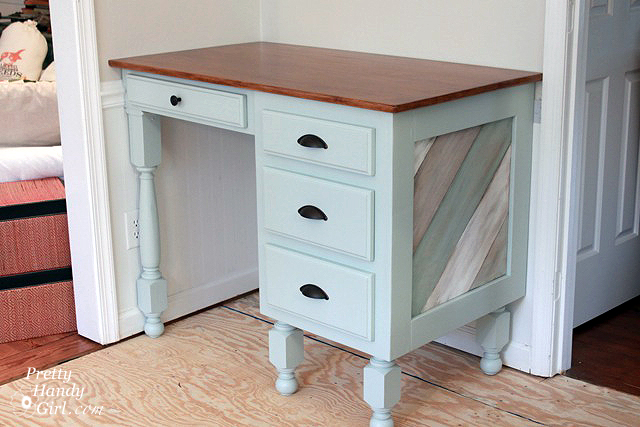
I am in love with the warm wood top of my kitchen desk. Would you have known that it was an abused kitchen table?
Looking for more uses for your 3M DIY products? How about building your own wall-mounted hutch for your new desk?
For more DIY Projects, visit 3MDIY.com!
 !
!


Disclosure: This post is a collaboration with 3MDIY.com. To keep up-to-date on projects, products and sampling visit 3MDIY.com. Or follow them on 3M DIY Twitter Page, 3M DIY Facebook Page, or 3M DIY Pinterest Page

Using the UNDERSIDE of the tabletop was sheer genius, but who would expect anything less from you? It’s interesting to see that 3M has bought BONDO, one of my favorite “it’s not just for auto body repair” products and repackaged it as a wood filler. It IS wonderful for deeper gouges in wood if you use fiberglass drywall mesh to support it. My only gripe is that the filler to hardner ratio is very vague and I, for one, regularly use too much hardner only to have my epoxy “kick” too quickly. Thanks for the tutorial. Great results, as always. Hazard a guess on what type of wood that is? Maple? Oak? Solid hardwood=$$$$.
Thanks, I think it is maple. The grain isn’t as dark as oak.
I love how your desk turned out, especially the diagonal boards on the sides! The whole kitchen office is beautiful!
Very cool idea Brittany! I love the color stain you chose for the top, pretty 🙂
Love this. What a great idea! Just found your blog. Loving it so far 🙂
Thanks Heather and welcome!
No way! That table top came together so nicely and it looks awesome! I love it!
Thanks Ashley 😉
I love that desk! 🙂
2 words. you rock. jb
Thanks JB. I love it!
I think my favorite touch is the diagonal detail on the side of the desk. So cute! Really practical too which is what matters in the end.
Nice!
Beautiful job, I love your paint colours too – will you share them please? The aqua and the wall colour too?
Love your blog!
Anne, the upper wall is Aesthetic White by Sherwin Williams. The desk is Copen Blue by Sherwin Williams. The planks are Oxford White by Benjamin Moore.