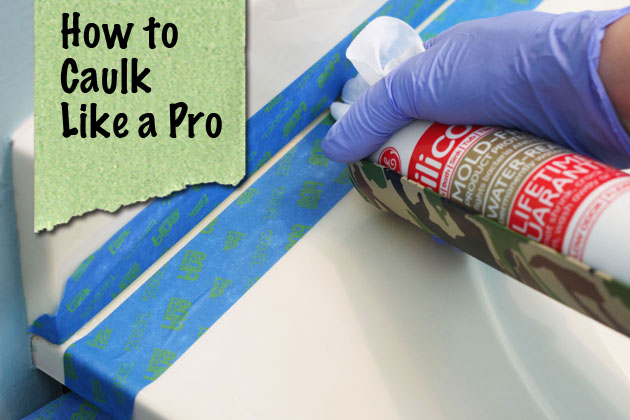
How to Caulk Like a Pro
Knowing how to caulk is a valuable DIY skill. A good looking caulk bead can turn a mediocre trim job into one that looks like a professional installed it. Replacing caulking around your home can also help you save money on heating and cooling. Replacing cracked and worn caulk in your bathroom and kitchen will help protect your home from mold, mildew and water damage. So let’s learn How to Caulk Like a Pro.
Today is your day to learn How to Caulk Like a Pro! I worked with GE Sealants to create two posts that will help you bring your “A” game next time you need to spread a clean bead of caulk.
How to Caulk Like A Pro

That’s it, just two simple tutorials to help you learn how to Caulk Like a Pro. See you over there!
![]()
Disclosure: I partnered with GE Caulk to bring you this post. I have been compensated for my tutorials written for the CaulkYourHome.com website.
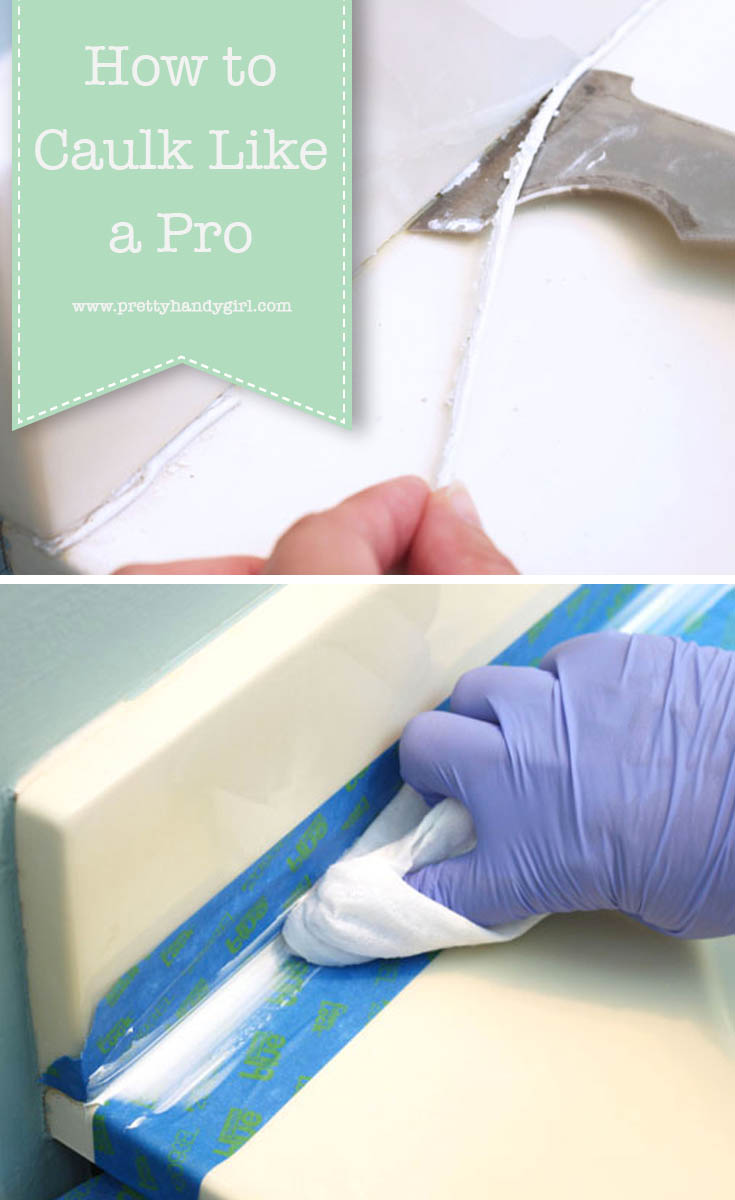
Pin for later!


This is such a brilliant tip – so useful.
Thanks Brittany.
<3
Pia
We had a bathroom renovations done in May, but within a few weeks the caulking around the tub had cracked in several places. If I want to fix this on my own, do I need to remove all the caulk that is there, or can I just go over it, like a patch up job? Appreciate your thoughts.
Yes, you really should remove the old caulk and clean well where you removed it. This will give you a better result and waterproof seal.
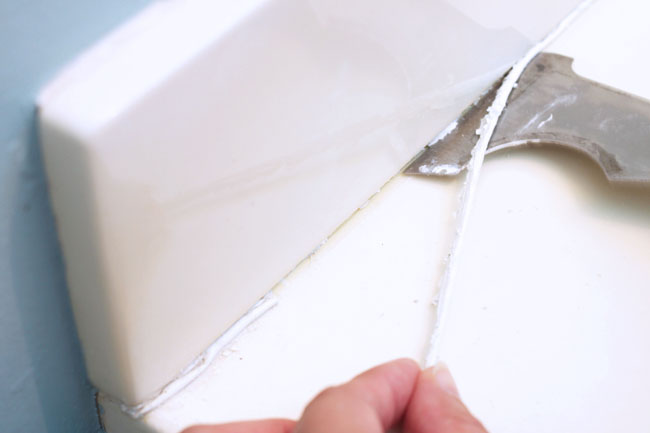
Good article, Brittany. One thing I would warn your readers is to cut the hole on the tip of the caulk tube smaller than you think you will need. It is easy to go back to enlarge the hole if you need to but if you cut it too big you will have a mess. Voice of experience here. I actually had to buy a second tube of caulk because the first one just squirted out too much caulk. The person who invents a little tool to place over the caulk tip so it can be recut will make a fortune.
Great tip Nancy!
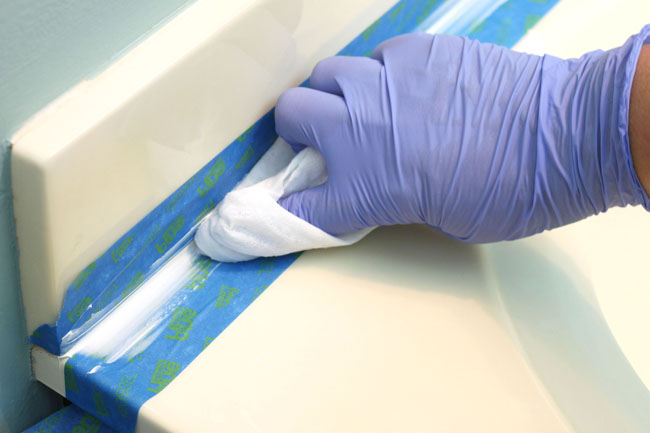
Must be the season for caulking. I just did my tub/shower Saturday and went to my mom’s today to do her bathroom sink and tub/shower. Too bad I hadn’t seen this before I caulked as I could have used the mineral spirits trick. I did use the painter’s tape which makes such a clean line! Thanks for all your hints and advice.
As much as I have caulked even after reading this, I still suk at it. I must say I haven’t tried using tape but I’ll give it a try once again. Thanks for the tutorial Brittany!
Colleen – The tape works really well. I used to be a messy caulker before I learned about painter’s tape.