
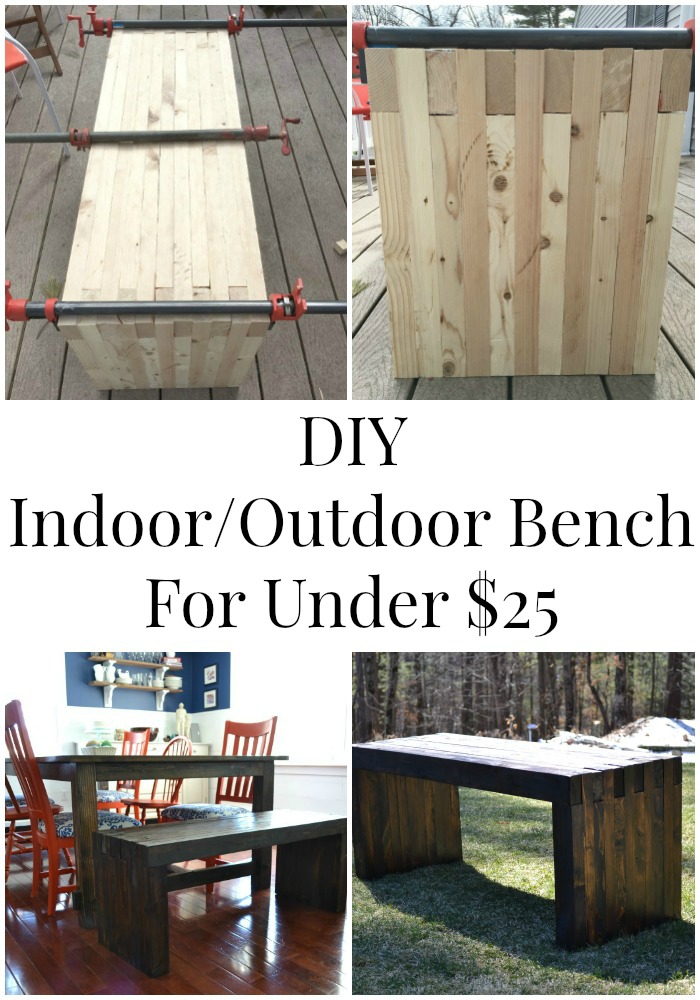
DIY Indoor/Outdoor Dining Bench
Hi everyone! I’m Jillian and I am so excited to be sharing my tutorial today!
I love to build and I am constantly looking at online stores and magazines to find the next design to conquer. I recently found a bench at AllModern that intrigued me. I perfer a bit more rustic farmhouse than modern, but the simplicity of this particular bench appealed to me. I just had to figure out how to build something like it.
I’ve watched a ton of videos of people making cutting boards because it fascinates me that such a useful tool is held together by wood glue and hope. I thought I could get this bench to stay together. Nothing but wood and glue (throw in a little hope!) Can you handle that? I know you can!
Let’s get started building a DIY Indoor/Outdoor Dining Bench.
Materials:
- 11-2x4x8 boards
- Wood Glue (don’t skimp on a dollar store version. This is the screws and nails of this project.)
- Bar Clamps
- Miter Saw
- Table Saw
- Paint brush or foam roller
- Stain of your choice
- Indoor/outdoor polyurethane
- Sander with 120 and 220 grit sandpaper
- Scraper or putty knife
Cut List:
- 12- 2×4 @ 16”
- 10- 2×4 @ 19” Approximate
- 6- 2×4 @ 47”
- 5- 2×4 @ 44″ Approximate
Instructions:
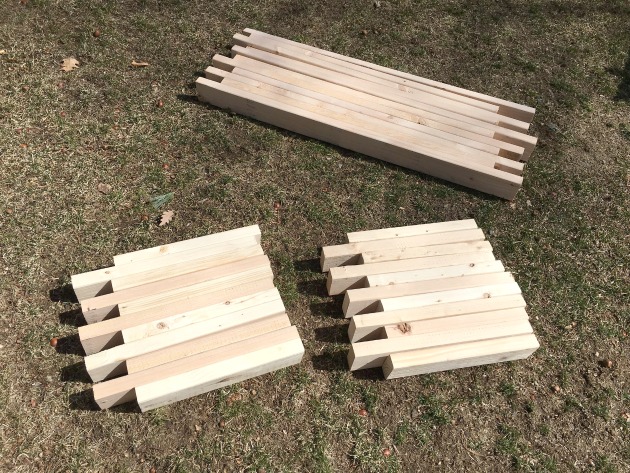
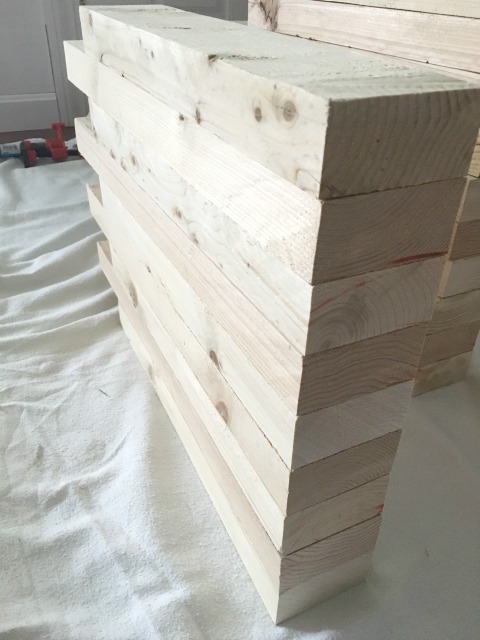
The first part to this puzzle is to rip all of the rounded edges off your 2×4 boards. This is why 1/2 of the cuts on the cut list are approximate. You will need to measure the width of your boards after ripping them and adjust the measurements accordingly. The objective is to make all the sides of the bench flush with each other.
Set your table saw to take off the minimal amount necessary to flatten one side on all of your 2x4s and then readjust the guide to do the same for the other side. This will make all of your pieces consistent widths.

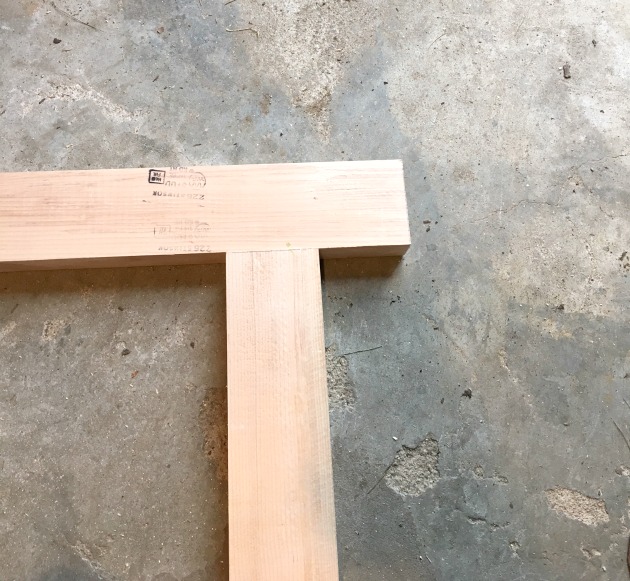
Cut all the 16” pieces and use two as a guide to figure the exact length of 19” pieces by making a “T.” The combined length of the “T” will be the correct length for your 19” pieces.
Next, cut the top pieces. Again, the 47” pieces will be accurate. The 44” pieces will vary depending on the width of your table saw cuts.
Stack your pieces as you want them to be. Pay close attention to any imperfections in the wood that you may want to hide or expose (knots, marks, etc.)
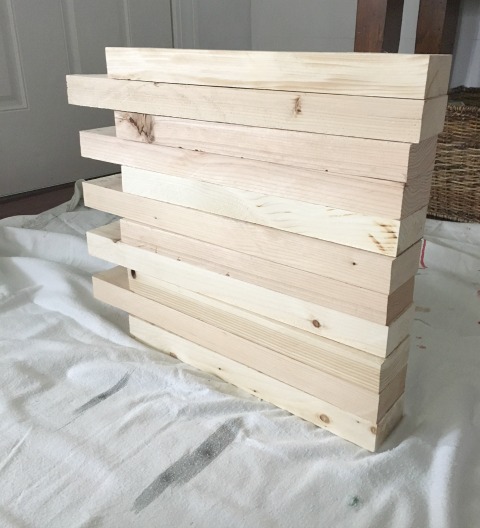
When it looks good, start gluing. Use a paint brush or foam roller to make sure you get good glue coverage.

Stack the pieces as you glue them, taking care to line them up as accurately as you can. Wood glue bonds fast.
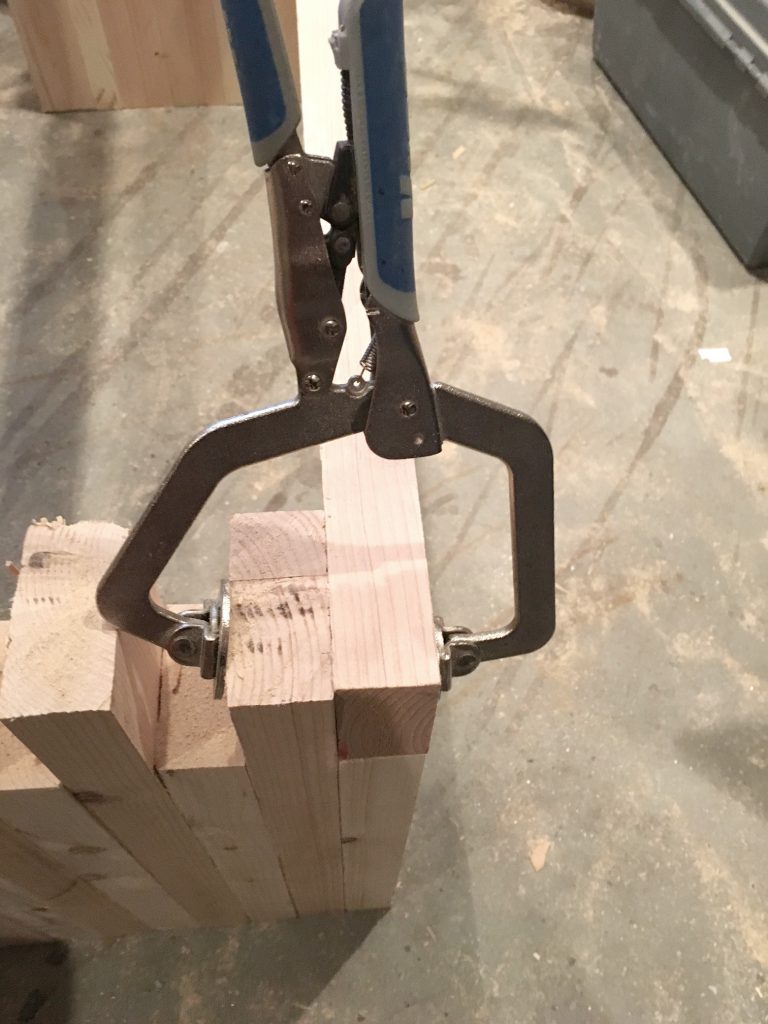
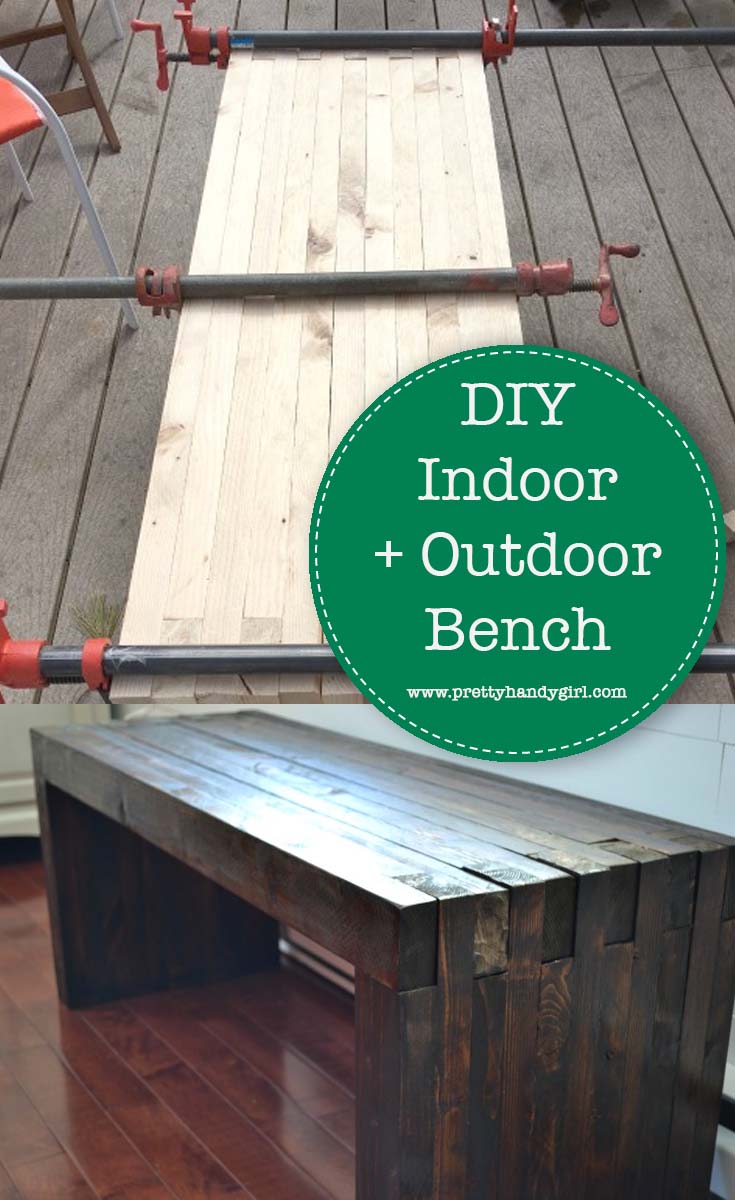
After all your boards are glued together, it is time for the clamps. Your clamps will get a workout with this project.

If you have a limited amount of clamps, you can clamp side one while you glue side two and then put them side by side in the clamp to keep them tight for an hour or two.
Assembling the top:
Add glue to the notches made by the joined 16″ and 19″ pieces and clamp the first 47″ piece in place.
Once that first piece is secured in place, you’ll have a solid foundation to work off of.
Let the glue dry for about a half hour before taking the clamps off.
Next, turn the bench on its side, add glue to the sides and ends of a 44” piece and place it beside the first piece, continuing to glue and place each board, alternating 47” and 44” until you get to the last piece. Clamp everything together.

Allow this to dry overnight. The glue must be completely dry before adding any stain to the wood.
Remove the clamps and use a scraper to scrape any excess glue that snuck out.
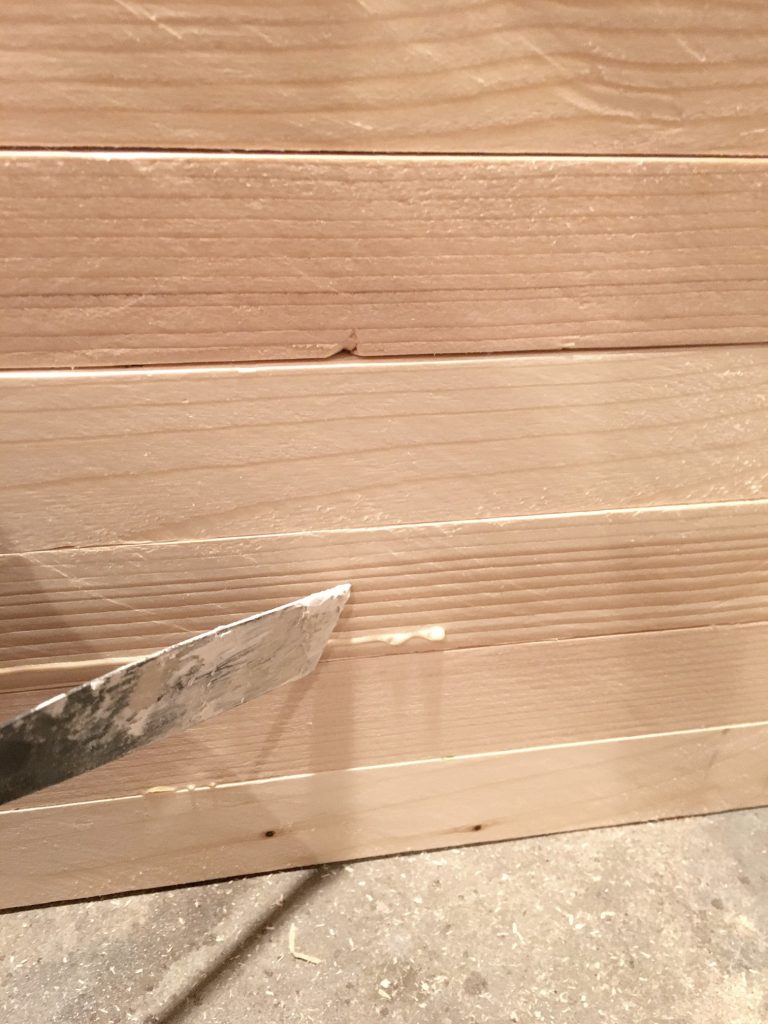
Sand the entire bench until smooth using 120 grit, then 220 grit sandpaper.

If you have some pieces that didn’t quite stay where they should have, you can use a belt sander or hand planer to smooth the ridge out.
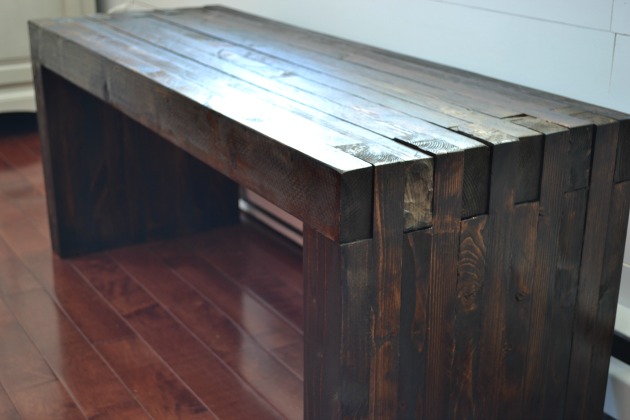
Clean the dust off. Stain your desired color. Finish with 3 coats of indoor/outdoor polyurethane on all surfaces including the bottom.

Now you have yourself a gorgeous indoor/outdoor bench.
I use it in my dining room as extra seating that can be brought in when needed.

It sits out of the way when we aren’t using it.
The great thing about using the indoor/outdoor polyurethane is it can head outside for a party and if you forget to bring it in, that’s ok! Don’t you just love versatility in projects?
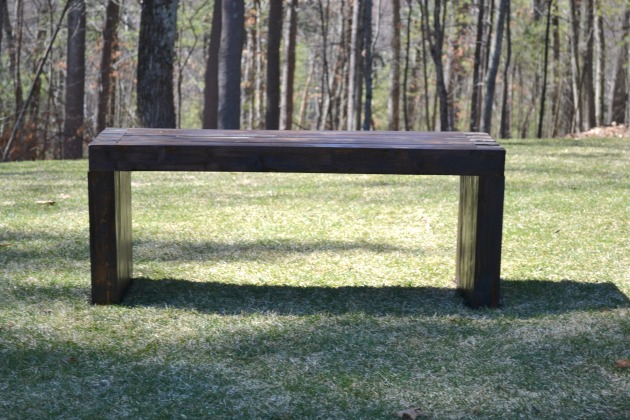
The overall dimensions of the bench are 47” x 19” but it is easily customizable. Make yours to suit your space and your taste. That is part of the fun of DIY!

~ Read more of Jillian’s tutorials ~
Pin for later!


Love the bench love the stain. Also looks really handy I could do with one of these myself.
Just what I need for deck this spring! Thanks for the directions!
Woah that lOoks awesome! I love it! I may have to try it this summer. Thanks for your well laid out instructions 🙂