DIY Beadboard Picture Frames

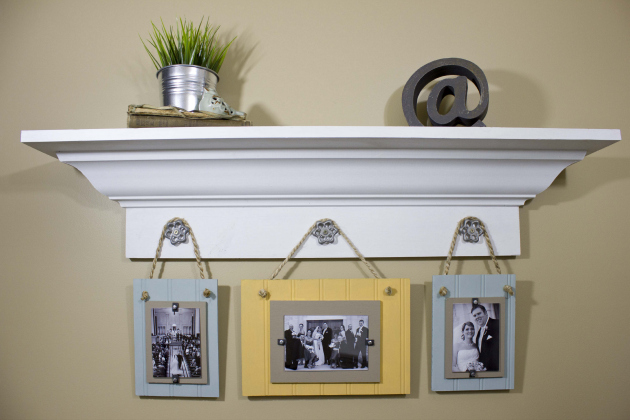
Last month Matt showed you all how to build a decorative shelf with crown molding for our half bath. The shelf is perfect for the space and I love it. Unfortunately something felt like it was missing from the shelf. After some thought I decided that our shelf needed picture frames! Beadboard picture frames to be exact.
Today I am going to show you how to DIY your own beadboard picture frames!
Materials: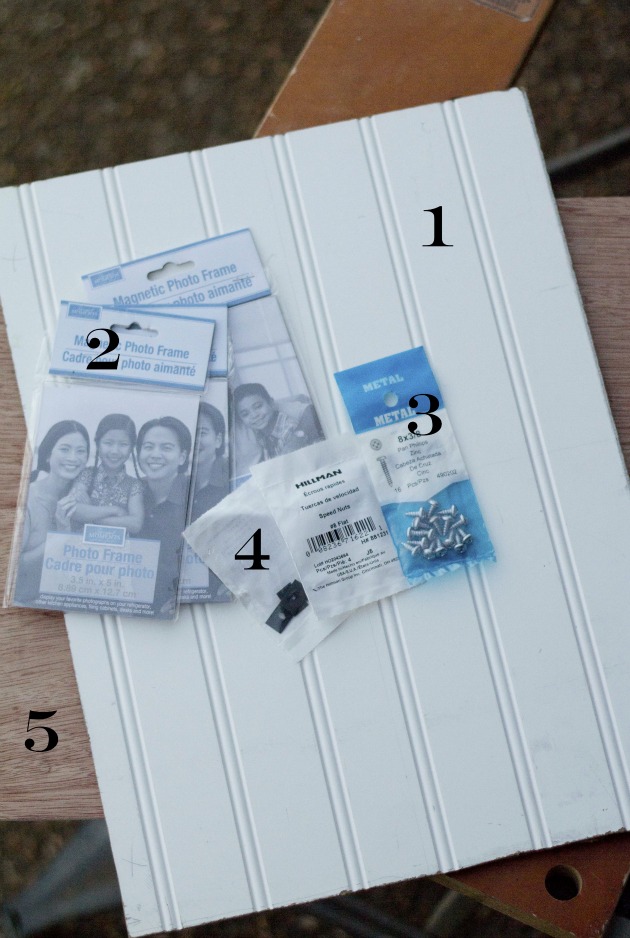
1. Beadboard
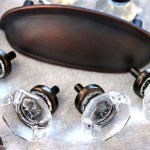
2. Plastic Photo Frames (these are from the dollar store)
3. Metal Screws with rounded heads (2 for each frame)
4. Speed Nuts (#8 Flat – 2 for each frame)
5. Luan
Not shown:
6. Paint
7. Rope
8. Liquid Nails
9. Circular Saw
Instructions:
Decide the overall size of your picture frame.
My sizes are as follows:
For a 3.5 x 5″ photo: Beadboard – 6.5 x 9″, Luan – 4.5 x 6″
For a 4 x 6″ photo: Beadboard – 8.5 x 12″, Luan – 6 x 8″
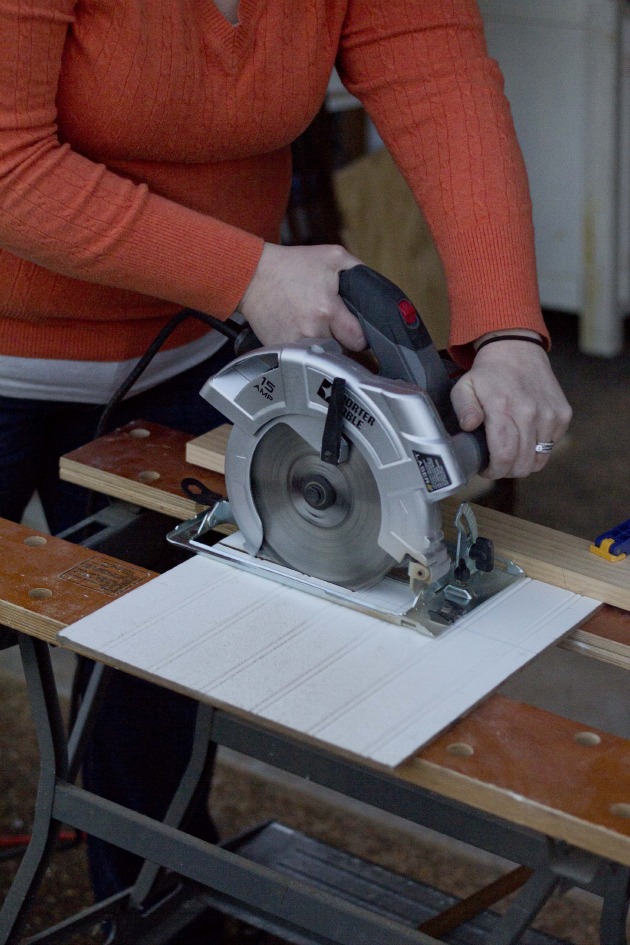
Transfer the dimensions to your beadboard/luan and cut your pieces with the circular saw or jig saw (learn how to use these power tools and more in the Tool Tutorial section.)
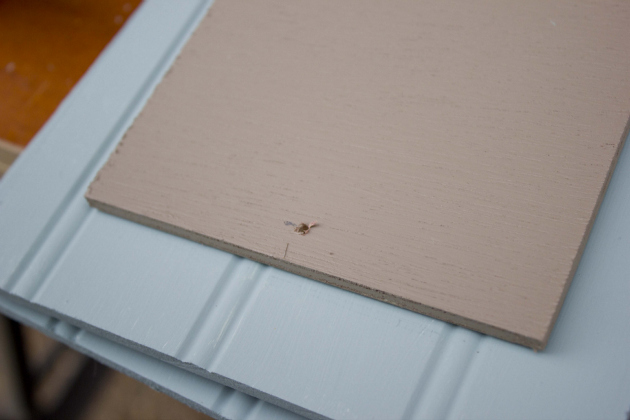
Paint your luan and beadboard. (I chose a brown for the luan and a complimentary color for the beadboard: AnnieSloanChalkPaint – Duck Egg & Arles.)
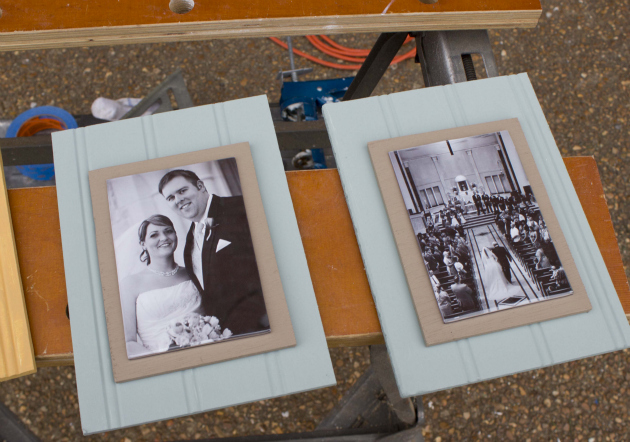
When the paint is dry, dry fit the pieces and glue the luan to the beadboard using liquid nails or other type of heavy duty adhesive. (Do not glue the plastic picture frames to the luan.)

Give the adhesive ample time to dry and then lay the plastic picture frames onto the luan. Take one of the speed nuts, center it on the frame, and mark the speed nut location with pencil.
Pre-drill a hole for the screws at the pencil mark. (Use a drill bit slightly smaller than the screws.)
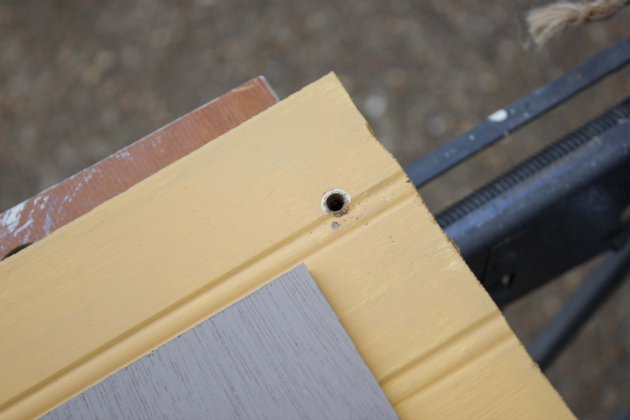
Use a larger drill bit and drill two holes at the top of each board for the rope hanger.

Center the picture frame onto the luan. Take a screw and begin to thread it through the hole in the center of the speed nut. Line the screw tip up with the pre-drilled hole and tighten it down using a screwdriver.

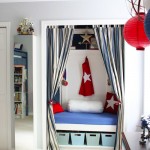
Once all of the speed nuts have been added to the picture frames, the rope can be added. The length of the rope is up to your discretion. Slip the rope through the holes and knot each end. (If you are having trouble getting the rope through the hole try adding scotch tape to the ends and remove the tape once the rope has been pulled through). With the rope securely attached to the picture frames they are ready to be hung up!
Not only are the beadboard picture frames perfect for Matt’s shelf, but I think they would be a wonderful gift for someone (think Mother’s Day or a Wedding.) I have to admit, I have been pining over frames like this for a few years now. I’m glad I took the plunge to learn how to make them. But, I’m also slightly kicking myself for not doing this sooner because these were much easier to make than I could have ever imagined! Now if I can just convince Matt to let me turn our woodland dresser into a vanity for the half bath we will be in business! Baby steps right?

Great DIY picture frames. Thank you for the awesome tutorial.
I shared this post on DIY best posts.