Last week I started to give my boys’ bathroom a facelift. The room was…well…a little fishy.

Complete with fishy wallpaper border…

And a fishy toilet seat!

The room was cute and I didn’t mind it so much. But, the border had started to peel. And the toilet seat was rusting. DO NOT, I repeat, DO NOT buy any cheap toilet seats that have metal hinges. They may look cool, but the nature of moisture collecting around the toilet makes them rust in no time. This was our third seat to do this. Why I didn’t learn after the second? I’m optimistic by nature I guess.
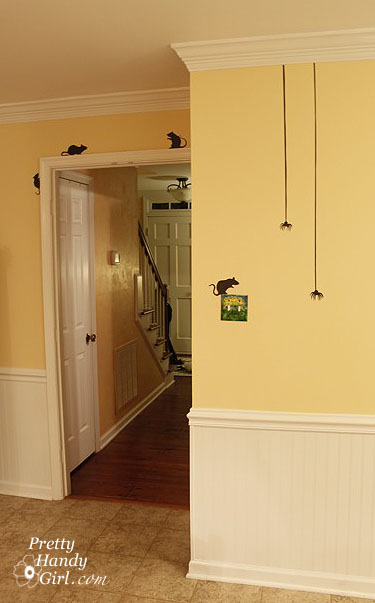
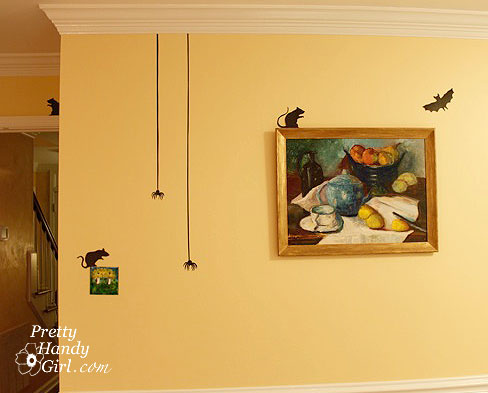
Anyway, I had wanted to help this bathroom grow up a little. And I’d been anxious to try another moulding project after doing my son’s closet last year.
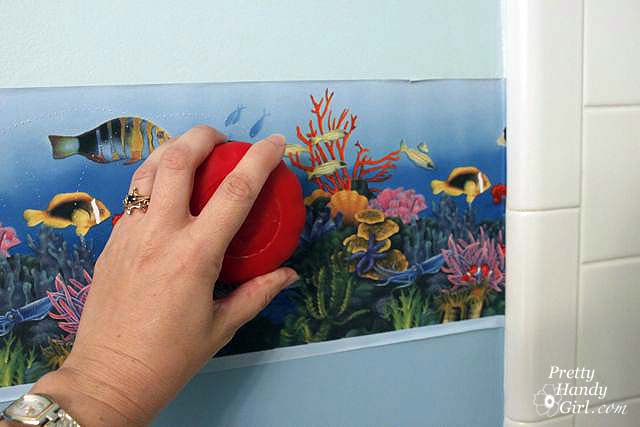
Before delving into the wonderful world of mouldings, I had to remove that wallpaper border. When wallpaper starts to peel, you think, “Oh cool! That means it will be easy to remove.” So you start picking and tearing at it. Well, resist the urge, it is just a funny joke wallpaper likes to play. You really need to be well stocked and prepared with the appropriate supplies for stripping wallpaper.
Removing Wallpaper Borders Materials:

Wallpaper stripper (DIF or a cheaper alternative is to use 1:1 concentration of cheap pink fabric softener and water)
- Scoring tool (aka Paper Tiger)
- Scraper or spackle knife
- Spray bottle
- Lots and lots of rags
- Sponge
- Bucket of water
Removing Wallpaper Borders Instructions:
Start by using the scoring tool. Make lots and lots of holes until you just can’t lift your arm anymore.
The more holes the easier it will be for the stripper to soak into the wallpaper glue.

Spray on the wallpaper stripper and let it sit for 15 minutes.

Repeat spraying the wallpaper (really soak it), and then gently try to slide your scraper behind the edge of the wallpaper.

If you can remove the whole strip easily, go for it. In true stubborn form, my border was hanging onto the walls with a death grip. So, I sprayed more stripper behind the border and let it sit for about 5-10 minutes. (Please ignore the giant gaping hole in the drywall! I patched it later.)

Hopefully by now, it has loosened it’s grip.

Gently pull the strip off while using the knife to help separate the border from the wall.

Remove any pieces that are left behind.

Spray down the walls again with the stripper.

Wipe it off with water and a sponge or rag.

This should get rid of all the wallpaper glue residue. But, it is still a good idea to use a primer on walls that previously had wallpaper on them. This will protect your paint job from doing something alien like bubbling up, flaking or who knows what!
![]() If you follow me on Facebook, you were privy to my post over at Parentables. I gave them a special all accesses pass to my brain on a recent trip to the Habitat for Humanity ReStore on THIS day.
If you follow me on Facebook, you were privy to my post over at Parentables. I gave them a special all accesses pass to my brain on a recent trip to the Habitat for Humanity ReStore on THIS day.

You can view this and more transformations over there! Be sure to leave me a comment. It seems those Parentables readers are a bit more shy than y’all!
And, one last note. I finally delivered my promised Pretty Handy Girl in a box to Cheri (pronounced like Sherry), who writes Dragonfliez Creationz. She is such a sweet person and she didn’t even complain that it took me a month to deliver her box. Cheri and I like the same burritos from Tijuana Flats (thanks to Courtney for introducing me to this Raleigh gem.) But, unlike me, Cheri has a tough side too (luckily I didn’t get to see it.) She’s giving me assertiveness training because I’m too nice.

That’s all for today. See you next week with some more bathroom updates.