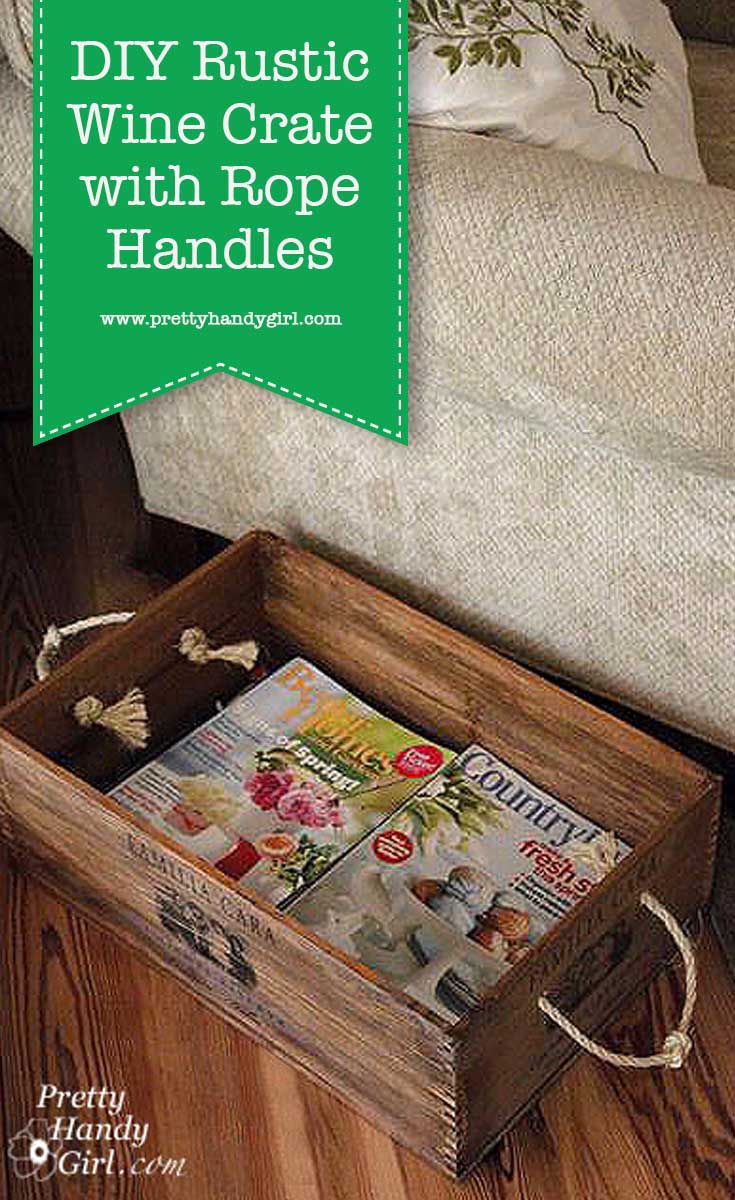
Rustic Wine Crate with Rope Handles

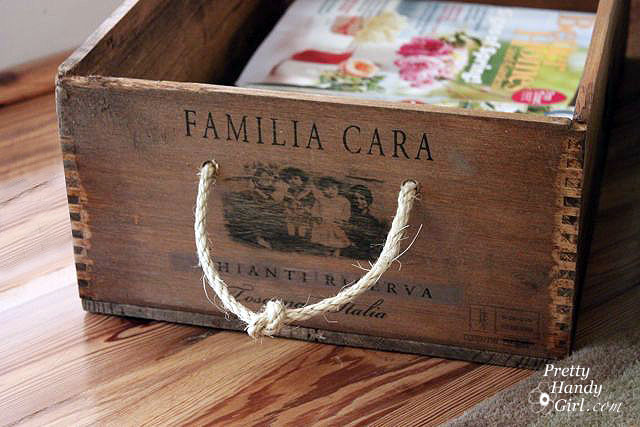
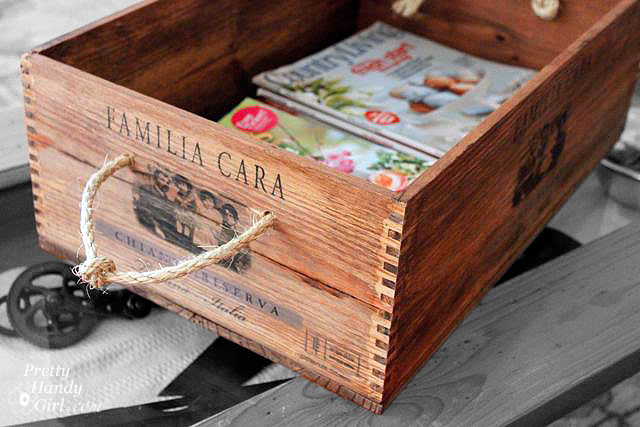
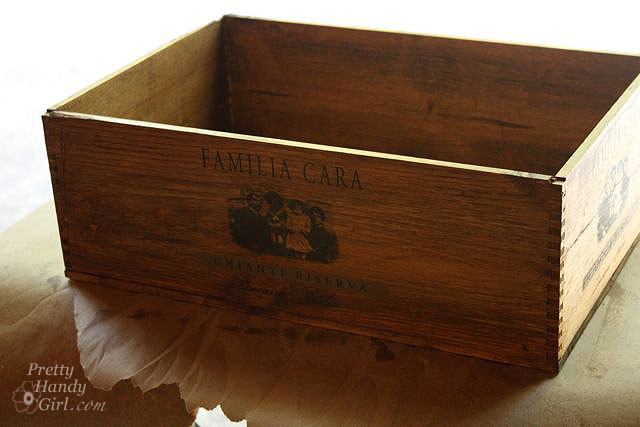
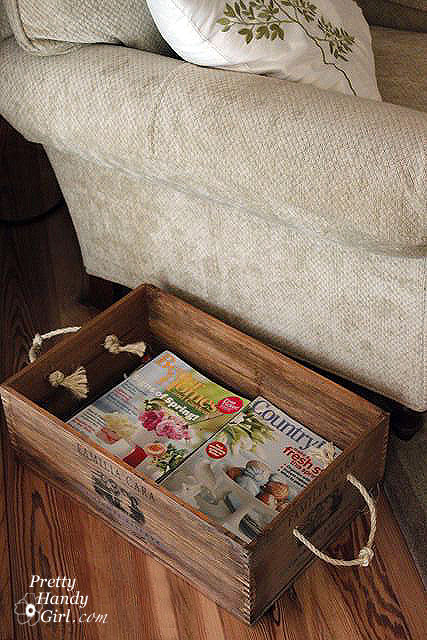
Have you ever stumbled across a wine crate and wondered what you could do with it? I have just the idea for you and it will take less than an hour to create. Today I’ll show you how to make a Rustic Wine Crate with Rope Handles. This is a great decor item that doubles as storage. And you can also use this as a gift basket if you fill it with goodies.

Materials:

(I’ve included affiliate links for your convenience. I earn a small percentage from a purchase using these links. There is no additional cost to you. You can read more about affiliate links here.)

Instructions:

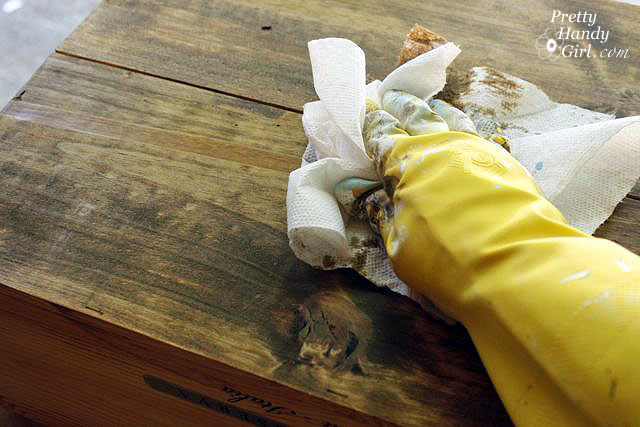
1. Clean your crate with a damp rag. Then brush the stain on and let it sit for a minute.

2. Wipe any excess stain off with paper towels.

Add a second coat if you like a darker colored crate. Allow it to dry thoroughly. (This might take several hours or overnight depending on your humidity. Hand raised…hot and humid North Carolina dweller here.)

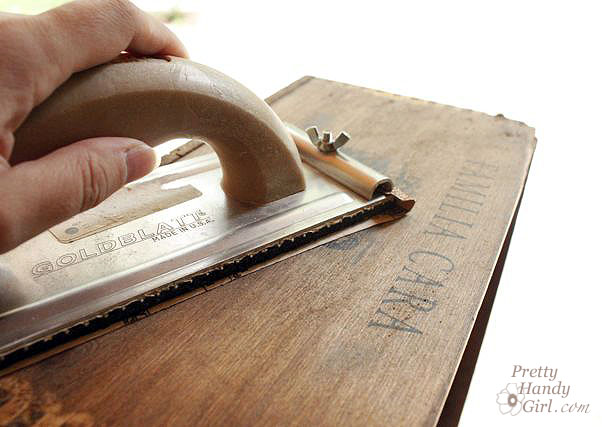
3. Sand any words and printing on the crate until you start to see some of the wood coming through. Be careful not to sand too deep and expose the bare wood. Wipe off the crate.

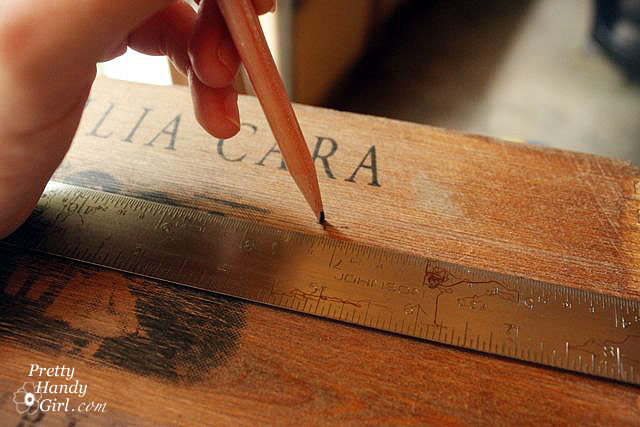
4. Mark the location for the rope handle on the sides of the crate. Be sure to measure the same distances from the top and edges on both sides.

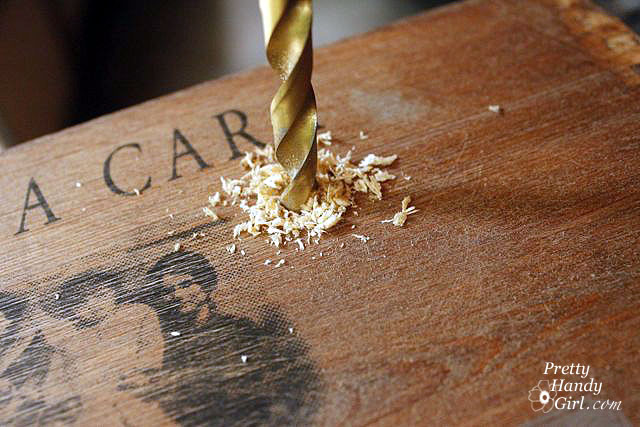
5. Choose a drill bit slightly larger than your rope. Drill holes at the marks.

6. Insert one side of the rope through the hole.

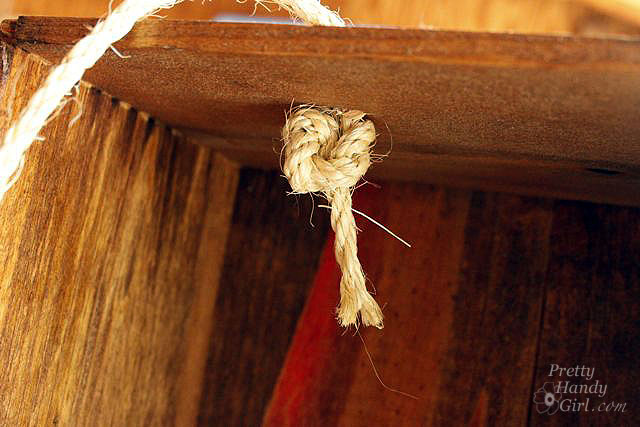
7. Tie a double knot inside the crate to keep the rope from slipping back through.

8. Determine how long a handle you desire and tie a single knot in the middle of the handle.

9. Feed the other end of your rope through the other hole and tie another double knot on the inside of the crate.

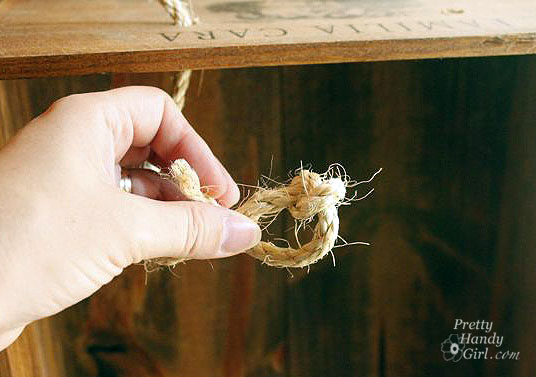
10. Fray the edges of your rope by untwisting them.

Fill your crate with magazines, blankets, or décor goodies and display it proudly!

Better yet, fill it with several gifts to create a unique gift basket. Keep with the wine theme by adding some wine, crackers, cheese, and nuts.

Easy tutorial right? How many of you are running to your local wine shop and begging for wine crates now? P.s. I’ve seen them at Costco, too.


Pin for later!
Easy_washi_tape_vases

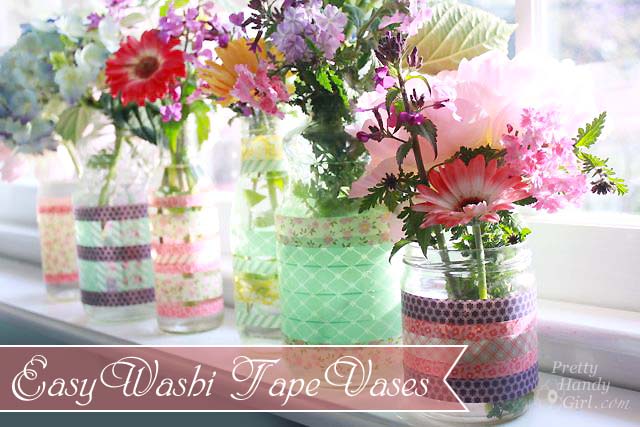
Teacher’s Appreciation Week is coming up.  I needed a gift that would be special and would make the teachers’ smile. And, I needed a gift that would require very little time to create. As I strode by the recycling bin, I grabbed some jars and had a wild idea. I’d make some Simple Washi Tape Vases for teacher appreciation gifts! And best of all, the cost would be next to nothing.

Welcome back to the Teacher Appreciation Gift Idea Series! All this week, we’ll have simple and inexpensive last minute gift ideas for the teachers in your life.

Teacher Appreciation Gift Ideas Series | Pretty Handy Girl

Teacher Appreciation Gift Ideas:

Decorated Chalkboard | Thank You for Nurturing My Child Plant | Apple Pencil Holder | You Rock Gift 3D Card | Simple Washi Tape Vases

Materials:

recycled_jar_vases

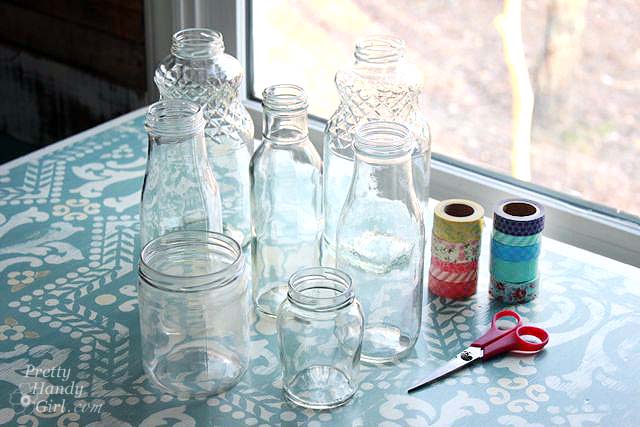
  • Recycled jars
  • Washi tape
  • Scissors
  • Flowers

Instructions:

Are you ready? This is complicated, so pay attention! (You know I’m kidding, right?!) Read more

Decorative Chalkboard Clipboard | Pretty Handy Girl

Easy Decorated Chalkboard Clipboards | Pretty Handy Girl

Teacher Appreciation time is coming up. Every year, I find myself scrambling for last minute gift ideas for the teachers. My sister-in-law is a school teacher and she has always lamented the amount of sugar-laden sweets she is gifted. For that reason, I like to give my sons’ teachers non-food gifts that will last long after teacher appreciation week. This week will be dedicated to Simple & Inexpensive Last Minute Gift Ideas your teachers will surely love!

Teacher Appreciation Gift Ideas Series | Pretty Handy Girl

Teacher Appreciation Gift Ideas:

Decorated Chalkboard | Thank You for Nurturing My Child Plant | Apple Pencil Holder | You Rock Gift 3D Card | Simple Washi Tape Vases

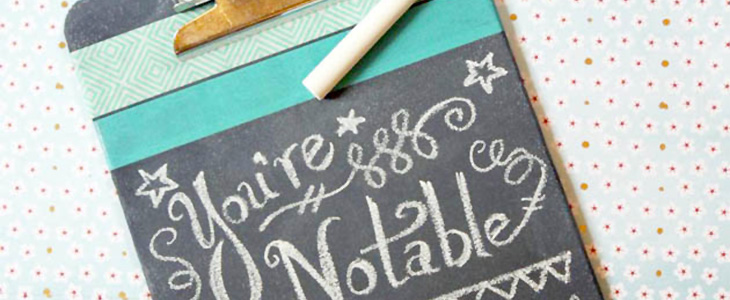
Today we’ll start off with a simple DIY project that your children can help create. Decorated Chalkboard Clipboards are a great little DIY gift idea for the teachers in your life (or anyone who uses clipboards.) I plan to give these to my boys’ teachers with a gift card to an office supply store tucked under the clip.

Gather the little munchkins around and let’s get started on these adorable Decorated Chalkboard Clipboards.

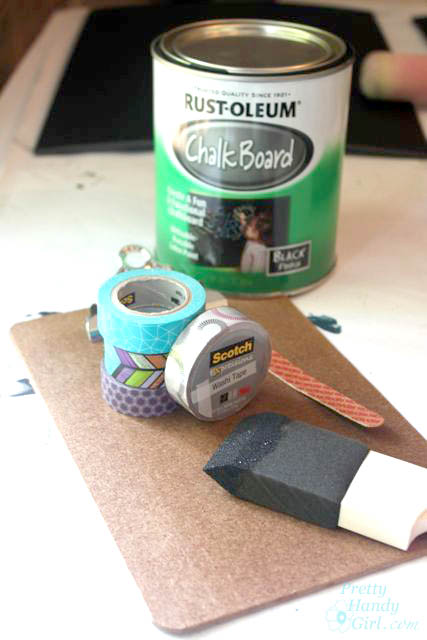
Materials:
(contains affiliate links)

Easy Decorated Chalkboard Clipboards | Pretty Handy Girl

Instructions: Read more

plywood frames title

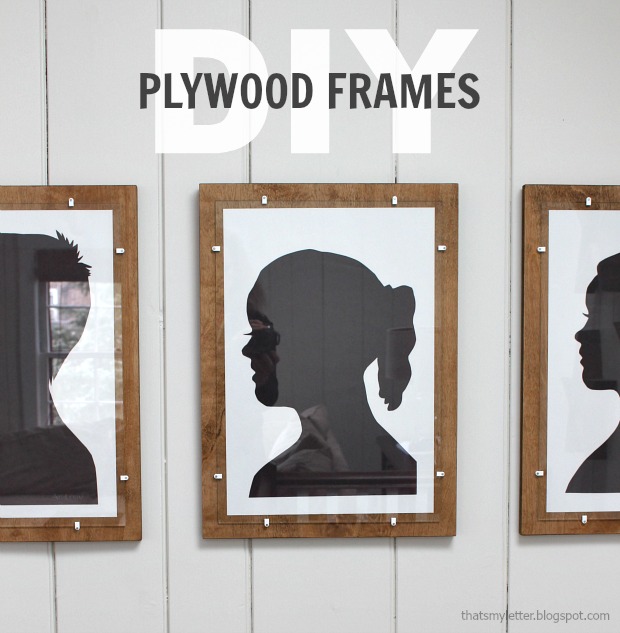
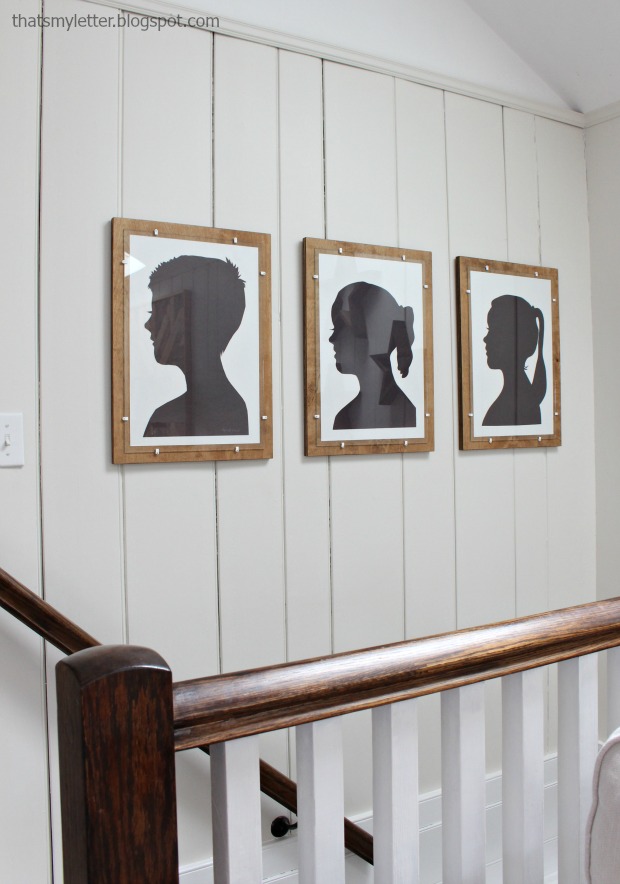
They say necessity is the motherhood of invention. Today’s project post on DIY Plywood Frames with Glass fits well with that saying.  Jaime at That’s My Letter here sharing how I took scrap plywood and made it into frames for my kids’ silhouettes.  Custom framing is not cheap and sometimes you have odd-sized pictures or artwork that just won’t work in a typical store bought frame.  This DIY plywood frame is a great solution for those situations.

There are tons of DIY wood frame ideas out there, but the difficulty lies in actually getting glass into the frame especially if you don’t have a router.  (To be honest I do have a router, but hate using it!)  The solution to this problem is to place the glass on the surface and to do that I had to find clips to hold the glass in place.  My first thought was mirror clips but they are rather large and deep, typical framing glass is 1/8″ thick and the mirror clips are meant to hold mirrors which are slightly thicker.

plywood frame 1

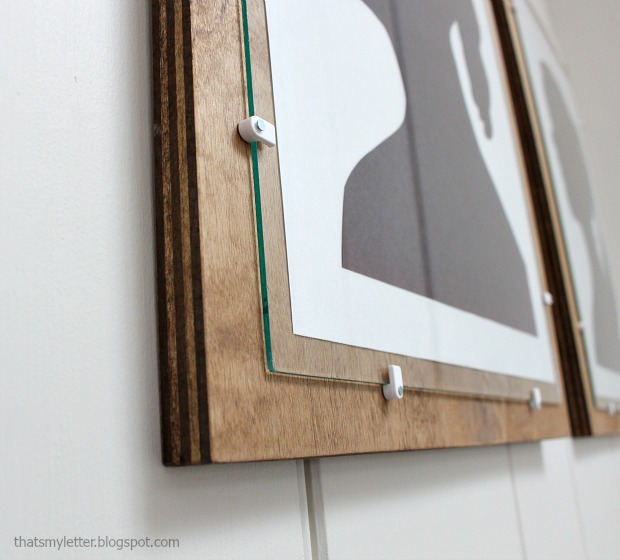
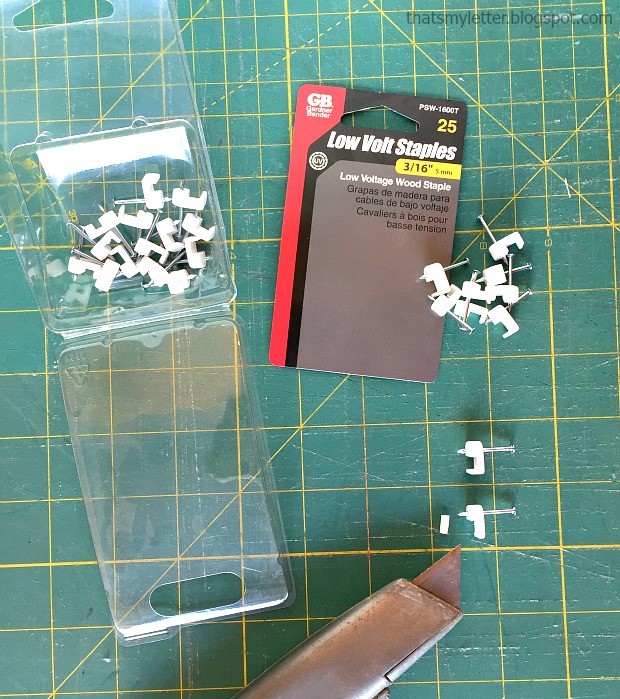
So after much perusing of the electrical aisle I decided to try low volt staples.  They aren’t clear like mirror clips but they are smaller and have the proper depth for frame glass. The only issue is the small lip edge that’s meant to hold electrical wires in place:

plywood frame hardware

No problem.  The low volt staples are plastic and I was able to easily slice off the lip edge with my utility knife!  I think they come in black too if you don’t like white. You could spray paint them any fun color to highlight your artwork being framed.

plywood frames 2

I ordered the glass in the size I needed (I paid $18 for all 3 pieces) and had the scrap plywood on hand.  The low volt staples are $2 for 25 staples, so this entire project cost me just about $20.  The joy on my kids’ faces when seeing their Kindergarten silhouettes hung was priceless.  Below are step-by-step instructions to make plywood frames with glass.

Materials:

  • 3/4″ plywood (cut 1 1/2″ larger than artwork on all sides)
  • 1/8″ clear glass (cut 1/2″ larger than artwork on all sides)
  • 3/16″ low volt plastic staples
  • wood stain
  • 3/4″ wood screws
  • picture hanging wire
  • utility knife
  • double stick tape
  • measuring tape & pencil
  • drill
  • 1/8″ drill bit
  • hammer

Instructions:

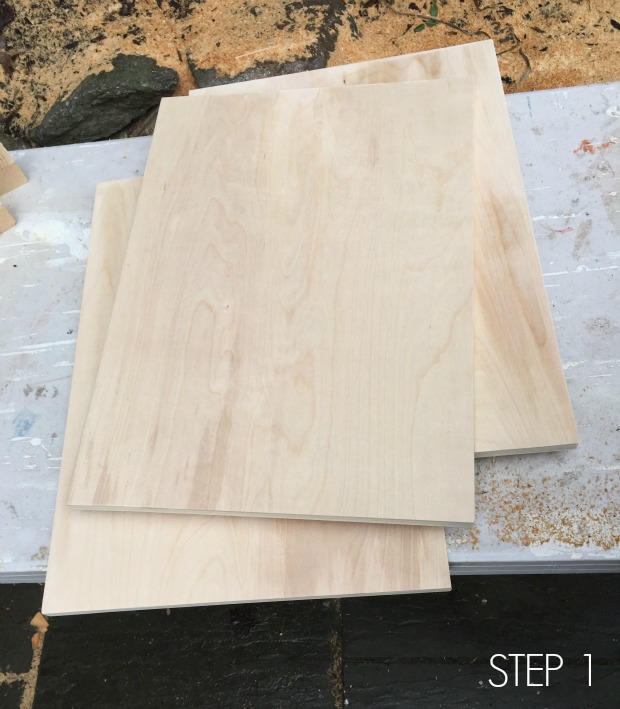
Step 1: Cut 3/4″ plywood to size.  Add 1 1/2″ on all sides of artwork to create frame similar to my version above.  Sand edges smooth.

plywood frame step 1

Step 2: Stain frame.  (I used Minwax Early American.)  Let dry thoroughly. Read more

Magazine File Box Facelift | Pretty Handy Girl

Magazine File Box Facelift | Pretty Handy Girl

It’s a new year and I want to give a few rooms in our house a fresh new look. Our office was one of the first spaces I completed when I started this blog (has it really been 5 1/2 years!)

I’m tired of staring at the same room day after day. I know many of you feel the same way. You have that itch, or a burning desire to hop in the car and drive to your nearest Home Goods, World Market or The Container Store to buy cute colorful decor or storage bins. I almost caved into that desire because I was tired of looking at the two tone boxes I bought 6 years ago.  But, that would mean discarding the old ones. You know how I feel about throwing things away! If I can upcycle it, I’m going to!

Magazine File Box Facelift | Pretty Handy Girl

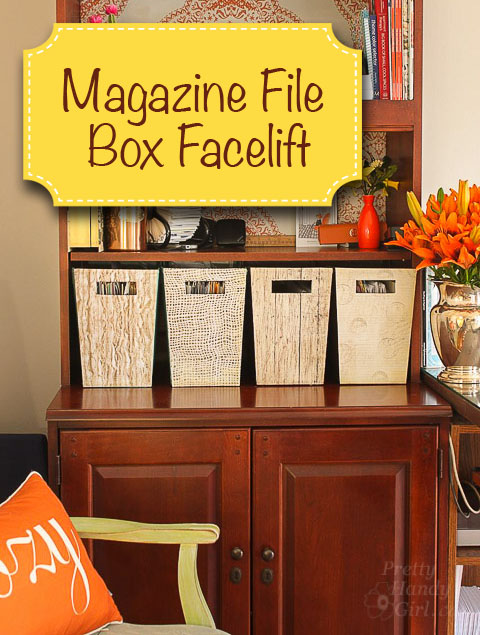
Within 10 minutes you could give a Magazine File Box a Facelift (or a storage box)! I saved a lot of money reusing the old. Factor in the gas money I saved by not driving to the store. And the time I saved by not leaving the house. I think I deserve a big fat high five! Put ‘er there fellow savers!

Here’s How to Give Your Magazine File Box a Facelift: Read more