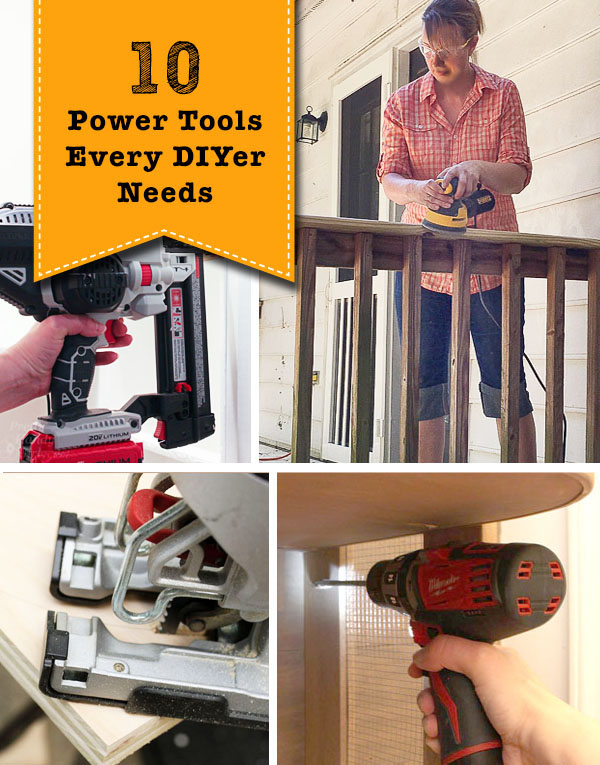
 Top 10 Power Tools Every DIYer Needs
Time and time again I’ve been asked what my desert island tool would be. But honestly I have a hard time narrowing my answer down to just one tool. Instead I decided to make a list of the Top 10 Power Tools that Every DIYer Needs in their tool arsenal.
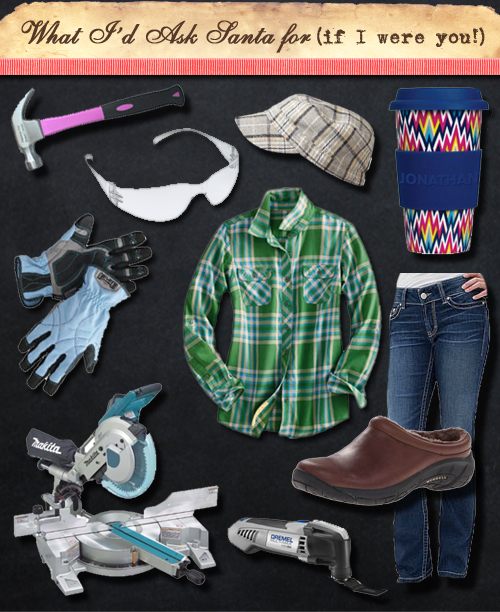
Next week the stores will be crowded and your family may want to know what you’d like for the holidays. If you are like me and ask for tools over jewelry, you’ll want to take inventory of your tools and see if there’s that one tool that you are missing. The ones that make the cut on this list are the tools that I use over and over again on projects, home repairs, and maintenance.
In no particular order, here are my Top 10 Power Tools Every DIYer Needs:
(I’ve included affiliate links for your convenience. I earn a small percentage from a purchase using these links. There is no additional cost to you. You can read more about affiliate links here.)
1. Circular Saw:
A circular saw is one of the most versatile tools in the shop (and on a jobsite.) This one tool can potentially take the place of both a miter saw and a table saw. But, you have to have a steady hand and set up a guide bar (or use a Kreg Rip Cut) to get precision cuts. If you are building a deck, fence, or other outdoor structure, nothing will take the place of this mobile tool.
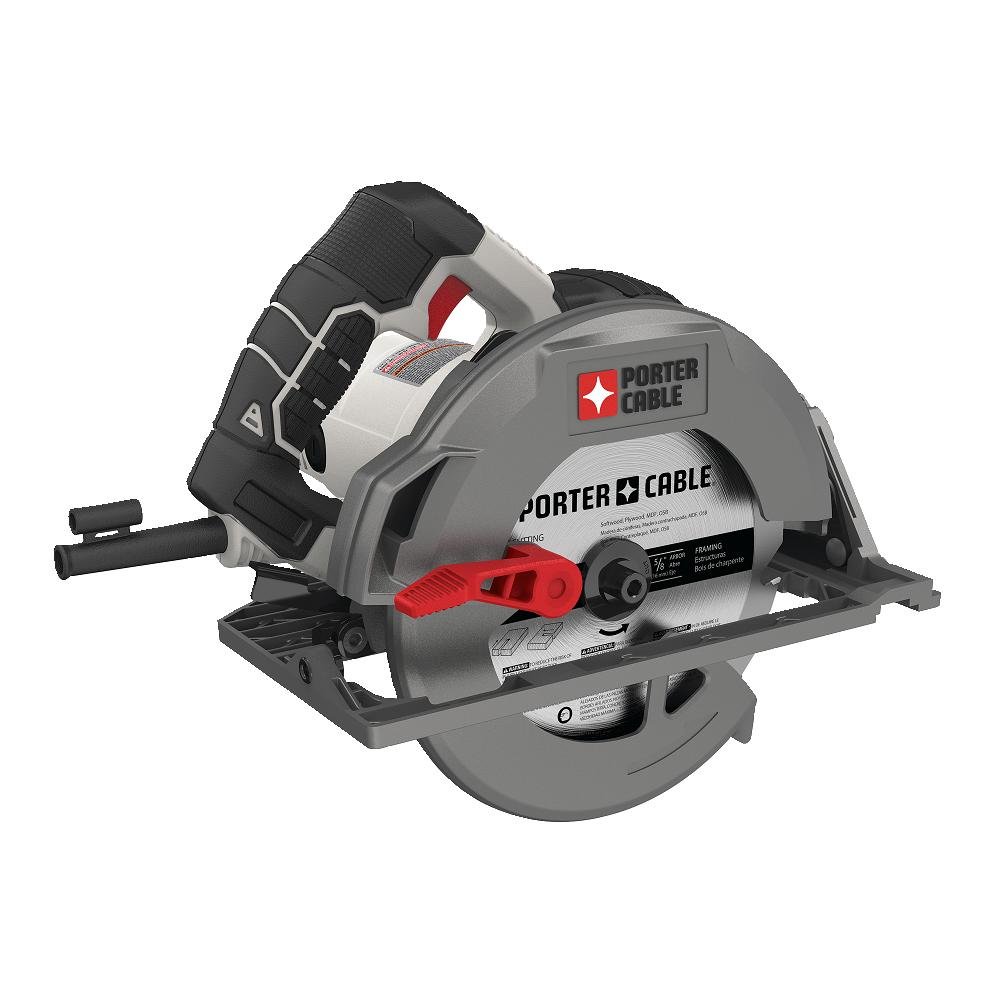
Porter-Cable 15 Amp Circular Saw
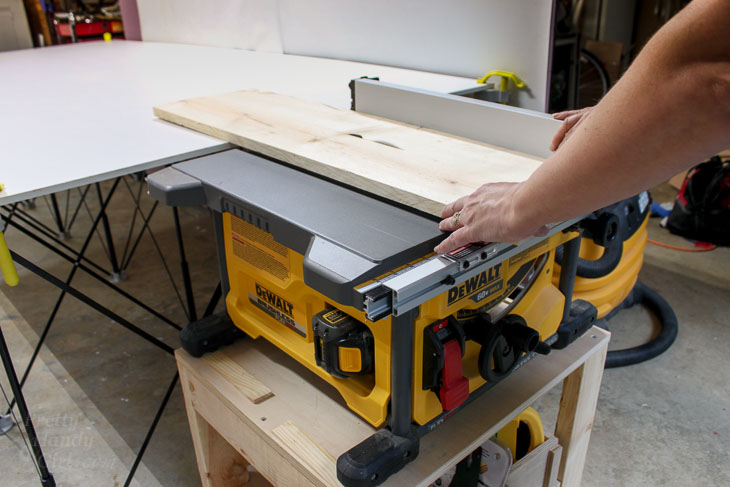
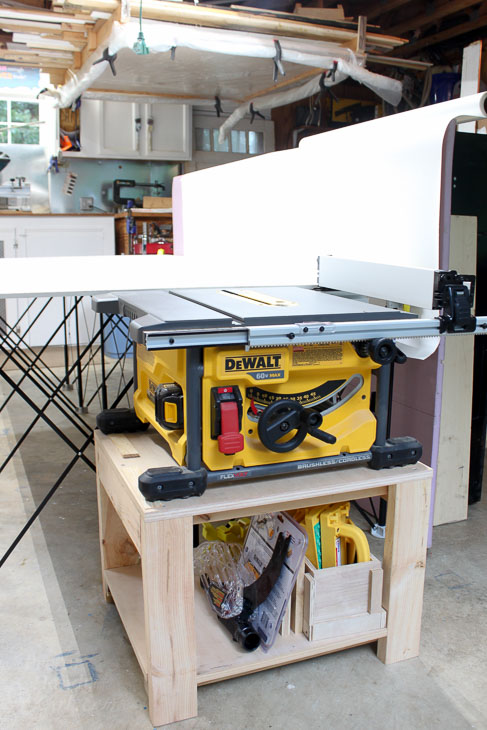
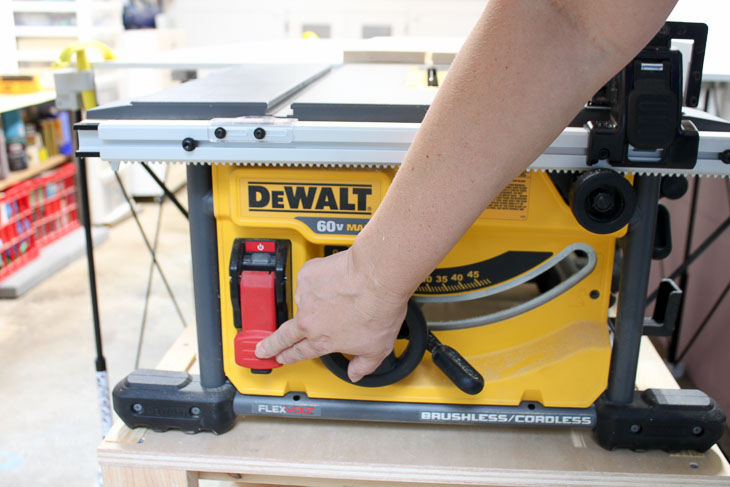
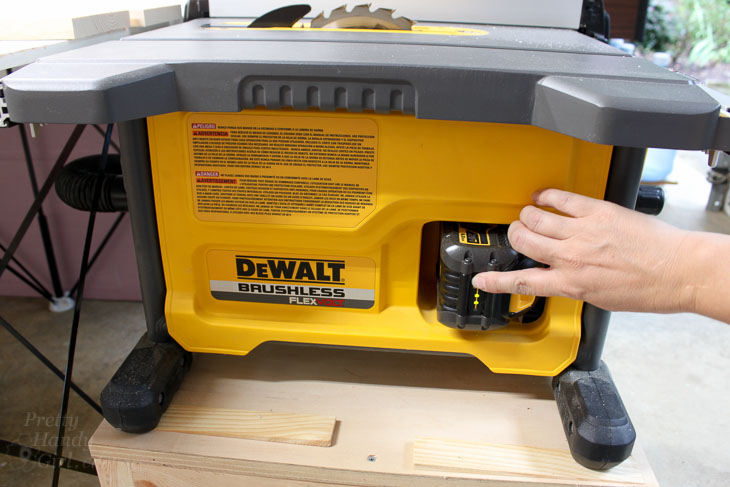
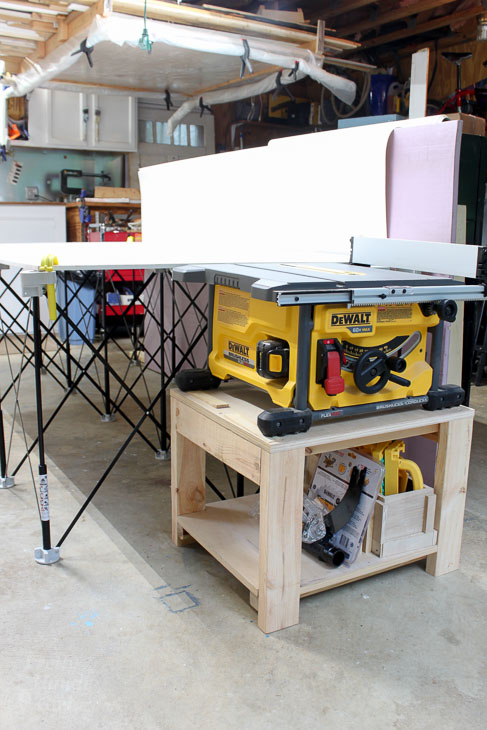
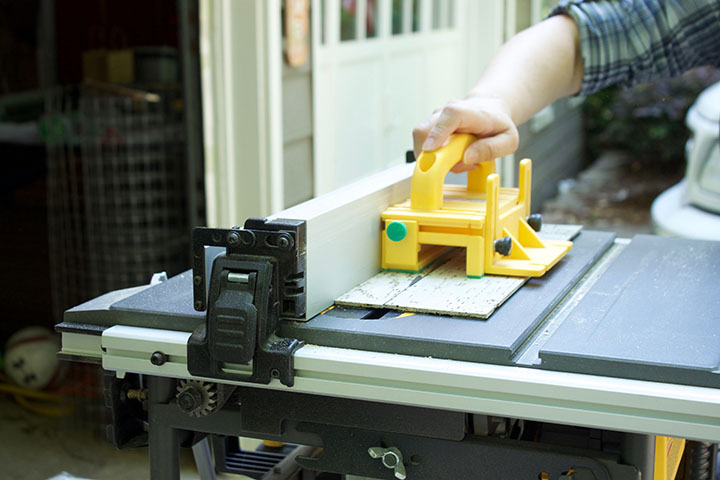
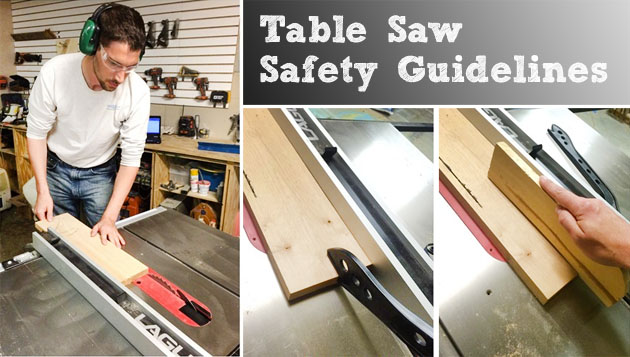
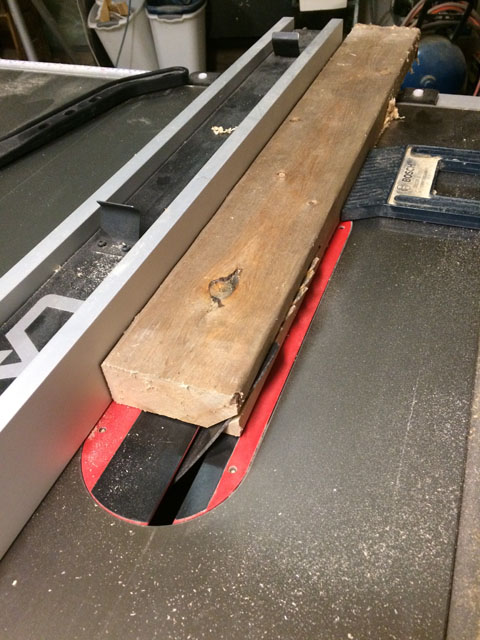
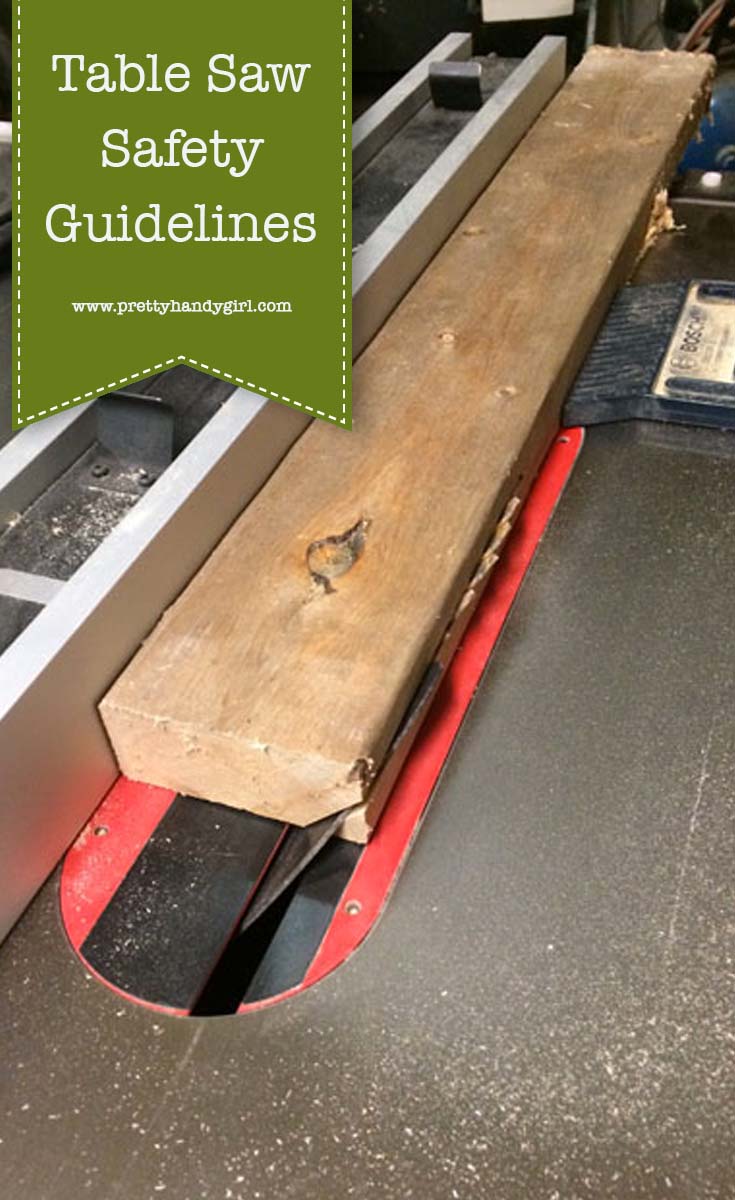
2. Table Saw:
The table saw is the king of making rip cuts. You can cut your own custom lumber, shave off rounded edges on boards and cut down large sheets for cabinetry and furniture. The table saw can handle small rips and make multiple cuts at the exact same width (when you lock the fence in place.) One accessory I recommend for your table saw is a Microjig GRR-Ripper to keep your hands and fingers safe. You can see a good example of the uses for a table saw and the GRR-Ripper in this tutorial for building sports gear storage in a small space.
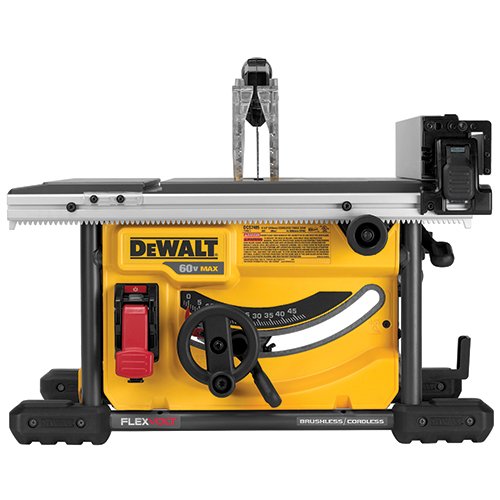
DeWalt FlexVolt 50v Max cordless table saw
3. Miter Saw:
Nothing beats the precision of being able to cut a miter and bevel cut, which is a necessity when adding crown moulding to your home. For that reason I recommend forgoing a standard chop saw and outfit your shop with a compound sliding miter saw. The sliding feature allows you to cut lumber that is wider than the actual blade width. I highly recommend saving up for a quality miter saw. You will get what you pay for on this power tool. For more information, see my video tutorial for using a miter saw.
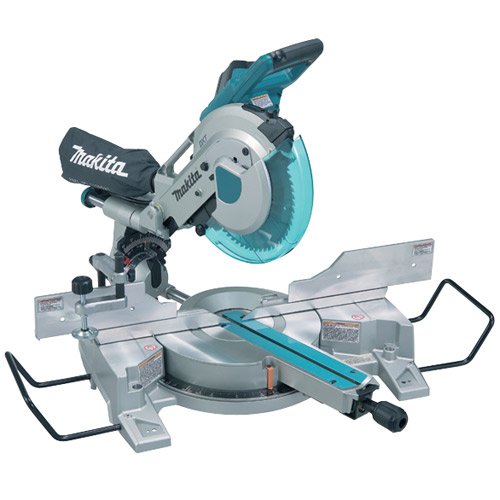
Makita 10″ Dual Bevel Sliding Compound Miter Saw
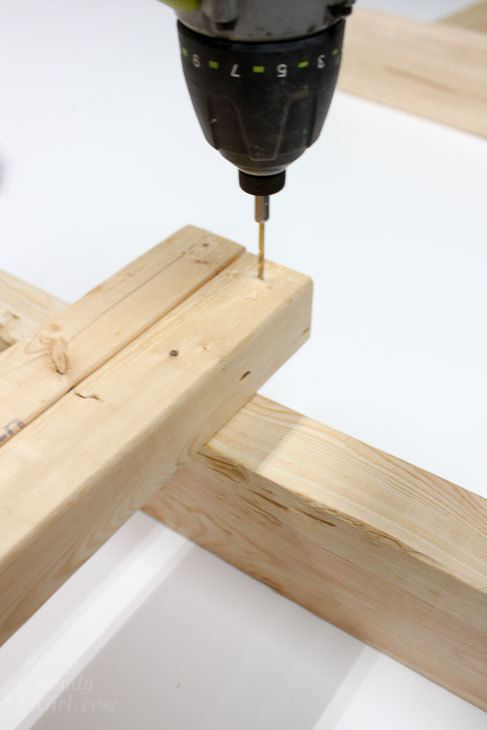
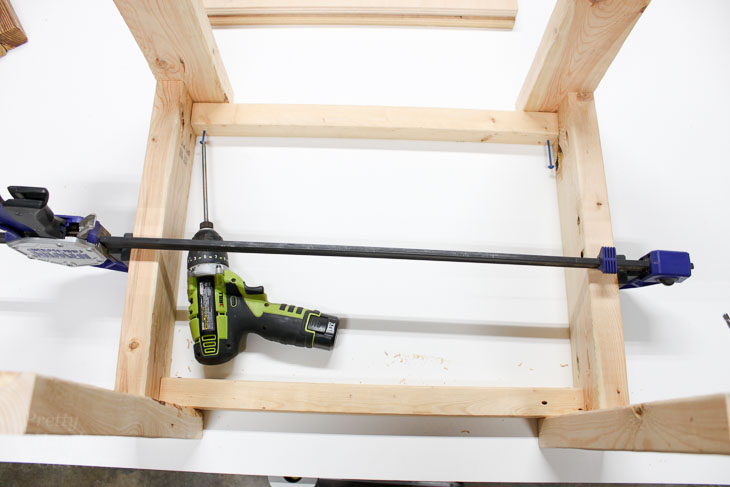
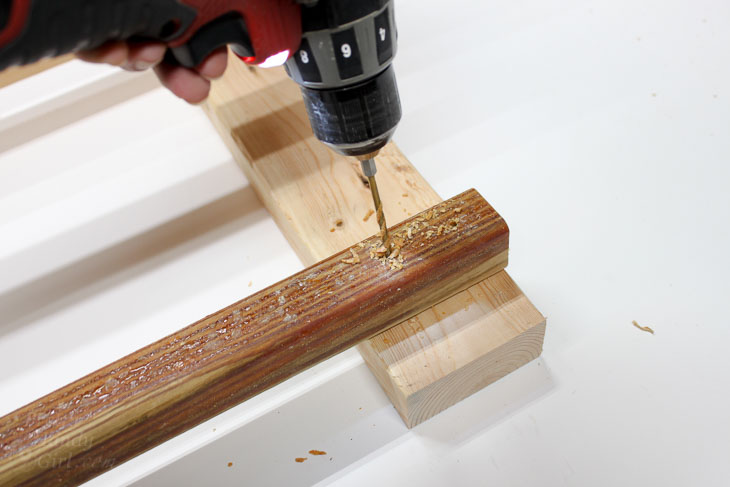
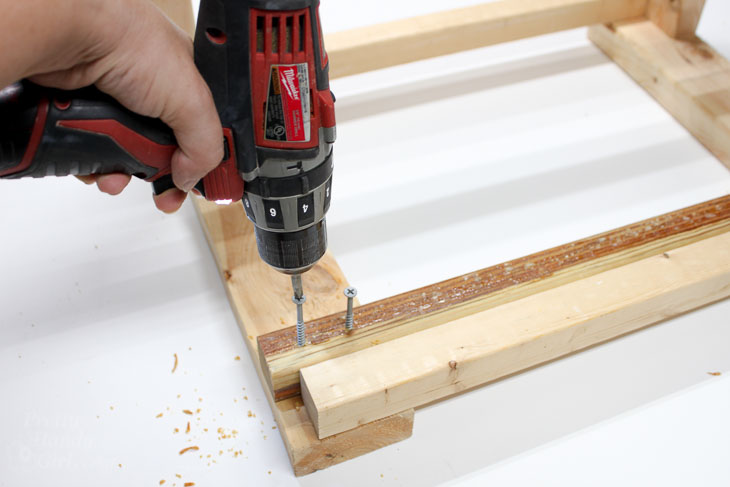
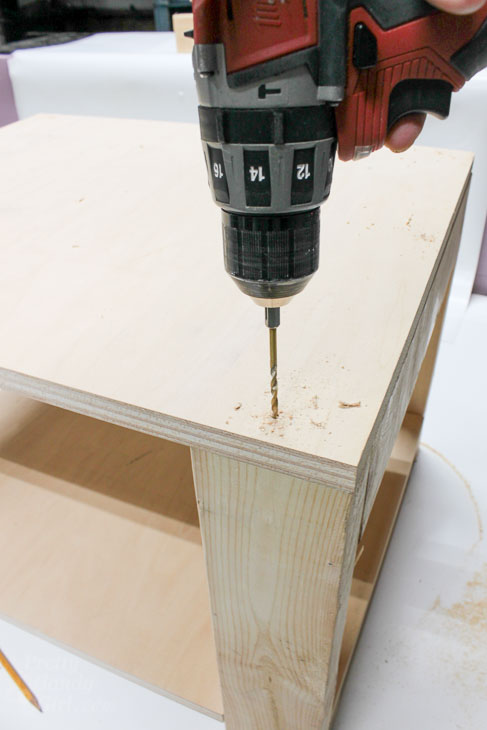
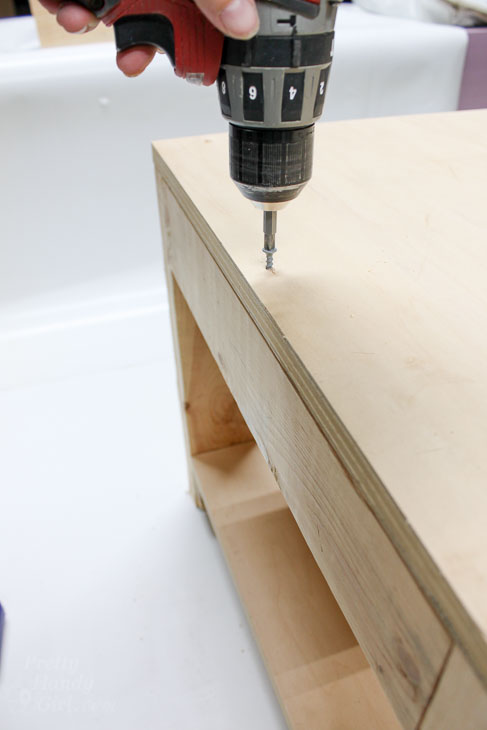
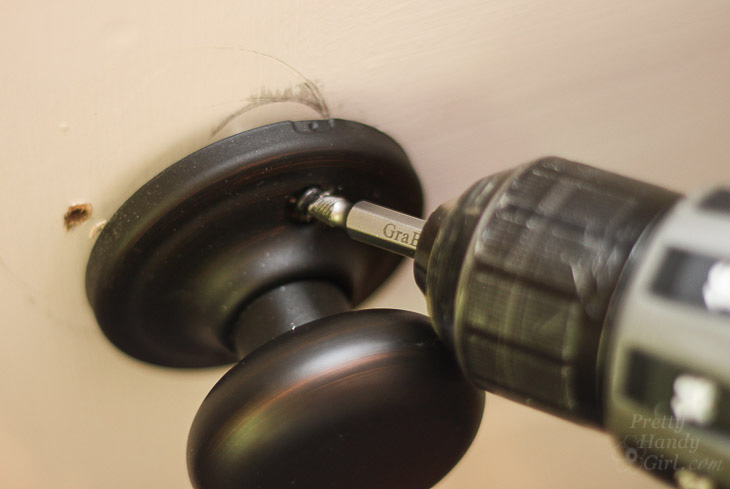
4. Drill/Impact Driver Combo:
A drill is the equivalent of your right hand man while working on any project. Go ahead and upgrade to a stronger drill and if you buy one that double as an impact driver, you’ll save room in your toolbox.
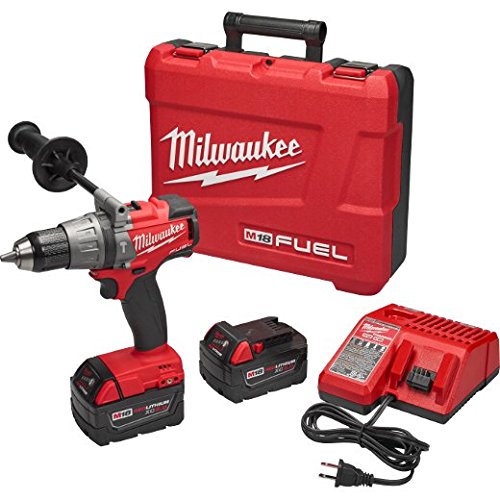
Milwaukee Drill and Impact Driver Set
5. Bandsaw:
Before I had a jigsaw, I used my bandsaw for many curved cuts (and even ripped some lumber with it.) Although it may seem like an extraneous tool, having a bandsaw can be your friend when you want to make precision profile cuts in any wood. You’ll notice I didn’t include a scroll saw on the list and that’s because I would guess that 90% of the time the bandsaw (or a jig saw) will perform the tasks you think you need a scroll saw for. One of my favorite projects using a bandsaw is making this pallet serving tray.
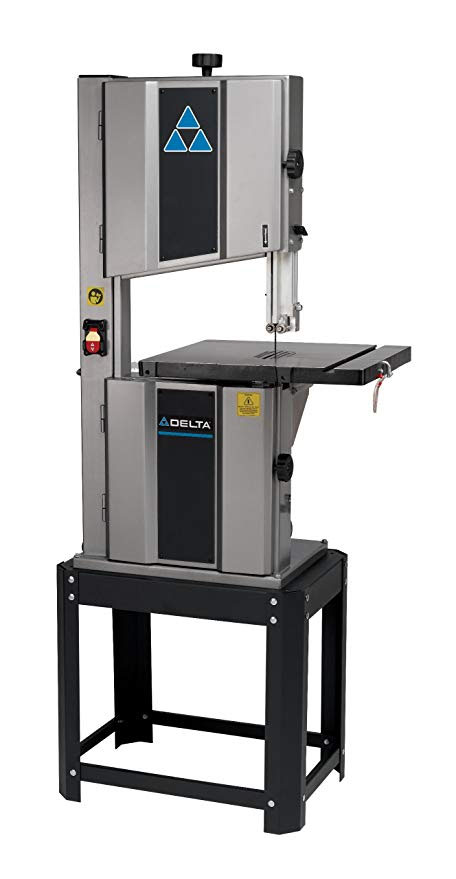 Delta Bandsaw
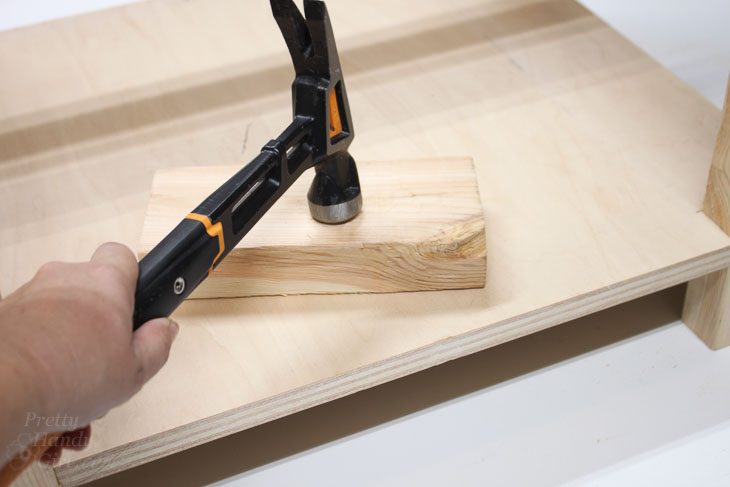
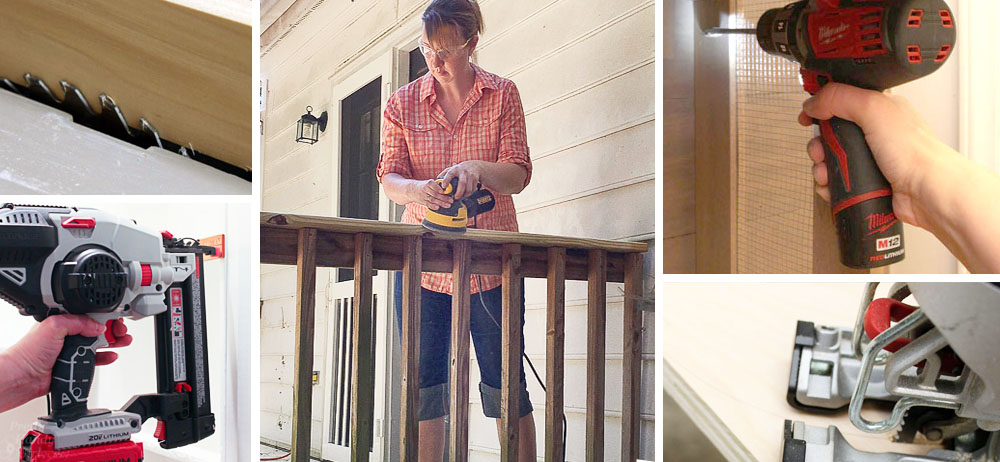
6. Cordless Finish Nailgun:
Having a cordless nailer is the way to go when you are working on small projects or installing trim. This battery-powered 18 gauge nail gun doesn’t require a compressor. In my book, this is a huge plus for anyone who hates to haul out a big, heavy, and loud compressor. Not to mention dealing with the maintenance on a compressor. One of my favorite projects using a finish nailer are these cute scrap wood trays using leftover moulding.
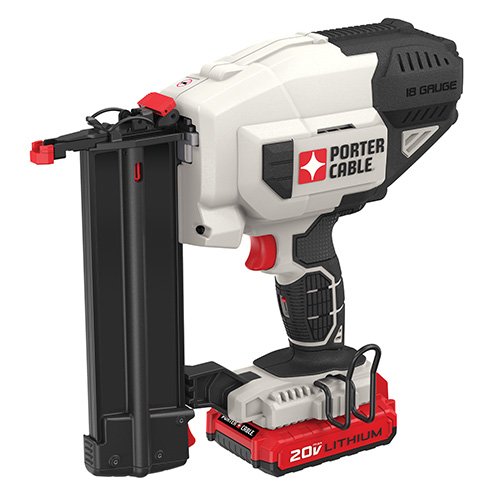
Porter-Cable 18 ga. Cordless Nailer
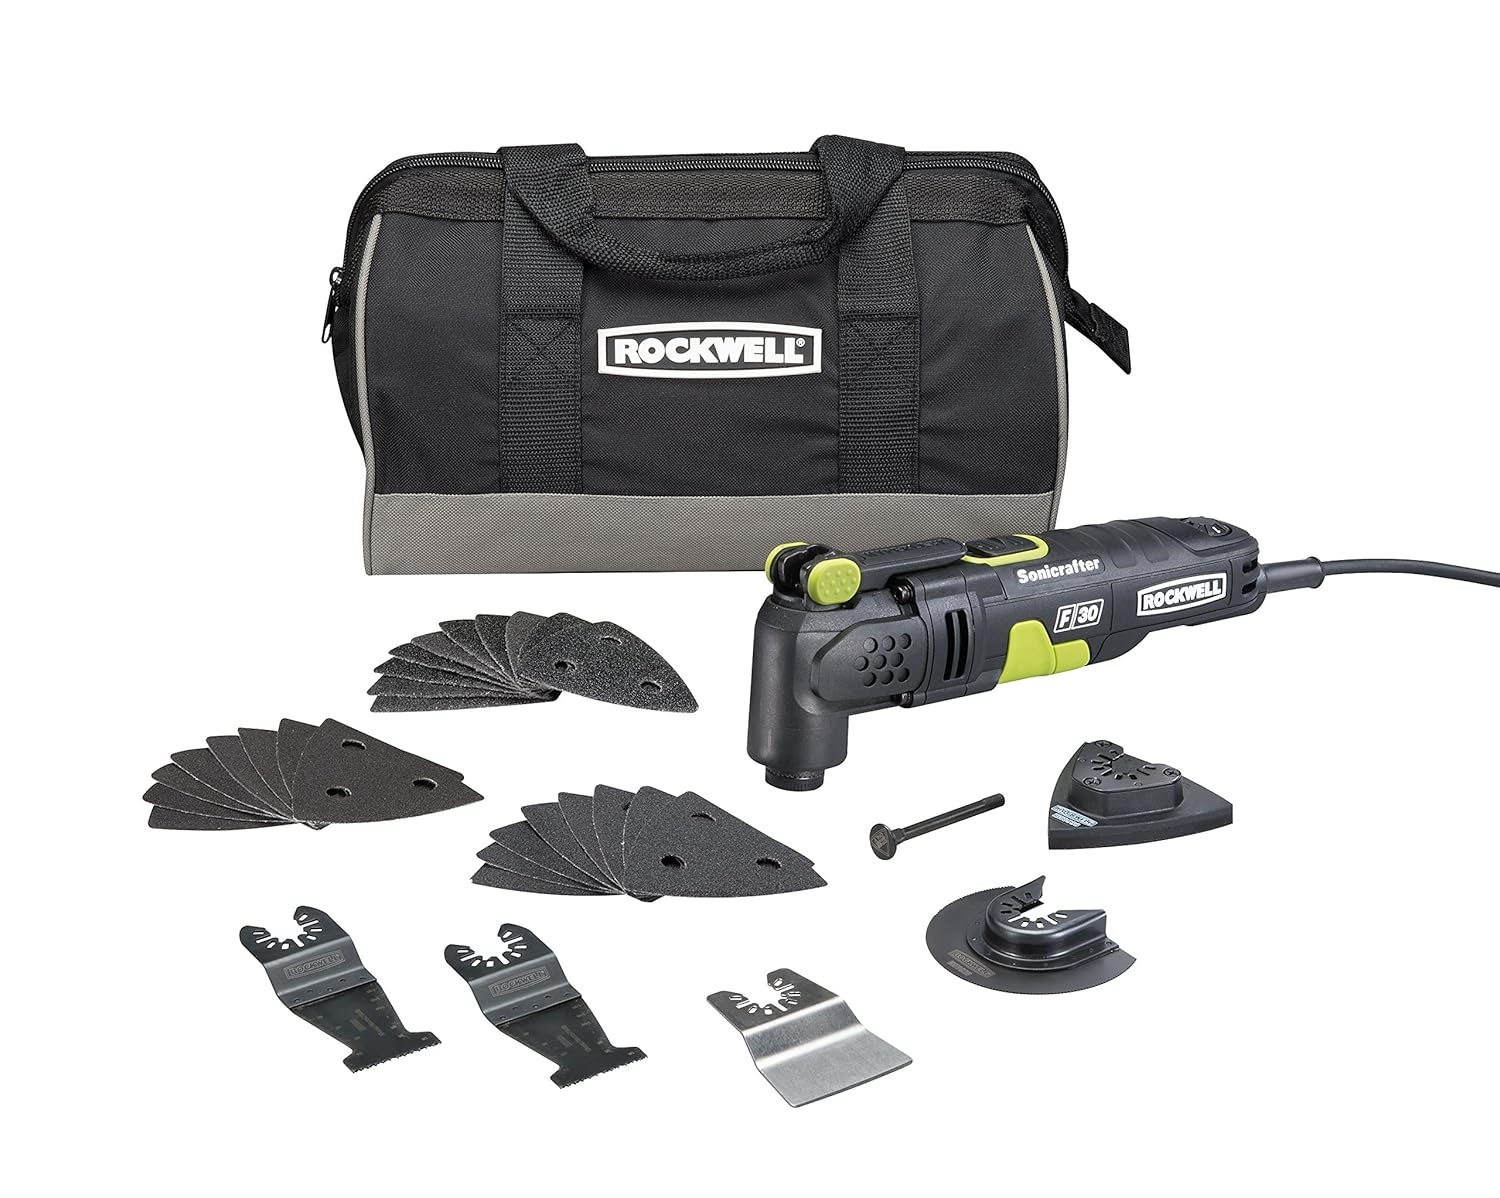
7. Oscillating Multi-tool:
Where would I be without a multi-tool? In a jamb, that’s for sure. The oscillating tool is a mighty little tool you can bring to the location that needs cutting. Notch out your framing lumber; cut detail areas; sand in tight corners; scrape up tiles; and even cut nails with this tool and a metal blade. The oscillating tool has been my BFF when I need a small hand held option to the bigger tools (like sanding inside a window sill after repairing wood rot.)
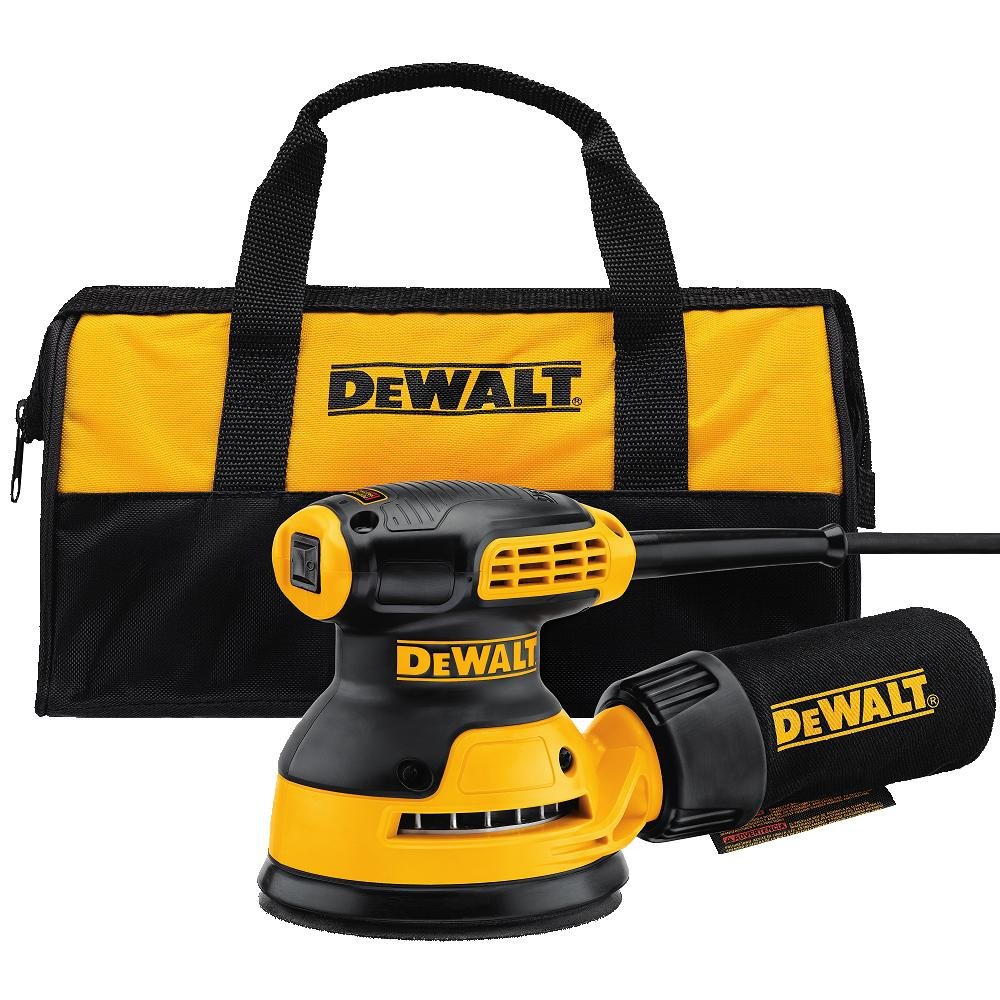
8. Power Sander:
Save your energy for more important tasks than sanding. Let the power sander smooth, strip and finish any surface in no time. Honestly, I can’t imagine ever hand sanding again.
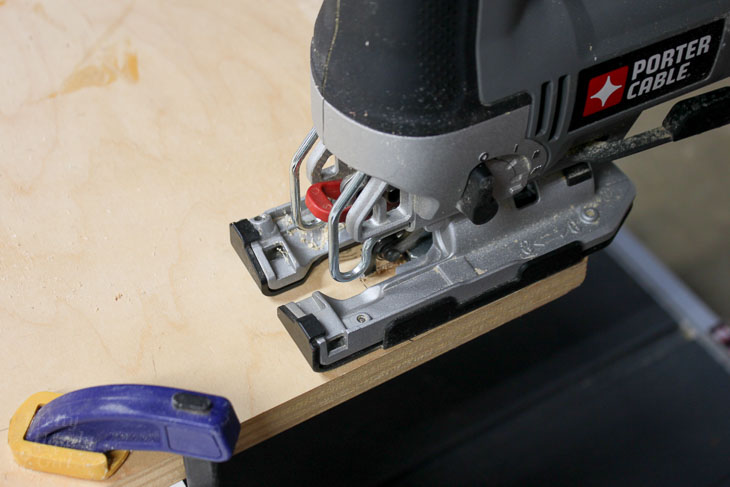
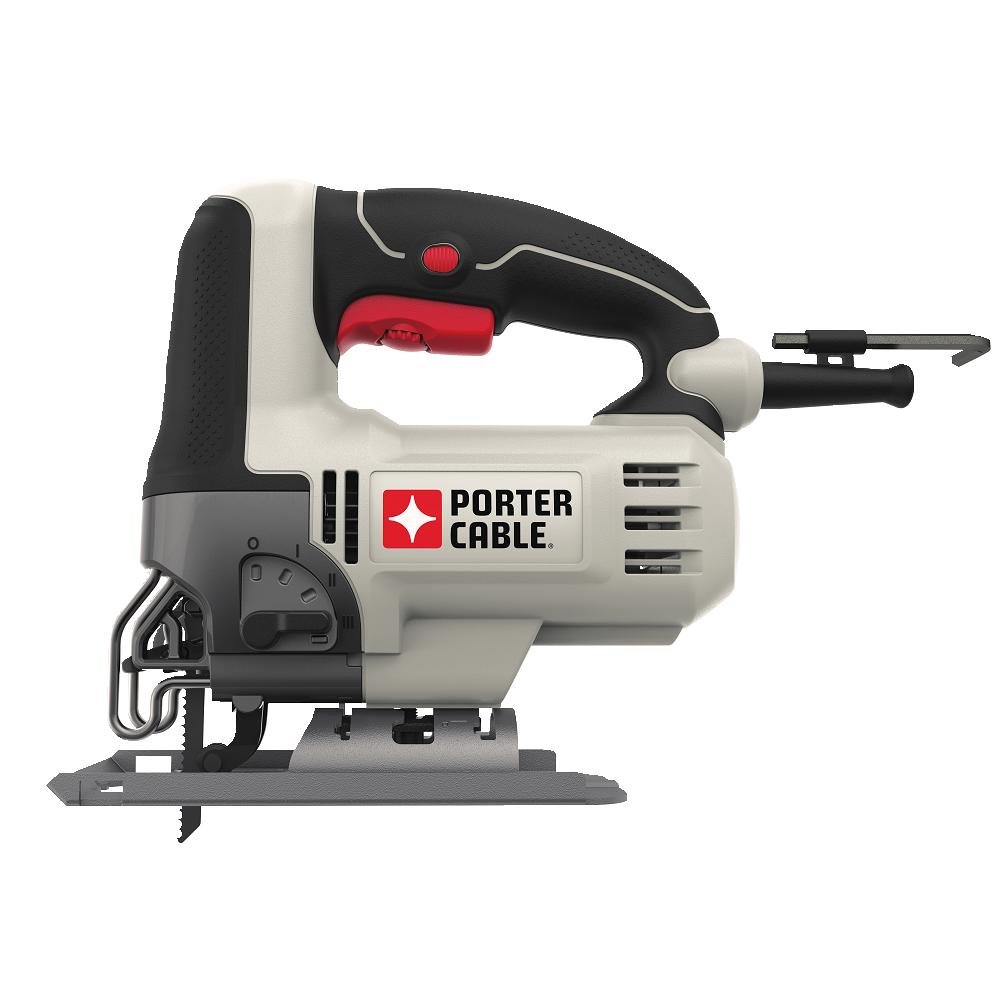
9. Jigsaw:
The jigsaw can be compared to the bandsaw, but you’ll find a jigsaw a must have when you can’t bring the project to the tool or when your piece is too big. A good jigsaw won’t set you back much, but it will definitely save you time (and as you know, time is money.) One of the handiest uses for a jigsaw is cutting inside sheet goods.
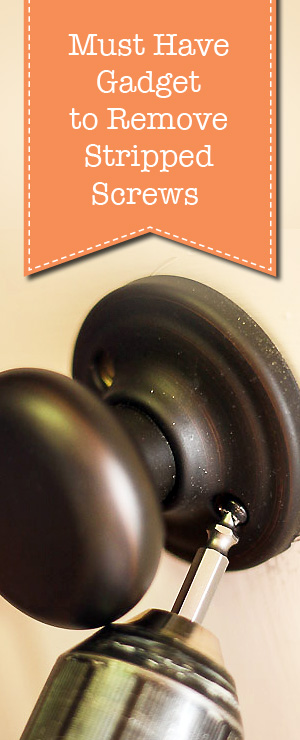
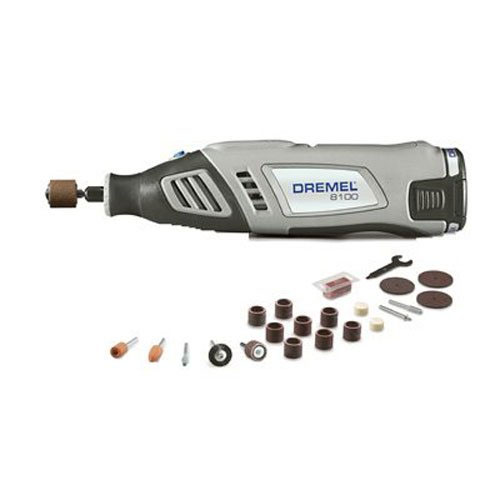
10. Rotary Tool:
A Dremel is one of those tools that you don’t think you need until you start using it. Then you wonder how you got along without one. Cut off metal; sand in tiny areas; drill; etch into a variety of materials and even trim your pet’s nails! This little tool can do so many things if you have the right bit. (My favorite use for a Dremel is creating a notch to remove stripped screws or bolts.)
11. Bonus Tool – Reciprocating Saw:
If you have all the tools above, go ahead and ask for this demo demon! A reciprocating saw makes fast work of removing studs and joists. Plus, if you like working with pallet wood, this tool is one of best ways (among 5 others) of removing pallet wood.
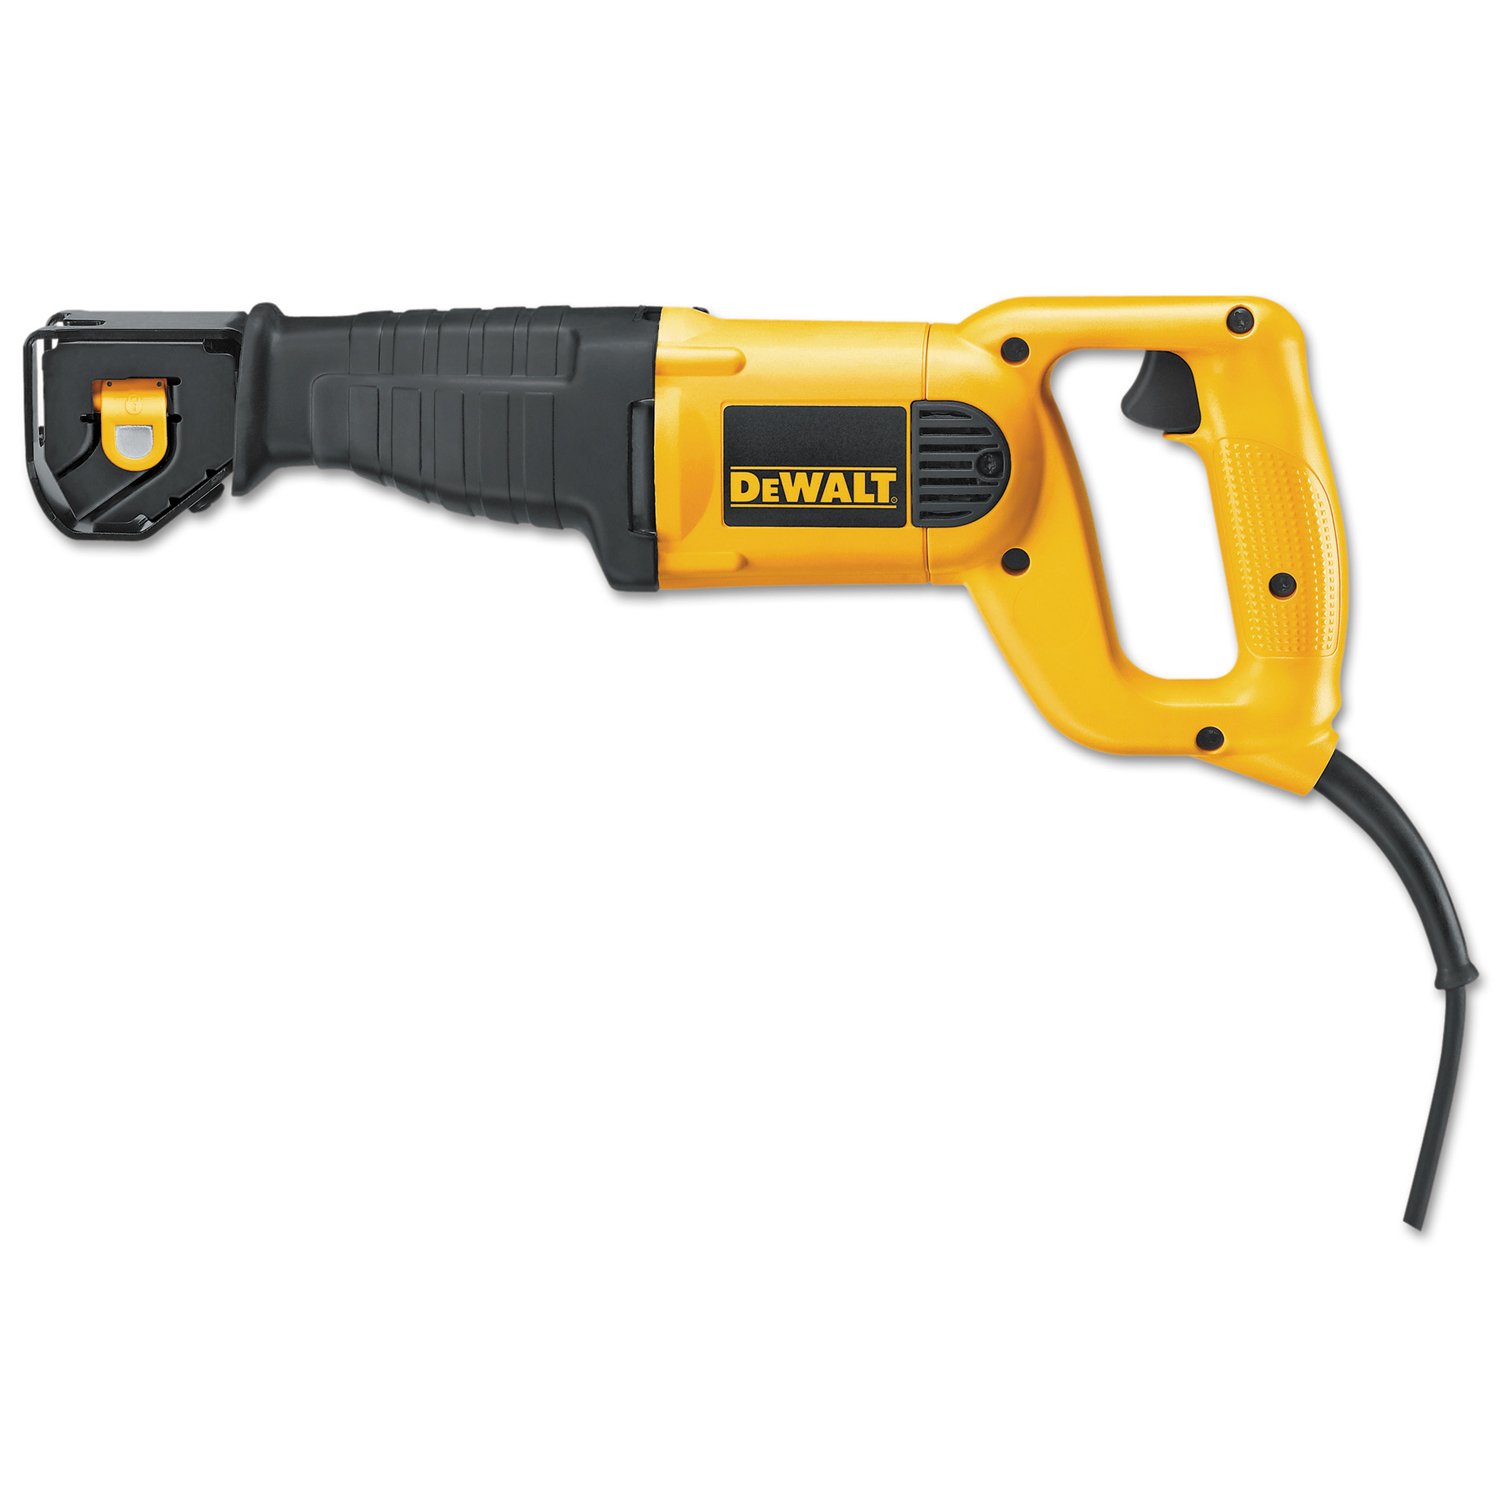
DeWalt Corded Reciprocating Saw
Did I miss any power tools that you find a necessity? Any tools that you’ll be adding to your wish list?
![]()