Welcome to another tool tutorial. Today I’m going to save you time and effort by teaching you how to use a sander.
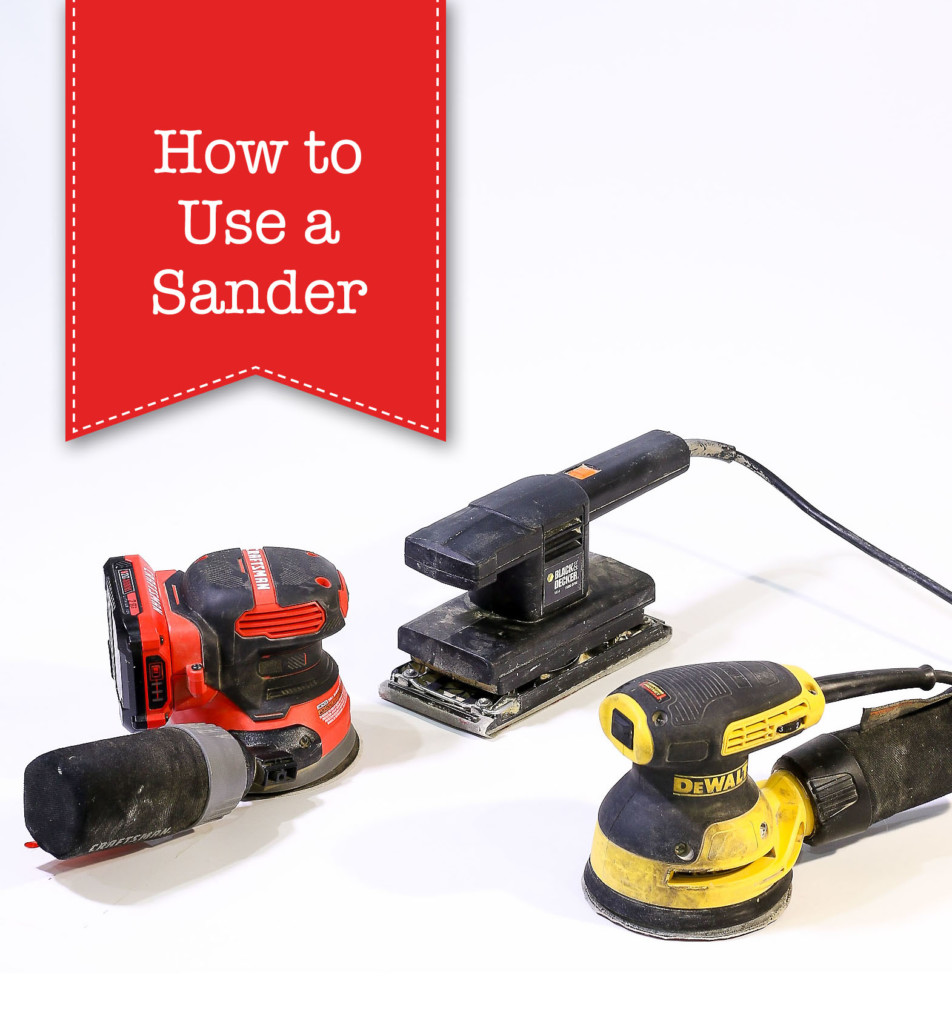
How to Use a Sander
If you don’t have a power sander, you’ll likely recognize this contraption below. That’s a manual sanding block. It’s great, but personally I like to move quickly through the sanding phase of a project.
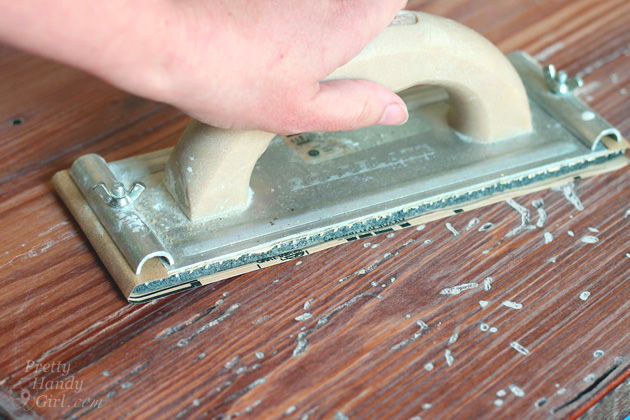
Especially because I feel like I’ve grown out of the hand sanding phase of my life. LOL.

When to Use a Sander:
Using a power sander can speed through the process of smoothing wood and other materials. It’s typically used to either prep a surface or finish a surface before applying paint, stain, or a top coat.
- A sander can also knock off splinters and round over sharp corners.
- It’s also great for prepping surfaces to paint (especially pre-finished or raw furniture.)
- A sander can also be used to give a beautiful aged finish to any project you are working on.
- Or help eliminate imperfections from a surface.

- Sanders can also be used to remove rust from metal.
When NOT to Use a Power Sander:
A power sander should never be used when working with materials that would be hazardous when airborne, like asbestos or lead paint. If you suspect these materials in your home, it’s best to consult with a professional abatement specialist. Learn how to test for lead paint in this article. If you have a house built in or before 1978, you might have asbestos. Learn everything you wanted to know about asbestos here.
Need to remove lead paint? You will be much safer if you use a chemical stripper. Learn how to strip paint here.
Personal Protective Equipment for Sanding:
- Dust Mask
- Safety Glasses
- Hearing Protection
- Optional: Gloves

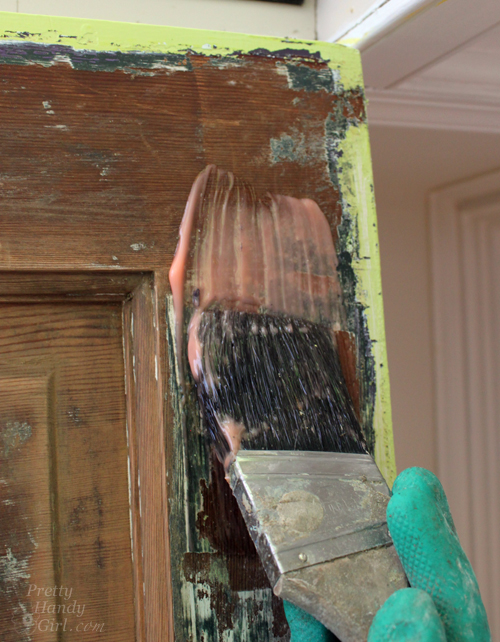
When using a sander, it is essential that you wear a dust mask to protect your lungs. Eye protection needs to be worn to protect your eyes from sawdust or splinters. And finally, wear hearing protection because exposure to the noise of power tools over time can damage your hearing.
Finally, gloves are not essential, but sanding can dry your hands and make them rough.
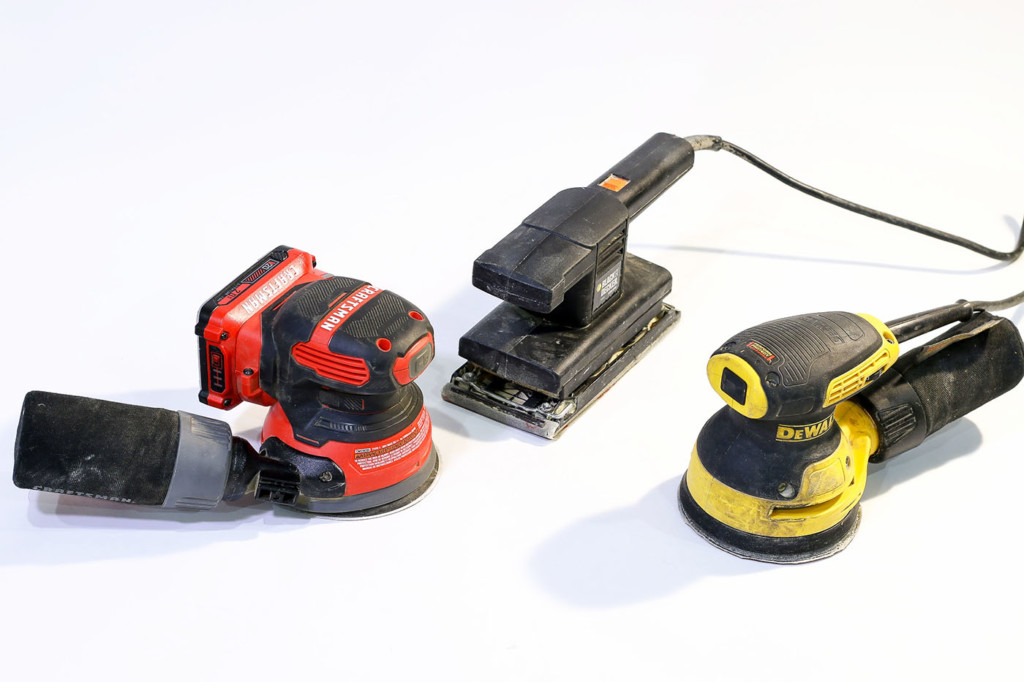
Different Types of Sanders:
There are several types of sanders, but today we’ll stick with the most common power sanders used by DIY enthusiasts because of their portability.
- Sheet Sander
- Random Orbital Sander
- Detail Sander
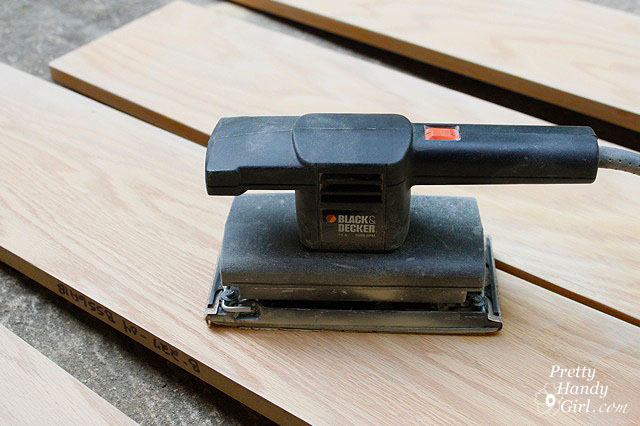
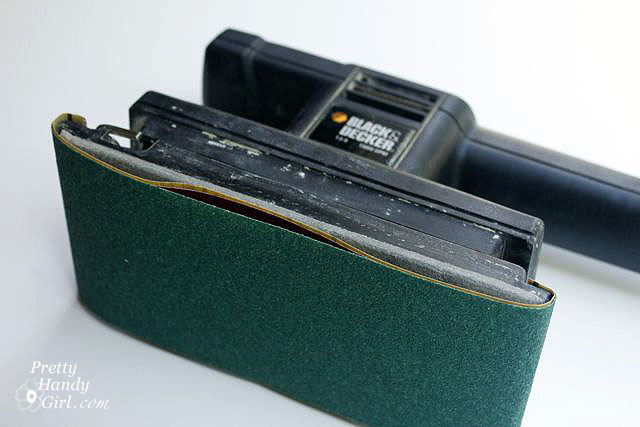
Sheet Sander:
The first is a sheet sander. This sander is named because you cut a sheet of sandpaper to attach to the sander.
How To Replace Sheet Sander Sandpaper:
When the sandpaper gets torn or shows wear, it’s time to replace it (or if you need to switch the sandpaper grit.) Look for the clamps on each side of the sheet sander base and release them to remove sandpaper.
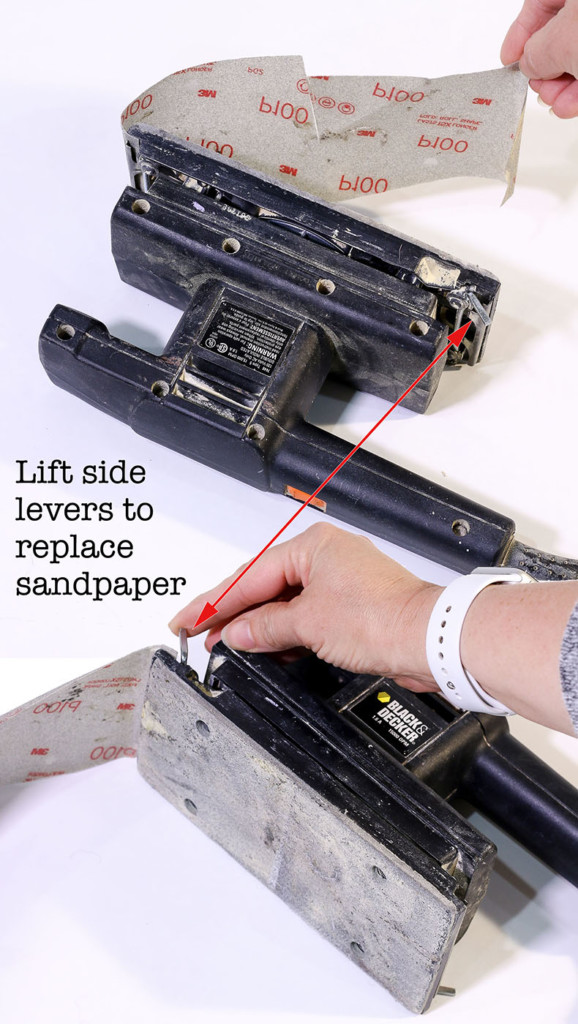
Mark the size of your sander’s base on the sandpaper.

Cut a piece of sandpaper to size (add about a 1/2″ on each end to be able to clamp to.)

Feed one end into one side clamp and depress the lever to hold the sandpaper.

Feed the other side under the clamp and secure.
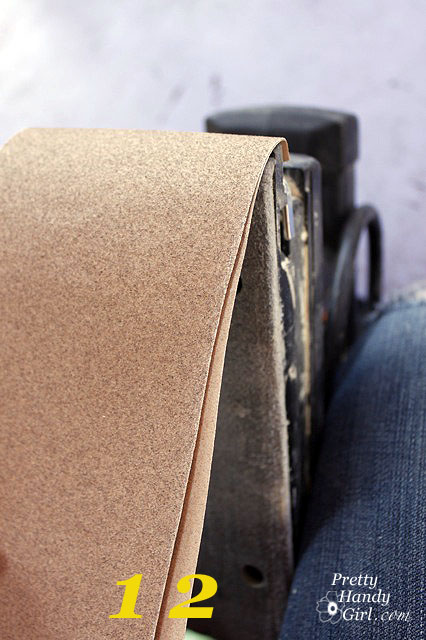
When sanding a lot, I like to load several sheets into my sheet sander. This way I can quickly tear off a layer when it’s worn or when I need to move to the next grit.
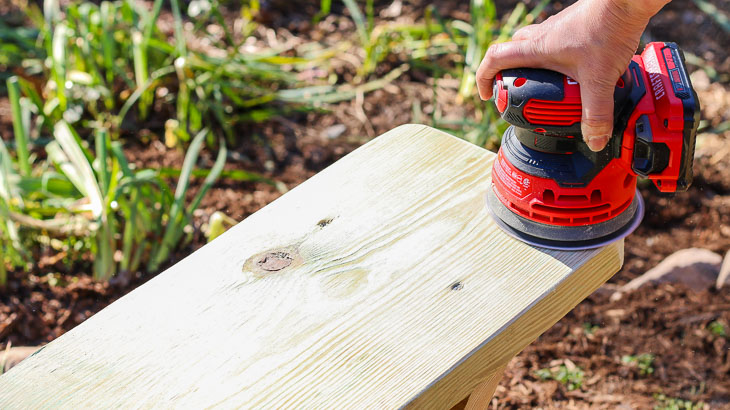
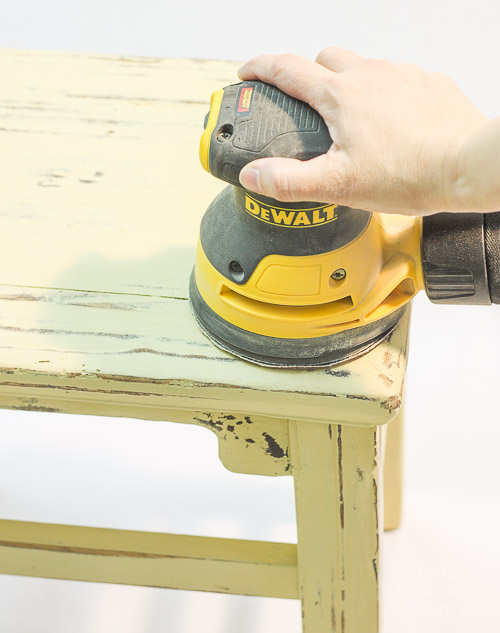
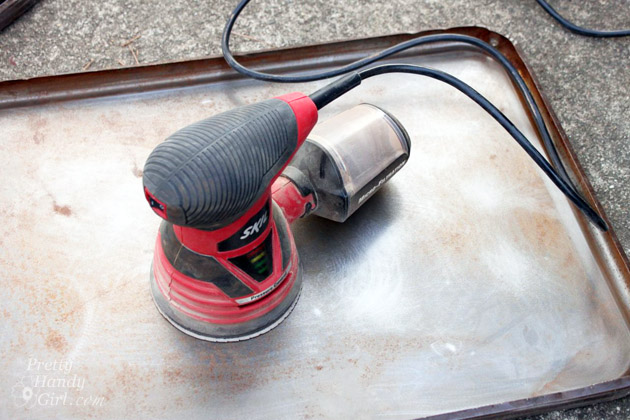
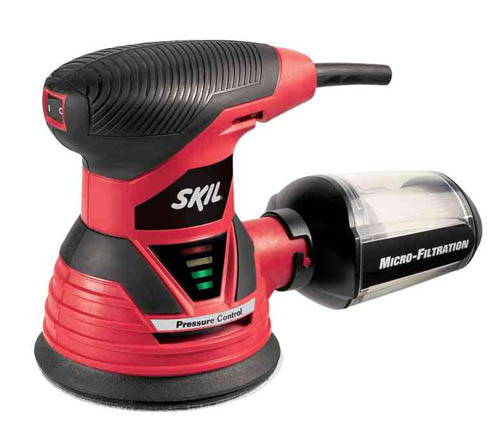
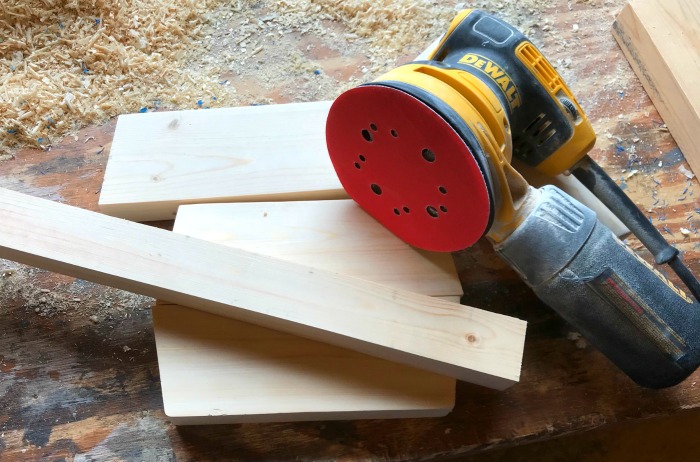
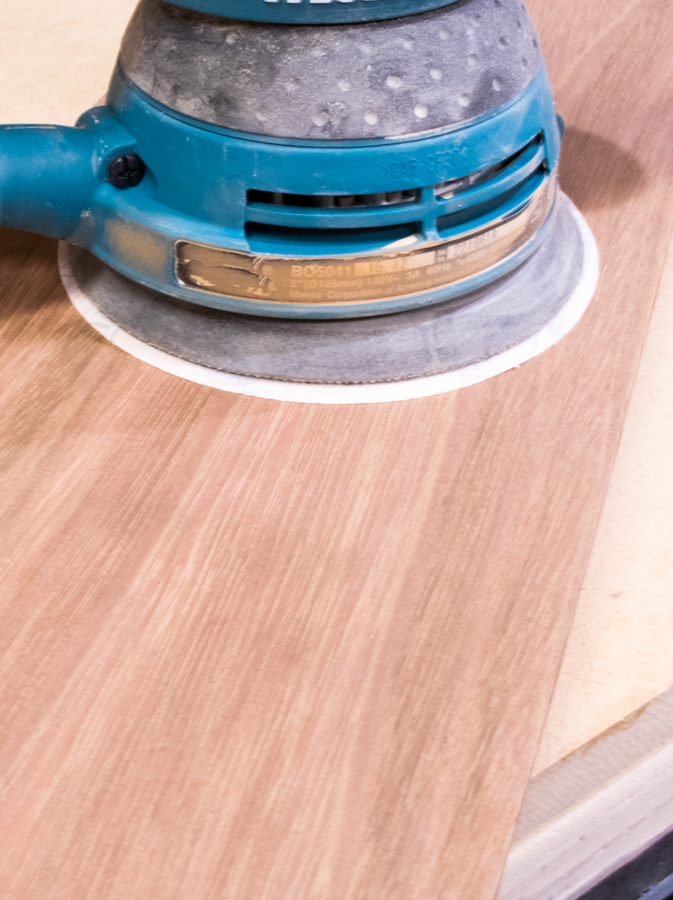
Random Orbital Sander:
The second most common type of sander is a random orbital sander. Named because the base moves around in a random elliptical motion. Personally this is the type of sander I use most for handheld sanding. It’s lightweight and allows me to get the majority of the sanding done quickly.
How to Replace Sandpaper on a Random Orbital Sander:
The random orbital sander saves you time when it’s time to change the sandpaper. The sandpaper discs are held on with a velcro-like hook and loop system.
To remove, simply pull the sandpaper off the base of the sander. Then replace it with a new sheet being careful to line up the sandpaper with the vent holes on the sander.
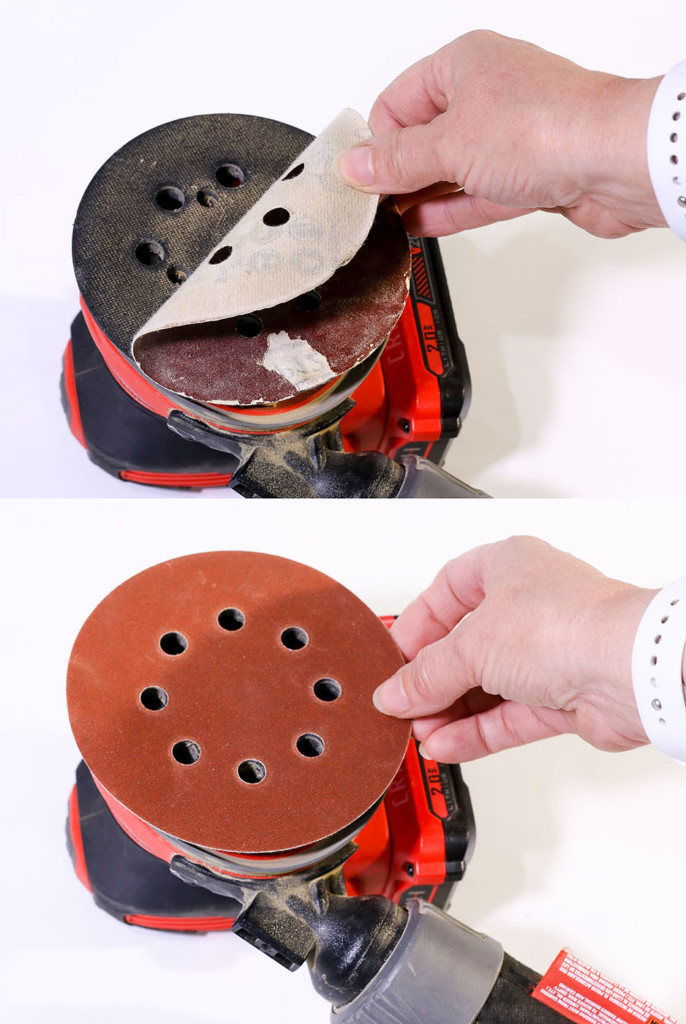
Easy and quick. Now you can continue sanding.
Detail Sander:
Most sanders lack the size to get into tight corners or grooves. Those tasks are best left for the detail sander.
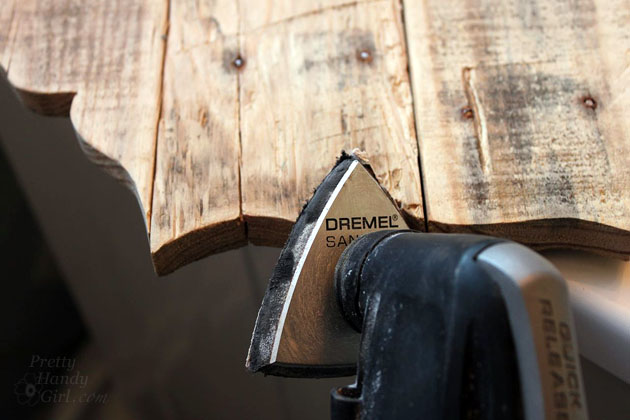
Smaller in size, and usually with a pointed head, detail sanders typically use a hook and loop sandpaper system for quick changes.
How Much Do Sanders Cost?
(I’ve included affiliate links for your convenience. I earn a small percentage from a purchase using these links. There is no additional cost to you. You can read more about affiliate links here.)
A good power sander shouldn’t cost an arm and a leg. Prices will range from $20 to over $200 for brand name sanders. But, you can purchase a good sander for $50-$100.
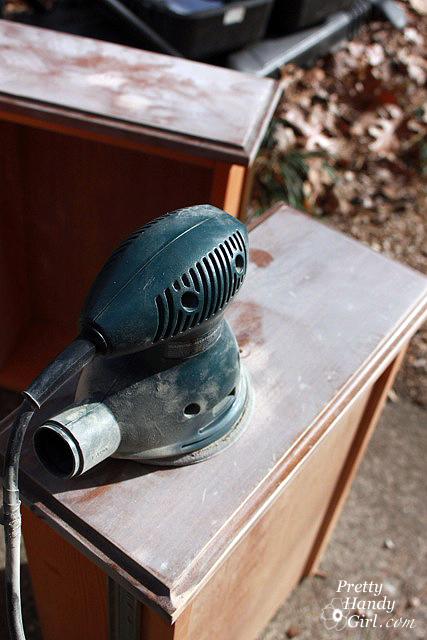
Personally I have a cordless sander and a corded sander. I love the ability to use the cordless sander in the yard without needing to pull a power cord with me. But, I usually prefer the longevity of sanding with a corded sander. My sheet sander is old and gets less use because the vibrations are much stronger leaving me with numb hands after sanding for a while.
About Sandpaper:
Sandpaper comes in a wide variety of colors and grits. The colors do not mean a specific grit across brands, but within a brand they help easily identify the sandpaper grit.

- Coarse Grit: 40 – 60
- Medium Grit: 80 – 180
- Fine Grit: 200-600
- Super Fine Grit: Over 600 grit
When sanding a raw piece of wood or something that needs aggressive sanding to remove a finish, start with a rough sandpaper with a 40- to 60-grit. For smoothing out imperfections and scratches, you need to move on to a 80- to 180-grit sandpaper. The final finishing of a wood piece requires a fine-grit sandpaper with a 200- to 600-grit. Super fine grit is usually reserved for metal, glass, or other non-wood surfaces.
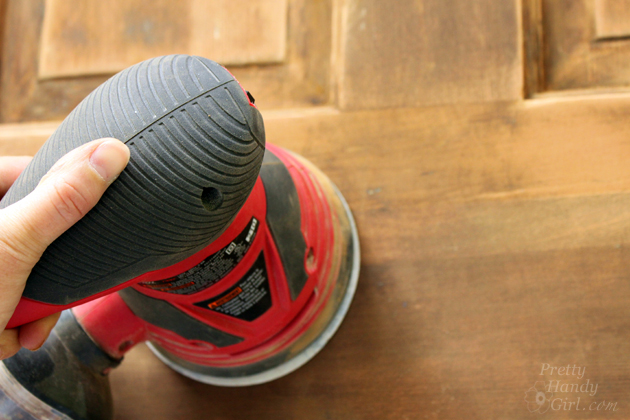
How to Use a Power Sander:
Sanders are either battery-powered or corded. If using a battery-powered sander make sure you have a charged battery. Plug in your corded sander.
Attach the appropriate grit sandpaper to the base.
Look for the on/off switch on your sander. Turn the tool on and gently set it on the material you need to sand. Use slow sweeping motions to methodically sand your workpiece.

Once you have a uniform finish, switch to a finer grit sandpaper. Repeat the process above. Continue sanding until you have a super smooth surface (or desired finish.)
Wipe off sanding dust with a damp rag or tack cloth. Empty the dust collection bag on your sander if you have one. Now it’s time to finish your project! Add stain, paint, or a top coat to protect your project.
Video Sanding Tutorial:
I hope you enjoyed this tutorial. If you want to see a video of using a sander, watch how I finished a branch to use as a towel bar in my sons’ bathroom:
Happy sanding!
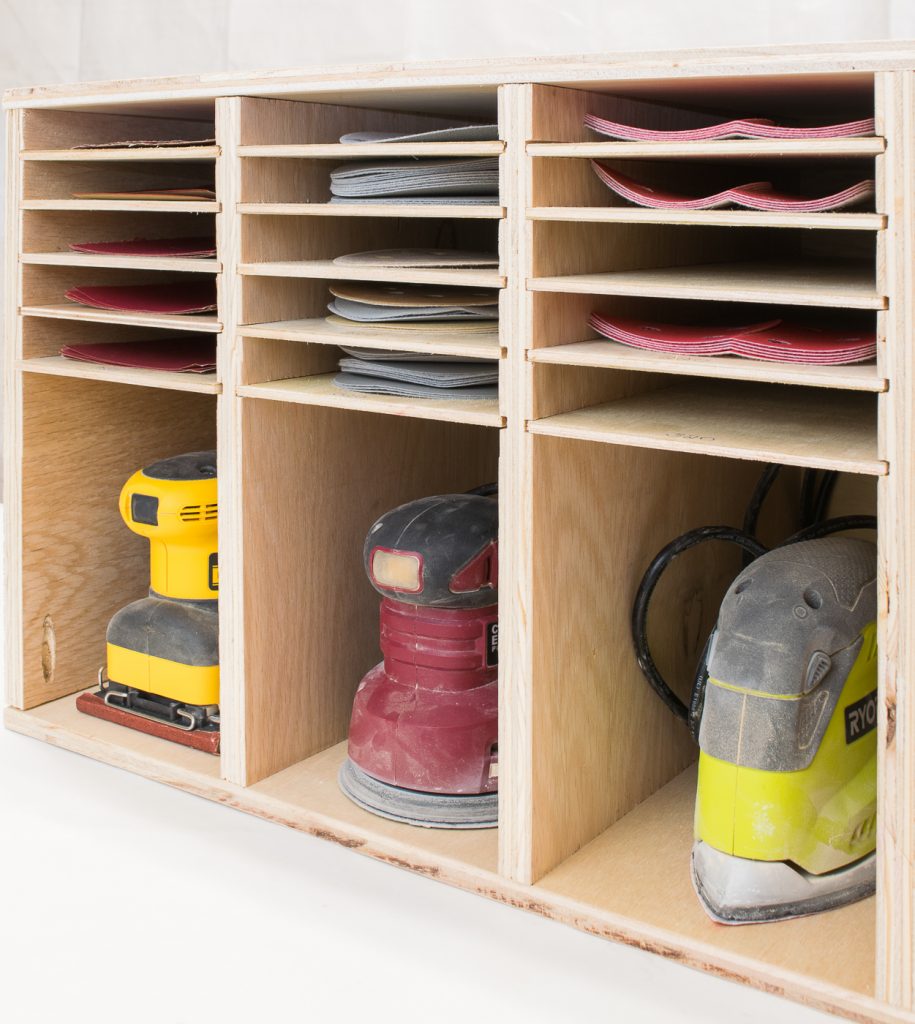
Organize Your Sandpaper and Sanders:
Once you find a love for sanding, you’ll probably want to store your sandpaper and sanders neatly. Learn how The Handyman’s Daughter built this simple sanding station.

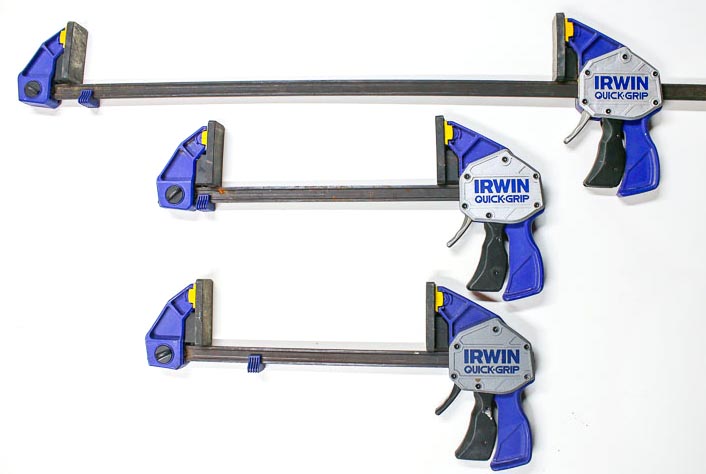
 How to Make a Long Clamp with Shorter Clamps