**This project and post has been sponsored by Lowe’s Home Improvement. They are a company that works hard to give back to the community. I am honored to have been given the opportunity to make a difference in one family’s life. Thank you, Lowe’s!**
You guys, there is one thing I love more than a beautiful makeover. That one thing is giving a beautiful makeover to a deserving family. Elizabeth and Jörg moved to this home in September. They had no family nearby and didn’t know a lot of people in the area. And then one of the harshest winters on record hit. For this family, the winter brought more than cold and snow. They also dealt with their youngest being hospitalized and a miscarriage. Elizabeth’s sister, Sarah applied to give Elizabeth and Jörg a landscape makeover. As the oldest of three girls, I know how awful it feels when one of my sisters is hurting. And I know I’d do anything to help them.
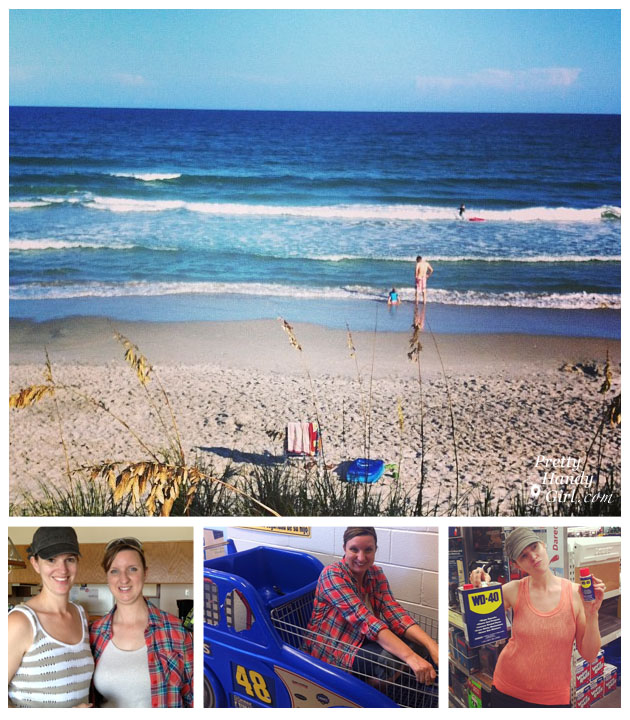
That’s why it felt so good to give up four days (two travel and two work days) to give this young family a beautiful makeover.
If you remember, this is what the home looked like the morning we arrived. No landscaping.
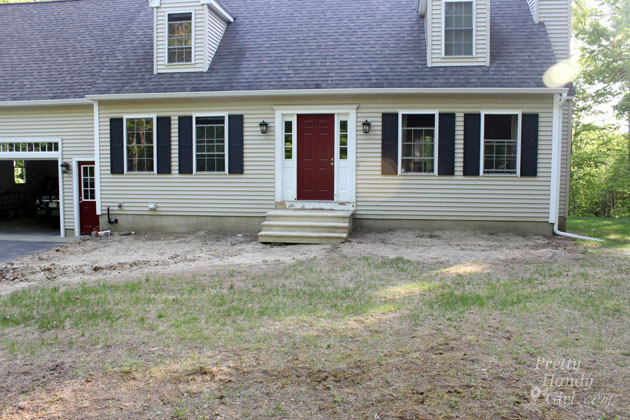
No pathway. No railings. No plants.
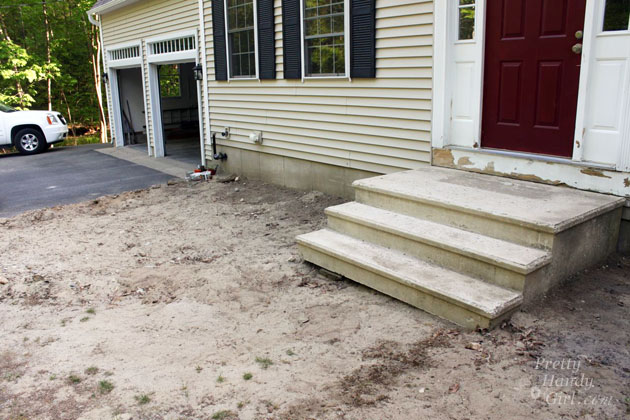
No grass or defined play space. In one respect, we had a clean slate, but it left us with a lot to do!

And, I couldn’t have done it without all these heroes!

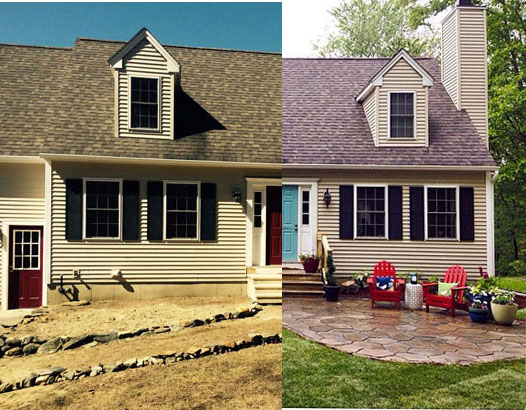
After two days of non-stop working, we kicked the homeowners out of the yard, sent them inside and told them they couldn’t look at their yard for the last few hours of the makeover. When they came out, their reaction was priceless: Read more