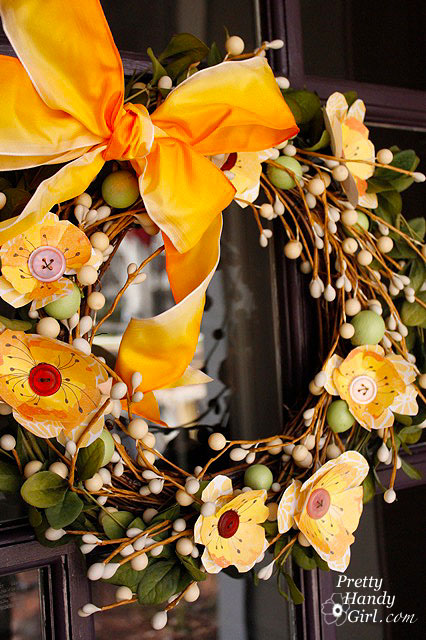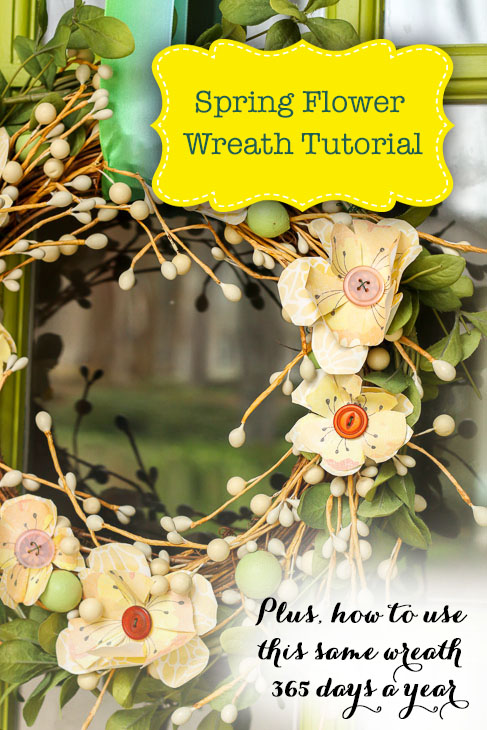
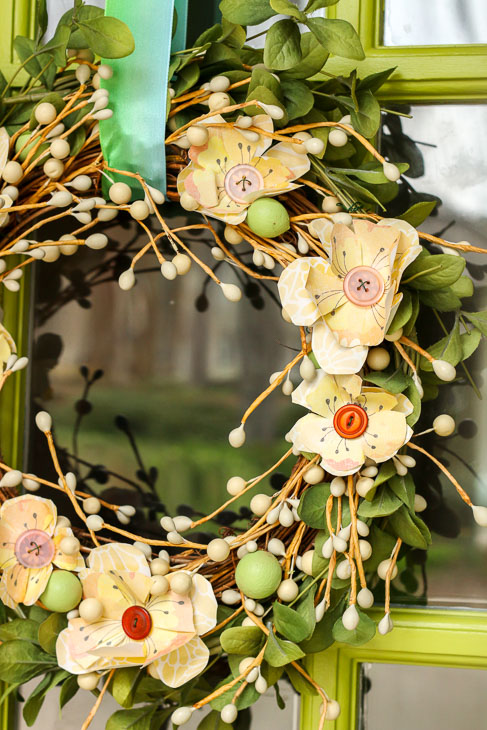
Close up two yellow scrapbook flowers on wreath


How to Create a Beautiful Spring Wreath with Scrapbook flowers and buttons

Inserting Spring into My Wreath

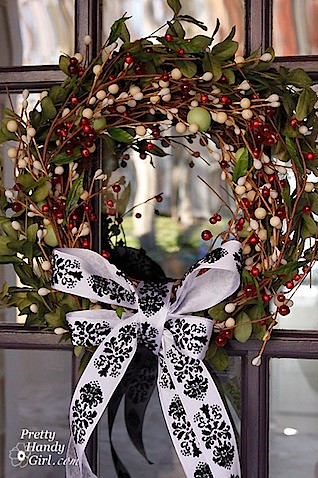
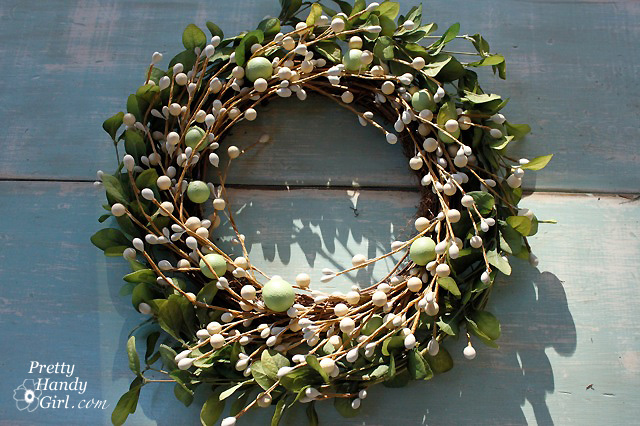
A few years ago I purchased a simple white berry wreath from Target (I don’t think it’s still available at Target, but this is a similar style wreath.) To save money, I challenged myself to use this one wreath through every season for one year. Did I do it? You bet your little penny pinching fingers, I did! So, today I want to show you how I transformed this simple wreath for Spring.

Inserting spring into the white berry wreath was as simple as pairing a green leaf wreath and some DIY scrapbook flowers.
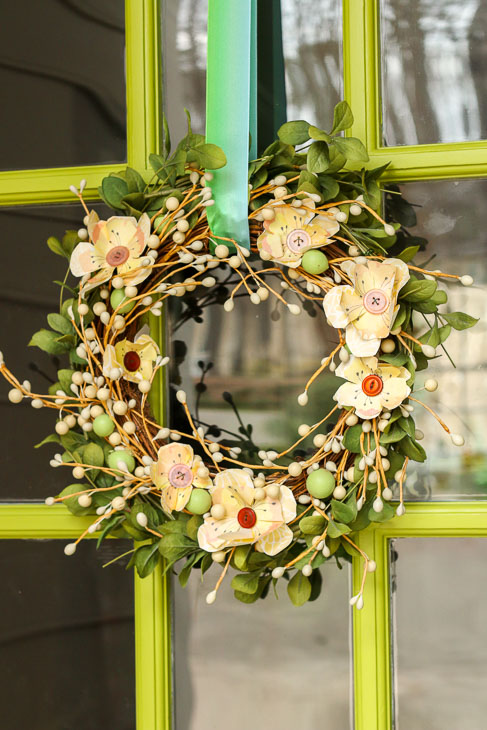
The best part about it is, this simple wreath can handle new colors and elements throughout the year. Can we calculate how much you’ll save on door wreaths for one year? Subtracting the minimal cost of crafting supplies, you’ll save at least $100 on wreaths (attractive wreaths usually start around $39.99.) If you want to see how I transformed the wreath for the other seasons of the year, be sure to scroll all the way to the end of this tutorial!

Inserting Spring Paper Flowers into your Wreath:

Materials:

(I’ve included affiliate links for your convenience. I earn a small percentage from a purchase using these links. There is no additional cost to you. You can read more about affiliate links here.)
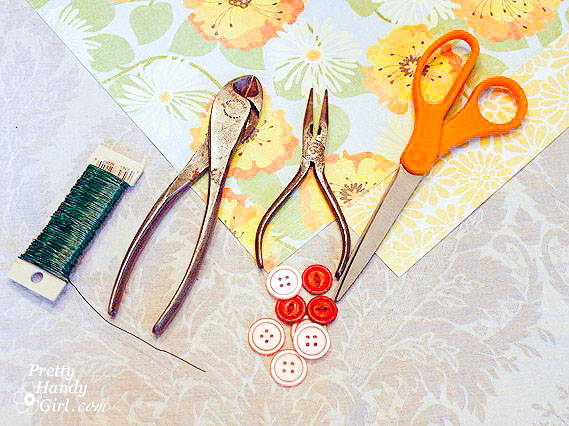
materials to make button flowers

Instructions:

Start by pairing your white berry wreath with a green leaf wreath to give it more bulk (or just add green sprigs to your berry wreath.)
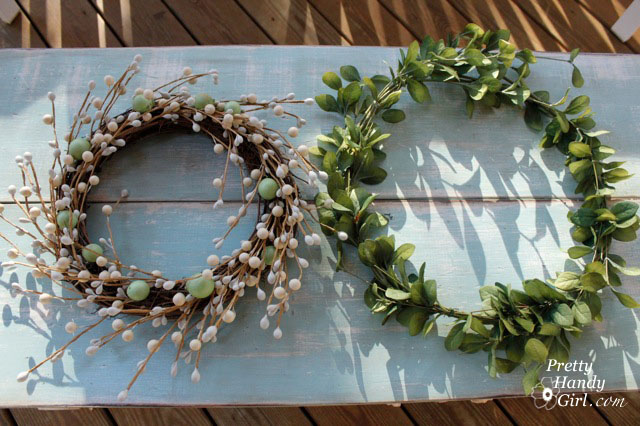
To combine the two, simply wrap some of the berry branches around the leaf wreath.
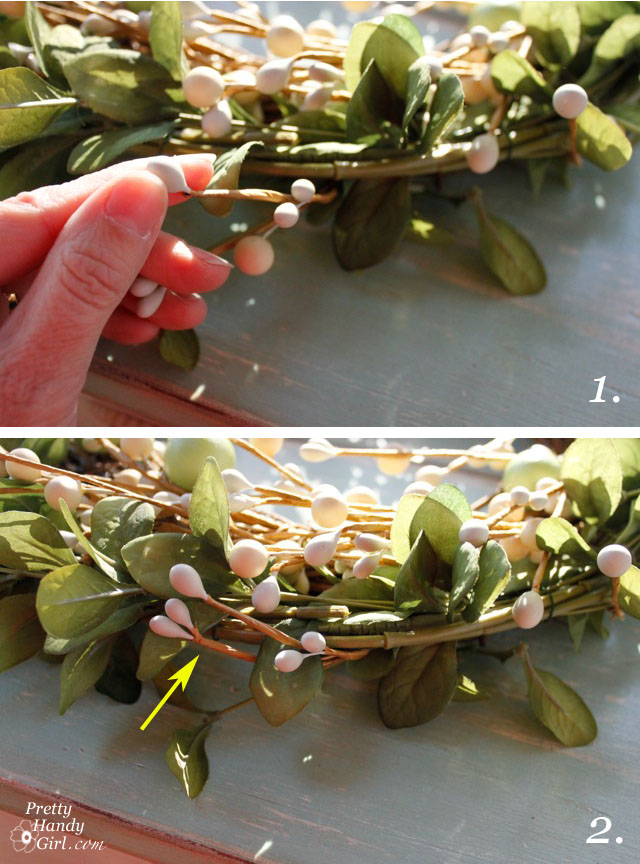
wrap berry stems around leaf wreath

That’s it! This way you can separate them at a later date if you decide to use the wreaths independently.
Making Scrapbook Button Flowers:

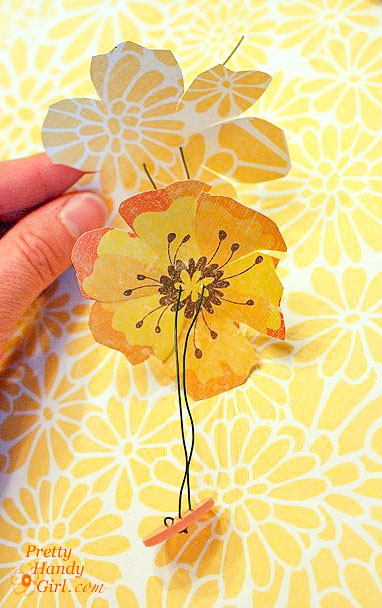
Begin by cutting flower shapes out of your scrapbook paper.
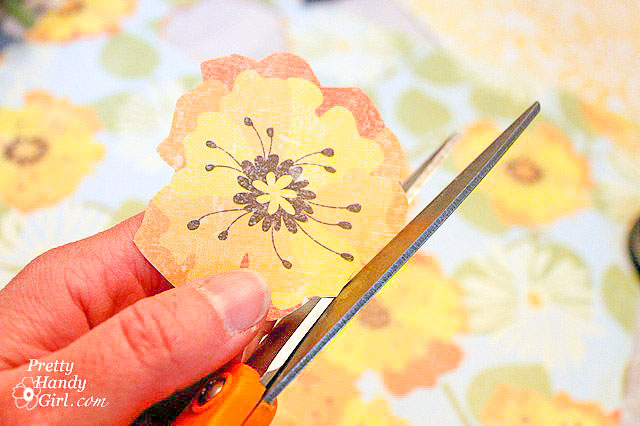
cut around flower shape

Lay your flower on top of a coordinating sheet of scrapbook paper and cut a second flower shape larger than the first.
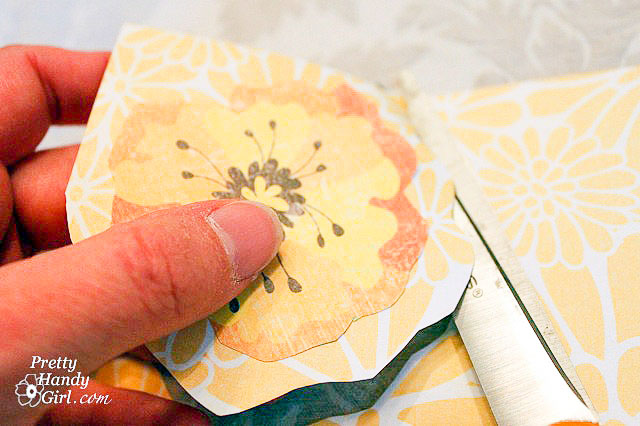
match up flower with coordinating paper

Lay both flowers on top of one another and cut slits in toward the center of your flowers. Be sure not to cut too close to the center.
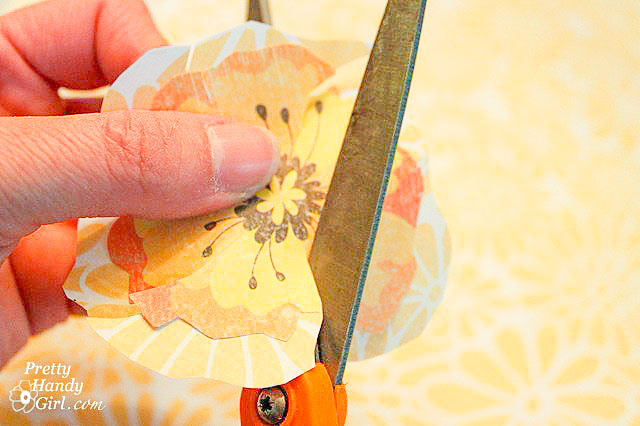
cut slits into both scrapbook flower layers

Fold the edges of your flowers up to give them dimension.
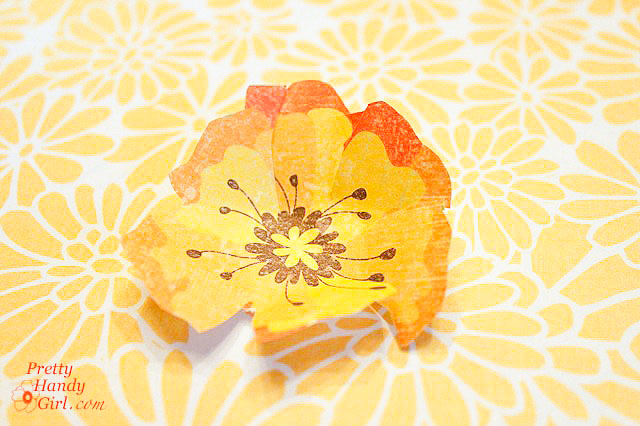
cut out scrapbook paper flower

Cut a length of floral wire long enough to wrap around your wreath.
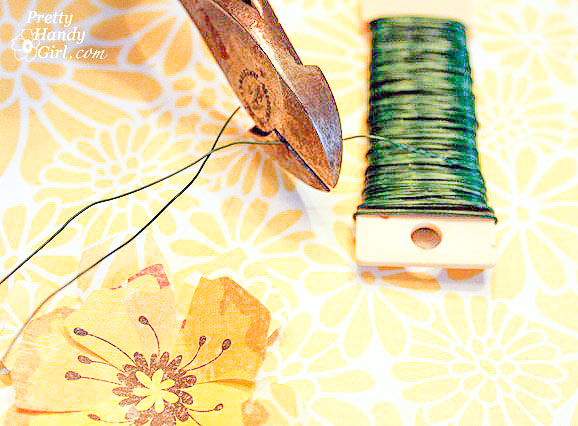
cut wire

Thread the wire through your button. If you have a four hole button, you may want to thread it in an “X” shape as shown below:
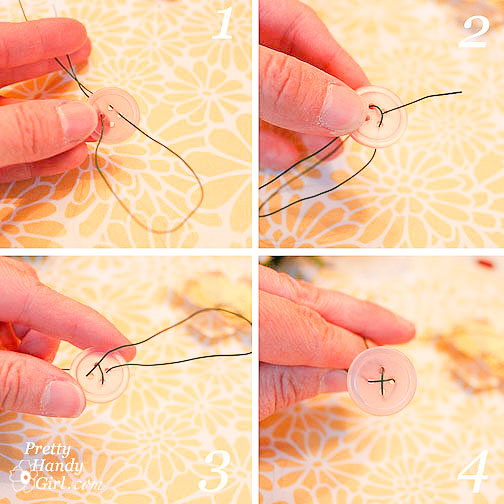
thread button onto wire

Then poke the wires through the centers of the flowers (it is easiest if you have one on top of the other so you can poke through both flowers at once.)

thread paper flowers and button onto wire

You should end up with a scrapbook paper and button flower that looks like this:
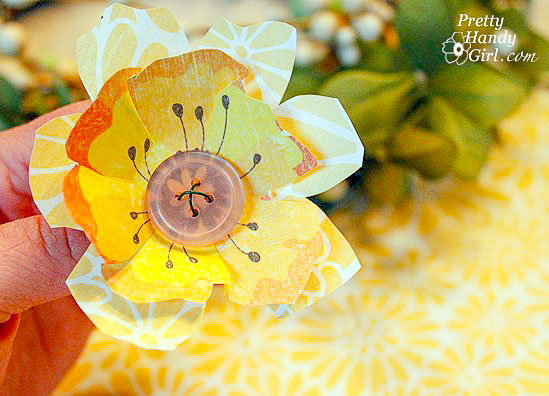
button scrapbook flower made

Make as many as you like and then arrange the flowers on your wreath.
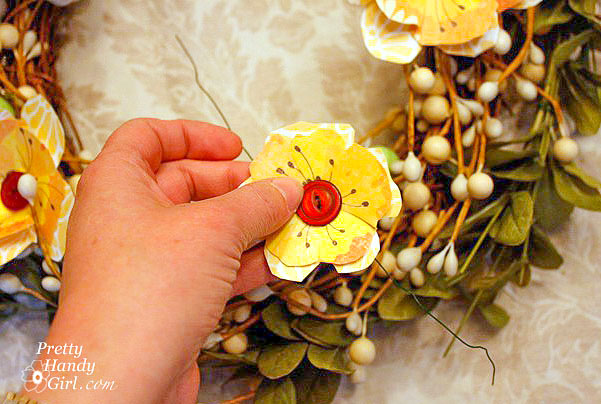
add button flower to wreath

Wrap the wires around the back and twist to secure.
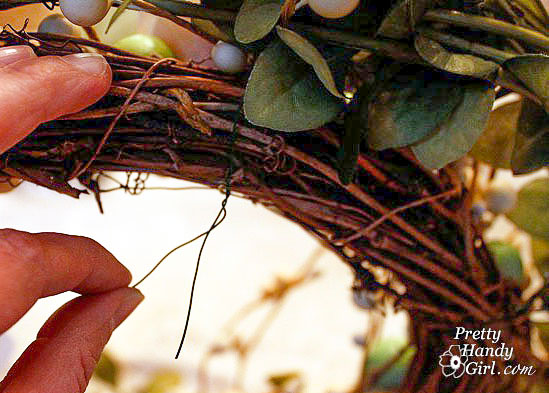
Repeat until you have covered your wreath in beautiful spring flowers.
Add a coordinating ribbon to your wreath. You can tie a bow on your wreath. . .
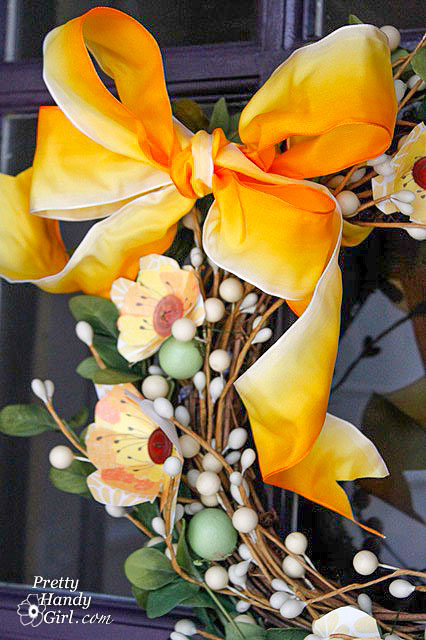
add ribbon to wreath

. . . or use a flat ribbon to hang your wreath. It’s your choice.
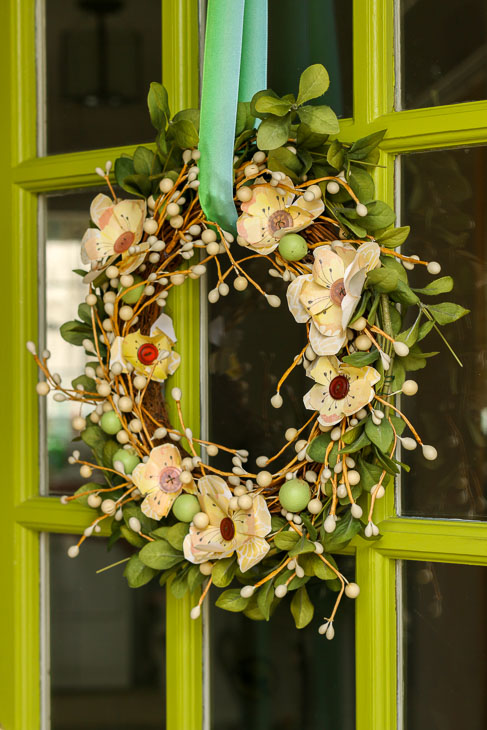
Enjoy your new spring wreath!

Although my paper flowers have faded a little, I’ve been able to use this wreath for several years (as evidenced by the change in color of my door.)
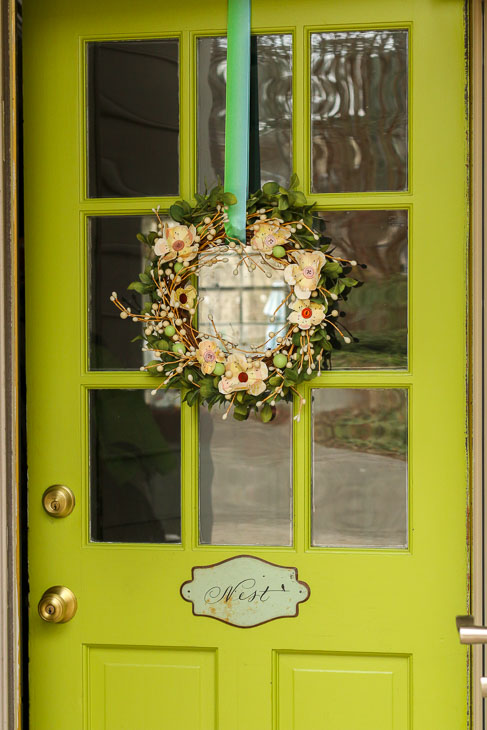
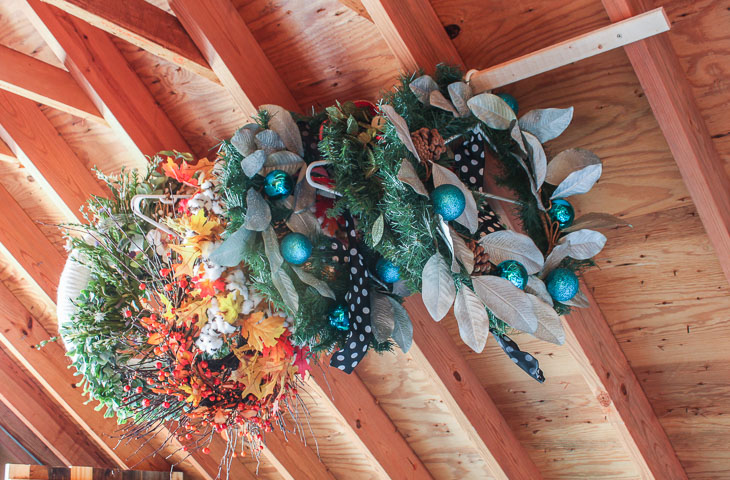
Here’s how I transformed the same wreath for Christmas through Valentine’s Day:

For Thanksgiving, I added some feathers to the wreath, (For a fuller wreath, you can add more feathers):

For fall, I paired free magnolia leaves with the white berry wreath:

Hope you enjoyed this tutorial. If you liked this post, you’ll love my round up of 24 creative fall wreaths (because frankly, some of these look pretty enough to hang year round.)

24 Creative Fall Wreaths | Pretty Handy Girl

You might also appreciate these 9 Holiday Storage Hacks:

Storage Hacks for Holiday Decorations | Pretty Handy Girl

wood-block-picture-frames

Wood Block Floating Picture Frames | Pretty Handy Girl

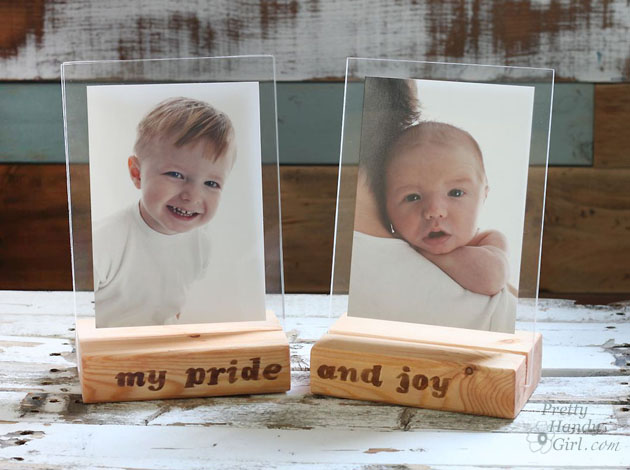
We are days away from Christmas and I’m sure there is someone on your list that you just can’t figure out what to get for them. I have the perfect solution! Make them a wood block floating picture frame using scrap 2×4″ lumber and plexiglass.

If you don’t have scrap 2×4’s lying around, you can purchase a 2x4x8 foot stud for less than $4! You could make 16 photo frames out of that one board! (Granted, you’ll need to buy the plexiglass for each.)

Materials:

  • 2 – 2 x 4s (cut to 6″ lengths)
  • 4 – 6″ x 9″ pieces of plexiglass (3/32″ thickness)
  • Ipswich Pine Stain
  • gel stain or Minwax Express color
  • small detail paint brush
  • pencil or pen
  • photos
  • tape
  • rag
  • optional: scrapbook paper, double stick tape

Tools:

Instructions:

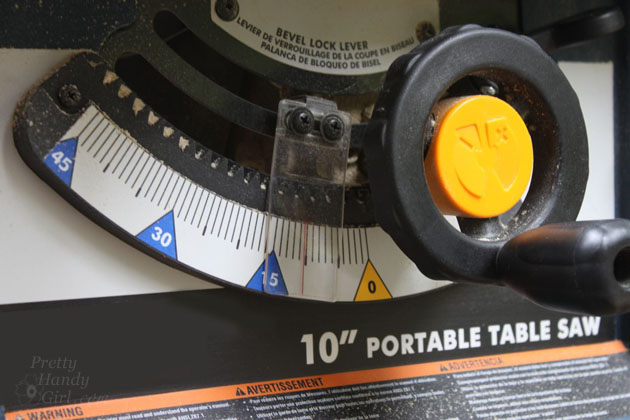
Set your table saw to a 10 degree bevel.

Wood Block Floating Picture Frames | Pretty Handy Girl

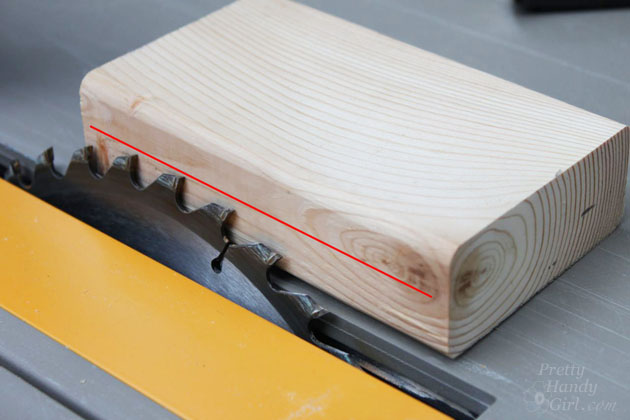
Set the saw blade to a depth halfway through your block (about 7/8″ deep.) Set the fence to 2″ from the blade.

Wood Block Floating Picture Frames | Pretty Handy Girl

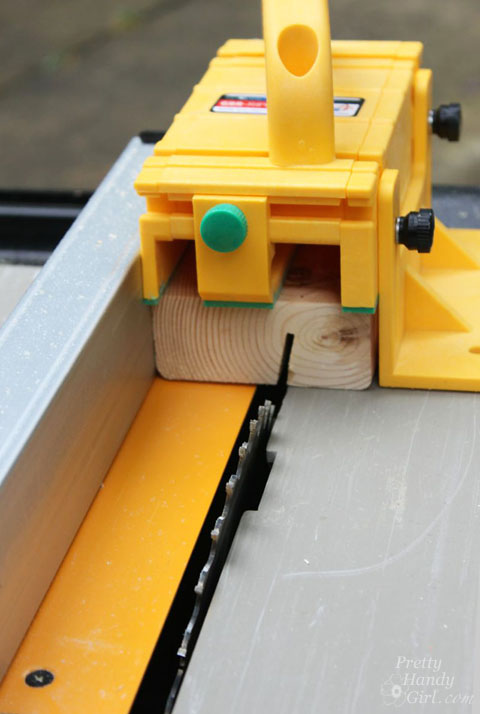
Use your GRR-RIPPER to safely guide the 2×4 over the saw blade. Check to see if two pieces of plexiglass will fit in the groove created by the saw blade.

Wood Block Floating Picture Frames | Pretty Handy Girl

If not, nudge the fence over slightly and make a second pass over the blade. Check to see if the plexiglass will fit now. If not, repeat the process until they fit snugly. Read more

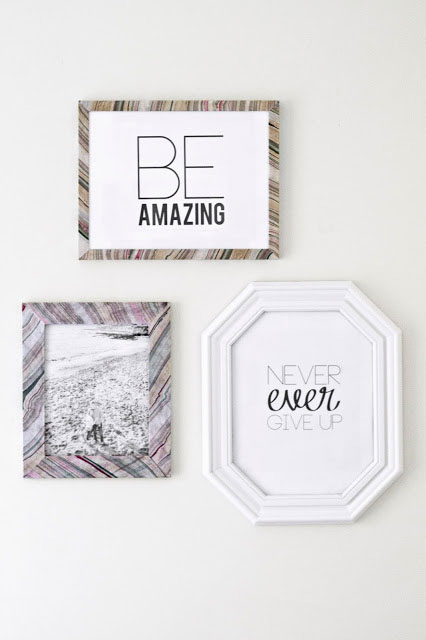
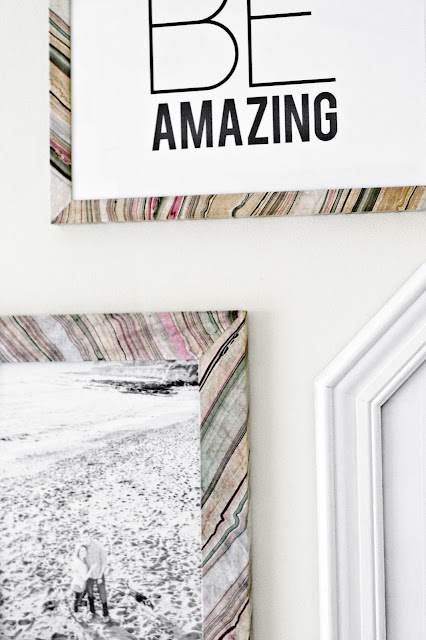
Today I am so excited to have the very talented Sarah joining us with a fabulous très frugal DIY gift idea. Sarah is the creative genius behind Sarah M. Dorsey Designs. I am in love with her design style in her home. The coolest thing about Sarah’s designs is that she achieves them on a super frugal budget. Today she’ll show us how to make marbled picture frames in no time for only a few bucks.

page_break_2

Hi PHG Friends!! This is Sarah from Sarah M. Dorsey Designs. I’m so excited and honored to be here sharing a simple DIY gift idea.

Today may be Black Friday, but instead of buying a gift, think about making a gift. Handmade gifts mean so much more (at least to me 🙂  Plus you’ll save yourself the aggravation of crowded stores. A win win!

I love the variety of marble paper – adding that to a plain picture frame truly makes them one of a kind! Here’s how I did it.

Materials:

  • 1 sheet of marble paper (available at paper source and blick art supply)
  • Mod Podge
  • Frame (recommend straight front and sides) ** Tip: check your local thrift store for frames, I was able to these for about $1 each
  • Brush
  • Cutting supplies: scissors, cutting mat, xacto knife, metal ruler

Instructions: Read more

Make a Tray from a Cabinet Door | Pretty Handy Girl

Make a Tray from a Cabinet Door | Pretty Handy Girl

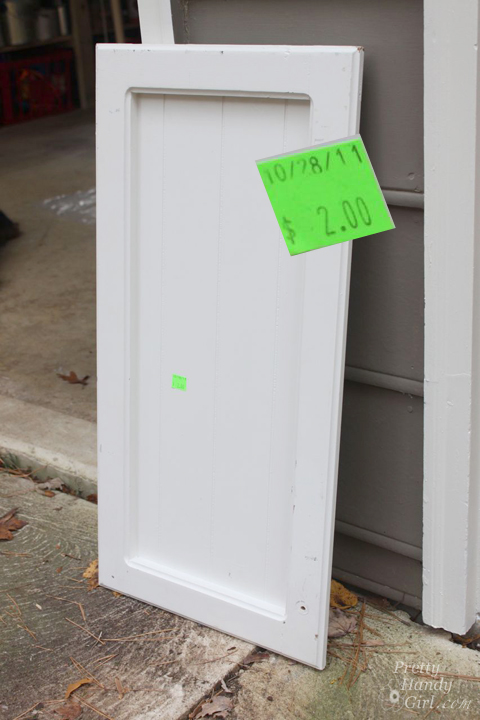
One of my favorite places to thrift shop is the Habitat ReStore. I mean, where else can you find cool $2 cabinet doors?

Make a Tray from a Cabinet Door | Pretty Handy Girl

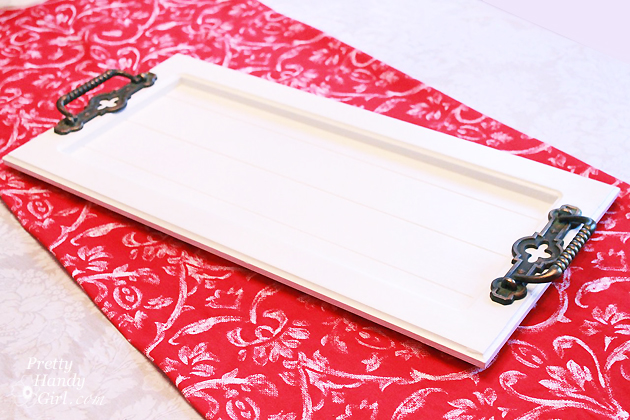
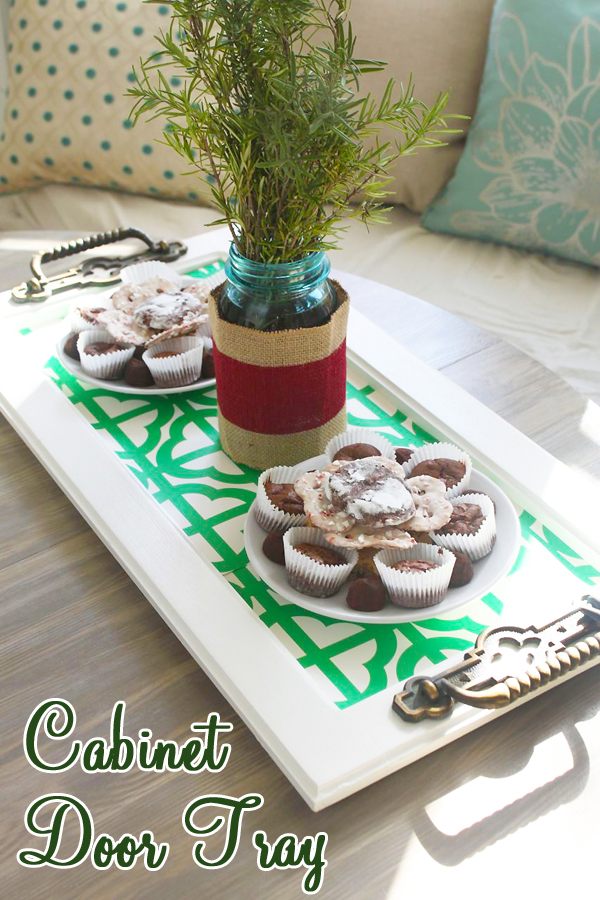
This fine cast off door is just screaming to be upcycled into a beautiful tray. Especially when the same thrifting adventure yielded VERY COOL door hardware! Simply combine the two and you have yourself a unique serving tray to give as a gift (or keep for yourself.)

Make a Tray from a Cabinet Door | Pretty Handy Girl

Materials:

  • Cabinet door
  • Door handle or cabinet handle
  • Wood putty
  • Putty knife
  • Ruler
  • Pencil
  • Drill
  • Drill bits
  • Screwdriver bit
  • Rubber bumpers

Optional: Rub n’ Buff Gold Leaf

The steps are super simple. Read more

Homemade Christmas cards

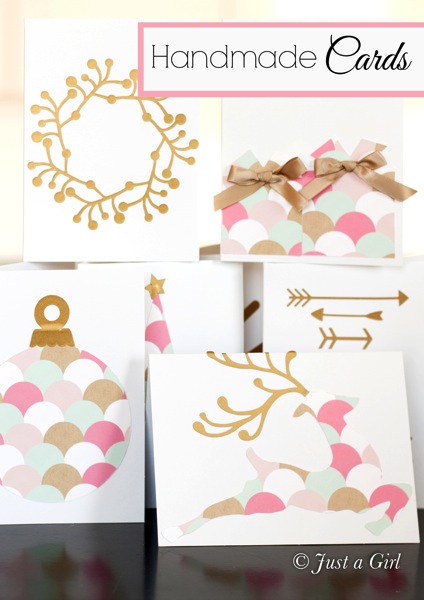
Today I have a great DIY blogger, friend and cohort when it comes to appreciating a handwritten note in a handmade greeting card! Chris from Just a Girl has a wonderful tutorial for creating handmade greeting cards that would make a wonderful DIY gift idea!

page_break_2

Hello! I’m Chris from Just a Girl, and if you’re anything like me, you’re already thinking about Christmas. It’s that time of year. That time when we have to find the means to come up with all those Christmas presents for loved ones, friends, and neighbors. Unfortunately, the extra money just doesn’t seem to be coming in. Brittany had a great idea to come up with ways to spend less, and I’m so happy to share my idea with you!

I’m a big fan of stationery. I think the written word is dying on us, so I do my best to correspond with it. I especially believe in thank you notes! Even (especially!) at Christmas, thank you’s need to be sent, and I have an extremely inexpensive way of personalizing them.

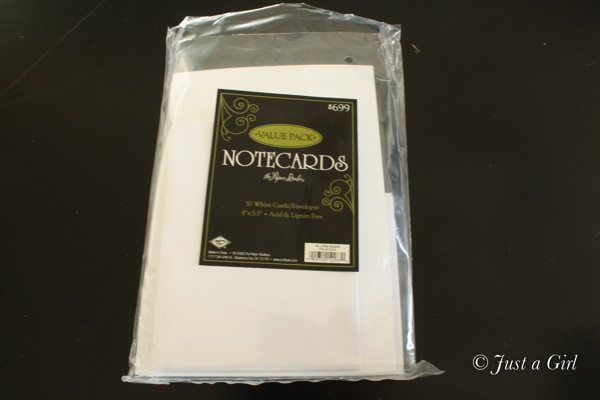
I picked up a package of blank white notecards at Hobby Lobby. They were about $4.00 with a coupon.

Blank cards

My madness in action involves my Silhouette machine, but you could easily choose designs that don’t involve intricate cuts. I’m crushing on pink and gold now, so I just used a combination of the two to come up with some pretty designs. Cut vinyl and scrapbook paper are adhered to the cards using some glue sticks to apply the shapes and a little bit of ribbon to add some dimension. Read more