Whether you have pre-primed walls or the wallpaper is glued directly to the wallboard, I have the easiest and best-looking ways to get rid of wallpaper! Save yourself time and a headache with my tips to get rid of wallpaper.
 How to Get Rid of Wallpaper (Remove It or Paint It)
Having owned two houses built in the 70’s, I’ve dealt with my fair share of wallpaper!
Did you know there are really only two types of wallpaper when it comes to getting rid of it?
- The Easy to Remove Kind
- The Pain in the A$$ (what idiot didn’t prime the drywall—oh screw it let’s just replace the drywall) Kind
I’ve dealt with both kinds and am happy to share with you the easiest way to get rid of both! Yes, even if the wallpaper is glued to the drywall (no primer between the two). Grrrr!
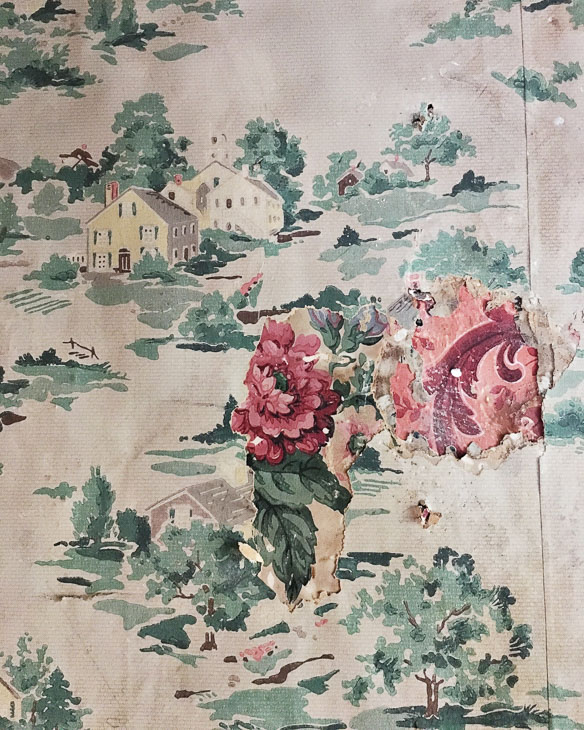
In a perfect world, we’d all be dealing with removable wallpaper. Unfortunately, removable paper is a relatively new invention. Back in the day, it was either pre-pasted wallpaper or unpasted wallpaper where you had to apply the glue first.
Today I’ll go over two easy proven techniques for getting rid of wallpaper permanently!
How to Strip Wallpaper:
You don’t need a steamer to strip wallpaper. And you don’t have to buy chemical strippers. All you need are a few things, most of them you can find in your house.
Materials:
(I’ve included affiliate links for your convenience. I earn a small percentage from a purchase using these links. There is no additional cost to you. You can read more about affiliate links here.)
- Spray bottle
- Warm Water
- Cheap Liquid Fabric Softener (get the cheapest no name brand if you like!)
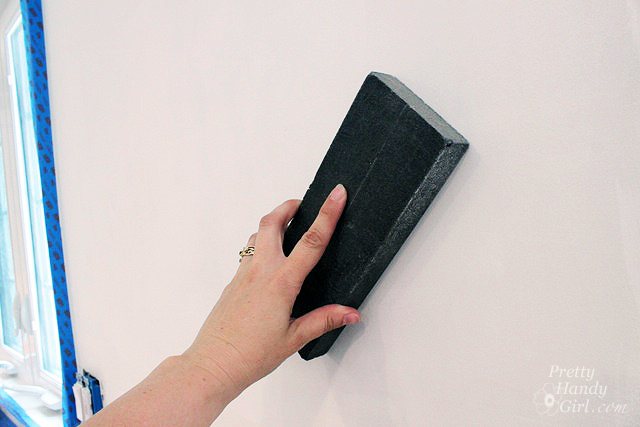
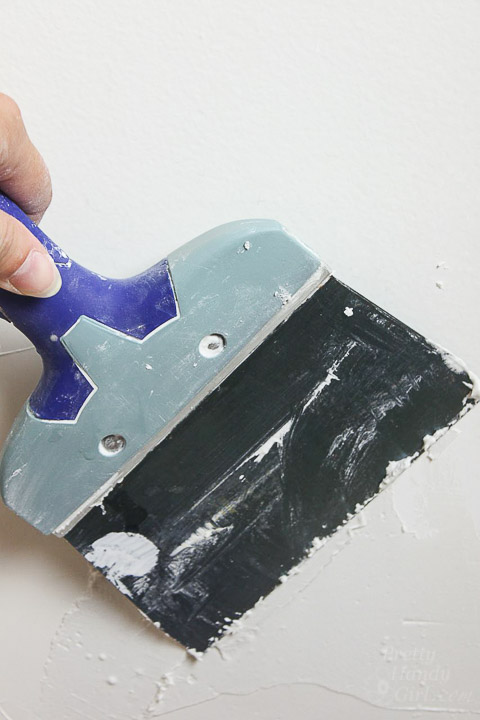
- Drywall knife or wallpaper scraping blade
- Wallpaper scoring tool (a must!)
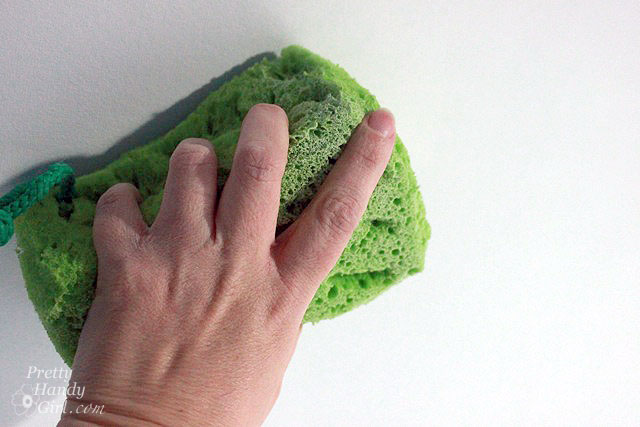
- Scrub Sponge
- Car wash sponge (optional, but helps clean faster)
- Bucket
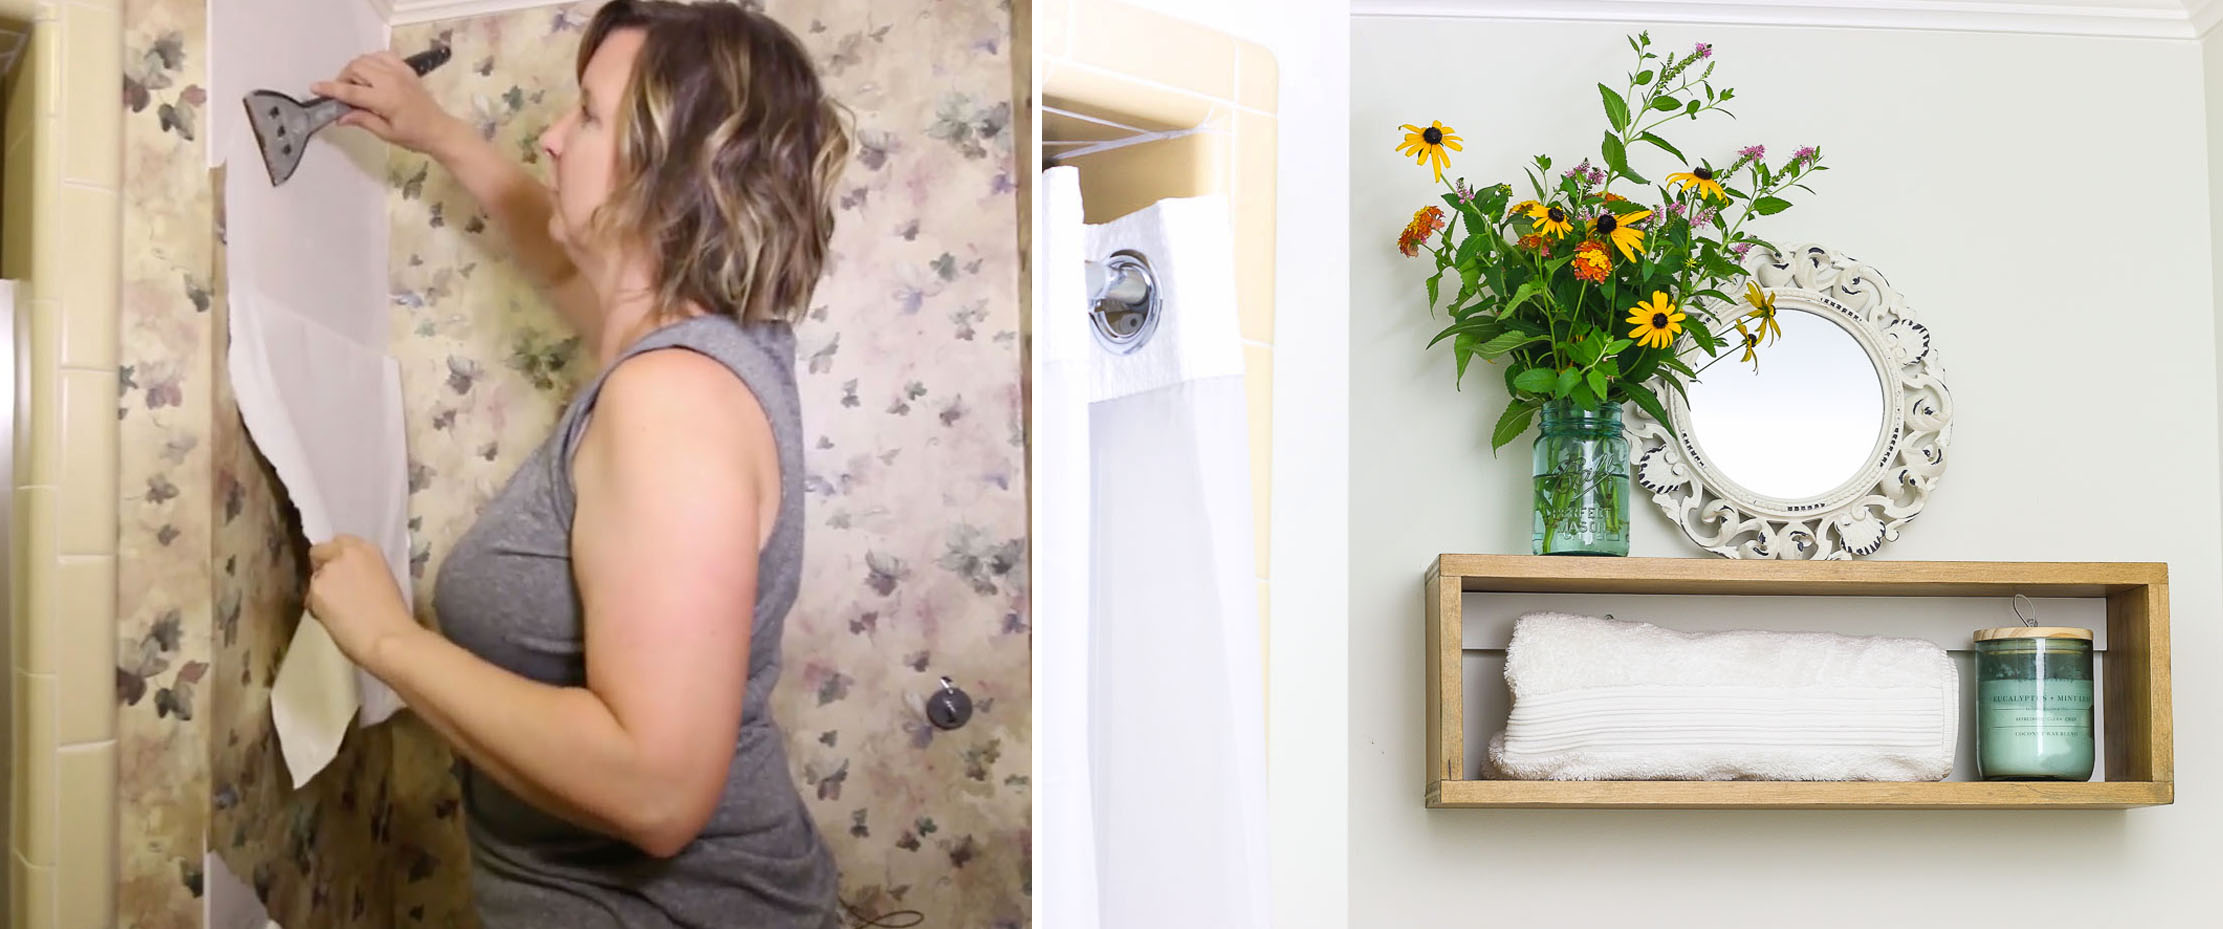
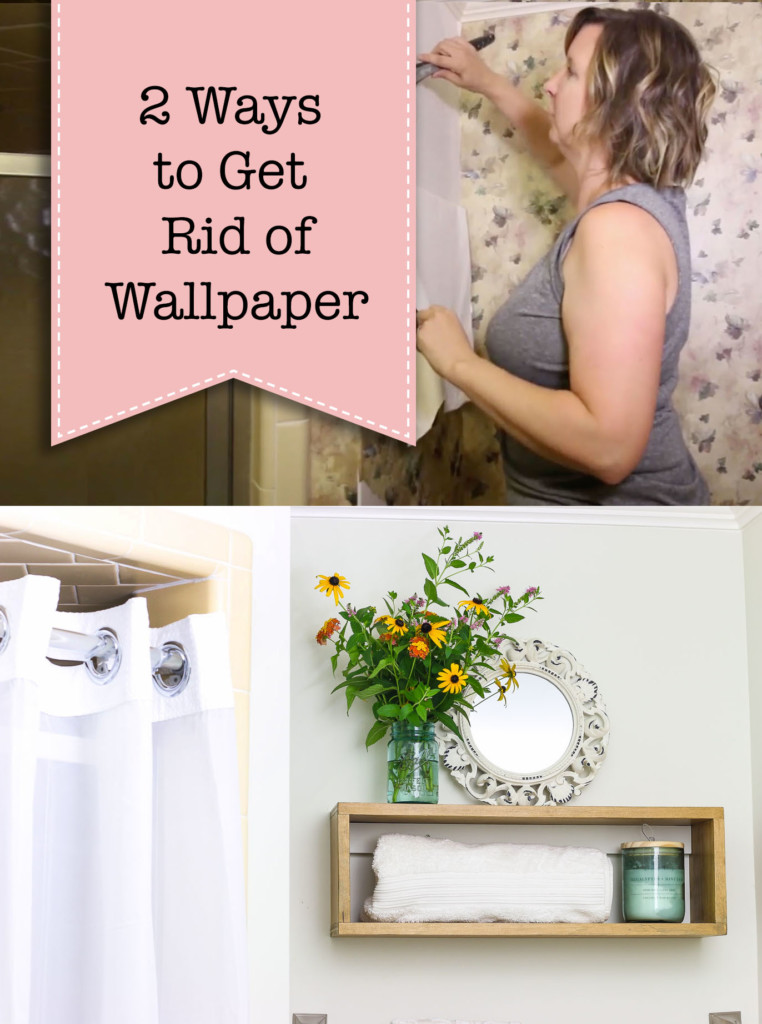
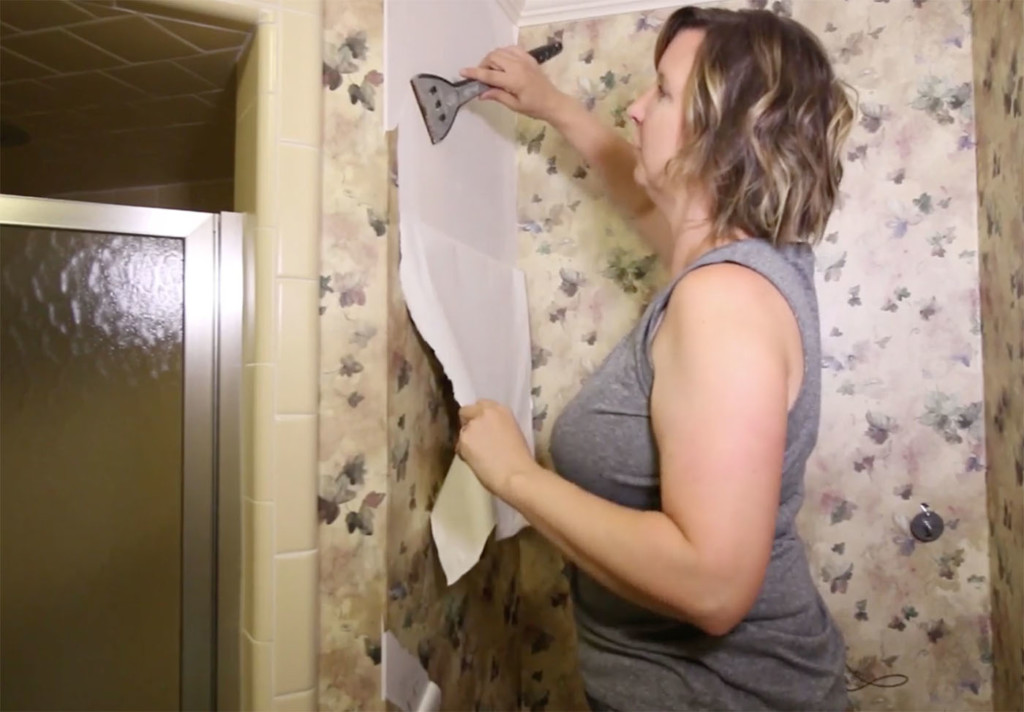
Let’s go over the easiest way to remove wallpaper. Always test this removal process in an inconspicuous corner first. If the wallpaper doesn’t come off easily, skip down to How to Paint Over Wallpaper tips below.
How to Remove Wallpaper:
This is the easiest way to remove wallpaper and it won’t cost you a lot of money buying a steamer or other tools. You’ll definitely need a scorer though.
- Use a scoring tool to perforate the wallpaper with lots of tiny holes.
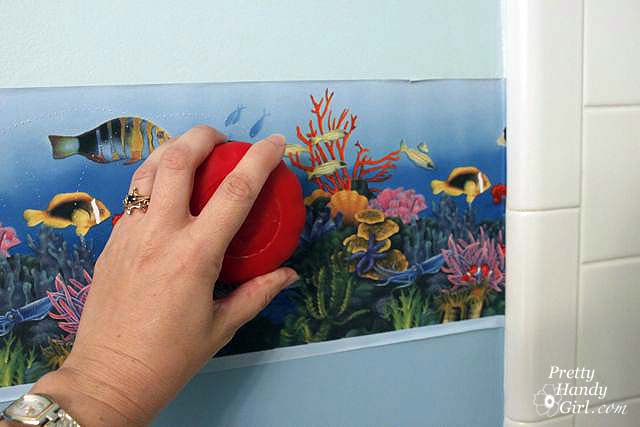
- Fill a spray bottle halfway with cheap liquid fabric softener. Fill the other half with warm water.
- Spray the wallpaper with the fabric softener mixture until it’s saturated.
- Let it sit for 15 minutes.
- Saturate the wallpaper again with the fabric softener mixture.
- Let it sit another 10-15 minutes.
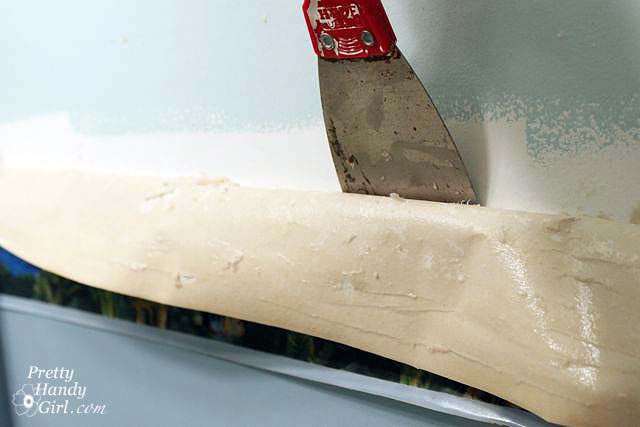
- Use a flat drywall knife or scraper to gently pull up a corner or seam.
- Pull the wallpaper off the wall.
You can watch how exactly I remove wallpaper in this video:
Preparing Previously Wallpapered Wall for Painting:
It is imperative that you remove all the wallpaper pieces and any glue residue from the wall before painting. Here are the steps to properly prep your wall for painting:
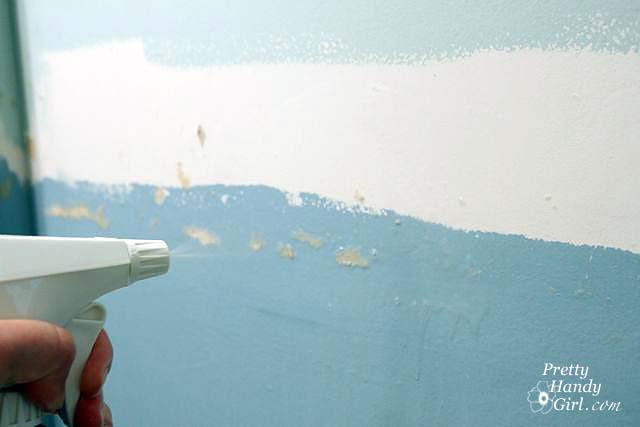
- Fill your spray bottle with 1 part warm water and 1 part liquid fabric softener.
- Spray the mixture on the walls.
- Use a sponge saturated in the mixture to wash the walls and scrub off any pieces of wallpaper remaining.
- Fill a bucket with clean water. Dip your sponge in the water.
- Scrub the wall to remove any remaining fabric softener or residue with a clean sponge dipped in water. Refill the bucket with clean water often.
- Allow the walls to dry. Fill in any holes or dings with joint compound or (my favorite) Patch Plus Primer. Allow to dry.
- Then lightly sand with a fine-grit sandpaper. This will smooth any imperfections and leave you with a smooth and clean wall.
- Prime the walls before painting.
How to Paint Over Wallpaper Effectively:
If you’re reading this section, first let me say, I’m sorry you have the pain-in-the-a$$ kind of wallpaper. Rest assured, there is a solution and it’s not as bad as you think. You can paint over your wallpaper after you prep it properly.
- Make sure to glue down any seams or areas that are peeling up (you can use any thin glue, even school glue if you like.)
- Use joint compound to cover all the seams (don’t use drywall tape).
- Let the joint compound dry, then sand smooth to eliminate any appearance of the seams.
- Prime the wallpaper and the joint compound before painting.
- Paint to your heart’s content and no one will ever know you had wallpaper underneath.
I know some people are horrified at the idea of painting over wallpaper, but I assure you we’ve painted over wallpaper in several rooms in our house because the wallpaper was glued directly to the drywall. We have had no issues and you can’t see any seams. It’s been almost 15 years and they are still holding up fine.
So, let this be the day where you finally decide to get rid of that wallpaper once and for all! Whether you are successful at stripping wallpaper, or you have to seal the seams and paint it, you can say goodbye to that old, garish wallpaper once and for all!
Let’s hear from you, what’s the ugliest wallpaper you have or had to remove? I’m all ears (thankfully not eyes).
![]()