It’s 5 o’clock somewhere! Whether it’s 5 am or 5 pm this DIY Beverage Center will hold whatever it is that gets you going in the morning and winds you down in the evening.
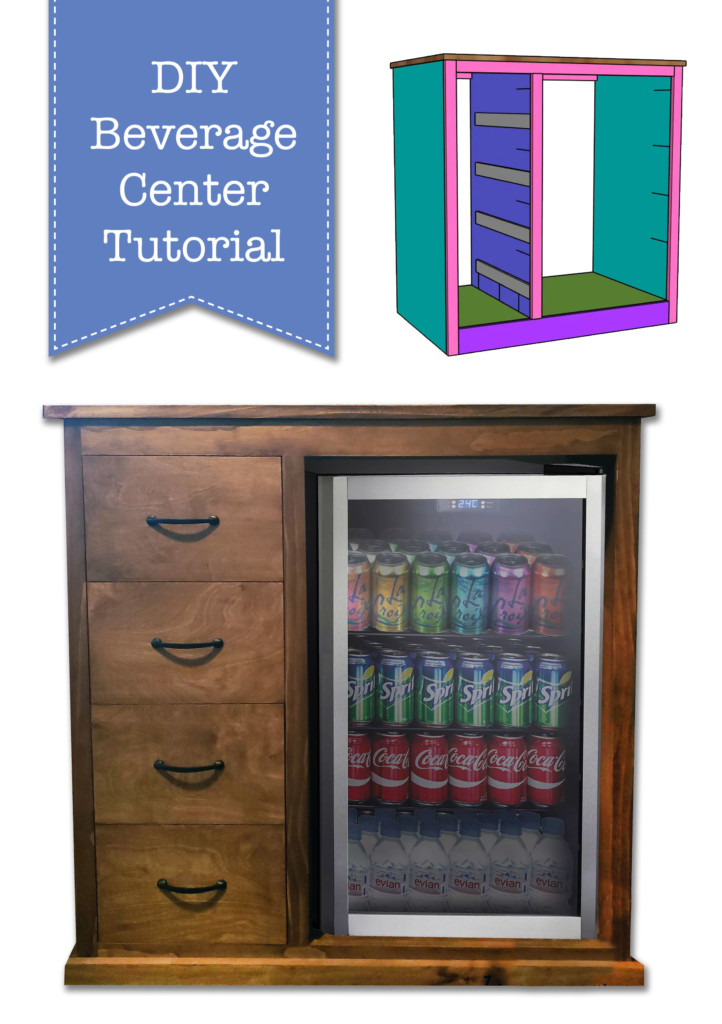
DIY Beverage Center
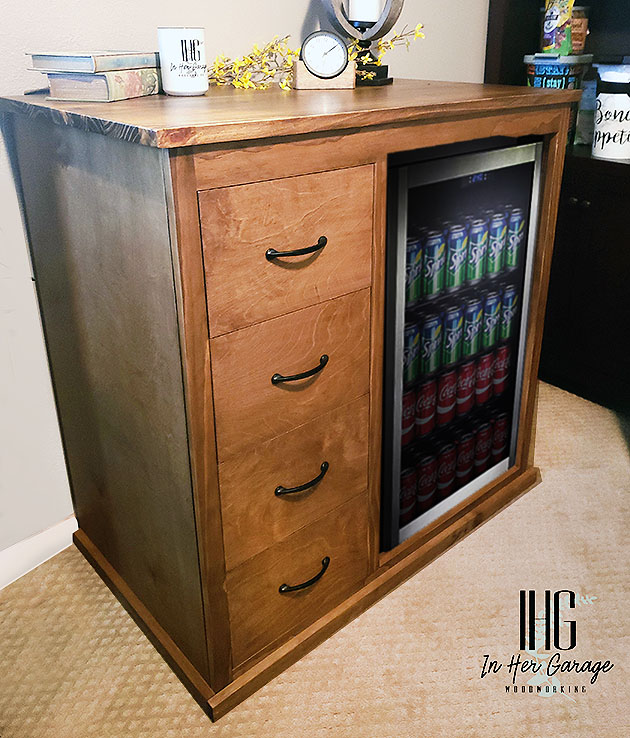
Hi there! This is Kristen from In Her Garage and I am going to teach you how to build a DIY beverage center for your home. I have built a couple of these and each client who received this beverage center loves to tell me how appreciative they are to have a separate space to hold their coffee supplies and adult beverages. Plus, a beverage center freed up space needed in their kitchen refrigerator.
This beverage center measures approximately 40”h x 38 ½”w x 24 ½”d and I built it to house the Whirlpool JC 103EZY Mini-fridge that a client had purchased. Feel free to modify the dimensions for the mini-fridge of your choice, just keep in mind there should be an allowance on the sides and top for proper airflow around the fridge (usually specified in the owner’s manual). This particular mini-fridge requires 2” on both sides and top.
Materials:
(I’ve included affiliate links for your convenience. I earn a small percentage from a purchase using these links. There is no additional cost to you. You can read more about affiliate links here.)
- 2- 3/4″x4’x8′ birch plywood
- 2- 2x3x8 studs
- 3- 1x2x8 boards
- 1- 1x4x6 board
- 1- 1/8″ x 2 x 4 tempered hardboard backer
- 4- 22″ drawer slides
- 4- drawer pulls
- 1 ¼” Kreg Pocket Hole Screws
- 2” wood screws
- 2 ½” wood screws
- 2 rolls Iron-on edge banding
- Pocket hole plugs (optional)
- Wood glue
- Figure-8 tabletop fasteners and appropriate size Forstner bit
- Paint/stain
- Clear topcoat
Tools:
- Table saw or circular saw
- Miter saw
- Kreg Pocket-hole Jig
- Drill
- #8 countersink drill bit
- Brad Nailer
- Multi-tool or flush trim saw (optional, used for pocket-hole plugs)
- Clothes iron (used for iron-on edge banding)
Board Cuts:
- 2- 2×3 @ 36″
- 3- 2×3 @ 20¼”
- 2- 1×2 @ 39 ¼”
- 1- 1×2 @ 34 ¼”
- 1- 1×2 @ 34 ½”
- 1- 1×4 @ 34 ½”
- 2- 1×2 @ 23″ – drill two pocket hole’s in both ends
- 2- 1×2 @ 12 ¼” – drill two pocket hole’s in both ends
Cut list and corresponding pocket-hole placement:
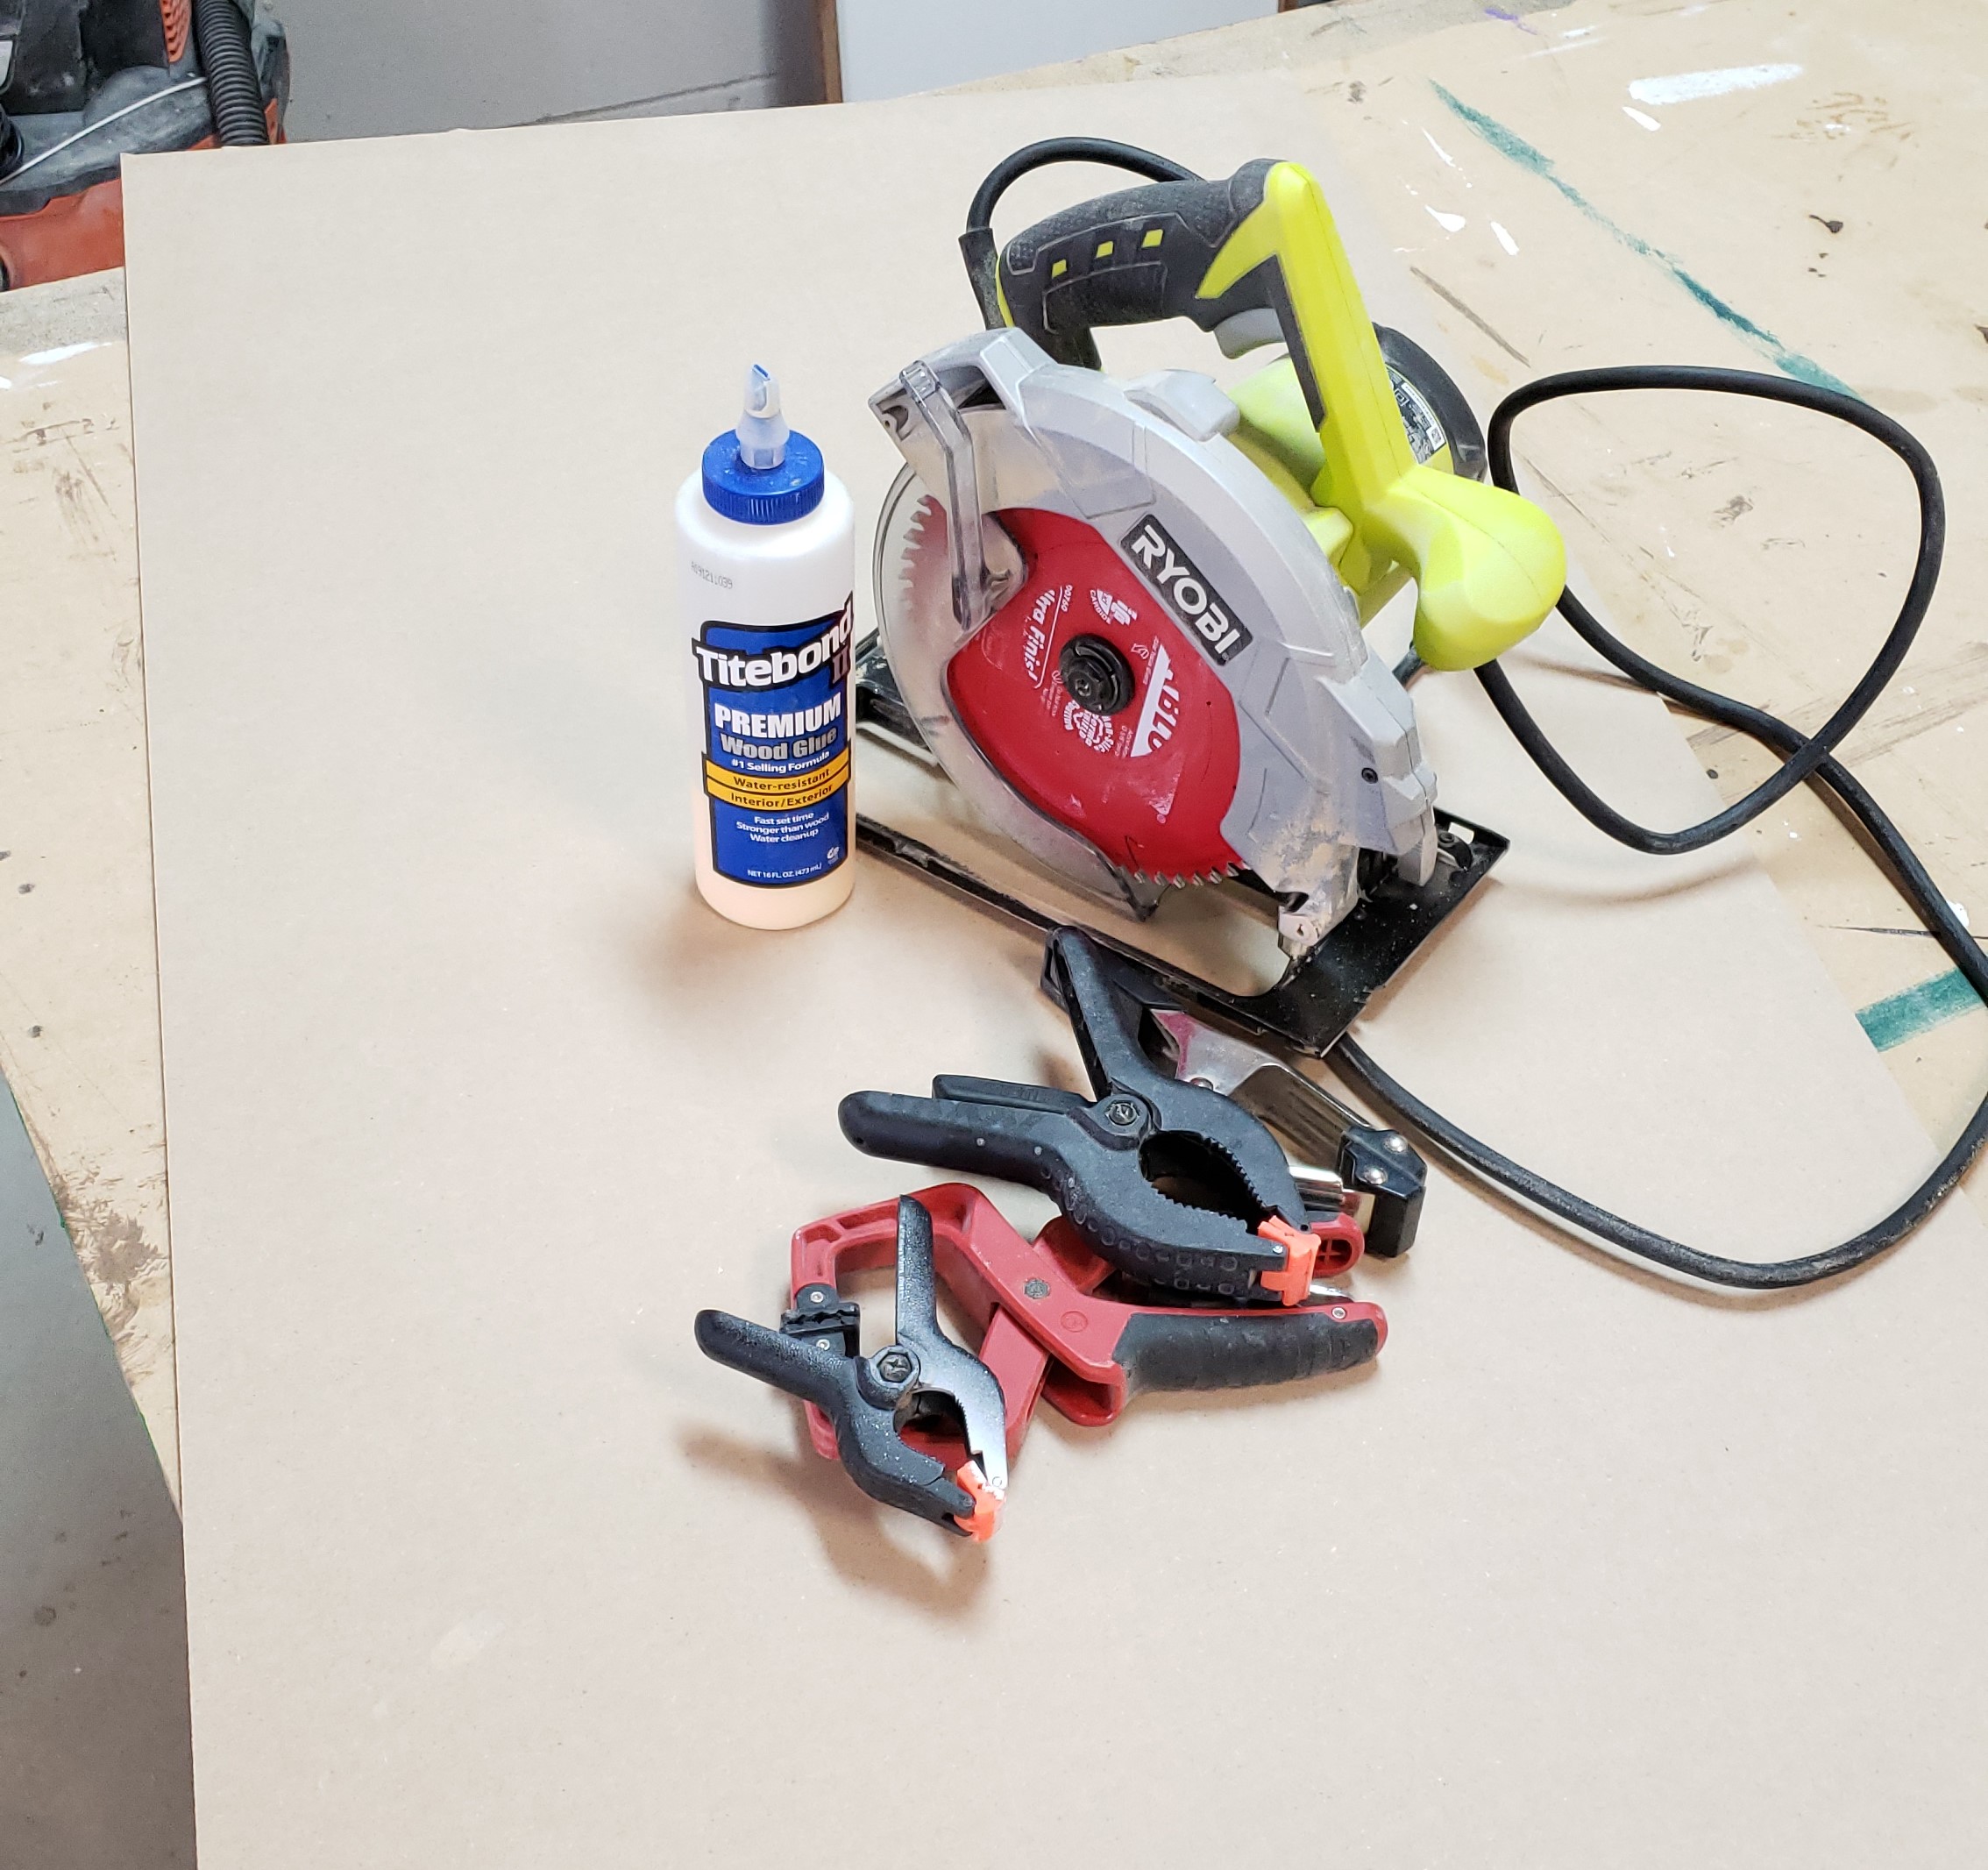
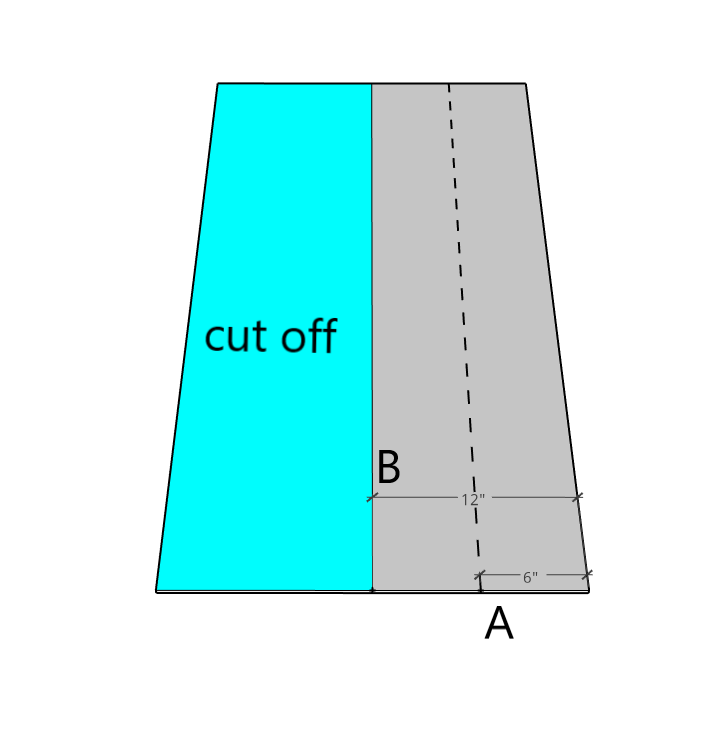
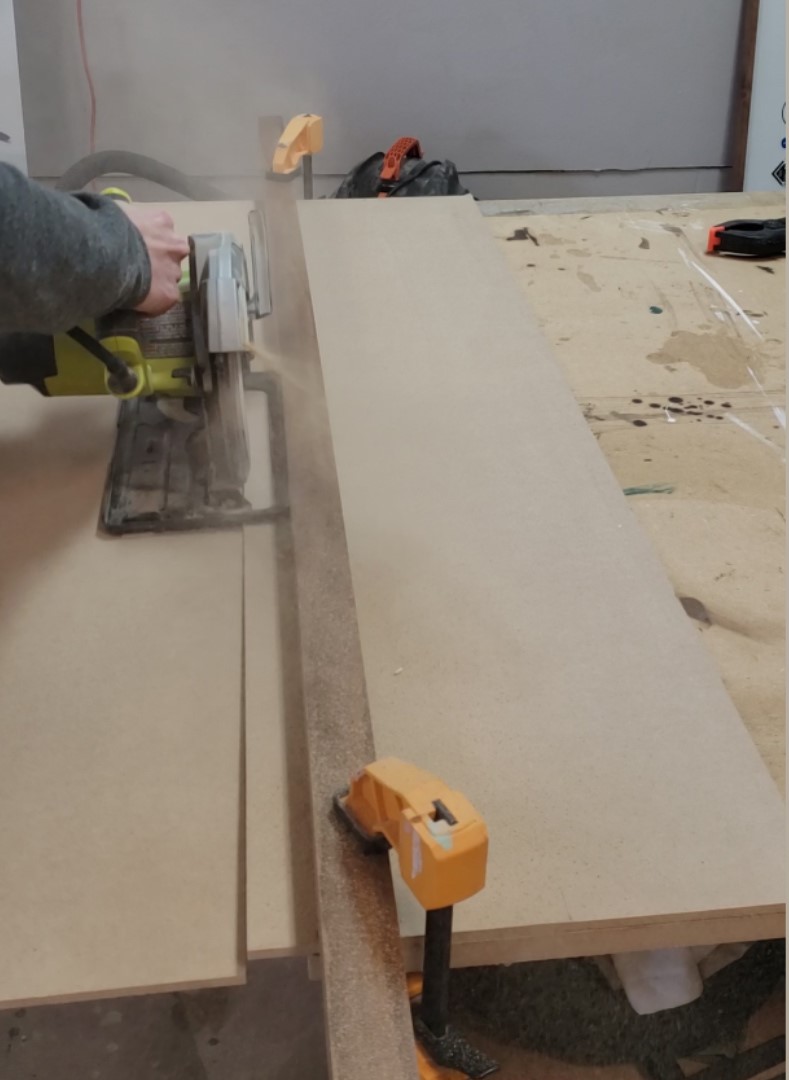
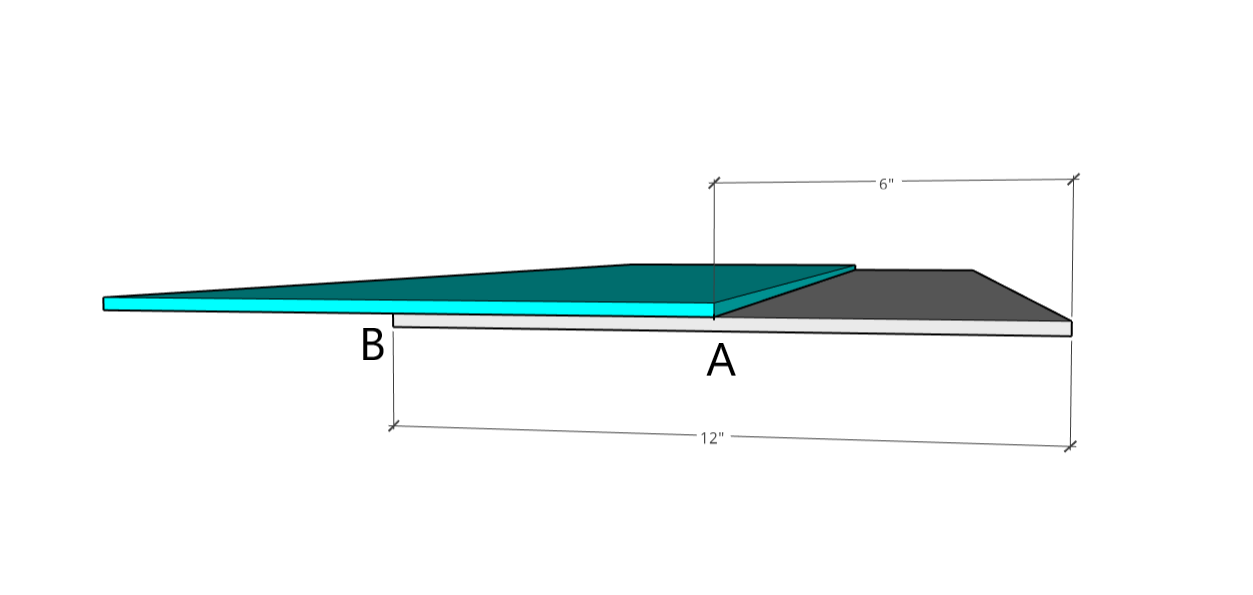
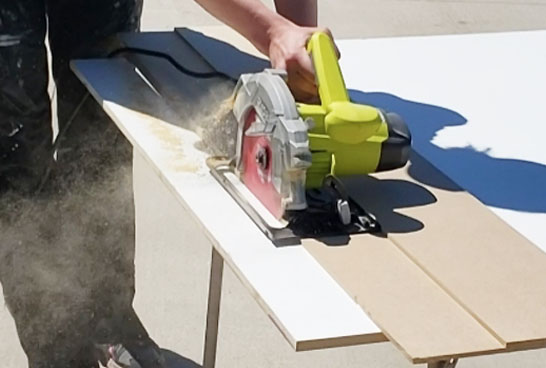
To make plywood cuts easier while using a circular saw please check out my tutorial for creating your own DIY Track Saw Jig for your circular saw. It will make cutting plywood simple and foolproof!


Instructions:
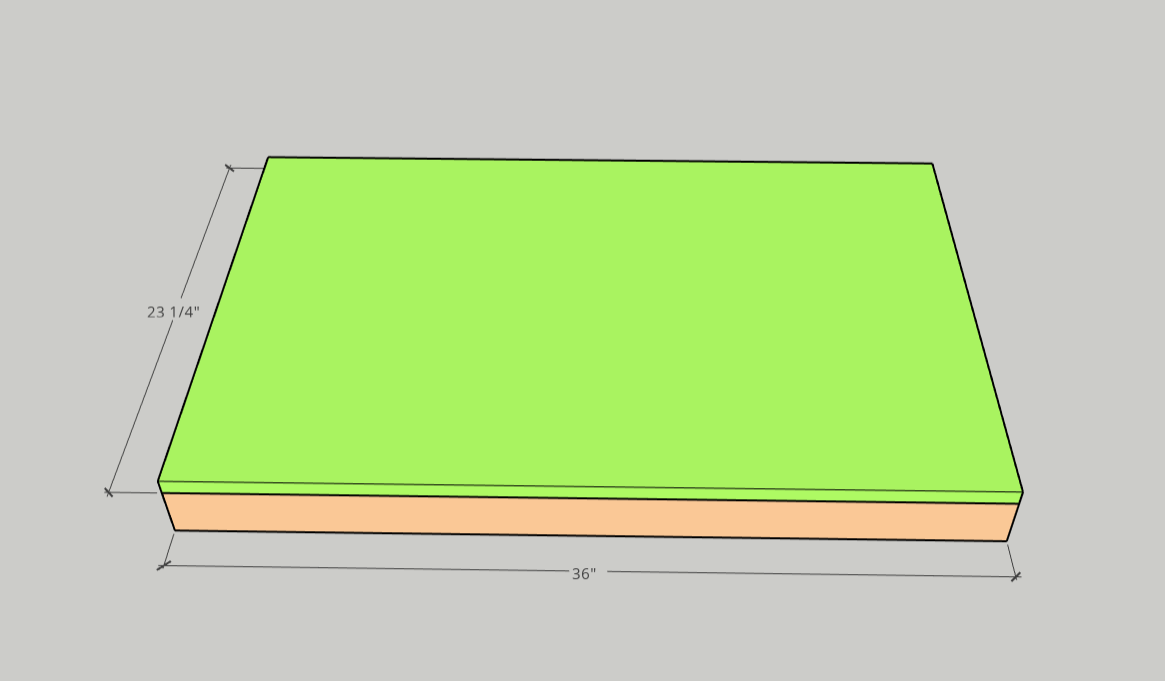
Step 1: Create the beverage center base
- First, build a base frame using the cut 2×3 studs, wood glue, and 2 ½” wood screws. Pre-drill your holes to prevent splitting.

- Next, Secure the bottom plywood panel on top of the base frame and secure it with wood glue and brad nails
Step 2: Attach beverage center sides
- On a flat surface, stand both sides on their backs with the pocket-holes pointing to the ceiling.
- Apply glue to the sides of the beverage center base and stand it on its back.
- Sandwich the base between the two sides aligning the bottoms and fronts of the sides and base. If you have clamps use them to squeeze the sides to the base or have someone help hold them in place until they are secured.
- Now pre-drill three holes in each side, drilling from the inside of the base frame 2×3 out into the sides, and attach using 2″ screws.
- Stand the piece up

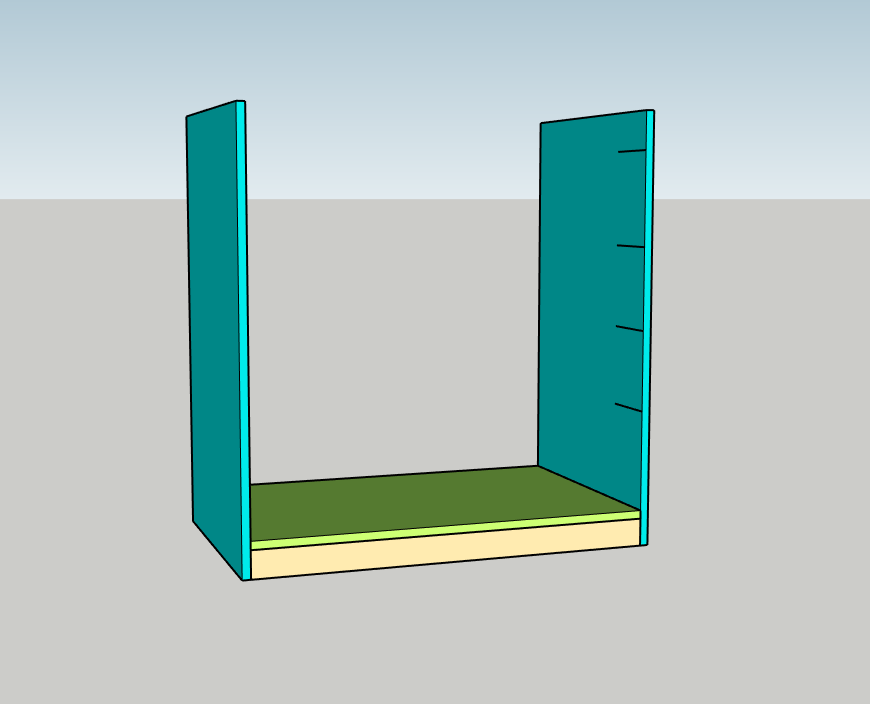
Step 3: Attach center divider
- Grab both 1 x 2 x 23″ support boards and use those as spacers for the center divider.
- Place a small bead of glue along the bottom of the center divider panel (the short edge with pocket-holes) and place it over the base spaced by the 1×2 boards. Be sure that the long edge with the pocket-holes is facing the front just like the pocket-holes on the sides.
- Attach the center divider with 1 ¼” Kreg pocket screws

Step 4: Attach the top spacer supports
- Using the same two 1 x 2 x 23″ support boards you used to space the center divider and 1 ¼” pocket screws, attach the boards to the front and back of the side and center divider at the top of the panels to create even spacing.
- Repeat with the 1 x 2 x 12 ¼” boards spacing between the center divider and the opposite side.
![]()
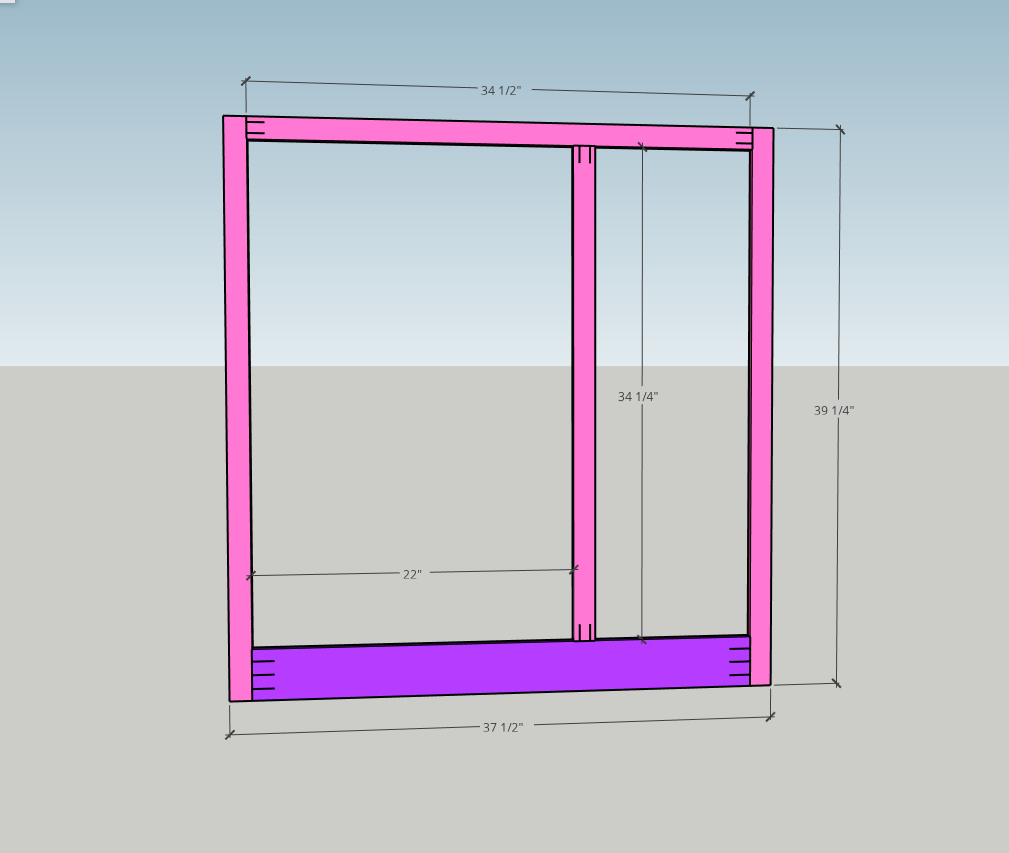
Step 5: Build the Face Frame
- If you haven’t cut the boards for the face frame yet do that now according to the cut list or the diagram below.
- Refer to the diagram below for pocket-hole placement.
- Use wood glue and 1 ¼” pocket screws to attach the face frame pieces as depicted.
Step 6: Attach the face frame to the beverage center box and plug pocket-holes
- Attach using wood glue and 1 ¼” pocket screws aligning the sides, top, and bottom. You can either lay the carcass on its back or clamp the face frame to the carcass while it is standing up.
- If you choose to plug the pocket-holes do that now. You will only need to plug the pocket-holes in the refrigerator compartment of the beverage center because the other pocket-holes won’t be visible within the drawer compartment.
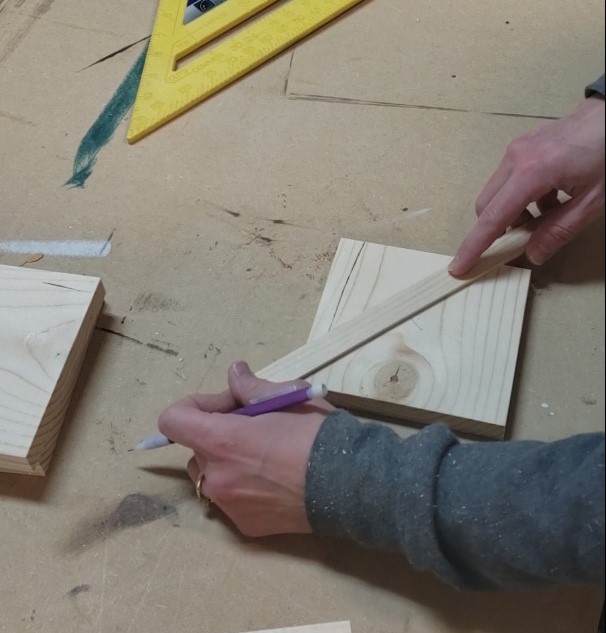
Step 7: Attach drawer slides
- I used eight 1 x 2 x 23” strips of plywood to create runners to attach the drawer slides to. To evenly space each runner vertically I use a couple of pieces of scrap cut to the same height. When the runner is spaced and level, attach it using glue and brad nails.
- Now attach your drawer slides to these runners keeping the front of the drawer slide just behind the face frame.
- This step can be done in a couple of ways and most people have their preference for installing drawers and drawer slides but this is my method.

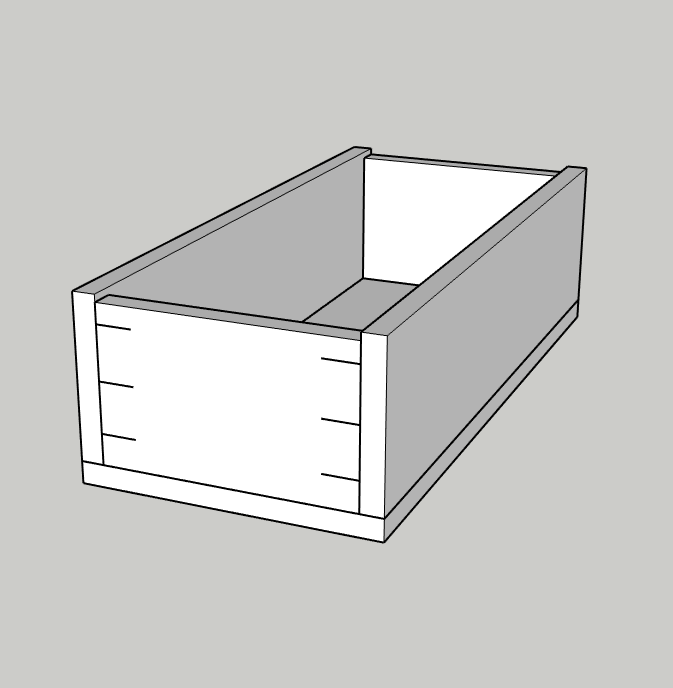
Step 8: Build the drawer boxes and apply drawer slides
- There are several different ways to build drawer boxes and you will need to decide on dimensions based on the drawer slides that you’ve chosen to use. I have provided a diagram for a simple method of building drawer boxes. (Or you can follow this tutorial for building drawers.)
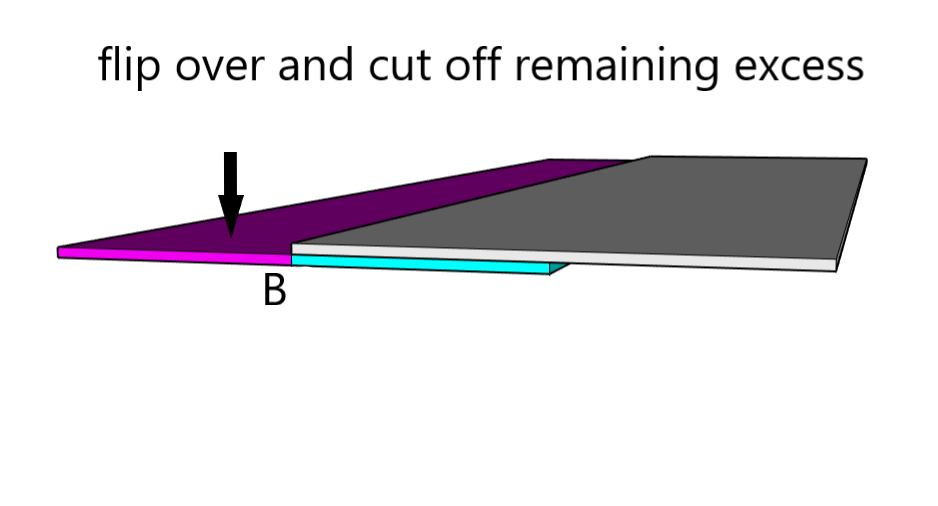
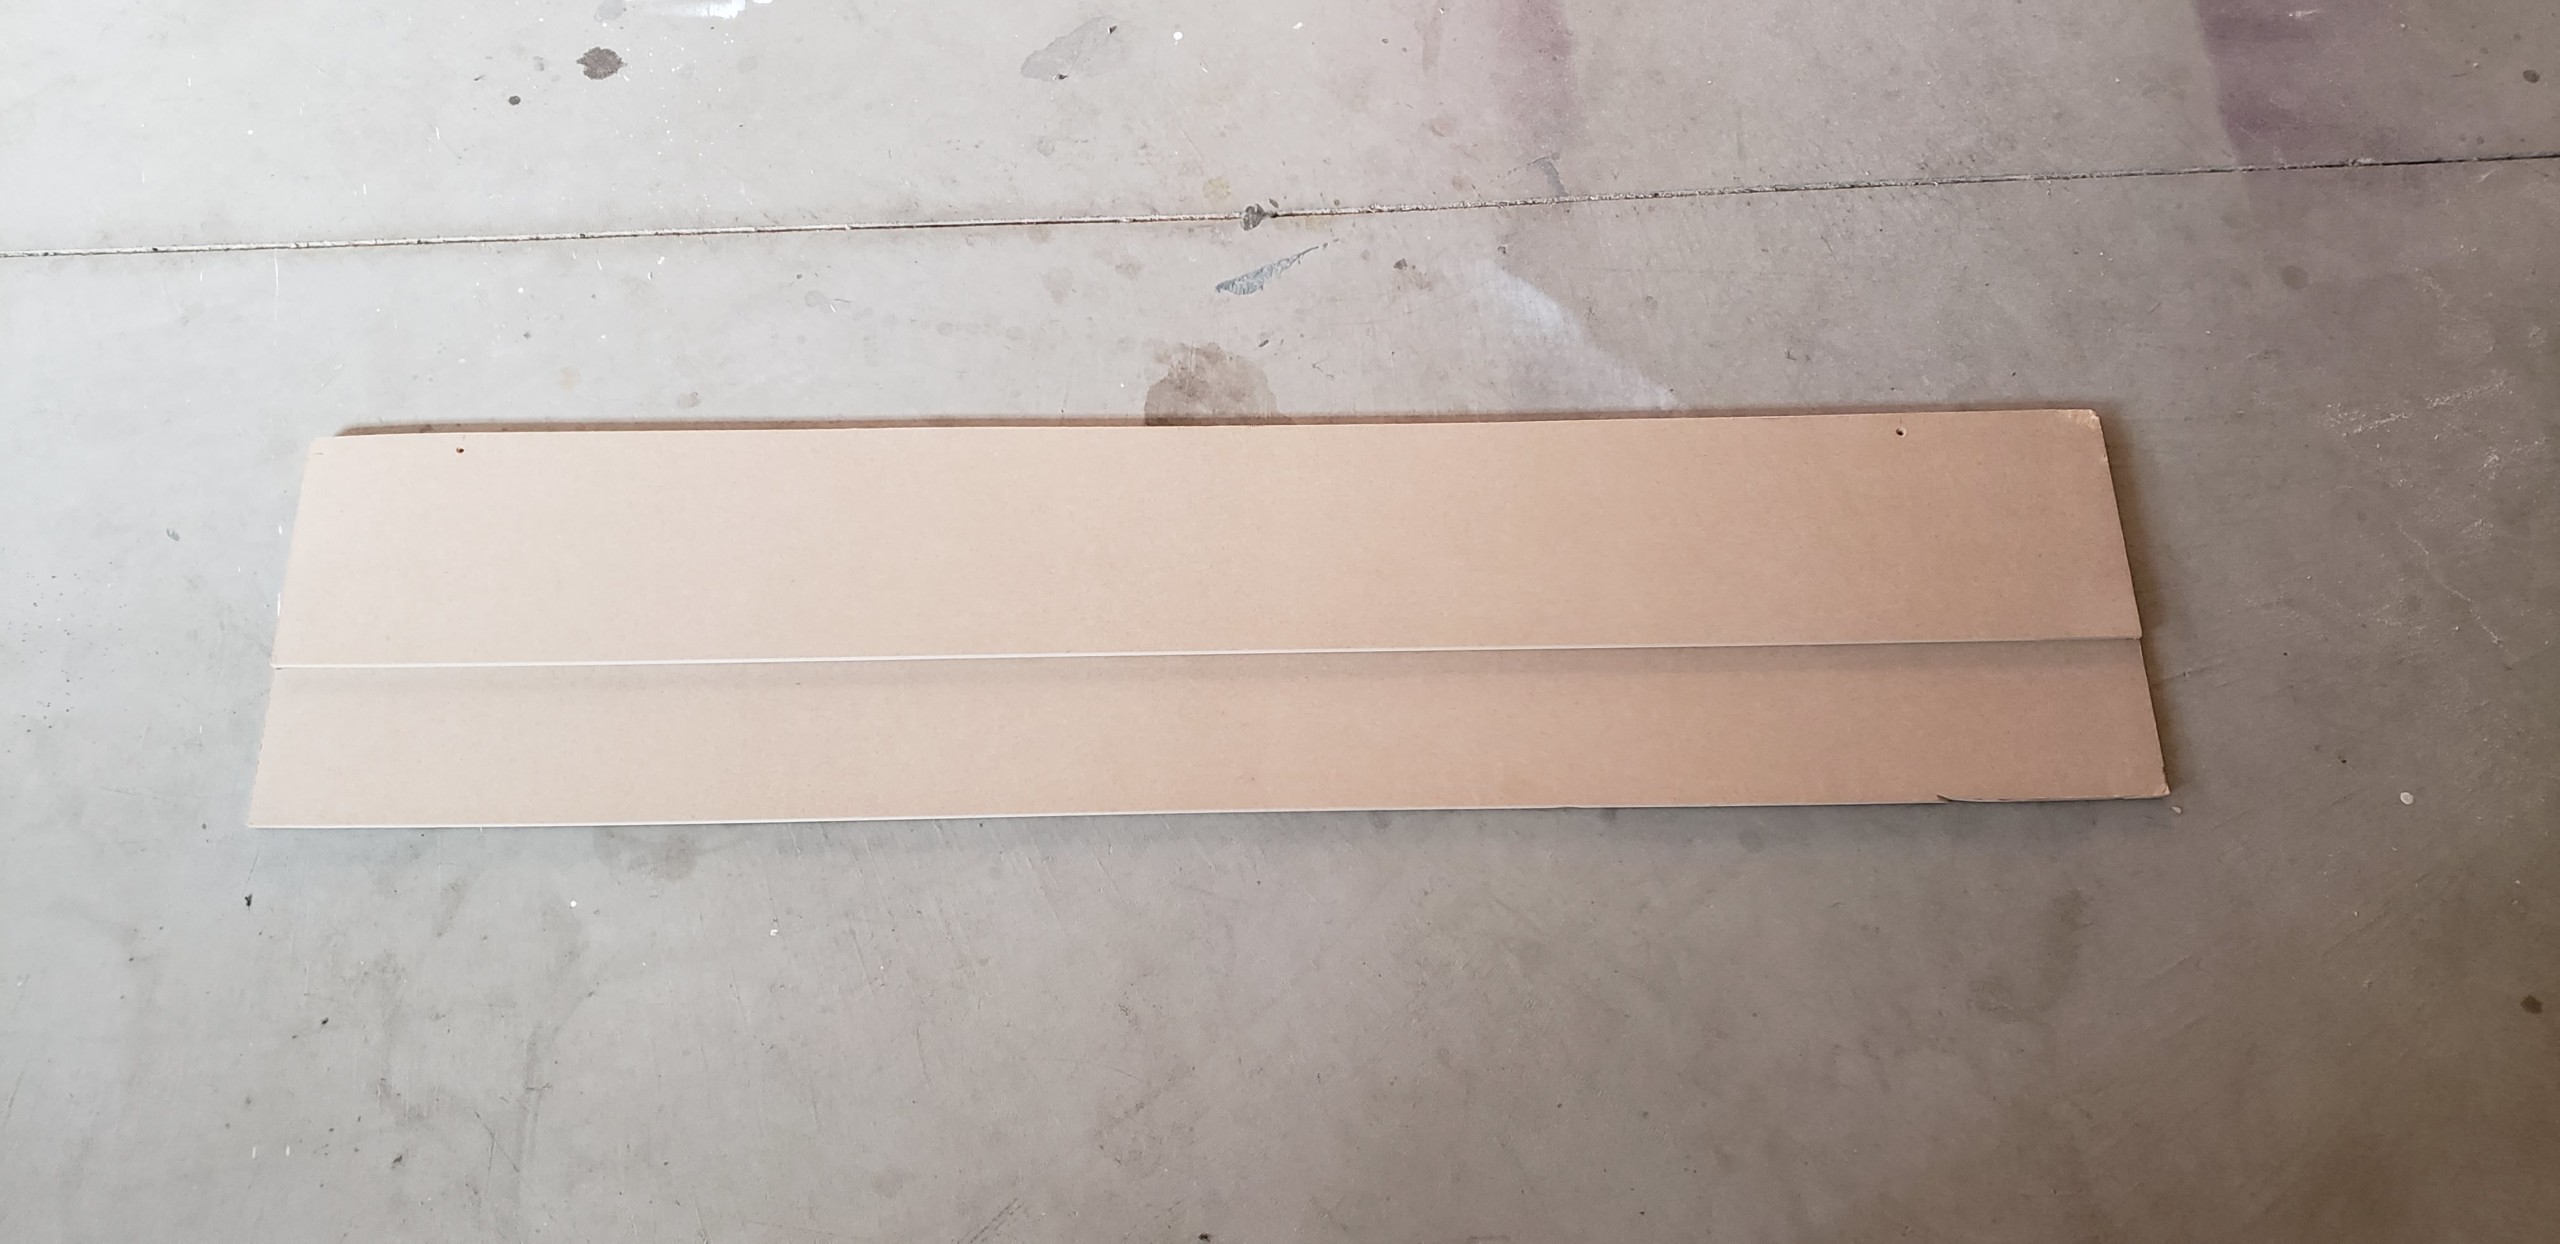
- If you choose to add edge banding to the top edge of your drawer boxes I recommend doing this after the box components are cut but before assembly to make the process easier. New to edge banding? Pop over to see a tutorial on finishing raw plywood edges.
- After the drawer boxes are built apply the drawer slides to the boxes and slide into place to check for fit. Make any necessary adjustments to make sure the drawer boxes are level and flush to the back of the face frame. You’ll want to make those adjustments now because it can be very difficult to do after the drawer faces are attached. I have learned this the hard way.
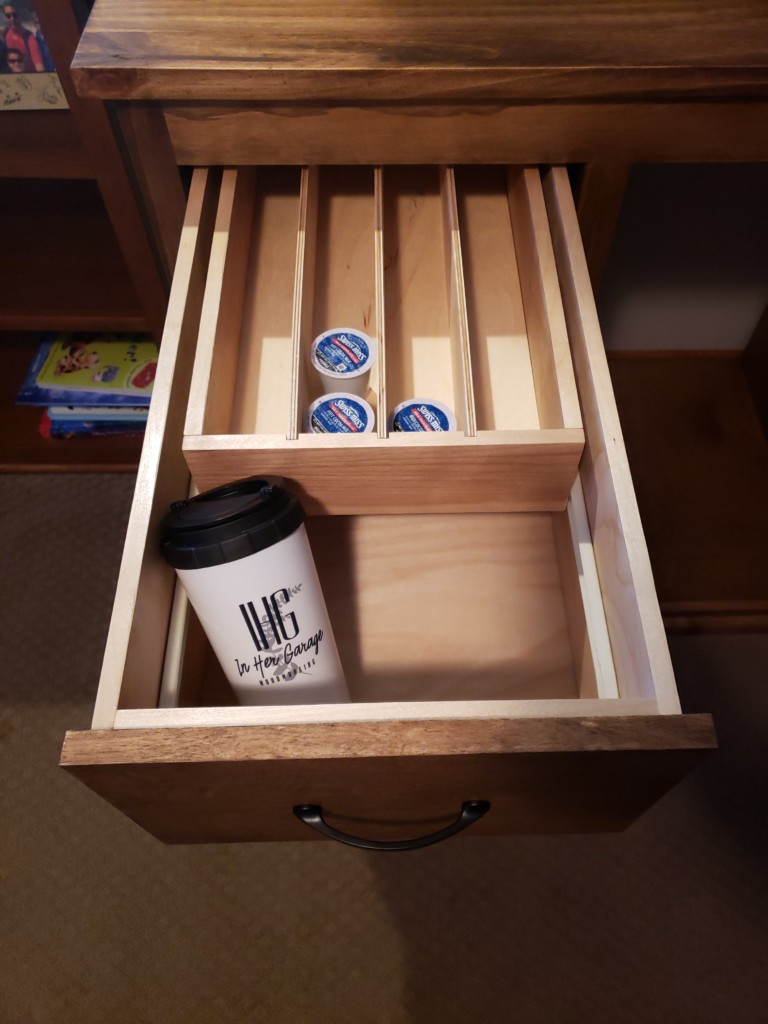
- EXTRA! One great addition to the beverage center is to add a DIY Drawer in a Drawer to keep small items such as corkscrews, bottle openers, K-cups, and wine corks organized. Check out my tutorial for how to build this because now would be the perfect time to incorporate it into the beverage center.
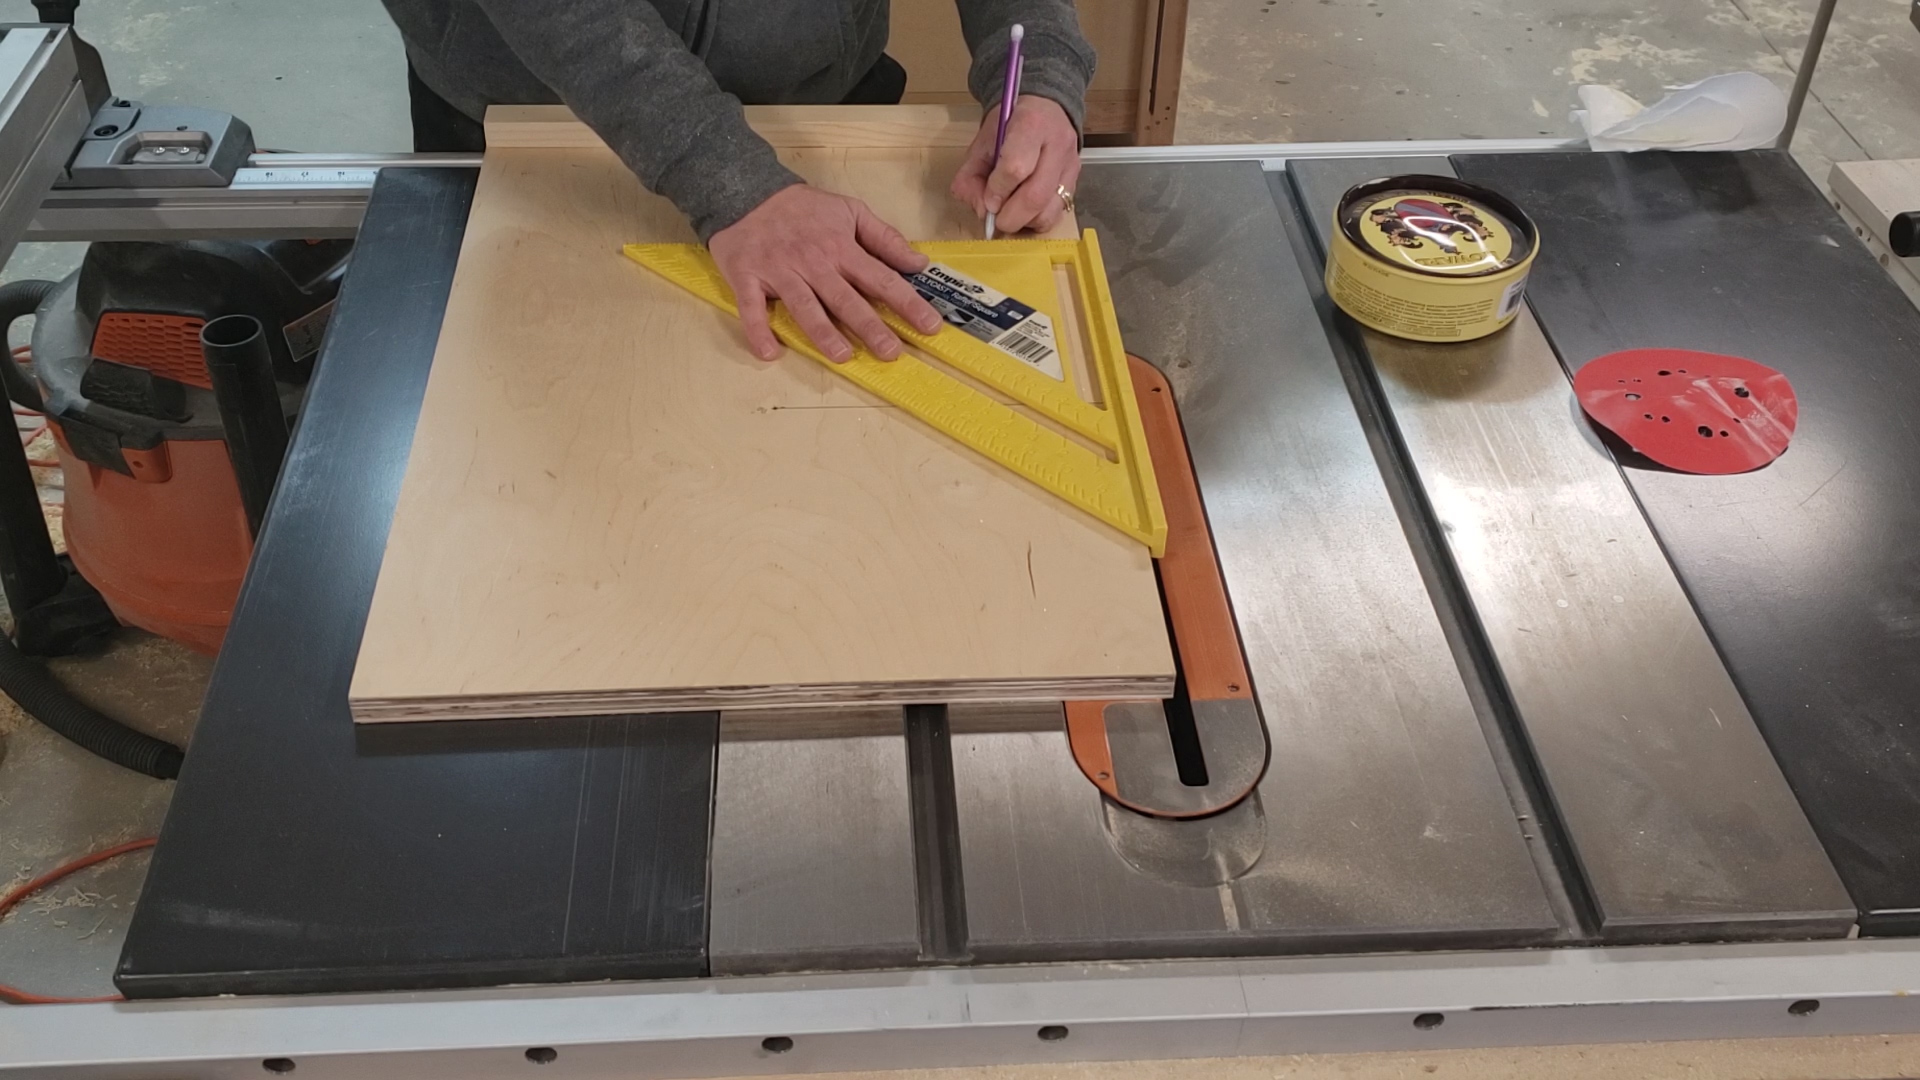
Step 9: Cut the drawer faces and beverage center top
- Using the remaining plywood cut out the beverage center top, and drawer faces. You WILL need to edge band these pieces to hide the unsightly edge!
- Cut the top to overhang the base by 1/2″ on either side and the front.
- The drawer faces should be cut to fit within the face frame and cover each drawer box with a 1/16″ gap around each drawer face. A tip is to use playing cards or nickels to get even spacing.
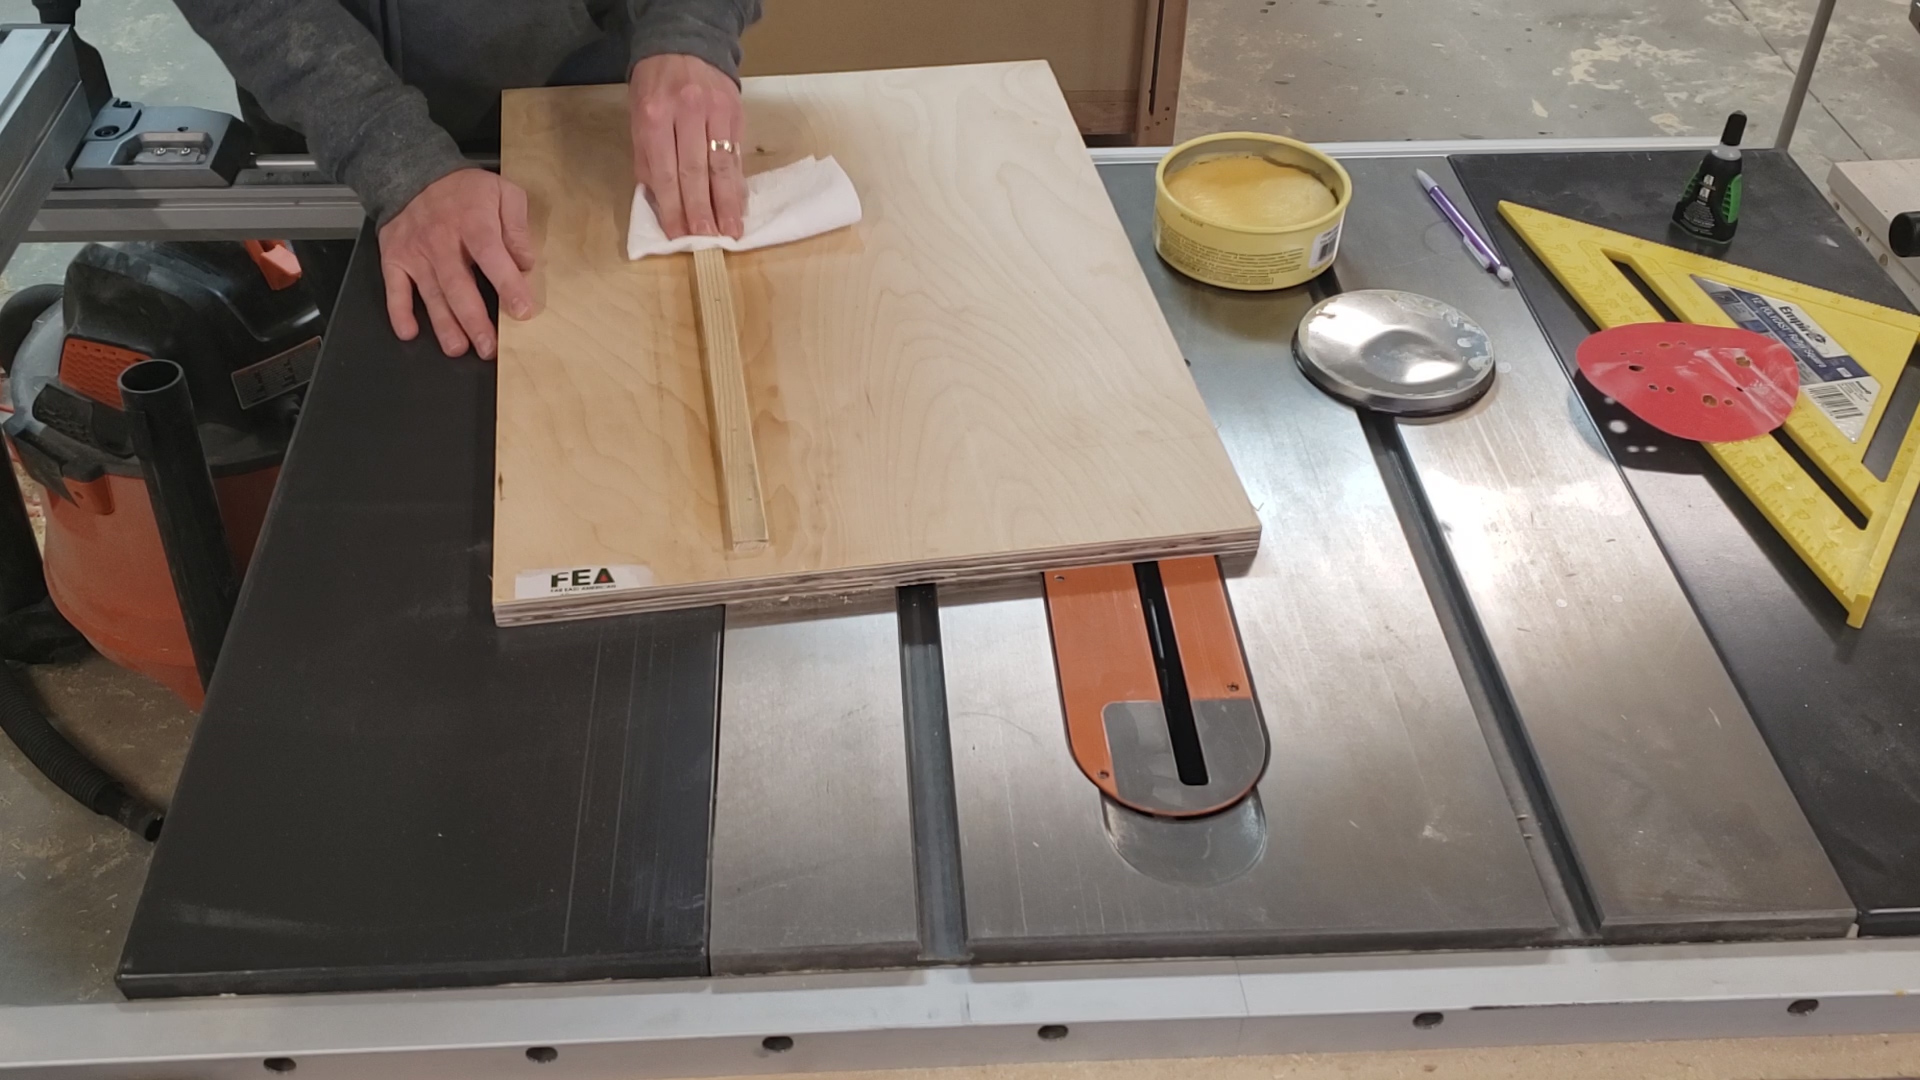
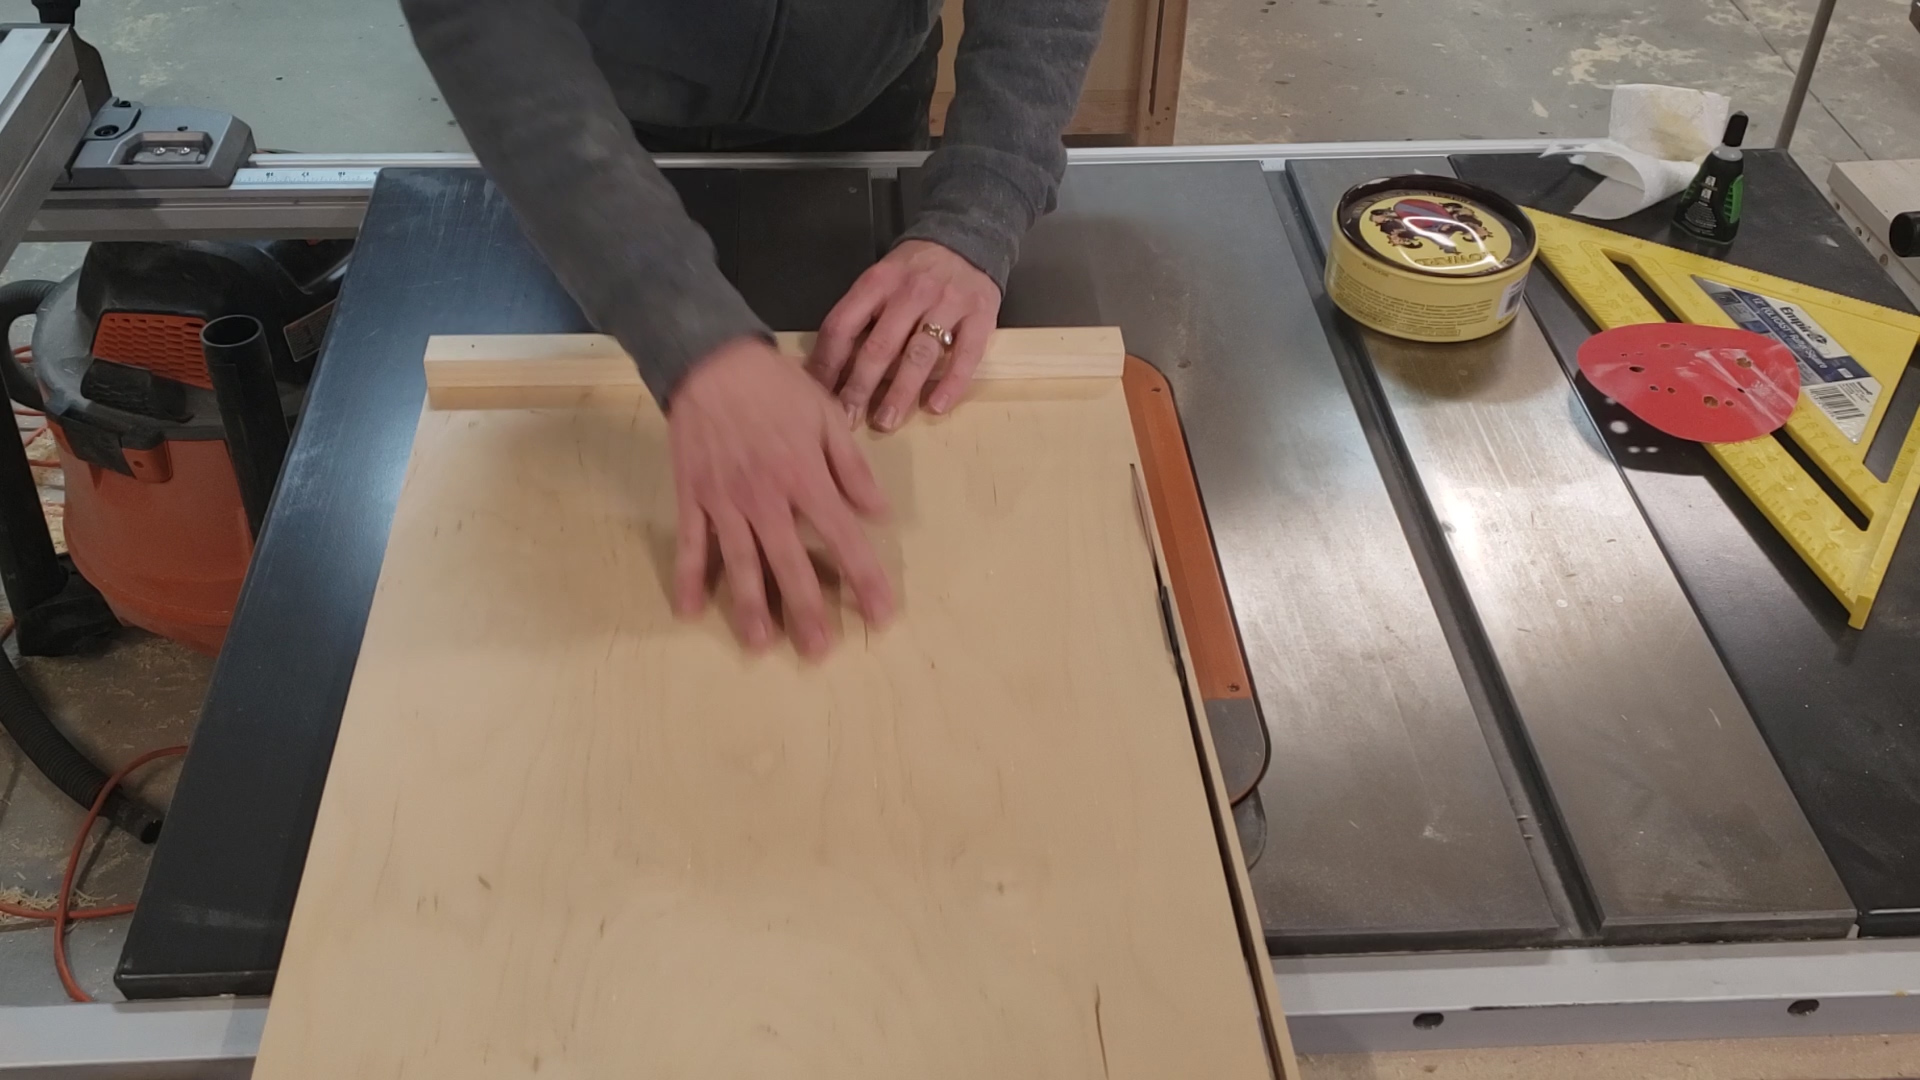
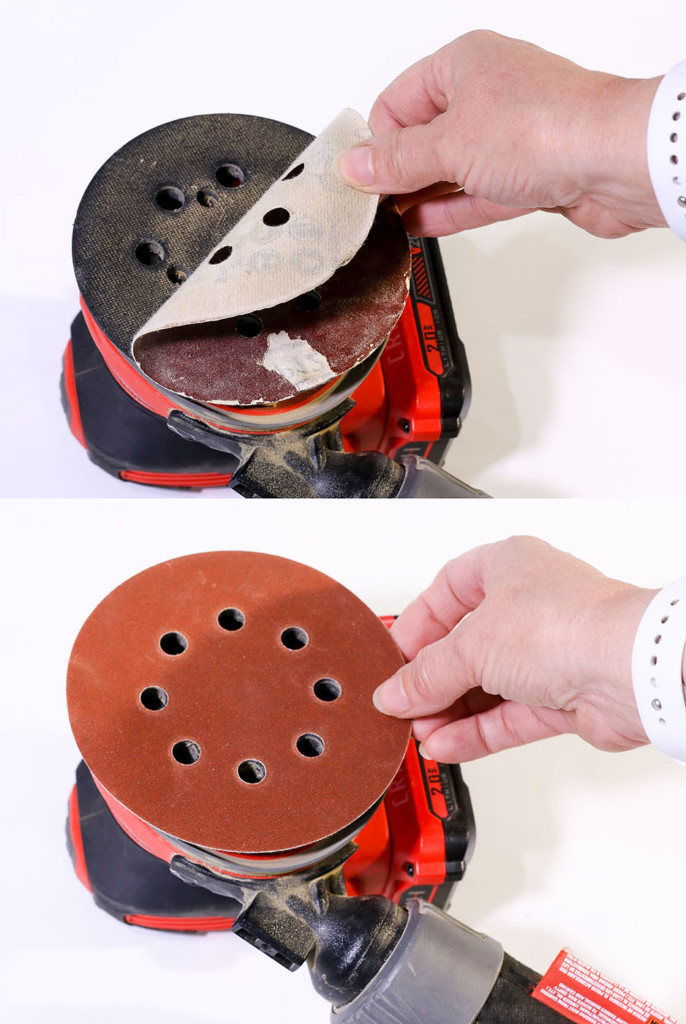
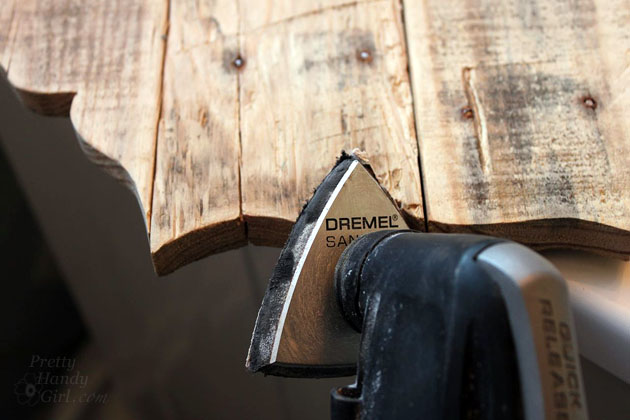
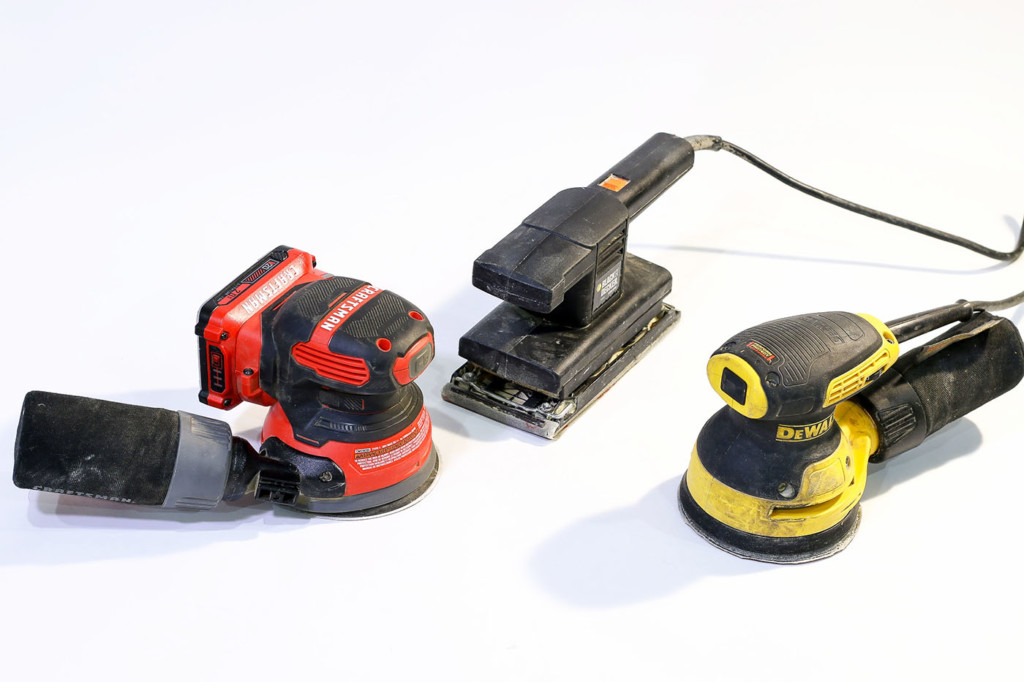
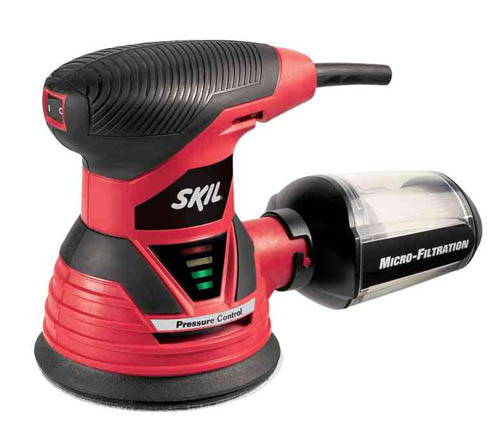
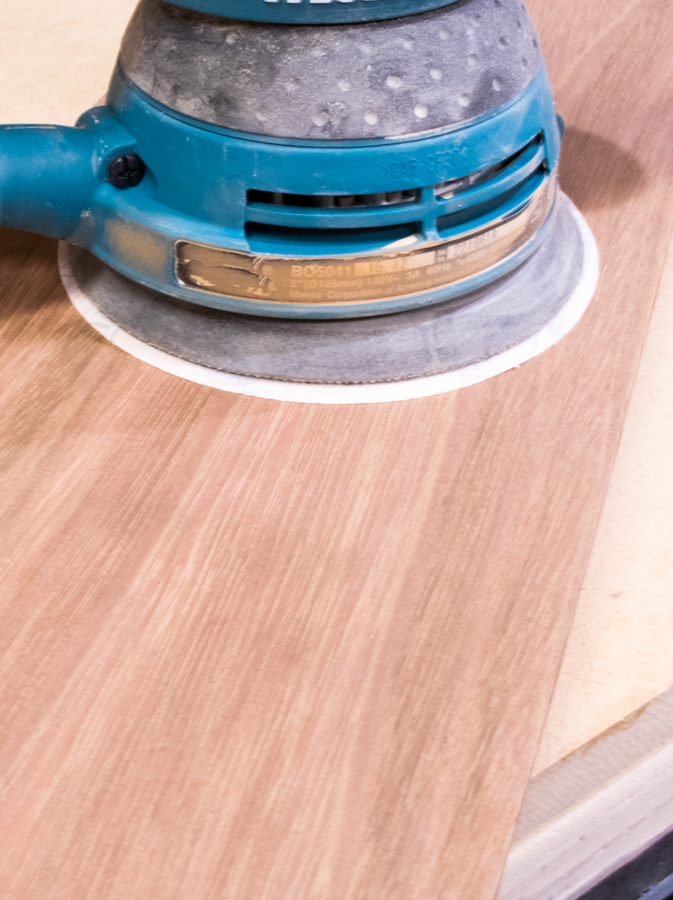
Step 10: Finishing
- You’ve gotten as far as you possibly can without putting it all together which means it’s time to sand everything smooth and apply the finish you’ve chosen.
- Remember, if you are staining then you should be using a pre-stain wood conditioner which will help the plywood absorb the stain evenly and prevent blotchy discolorations.
- Apply a protective topcoat. A wipe-on polyurethane (over oil-base stain) or polycrylic (over water-based paint) is a great choice for this build.
Step 11: Attach drawer faces and drawer hardware
- Start by removing all drawer boxes except the bottom and then work your way up.
- Use your playing cards or nickels to help you evenly space the drawer face with the face frame, then pre-drill 2 holes from the inside of the drawer box out into the drawer face.
- Next, use two 1 ¼” screws to attach each drawer face to the drawer box.
- Once all drawer faces are attached, you can install your drawer pulls according to the manufacturer’s directions.
- Finally, cut the 1/8″ backer board to size to cover the back of the drawer compartment and attach it with brad nails.

Step 12: Attach the top
- Using the figure-eight fasteners and matching size Forstner bit attach two figure-eight fasteners to each side and the center divider. If you’re unsure how to attach figure-eight fasteners here is a quick video to help you out:
Note: This is a very heavy piece of furniture and should not be moved by lifting from the top. Always lift from the sides or bottom.
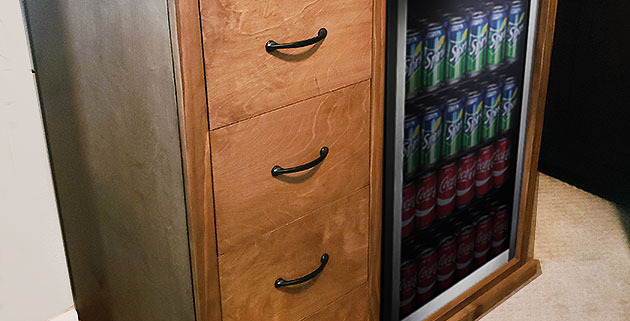
Step 13: Install the mini-fridge!
- Once the beverage center has been carried to where it will be placed in your home slide the mini-refrigerator into place and fill it with your favorite beverages. I already know what mine would be! 😉
Great job!! This is going to be such a cool piece to have in your home and you’ll enjoy the extra space in your kitchen refrigerator.
![]()

Check out my latest blog post about building a DIY Folding Craft/Sewing Table! This table is large enough for any craft project but folds down when you don’t need it. Perfect for anyone with a small space but large crafting ambitions!
Hi! I’m Kristen, from In Her Garage, and I am a self-taught woodworker and DIY fanatic from Minnesota where I live with my husband and our two daughters. Between being a wife, mom, and registered nurse, I try to make as much time for DIY as possible. My love for building came after our family built our current home in 2015. After we moved in, we needed furniture, and instead of spending massive amounts of money to order the items we wanted I decided that I would build them myself. I started with a buffet table plan from the fabulous Ana-white and quickly set out to remodel my entire home office.
Since then I have started a side business building furniture for the people in my community. I love hearing my clients talk about the pieces they wish they had whether it be a rustic buffet table, a one drawer side table, or a toy box and then making it a reality for them. While starting my small business it made perfect sense that I would document my building journey so I simultaneously launched the In Her Garage blog and I love sharing my plans, tips, and tricks.
I am so glad that you found me here and please feel free to connect with me on Pinterest, Instagram, and Facebook to see what I am working on right now.
 DIY Track Saw Jig for your Circular Saw