
Have you ever needed to know How to Replace a Sink Drain? Or maybe in the past you hired a plumber. Well, I’m here today to tell you that it’s not a hard project and I know you can do it!
I think the plumbing Gods smiled down on me recently. After the little leak that turned into a major kitchen renovation, finding this crack in the drain pipe saved us from another costly leak.
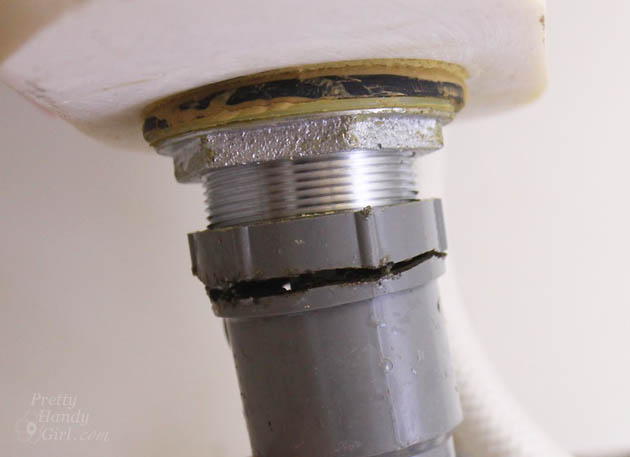
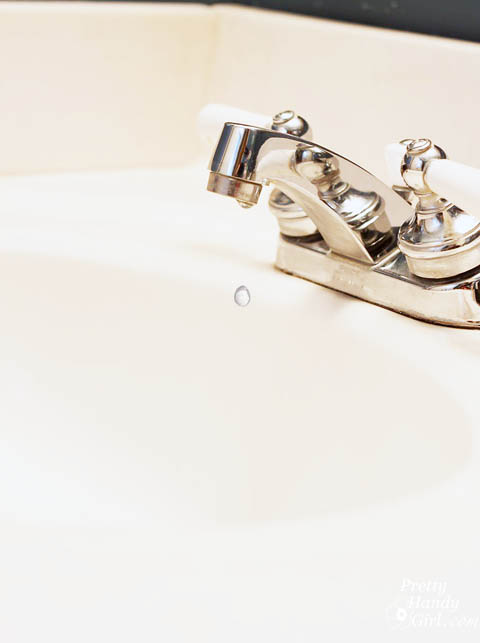
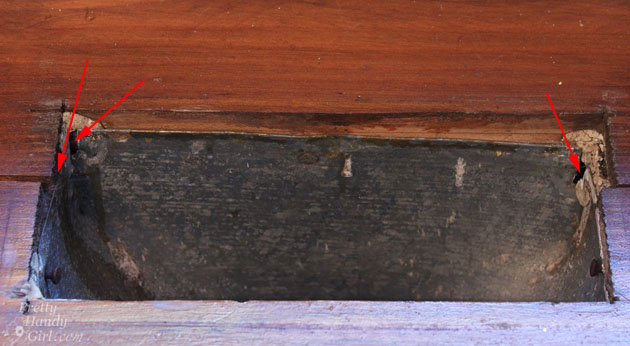
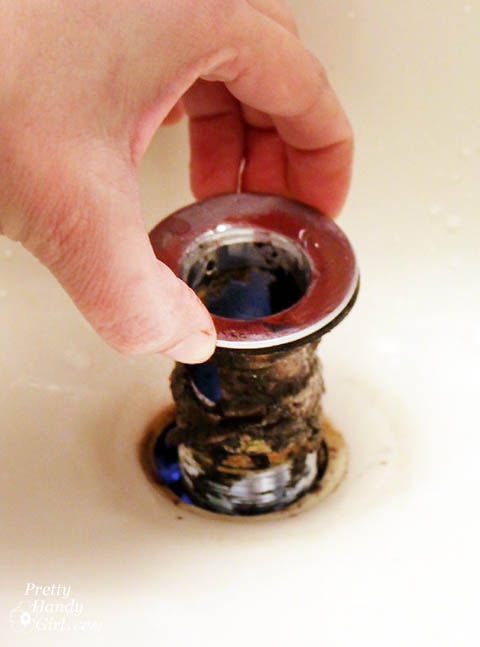
I don’t normally inspect the drain pipes on our sinks, but I just happen to be looking for something under my sons’ sink when I noticed the crack on the drain pipe. Remarkably, there were no drips in the vanity. Before I could grab a new drain assembly, I gently hinted to the family that they might want to use another sink in the house. (I’m subtle, aren’t I.)
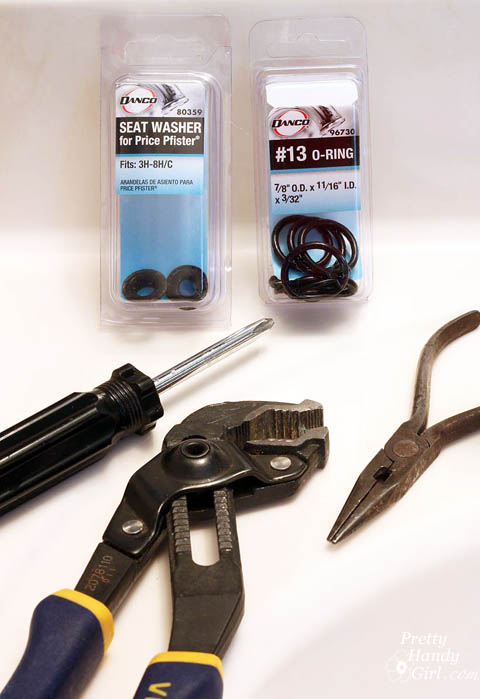
Replacing a Sink Drain Materials:
(contains affiliate links)
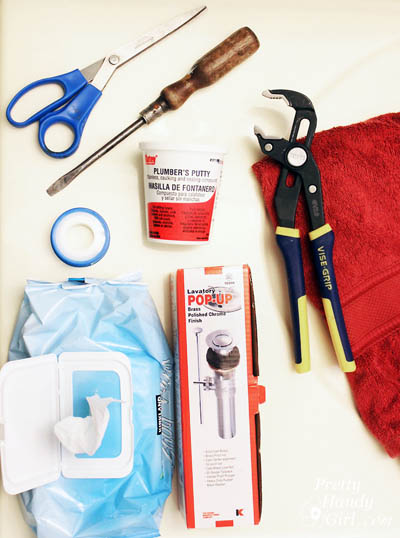
- Sink Drain Assembly
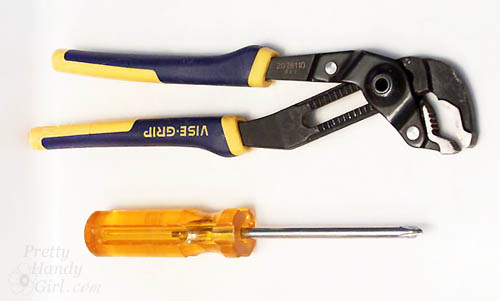
- Plumbing pliers
- Flat head screwdriver
(only necessary if you need more torque to get the old drain out) - Plumber’s teflon tape
- Plumber’s Putty
(some drain assemblies require this around the flange)
- Basin
- Towel
- Scissor
- Wet wipes
Replacing a Sink Drain Instructions:
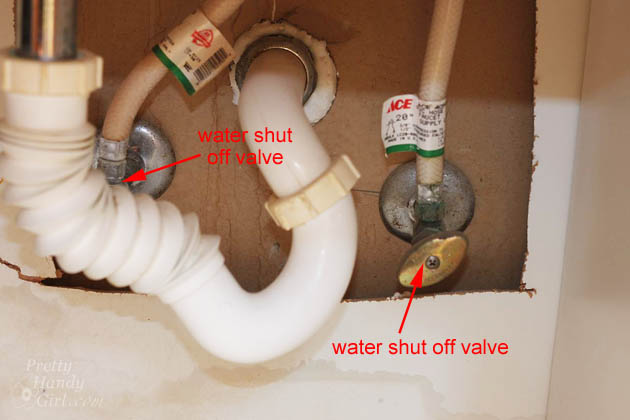
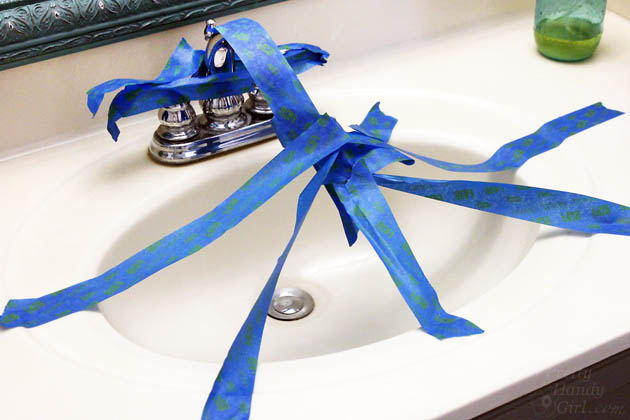
Lay out a towel under your sink to catch any drips and to cushion your work area.
Reach behind your drain and unscrew the cap around the pop-up ball and rod. Remove them from the drain. (FYI, if you ever have a broken pop-up, you can fix your pop-up stopper with this tutorial.)

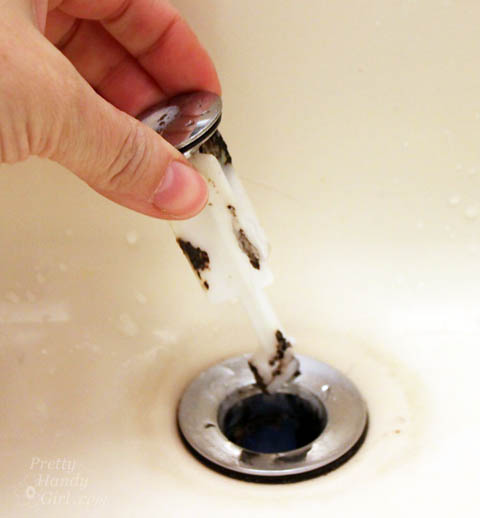
Remove the stopper from the drain.
Look under the sink and locate the P-trap. Loosen the slip nuts from the p-trap near the wall and on the drain. (For more details, you can see this tutorial for removing the p-trap.)
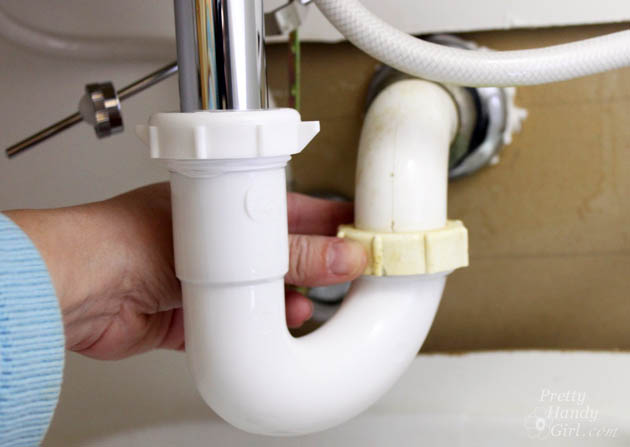
Pull the P-Trap down to release it from the drain. Dump any excess water and gunk into a basin.
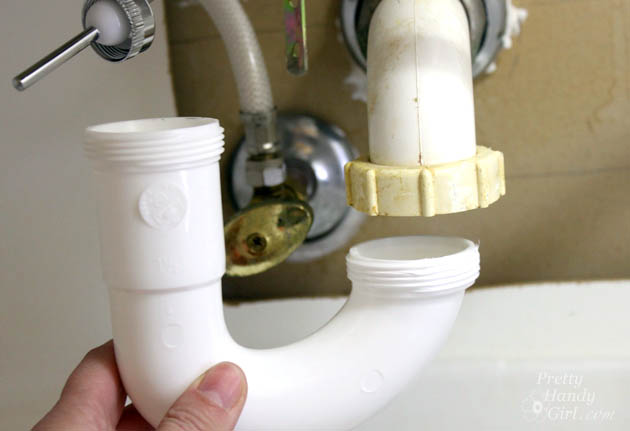
The tailpiece on my drain assembly was plastic and just crumbled in my hand (that’s why it looks like I skipped ahead.)
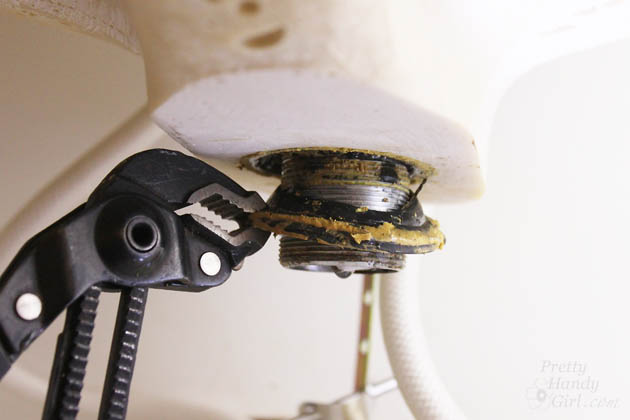
Use your pliers to loosen the nut on the drain and remove it. If the nut is stuck, spray a little WD-40 on it and wait about 10-15 minutes.
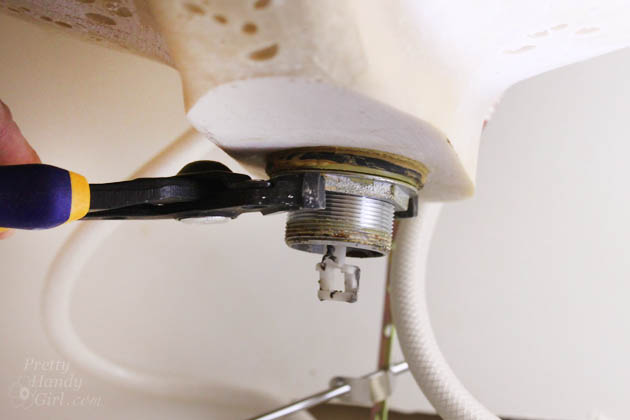
Pull the rubber gasket from the bottom of the drain.
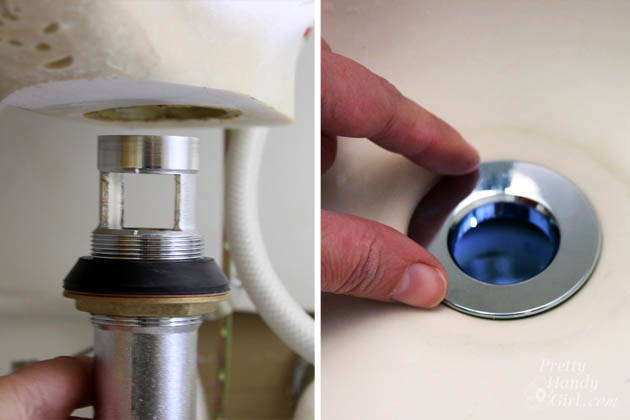
Reach on top into the sink and lift up the drain flange.
Preparing the new drain:
Remove the new drain assembly from the package.
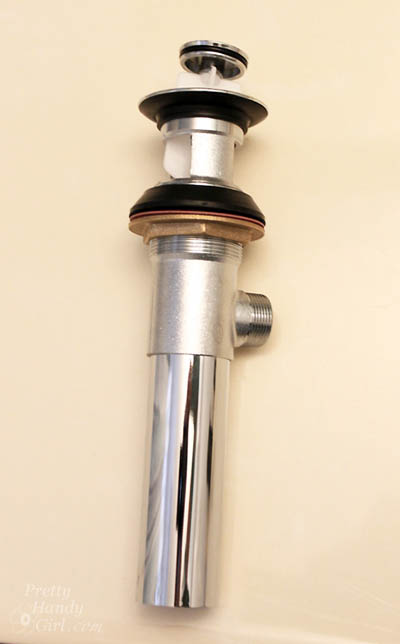
Apply teflon tape to every threaded section of the drain assembly: Read more