thumbprint pillow tutorial

Envelope pillows are the easiest pillow covers to sew. Combine a beautiful pillow with a personalized thumbprint design and you have a great gift idea for parents or grandparents!
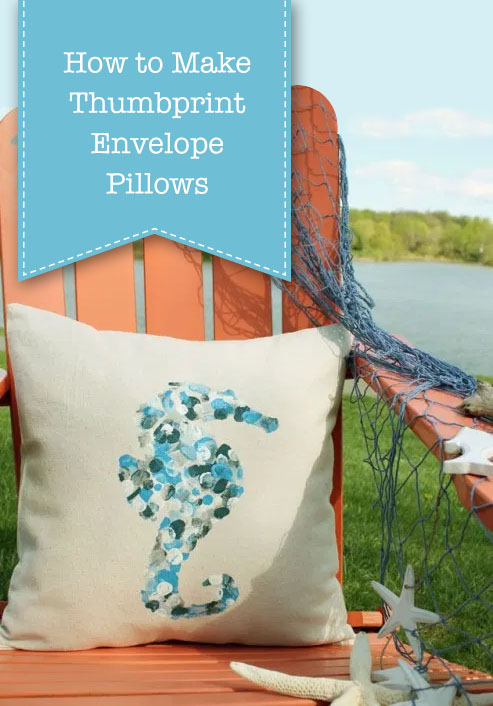
How to Make Thumbprint Design Pillows

How to Make Thumbprint Design Envelope Pillows

Hello, it’s Cristina from Remodelando la Casa once again happy to share an easy and fun project where kids are more than welcome to give a helping “thumb” 🙂
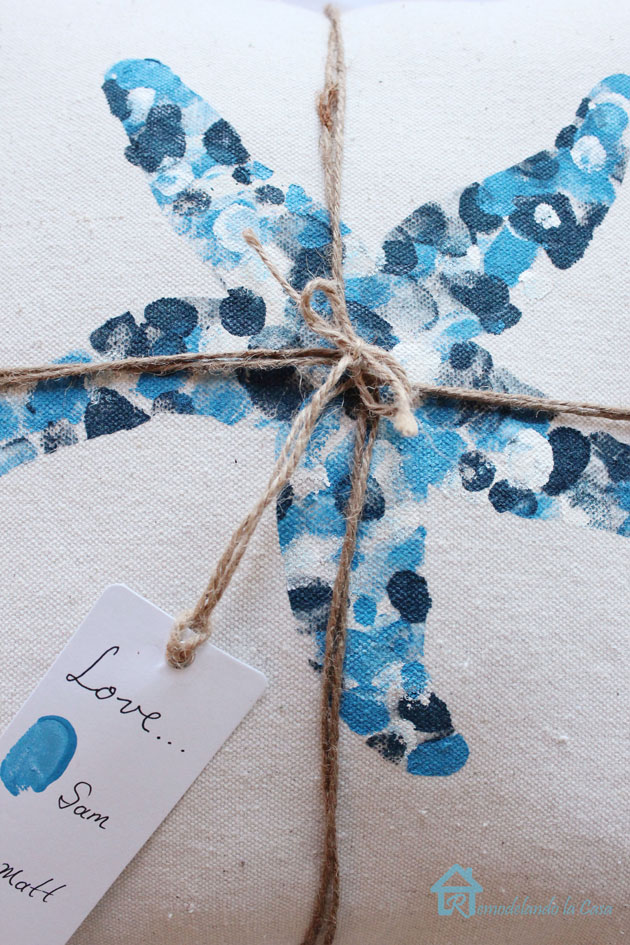
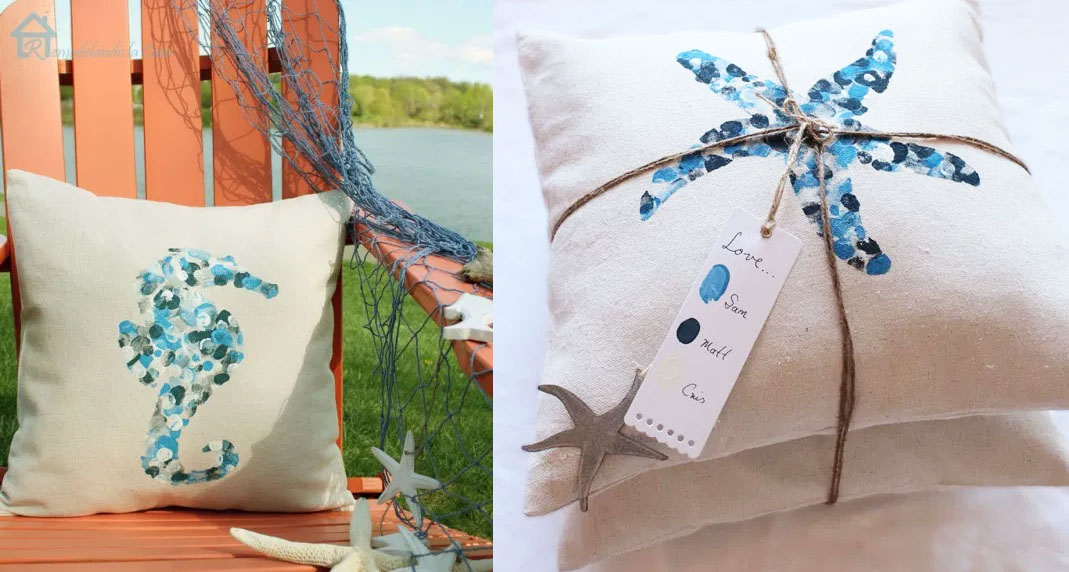
Thumbprint starfish pillow2 with tag

Envelope pillows are the easiest pillow covers I’ve sewn and let me tell you, my sewing skills are not that good.  A fabric rectangle is folded to create an “envelope”, four simple straight lines to sew and your cover is done! No zippers, no Velcro, the envelope holds the pillow really well.

Materials:

(I’ve included affiliate links for your convenience. I earn a small percentage from a purchase using these links. There is no additional cost to you. You can read more about affiliate links here.)

*Pre-wash and iron the fabric

Instructions:

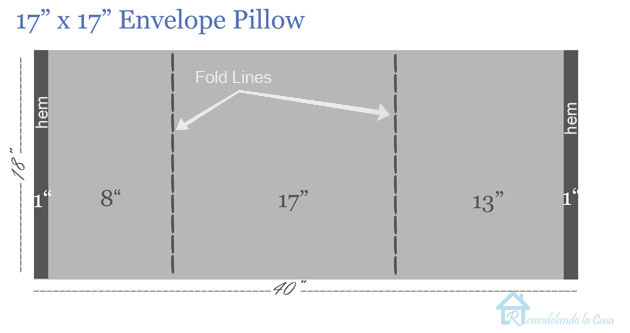
For a 17″ x 17″ pillow insert, use the following dimensions.

Envelope pillow 17x17

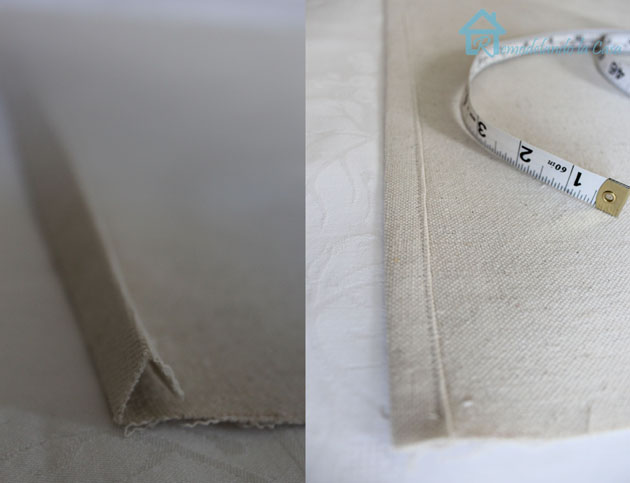
Once the fabric is cut to size (18″x 40″), hem the left and right edges.  (Fold  in ½”  twice, as seen in the picture below.  Iron it flat and hem.)  Do the same on the other side.

envelope pillow side hems

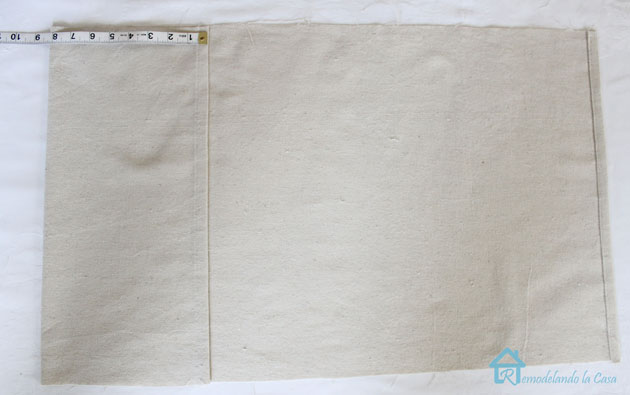
To create the opening on the back, fold the left side over and iron.

Envelo pillow first fold

Do the same on the other side.  These folded lines are a good visual point to help you center the design on the front face of the pillow later on.

envelope pillow second fold

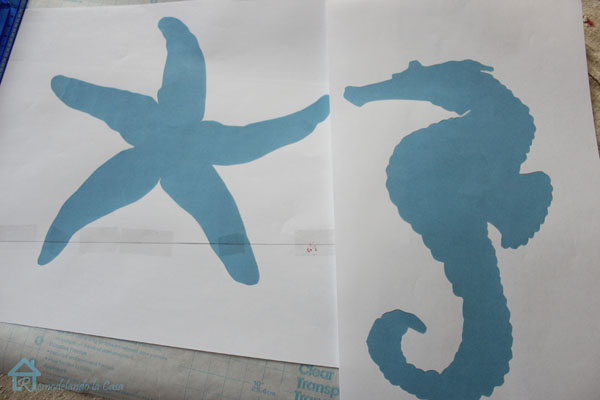
Before sewing across the top and bottom of the cover, let’s work on the design (the fun part!)  Print the starfish and seahorse silhouettes. (for these pillows print at 120%.)

starfish and seahorse silhouttes

Place each design on top of a big piece of contact paper, tape it in place.

starfish profile

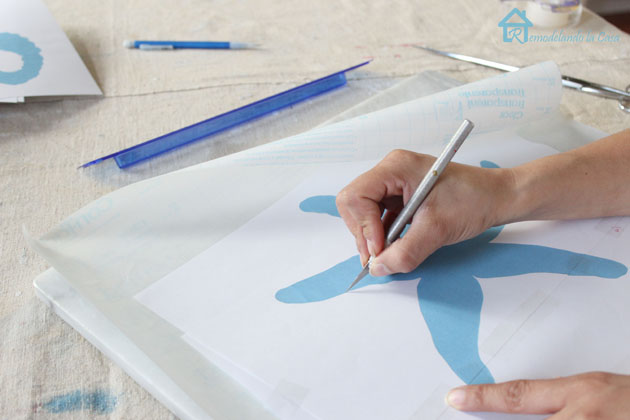
Using the x-acto knife, cut through the printout and the contact paper following the outline of the silhouette.

cutting starfish profile out

After cutting, peel off the outer piece of contact paper and center the design on your pillow cover.  Press the contact paper firmly all around the design to prevent paint from seeping through.

contact paper silhouete on fabric

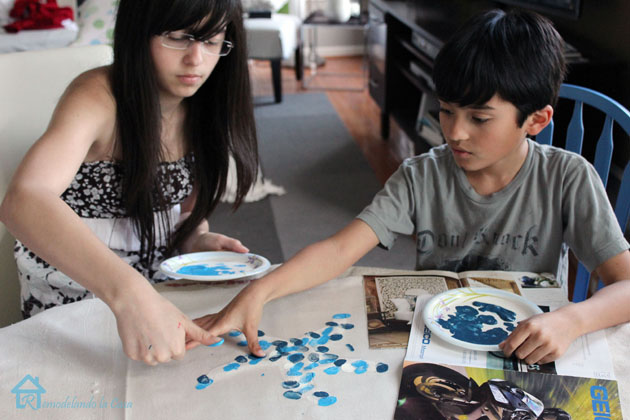
Now it’s time to call all those little artists and give them each a set of fabric paint.

kids thumbpainting

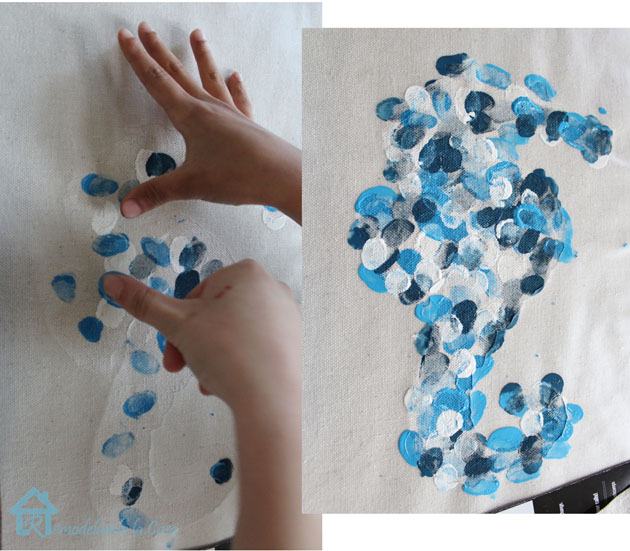
The thumb-printing / painting can begin…

thumb painting

…until the shapes are filled.

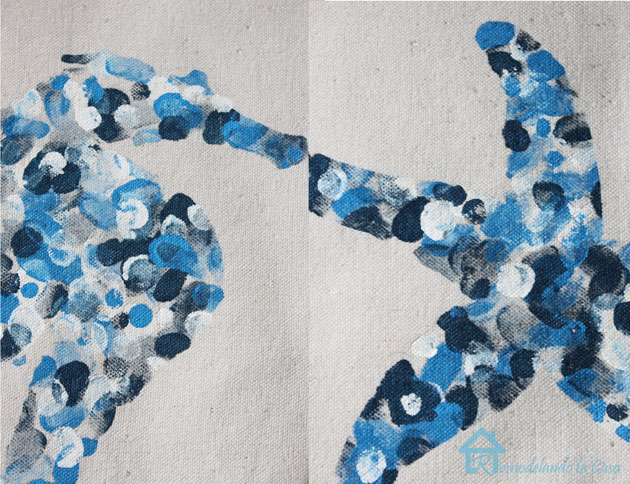
thumbprint starfish and seahorse

Let it dry according to the paint manufacturer’s instructions.  After the paint dries you can sew across the top and bottom, making sure the designs are on the inside.
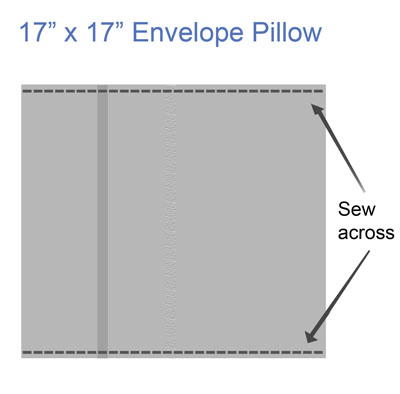
sawing across envelope pillowIf desired, wash and iron the pillow covers. Insert your pillow form.

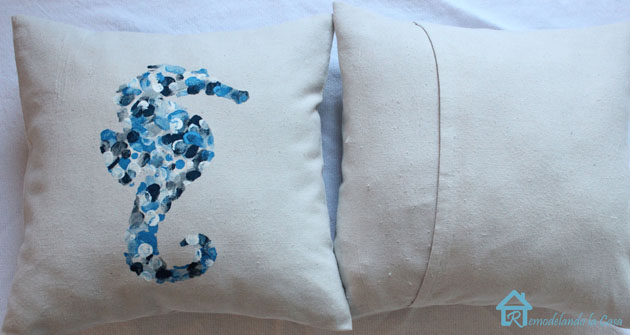
Thumbprint seahorse pillow front and back

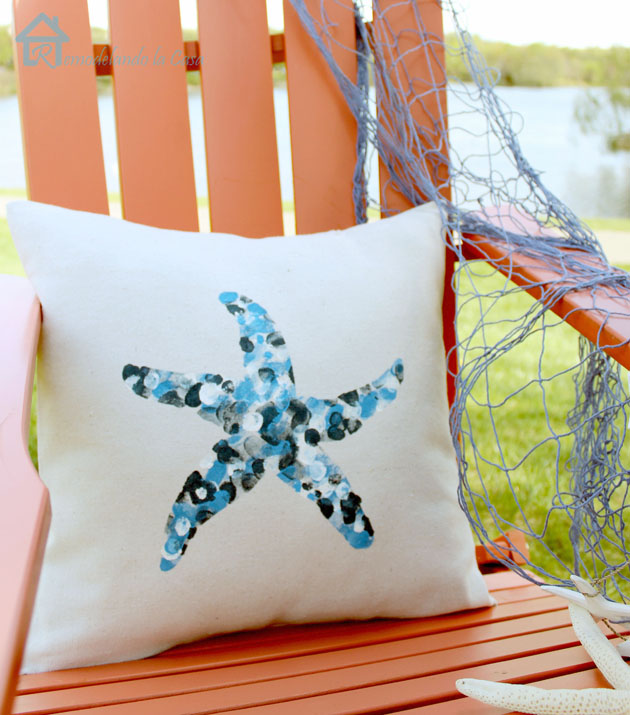
Place it on your favorite chair and enjoy!

Thumbprint starfish pillow1

Our pillows are a present for a special person close to our hearts.

Thumbprint pillows with tag-2

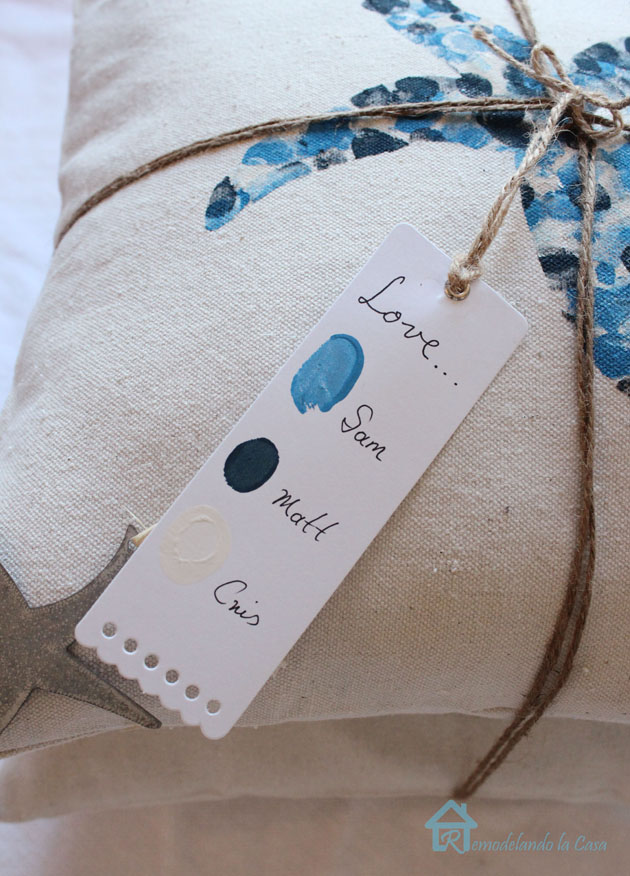
Of course, the artists had to sign it, or thumbprint it! Well, we did both!

Thumbprint pillows with tag

Are you ready to give the thumb printing a try?  Kids love it!  Hint, hint… this could be a nice project for Father’s Day (or Mother’s Day).

Photobucket

  ~ Learn more about Cristina ~

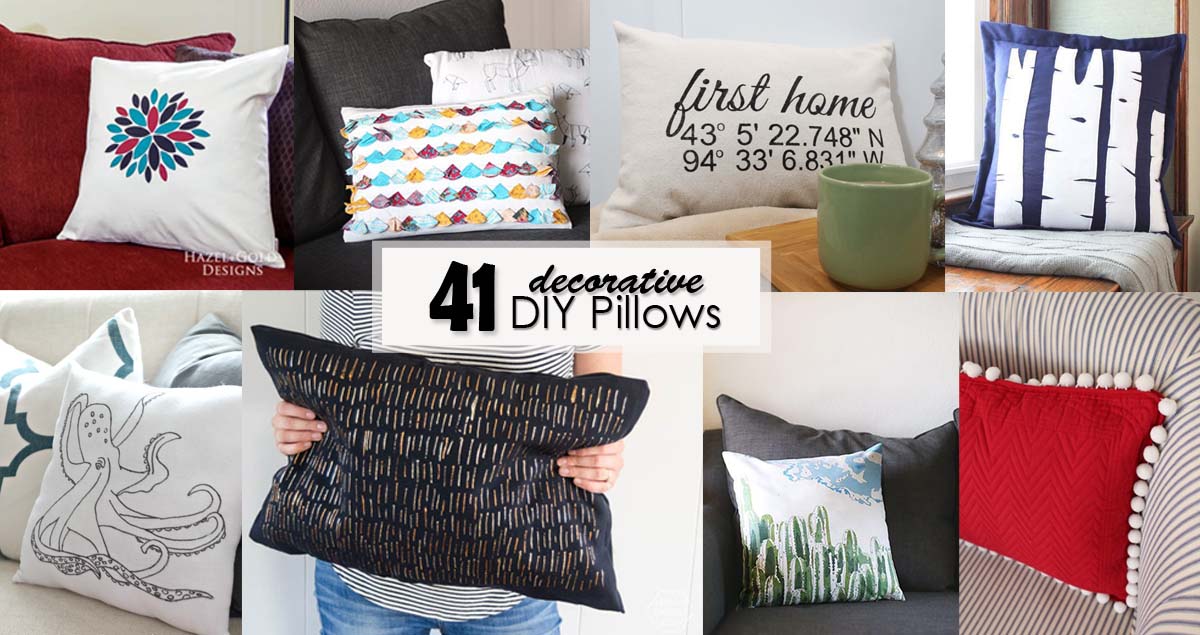
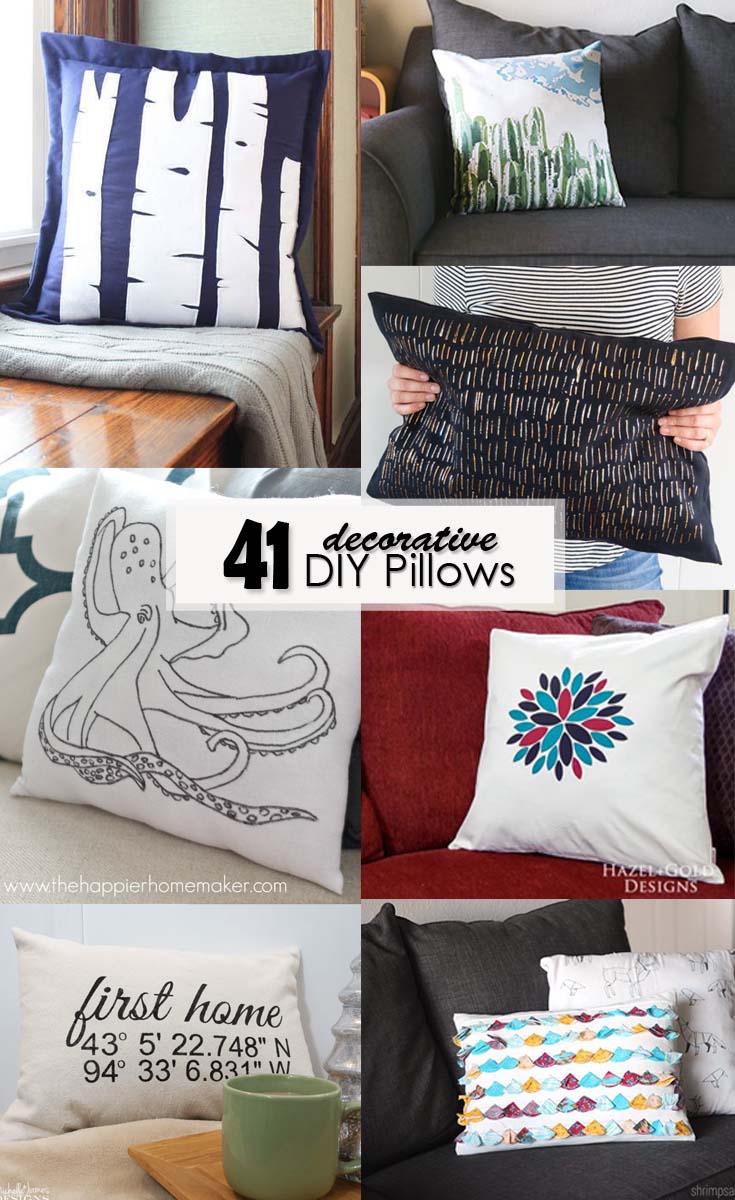
41 decorative DIY pillows - Social Media Image

41 decorative DIY pillows - Social Media Image41 Decorative DIY Pillows

If you are looking for a quick and easy way to update any room in your house, change out your pillows! Pillows are easy to add, move, re-cover, or take to another room. They are used for adding texture, pattern, and warmth to your space (and let’s not forget comfort). Here are 41 Decorative DIY Pillows that will inspire you to make some beautiful pillows for your home.

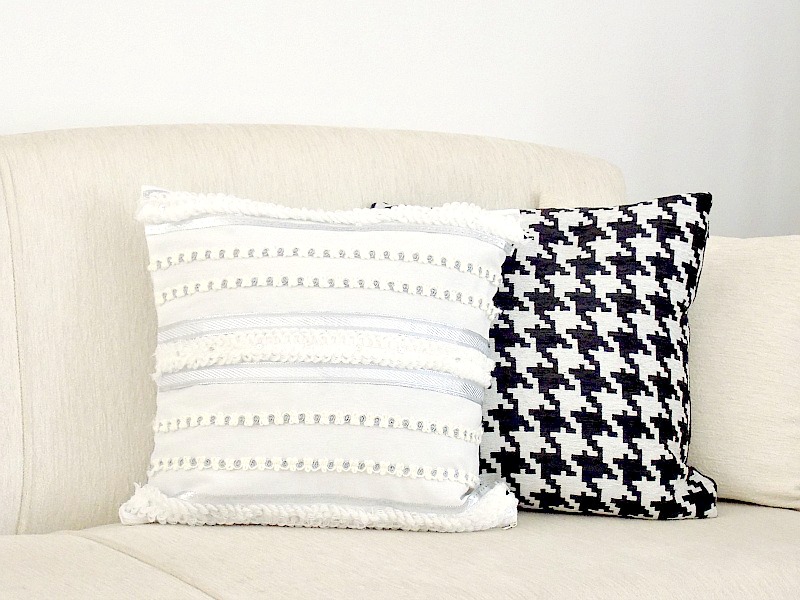
Create beautiful textured DIY Moroccan Wedding Pillows  for any room in your home.

Repurpose skirt into rectangular pillowRepurpose a skirt into a pretty rectangular pillow with bold pattern and texture.
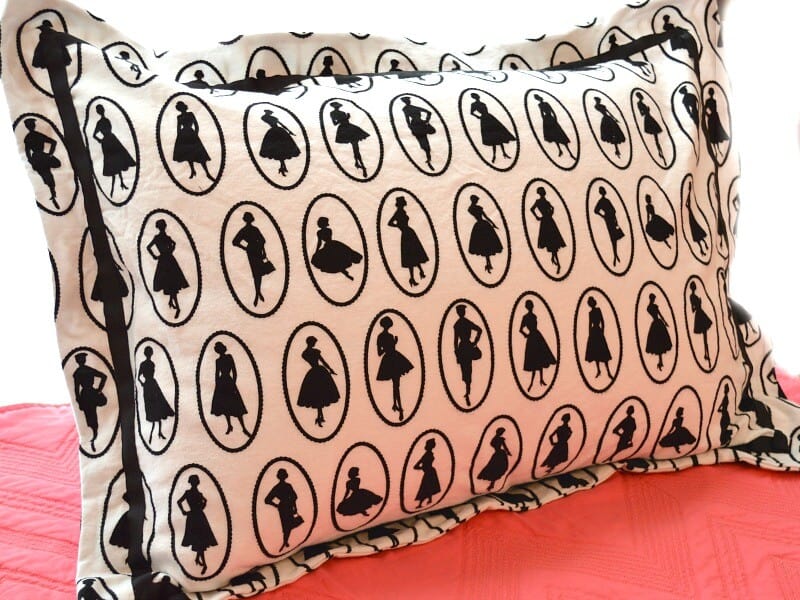
pillow sham free pattern by organized 31Check out this Free Pillow Sham Pattern to create decorative pillows for your bedroom.

10-minute bandana pillow covers by heatherednestMake a quick 10-minute Dollar Store Bandana Pillow Cover.

Recycle a Shirt to create these plaid pillow covers by heathered nestRecycle old dress shirts to create these Plaid Pillow Covers and add some patterns to your decor.

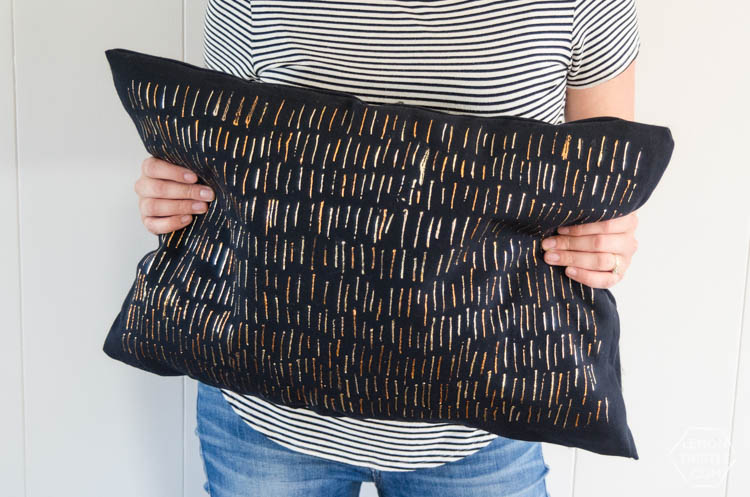
no sew metallic pillow by lemon thistleMake this gorgeous, modern no-sew metallic foil pillow.

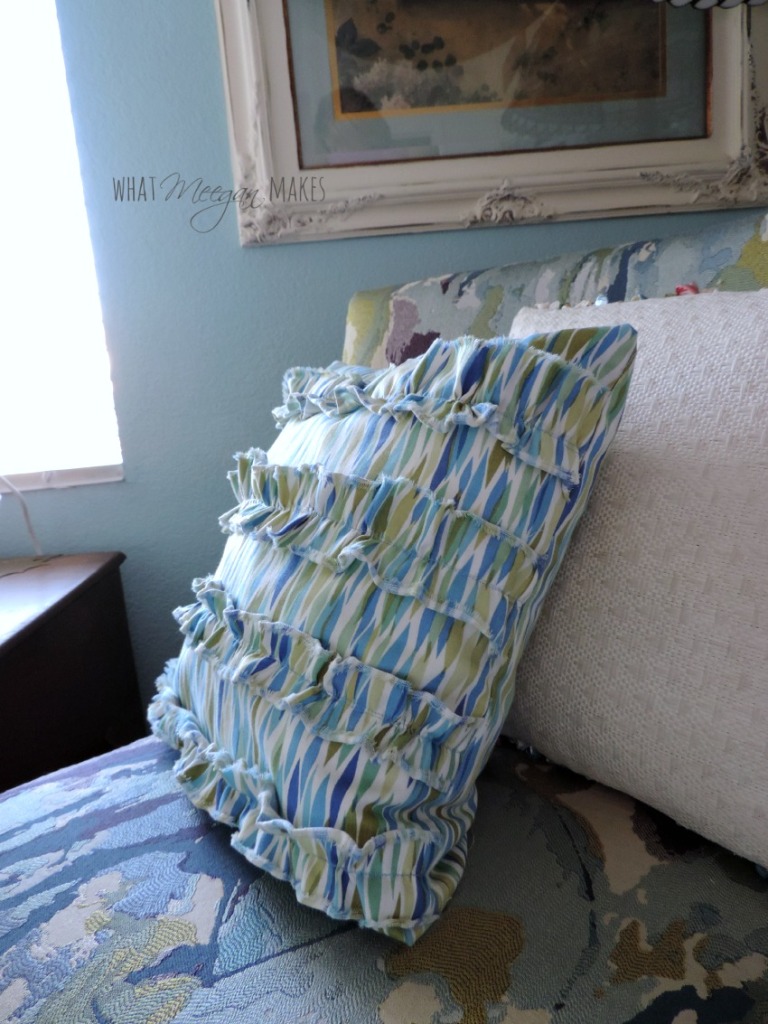
How to sew a Ruffled PillowLearn how to easily sew this Cute Ruffled Pillow.

DIY pillow with trim by postcards from the ridgeUse some fabric and add some fancy trim to make this beautiful Pillow with Jute Brush Fringe.

Shabby chic throw pillow cover by The Honey Comb HomeMake a beautiful Shabby Chic Throw Pillow Cover from light linen fabrics.
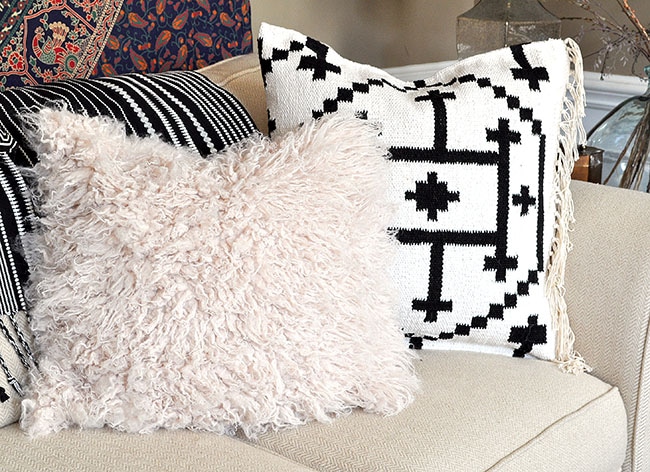
beach themed pillows by sustain my craft habitSew some fun Beach Themed Pillow Covers for your beach themed room.

kilim throw pillow covers from a rug and alpaca pillowLearn how to make both a no-sew faux Alpaca pillow cover and a Kilim throw pillow from a rug.

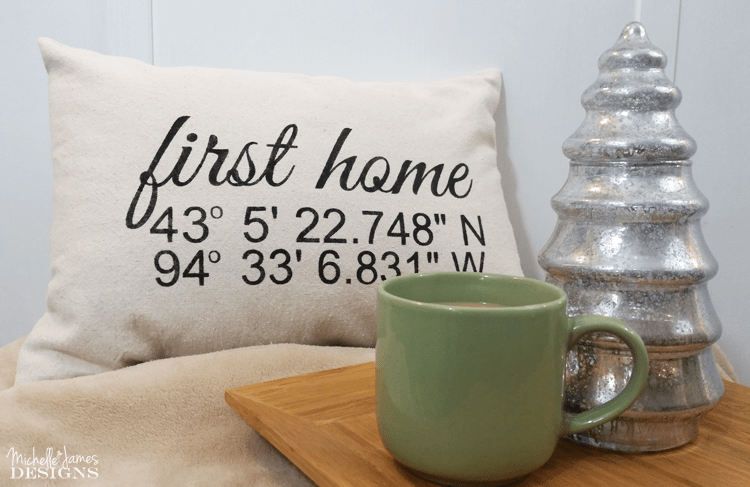
Map Coordinates throw pillow for first home by Michelle j designsA Map Coordinates Throw Pillow would make the perfect first home gift!

DIY Pom Pom Pillow by Jenna Kate at HomeHow fun are these DIY Pom-Pom Pillows? Adorable!

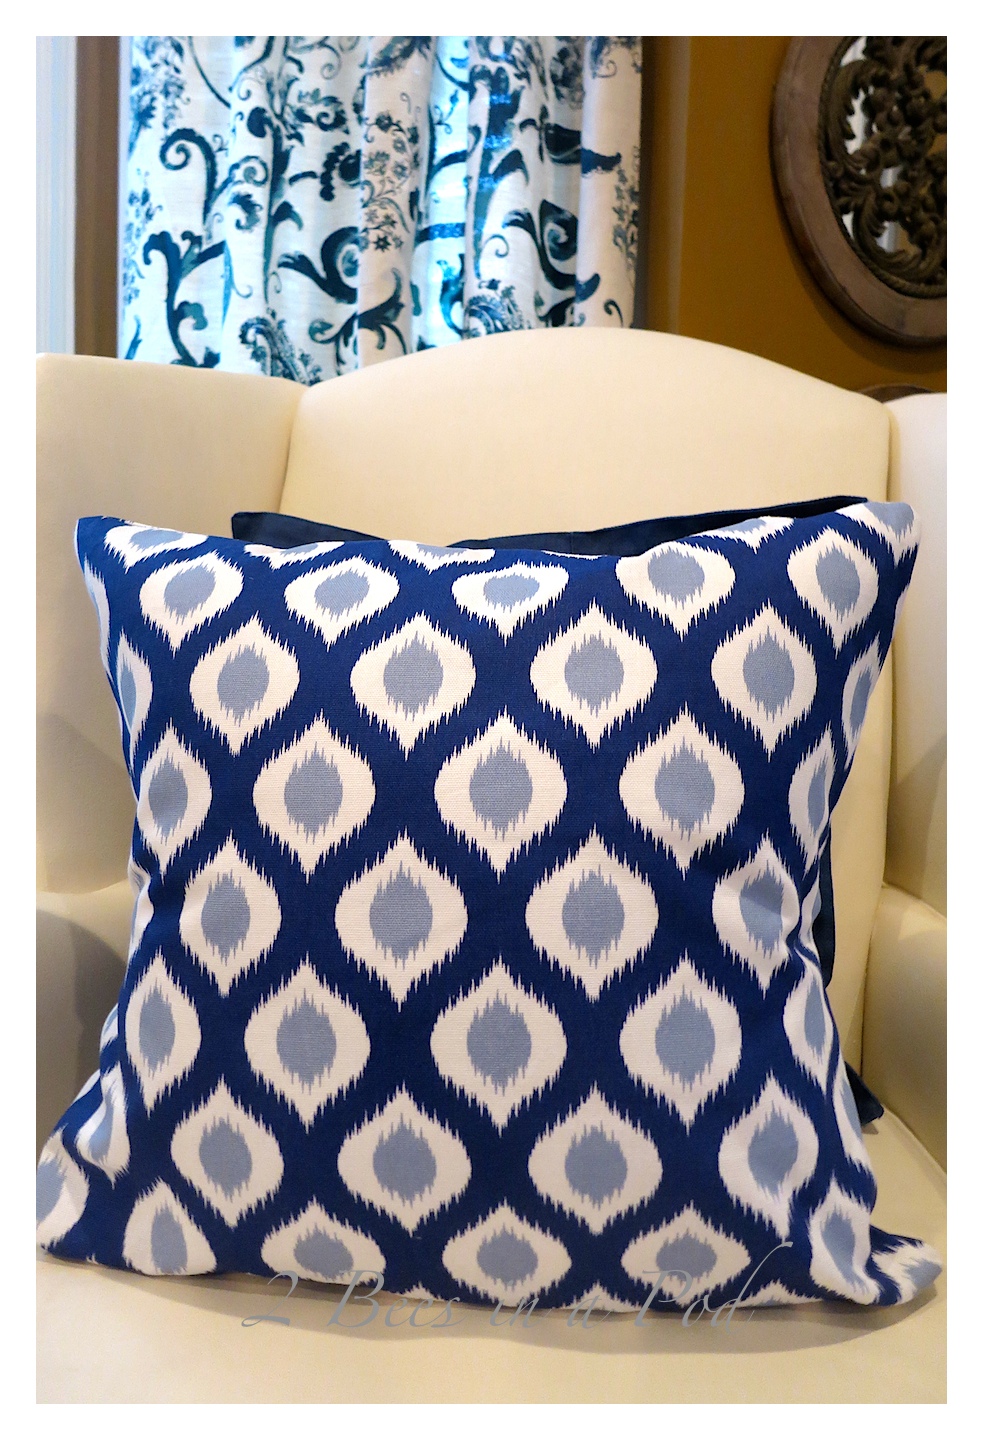
DIY Pillow Covers made with Dinner Napkins by 2 Bees in a PodRepurpose cloth dinner napkins to make a pillow cover.

diy st patricks day pillowMake a St. Patrick’s day pillow to keep your room more festive.

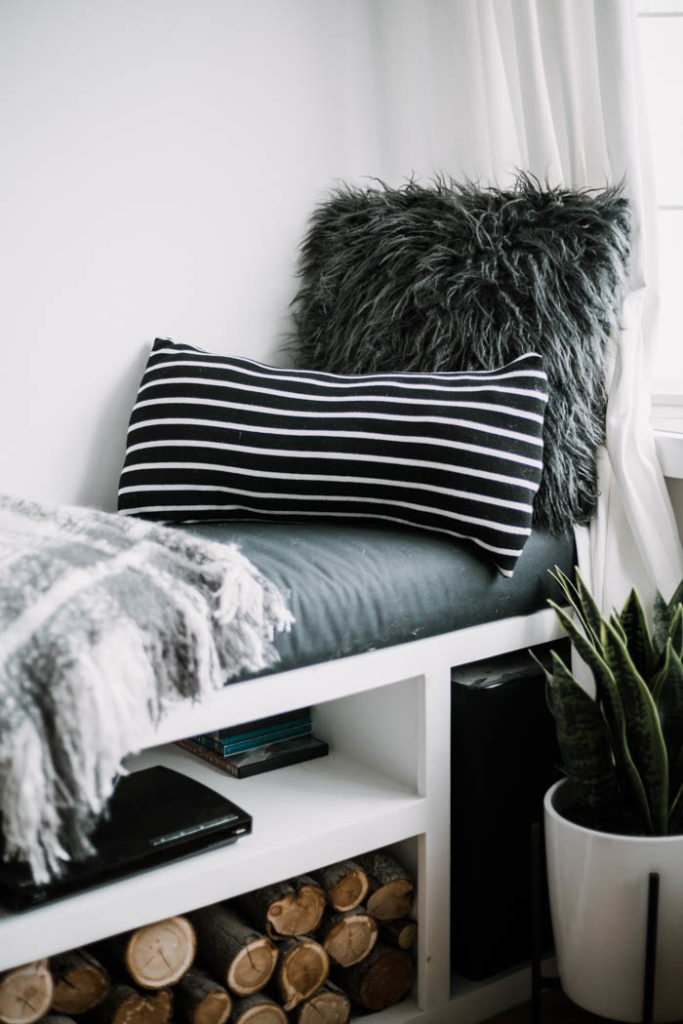
diy lumbar pillow by love create celebrateHelp your back by making a DIY Lumbar Pillow for your favorite seat.

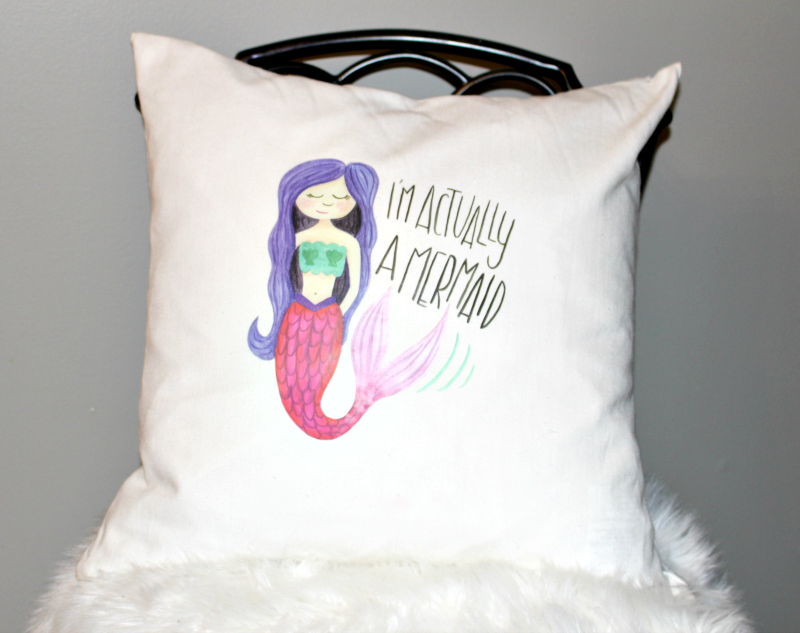
Make a fun Cricut DIY Mermaid Pillow by Our Crafty MomThis adorable DIY Mermaid Pillow would be great in a little girl’s room.

diy striped euro shamsCreate Striped Euro Shams to add a decorative element to your bedding.

Sew an Outdoor Pillow by Creative RamblingsDIY Outdoor pillows are awesome too, learn how to make one for the patio.

fingerprint star pillows Use Fingerprints in stars in red, white and blue to create this awesome patriotic pillows.

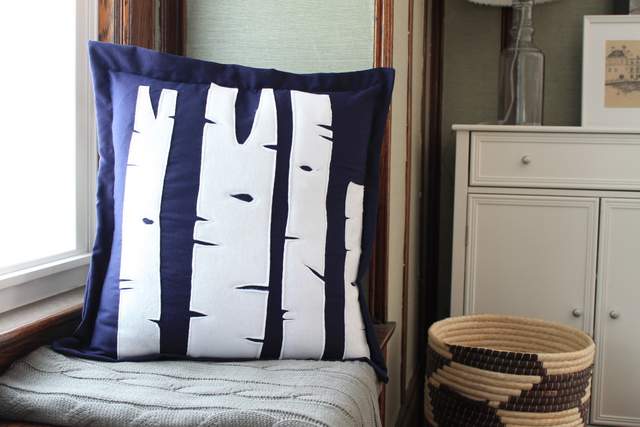
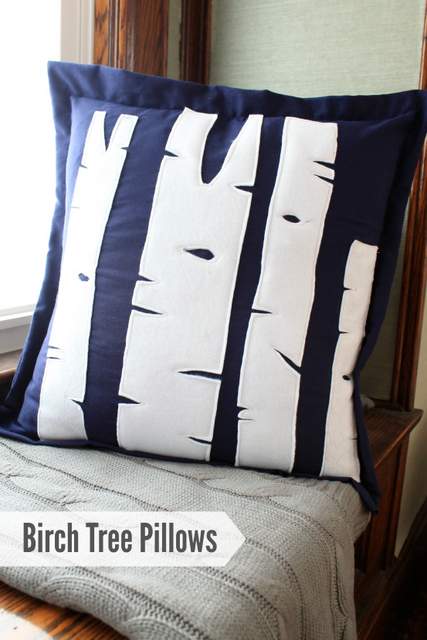
birch tree pillow covers Design these Birch Tree Pillows with white felt for a bold statement.

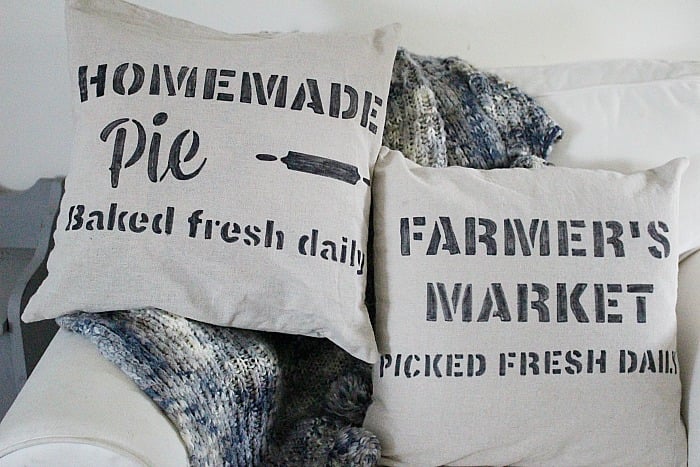
DIY Farmhouse Stenciled Pillows by Our Crafty MomIf you like farmhouse style, these DIY Stenciled Farmhouse Pillows are perfect for you.

watercolor pineapple pillow by vanderveen houseAdd some freshness to your room with this Watercolor Pineapple Pillow Cover.

diy modern flower pillow by hazel and gold designsMake a Modern Flower pillowcase using iron-on vinyl.

DIY Paint by Numbers pillow by Shrimp Salad CircusUse Paint by Number skills to make this beautiful pillow cover.

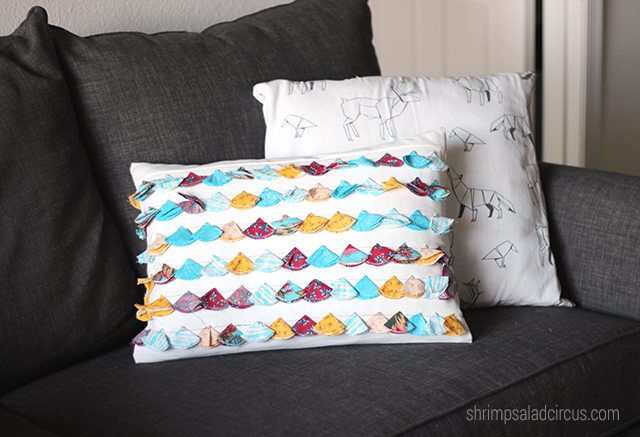
Anthropologie-inspired tasseled pillow by shrimp salad circusMake a Beautiful Tasseled Pillow inspired by Anthropologie from fabric circles.

recover outdoor pillows using curtainsUse Curtain Panels to re-cover outdoor pillows and update your patio.

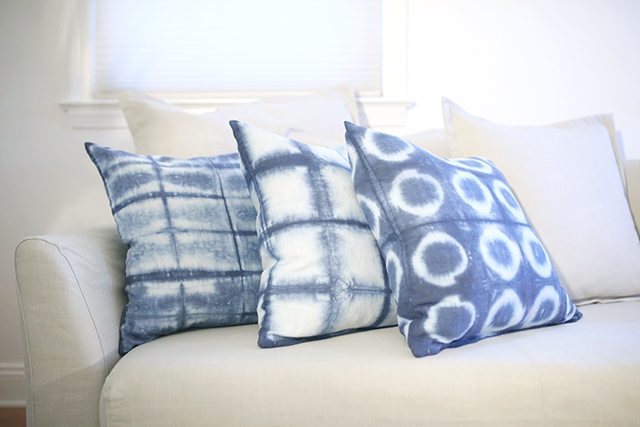
Shibori Dyed pillows by shrimp salad circusTry out Shibori Dyeing to create these rad patterned pillows.

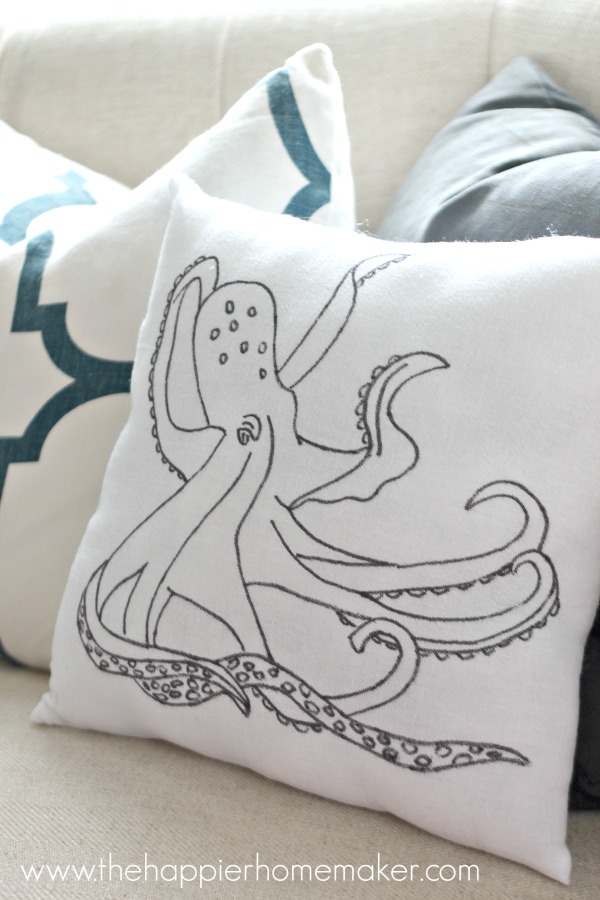
diy anthropologie knock off octopus pillowThis DIY Anthro-inspired Octopus Pillow is a cool modern statement piece.

diy back pillow Make your own Back Pillow to have the support you need while it looks good.

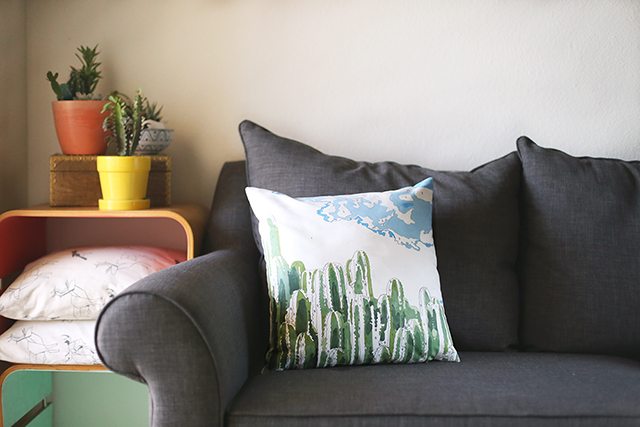
botanical pillows by simple nature decor blogAdd some greenery to your room with gorgeous Botanical Stenciled Pillow covers.

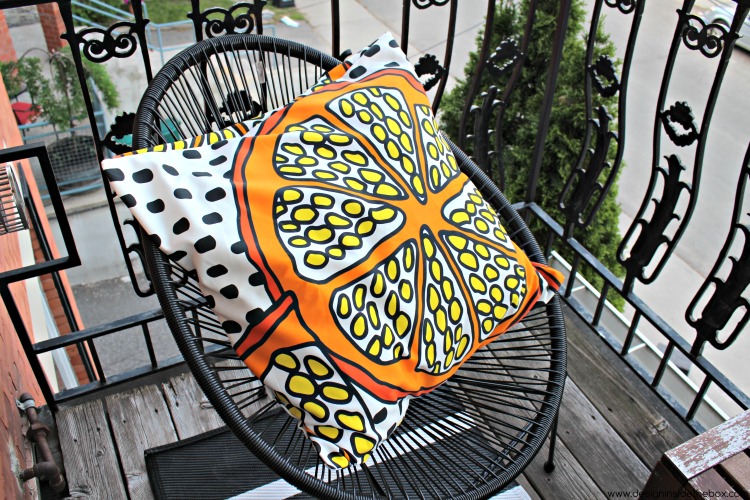
diy pillow cover by design inside the boxMake this bright and bold pillow using just a yard of fabric and a pillow form.

drop cloth pillow cover by girl just diyTurn a drop cloth into a pillow and add letter stenciling to make it beautiful!

diy pom pom pillow from placematCreate a fun, festive DIY Pom Pom Pillow using a placemat.


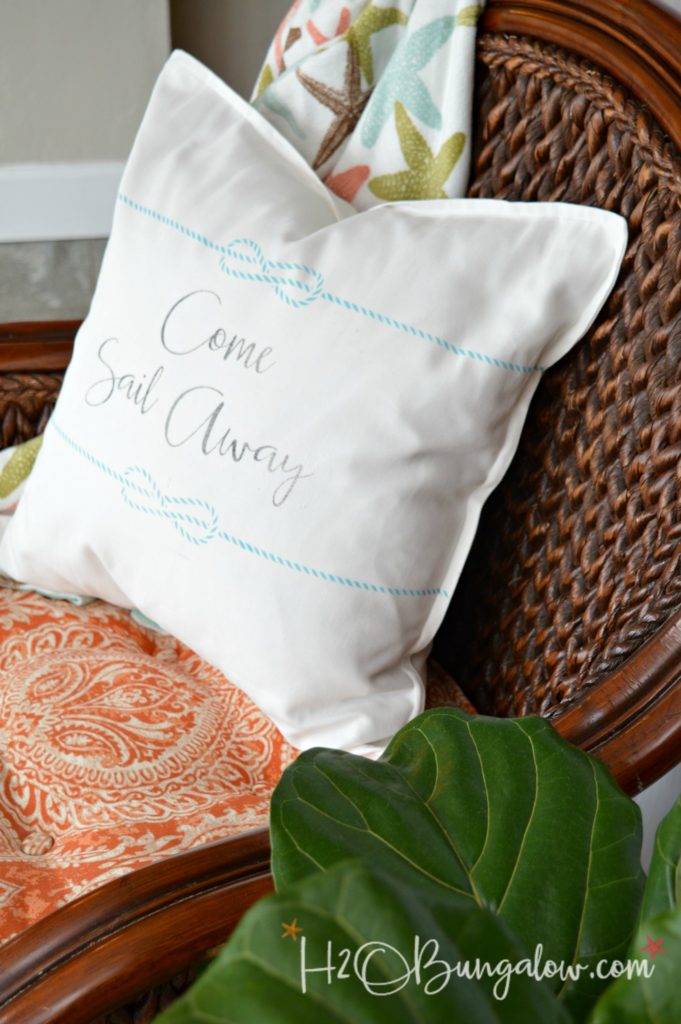
sailing themed pillow by h2obungalow
If you have a beach-themed home try creating this Nautical Come Sail Away Pillow.

diy felted wood throw pillows by h2obungalowCreate Felted Pillows to add color and pattern to your room.

Farmhouse pillowcase by making it in the mountainsMake a Simple Ruffled Farmhouse Pillowcase from a simple old pillowcase.

our happy place pillow using glitter htvTell others how much you love your home with this Our Happy Place pillow.

ruffled farmhouse burlap pillow by making it in the mountainsA 15-Minute Ruffled Burlap Pillow would be a perfect addition to farmhouse styled homes.

french burlap sack pillow by girl in the garageMake a Double Sided Pillow and get more bang for your buck!

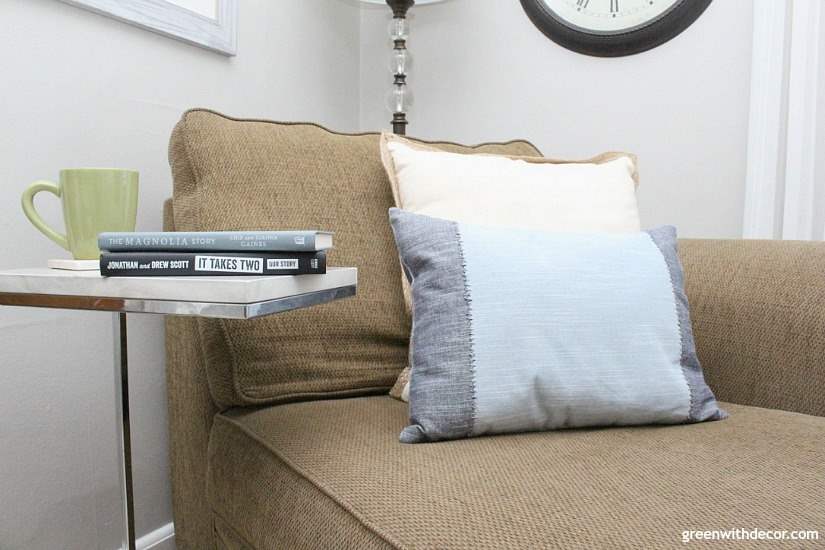
make pillow from placemats by green with decorRepurpose Placemats into Pillow covers for some durable throw pillows.

 

I hope you were able to find some inspiration for making custom and fun DIY pillows for your home. It’s a great change to make a big impact in a room without spending a lot of time or money. if you like this collection, please share on Pinterest by pinning this image:

41 Decorative DIY Pillows - Pinterest Image

Thanks so much for reading! I’d love to hear what you think or what kind of pillow you’d like to try to make!

Hi, I’m Sheri from Hazel + Gold Designs. Here are a few fun stats about me: I like love chocolate and peanut butter (together of course.) If you like stats, I have been crocheting for about 16 years, crafting for 20, and woodworking for about 4 years. I found a passion in making and being creative and began documenting my projects online at Hazel + Gold Designs.

When not working on projects, I enjoy spending time with my husband, four children, perfect dog, and ornery cat. You can find me on Facebook, Pinterest, Instagram and Twitter.

Read all of Sheri’s tutorials.

~Find more of Sheri’s projects here ~

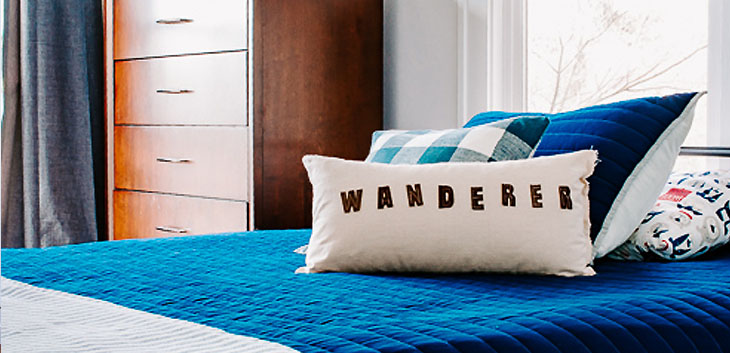
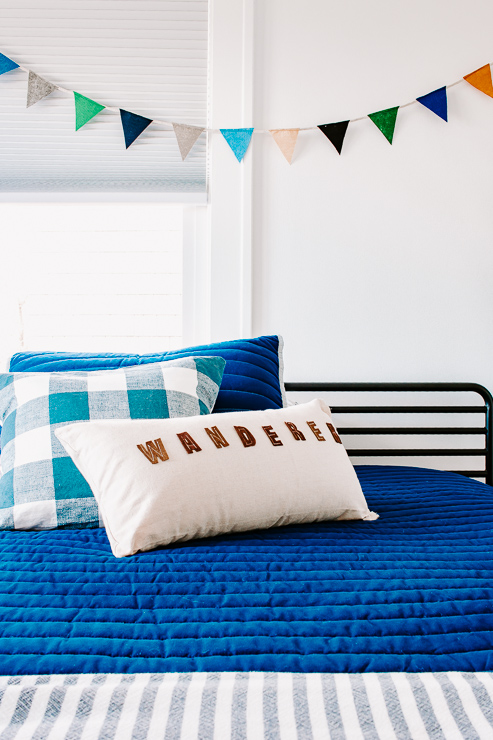
DIY Wanderer Felt Pillow

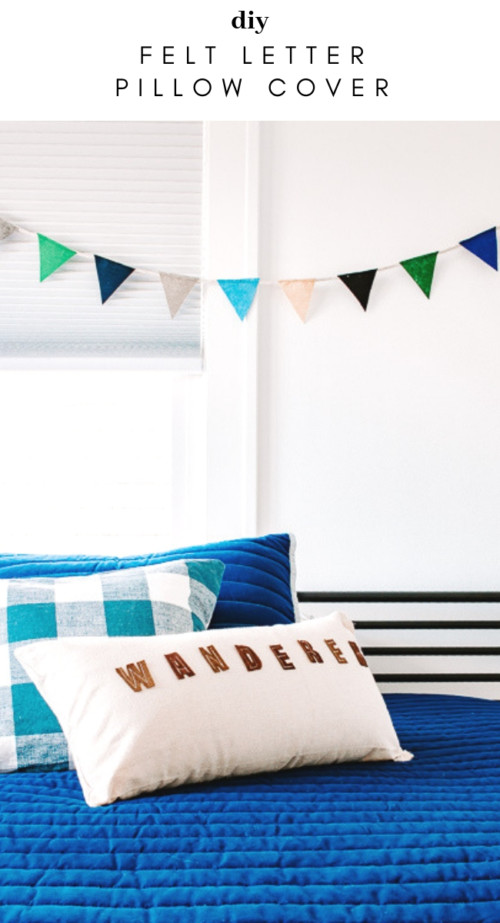
DIY Felt Letter Pillow Cover
How to Make a Felt Letter Pillow Cover

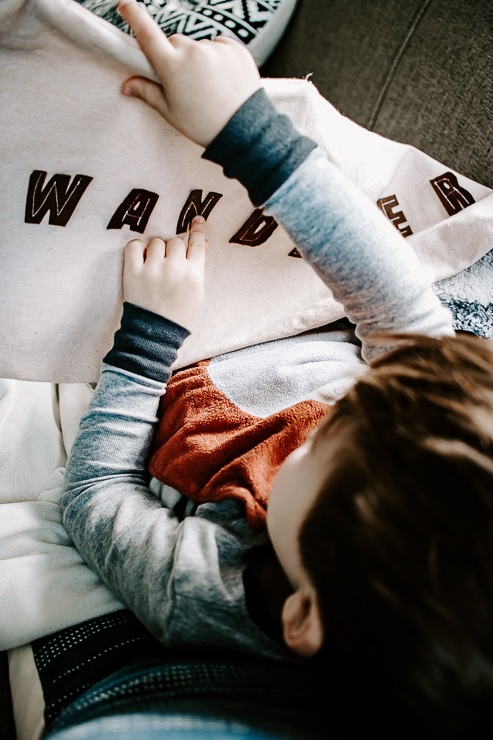
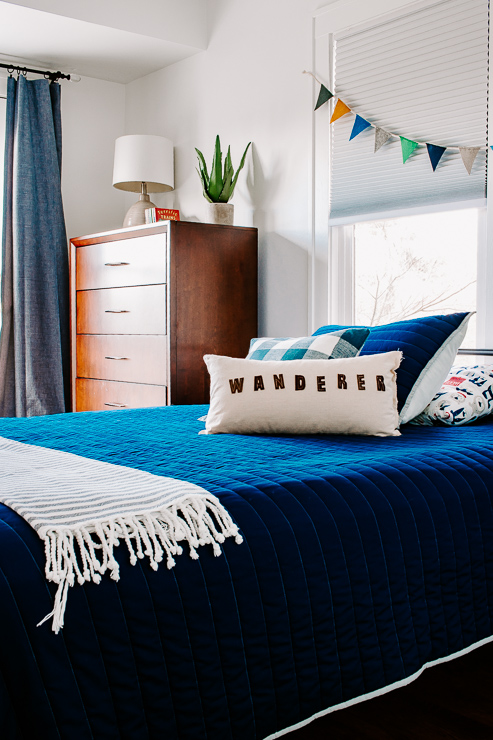
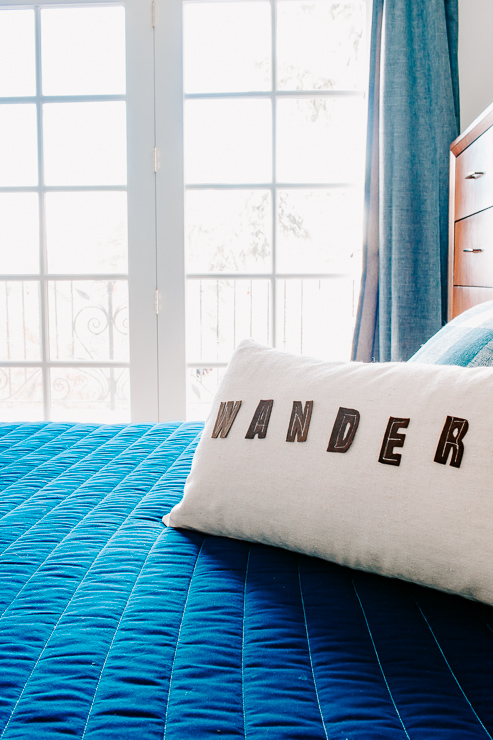
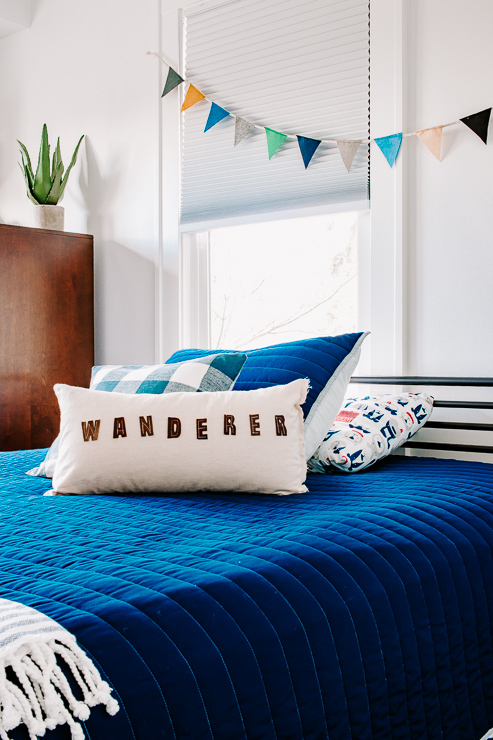
Friends! I’m so excited to be back today with a new project for you, a DIY felt letter pillow cover. One of my favorite things to do is to scour home decor stores for inspiration for my kids’ rooms.  I love trying to recreate trendy looks for my home, but on a budget. Today’s project accomplishes this goal! I’ve seen some really cute letter pillow covers and I knew I could DIY one myself.  Originally I made one for my son’s room. It turned out so well that my daughter requested one for her room too. Lucky for you, a sewing machine is optional – so this project is for truly for anyone who wants to make their own Felt Letter Pillow Cover.

Let’s get started!

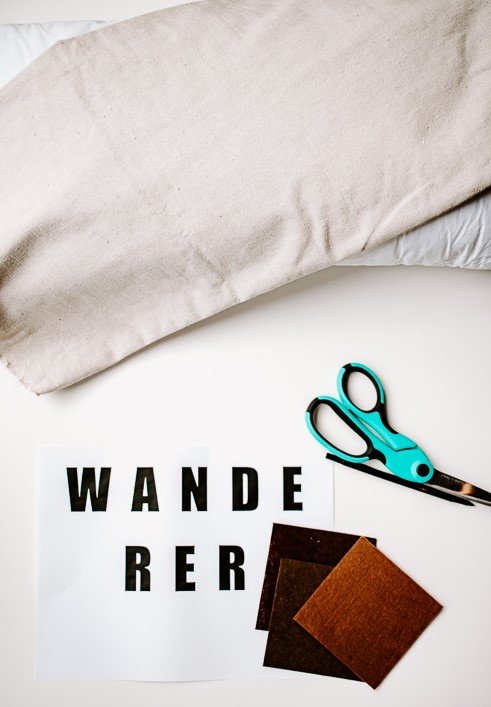
Materials:

(I’ve included affiliate links for your convenience. I earn a small percentage from a purchase using these links. There is no additional cost to you. You can read more about affiliate links here .)

Materials Needed to make a DIY Felt Letter Pillow

Instructions:

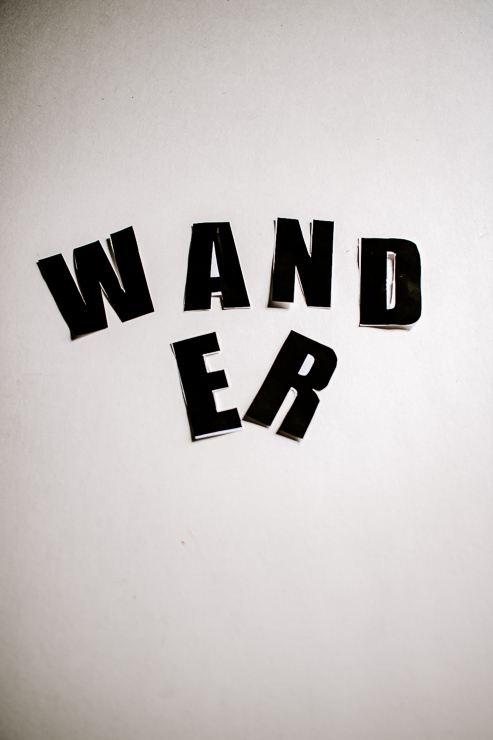
Step 1:  It’s helpful to type up and print out a word template for this project or use letter stencils.  It’s not totally necessary, but when tracing your letters onto the felt it helps keep all the letters relatively uniform.

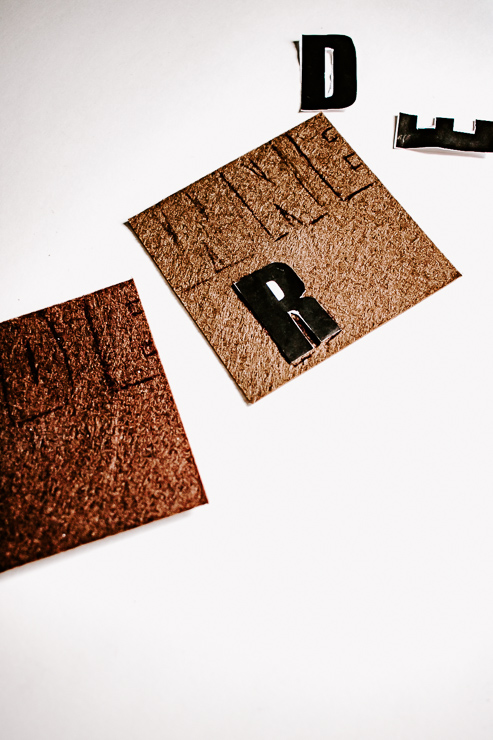
Cut out letters from paper word template

Making Your Word Template:

Open up Word or Google Docs and type out the word you want.  Add a space between the letters. (I used the Impact font at font size 150pt for this project.)

You can make your letters bigger or smaller. Just be aware, it gets a little tricky to cut out smaller letters. Cut your letters out of your template and let’s move on to the next step.

Tip:  If your word contains more than one of the same letter – you only need to cut that letter once. For instance – WANDERER has two E’s and two R’s, but I only needed one template for each letter because I could use the same one to trace two letters.  This should save you a few minutes.

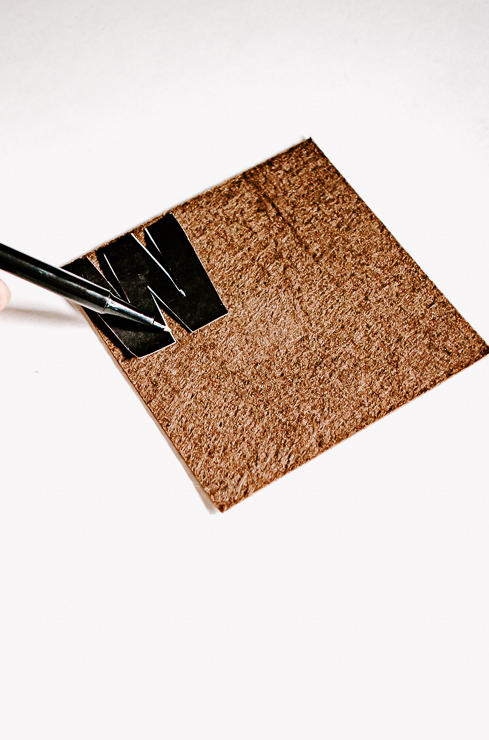
Step 2: Trace your letters onto the felt using your stencil or cut out letters (or draw them freehand if not using a template).

Trace Letter with Pen or Chalk onto felt

You can use pen, chalk, or pencil to trace.  Just make sure you can see the lines so you can cut them out.

Trace Felt Letters with Pen or Chalk onto you Felt Piece

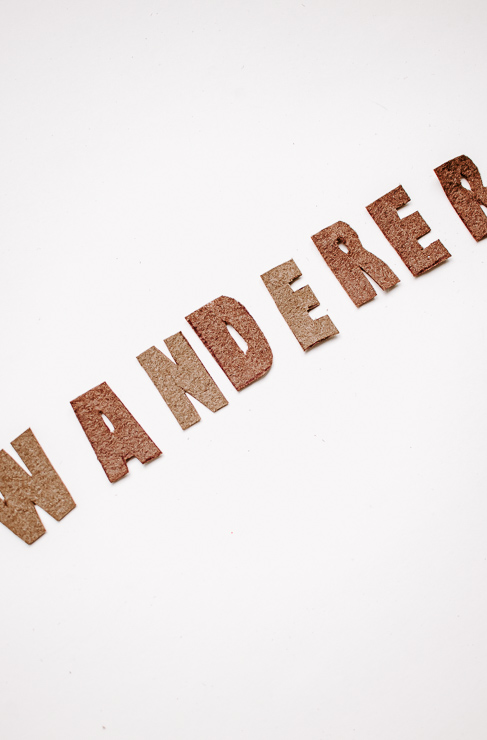
Step 3: Cut out your letters using scissors.

Cut your Letters out of Felt after tracing Continue to Cut out all Felt Letters

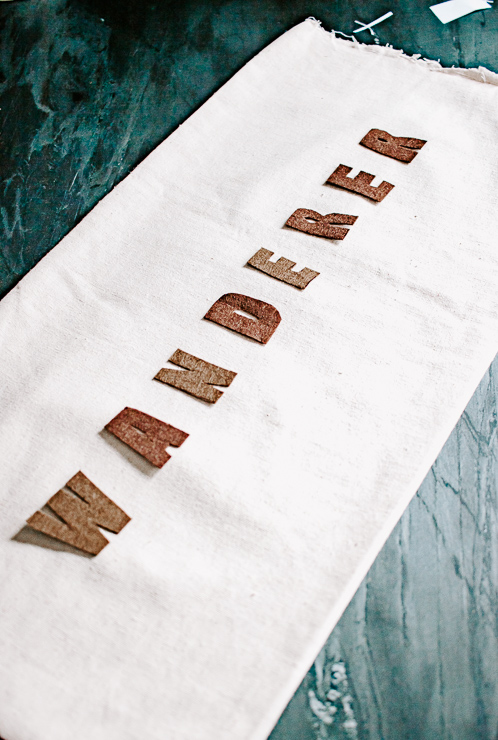
Step 4: Space your felt letters onto your pillow cover.  (I made a lumbar pillow cover from canvas drop cloth for this project, but you can also buy a plain cover.) It’s helpful to play with the placement and see where you want to start the word on your pillow cover.

Layout Felt Letters on your Pillow

Attaching the Letters:

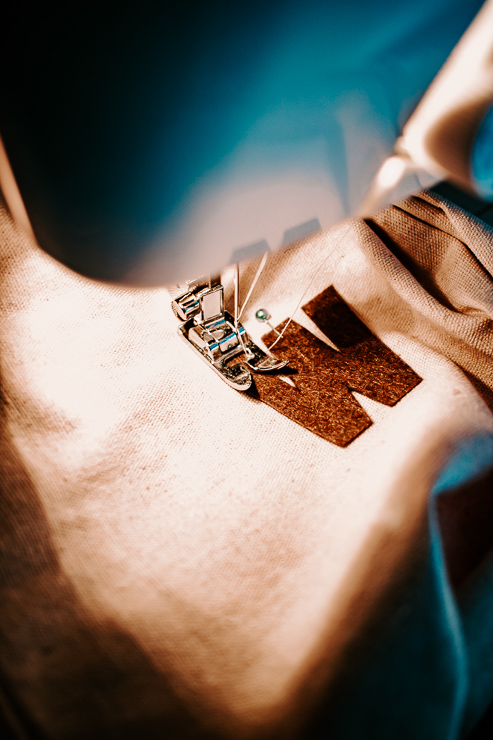
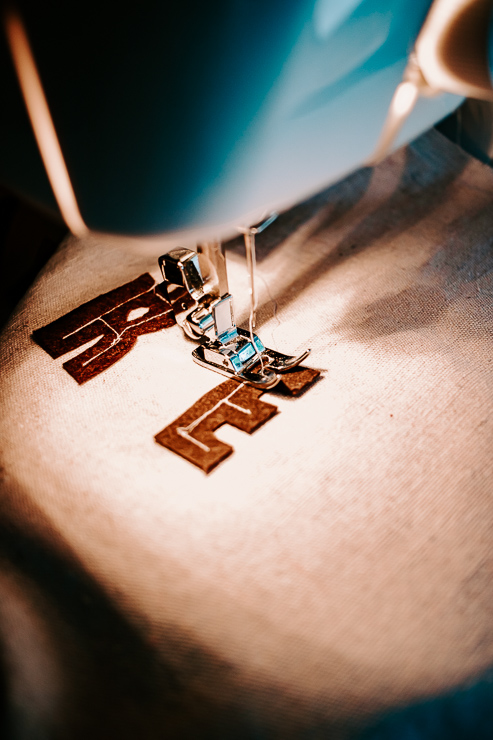
  • Sewing – Pin your first letter to the pillow cover.  Hand sew or use your sewing machine to sew the letter onto the cover. You can use matching thread or a different color to give it more of a rustic vibe.  My thread was white on brown felt.
  • Fabric Glue – Glue your felt letter to your pillow cover.

Sew your felt letters on your pillow cover or use fabric glue

Step 5:  Continue to sew or glue the rest of your letters onto your pillow cover.

Use fabric glue or your sewing machine to attach felt letters to your pillow

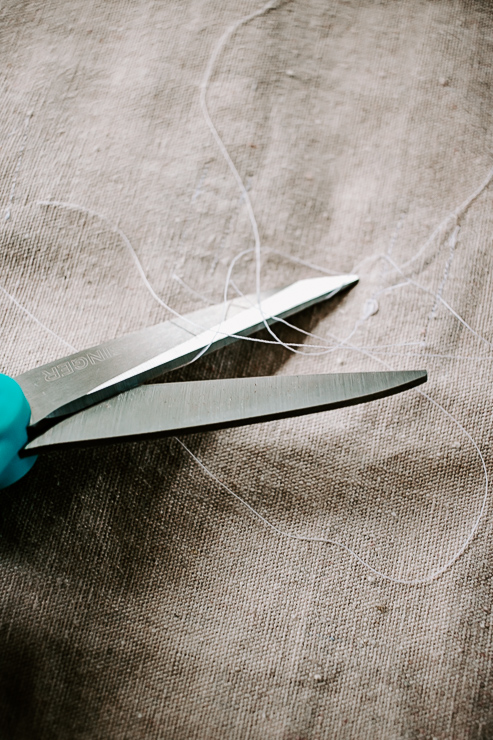
Step 6 :  After you finish sewing on the letters, cut off any loose strings.  If you used fabric glue, you want to let this dry for 24 hours before attempting to wash it.  (Please refer to the instructions on your specific fabric glue. )

Cut loose strings from your protect after sewing felt letters

Step 7 :  Insert your pillow form into your new cover.

Insert your pillow form into your new felt letter pillow cover!

All done! This looks fantastic, don’t you agree?!

I have seen these letter pillow covers in stores for over $25!  Yet, I was able to make this knock off for less than $5 with a simple DIY canvas pillow cover and some inexpensive felt.

Kids Love these DIY Felt Letter Pillow Covers

I love the way this pillow turned out. As I mentioned, my daughter requested one for her room. (Although she’s having a little trouble choosing which word she wants!)  So far she’s come up with: Cupcake, Ice Cream, Unicorns – she can’t decide.

DIY Felt Letter Pillow Cover Tutorial

This project would also be cute as a personalized pillow cover. Or make it as a gift for someone who has young children.  It’s the perfect touch for a nursery or kids room.

DIY Felt Letter Pillow Cover perfect for Kids Rooms

Another idea would be to create one for each holiday: Halloween, Thanksgiving and Christmas are great occasions to display a felt letter pillow.

DIY Felt Letter Pillow Cover

I hope you guys enjoyed this tutorial for a DIY felt letter pillow cover.  You might also like to learn how to sew a rope basket at Decor Hint (where I blog regularly).

I’ll be back next month with another fun project for you! In the meantime, be sure to check out some other sewing tutorials on Pretty Handy Girl.

Thanks for reading!

karen signature

~ See More of Karen’s Tutorials ~


karen from decor hintHello!  I’m Karen, the creator of the Home Decor and DIY Blog: Decor Hint . I’m a Native of the East Coast, but I currently live in beautiful Seattle with my hubby, our two wonderful children and our spunky wheaten terrier.

You can usually find me with some sort of craft in one hand and a coffee in the other. And I’m always rearranging furniture or moving lamps from room to room. I have a passion (read: obsession) for decorating, DIY, and gardening. In short, I love making my house into a home.

Like many, I’m inspired by what I see in home decor magazines, but I’m not so inspired by the price tags.  Consequently, I love finding and creating beautiful budget-friendly home decor items. In a head to head competition, I bet you’d never know the difference between the designer items and my DIY creations!  Many of my DIY projects focus on sewing, crafting, upcycling and organizing. Some of my favorite projects have been making pretty wreaths , sewing my own tassel hand towels, and crafting these trendy wood bead garlands . I can’t wait to inspire you and spark your creativity through my DIY projects.

You can always connect with me on Pinterest , Twitter or Instagram.

Birch Tree Pillow

Birch Tree Pillow

One thing that gets me ready for the fall season is to bring natural elements into my home. Although, they don’t actually have to be real, you can create them with some fabric and a little sewing. I’ve wanted to change up the pillows in our living room for a while, and these birch tree pillows are the perfect touch for fall. They are super easy to make, without any special tools!

I made these with fabric I had on hand and 20″ pillow forms, however you can adjust the size based on pillow forms you have. I also made them with a 1″ “trim” around the edges as an envelope cover (meaning the pillow form slips inside the cover without the use of a zipper.)

Materials

  • Fabric in your choice of color for the pillow base
  • White felt for the trees
  • Measuring tape
  • Scissors
  • Pencil
  • Fabric glue, optional
  • Sewing machine
  • 20″ pillow form

Instructions

1. Prepare the fabric to sew it into a pillow cover by cutting a piece that is 21 1/2″ x 45″ long. This shape will make up the front of the pillow and overlap in the back to form the envelope. Iron the cut piece to remove any wrinkles.

Birch Tree Pillow

2. Sew a hem on both of the shortest 21 1/2″ ends so you have a nice finished seam on each. You will see one of these from the back of the pillow.  Set this piece aside for the moment.

Read more

DIY Octopus Pillow

diy anthropologie inspired octopus pillow

Hi there! It’s Melissa from The Happier Homemaker back again this month with a super easy knock off project today.

I don’t know about you but I just love looking at stores and catalogs for my DIY inspiration.  I recently saw a gorgeous Anthropologie octopus pillow online but one look at the $168 price tag and I knew it would not be making an appearance in my living room! I knew right away that I could DIY my own version for significantly less and am in love with how it turned out!

Supplies:

  • Inexpensive Tea Towels (I bought mine from Walmart-2 for less than $5)
  • Black Sharpie marker
  • White Thread
  • Poly-Fil
  • Sewing Machine

Instructions:

If you feel comfortable drawing, use the inspiration picture to sketch out an octopus approximately 11″ wide.  If you need a little help in the art department you can download a scan of my sketch here. (You will need to tape the two scans together to get the full sized design.) Read more