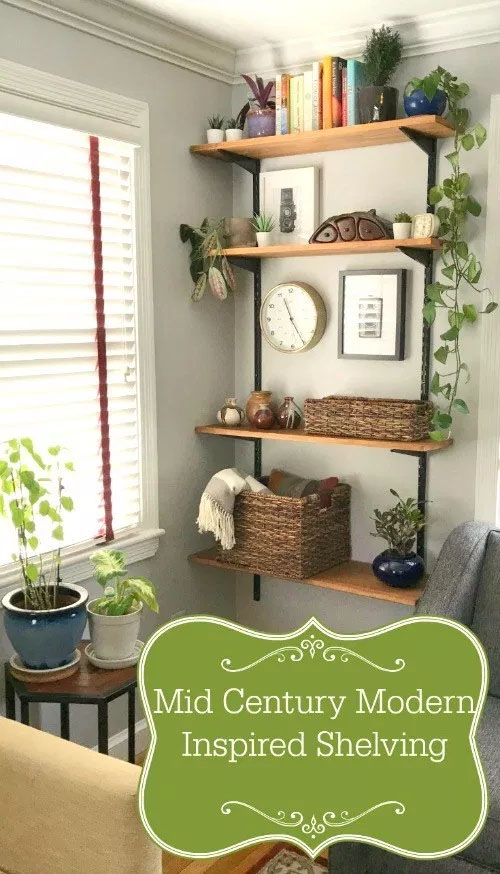
DIY Mid Century Modern Inspired Shelving
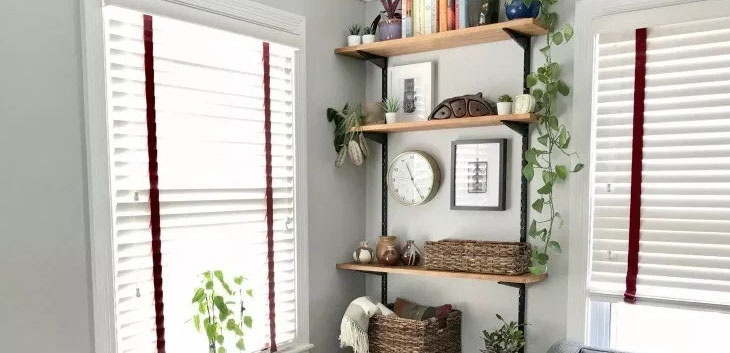
Mid century modern inspired shelving is all the rage, and for good reason! It looks great in most homes, has clean lines, and definitely sparks joy in my house. The only downside to the mid-mod look is the cost. Even replica pieces are pricey, like this shelving unit from CB2 I’ve been eyeing for months. Worry not, because you can DIY mid-mod inspired furniture with a bit of vision and some elbow grease.
Follow along and learn how to make this mid-century modern inspired shelving for under $150! These plans are for a two-track unit with one shelf per level. You can alter the design to create a corner unit. For longer shelves, use a more intricate 3, 4, 5, or even 10-track system.
Watch the step-by-step, DIY Mid-Mod Inspired Shelving video:
Tools and Materials:
(I’ve included affiliate links for your convenience. I earn a small percentage from a purchase using these links. There is no additional cost to you. You can read more about affiliate links here.)
- (2) 70” shelving tracks
- (12) 2” screws and wall anchors
- 8 Shelf brackets (for your wall type)
- (2) 1×10” boards cut to your specs
- (1) 1×12” boards cut to your specs
- Drill
- Stud finder
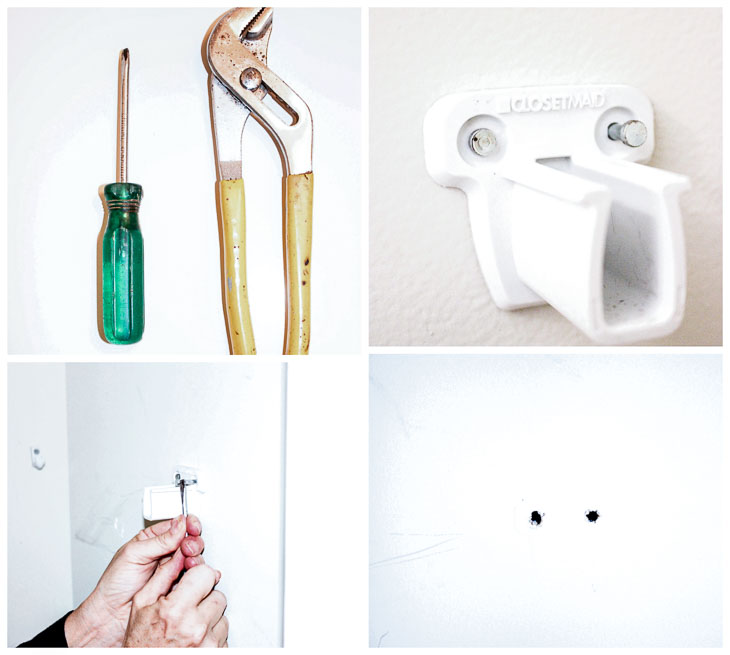
- Screwdriver
- Level
- Permanent marker to match the color of your tracks
Instructions:
Step 1- Make a plan
Determine the desired length and placement of your shelves. This is important because you are going to center the tracks to the shelves rather than to your wall. I used the dimensions below:
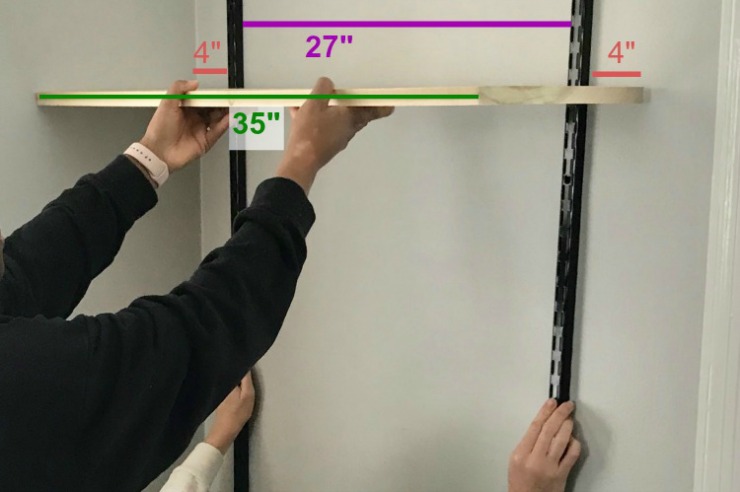
The distance between the two tracks should not exceed 36”, both for structural integrity and aesthetic purposes. Somewhere in the ballpark of 26” apart looks best. Typically, your shelves will be 6”-10” (3”-5” on each side) longer than the distance between the two tracks. The maximum shelf length that can be held by two brackets is 46 inches. If you want longer shelves, add more tracks and brackets to support the added length.
Cut your boards to the length you like, or have them cut at the hardware store.
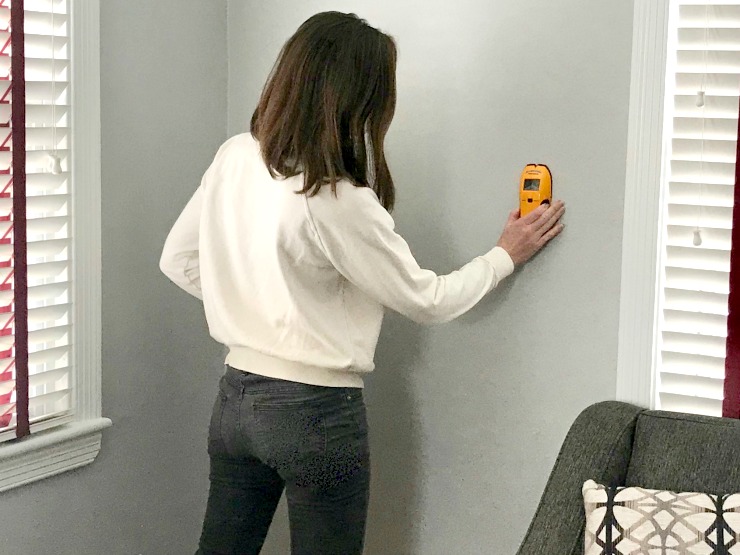
Step 2- Attach the tracks
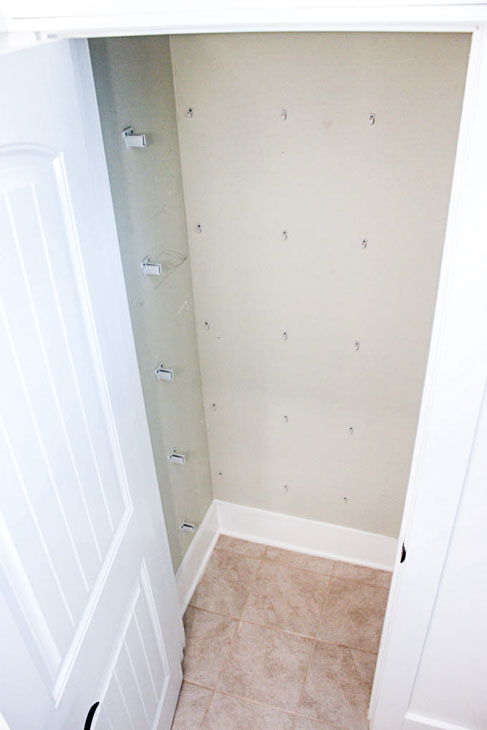
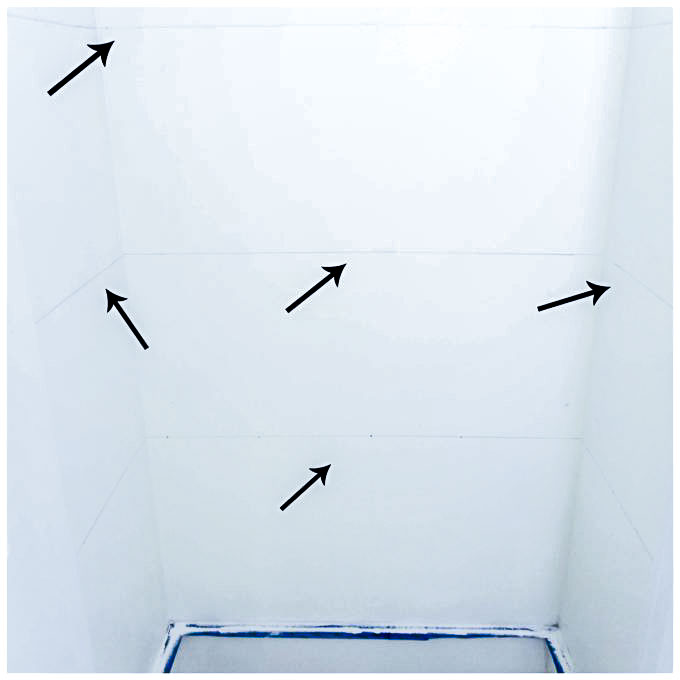
Locate the studs, and if you are lucky enough to have two evenly placed between the exact location of your future shelving unit, great! If not, don’t worry. Ideally, at least one stud will be placed 3”-6” inside either end of your shelves. If that’s the case, one track will be installed along the stud, while the other track will be installed with sturdy wall anchors.
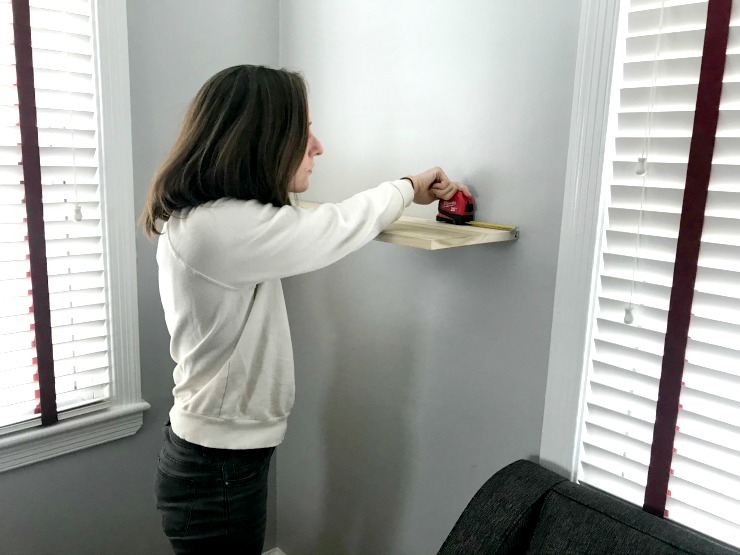
Measure the distance from the end of your shelf to the location of one of your tracks. Use that measurement (with your shelf as the guide) on the other side to determine where the second track will be installed. If you absolutely cannot align the tracks to any studs, you can install both tracks with wall anchors, but be careful of the weight limits when you style your shelves.
Use a level to make sure your track is plumb and mark each hole along the track. This step is much easier with a helper. Using the level again, line the other track up so that the tops of both tracks are level with one another. Doing this right will guarantee that your shelves are perfectly level. Mark the second set of holes. Pre-drill each hole using the correct bit size for screws that will go directly into a stud and screws that will require anchors.
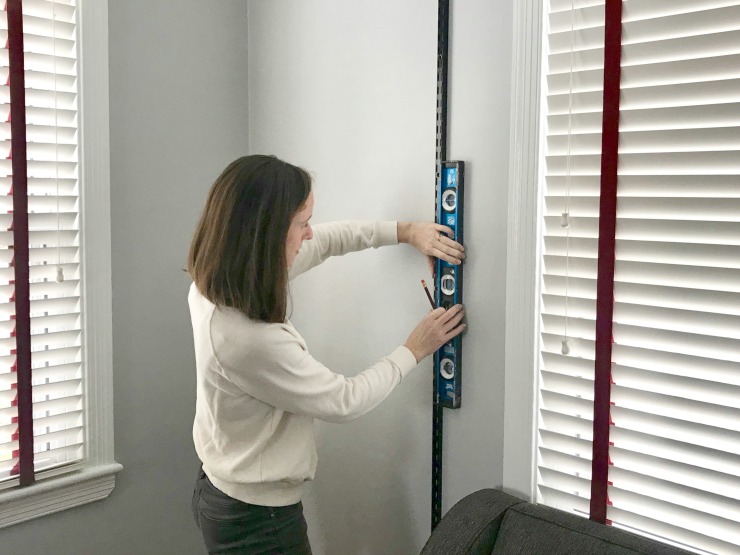
Starting with the top hole, drive in a screw to secure the track to the wall. I prefer to do this by hand so that I don’t over tighten, but be warned that it’s a lot of twisting. The tracks have some play, so if a hole is slightly off you can adjust it ever so slightly.

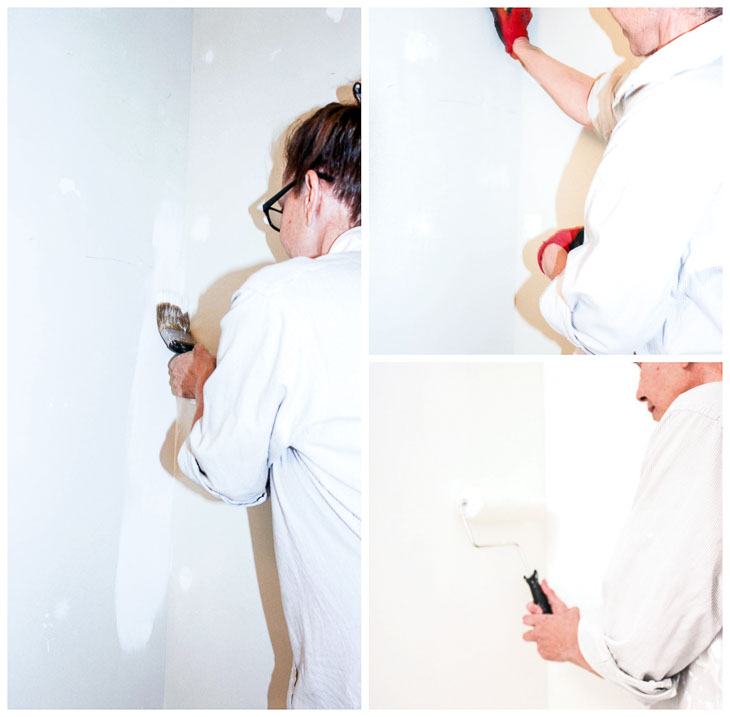
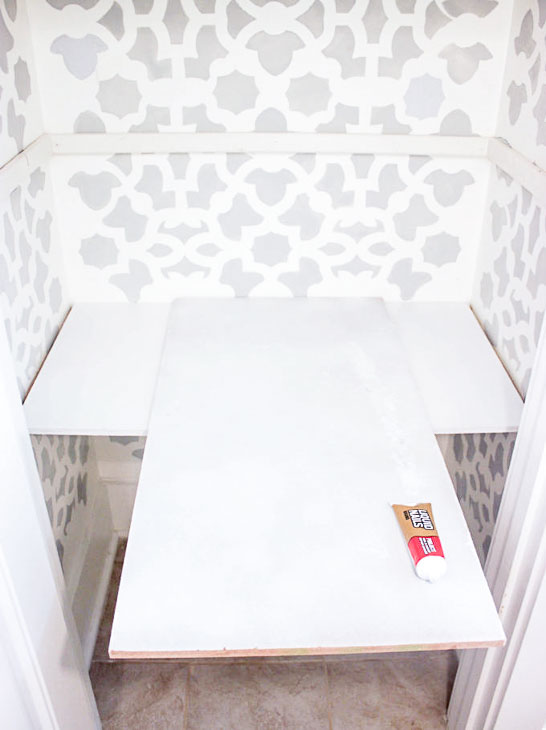
Step 3- Sand and stain your shelves
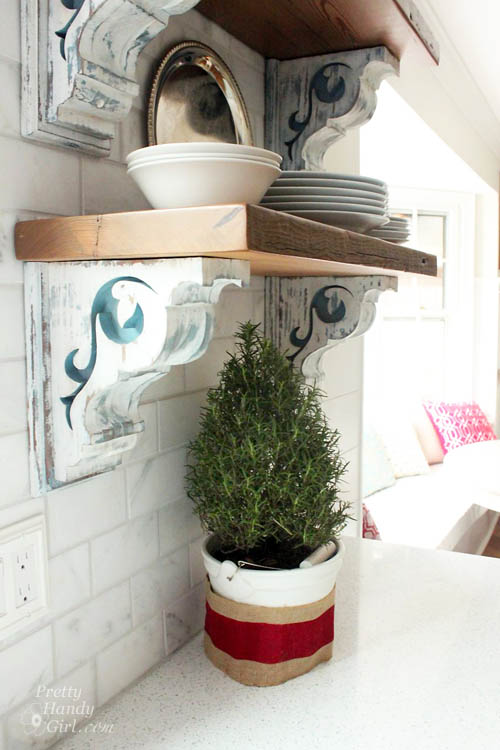
Before installing the shelves, you will want to prepare them. Give each a quick sanding, wipe off the dust, and apply a coat or two of stain. If you’ll be styling with plants, it’s a good idea to apply a coat of clear polyurethane for extra protection from water and moisture.
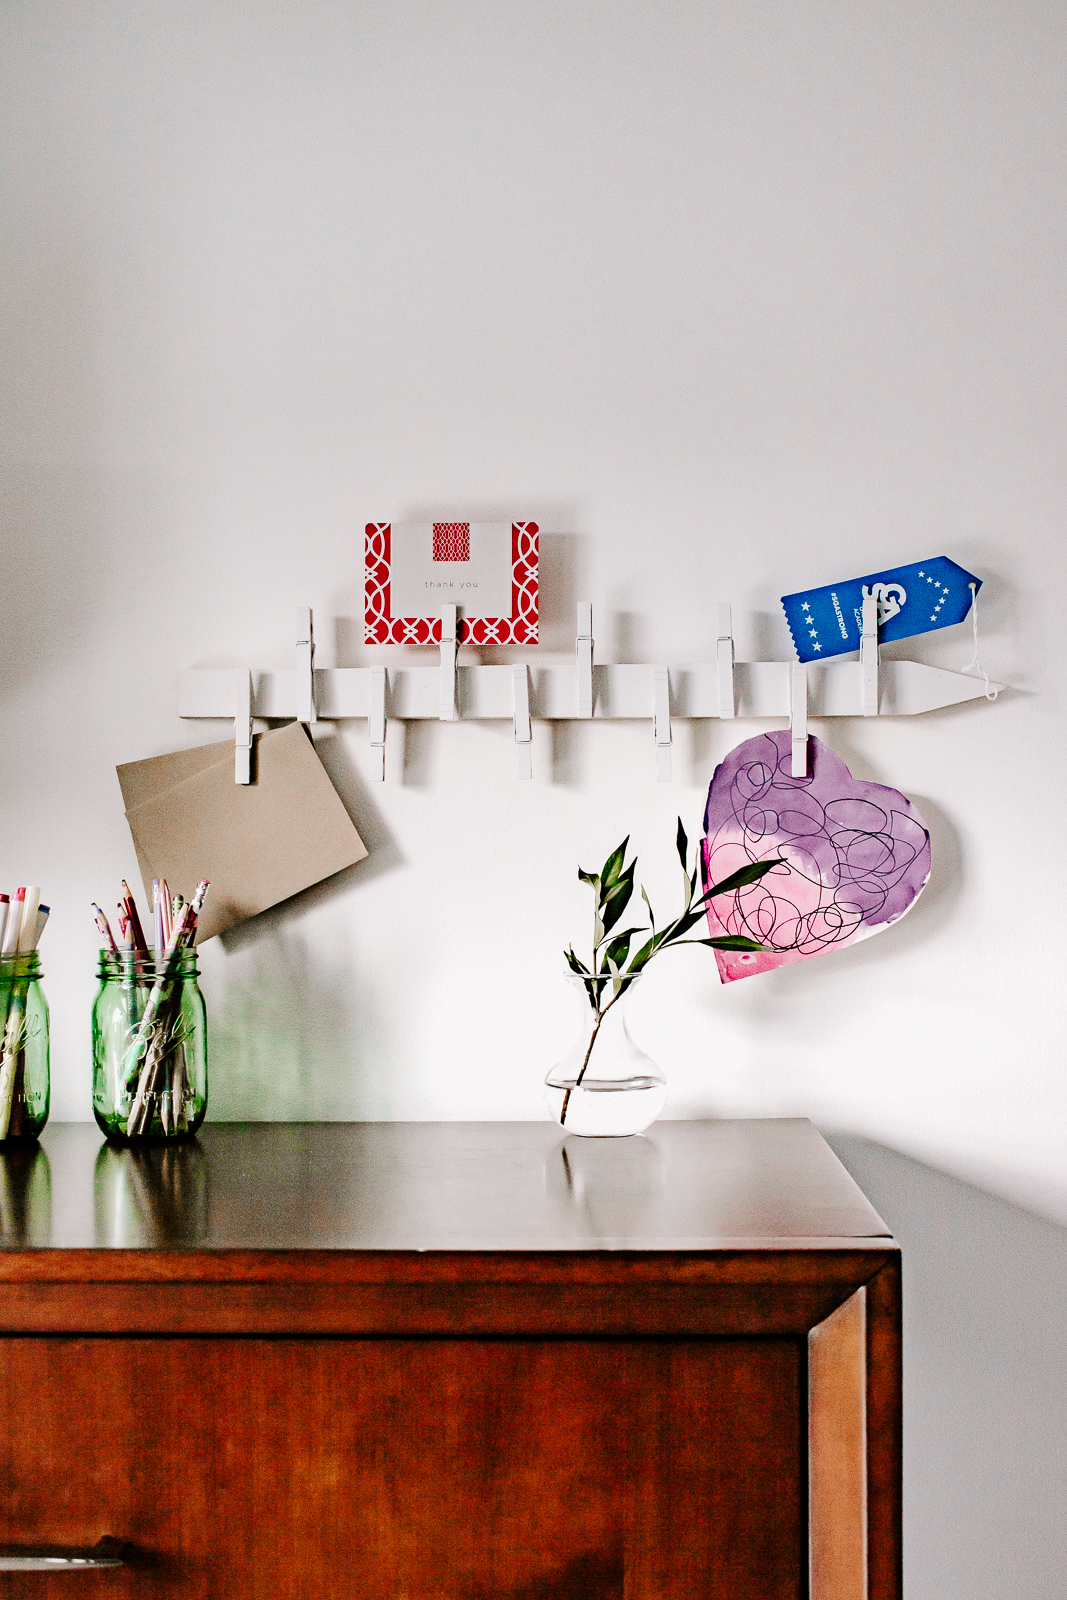
Step 4- Attach your brackets and place your shelves
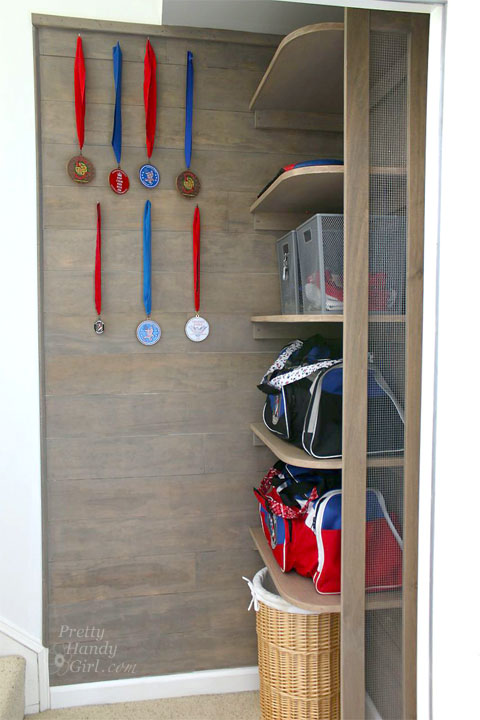
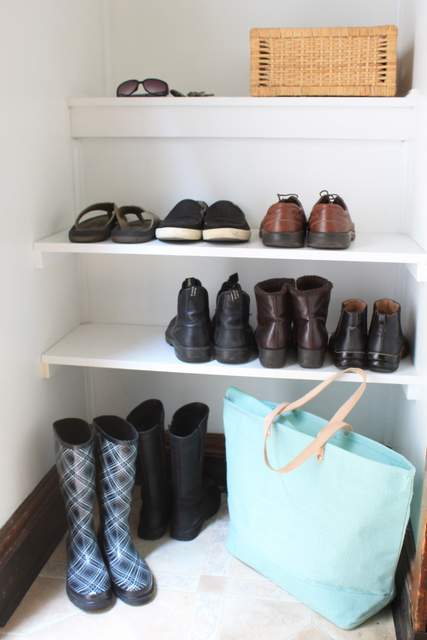
This is the fun part and doesn’t require a whole lot of explanation. The deeper shelf is best placed at the bottom and is perfect for baskets and larger items. Depending on where you place your other shelves, you can create a framed space between the tracks and the shelves for a mini gallery wall. The sky’s the limit!

Thanks for reading, and good luck creating your own mid century modern inspired shelving!

~ Discover more Tutorials from Lara ~
![]()
 Hi! I’m Lara, the creator of The Unprofessional blog and YouTube channel. I am an aspiring handy-woman with little to no experience building, tiling, landscaping, demolishing, and what have you. I’ve drilled holes in the wrong places, cut on the wrong lines and stripped more screws than I care to count. And yet, I’m on my way to customizing my home, project by project. I believe you can do pretty much anything with a few good tools, a stack of wood and a half-baked
idea.
I like to find challenges and solve them with my miter saw. When my 3-year-old son complained that he couldn’t reach the picnic table, I designed an easy-to-build folding booster seat perfect for camping trips and beer gardens. When the low ceilings in my cape cod wouldn’t accommodate a bulky barn door, I found an alternative approach to turn any interior door into a space-saving barn door. I love to share these solutions with others in hopes that the empowerment and love of power
tools spreads.
You can connect with me on Instagram, YouTube and Pinterest.


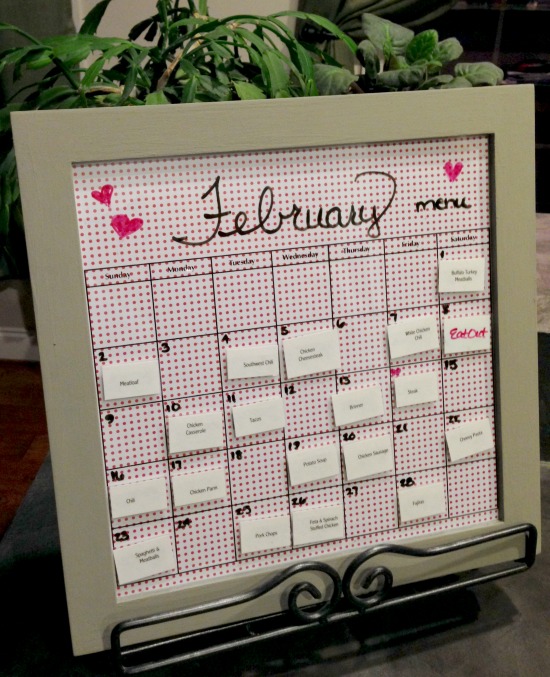
 Repurpose your space and turn a


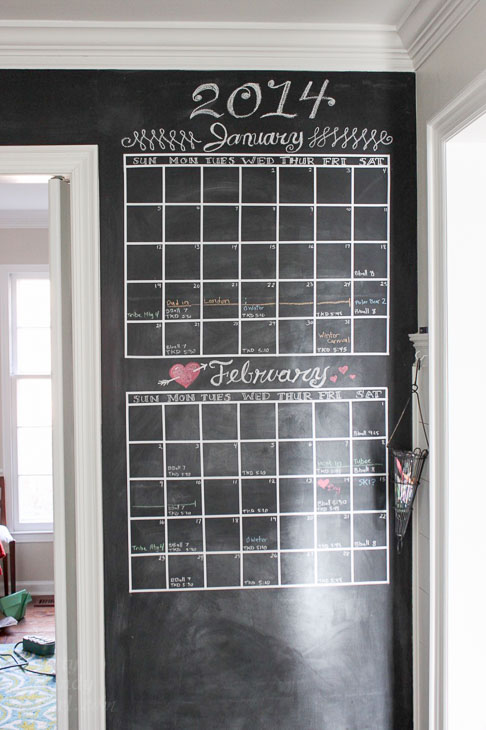
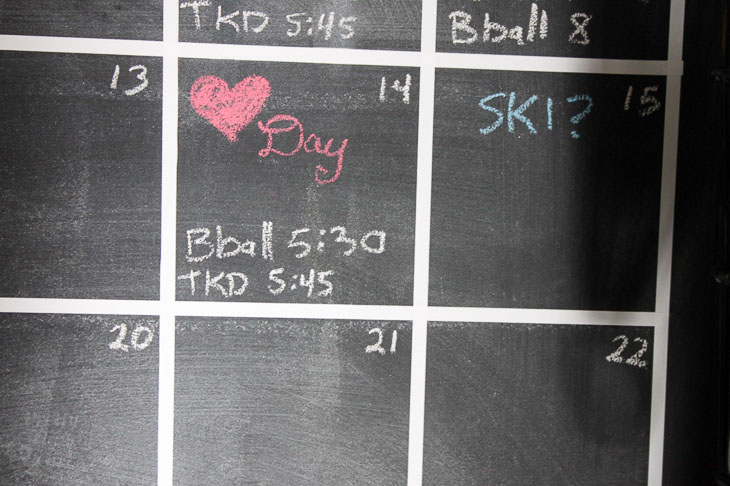
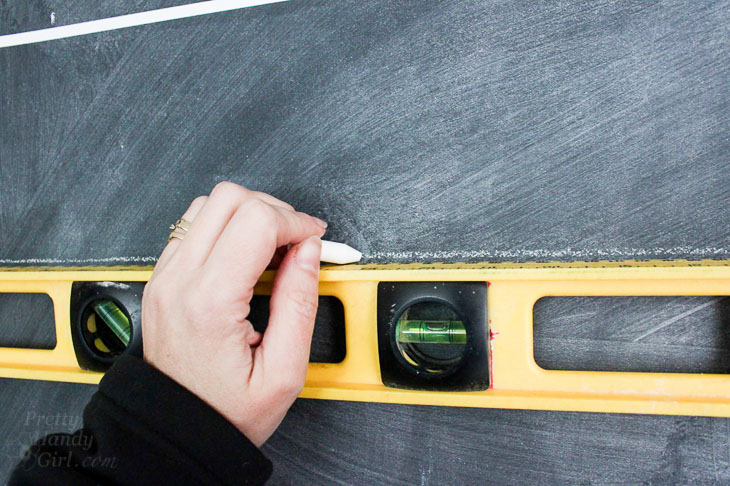
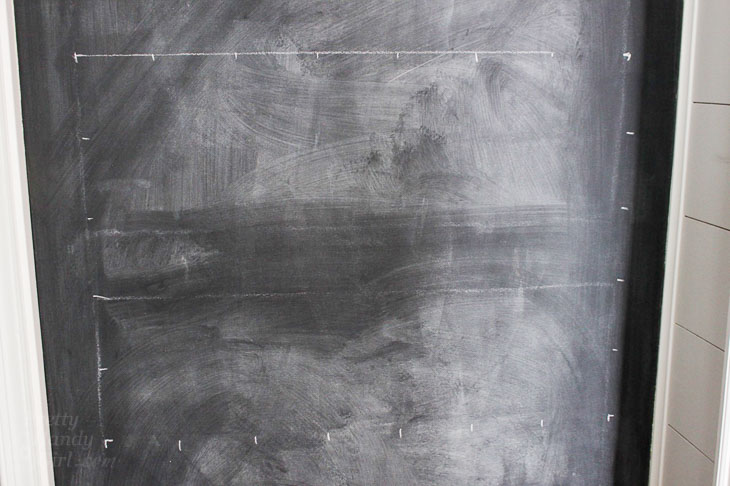
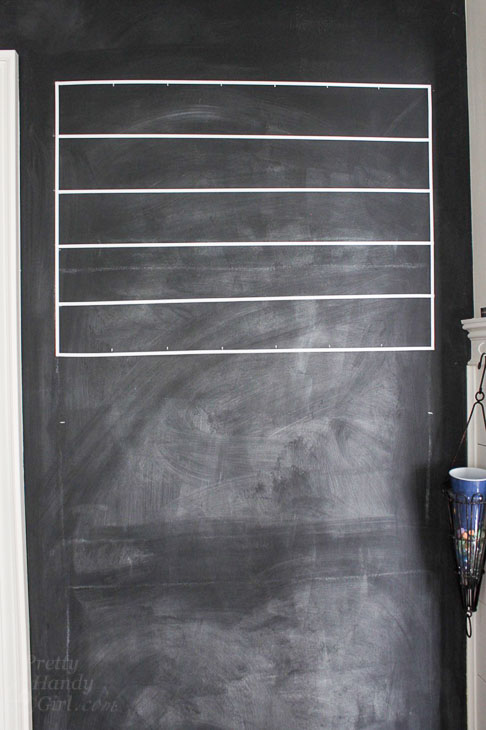
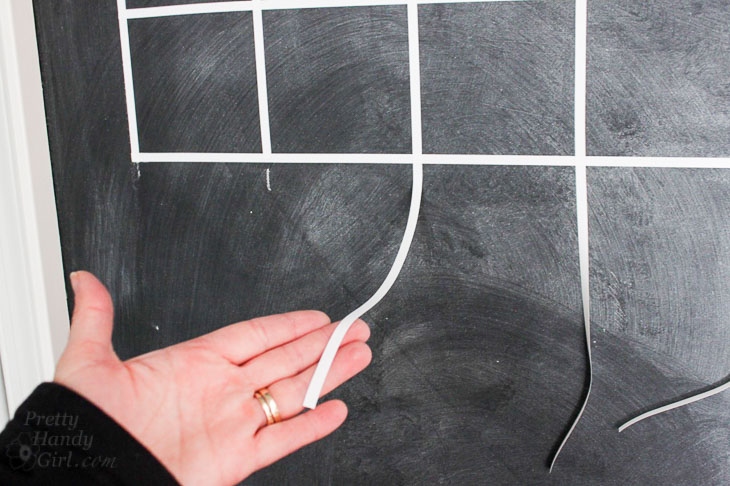
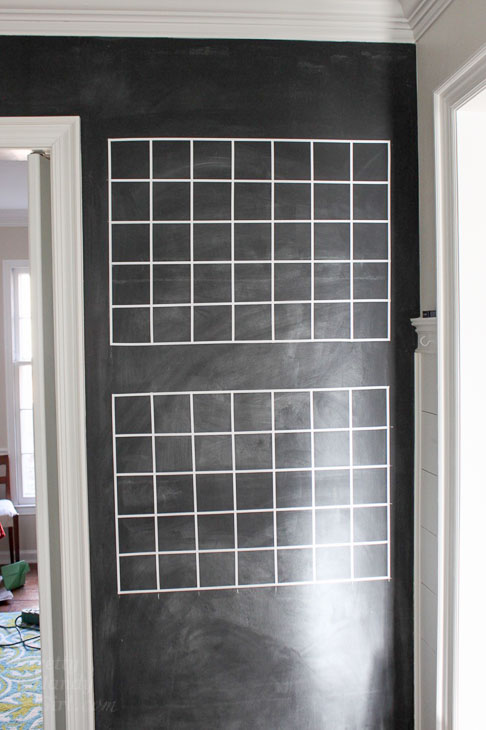
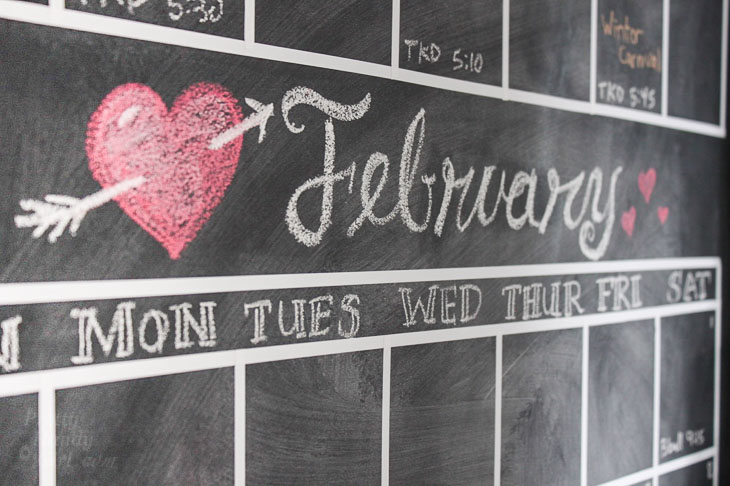
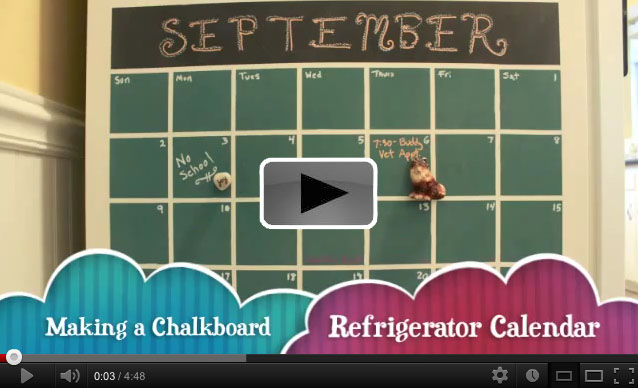
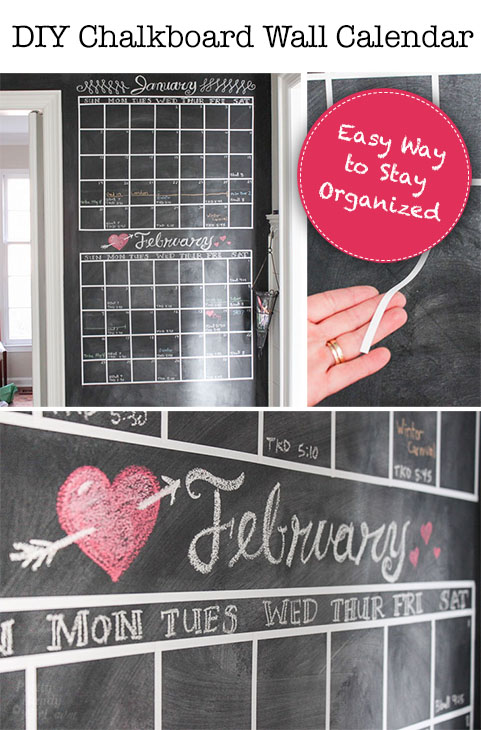 DIY Chalkboard Wall Calendar