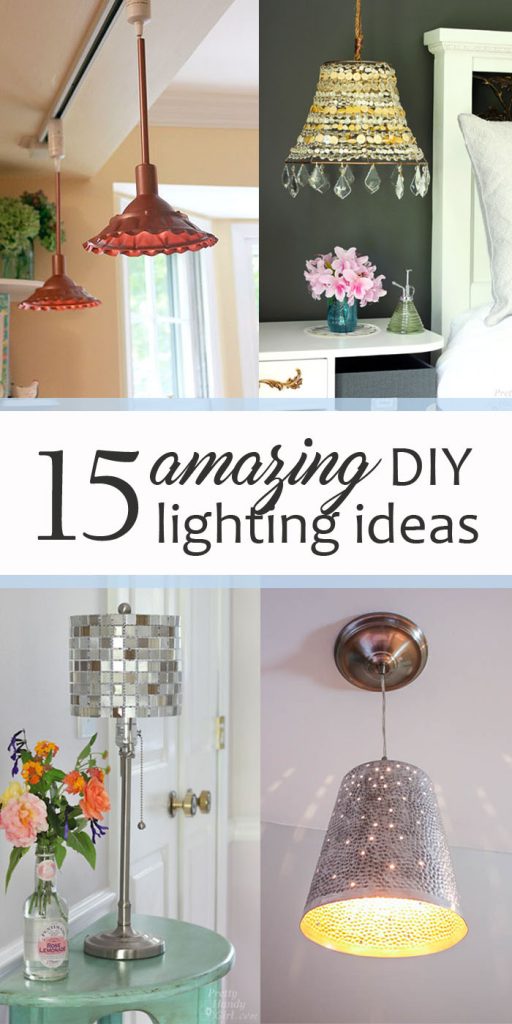
 15 Amazing DIY Lighting Ideas

Lighting can make a dramatic statement in any room and is a crucial element of good design. A great light fixture not only adds style, but it creates a mood and vastly impacts how you feel.
One of the biggest benefits of DIY Lighting is you can choose your own materials to meet your desires:
- number and wattage of bulbs
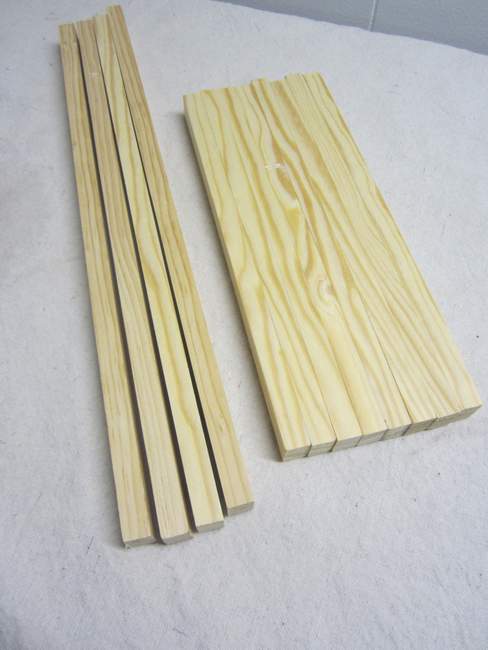
- material (metal, fabric, paper, wire, glass, concrete, wood, tile, etc.)
- color
- shape
- style (farmhouse, modern, traditional, vintage, eclectic, industrial)
- mounting (pendant, flush mount, semi-flush, wall mount)
- shades (solid, translucent, semi-transparent, perforated, open)
With DIY Lighting, the style options are endless. There are so many choices and ideas out there at all different price points. The great news is that you don’t need a large budget to have great lighting for your home, you just need a few supplies and some basic handy skills!
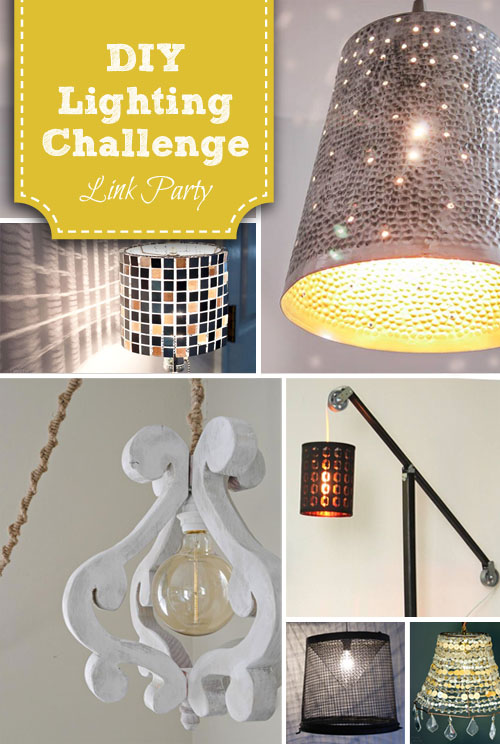
Here is a round up of 15 Amazing DIY Lighting Ideas to inspire you to brighten up your home!

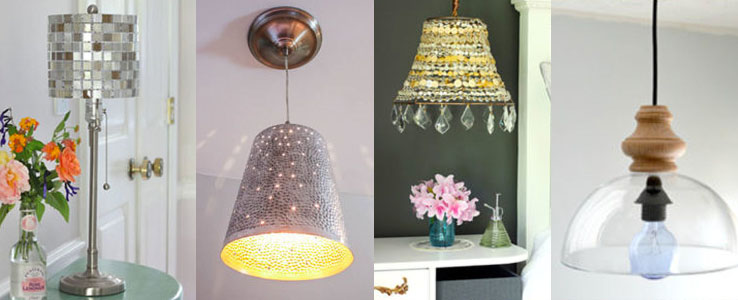
Do you have a button collection? Use it to make this amazing DIY Button Pendant Light . It’s whimsical, sparkly, fun and is sure to be a great conversation piece when you have guests visit.
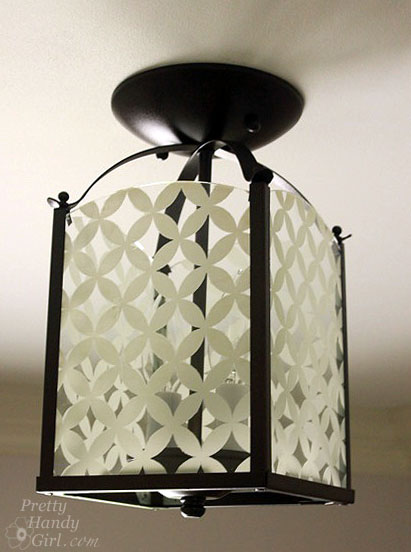
This Circle Diamond Pattern Light was created by updating an old brass light fixture. The tutorial will show you how to change out an old fixture and add some pizzazz to your room or hallway. You’ll have to see the pattern it shines onto the walls — beautiful!
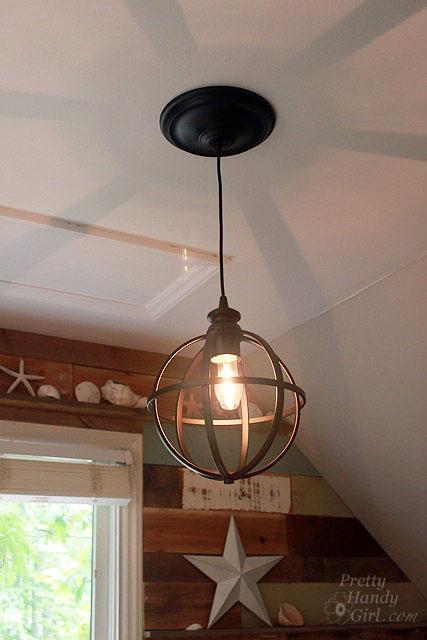
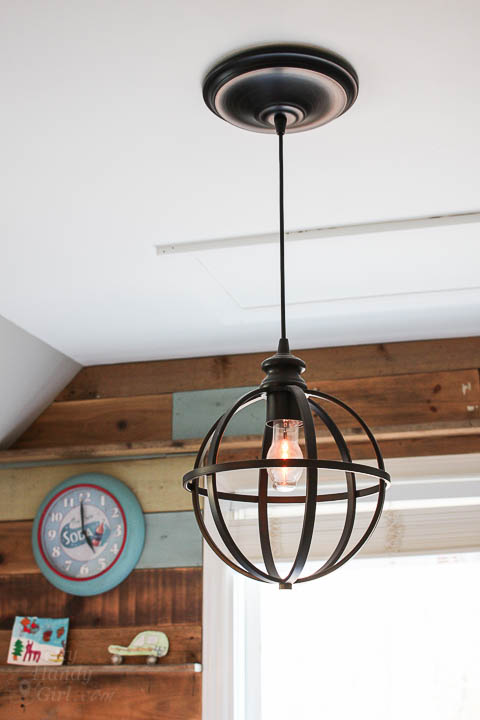
Learn how to Convert a Recessed Light to a Pendant and add a little character to your room with a great light fixture! Recessed lights are great, but sometimes you need a fixture to finish off that great room design. This tutorial will help you change out your recess light in 5 minutes or less!
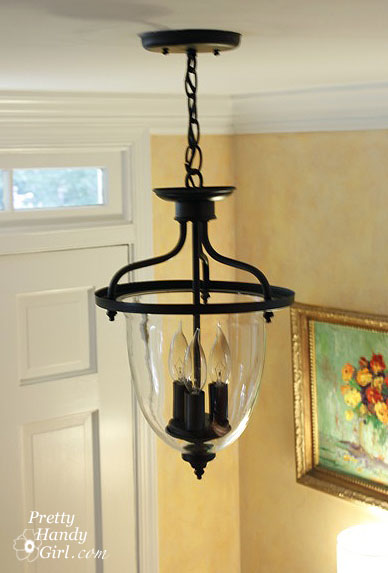
Another update, but this time you’ll learn how to make a Pottery Barn Inspired Hanging Light. See how to make a quick cosmetic change to an old fixture. No dated brass fixture will be safe after you read this tutorial.
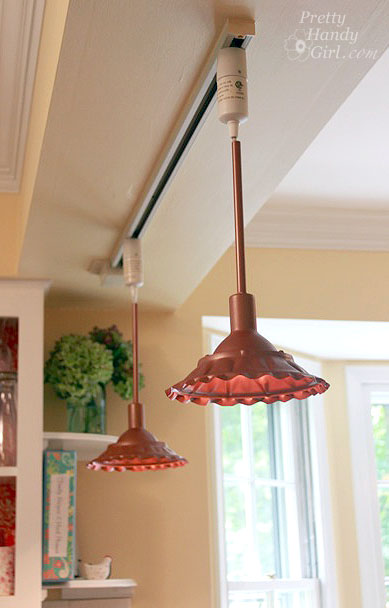
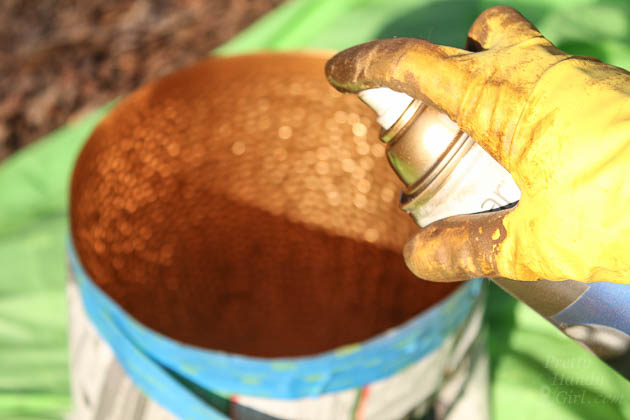
Check out these unique Farmhouse Style Copper Metal Pendants. Would you believe they were made by updating some UFO-like lights with storm collars, and spraying high heat spray paint?
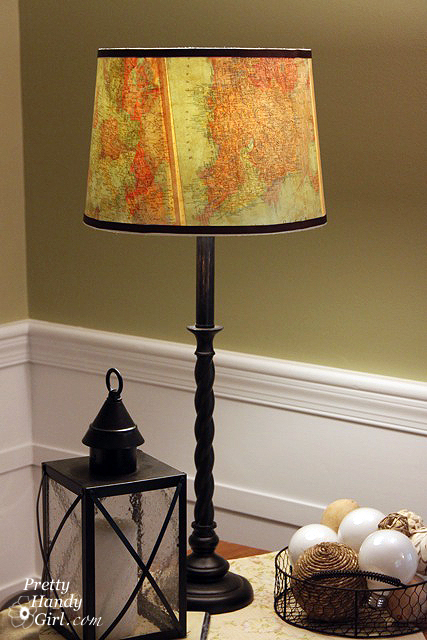
For the ultimate traveler, this Vintage Map Lampshade creates a warm glow and would be a wonderful addition for any living room or office. Plus, you can customize it with maps of places you’ve been!
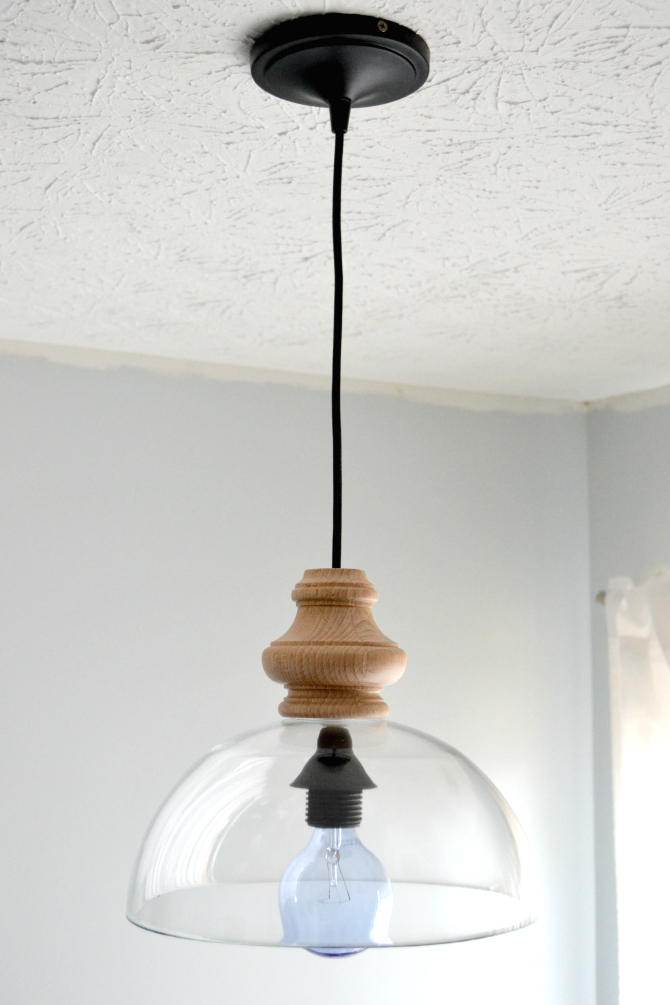
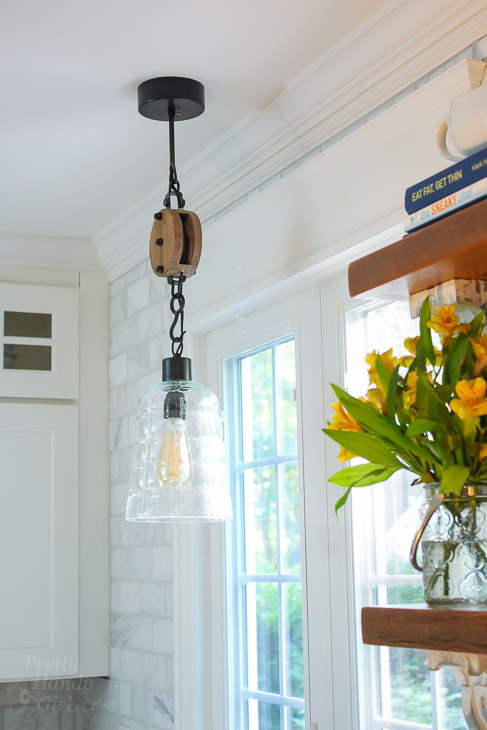
What do you do when the light you really love is sold out? You DIY it, of course! You’ll be amazed at how this knock-off DIY Glass Pendant Light by Ugly Duckling House was made. Hint: you may have one in your kitchen cabinet.
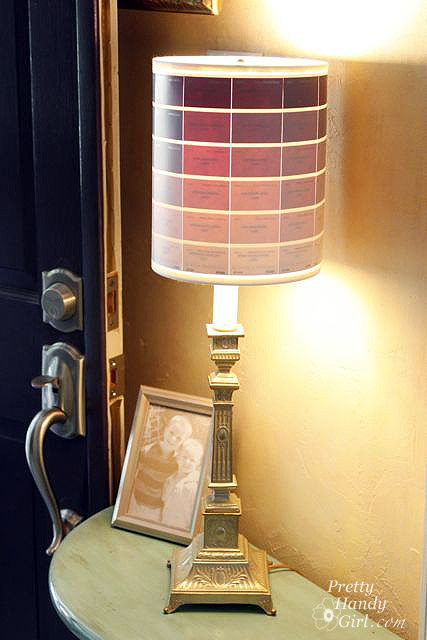
Don’t run to the store now, but you know those free paint chips they give out at the paint store? This Ombre Paint Chip Lampshade is made using those freebie paint chips. Next time you have a bunch of extras after you’ve finished your painting project, consider reusing them to make a great lampshade!
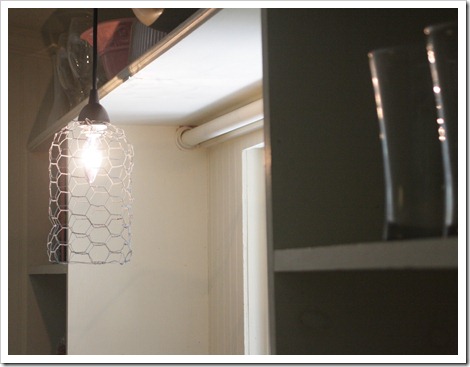
Don’t you love this Chicken Wire Anthropology-Inspired Pendant in all its simplicity? If you love rustic or farmhouse style decor, this pendant is for you.
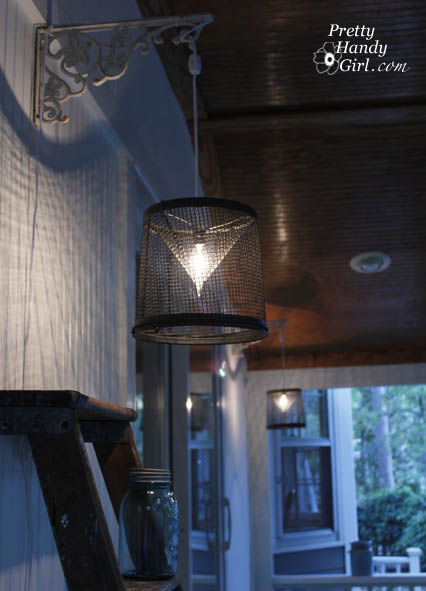
Whether you love to fish or not, these Minnow Trap Light Pendants are a great DIY option. They look great, give a lot of light, and set a casual mood.
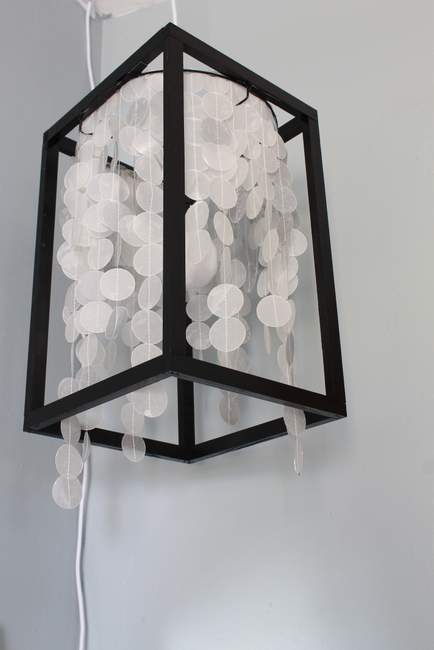
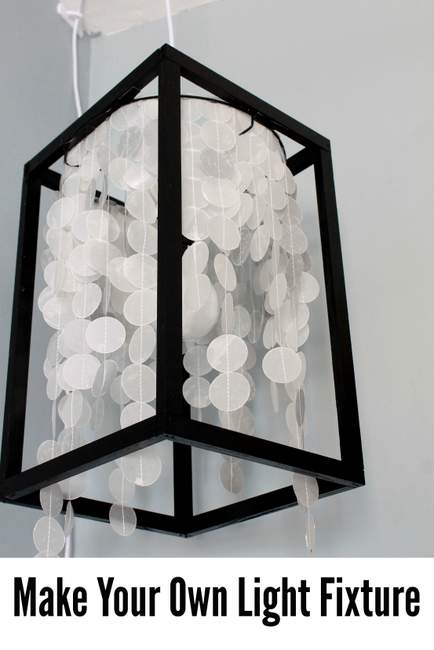
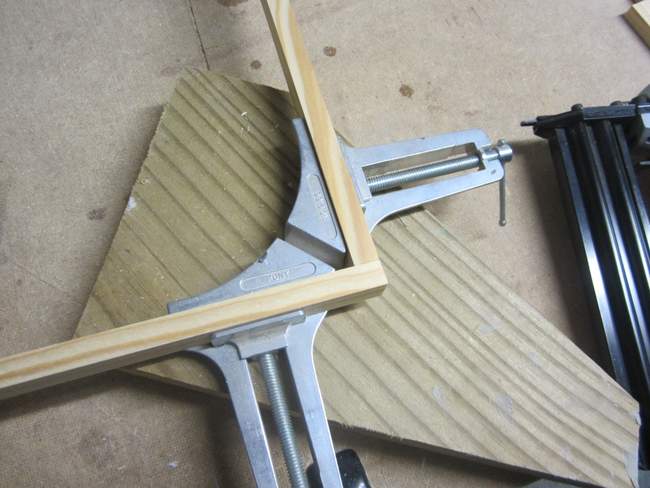
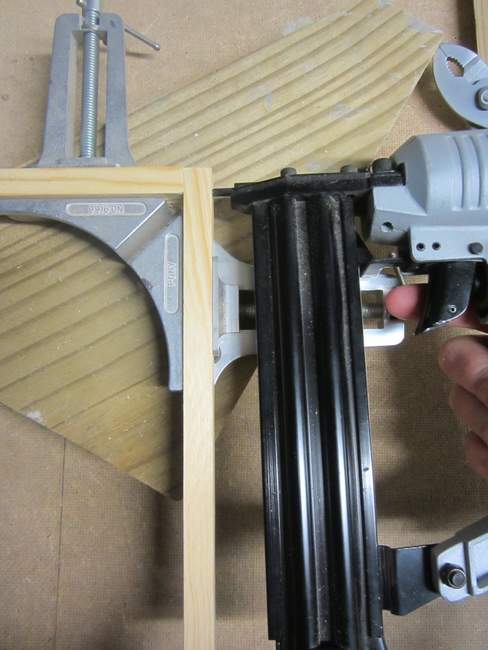
This DIY Capiz Shell Light Fixture has a beautiful feminine and modern look. Build a quick frame; add some strings of capiz shells; and you have a beautiful new light fixture!

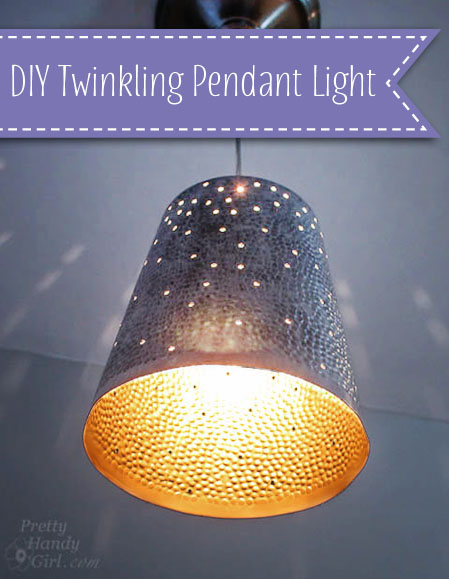
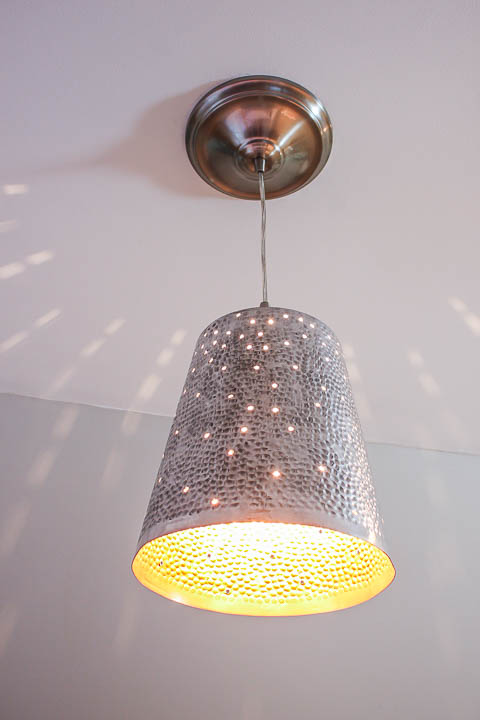
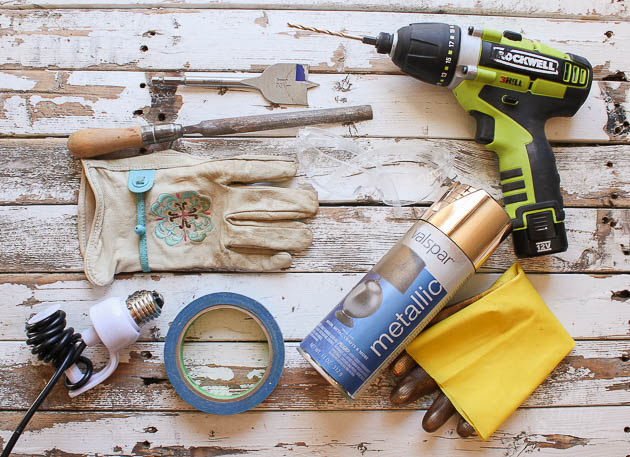
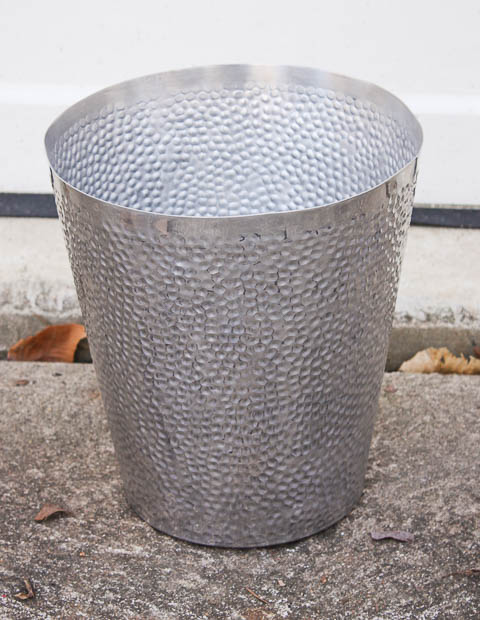
The light pattern that this DIY Twinkling Pendant Light shines onto the walls is so pretty and adds some fun and whimsy to any room. Bet you can’t guess what this pendant was in a former life!
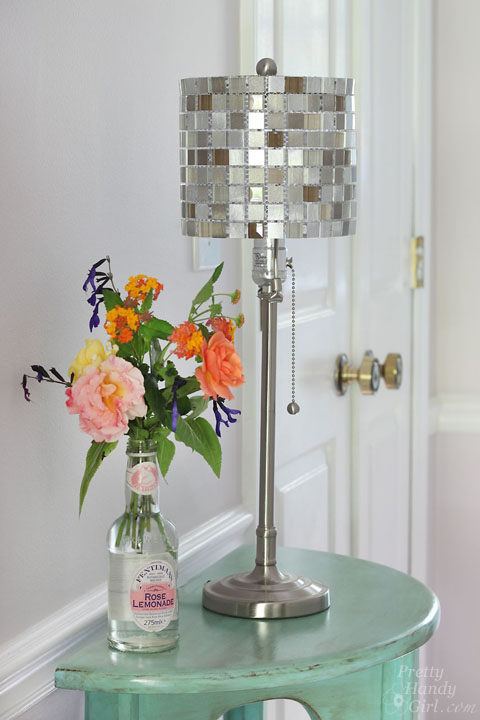
This Mosaic Tile Lampshade is gorgeous! With just a few supplies, you can add style and bling to your room without spending much money at all.
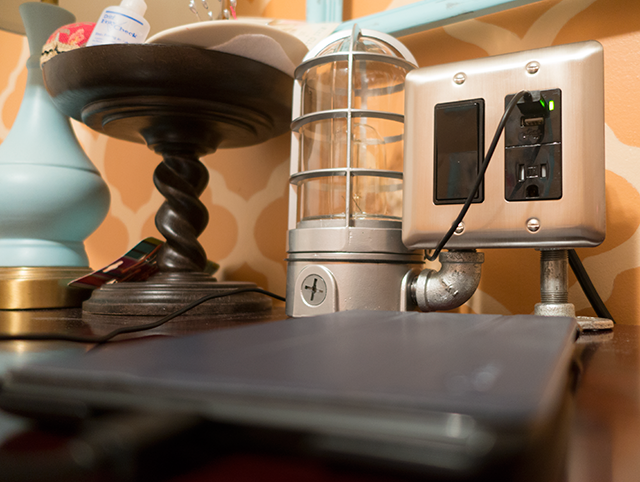
Feeling super handy? This Industrial Light and USB Charging Station would be a cool addition to any room, and we all know you can never have too many charging stations these days.
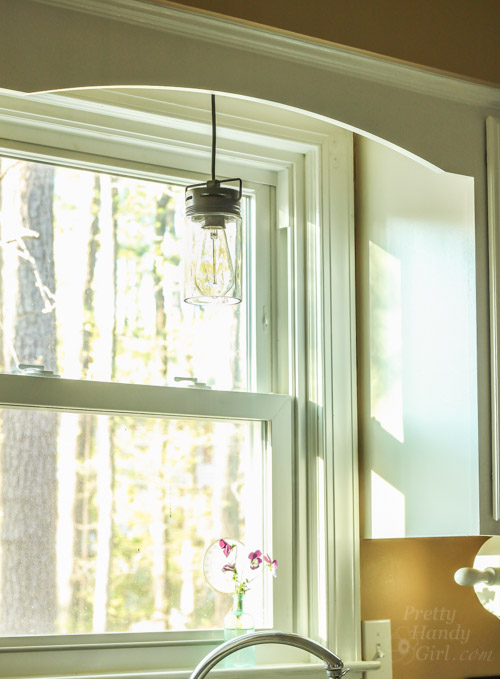
Last but not least, learn to Convert a Recessed Light into a Hardwired Light. This gives you the option to hang pendant lights over a kitchen sink. . .or really anywhere else in your home. So many options!
I hope you enjoyed this round up of the 15 Amazing DIY Lighting Ideas and found some inspiration for your home!
If you like this collection, please share by pinning the image below.

Friends don’t let friends buy light fixtures if you can DIY them! Share this post with a friend.

Now that you have your ideas for creating that light fixture, do you know how to install a hard-wired light fixture? I’m happy to show you how, it’s very easy!