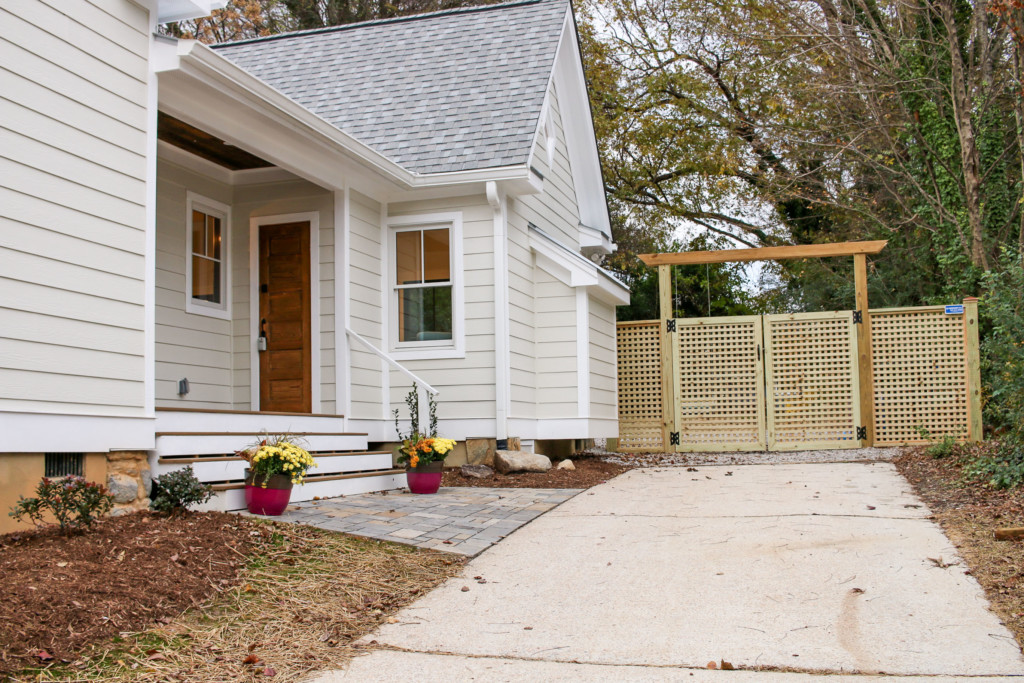
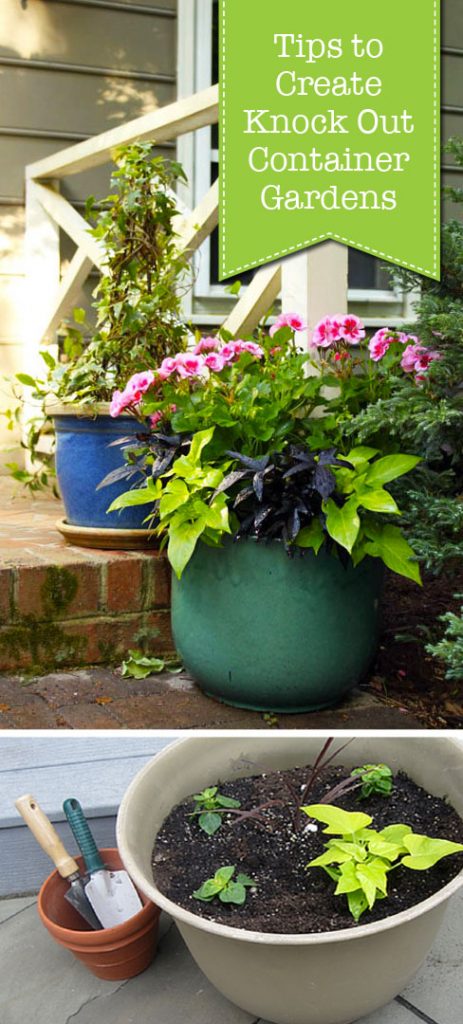
Tips to Create Knock Out Container Gardens
It’s that time of year again where the weather is warming up and we can’t get enough of colorful flowers blooming in the yard! It’s also the time of year I like to fiddle around in the dirt and create a bountiful garden. If you don’t have a space of your own to use for gardening, you can create your own oasis with container gardening. These small gardens are great for vegetables, fruit, flowers and green plant. Container gardening gives you a lot of flexibility for outdoor living.
Here are some Easy Tips to Create Knock Out Container Gardens:
(I’ve included affiliate links for your convenience. I earn a small percentage from a purchase using these links. There is no additional cost to you. You can read more about affiliate links here.)
Materials:
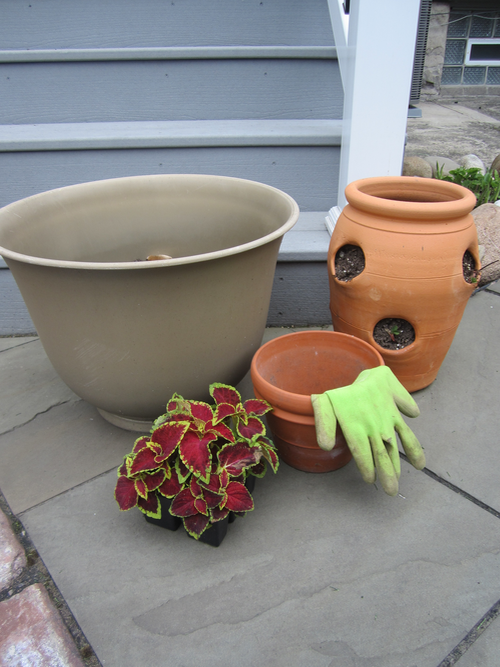
- Outdoor Pots or containers for planting (link to some large lightweight pots)
- Newspapers
- Drainage rocks
- Potting Soil
- Two to three types of plants
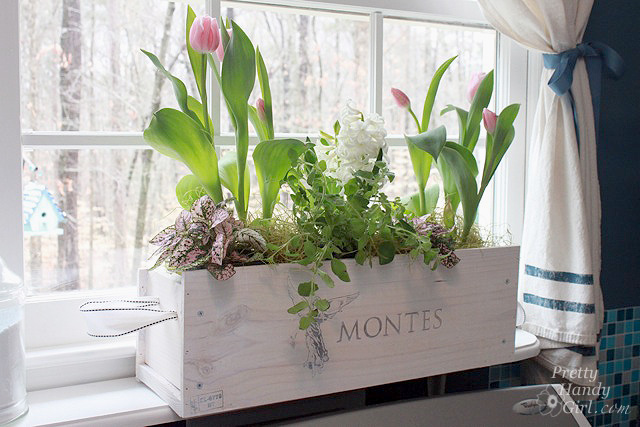
Here are some planter ideas to get your creative juices flowing:
- Planters
- Plastic or metal buckets
- Wash tubs
- Terra cotta pots
- Baskets with liners
- Old furniture
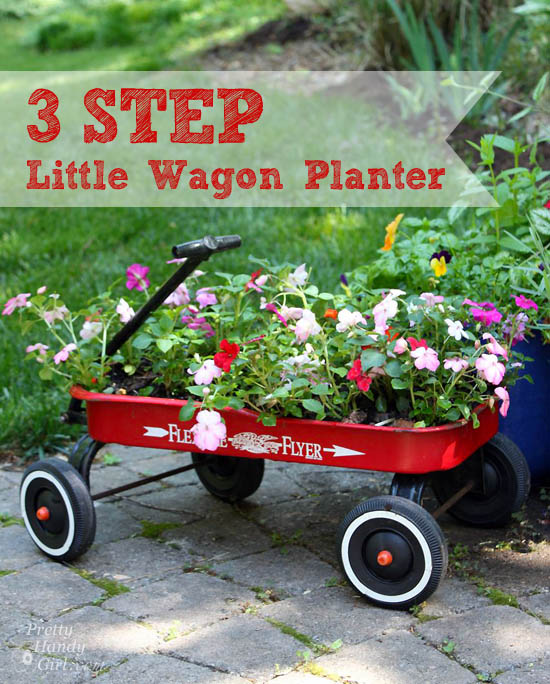
- Wagon
- Plastic storage containers (with holes drilled in the bottom for drainage)
- Dollar store garbage pails
- Wooden wine crates or barrels
- Window boxes
- Tin cans
How to Assemble Container Plants:
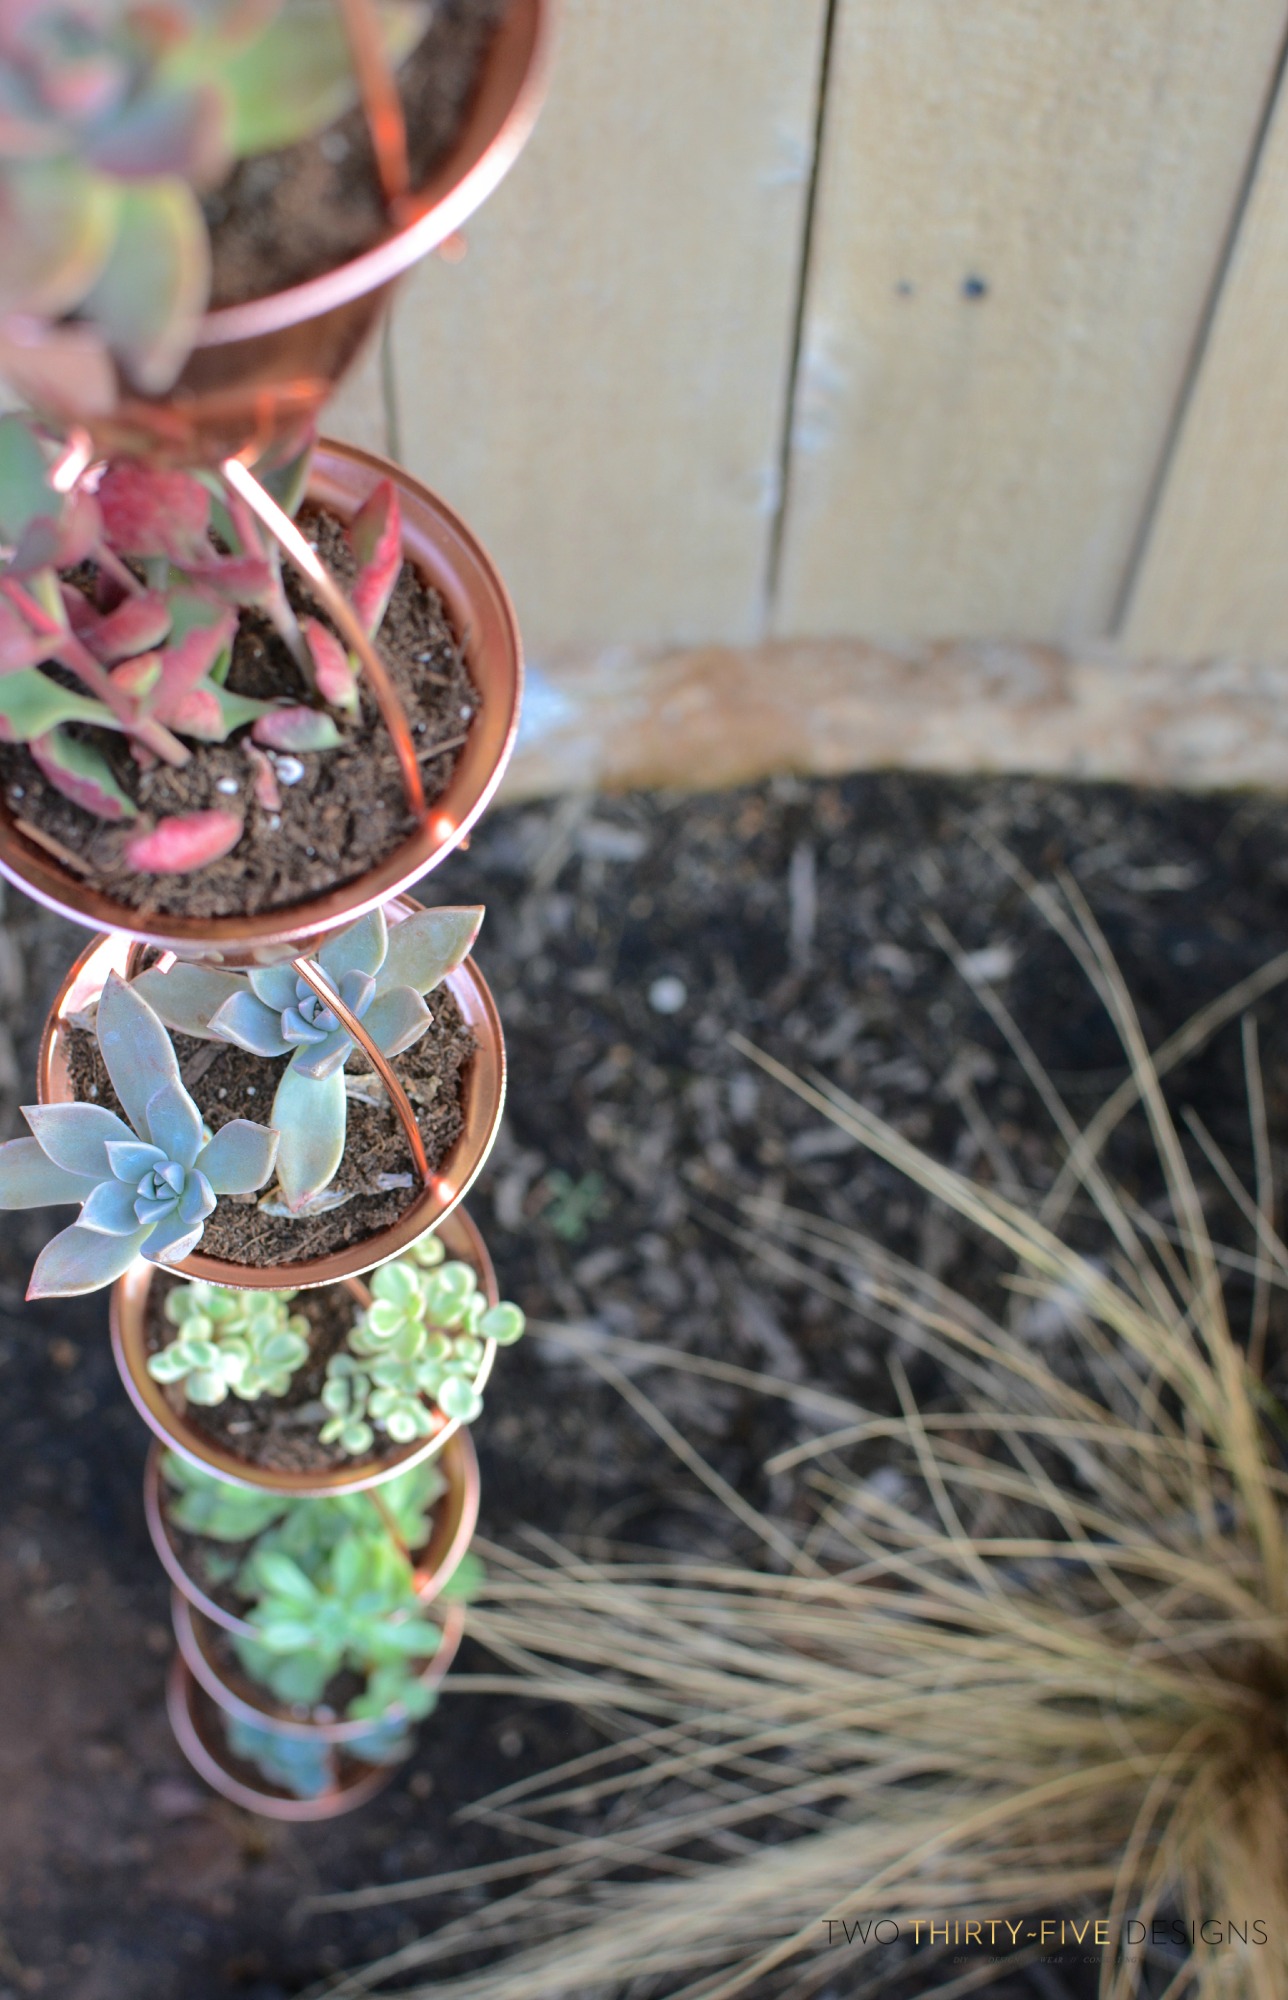
1. First, select your containers. Get creative with your containers or use something you already have at home. It’s a fun and unique way to get planting.
Clean Your Plant Container:
Clean out your container (especially if it had other vegetation in it.) Use a stiff brush to remove any dirt. Then use water and a small drop of soap to clean the container. If you need to disinfect the planter because the previous plant contracted a disease, use 1 part bleach to 10 parts water solution and soak the planter. Then rinse and let dry thoroughly.
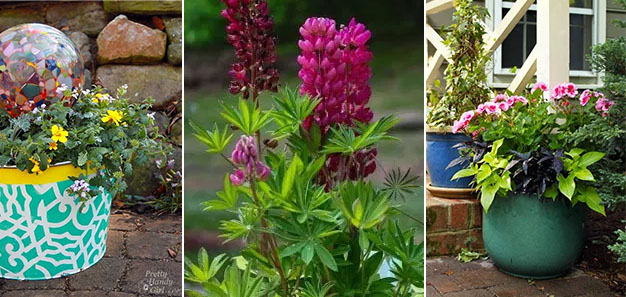
Select Your Plants:
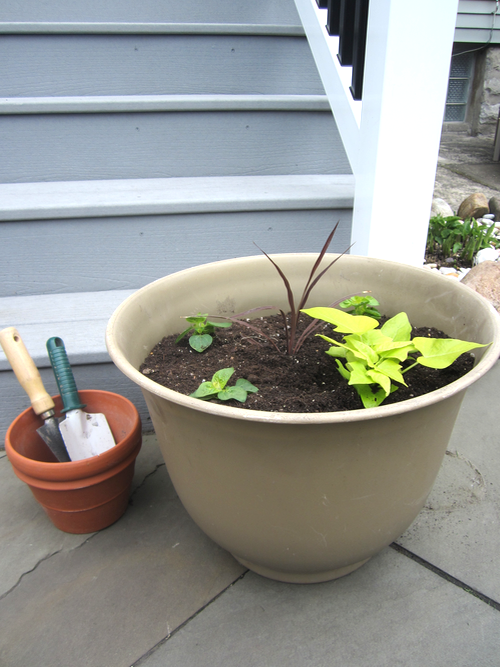
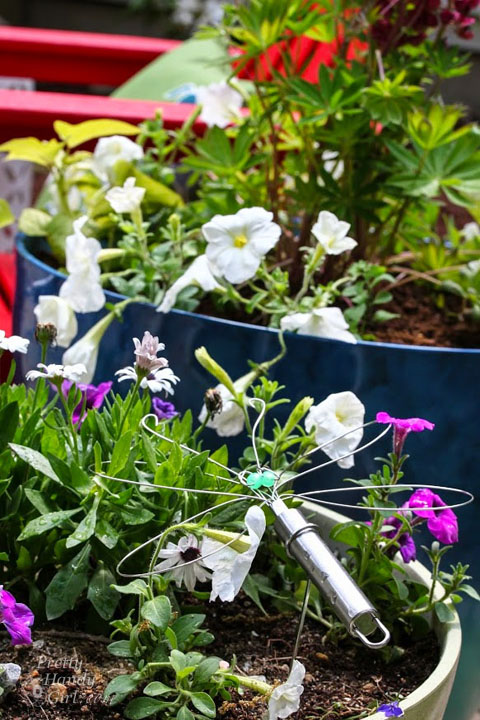
First locate plants that have the sun requirements matching your new planter’s location. Then select your plants using this simple rule of three: “Thrill, Fill, Spill.”
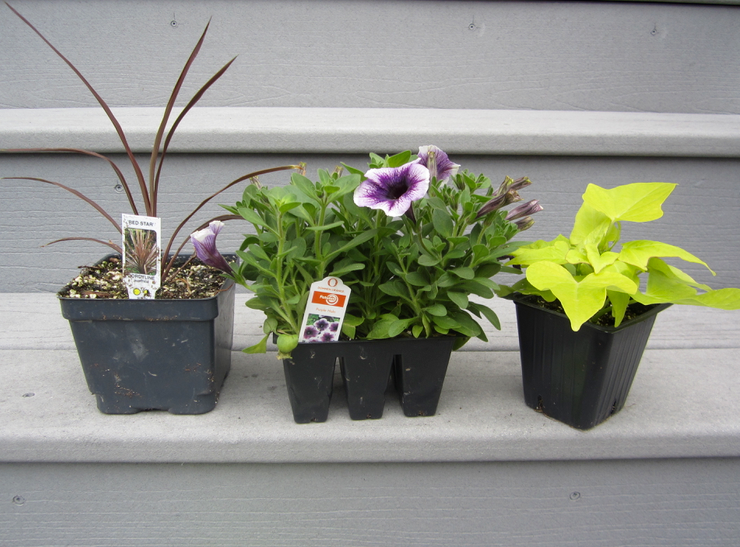
Thrill: Select one tall plant to give the arrangement height and excitement, the “thrill.” Selections are usually something tall.
Fill: Next pick something that will grow full and fill in the open spaces in the container. This will take up the most real estate in your container garden.
Spill: Then choose plants to cascade or something to fall or “spill” out of the container and flow onto the ground.

Select Planting Material:
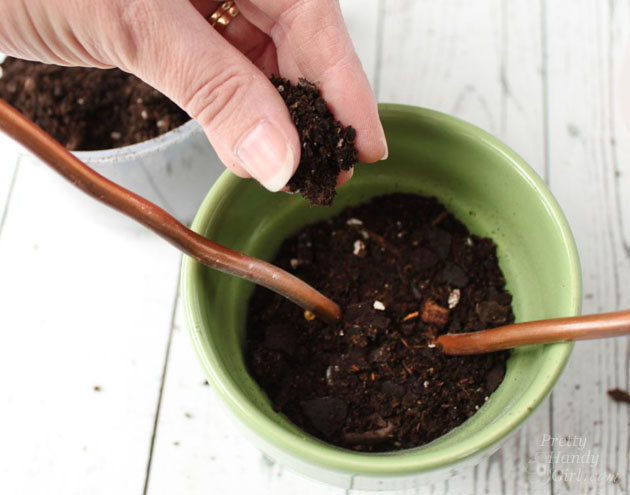
It’s important to select a good potting soil (not a topsoil or garden soil.) Potting soil will give your plants the right nutrients to grow and flourish.
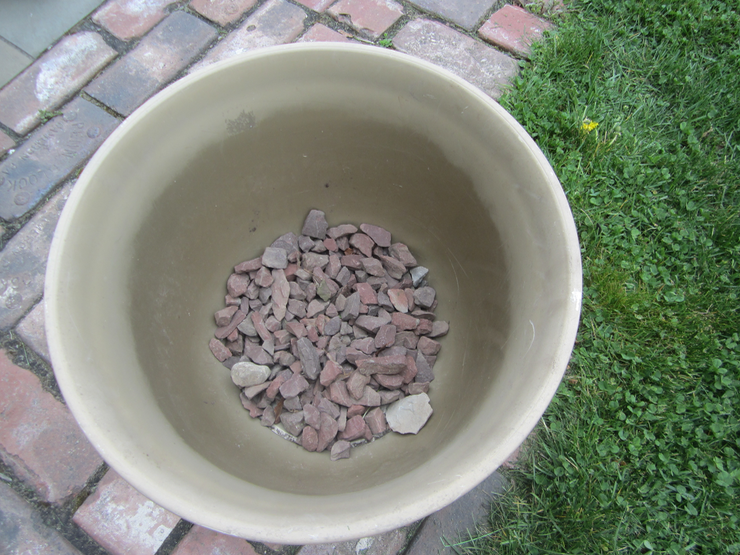
Proper Drainage:
Add drainage to your containers. This can be as easy as crumpled up newspapers or small rocks to allow the water to drain from the pot. A pot that doesn’t drain will rot your plants and flowers.
Fill your planter with soil and the plants. Making sure to allow room for the plants and their roots to grow.
Water the newly planted container thoroughly especially the first two weeks while the plants get accustomed to their new container. Then water when the soil starts to feel dry. Remember container gardens tend to dry out faster than a ground planted garden.
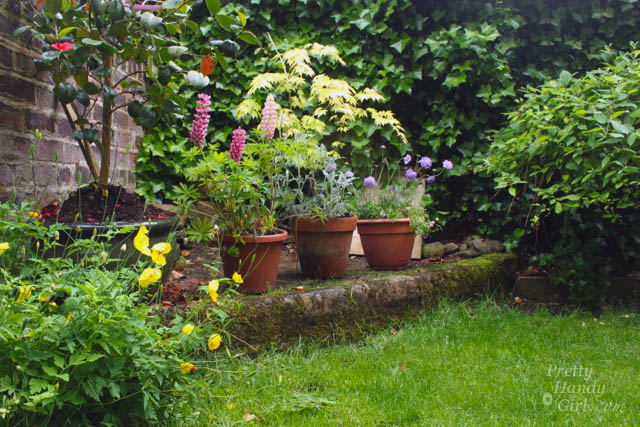
Soon you’ll have a knock out container garden!
Here are some more tips that will make container gardening easier for you:
How to Lighten Containers:
Although newer containers are losing weight with new materials. They can get heavy once loaded with plants, soil and water. To lighten up your pots, bunch up newspapers and put them in the bottom of the containers. Not only will this act as drainage for your plants, it will decompose naturally and use less soil. You can also fill the bottom of tall planters with pine bark mulch, rigid packing styrofoam, or plastic bottles. Just make sure you have enough soil on top of the “filler” material to support a healthy root system.
How to Move Containers:
Use plant stands with wheels to easily move containers. Not only will wheels protect your floors inside, it also helps you arrange the containers without strain. Alternatively, you can add a cut piece of felt under your indoor planter pots for easy sliding on hard floors.
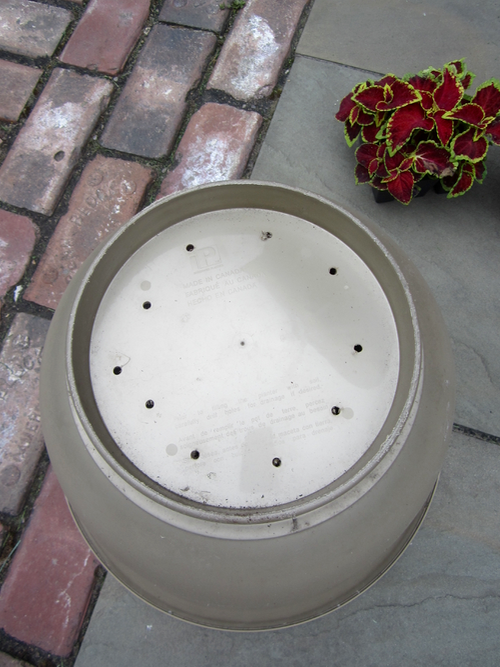
How to Add Drainage:
If your pot doesn’t have drainage holes, you can add your own. Simply use a drill to drill holes in the bottom of the container.
Don’t walk, run to your local nursery today and get some plants that grow well in your region. Have fun selecting plants. These easy tips will have your container garden looking like a true knock out in no time and will make those neighbors jealous.
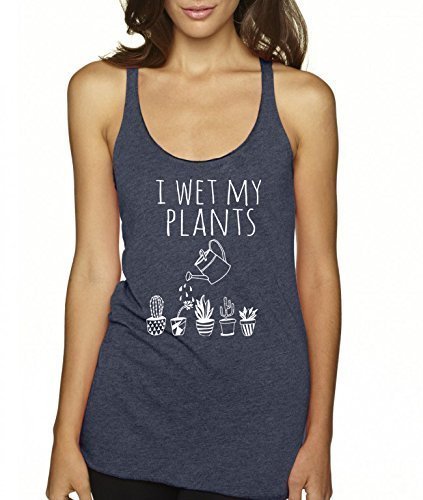
Then as you become a plant lover like I am, you’ll laugh at this funny plant-themed tank top:
Have fun in the garden and hope to see you at Decor Adventures soon!

![]()
 Hi, I’m Jessica, and I live in Upstate New York in an old Colonial home with my husband, two children, and DIY partner, Dan. By day I’m a worker bee, but by night I’m a knee-pad wearing, drill-wielding, spray painting do-it-yourself project queen.
In between all that I blog at Décor Adventures, where I share DIY tips, furniture makeovers, home improvement projects and more. That fun happens at our first home, which was built in 1900 and has lot of old house charm
I’d love to connect with you on Facebook, Twitter, Pinterest, Instagram, and Google+.
~ Read more of Jessica’s tutorials here. ~
Don’t forget to pin this image to share with a friend:
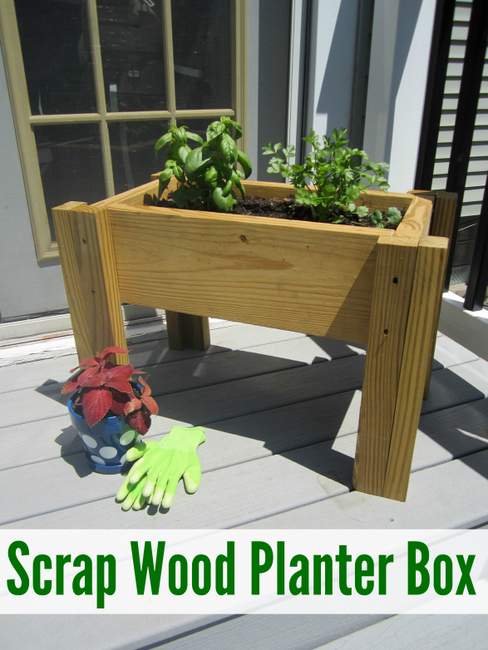
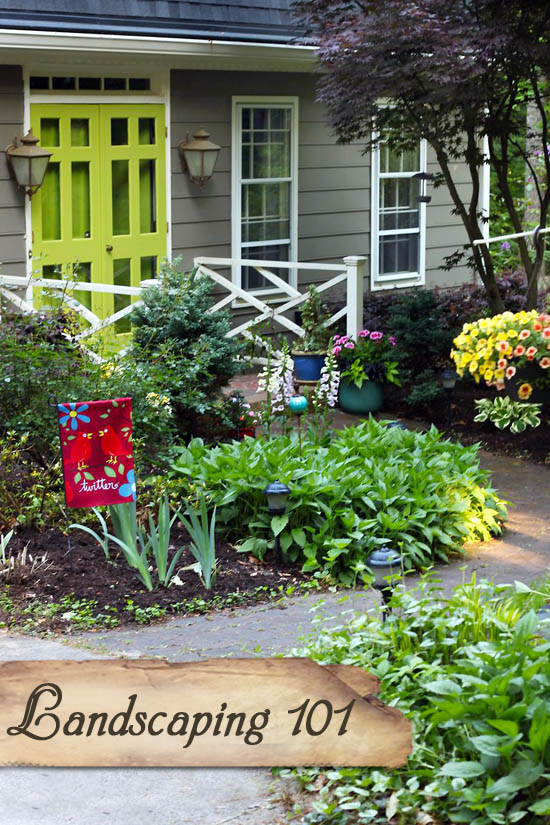
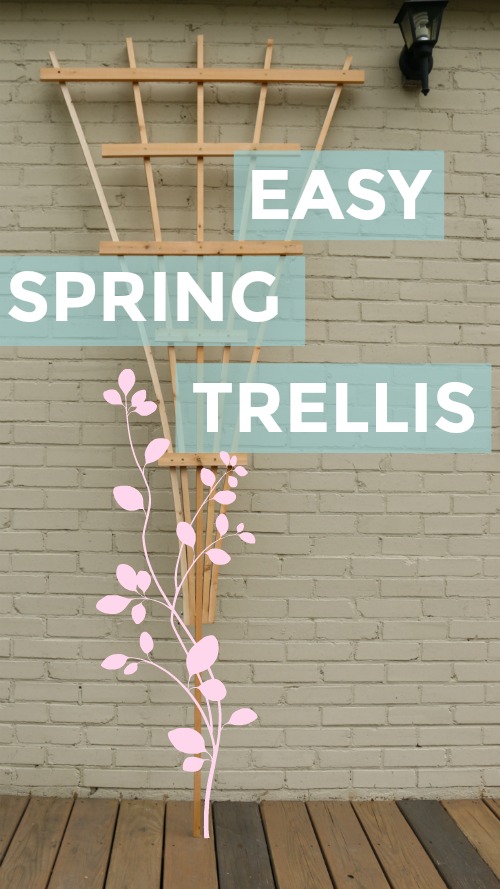
If you want more ideas for container gardening or landscaping tips, you’ll love these tutorials:


 Hi! I’m Lara, the creator of


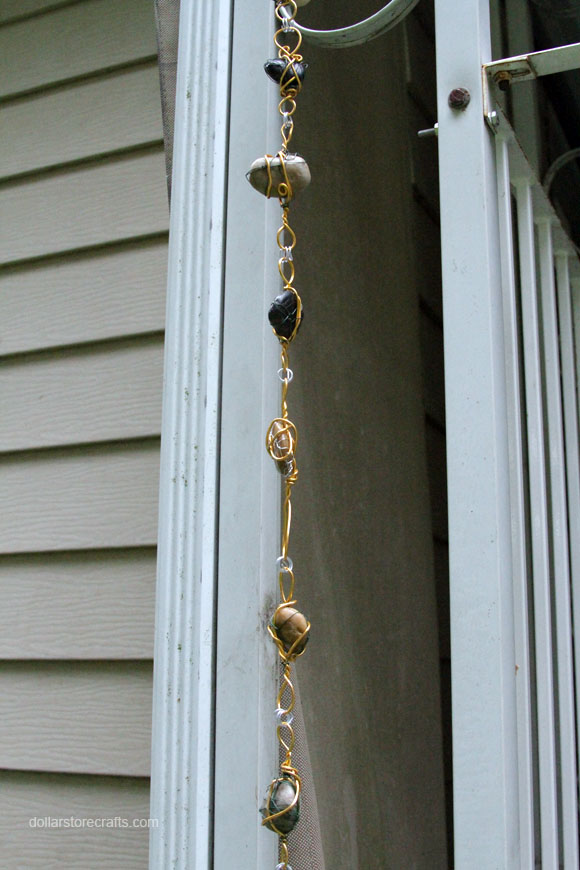
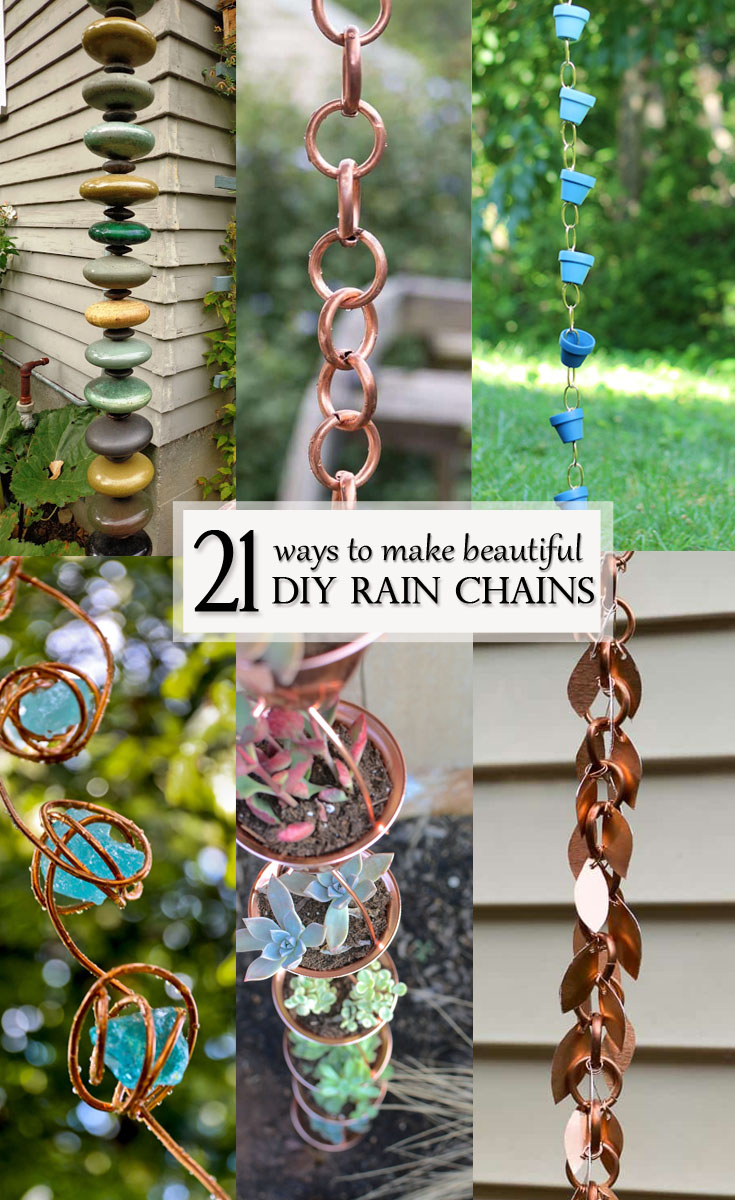
:format(jpeg)/http://assets.curbly.com/photos/0000/0013/8108/chain_large.jpg)

.jpg)


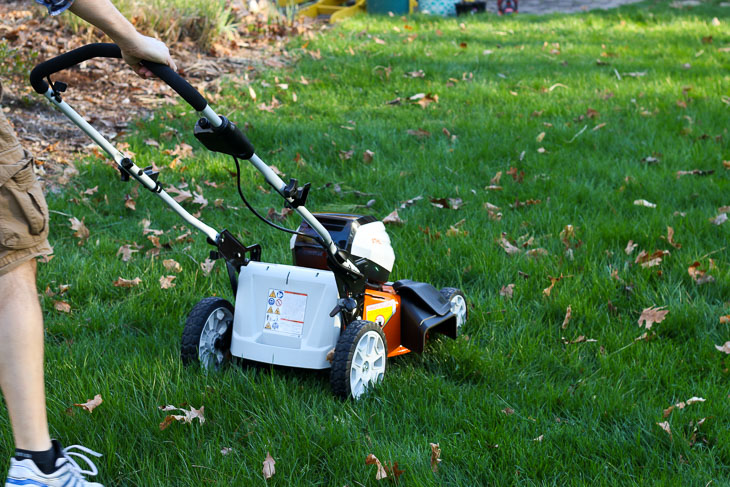
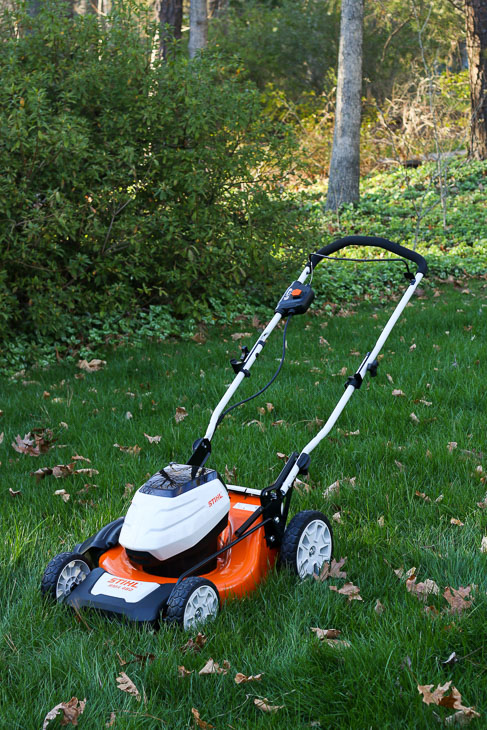
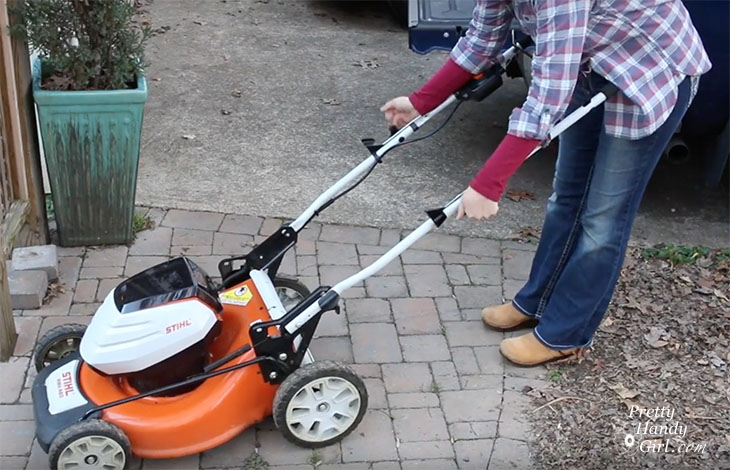
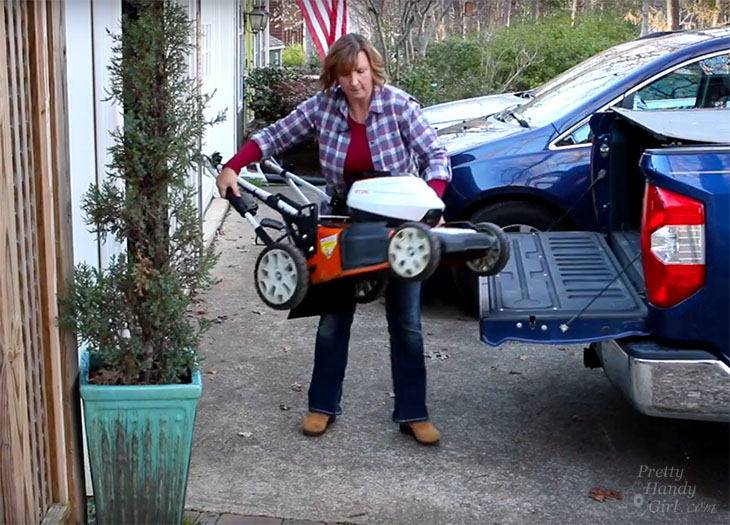
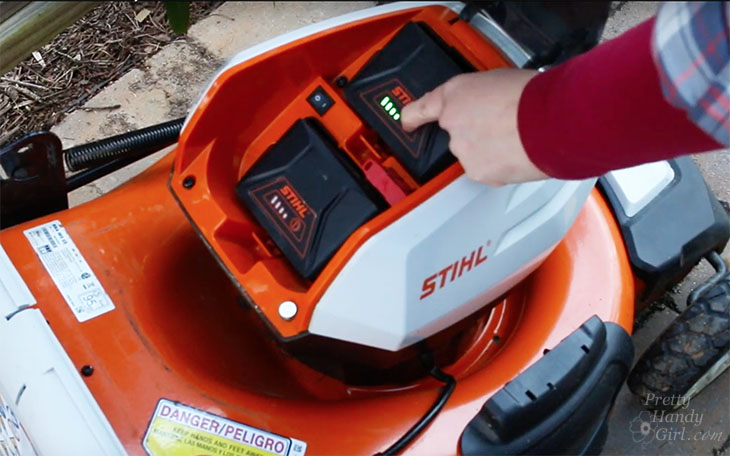
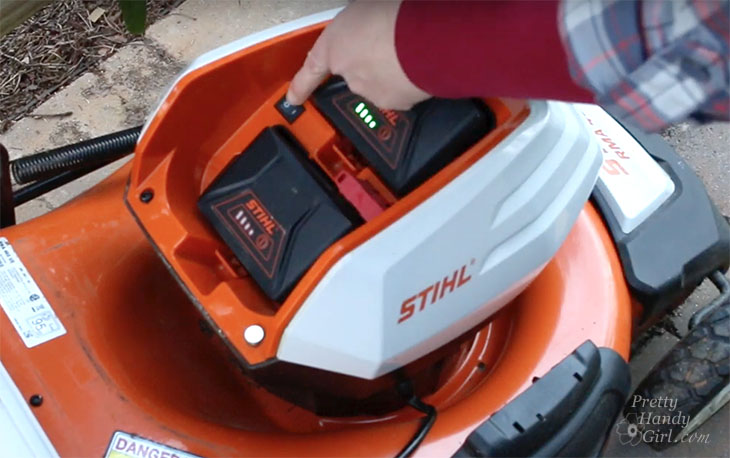
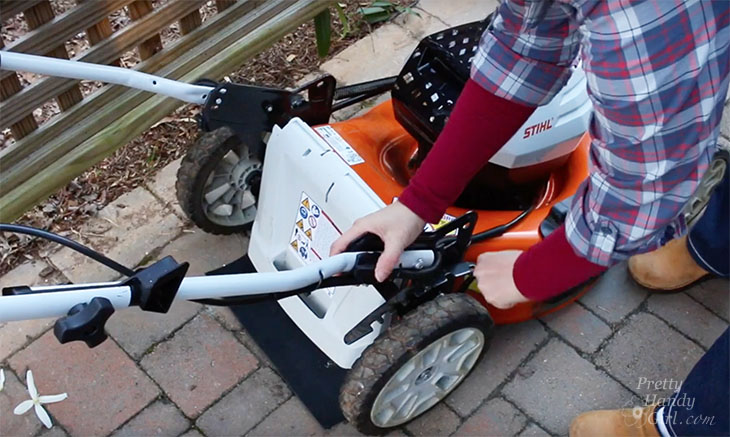
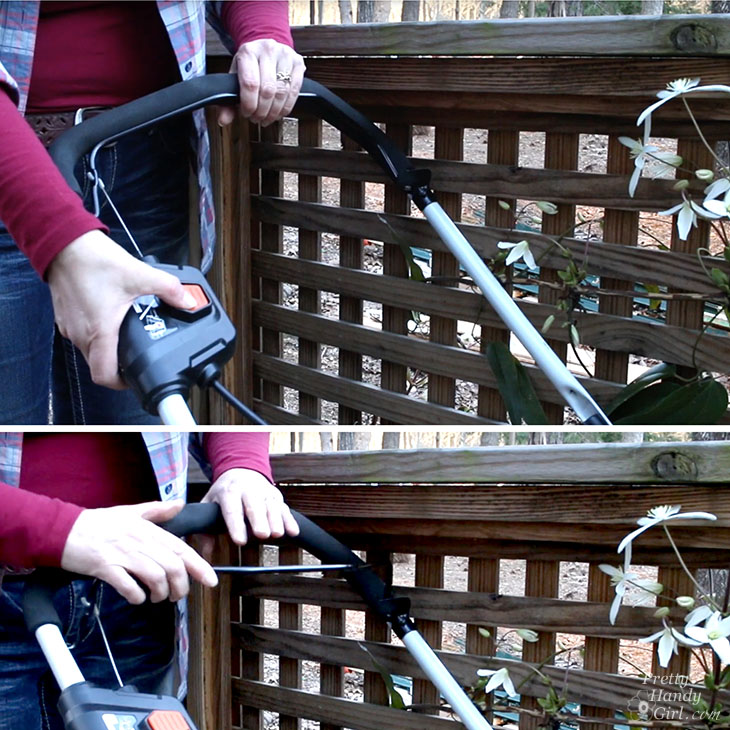
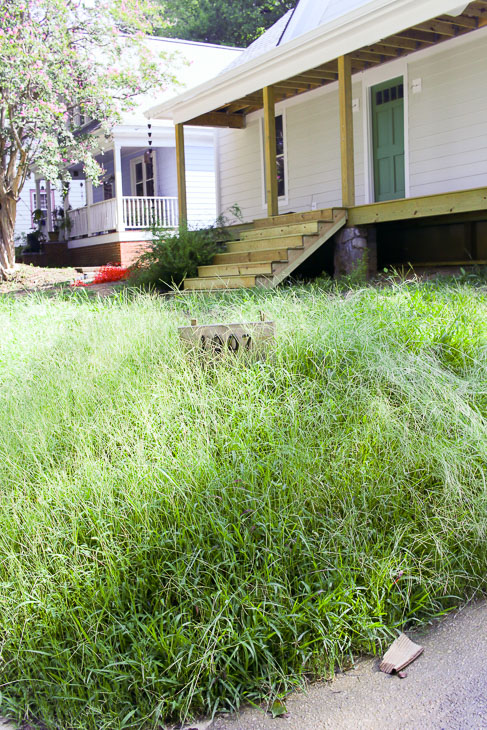
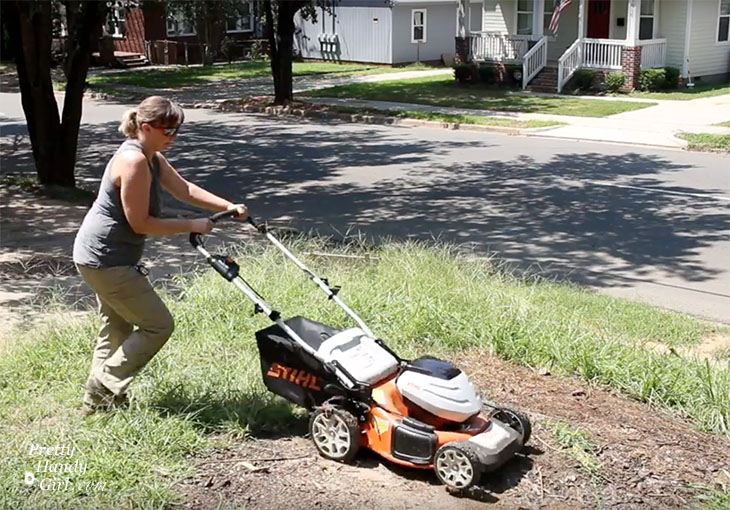
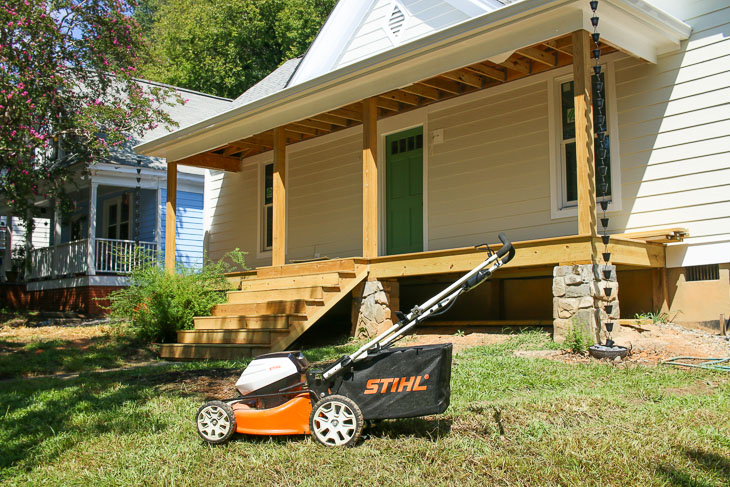
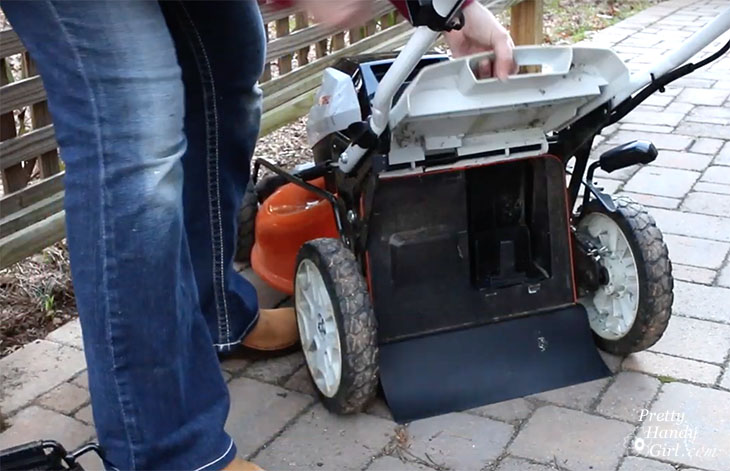
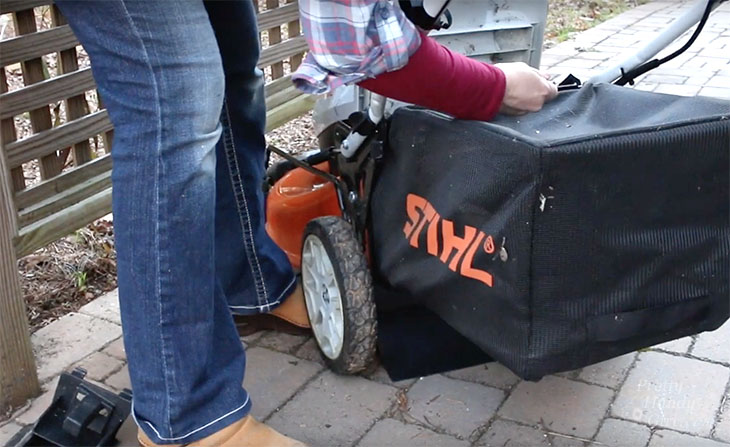
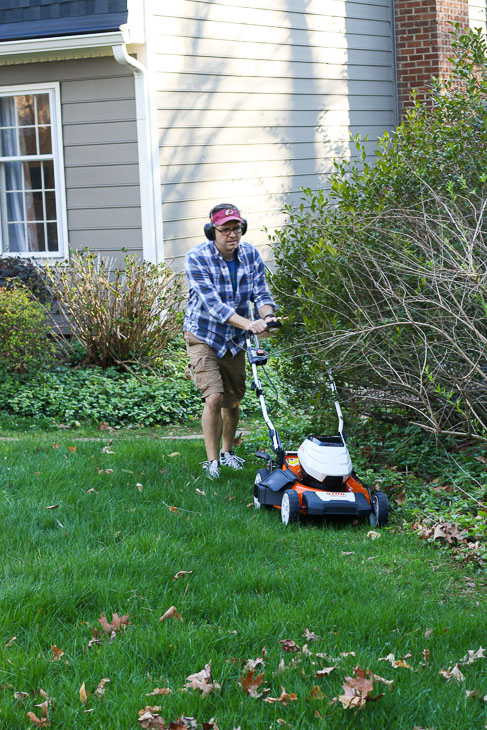
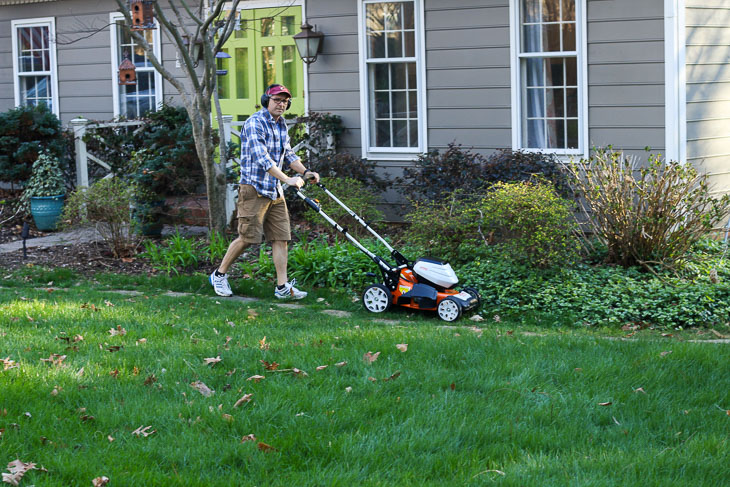
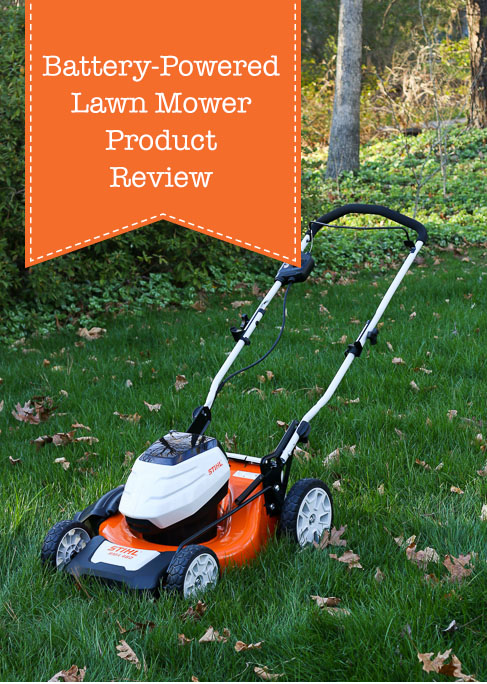
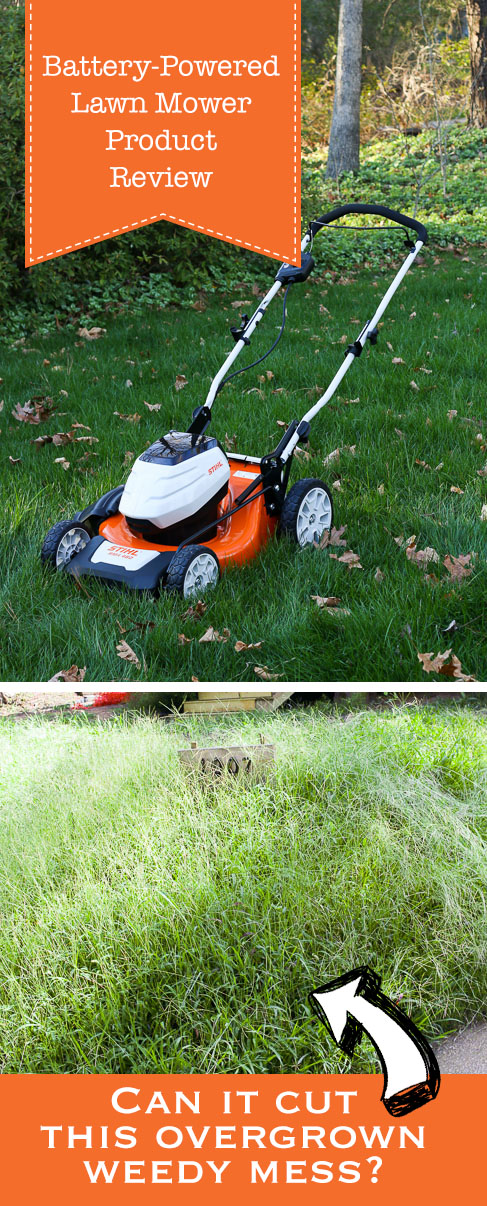 Can This Battery-Powered Lawn Mower Really Replace a Gas-Powered Mower?