Festive DIY Napkin Rings for your Holiday Table
Happy Holidays! I thought it would be very apropos to share this easy last-minute holiday napkin ring tutorial with you all. It’s that time of year when time is short and things are busy. The last thing we need is to stress about table settings. If you happen to need something quick to dress your tables, these festive DIY napkin rings will have you covered!
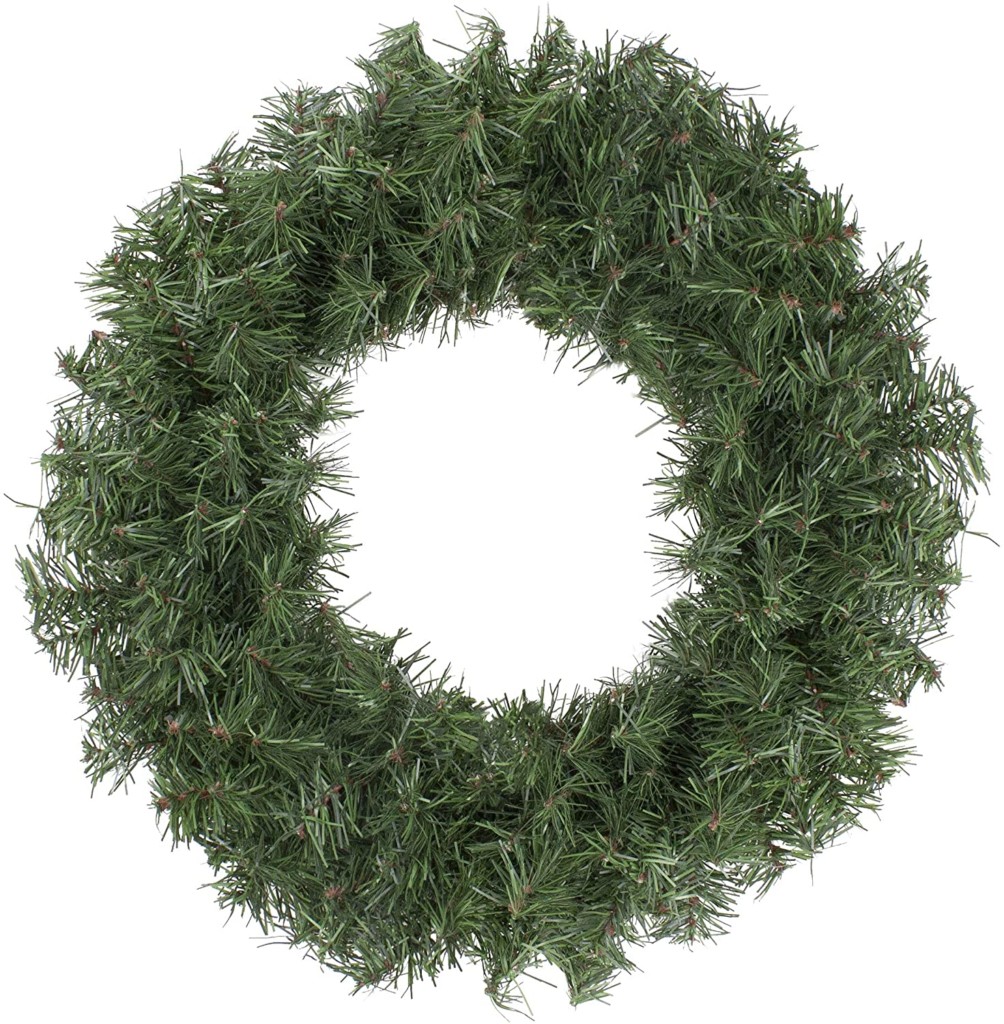
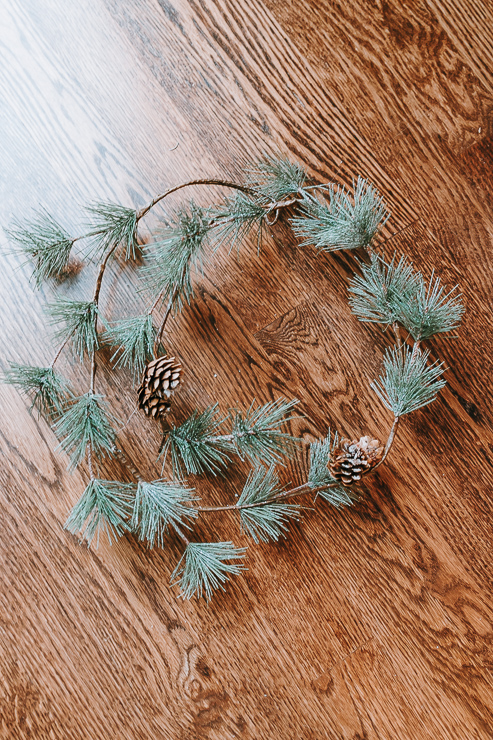
I got the idea for this while I was in Target. Of course, I love to peruse their home decor aisles, which are filled with holiday decor at the moment. I saw this lovely little green garland for $8! Bargain! I am picky about my faux greenery, but this one looked pretty good (especially for the price). I knew I could make this into a cool centerpiece or napkin rings.
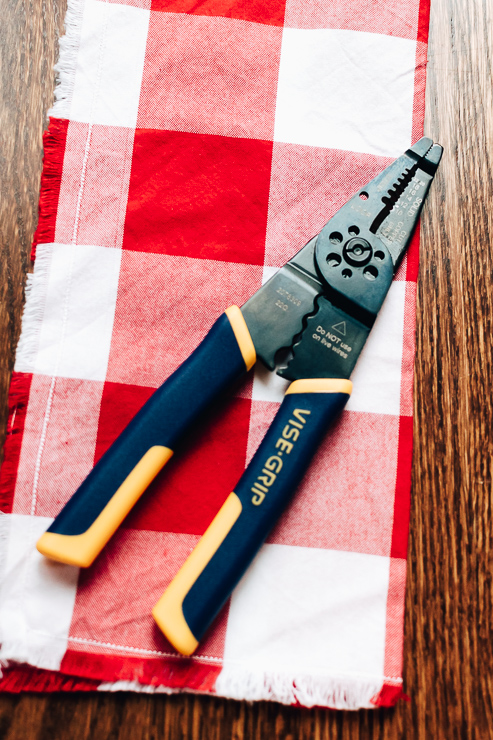
You can follow these same steps to make napkin rings out of any holiday garland. Dollar Stores might be a good source for inexpensive garlands. It’s helpful if your garland has a bendable wire with it, this makes shaping the rings easier. I would also like to suggest that you use wire cutters for cutting the wire. Strong scissors may do the job, but it can be tough. And why ruin your good scissors?
Let’s get started, shall we?
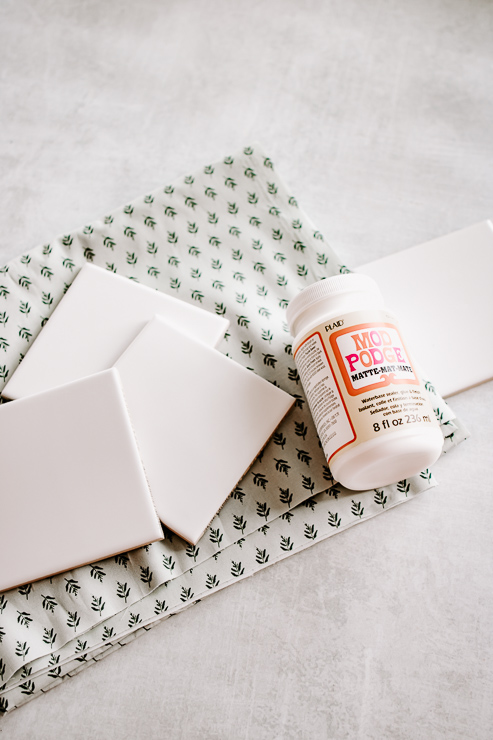
Materials:
(I’ve included affiliate links for your convenience. I earn a small percentage from a purchase using these links. There is no additional cost to you. You can read more about affiliate links here.)
Instructions:
Step 1: Cut a small piece of garland.

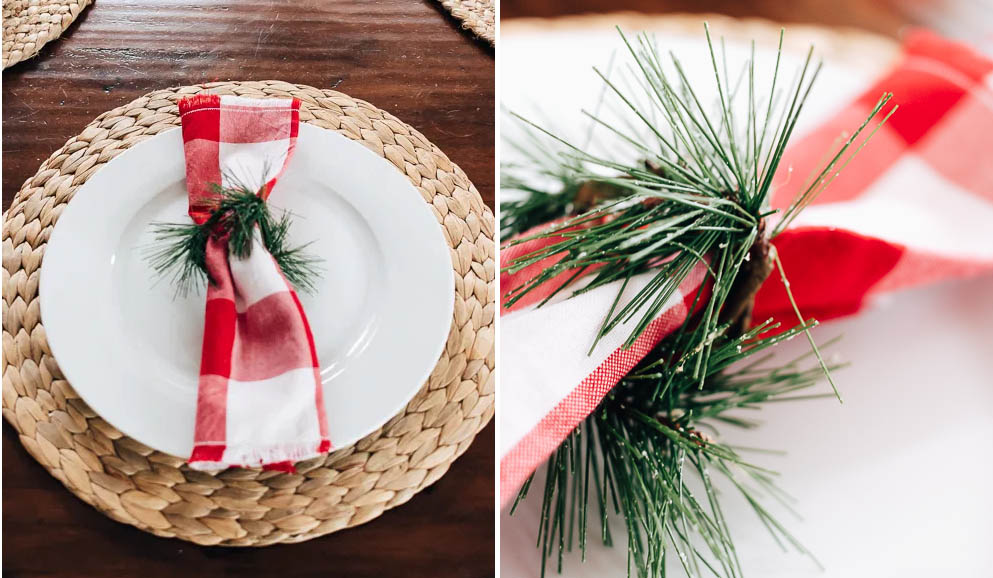
Take your wire cutters and cut a piece of garland. The length will depend on how thick your napkins are. I have these frayed red buffalo check napkins that I made for the 4th of July, and I’m reusing them for the holidays! (You can check out the tutorial for those red napkins right here.) The material is somewhat thin, so I cut about a 4-inch piece of garland.
Step 2: Bend Garland Piece into a ring
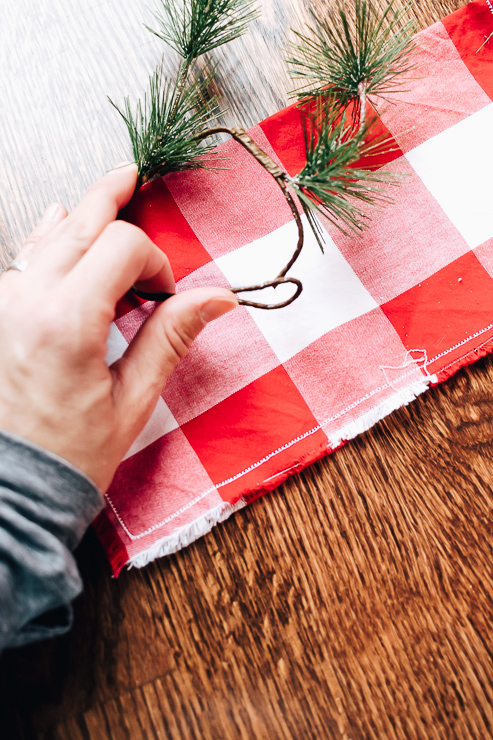
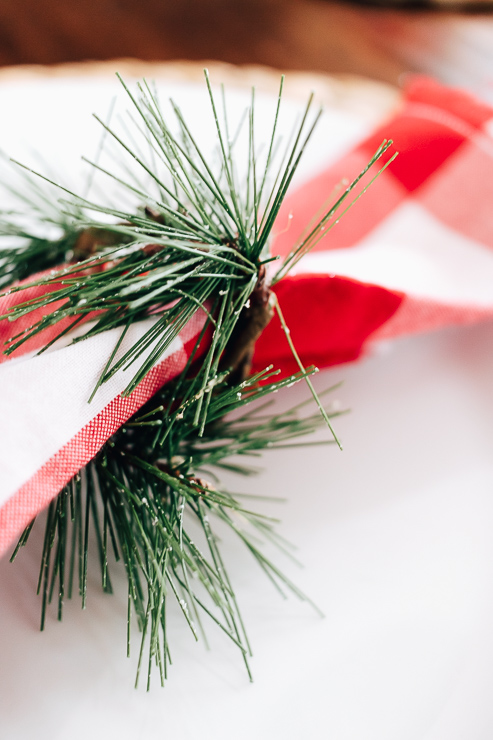
Bend your garland piece into a ring. This is why it helps to be using garland with wire! All you have to do is mold it in a circle and twist it together. Then you can fluff up the greenery on the ring any way you like.

Definitely ensure that your ring doesn’t have any sharp, exposed wires. If so, just clamp it down with pliers.
Step 3: Insert your napkin
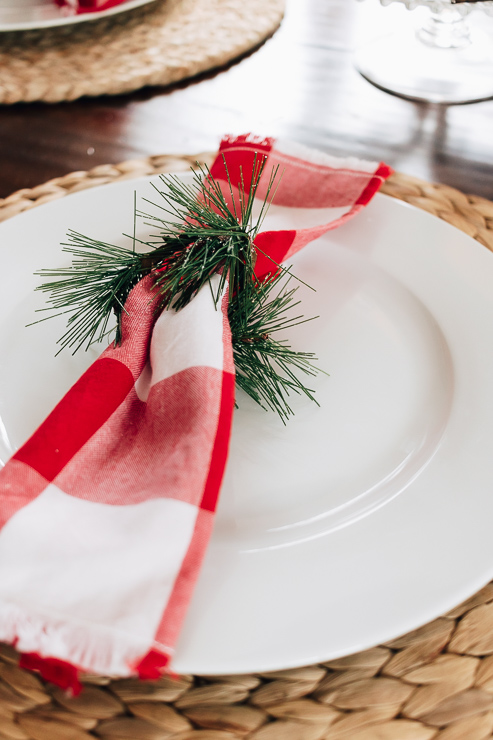
Now for the fun. Take the whole napkin and pull it through the ring. But here’s another way to do this.
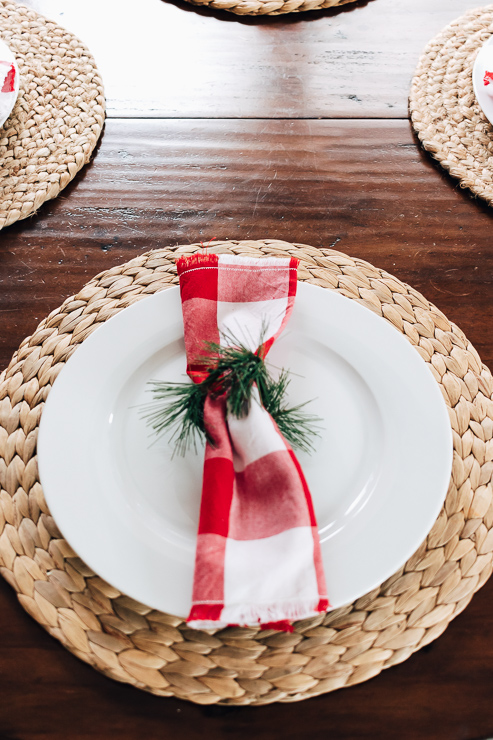
Take your napkin and lay it out flat. Grab the napkin in the center and place your napkin ring over the center fold. Voila!
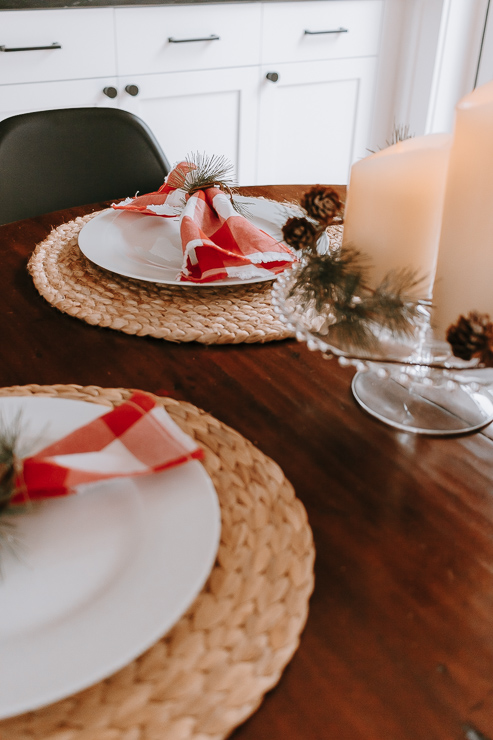
I think napkin rings really add to place settings, especially if you’re like me and only have a small round table. It’s stylish without overcrowding the table. I think these extra touches really make the holidays feel special. And instead of spending $5 on each napkin ring, you spent $8 on the whole project. As a bonus, you’ll probably have garland leftover to decorate with!
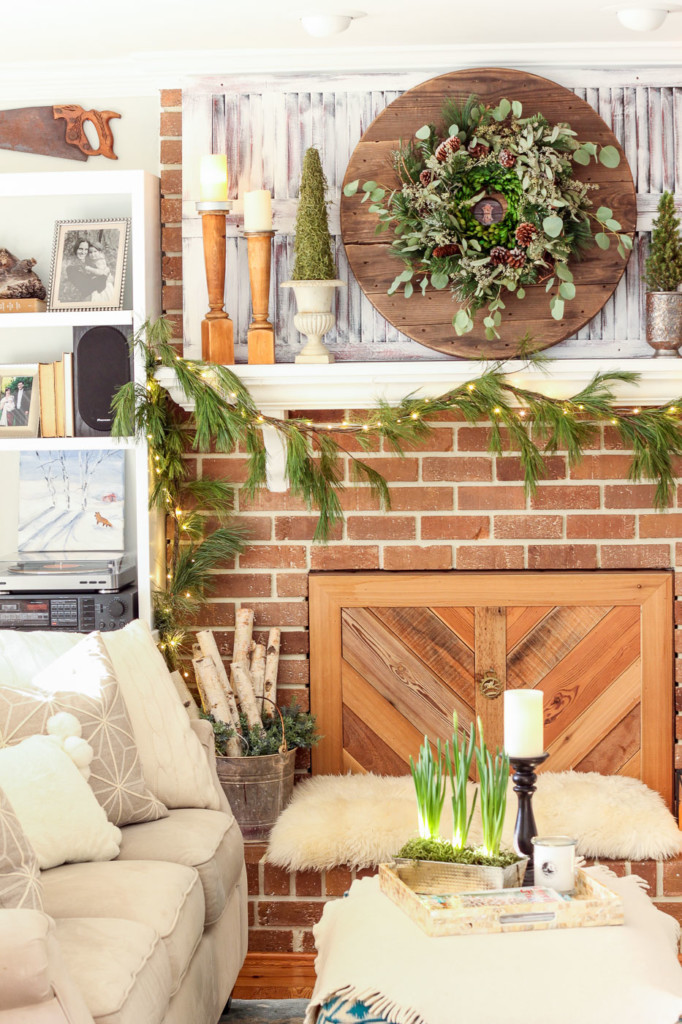
If you want more great ideas for your Holiday table, check out this gorgeous Holiday Tablescape.
I want to take a moment to wish you all a Happy and safe Holiday and a Joyous New Year. I’ve now been writing for Pretty Handy Girl for a year, and I couldn’t be more thankful for this opportunity to connect with you all. Thank you so much for being a reader! It means so much to me to have you here.

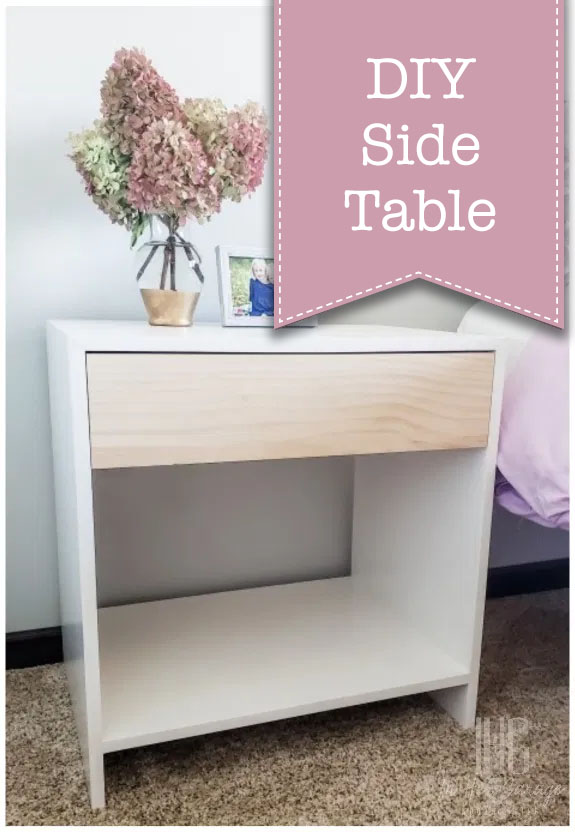
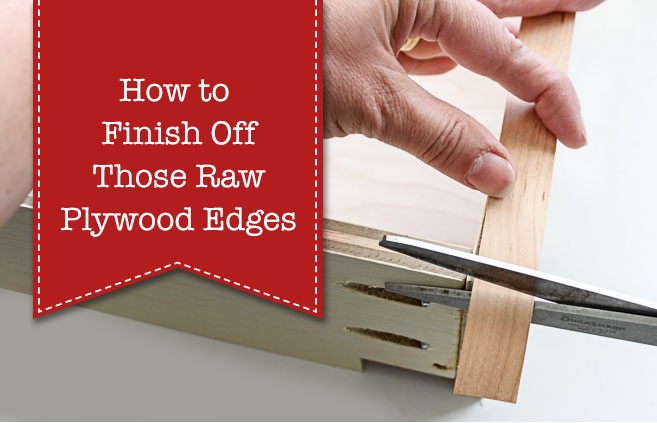
~ See More of Karen’s Tutorials ~

 Hello! I’m Karen, the creator of the Home Decor and DIY Blog: Decor Hint. I’m a Native of the East Coast, but I currently live in beautiful Seattle with my hubby, our two wonderful children, and our spunky wheaten terrier.
You can usually find me with some sort of craft in one hand and a coffee in the other. And I’m always rearranging furniture or moving lamps from room to room. I have a passion (read: obsession) for decorating, DIY, and gardening. In short, I love making my house into a home.
Like many, I’m inspired by what I see in home decor magazines, but I’m not so inspired by the price tags. Consequently, I love finding and creating beautiful budget-friendly home decor items. In a head to head competition, I bet you’d never know the difference between the designer items and my DIY creations! Many of my DIY projects focus on sewing, crafting, upcycling and organizing. Some of my favorite projects have been making pretty wreaths, sewing my own tassel hand towels, and crafting these trendy wood bead garlands. I can’t wait to inspire you and spark your creativity through my DIY projects.
You can always connect with me on Pinterest, Twitter or Instagram.


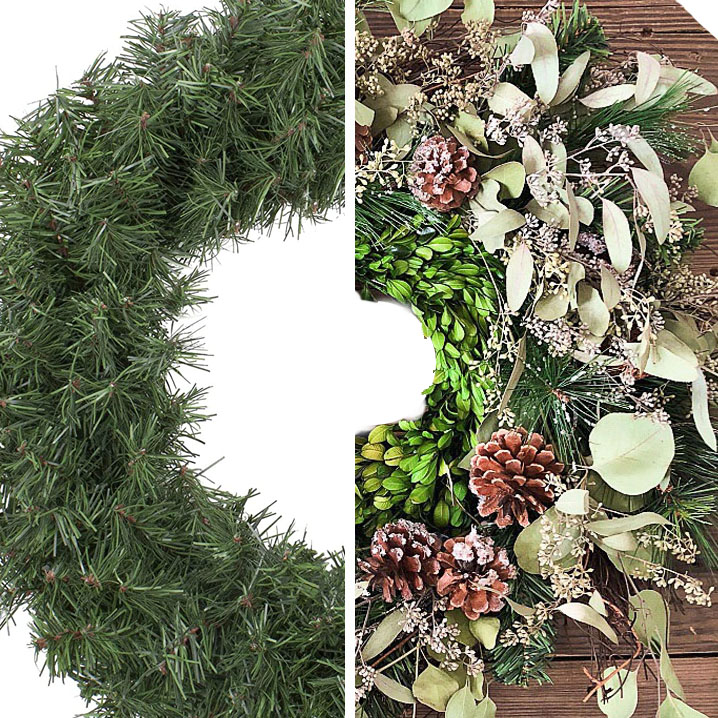
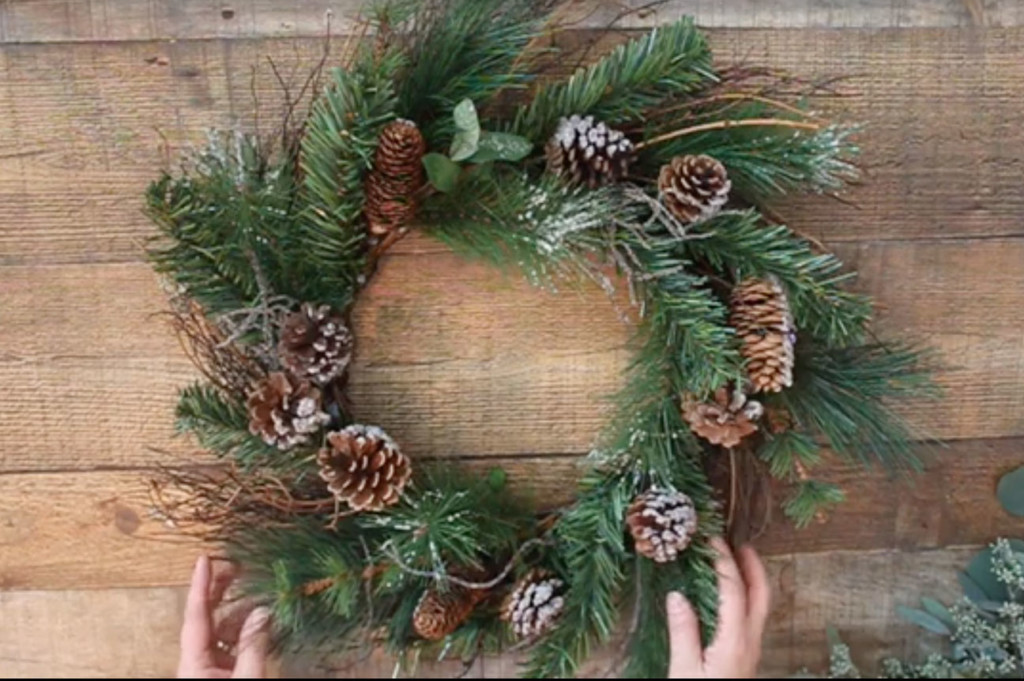
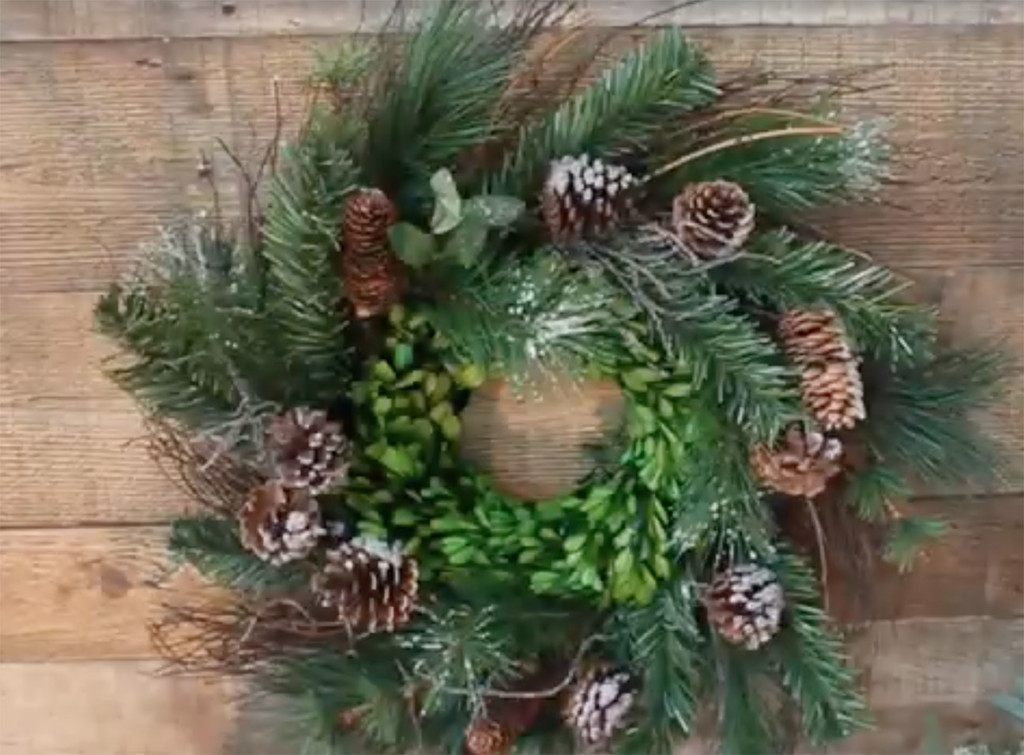
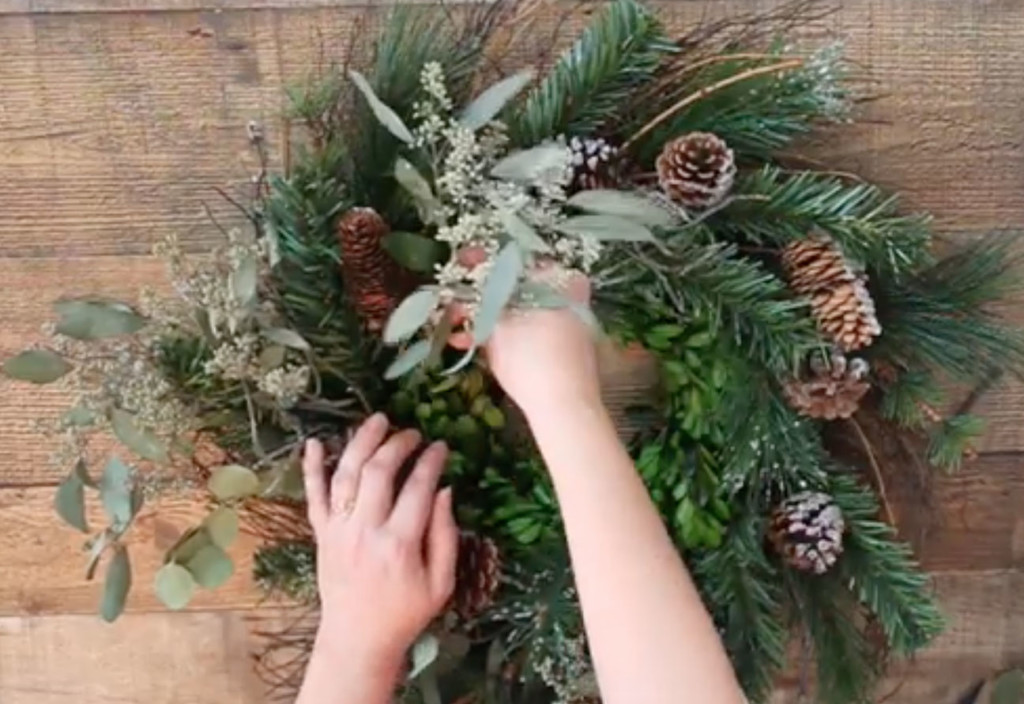
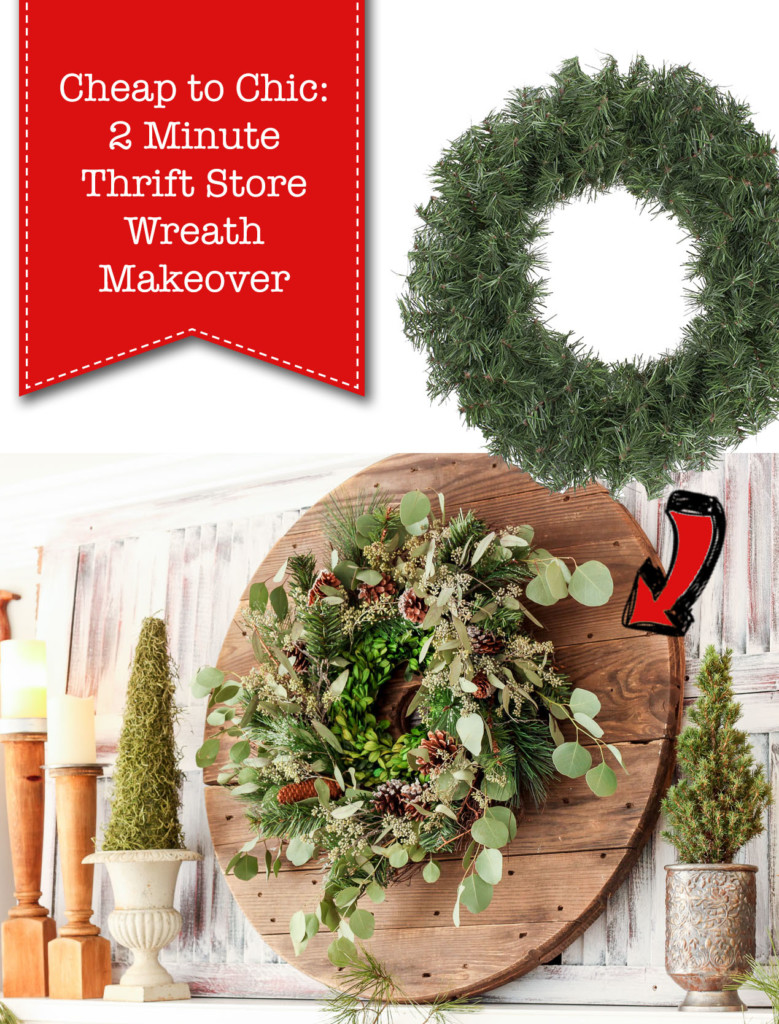 Cheap to Chic: Thrift Store Wreath Makeover