 DIY Living Wall Planter Tutorial
For anyone who lives in a “not so sunny” place (and needs a quick pick me up from the dull grey skies), you’ll find this easy DIY Living Wall Planter Tutorial just what you’ve been craving. Even if you live in the sunshine state, bringing the outdoors inside may have a lot of benefits for your health. According to the NASA clean air study (which was led by NASA and the Associated Landscape Contractors of America), certain indoor plants naturally remove toxins from your indoor air.
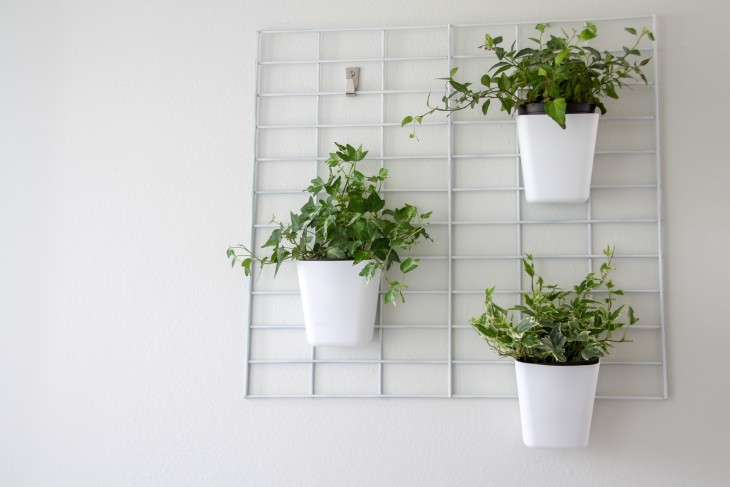
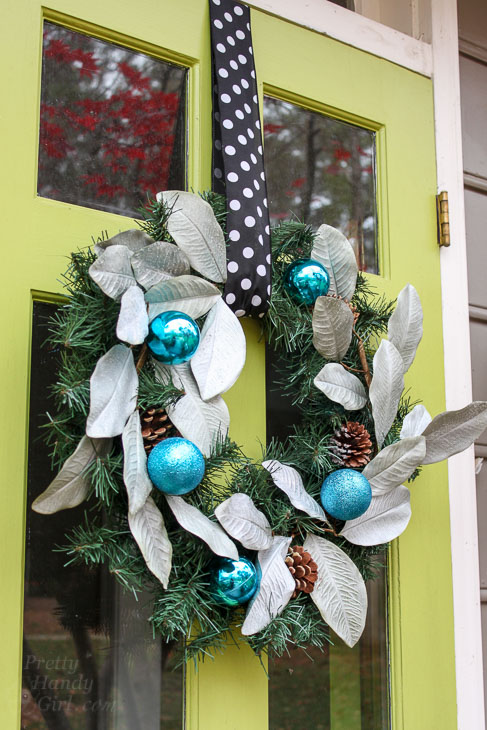
This project was inspired by our outdoor green wall. We thought it would be fun to create a wall planter for indoor use. Similar to an outdoor living wall, an indoor one gives a natural feel to any empty space in your home.

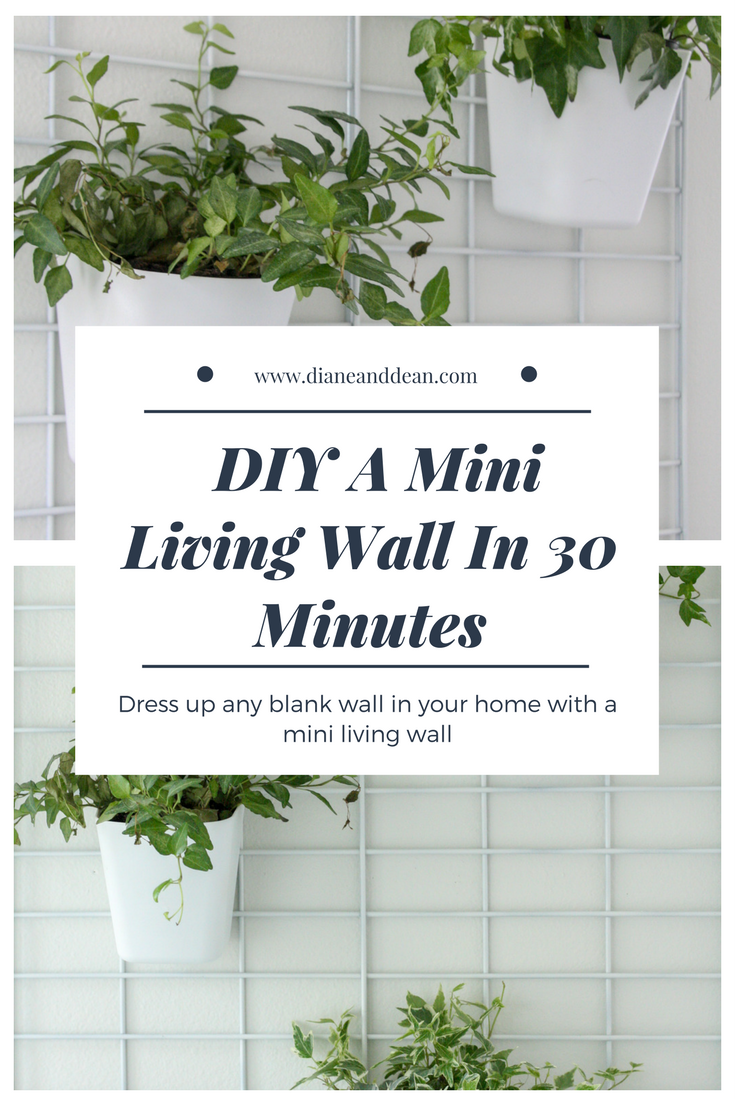
Do you have a blank wall that needs some decor? Why not dress up this space with a mini living wall? This project is easy enough for the beginner do it yourself-er, so let’s get started.
DIY Living Wall Planter Tutorial Materials:
- Wall Grid Plant Hanger (look for them in organization aisle at Lowe’s)
- Plastic Planters (Can be purchased at IKEA for .79 cents each)
- 3 small Ivy Plants ($3.99 per plant)
- 2 IKEA Blecka hangers (sold in a pack of 4 for $3.99)
- 2 – 1 inch Drywall Anchors
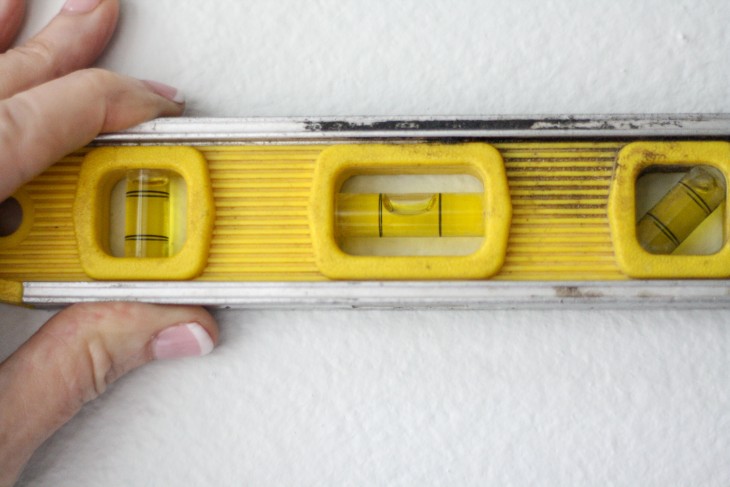
- Level
- Drill (if you use drywall anchors)
- Pencil
Optional:
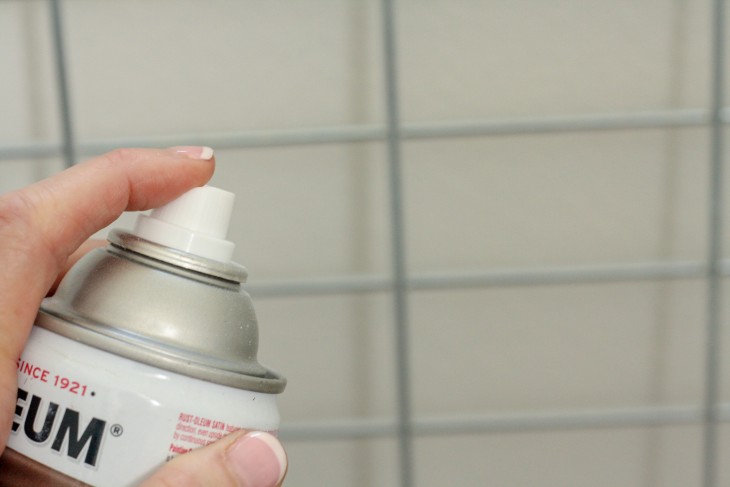
- Spray paint of your choice
DIY Living Wall Planter Tutorial Instructions:
The wall grid we found in the organization aisle at Lowe’s Home Improvement store was under $6.00. It measures 22 inches by 24 inches. The size was prefect, but I wasn’t crazy about the color.
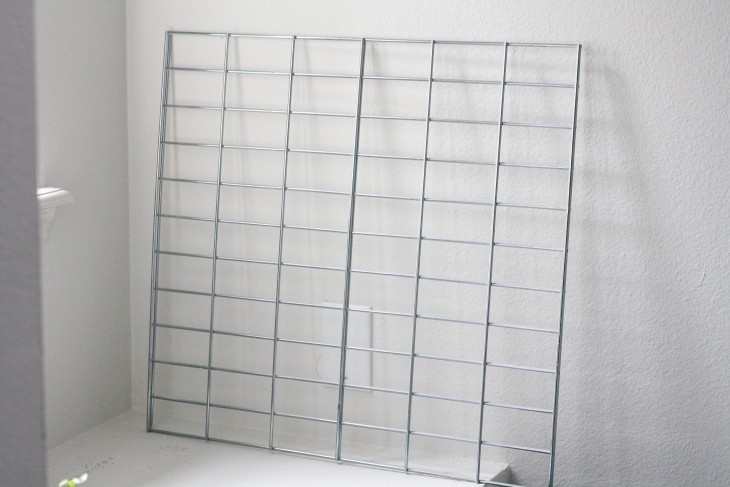
Spray paint the wall plant holder if you wish. You can use spray paint you have on hand or purchase the color of your choice. (I almost chose a rustic bronze to match the bronze iron farmhouse bed but decided to paint it white.) The great news is that you can always paint over it if you tire of the original paint or decide to move it to another room. Obviously, you want to spray paint in a well ventilated area. Let the grid dry. (It should dry within 30 minutes or so.)
Step 1: Eyeball or measure a spot on the wall to hang your living wall.
Hold the wall plant holder up on the wall. Use a level to make sure your holder is level.
Hold up the Blecka hooks and mark the holes with a pencil. Drill the drywall anchor into the wall at these marks. (Alternatively, you can attach the hooks to wall studs.) This wall grid is not extremely heavy, so securing the hooks to studs is optional.)
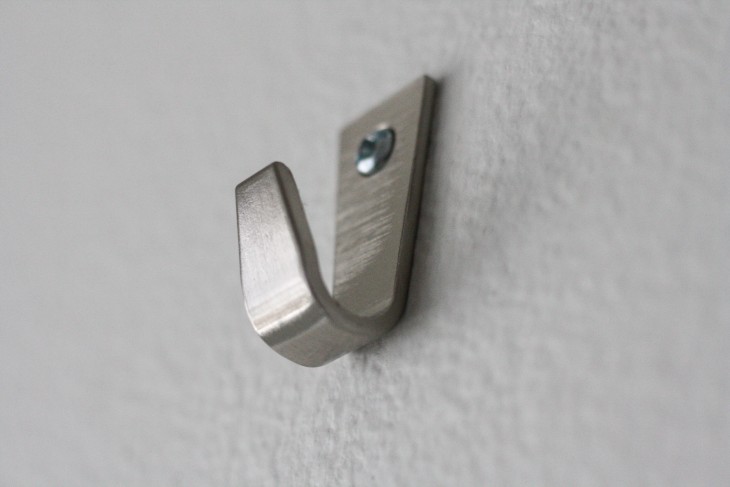
Step 2: Hang the wall plant holder onto the Blecka hooks (make sure it is completely dry before hanging.)
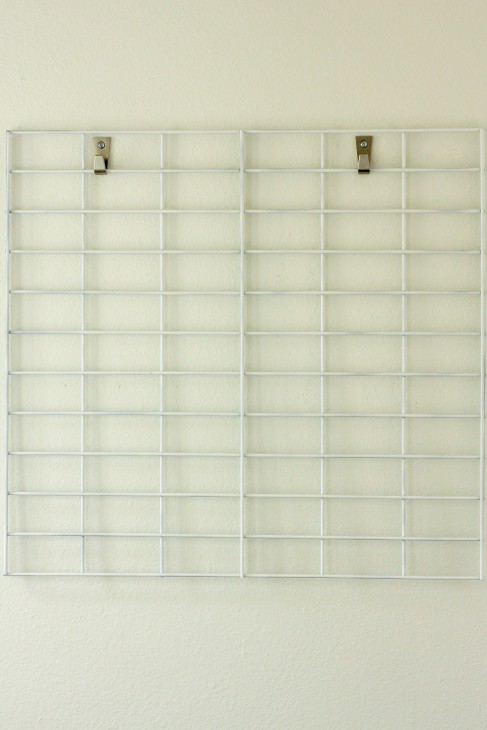
Step 3: Place your plants into the planters. You can leave them in the original plastic pots they came in and simply place them into the holder. (When you water the plants the water can actually drain down to the plastic holder. Periodically pour out any water that accumulates.)

Step 4: Now, for the fun part! To finish off your living wall planter, slide the plastic containers onto the wall grid. Play around with the placement of the plants until it appeals to your eye.
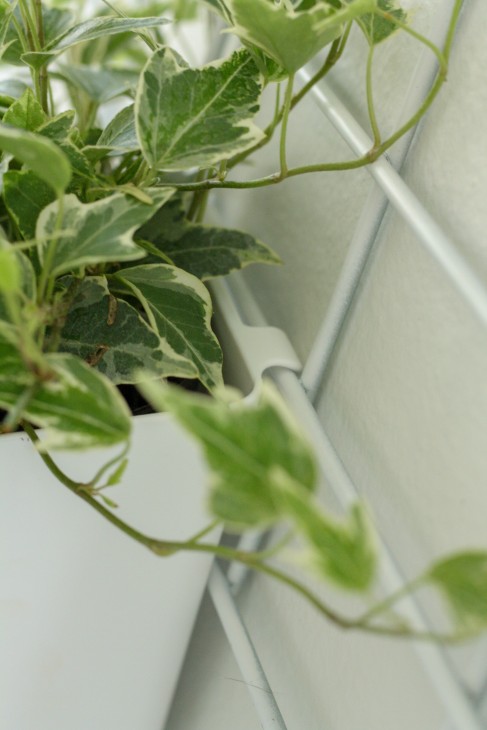
(Note: the plastic bins from IKEA with the wide hook on the back are perfect for this project. If you purchase different bins, you might need to add your own hooks.)
Feel free to use your imagination with this project. Use succulents, different color plants, flowers, or something totally different like office utensils if hanging in a home office.
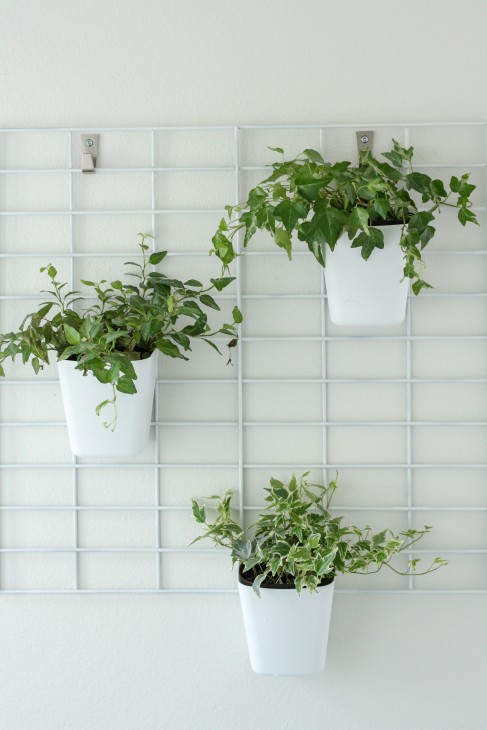
My white living wall hanger is hung on a wall painted with Magnolia Homes Brand “Shiplap” paint. The greenery stand out on the light colored walls. Imagine what you can do with copper sprayed grid on dark or light colored walls! You can also spray paint the Blecka hooks to blend into the wall. Go ahead and get spray paint happy with the white plastic plant holders. Bright colors could really bring this project to life!
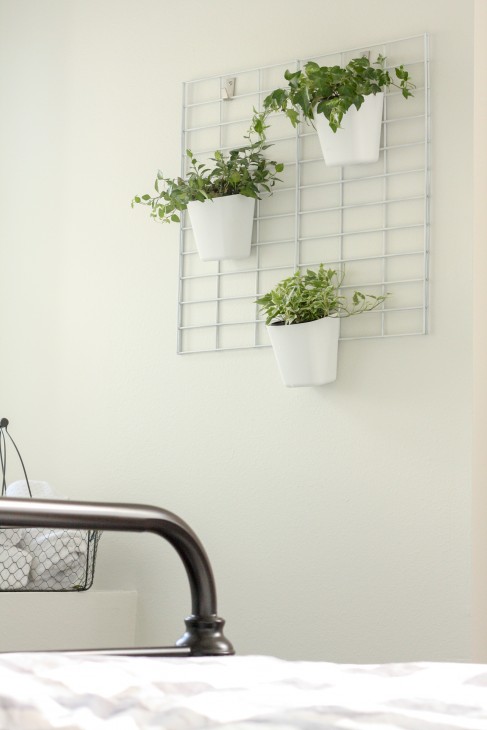
We thought a little greenery in our newly remodeled farmhouse guest bedroom would add the perfect natural element. Have fun with this quick and easy mini living wall project that brings natural elements indoors.


 ~
~


 Easy Glittered Pinecone Door Hanger