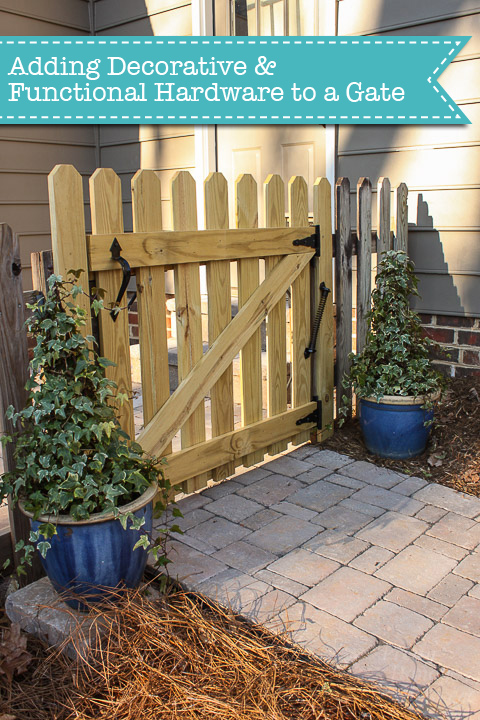
Add Decorative Hardware to Dress Up Your Plain Gate | Pretty Handy Girl

Adding Decorative and Functional Hardware to Your Gate | Pretty Handy Girl

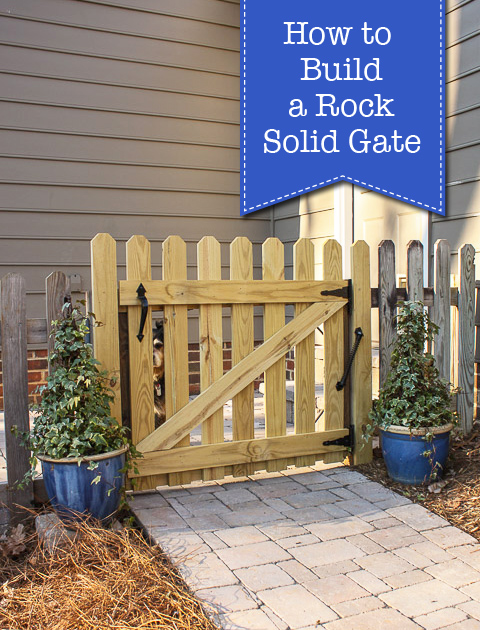
Earlier I showed you how to build a rock solid gate. The gate was solid, but not very attractive or functional. Today I’ll show you How to Add Decorative and Functional Hardware to Your Gate. This will take that ho-hum gate and turn it into a more attractive entrance to your yard. I’ll also show you a few pieces of hardware that will turn your gate into a self-closing and latching gate. This is a must have, especially if you have children and pets.

I’m honored to be representing National Hardware as a brand ambassador this year. I have been compensated for my time and for creating this sponsored post. I’ve been using their hardware for years on our exterior gates and fences. I can honestly say that they continue to hold up to the elements and work as well as when I first installed them.

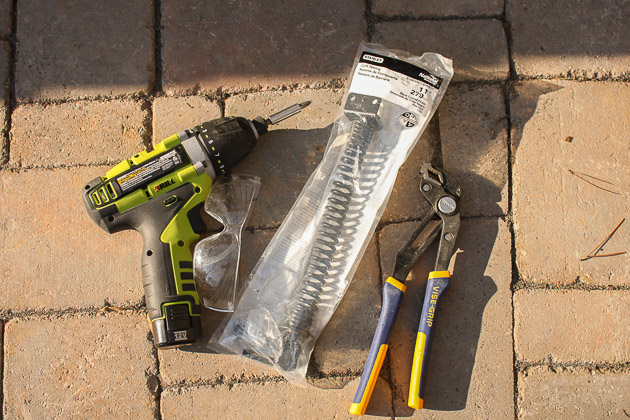
Ready to get started? Here’s what you’ll need.

Materials:
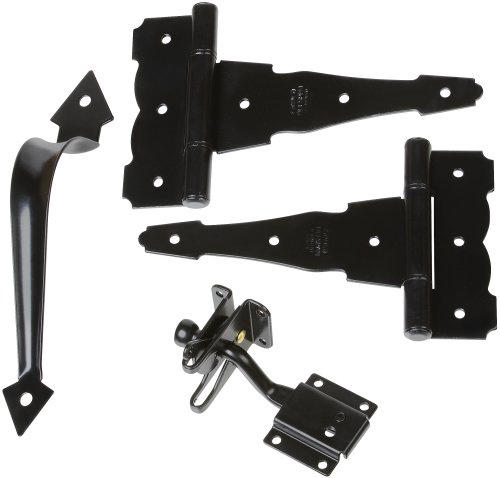
Decorative Gate Hardware Kit | Pretty Handy Girl

Adding Decorative and Functional Hardware to Your Gate | Pretty Handy Girl

(I’ve included affiliate links for your convenience. I earn a small percentage from a purchase using these links. There is no additional cost to you. You can read more about affiliate links here.)

Instructions:

Determine which way your gate opens (inward or outward.) Also determine where you want to locate the handle and separate latch.
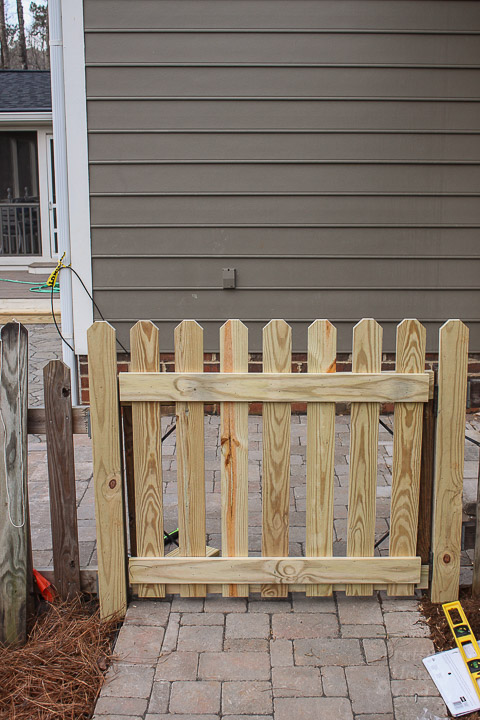
Adding Decorative and Functional Hardware to Your Gate | Pretty Handy Girl

I chose to attach the gate handle to the side of the gate that pulls toward me.
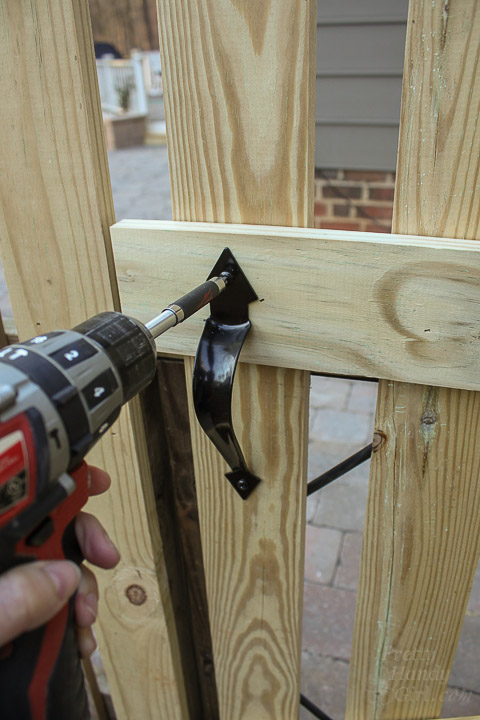
Adding Decorative and Functional Hardware to Your Gate | Pretty Handy Girl

My gate has built in hinges in the gate frame, but I wanted to add extra charm to our gate by attaching decorative hinges to one of the exterior cross supports.
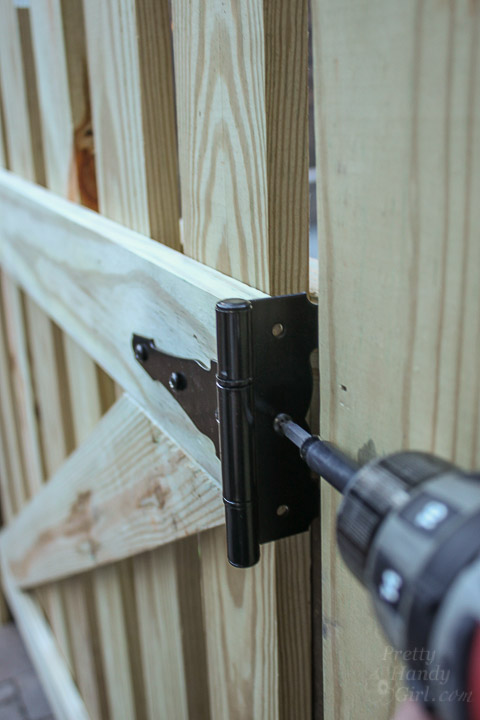
Adding Decorative and Functional Hardware to Your Gate | Pretty Handy Girl

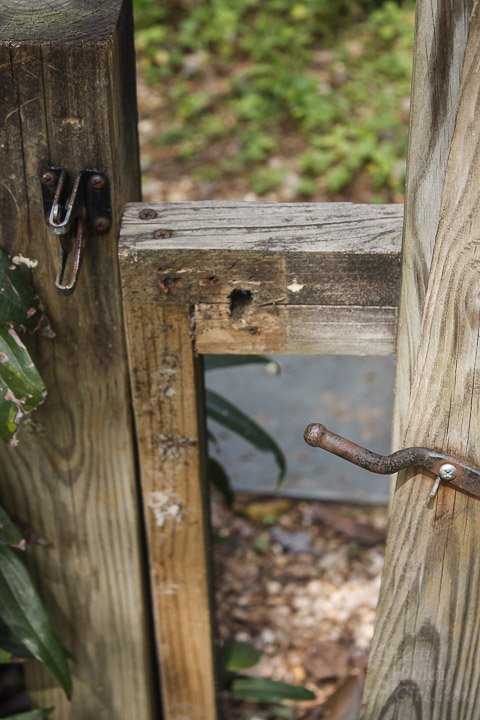
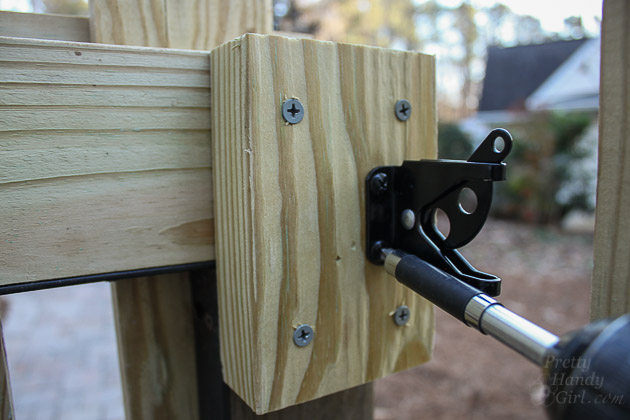
For our specific usage, I installed the latch on the inside of our gate so it won’t be visible to passersby. To bring the latch to the correct depth, you may need to install a scrap wood block onto the back of the gate support.
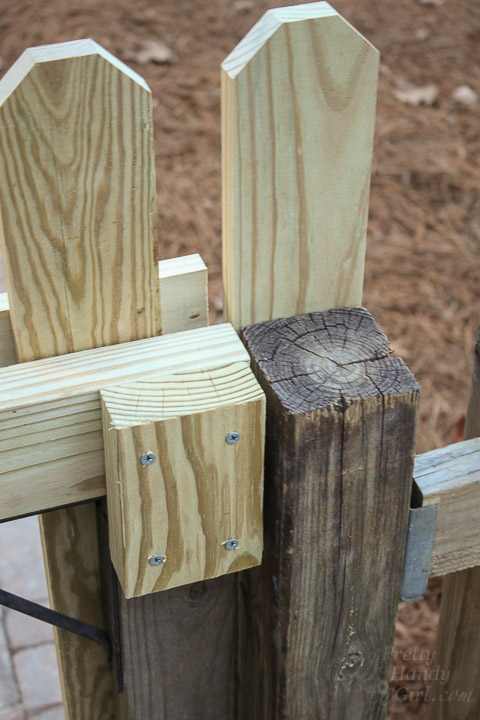
Adding Decorative and Functional Hardware to Your Gate | Pretty Handy Girl

Install the latch onto the outer post. (If you are installing onto the outward opening side, install your latch onto the gate.)
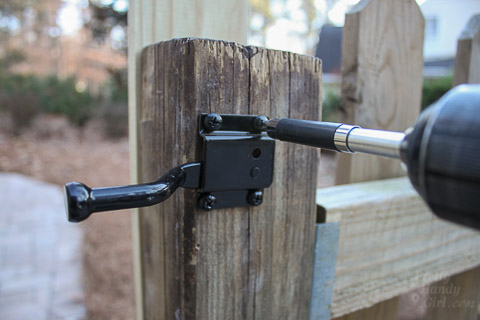
Adding Decorative and Functional Hardware to Your Gate | Pretty Handy Girl

Hold the catch against the latch to determine the proper installation location.
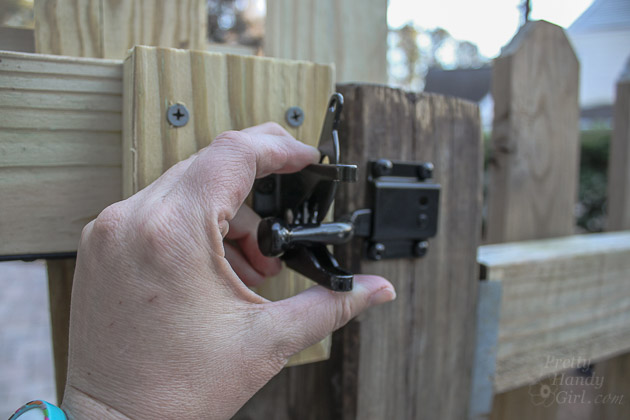
Adding Decorative and Functional Hardware to Your Gate | Pretty Handy Girl

Attach the catch using the provided screws.
Adding Decorative and Functional Hardware to Your Gate | Pretty Handy Girl

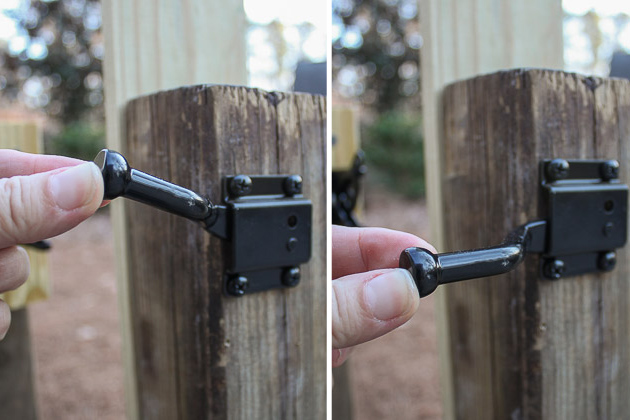
Luckily, the National Hardware latch has a flexible design that compensates for gate sag (or poor catch installation.) When the gate is closed, it will automatically latch.
Adding Decorative and Functional Hardware to Your Gate | Pretty Handy Girl

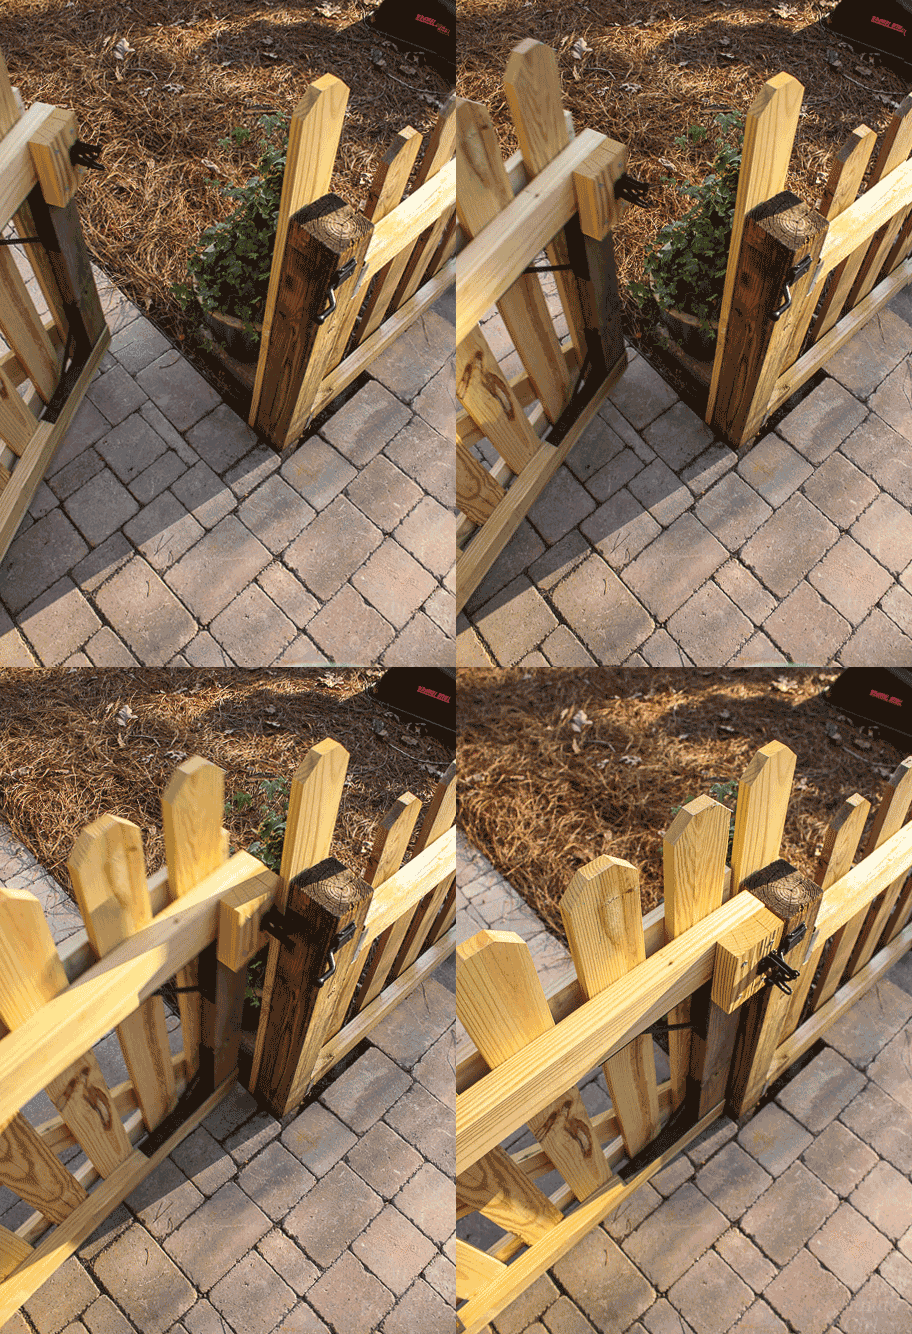
Here’s how the gate closes with the latch on the inside:
Self-closing gate spring | Pretty Handy Girl

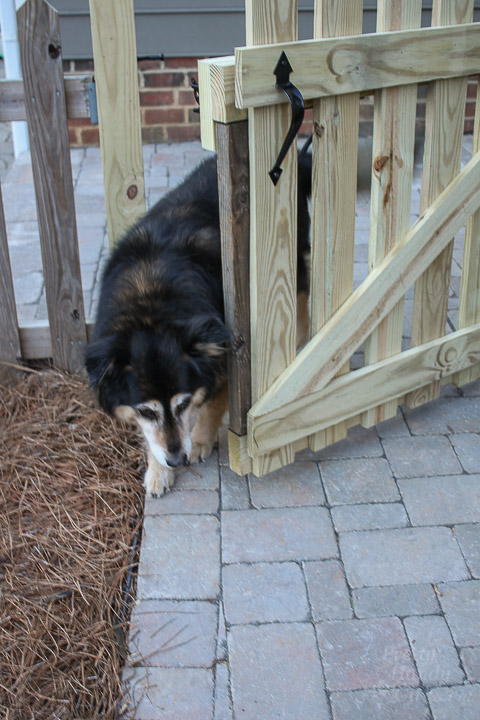
Unfortunately, the gate won’t close itself. If someone is caught up in a high stakes game of tag the gate will inevitably be left open. That’s when Handy Dog will take advantage of his new found freedom. (Luckily he won’t run away, but he will take a field trip to the creek and come back wet and dirty.)
Adding Decorative and Functional Hardware to Your Gate | Pretty Handy Girl

National Hardware has a nifty product that will close the gate every time (no matter how fun that game of tag is!)

Installing a Self-Closing Gate Spring:

Remove the spring from the package and hold up against the hinge side of your gate. The top should be on the side support post, the bottom on your gate.
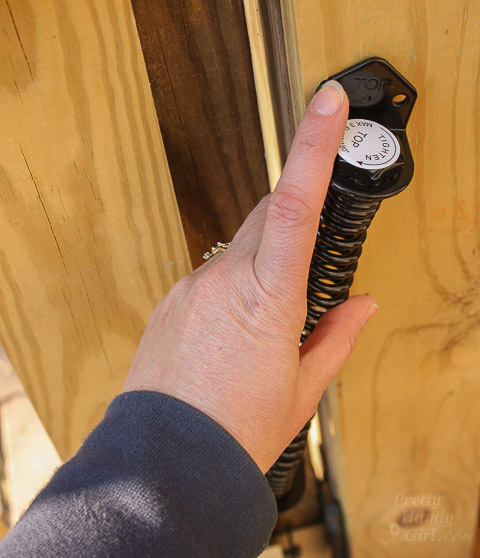
Adding Decorative and Functional Hardware to Your Gate | Pretty Handy Girl

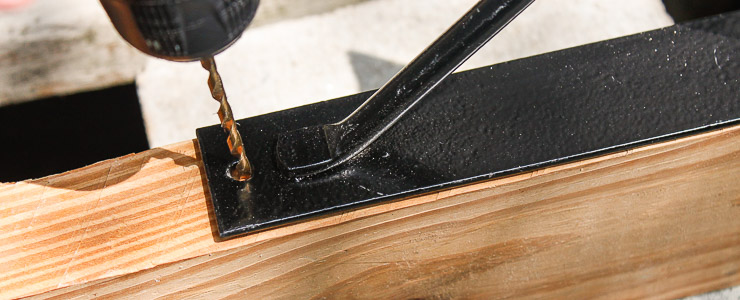
Attach the top with the provided screws.
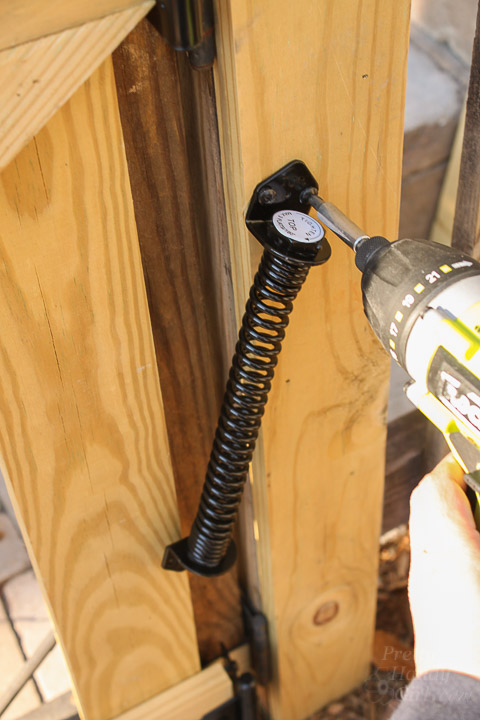
Adding Decorative and Functional Hardware to Your Gate | Pretty Handy Girl

Attach the bottom to the gate with the provided screws.
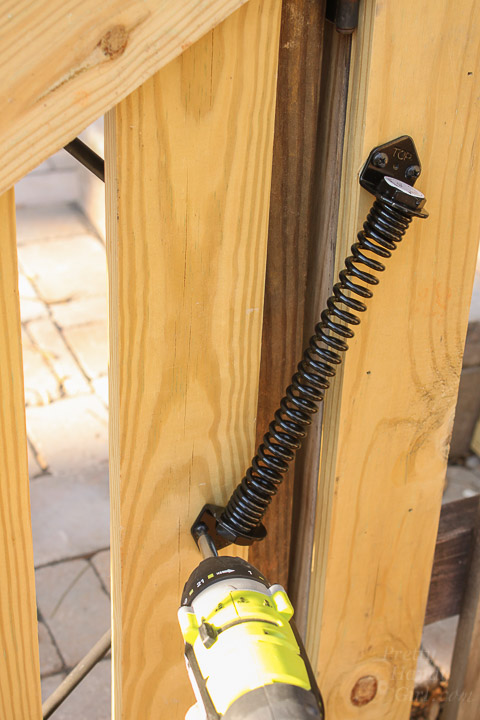
Adding Decorative and Functional Hardware to Your Gate | Pretty Handy Girl

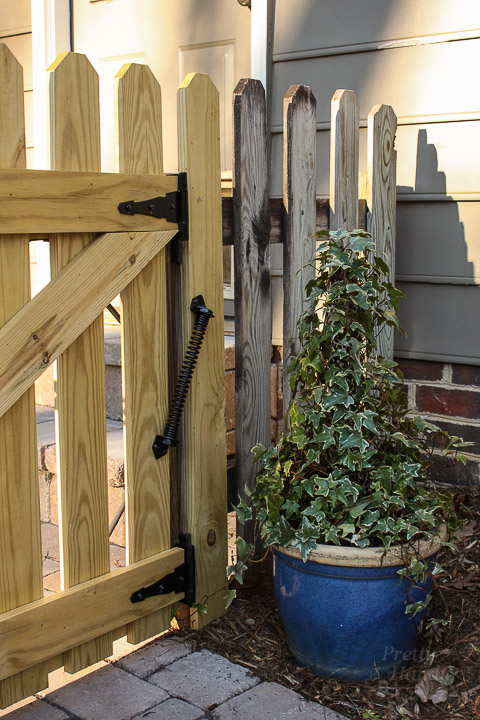
The spring should look like this.

Adding Decorative and Functional Hardware to Your Gate | Pretty Handy Girl

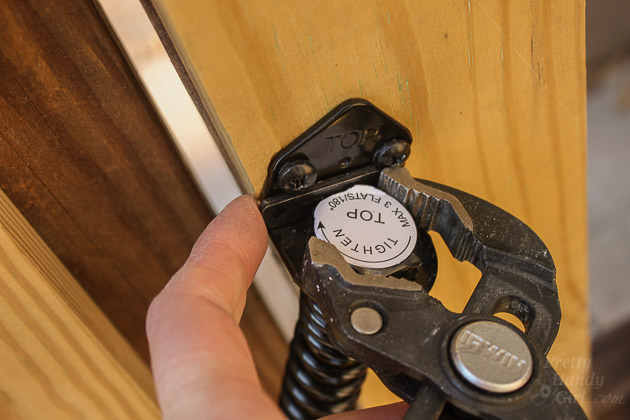
Use the pliers to turn the top of the spring 1-2 flat sides (depending on how heavy your gate is.)
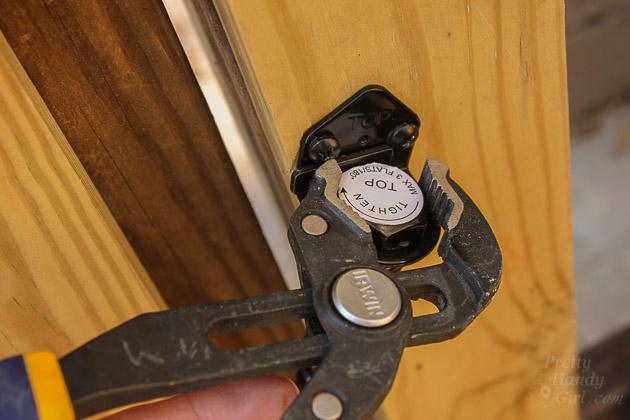
Adding Decorative and Functional Hardware to Your Gate | Pretty Handy Girl

Slip the provided metal bar behind the top nut to hold it in place.
Adding Decorative and Functional Hardware to Your Gate | Pretty Handy Girl

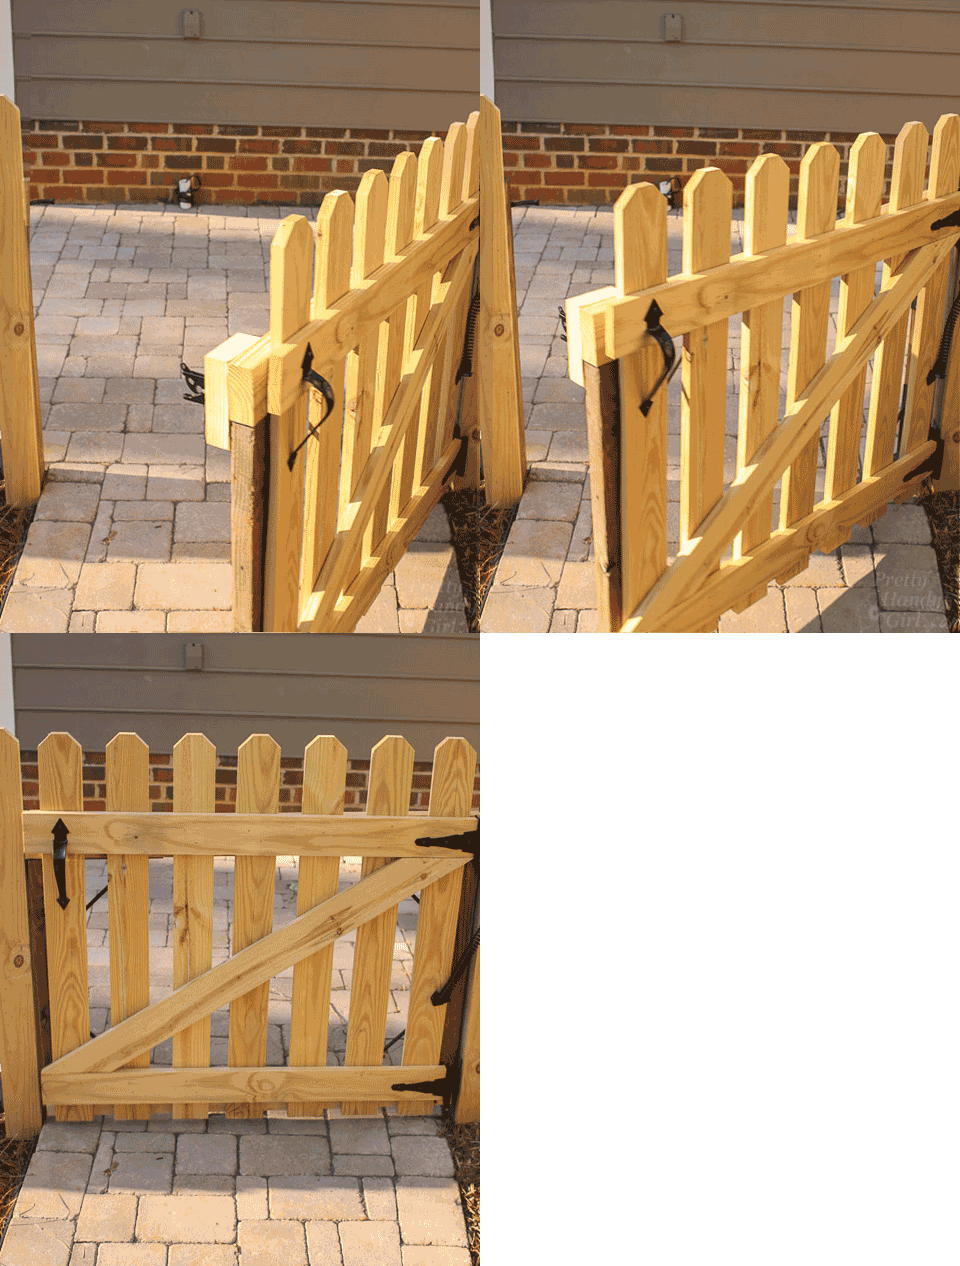
Test your gate by opening it and let ‘er fly! If the gate doesn’t close completely, turn the top nut one more notch. If it slams too hard, loosen one notch.
Self-closing gate spring | Pretty Handy Girl

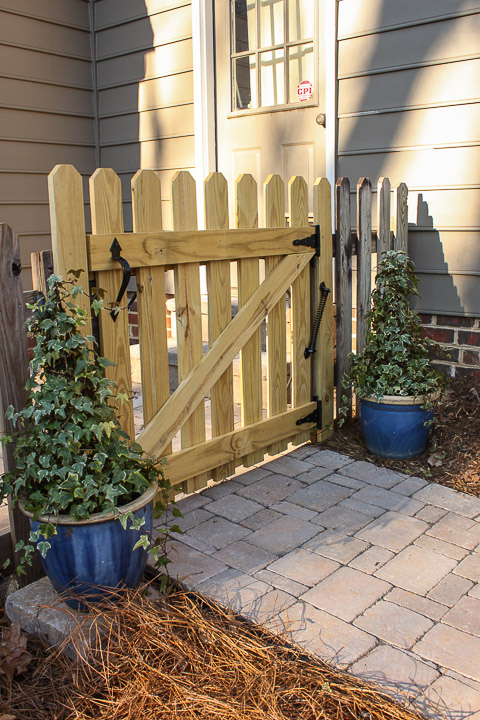
And that’s How You Add Decorative and Functional Hardware to Your Gate!
Adding Decorative and Functional Hardware to Your Gate | Pretty Handy Girl

I’m relieved I don’t have to nag my kids to close the gate anymore.
Adding Decorative and Functional Hardware to Your Gate | Pretty Handy Girl

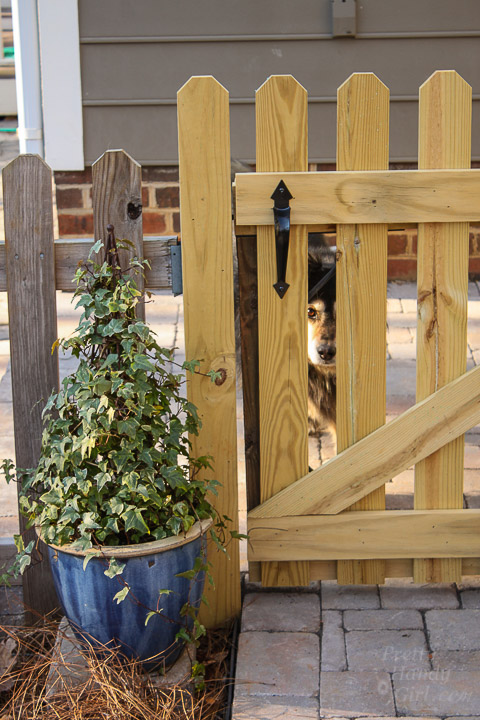
Of course Handy Dog is less than thrilled.
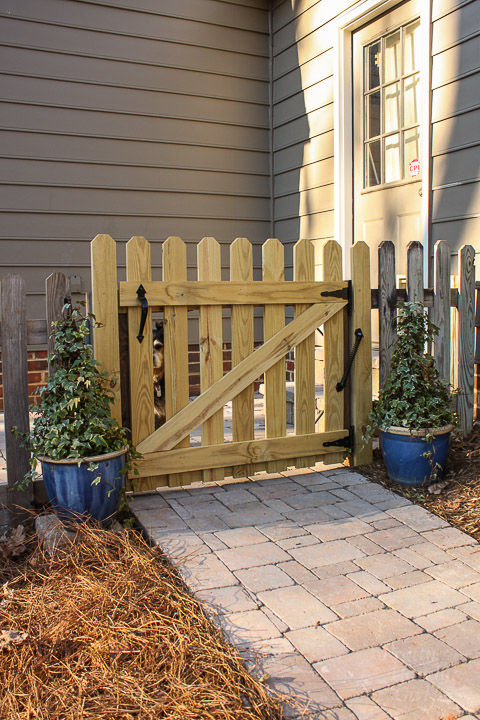
Adding Decorative and Functional Hardware to Your Gate | Pretty Handy Girl

It’s a tough life that Handy Dog has ;-D.

PHGFancySign

Disclosure: This is a sponsored post for National Hardware. I was provided complimentary hardware and was compensated for my time and efforts to promote National Hardware. I was not told what to write. All opinions are my own. I am particular about the brands I represent and will always let you know when you are reading a sponsored post.

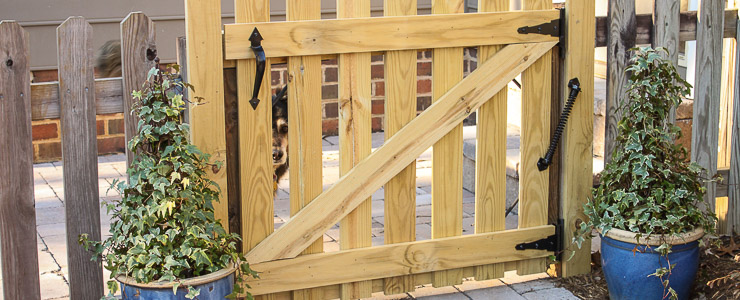
How to Build a Rock Solid Gate | Pretty Handy Girl

How to Build a Rock Solid Gate | Pretty Handy Girl

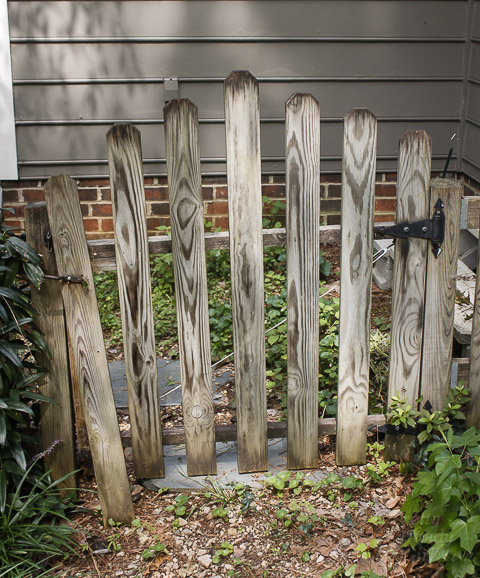
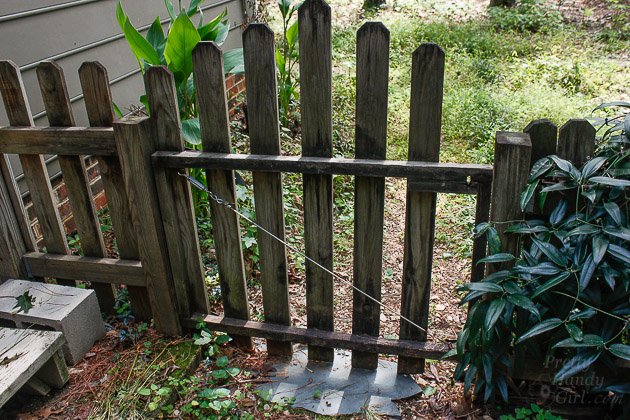
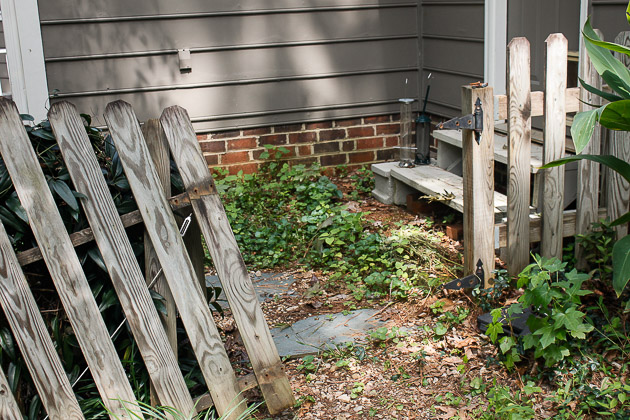
If you googled “Sad Excuse for a Gate”, this is the image that would pop up:

How to Build a Rock Solid Gate | Pretty Handy Girl

Rotted, sagging and falling apart are all words you could use to describe it.

How to Build a Rock Solid Gate | Pretty Handy Girl

One of the main reasons this gate is in poor shape is because it wasn’t built rock solid! Building a rock solid gate requires a 2″x4″ frame, not these measly 2″x2″ pieces. The wire can only help so much with sag. This gate just wasn’t built to last.

How to Build a Rock Solid Gate | Pretty Handy Girl

Want to learn How to Build a Rock Solid Gate?

Let’s get building!

Materials:
(contains affiliate links)

How to Build a Rock Solid Gate | Pretty Handy Girl

  • Homax Easy Gate Kit
  • 2″x4″ board(s)
  • Tape measure
  • Pencil
  • Hammer
  • Level
  • String
  • Shims
  • Drill
  • Saw

Instructions:

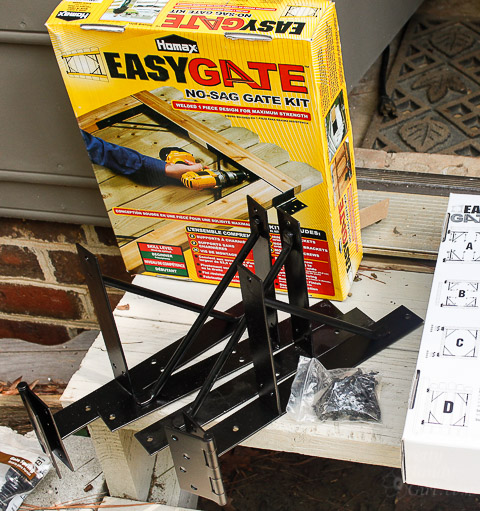
I’ve built several gates, but the Homax Easy Gate is the easiest way to build a Rock Solid Gate (NOT paid to say this!) The frame is custom sized to your gate by the length of the 2″x4″ boards. The hinges are integrated into the frame, making this one of the quickest and strongest gate kits I’ve ever built.

Start by removing your old gate. If the pickets are in good shape, save them for use on the new gate.

How to Build a Rock Solid Gate | Pretty Handy Girl

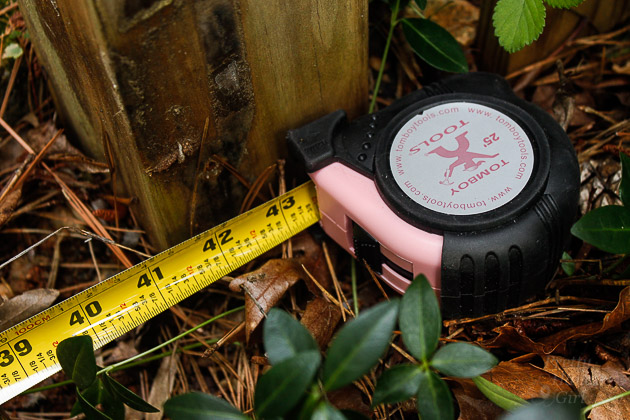
Measure the width of your opening.

How to Build a Rock Solid Gate | Pretty Handy Girl

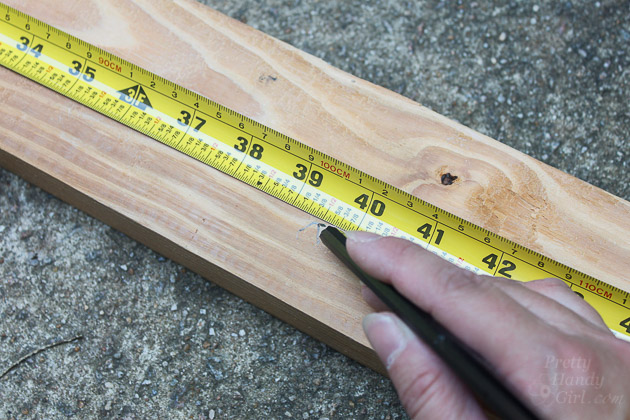
Subtract 1.5″ from the width and cut two 2″x4″ boards to this dimension.

How to Build a Rock Solid Gate | Pretty Handy Girl

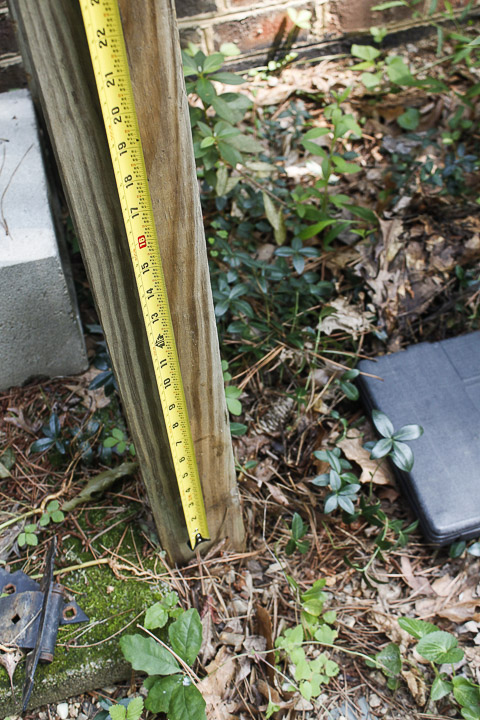
Measure the height of your adjacent fence posts.

How to Build a Rock Solid Gate | Pretty Handy Girl

Subtract a few inches from the height measurement to allow the gate kit hinge to secure to the post. (And to keep the bottom 2″x4″ a few inches above the ground to keep it from rotting.) Cut the two 2″x4″ boards to this measurement.

Insert your cut boards into the gate kit. You may need the hammer to force some stubborn studs into place. Read more

SMOKE DETECTORS | What you don't know could kill you

Okay, now that I have your attention, did you know that approximately every three hours, a home fire death occurs somewhere in our nation. And 66 % of those occur in homes without working smoke alarms or detectors?* The most common reason those detectors weren’t working? Worn out or removed battery.

Photo from CreativeCommons.org – courtesy of WickedChimp

I’m sure you have heard that you need to replace your detector batteries every time you change your clocks (Spring and Fall or every 6 months.) Are you good about doing that ? If not, I hope you will now. At the very least decide on a date to change your smoke detector batteries annually.

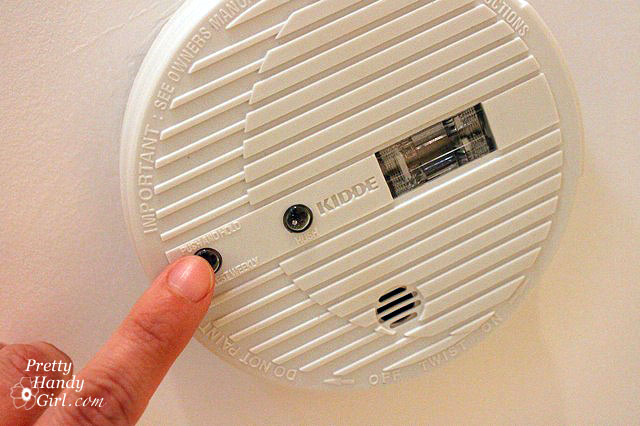
What about when you are vacationing? Do you test the smoke detectors in your rental house? Testing the detectors takes all of a few minutes to press the “Test” button on each detector and wait for the alarm to sound.

Don’t rely on the vacation homeowner to check the alarms. There is always a chance that renters could have removed a low battery from a detector. Several years ago there was a horrible fire a few blocks away from the beach house we usually rent. Seven young students died in the fire. It was never determined whether the smoke detectors were working or not, but one of the survivors didn’t remember hearing any go off. Don’t let yourself become a statistic.

What type of smoke detector should you buy? Read more

How to Patch a Hole in Drywall | Pretty Handy Girl

How to Patch a Hole in Drywall | Pretty Handy Girl

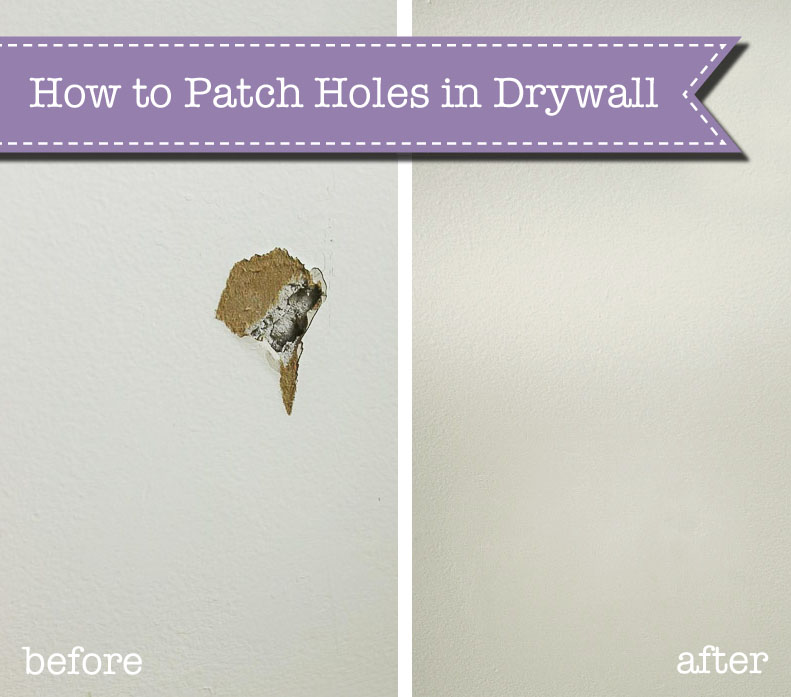
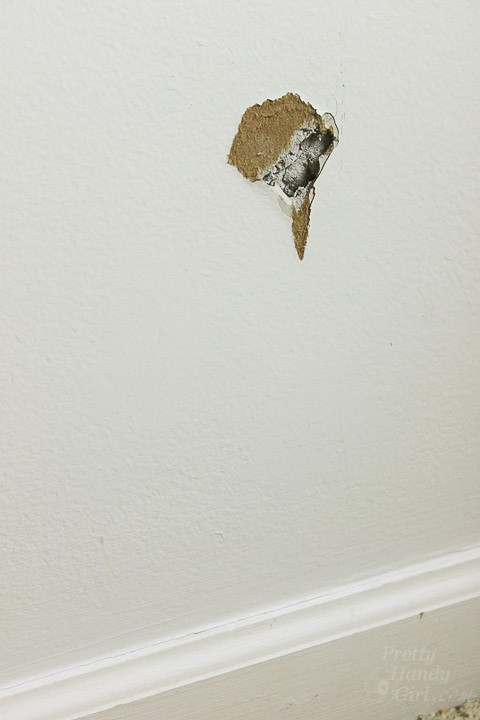
Nothing ruins the look of a well maintained house like a hole in the drywall. Whether it be an angry child throwing a temper tantrum or a careless mover. Patching the hole is an easy task, but it requires several steps to get a perfect result.

How to Patch a Hole in Drywall | Pretty Handy Girl

Ready to learn? Here’s How to Patch Holes in Drywall:

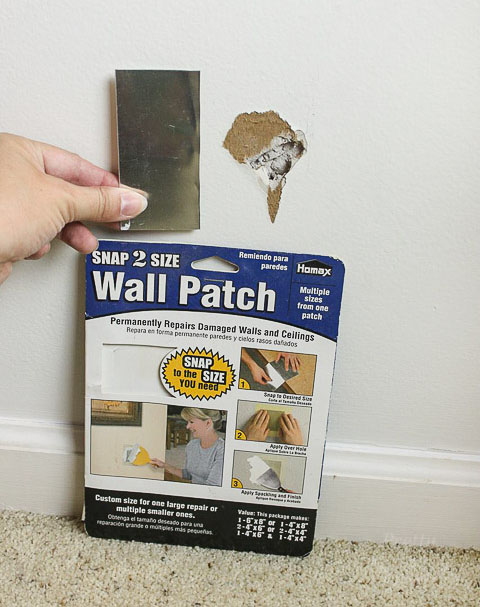
Most home improvement stores sell a variety of wall patch kits. The one I used is the Snap 2 Size Wall Patch (affiliate link).

Materials:
(contains affiliate links)

Instructions:

Find the size metal patch (from the kit) that best fits your hole. Ideally you want 1/4 – 1/2″ larger than the hole.

How to Patch a Hole in Drywall | Pretty Handy Girl

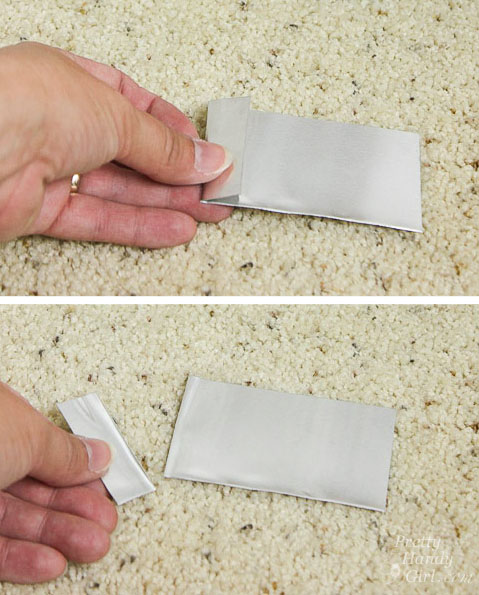
Bend and snap off any excess.

How to Patch a Hole in Drywall | Pretty Handy Girl

Hold the metal patch over the hole and gently score the drywall around the patch. Read more

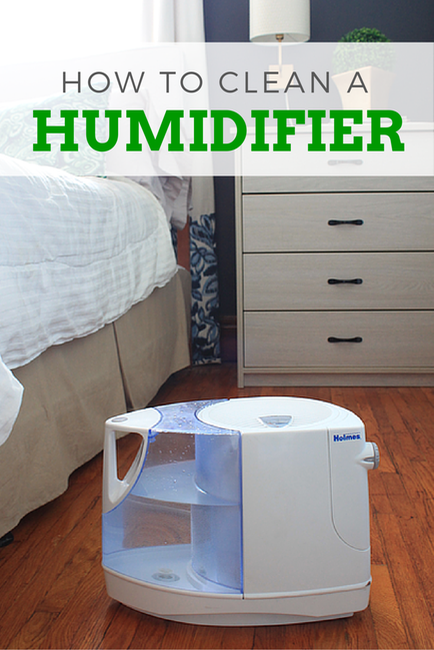
How to Clean a Humidifier

How to Clean a Humidifier

Winter is such a dry season, and the appropriate time to keep the air quality inside of your home healthy with moisture. This can be easily done with a humidifier. During the coldest days of winter it seems like our humidifier is constantly running. All that use can put a lot wear on it, but it’s easy to take care of your humidifier in just a few steps.

Here is How to Clean a Humidifier:

Materials:
(contains affiliate links)

  • Humidifier
  • New filter (find your’s on Amazon)
  • Sponge
  • Water
  • Vinegar
  • Rag

Before you clean your humidifier, consult with the instruction manual that came with it. If you can’t find the manual, do a search online. Usually companies have links to instructions on how to clean their appliances.

Instructions

1. First, unplug your humidifier. Take it apart and empty the water container. Separate the pieces and discard the old filter.

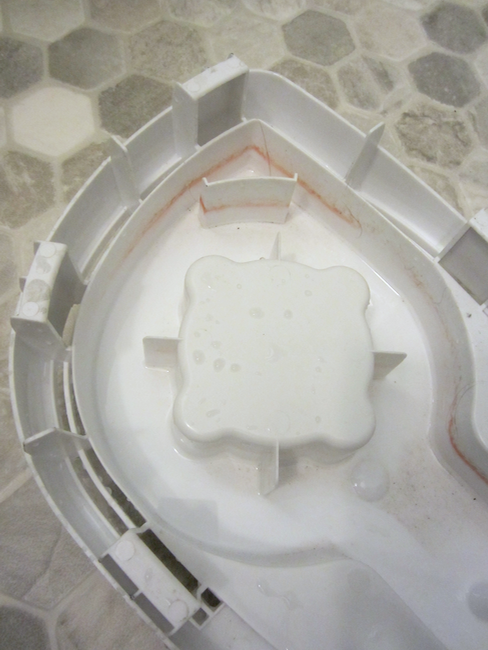
2. You’ll see the parts that need attention. They build up with residue that needs washing.  Make a spray with water and vinegar (or just pour vinegar into the base of the humidifier). Use a wet sponge to wipe down the base.

How to Clean a Humidifier

Read more