 How to Fix Cracks in Door Panels without Taking the Door Apart
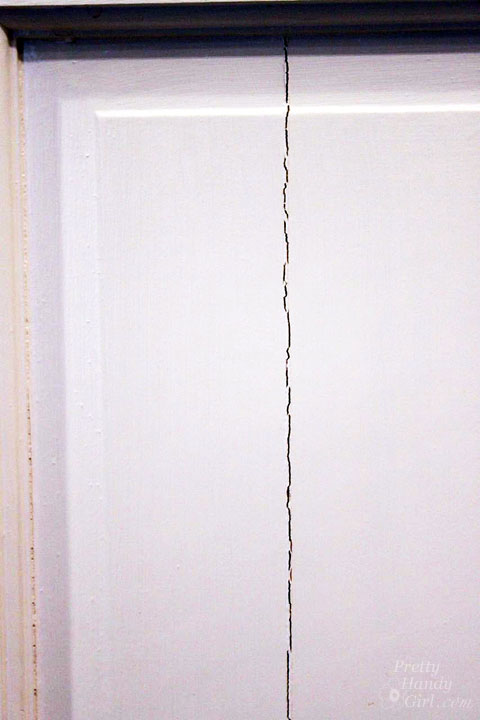
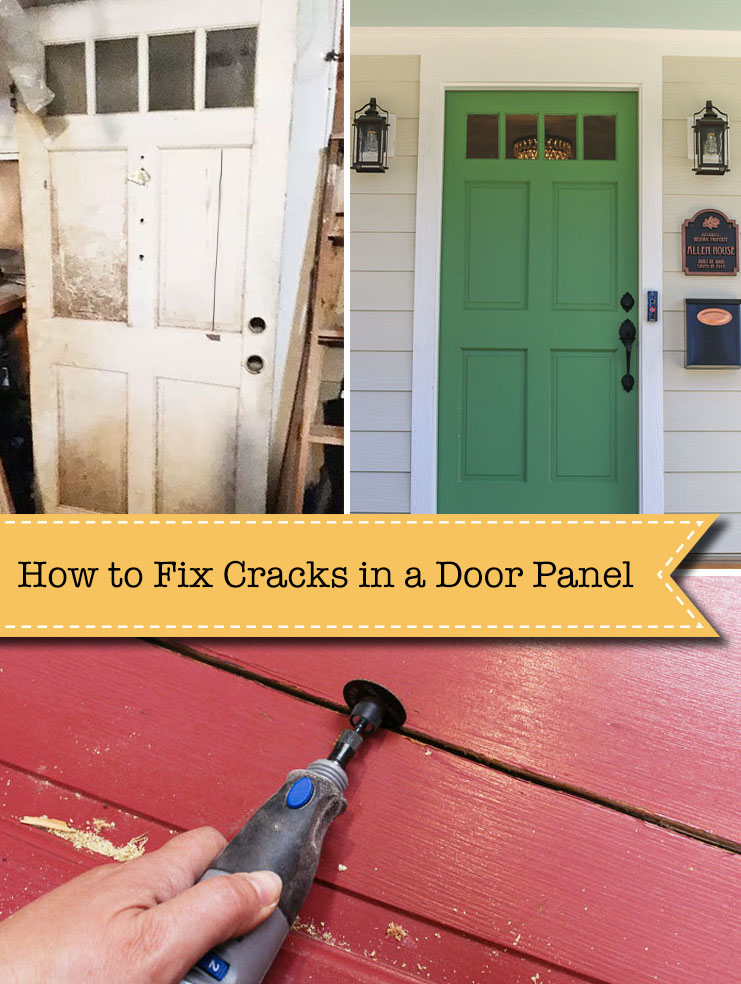
Wooden doors will develop cracks over time, especially if the panels aren’t free to expand and contract. Most of the time, years of paint or caulking the seams around the panels will cause the wood to stick and not allow the panel to expand and contract with the weather. The result is a big vertical crack along the wood grain. Today I’m going to show you how to repair the crack without taking the door apart!
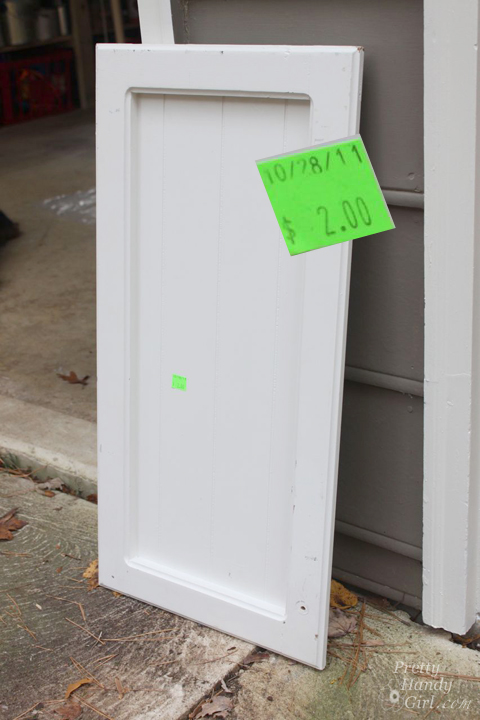
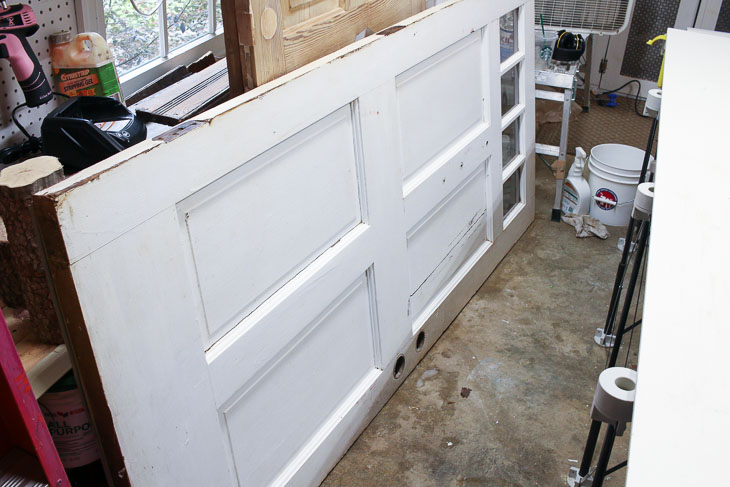
You may remember right before I purchased the Saving Etta house, I discovered a discarded door by the dumpster behind our local grocery store. It had a big crack in the panel and was very dirty. But, otherwise, it appeared to be structurally sound. Pretty Handsome Guy and I salvaged the door on a late night rescue mission, and had a good laugh about it afterwards.
The door sat in the garage until the addition was framed and rough openings were created at the Saving Etta house. With the windows set to arrive, I knew I had to take a day out of my busy schedule to repair the cracked door and prepare it for installation.
First the door got a good cleaning with soapy water.
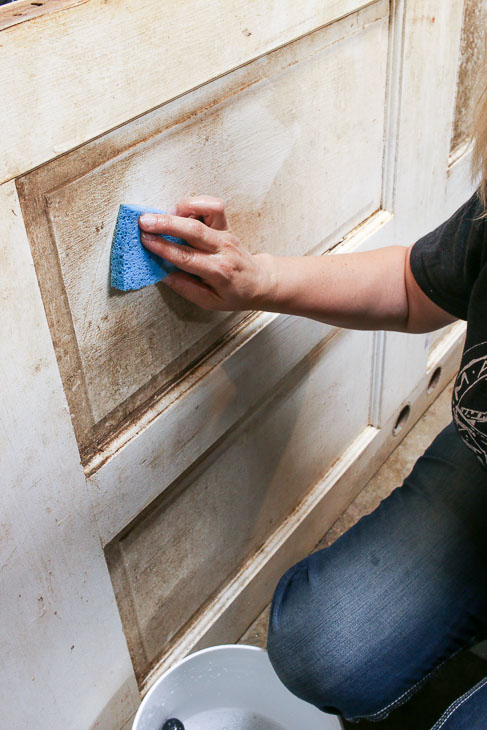 Looking better already!
Now it was time to fix the door. Let’s learn how to repair a cracked door panel without taking the door apart.
Materials:
(I’ve included affiliate links for your convenience. I earn a small percentage from a purchase using these links. There is no additional cost to you. You can read more about affiliate links here.)
- Chisel
- Dremel with Cut off Wheel
- Power Sander
- Sanding Discs
- Long Clamp (or you can learn how to use two small clamps instead)
- Wood Spline the width of the crack (learn to cut your own with a table saw)
- Durham’s Rock Hard Water Putty
- Putty Knife
- Wood Glue
- Primer
Instructions:
Lay the door on a flat surface like a workbench or saw horses.
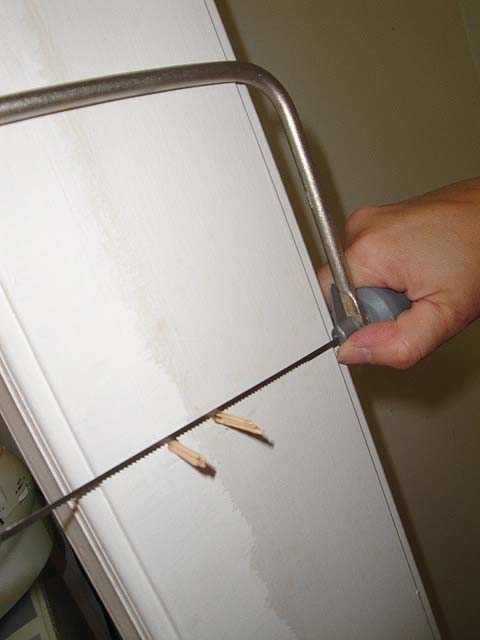
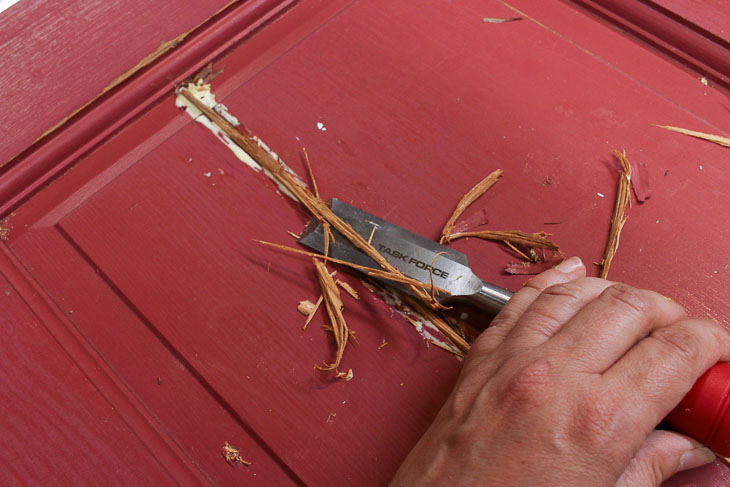
Using the Dremel with a cut off wheel, clean up the crack and open it to the width of your wood spline.
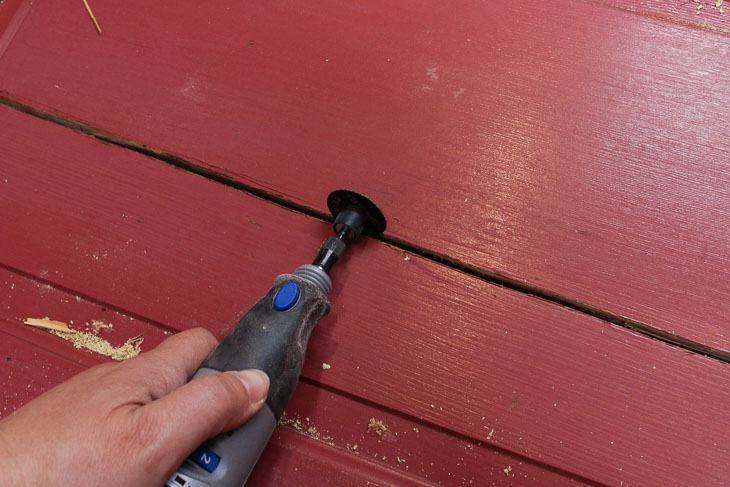
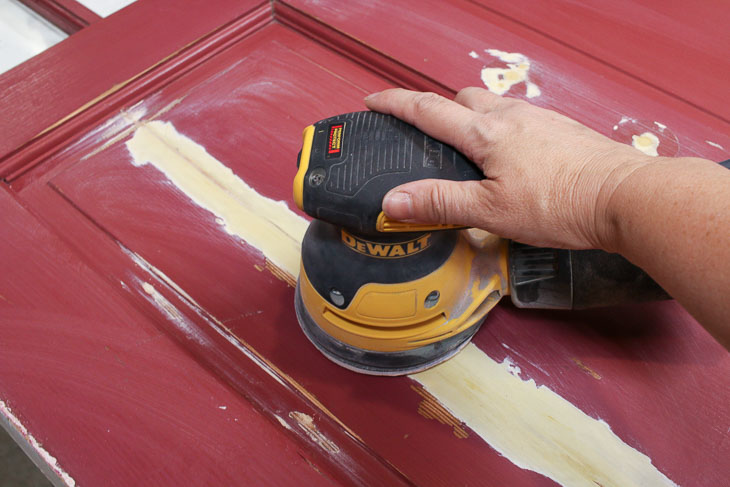
Sand smooth any jagged edges along the crack and any dings on the rest of the door.

Test fit the spline into the crack. Make any adjustments to the crack as needed or cut a narrower spline on a table saw.
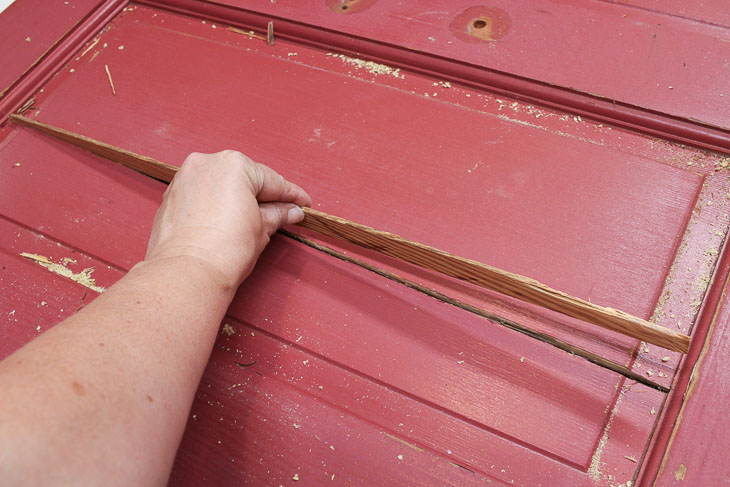
The spline should fit snuggly in the crack.
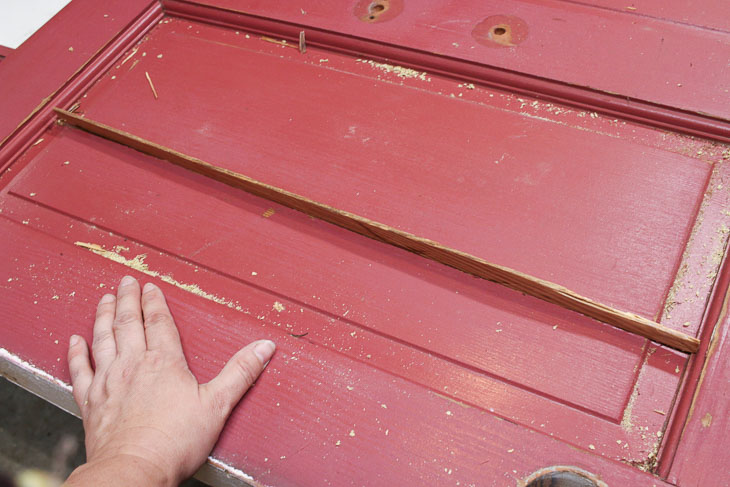
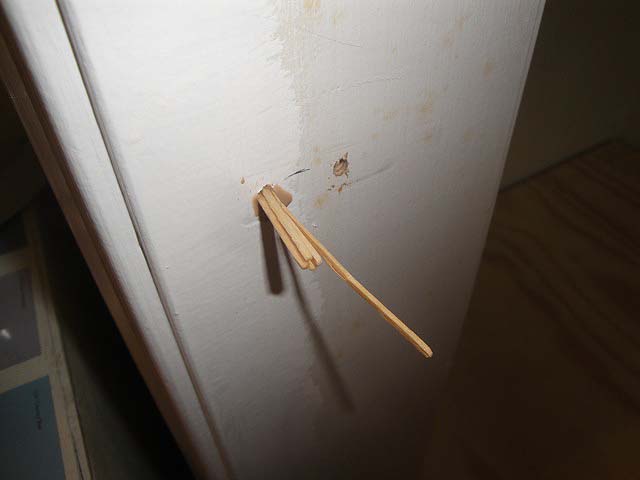
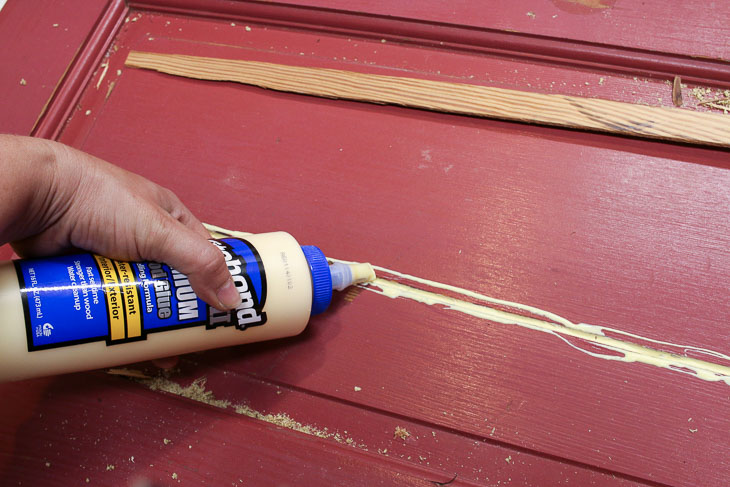
Remove the spline and apply a liberal amount of wood glue into the crack.
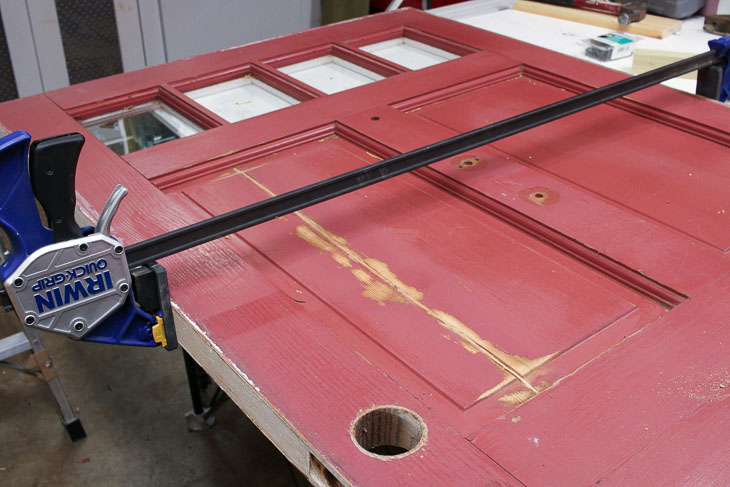
Insert the spline and clamp the door until the glue hardens.
Chisel off the excess spline (you don’t need to get it perfect, but you’ll want to remove as much of the spline that protrudes beyond the door panel.)
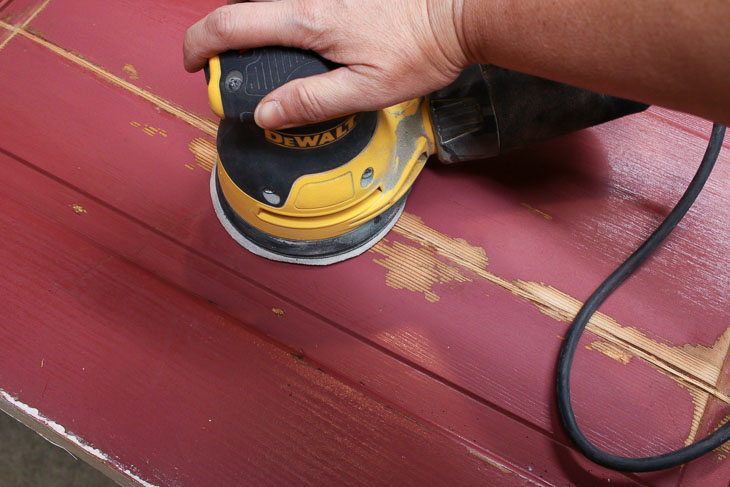
Sand the repaired crack until the spline is even with the rest of the door panel.
There will probably still be some minor cracks or voids, but these can be repaired with putty. Mix up a small amount of Durham’s Rock Hard Water Putty (just add water!) Apply along the repaired crack and fill in any small holes or dings on the door. Let the putty cure.
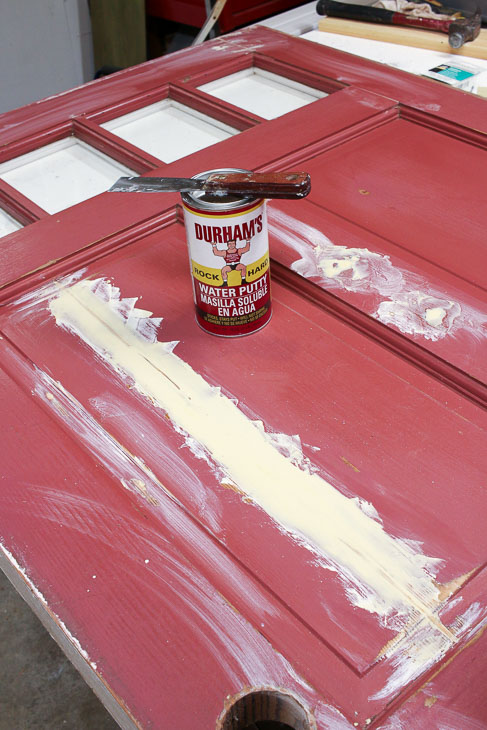
Flip the door over and repeat the process of removing the excess spline material and adding the wood putty.
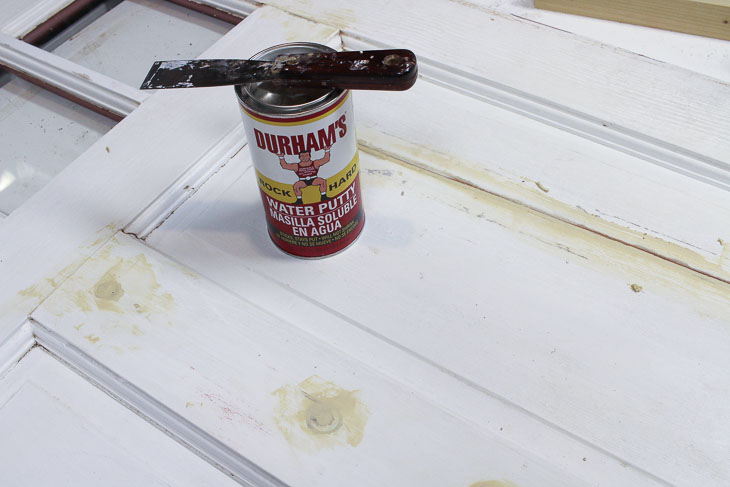
After the putty has dried, sand until smooth. Start with a 120 grit sandpaper and work your way up to 220 grit.
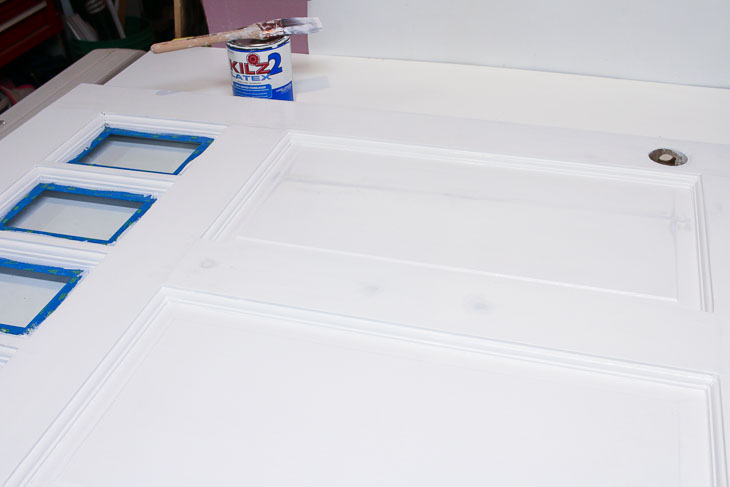
Clean the door of any sanding dust. Tape off the window edges (if applicable). Prime the door on both sides (allowing one side to dry before priming the other side.)
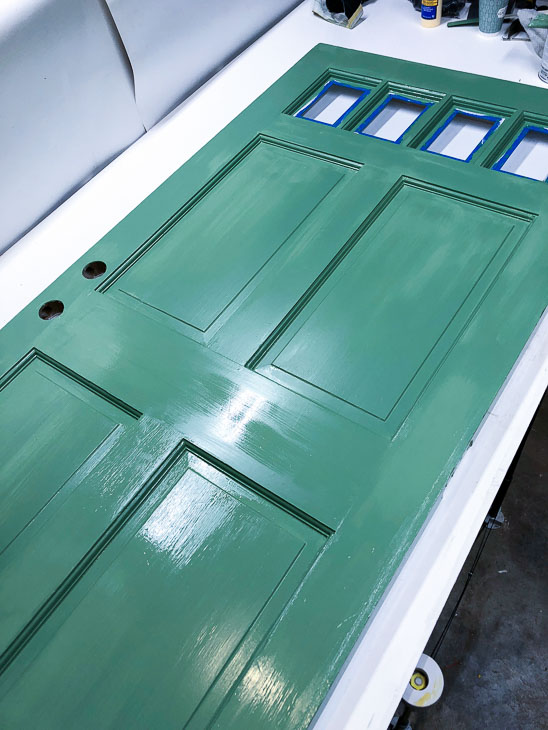
Paint your door any color you like!
Want to Stain Your Door Instead?
If you prefer the natural wood look on your door, be sure to choose a spline that matches your door’s wood species and skip the wood putty step.
Installing the Door:
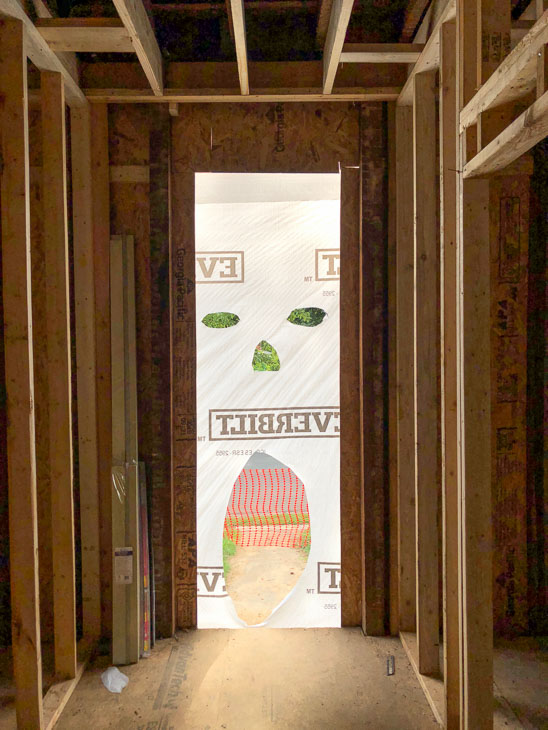
Back at the house, my framers had some fun with the house wrap at the front door.
After I added an exterior door frame kit to my repaired door, the framers hung it in the rough opening.
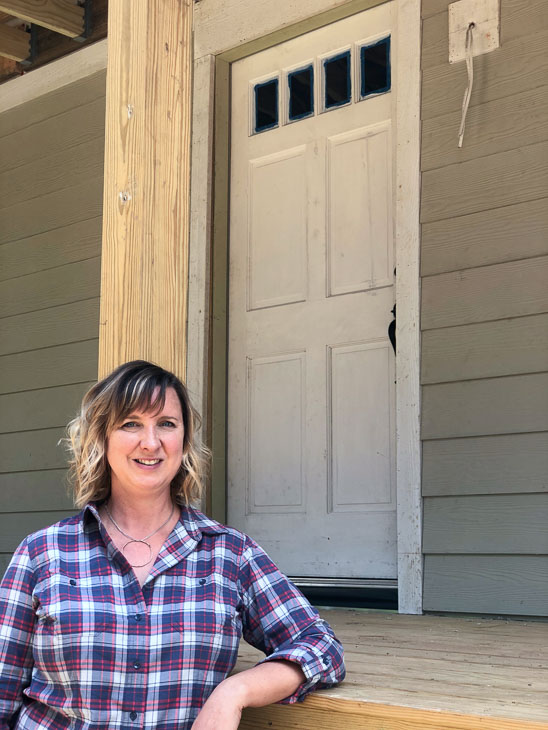
Because I didn’t paint the exterior of the door yet, you can barely see the repair above. But, after a fresh coat of paint, I challenge you to spot the repaired crack!
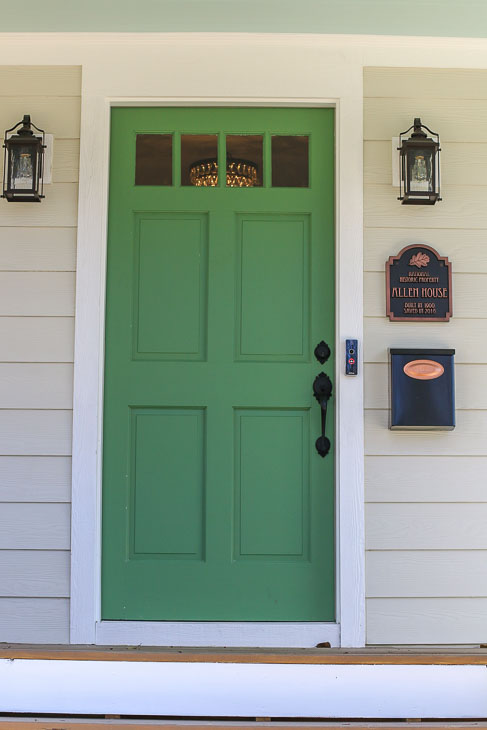
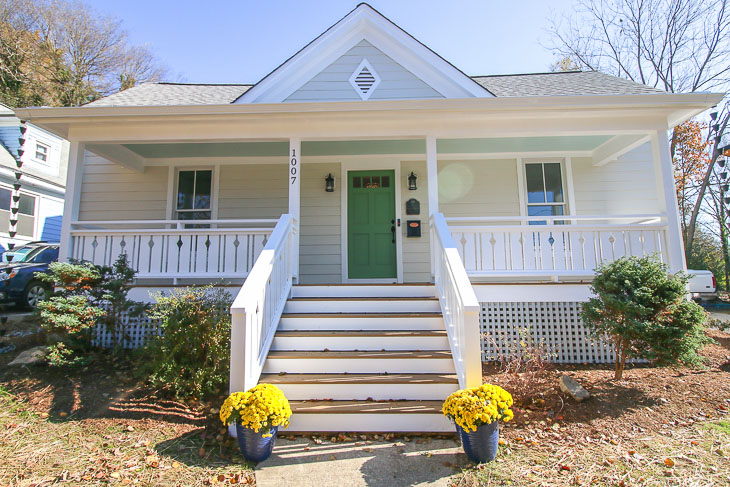
Do you like the color I painted the door? You might remember my decision making process when selecting the exterior color scheme. Ultimately I chose Magnolia Green and Locally Sown in the Magnolia Paint line.
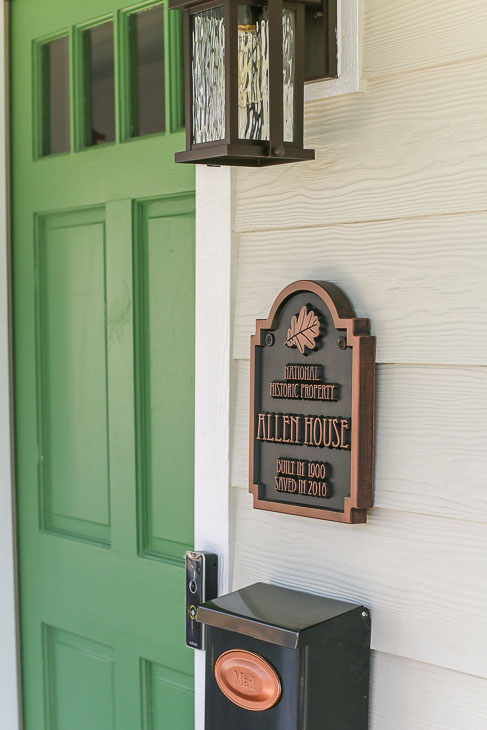
And just in case you thought I was only good at saving doors, apparently now I’m also a house saver! The Saving Etta house received her plaque denoting her name as it’s registered in the list of National Historic Properties.
Hopefully she’ll last another one hundred plus years!
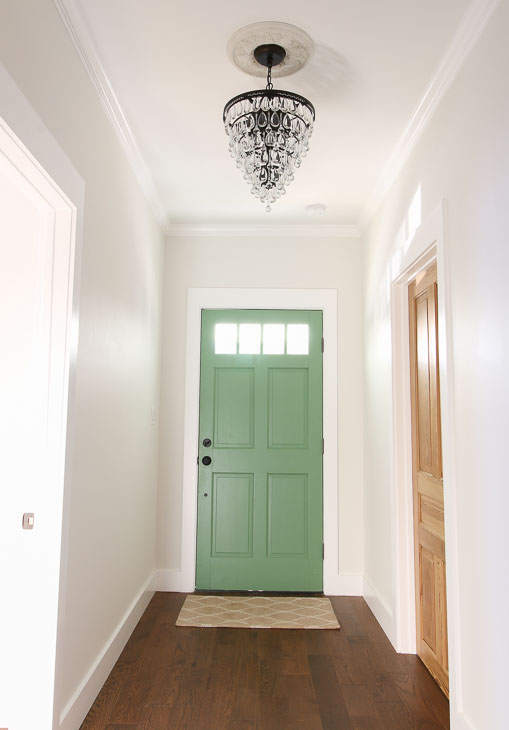
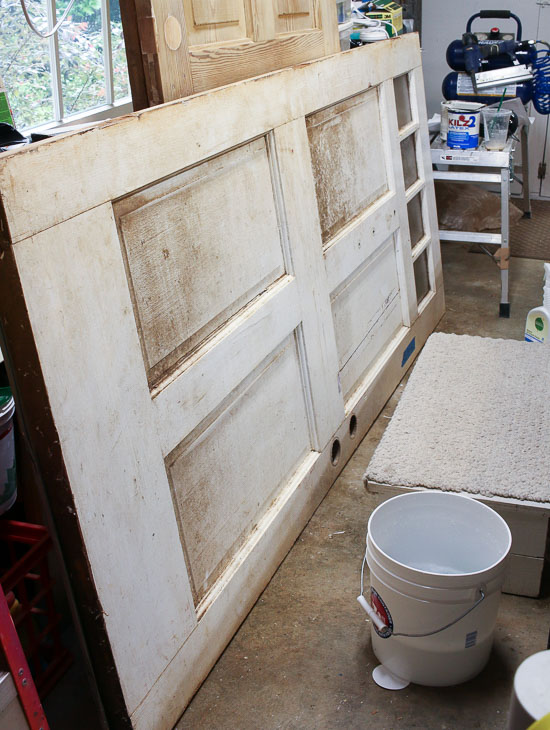
A funny story about the green door: Originally I was going to hang the door with the handle on the opposite side, but made a last minute change. The interior of the door was supposed to get painted gray to match the rest of the doors in the house (minus the salvaged 1900 doors shown above. They were left raw to show off the original wood grain and square peg construction.)
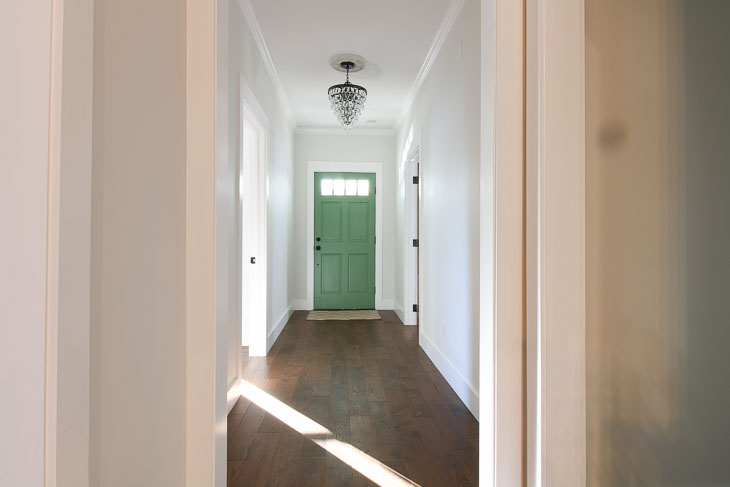
Many of you loved the green color and voted on Instagram to keep the front door green on both sides. Which is why Etta has a green front door inside and out!
What do you think? Do you like the double-sided green door? Do you have a cracked door panel in need of repair? I know you can fix it.