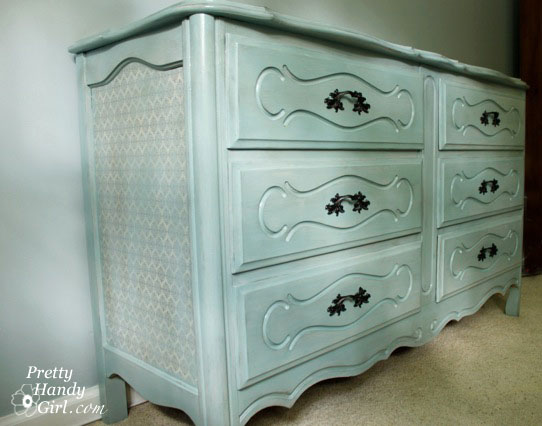
The other day I shared with you my french provincial dresser makeover. I dubbed her the Diva Dresser because of all the changes she pushed me to make. But, in the end I really liked what she wanted.
One of the tutorials that I promised you was how to add the decorative stencil on the top of the dresser.
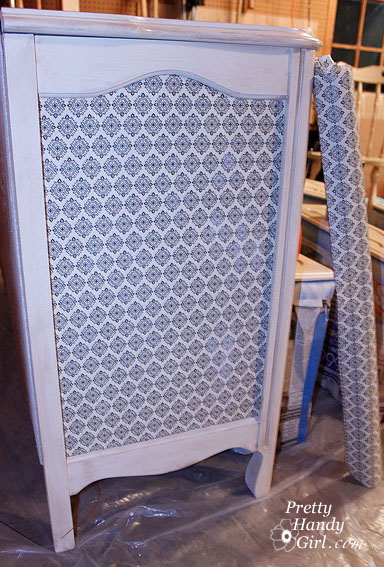
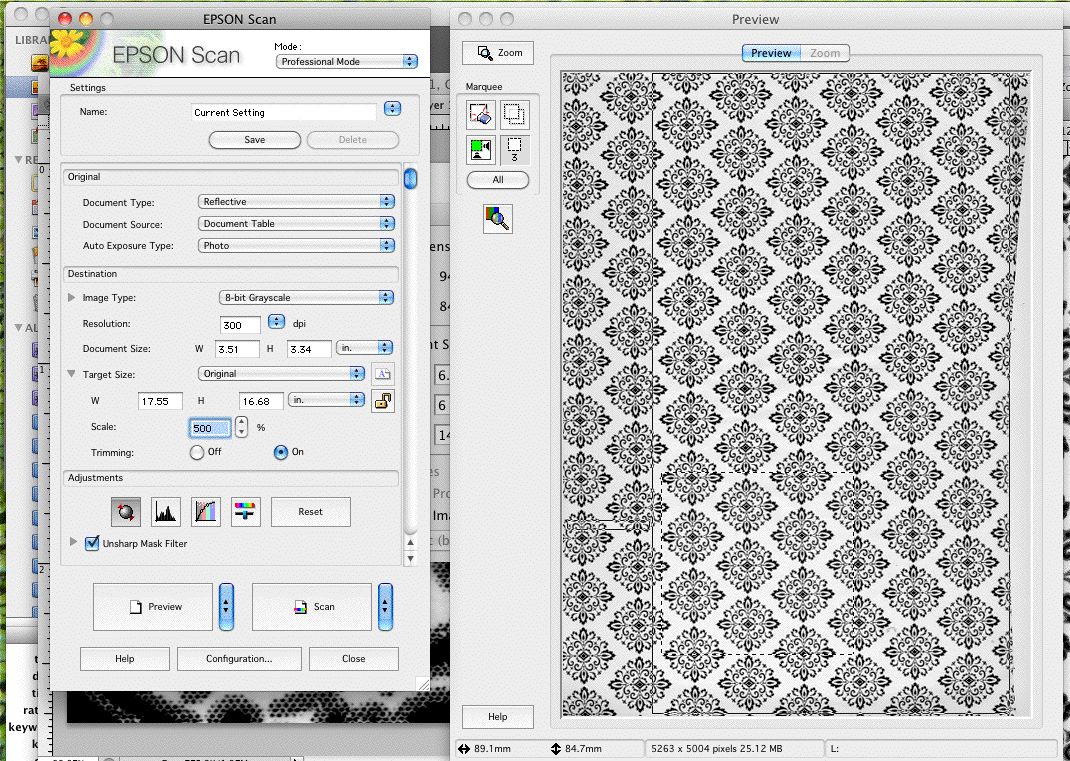
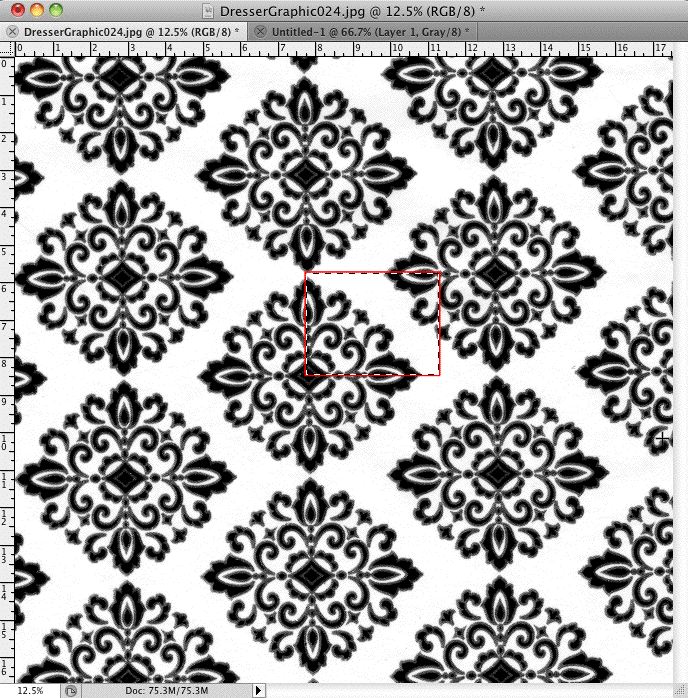
I used the wrapping paper decoupaged on the side to help me create the design.
I scanned a section of the leftover wrapping paper and enlarged the scan 500% of the original size.
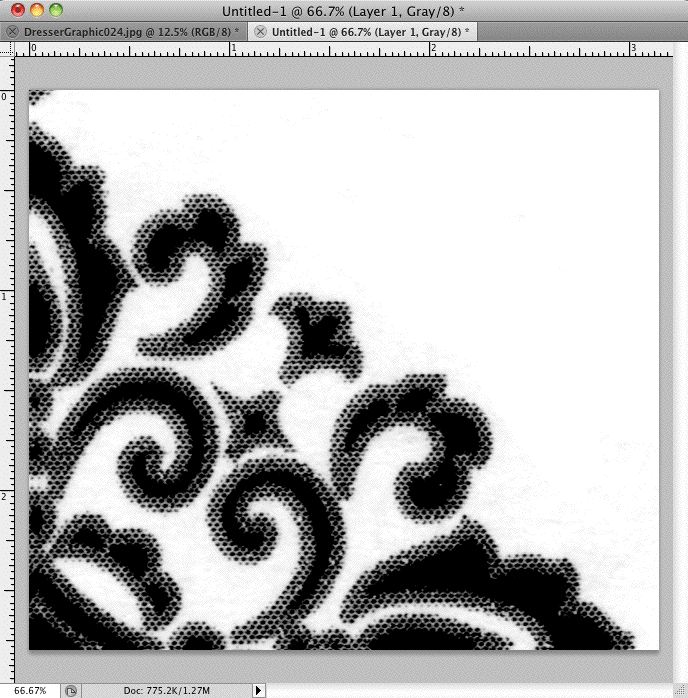
I opened the scan in Photoshop (but you could probably use any editing software.)
And cropped in on one quarter of the medallion.
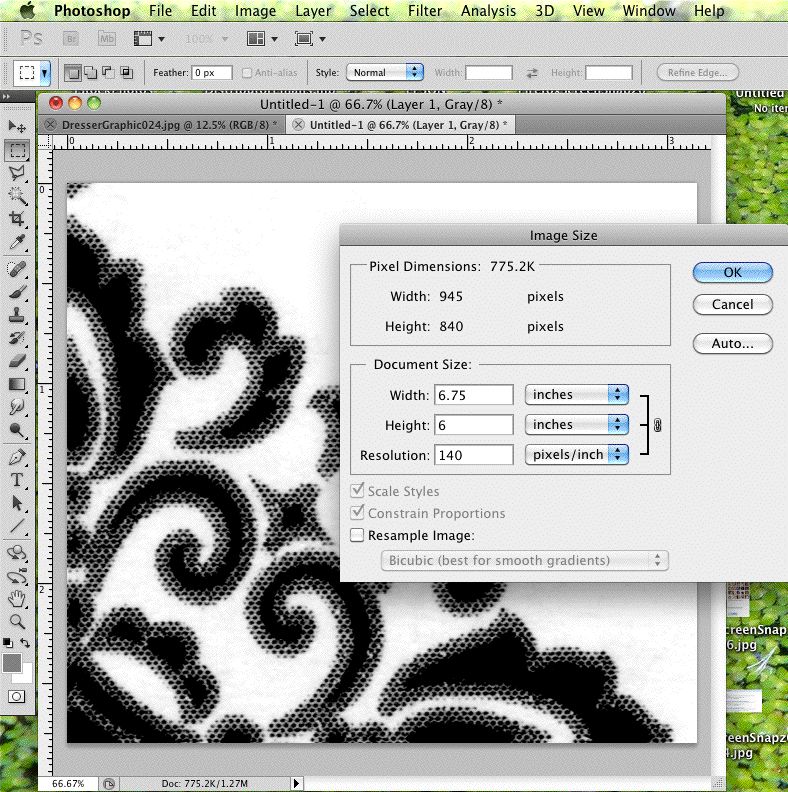
In Photoshop, under Mode, I chose Image Size.
Then I changed the size of my image to the size that I wanted the stencil to be. In my case, I wanted it to be about 6 inches x 6 inches.
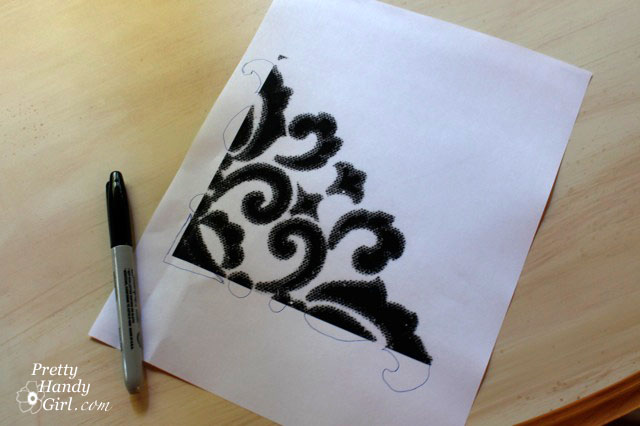
Then I printed out the design onto paper and added a few flourishes to the edges.
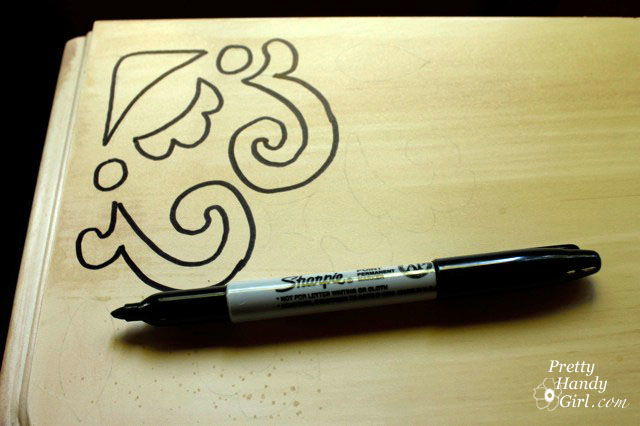
Using a soft pencil (#2 will work fine), I rubbed the edge of the pencil on the back of my printout until all of the back side of my stencil was covered.
Then I cut around my stencil and laid it onto the top of the dresser. Pressing firmly, I traced around all the edges of my design.
When you remove the printout, you should be left with your design in pencil transferred to the surface. (I use this technique all the time to transfer type and other designs onto an object.)
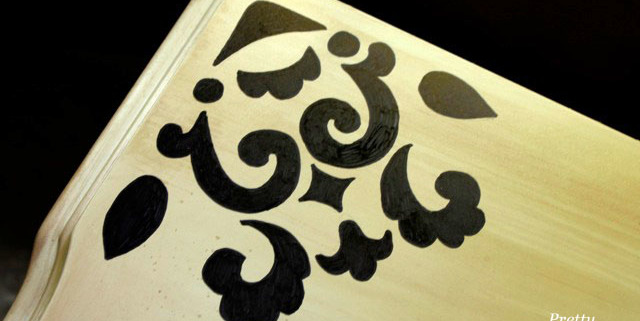
I chose to work with a sharpie pen and traced the design.
Then filled in my design with the marker.
Because I knew I was going to glaze over my stencil, I didn’t mind that you could see the pen marks. If I wasn’t going to glaze over my design, I probably would have use flat black acrylic paint instead.
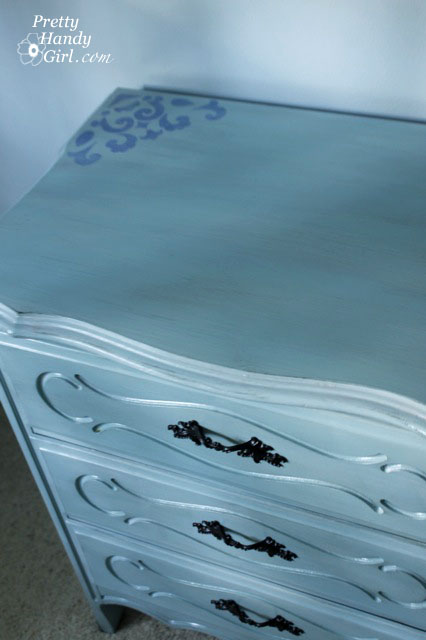
Then I proceeded to glaze many colors of blue/gray over my dresser.
Until I was left with this!
I put one stencil in each back corner. And love how easy it was to do. And of course how beautiful it looks!
Do you have anything you want to add a sharpie stencil too? Maybe something you can monogram? I encourage you to try it!