
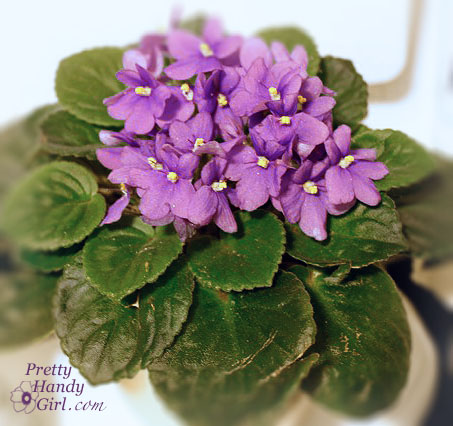
I love african violets! They can be fickle, but once they have the right amount of light, and slightly damp soil, they will happily put on a show for you. My violets used to perch on the kitchen window sill, but occasionally they would take a suicidal nose dive into the sink. To save them from inevitable death one day, I installed two glass shelves over the sink.
Would you like to install your own glass shelves between two kitchen cabinets? It is a relatively easy project, but does require two sets of hands for one step. The directions below will take you through the step-by-step process for installing 2 glass shelves.
DIY Glass Window Shelves Materials:
(I’ve included affiliate links for your convenience. I earn a small percentage from a purchase using these links. There is no additional cost to you. You can read more about affiliate links here.)
3/16 inch tempered glass
quarter round moulding
paint (to match your kitchen cabinets)
medium size paint brush
painters tape
hammer
level
drill w/ bits
finish nails 1.25″ long
nail set
wood putty or caulk
flat toothpick or wood shim
DIY Glass Window Shelves Instructions:
1. First measure your window width and subtracted 0.25″ from the measurement.) Then measure the depth of your kitchen cabinets to the window frame (or tile, whatever sticks out the furthest).
Take those measurements to a glass manufacturer and have them cut two pieces of 3/16″ tempered glass. Make sure that the edges will be smooth. And, definitely ask for the tempered glass. (My shelves never broke, but I banged them occasionally while being overzealous about washing dishes.)
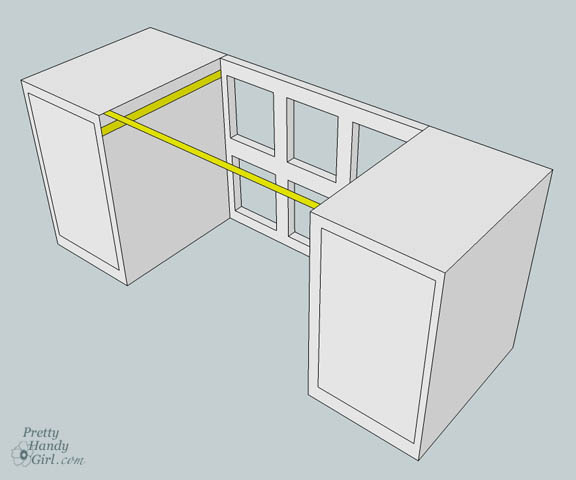
2. Using the measurement you took for the depth of your cabinets, cut 8 lengths of quarter round (four for each glass shelf you are hanging.)
3. Prime and then paint the quarter round to match your cabinets.
4. Determine the height where you want your glass shelves to be. (I put each shelf at the same height as my window grill pieces.) Use a level and draw lines on your cabinet on one side of the window.

5. Pre-drill three holes (the size of your finish nails) into your quarter round.
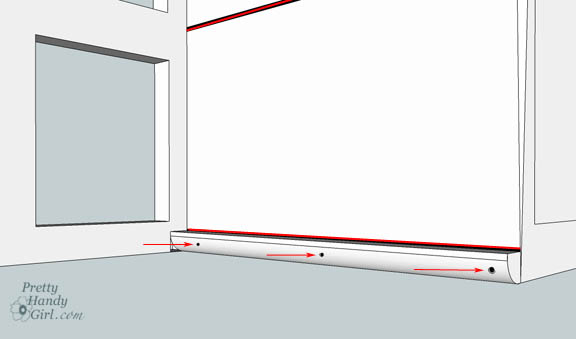
6. Using a piece of painters tape, attach once piece of the quarter round to your cabinet. This is your shelf support piece, so make sure that the flat edge is facing up. Gently nail the finish nails through the predrilled holes and into the cabinet. Repeat this step for your other shelf support (on the same side.)
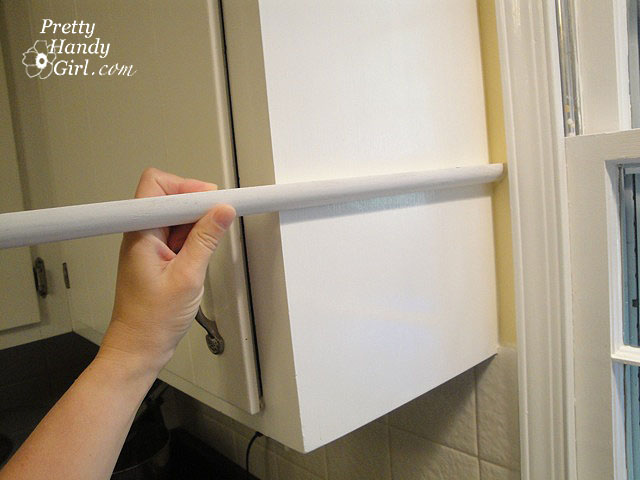
7. Rest one glass shelf on one piece of the installed quarter round. You will need an assistant to help hold the glass shelf up as you level it.
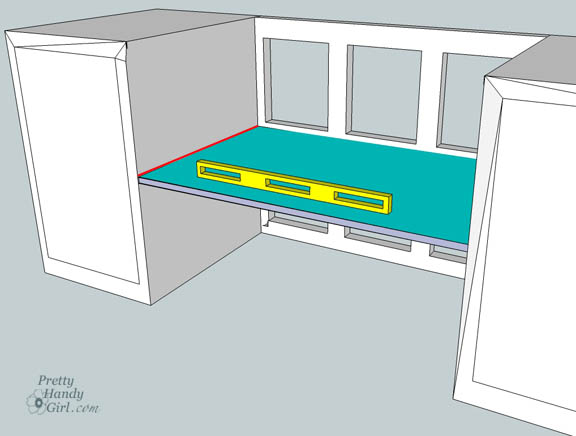
8. Make a mark on the under side of your glass.

9. Double check that the mark is level (from front to back), and line your next piece of quarter round below the line. Repeat steps 5 & 6 above until you have the four shelf supports installed.
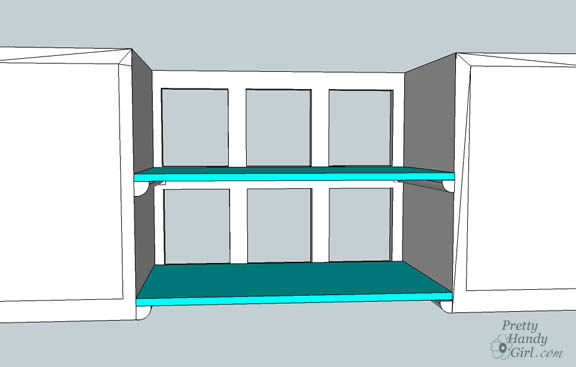
10. Gently rest your glass shelves on the supports.
11. Pre-drill holes in your four remaining quarter round strips.
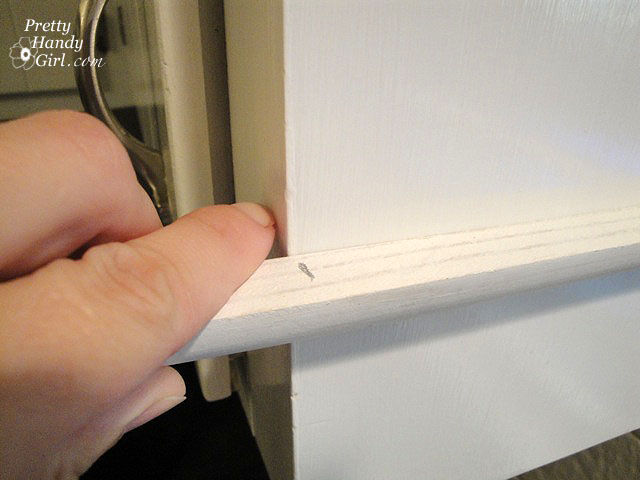
12. Set wood shims (or toothpicks) on top of the glass shelves and up against the cabinets on both ends. Rest your quarter round strips on top of the shims. This should give you a slight space between the glass and the quarter round. Now, tape the quarter round pieces in place and REMOVE BOTH glass shelves and the shims.

13. Nail your quarter round pieces in place. Use a nail set to countersink (set the nail below the wood surface) all your nails. Fill the nail holes with wood putty or caulk and touch it up with your paint.
14. When the paint has dried, slide in your shelves. The shelves should slide in easily and should not be tight.

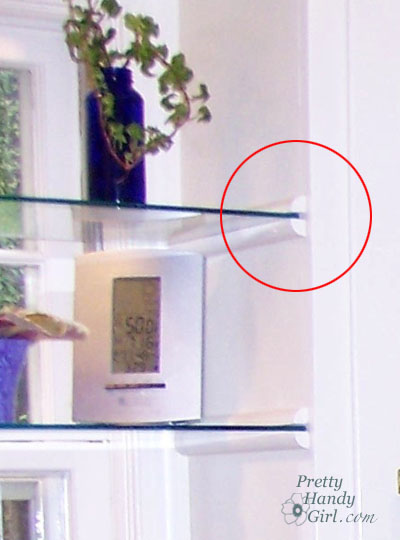
15. Put some plants or other accessories on your new shelves! And enjoy.
