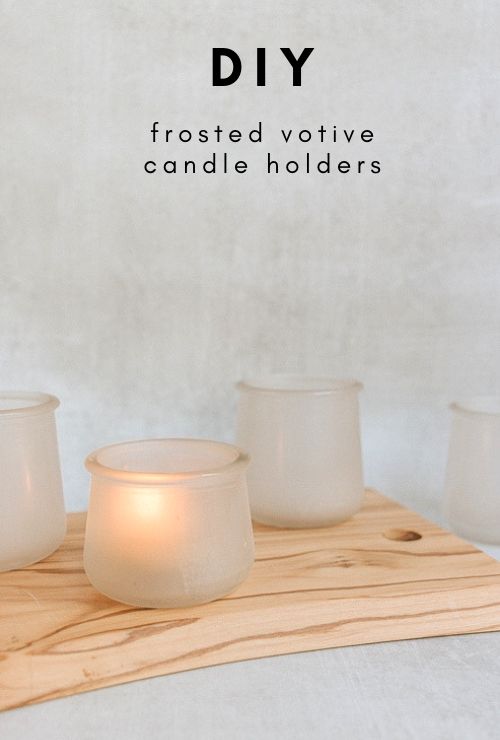
DIY Frosted Votive Candle Holders
Hi, Pretty Handy Girl Readers! I’m back today with a super simple and inexpensive project that you can use for the upcoming holiday season. Or anytime, really! These DIY frosted votive candle holders are made from old yogurt jars (Yoplait by Oui jars).
This brand of yogurt comes in the cutest little glass jars and I’ve found so many uses for them, like my fairy jar macrame hangers and cinnamon stick candle holders.
Here’s how to make these DIY frosted votive candle holders:
Materials:
(I’ve included affiliate links for your convenience. I earn a small percentage from a purchase using these links. There is no additional cost to you. You can read more about affiliate links here.)
- Yogurt Jars
- Goo Gone (to remove sticker labels)
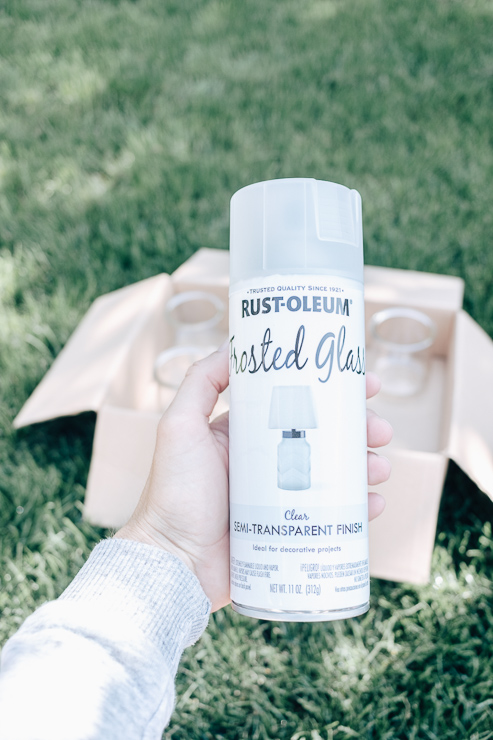
- Rust-Oleum Frosted Spray Paint
- Tea candles or fairy lights
Instructions:
Follow these simple instructions to make these pretty votive candle holders!
Step 1: Clean your Jars
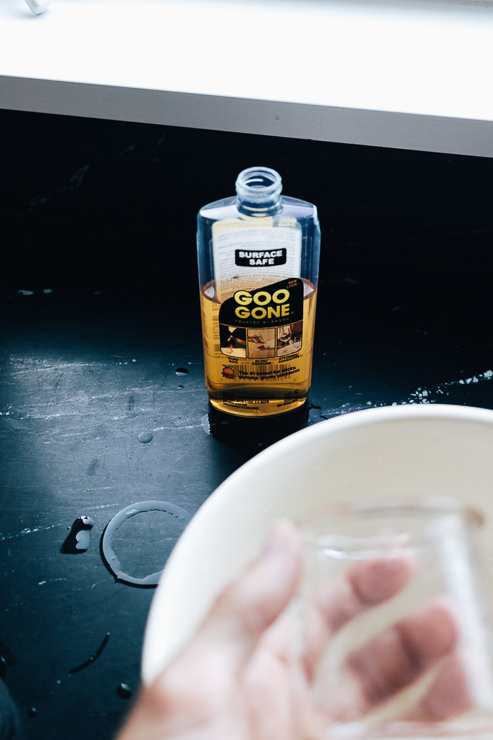

Here’s the easiest way to clean the jars. Place the jars in a bowl filled with hot, soapy water. Let them soak for a bit.
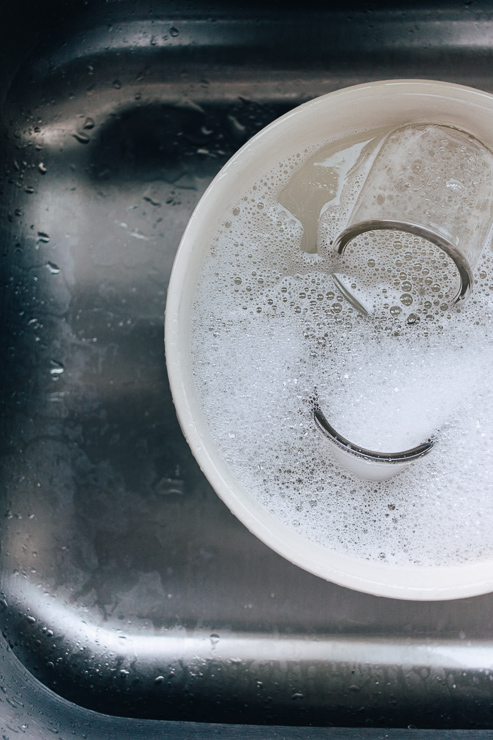
After soaking, use a tea towel to dry them and help remove most (if not all of the) sticker residue. Use Goo Gone to remove any remaining sticker residue.
You will find at this point that most of it will just rub right off. If not, put the jars in the dishwasher to get them nice and clean.
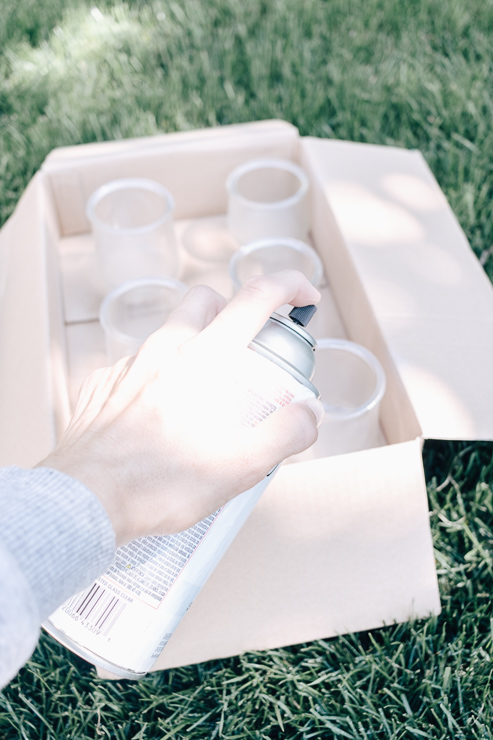
Step 2: Spray Paint your Jars

As with all spray painting and painting projects, it’s best to spray outside in a well-ventilated area (and use protective eyewear and a mask).
Spray your jars using light and even coats to avoid drips and runs in your paint. It’s best to go easy and commit to building up the paint over time. This spray paint dries in just 5-10 minutes! You will be able to tell where you might need more spray paint after giving it time to dry. Spray your jars with 2 coats for the best coverage.
I spray painted both the inside and outside of my jars, but that might not be necessary depending on the look you want.

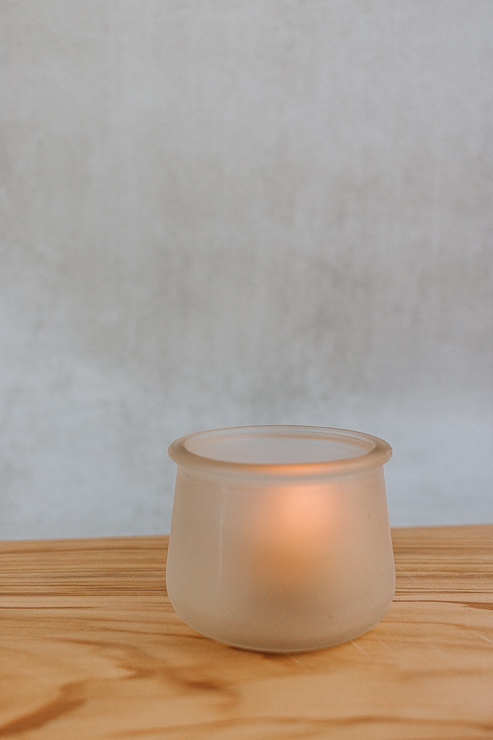
As this paint dries, it becomes more opaque and frosted looking. It’s really cool to watch the paint magic happening before your eyes!

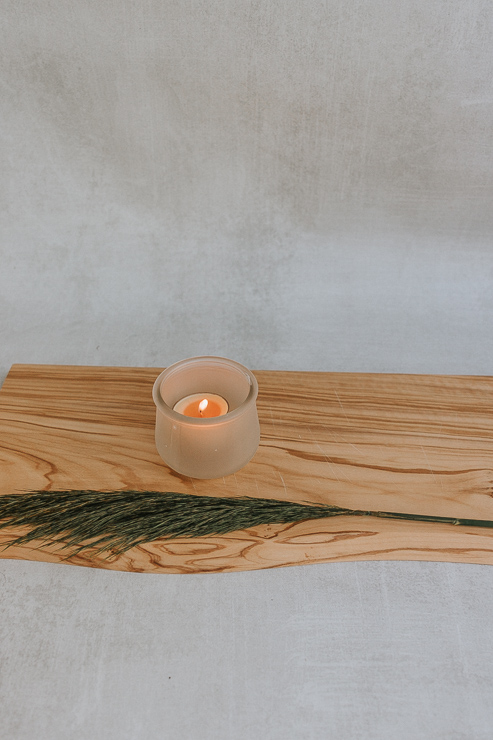
Step 3: Enjoy your Jars!
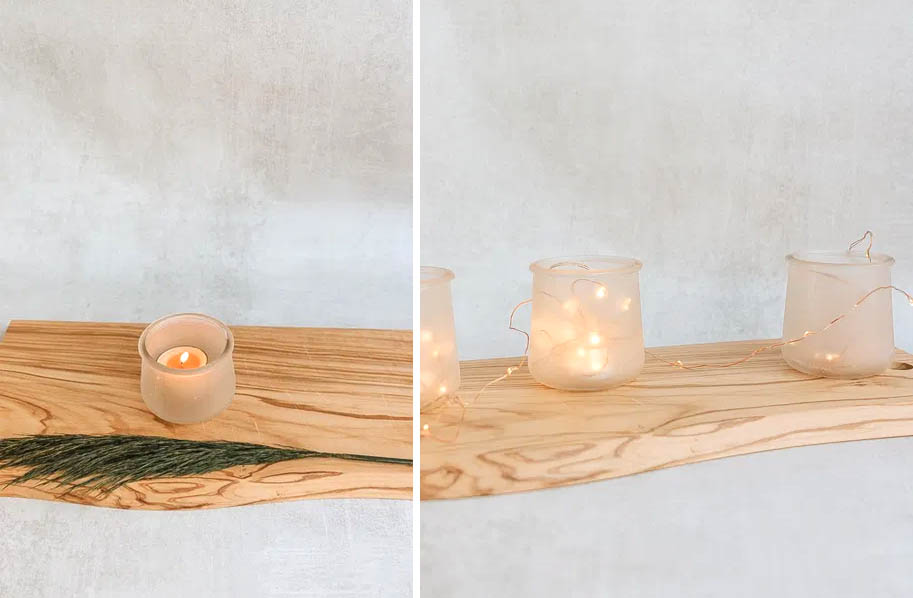
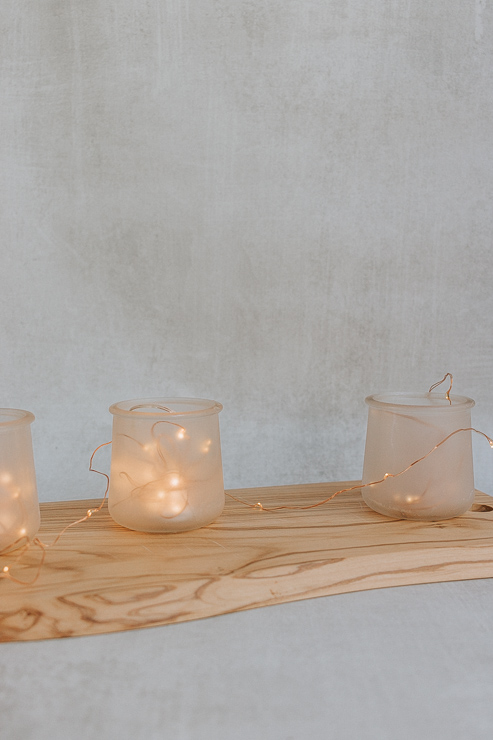
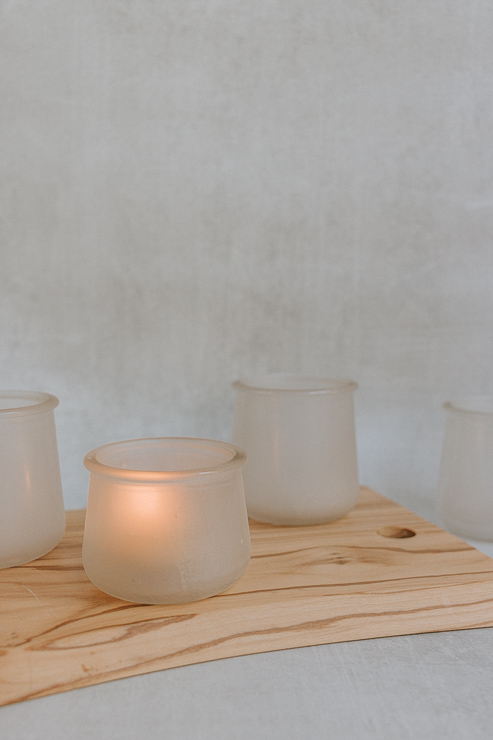
Once your jars are fully dry, you can decorate with them! I love these frosted jars with tea light candles. But you could also use fairy lights for a unique look.
Buy tea candles in bulk from stores like Amazon or IKEA. You can also pick up seasonal candles from places like Target if you wanted a nice Fall or Holiday scent.
Another idea?
I’m a huge fan of the flameless candles, as long as they are realistic and cast a warm glow (not a fake orangey one!) You can buy flameless tea light candles just about anywhere these days. If you want my personal opinion, Pottery Barn and Luminara make pretty realistic ones and the light is very warm and pretty. Amazon is chock full of options for flameless tea lights.
If you are planning a holiday get together or a party (even a wedding), these candles will be the perfect finishing touch for your tables and decor. Bonus: they are so inexpensive and easy to make.
I hope you guys have fun with this one! And I hope Yoplait never stops making this yogurt because I love these little jars!
For even more ideas, check out these festive votive candle holders right here on Pretty Handy Girl!
See you all next month! Thanks for reading!

~ See More of Karen’s Tutorials ~

 Hello! I’m Karen, the creator of the Home Decor and DIY Blog: Decor Hint. I’m a Native of the East Coast, but I currently live in beautiful Seattle with my hubby, our two wonderful children, and our spunky wheaten terrier.
You can usually find me with some sort of craft in one hand and a coffee in the other. And I’m always rearranging furniture or moving lamps from room to room. I have a passion (read: obsession) for decorating, DIY, and gardening. In short, I love making my house into a home.
Like many, I’m inspired by what I see in home decor magazines, but I’m not so inspired by the price tags. Consequently, I love finding and creating beautiful budget-friendly home decor items. In a head to head competition, I bet you’d never know the difference between the designer items and my DIY creations! Many of my DIY projects focus on sewing, crafting, upcycling and organizing. Some of my favorite projects have been making pretty wreaths, sewing my own tassel hand towels, and crafting these trendy wood bead garlands. I can’t wait to inspire you and spark your creativity through my DIY projects.
You can always connect with me on Pinterest, Twitter or Instagram.