 DIY Sheet Metal Gift Trays
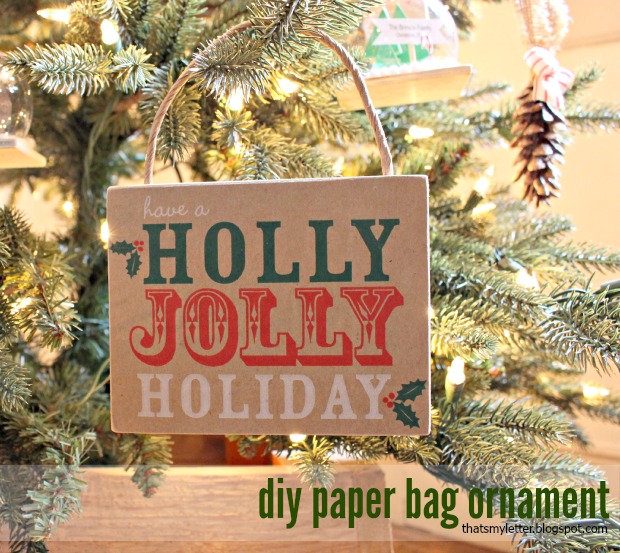
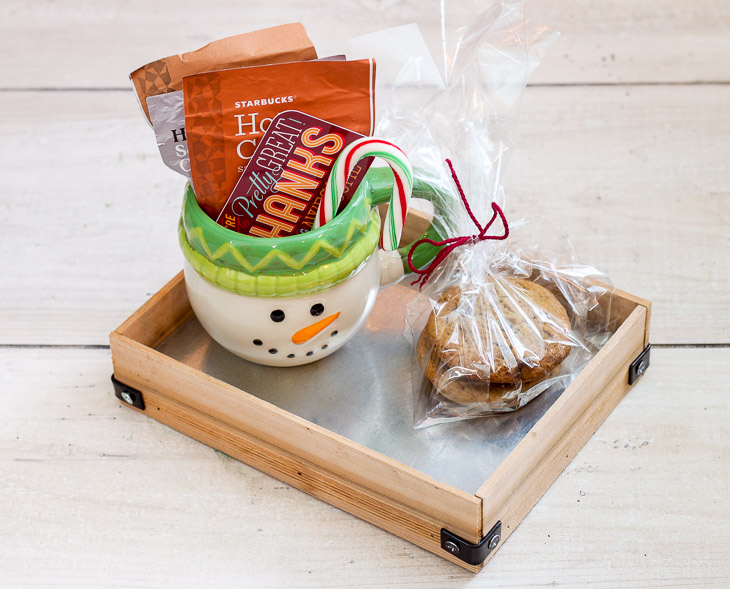
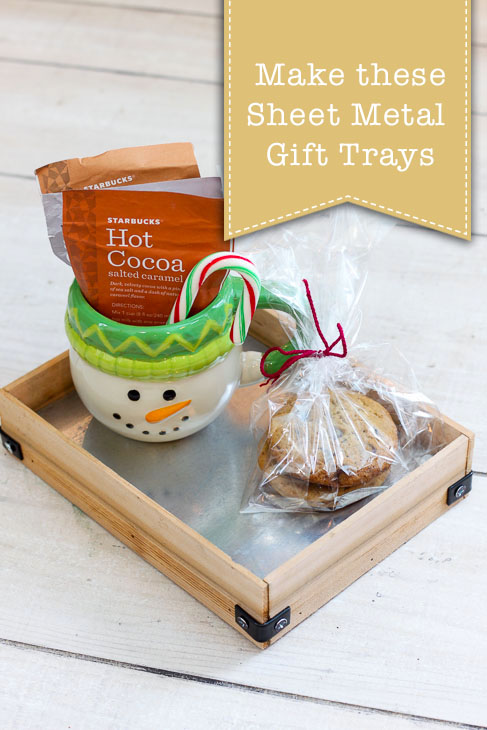
The holidays are fast approaching and it’s time to start thinking about gift giving ideas! Gift trays are a great way deliver gifts to your friends, neighbors or teachers. The best part of a gift tray is it can be reused for anything they want and nothing goes to waste! Follow along with this tutorial to see how to make these DIY Sheet Metal Gift Trays.
Materials:
(I’ve included affiliate links for your convenience. I earn a small percentage from a purchase using these links. There is no additional cost to you. You can read more about affiliate links here.)
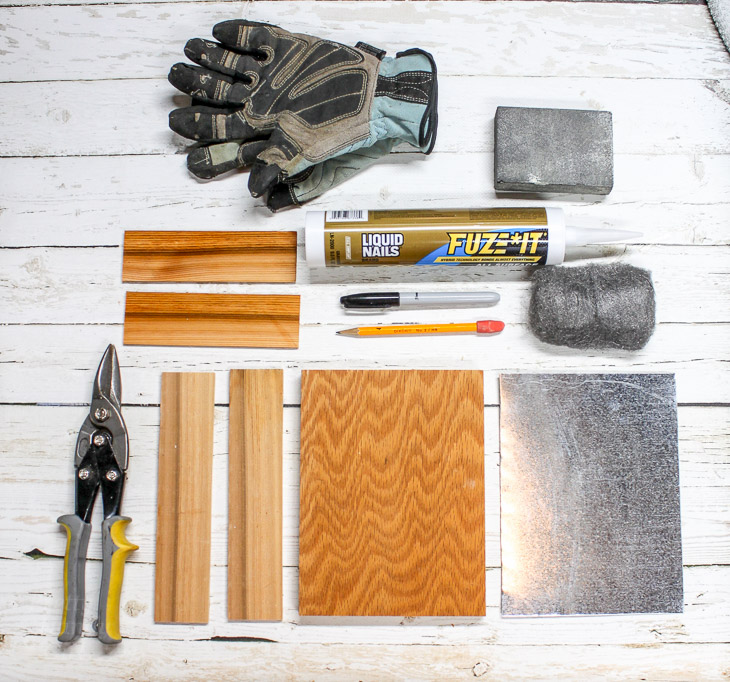
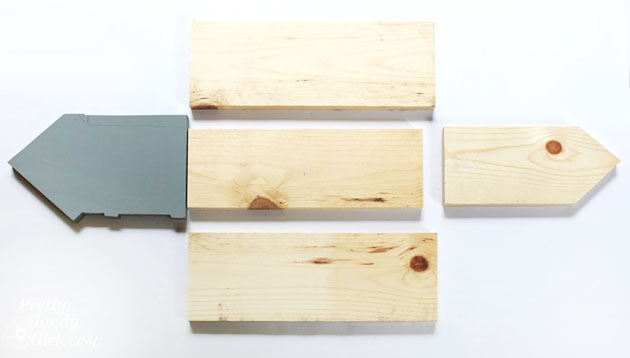
- 1/2″ or 3/4″ Plywood scrap wood
- 2″ pieces of lathe or scrap moulding
- [amazon_textlink asin=’B000W49NPC’ text=’Sheet metal scrap’ template=’ProductLink’ store=’prett-wp-001-20′ marketplace=’US’ link_id=’4f103892-cbe2-11e7-a00c-3fda84932599′] (large enough to cover plywood base)
- [amazon_textlink asin=’B00009OYFY’ text=’Sheet metal snips’ template=’ProductLink’ store=’prett-wp-001-20′ marketplace=’US’ link_id=’56db011a-cbe2-11e7-88c9-230adf5bdb2c’]
- [amazon_textlink asin=’B000S7ZSTS’ text=’Construction adhesive’ template=’ProductLink’ store=’prett-wp-001-20′ marketplace=’US’ link_id=’65c9549d-cbe2-11e7-8619-39ed35fc6585′]
- [amazon_textlink asin=’B000DZF2Q4′ text=’Caulk gun’ template=’ProductLink’ store=’prett-wp-001-20′ marketplace=’US’ link_id=’6d3fe28c-cbe2-11e7-bb25-e144f3be5a89′]
- [amazon_textlink asin=’B00125NQBC’ text=’Sandpaper’ template=’ProductLink’ store=’prett-wp-001-20′ marketplace=’US’ link_id=’7f0ff979-cbe2-11e7-b34f-fb2f071c5869′]
- [amazon_textlink asin=’B001JYVDSE’ text=’Steel wool’ template=’ProductLink’ store=’prett-wp-001-20′ marketplace=’US’ link_id=’8e654c5e-cbe2-11e7-b495-0ffc93a9294c’]
- [amazon_textlink asin=’B01I7DNOYA’ text=’Gloves’ template=’ProductLink’ store=’prett-wp-001-20′ marketplace=’US’ link_id=’b09e21ba-cbe2-11e7-91af-d908a698cd02′]
- Drill
- Pencil or Marker
- 4 – [amazon_textlink asin=’B01N6NID4X’ text=’L brackets’ template=’ProductLink’ store=’prett-wp-001-20′ marketplace=’US’ link_id=’de9d5670-cbe2-11e7-84b2-2f143e838863′] and 1/2″ wood screws
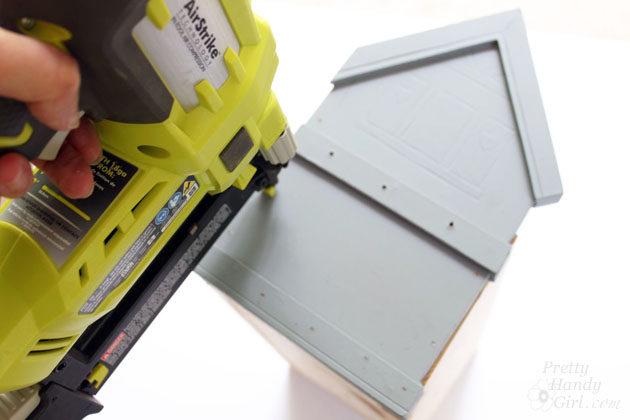
- [amazon_textlink asin=’B001PNH8D8′ text=’Brad nails ‘ template=’ProductLink’ store=’prett-wp-001-20′ marketplace=’US’ link_id=’0337c2d4-cbe3-11e7-b1d7-3dfa06c67bf1′]Nail gun
Instructions:
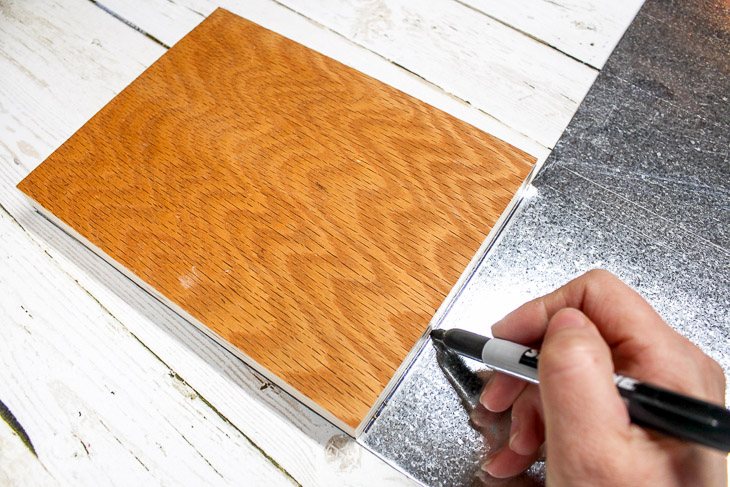
Cut your piece of plywood to the desired size for the tray base. Lay the plywood base on top of the sheet metal and trace with a permanent marker. Use tin snips to cut the metal to size.
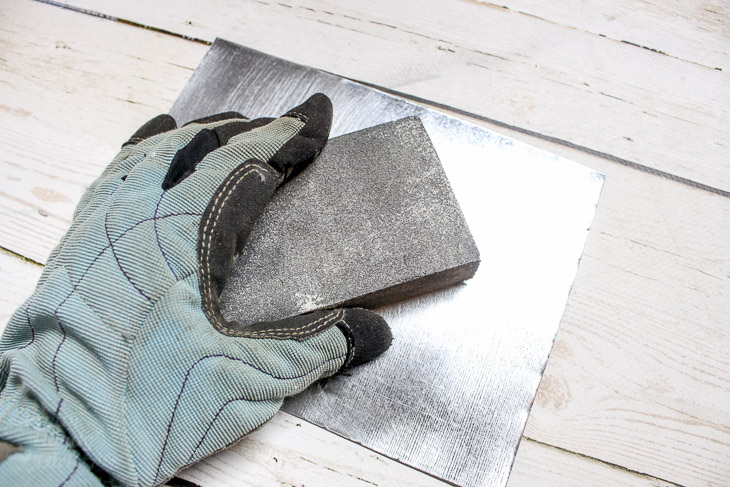
Put on your safety gloves and use the sanding block to remove some of the shine from the sheet metal. Smooth over any sharp edges.
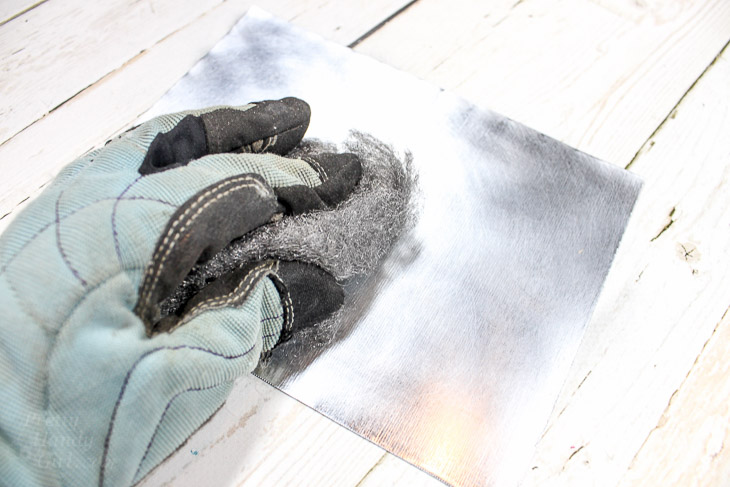
Rub the steel wool over the entire sheet metal piece to give it a soft polished finish.
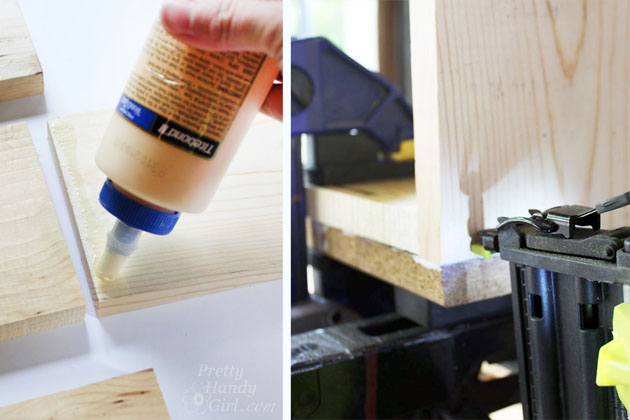
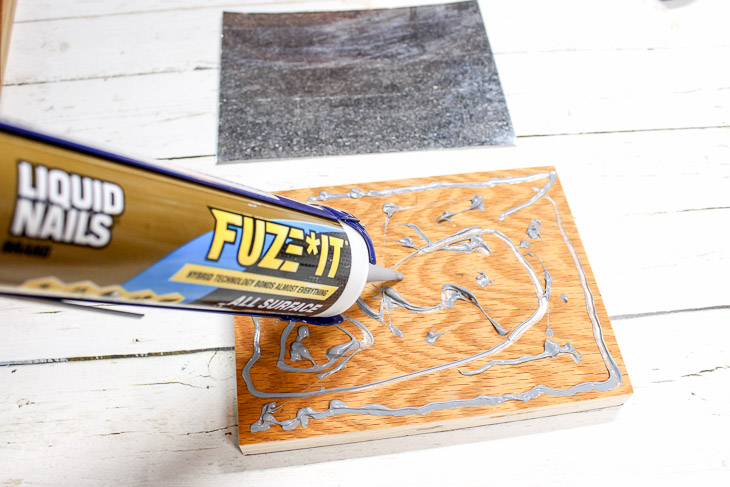
Load a tube of construction adhesive into your caulk gun. Apply a fair amount of adhesive to the plywood. Glue the sheet metal to the top of the plywood.
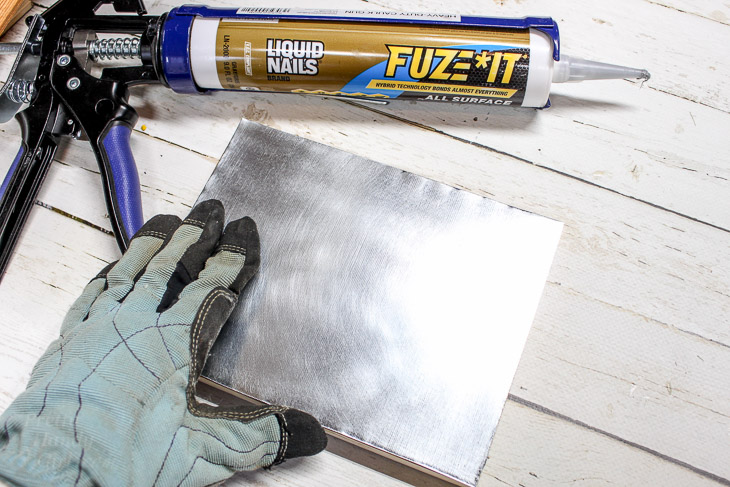
Press the sheet metal down evenly on top of the adhesive. Wipe off any excess if needed with a paper towel.
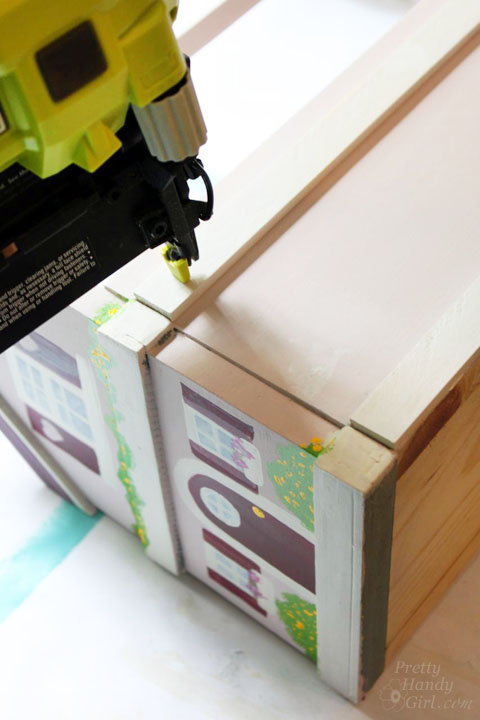
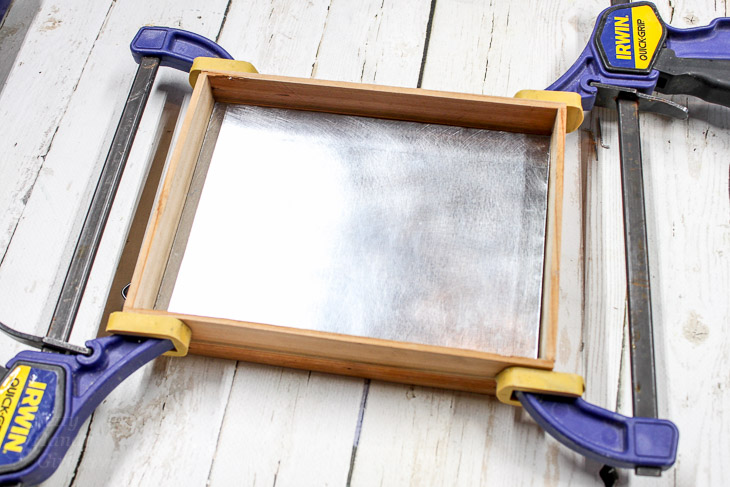
Cut the 2″ pieces of lathe or scrap moulding to the length of the two shorter sides. Next, measure and cut two pieces of lathe for the long ends. (Be sure to allow extra length to overlap the short pieces of lathe/moulding. Use the construction adhesive and brads to secure the lathe to the sides of the plywood. Clamp the sides until the adhesive cures.
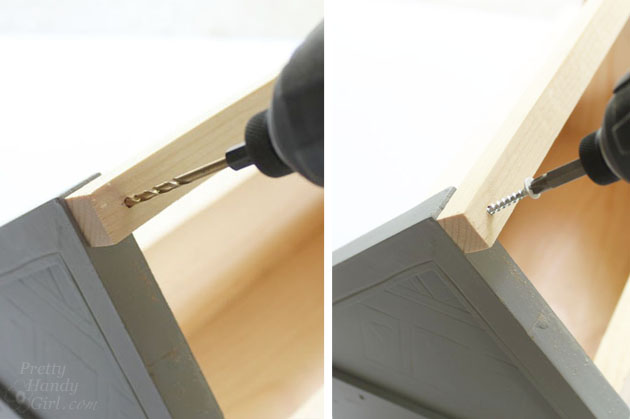
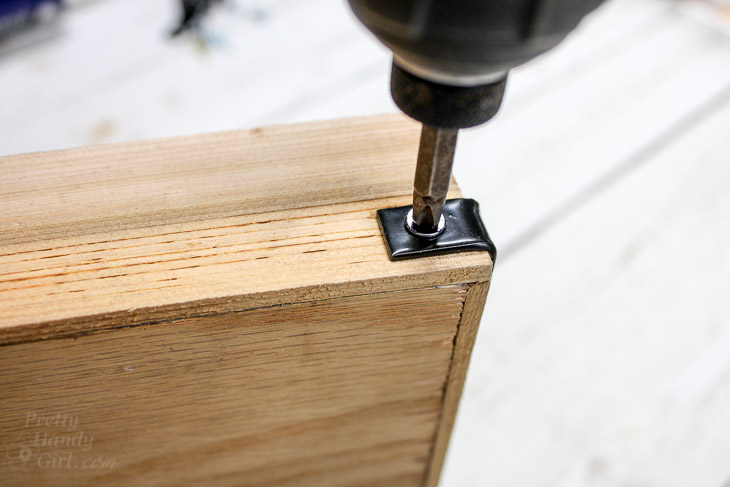
Once the adhesive is cured, remove your clamps. Attach the L brackets on the lower half of each corner using 1/2″ wood screws. The L brackets will reinforce the sides and add an industrial look.
There you have it! These DIY Sheet Metal Gift Trays are easy to make, look great, and are an extra special and environmentally-friendly way to give gifts!
I hope you love this project. Do you have other ideas for quick gift giving? Please share!

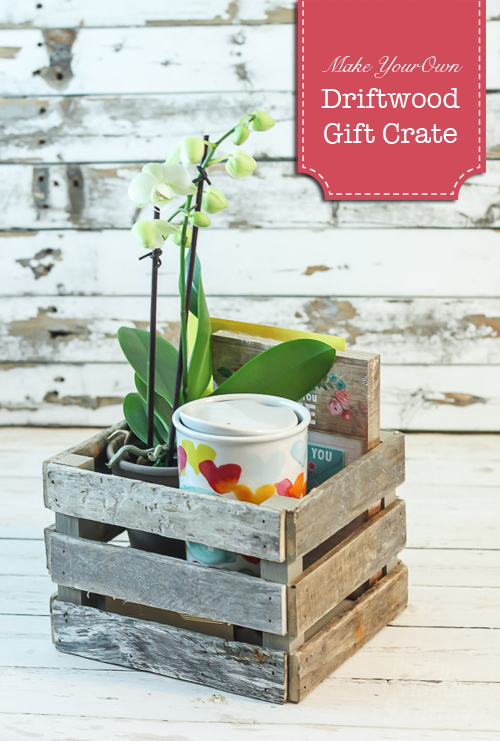
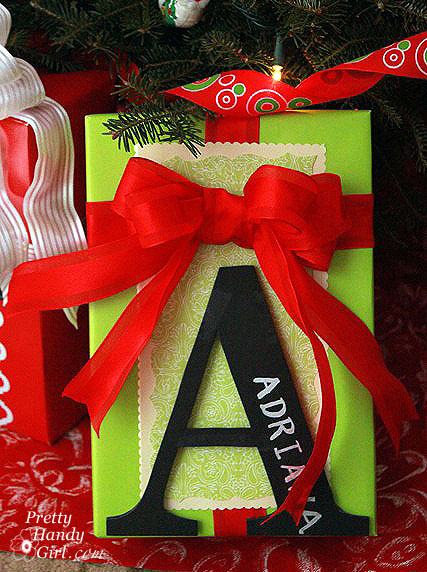
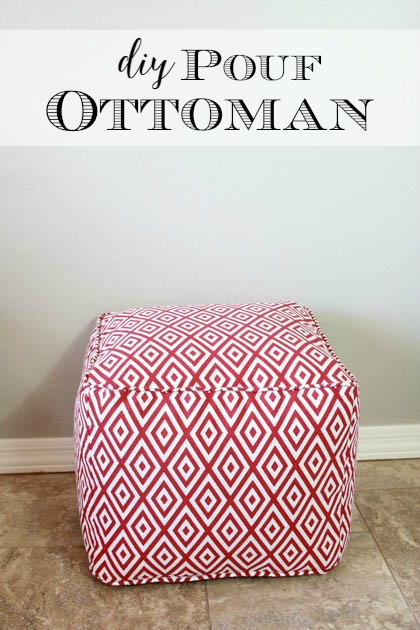
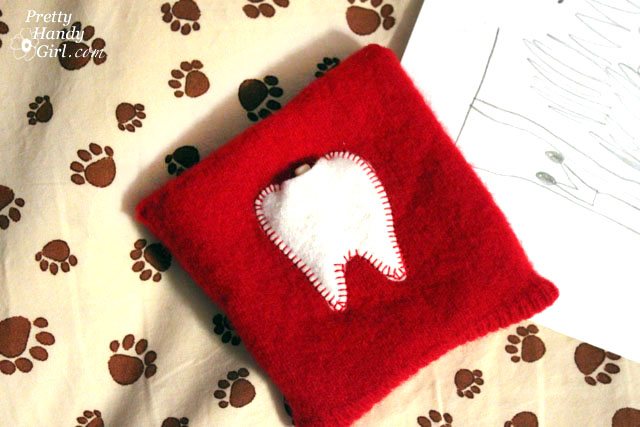
Want some more gift giving inspiration?