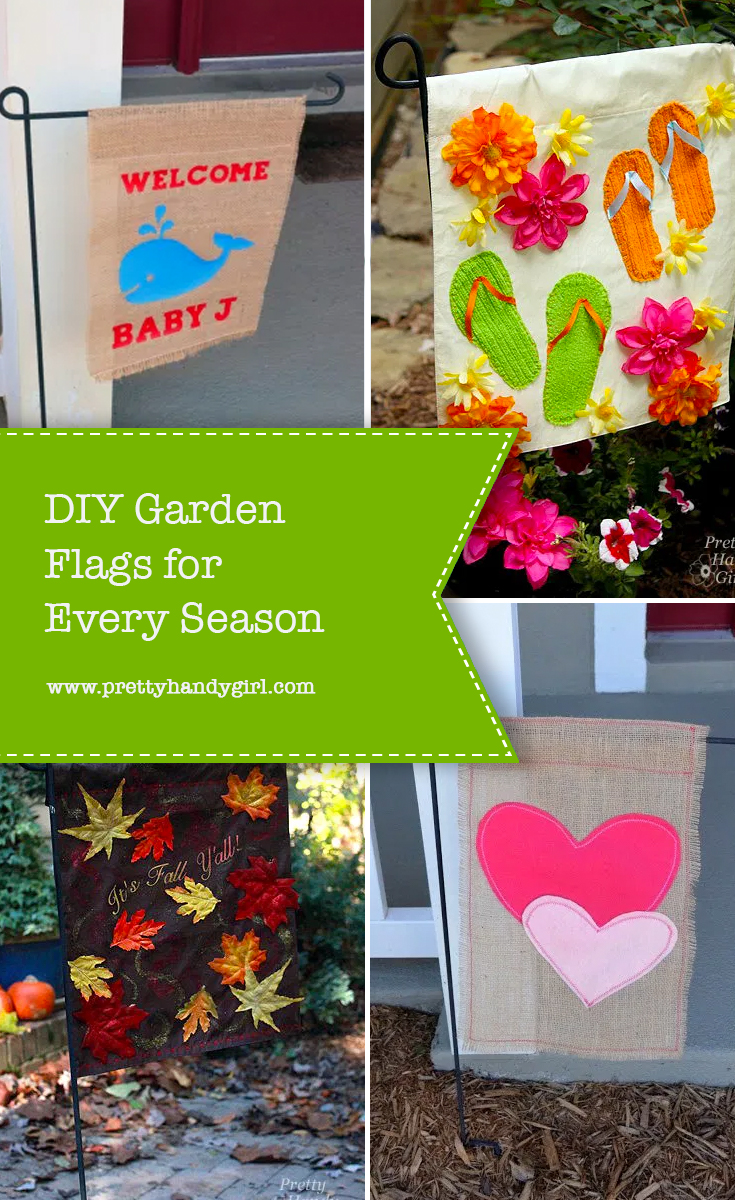
Did you know a placemat is the same size as a garden flag? Yes! It is. Check out these ideas for garden flags for every season. If you don’t have fabric, use one of your old placemats to make some of these DIY Garden Flags for Every Season.
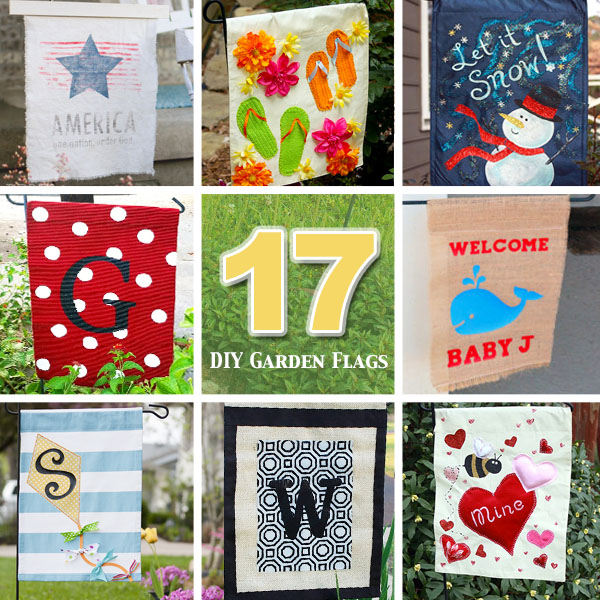
DIY Garden Flags for Every Season
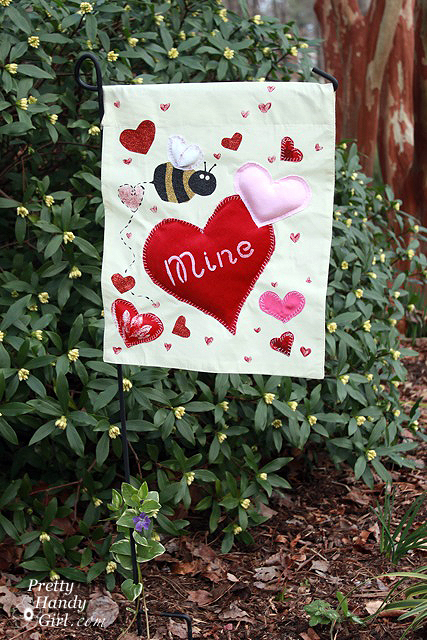
One of the easiest and cutest ways to decorate your home’s entrance is with garden flags. If you use a placemat, there’s little—if any—sewing! Find the perfect DIY Garden Flag for your home and for any season below. Click on the link to take you to the full tutorial.
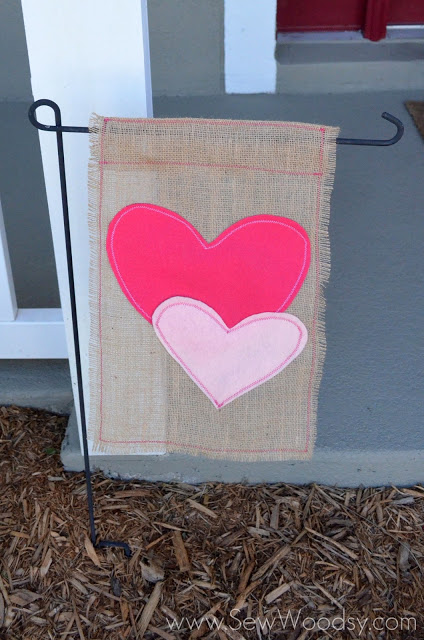 Valentine Burlap Flag by Sew Woodsy
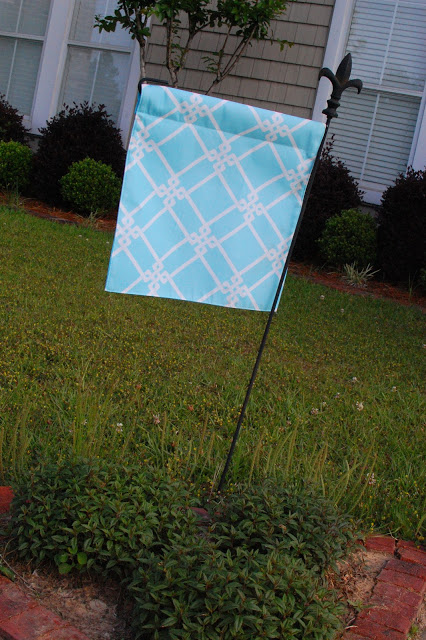
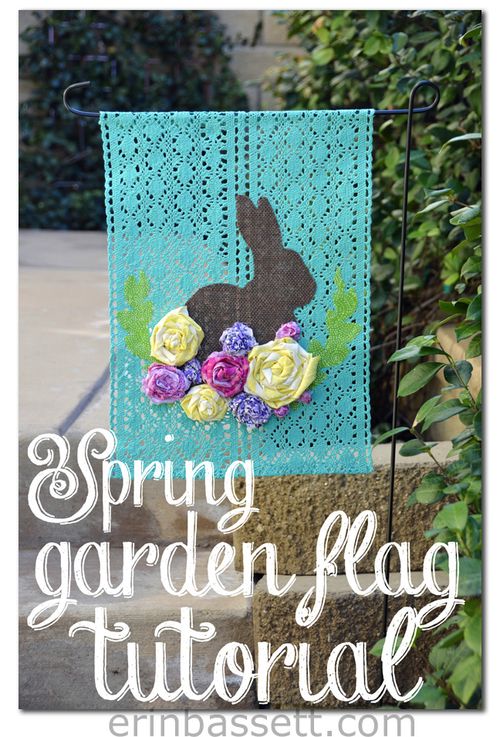 Spring Garden Flag by Erin Bassett
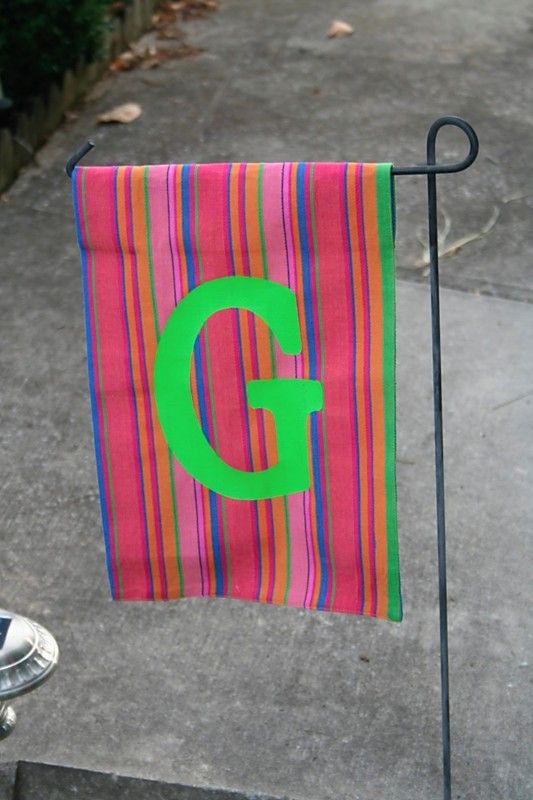
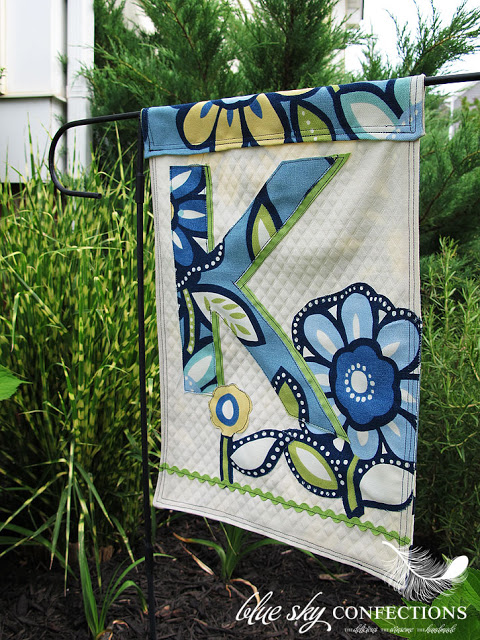 Monogram Garden Flag by Blue Sky Confections
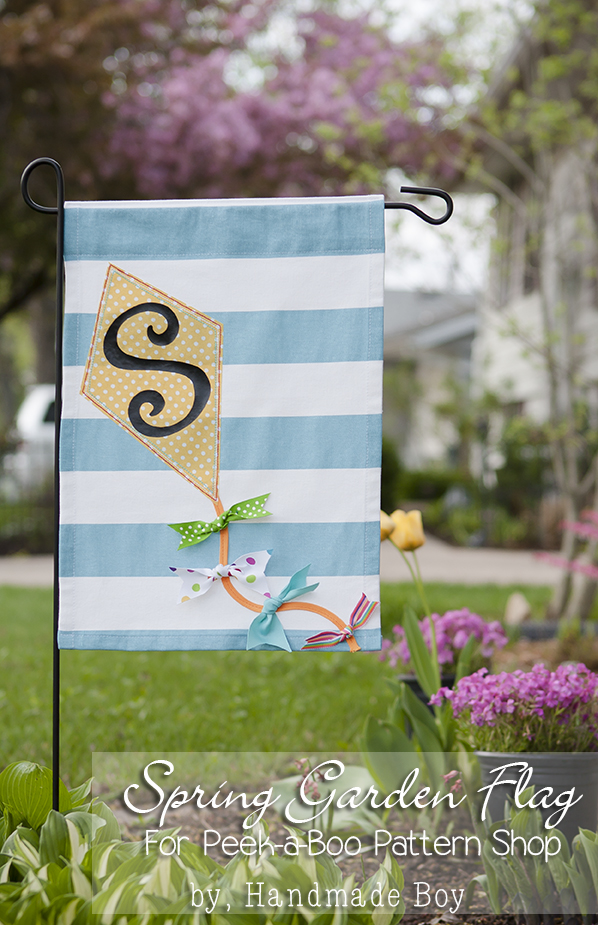 Spring Garden Flag by Peek-a-Boo Pages
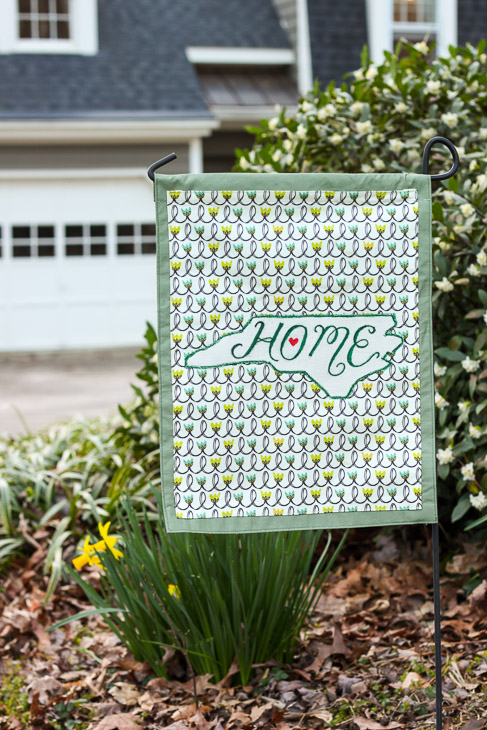
Home State Pride Spring Flag from a Placemat
 Monogram Garden Flag on Pinterest
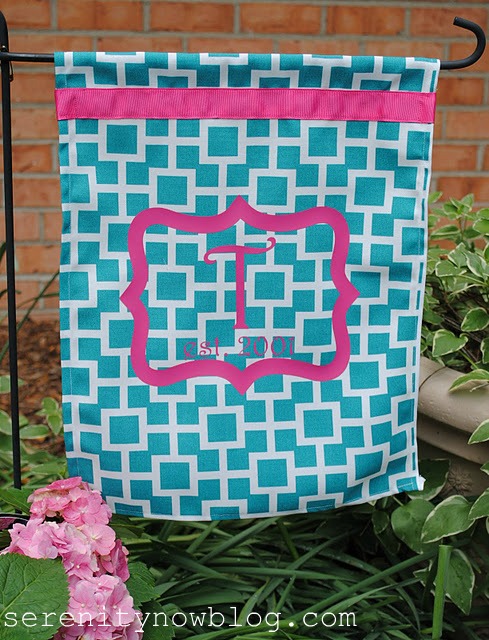 Monogram Garden Flag by Serenity Now
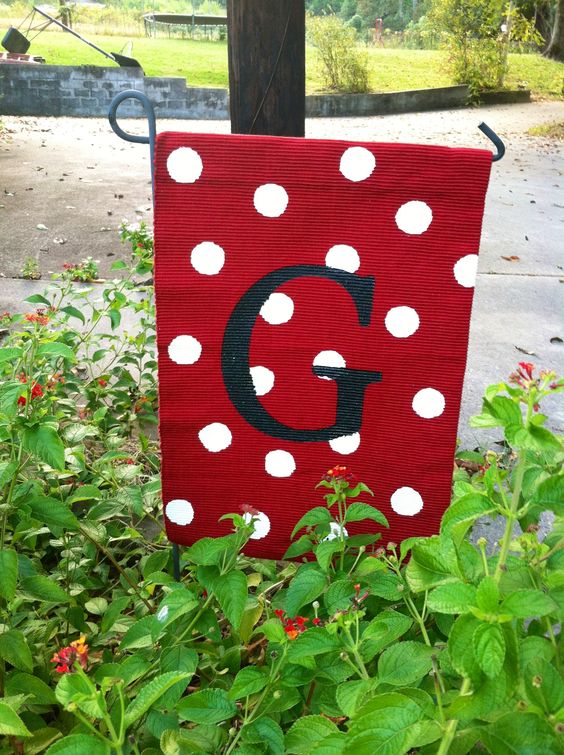
 Monogram Garden Flag from Placemat
 Monogram Burlap Garden Flag at Tatertots & Jello
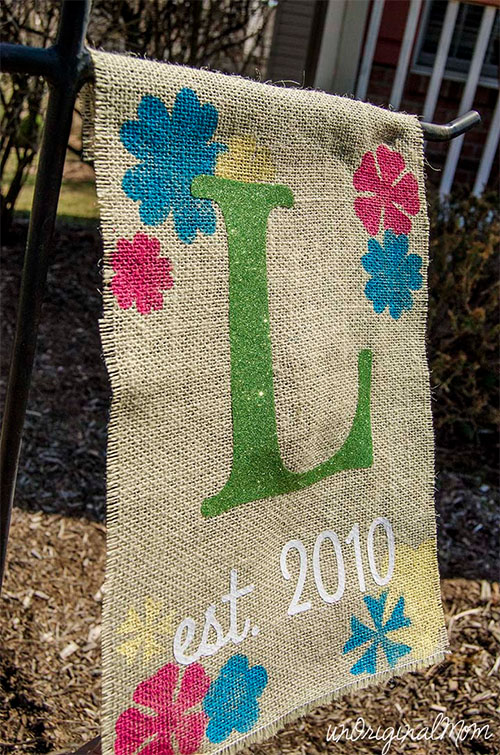 Monogram Garden Flag by Unoriginal Mom
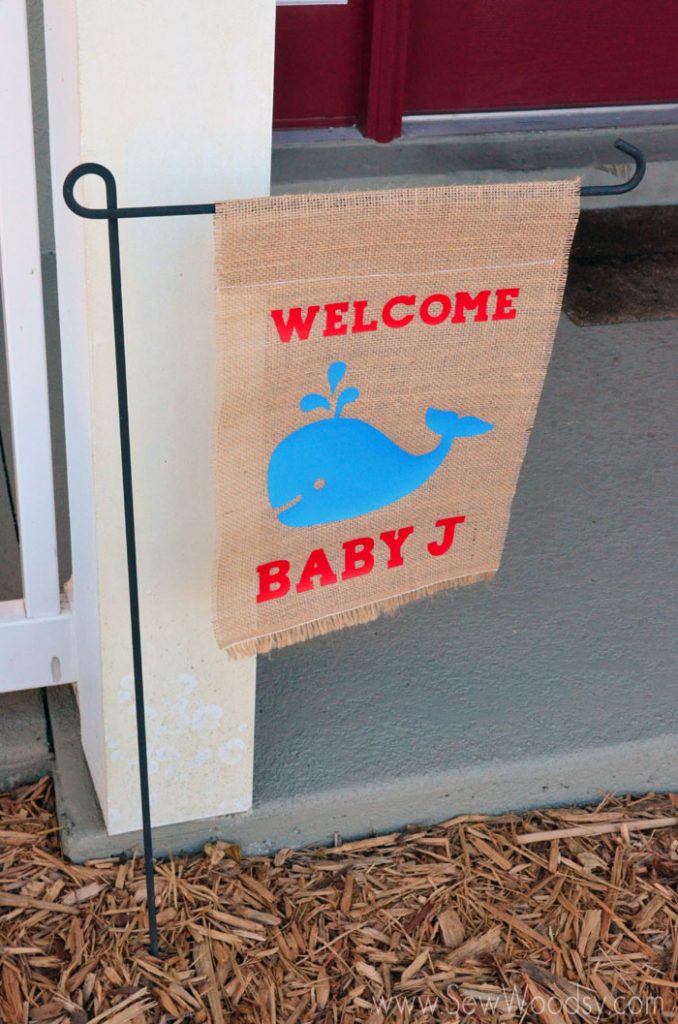 Baby Shower Flag by Sew Woodsy
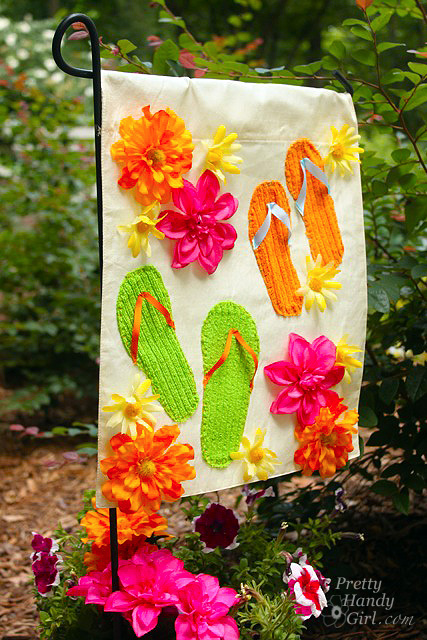
 Summer Garden Flag from Placemat
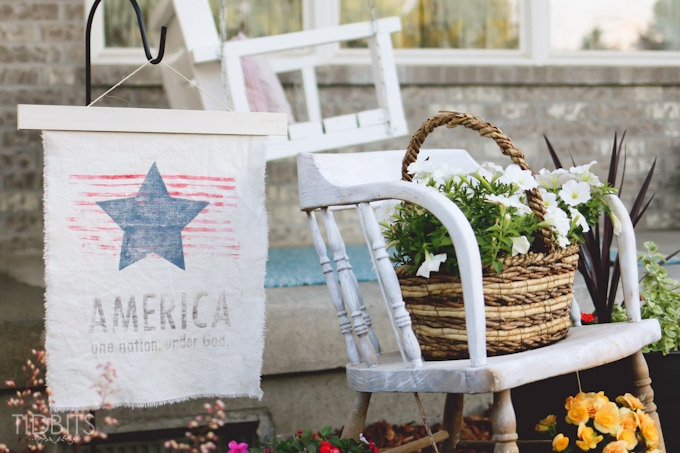 Patriotic Garden Flag by Ella Claire Inspired
 Garden Flag from Placemat by Random Thoughts of a Super Mom
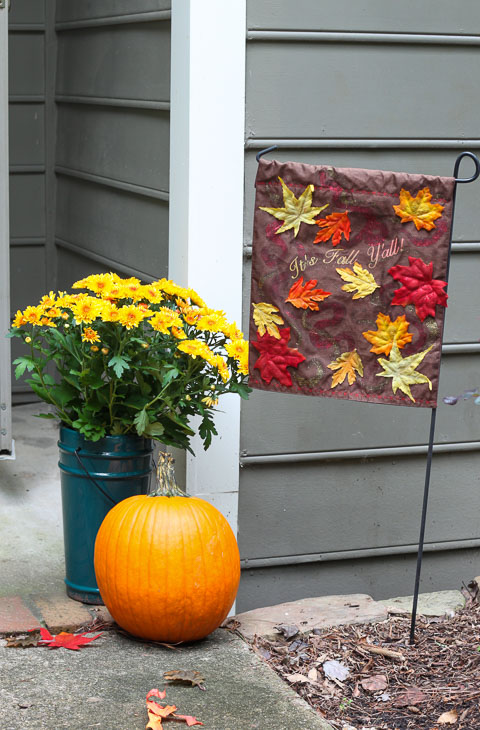
 Fall Garden Flag from Placemat

Are your creative juices flowing now? Which flag is your favorite?
Thanks for letting me spend some time with you today. I hope a garden flag is on your to-do list now.

Pin for later!