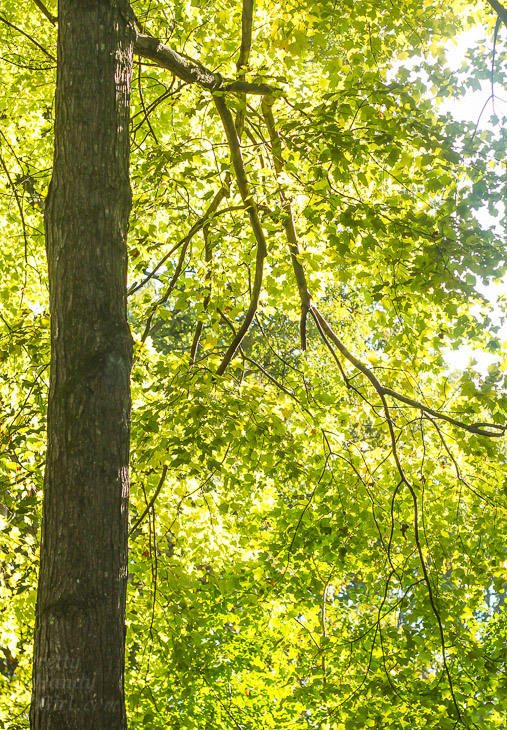
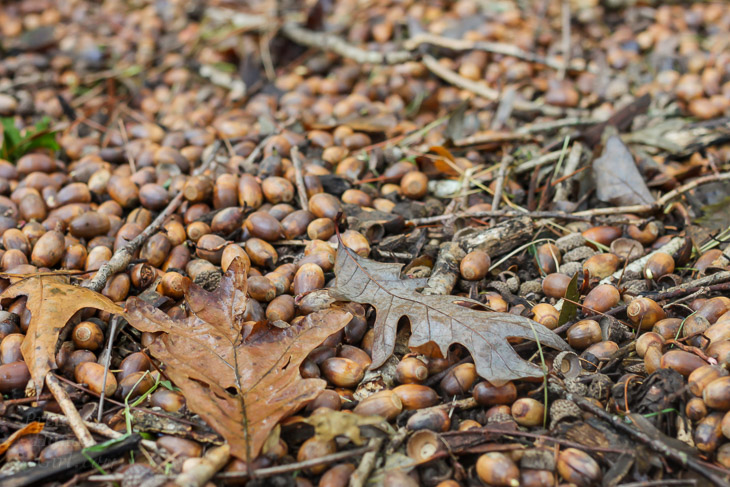
Want to make a quick and easy fall centerpiece? Maybe you want to get the kids involved and go on a nature hike to collect pretty leaves.
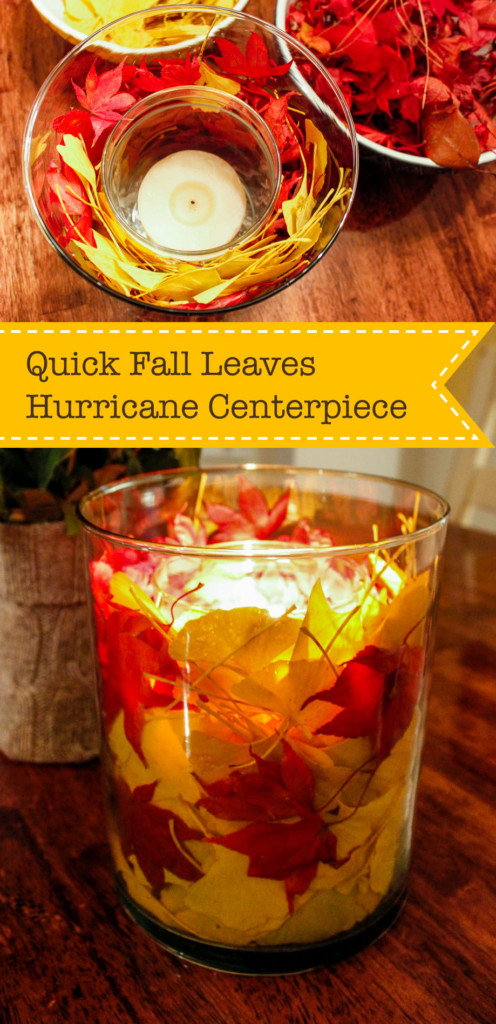
Quick Fall Leaves Centerpiece
I’m looking forward to cooler weather and the beautiful color of fallen autumn leaves. How about you? Today I have a super quick and easy fall leaves centerpiece you can whip up to decorate your home for autumn. Seriously, this will take five minutes (plus a nice walk outside to gather leaves.)

Granted, our leaves haven’t turned yet, but you know I’m anxiously awaiting them!
Materials:
(I’ve included affiliate links for your convenience. I earn a small percentage from a purchase using these links. There is no additional cost to you. You can read more about affiliate links here.)
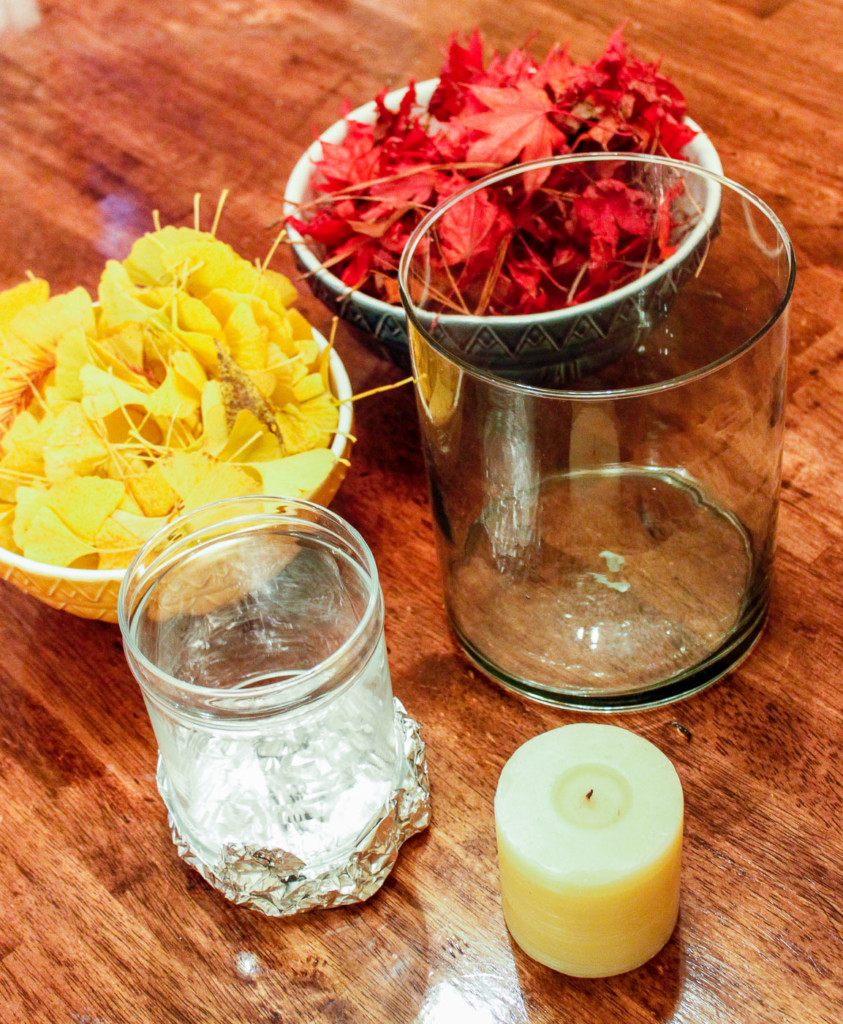
- 8″ Hurricane Vase
- 5″ Hurricane Vase
- Battery-powered candle
- Colorful Fall Leaves
Optional: You can use a drinking glass or candy jar and use foil to raise it higher.
Instructions:
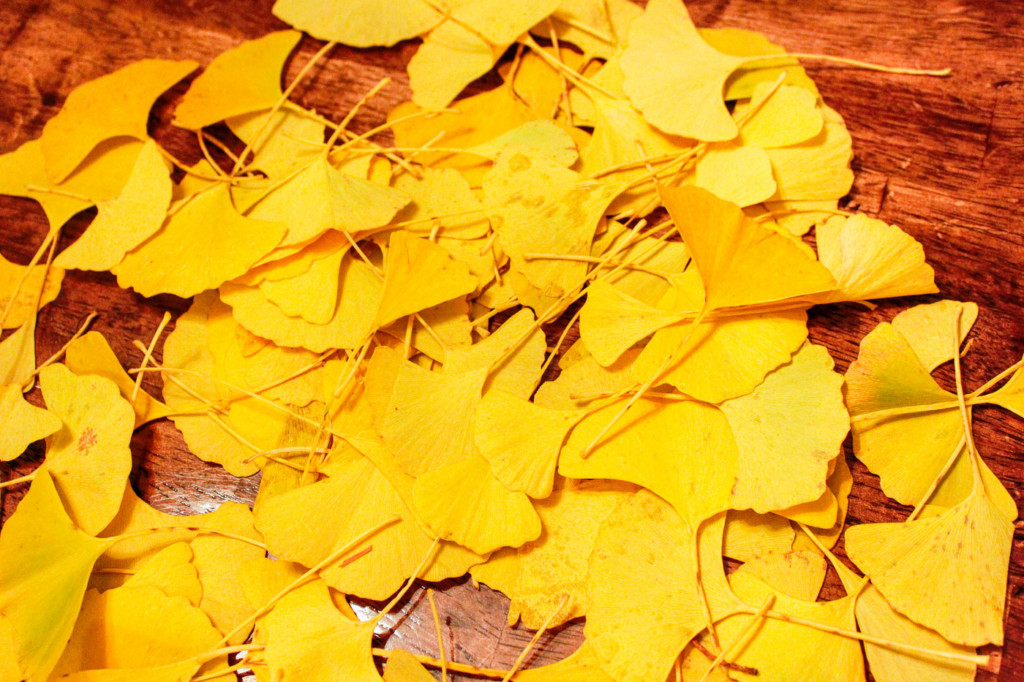
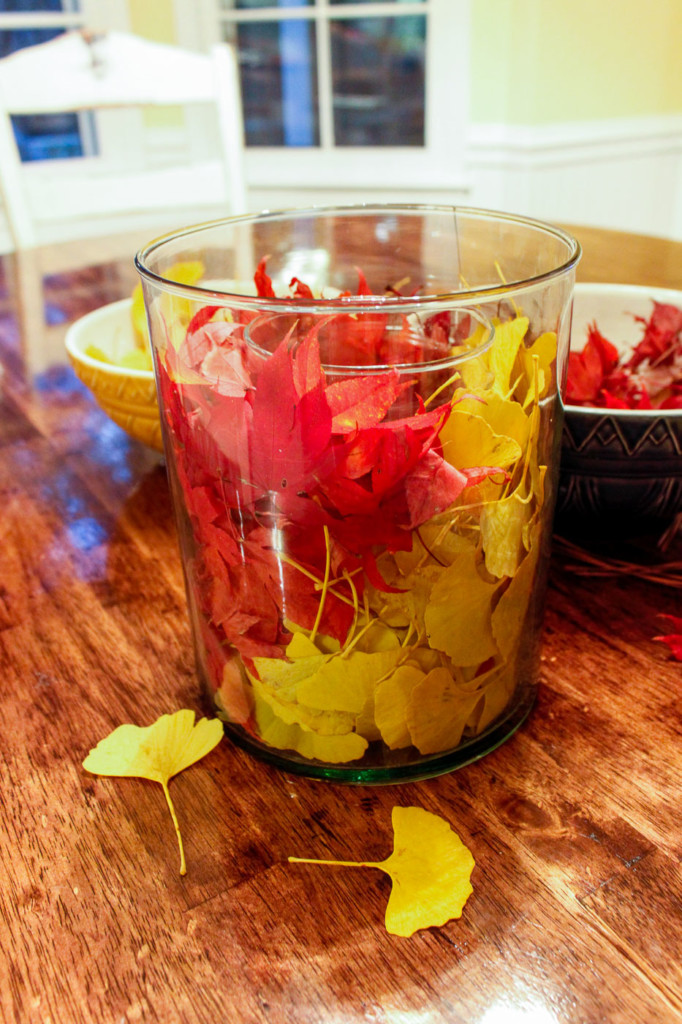
Go out for a hike and collect colorful fall leaves. I was lucky to find these buttery-yellow gingko leaves.
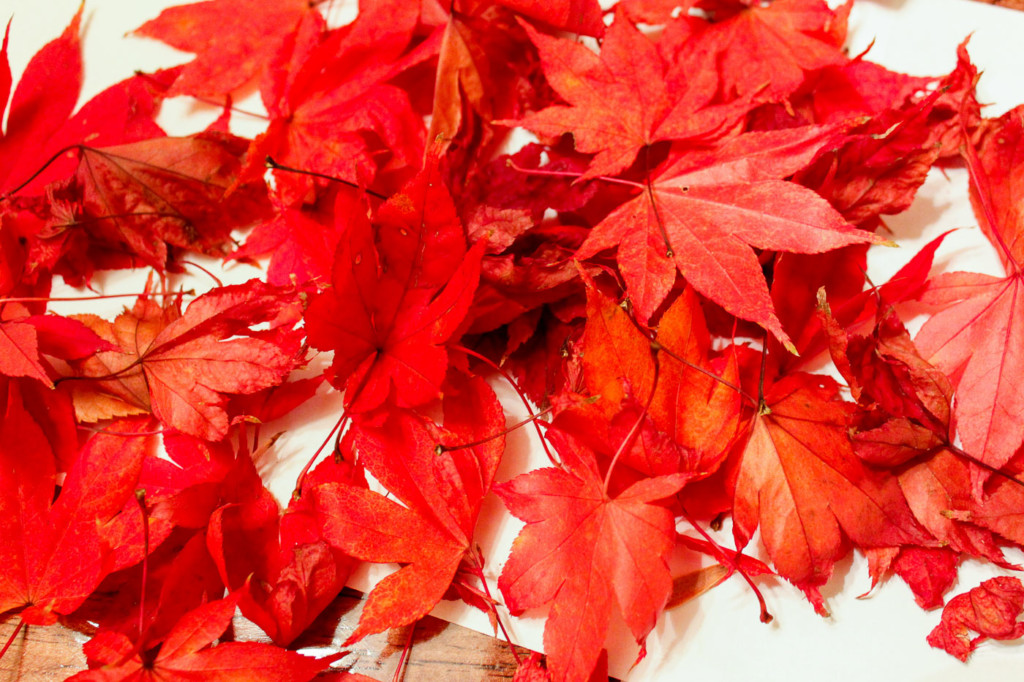
And around the corner, a beautiful pile of Japanese maple leaves were ready for me to scoop up.
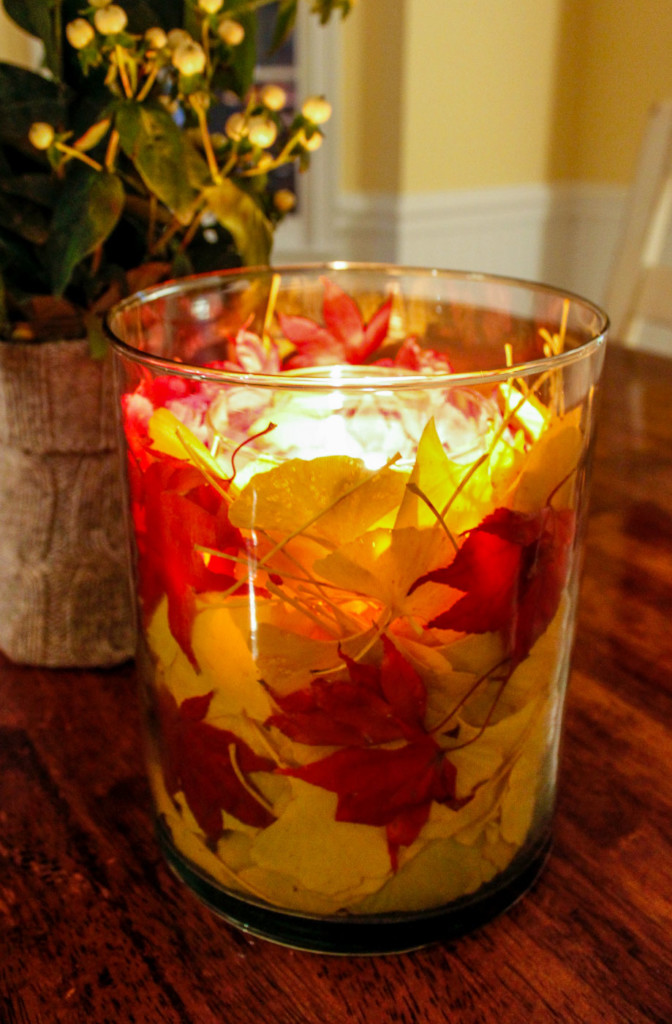
Center the smaller vase inside the larger one. Begin filling the space between the two vases with leaves.
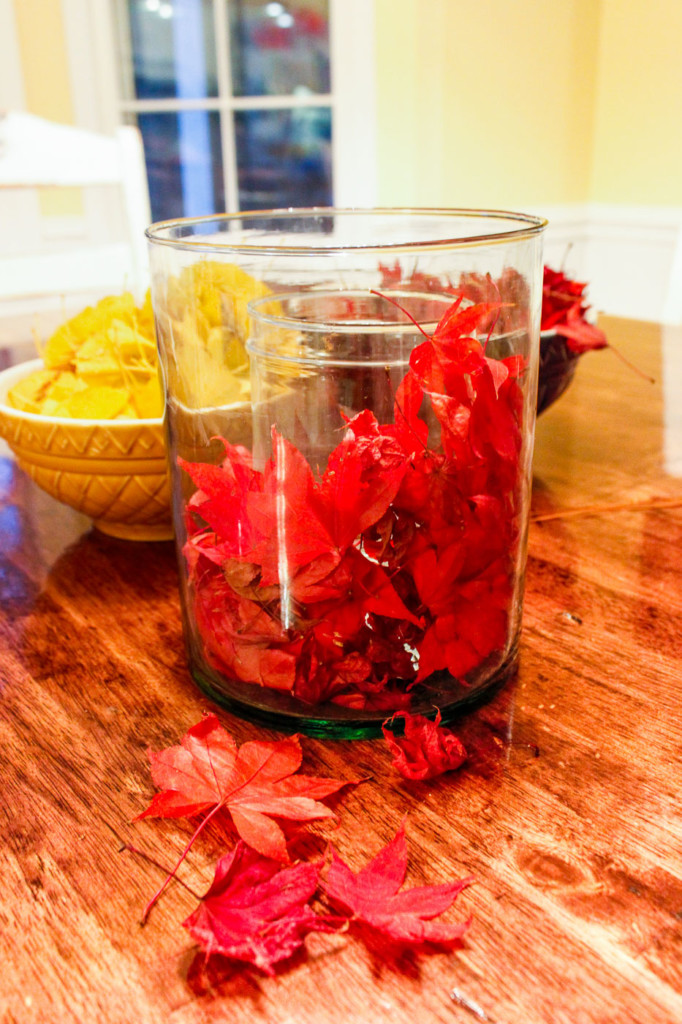
Continue adding leaves until the interior glass vase is hidden.
Insert battery-powered candle into center vase. (If using a real candle, do not leave it unattended, and make sure your leaves are not super dry.
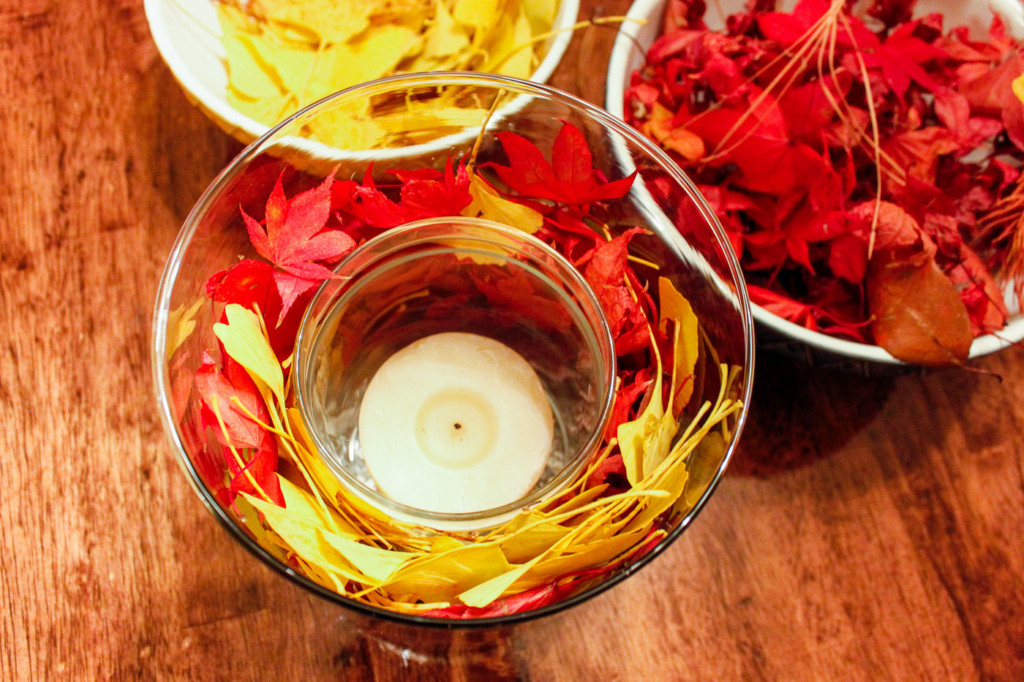
Turn on the candle and enjoy the glow.
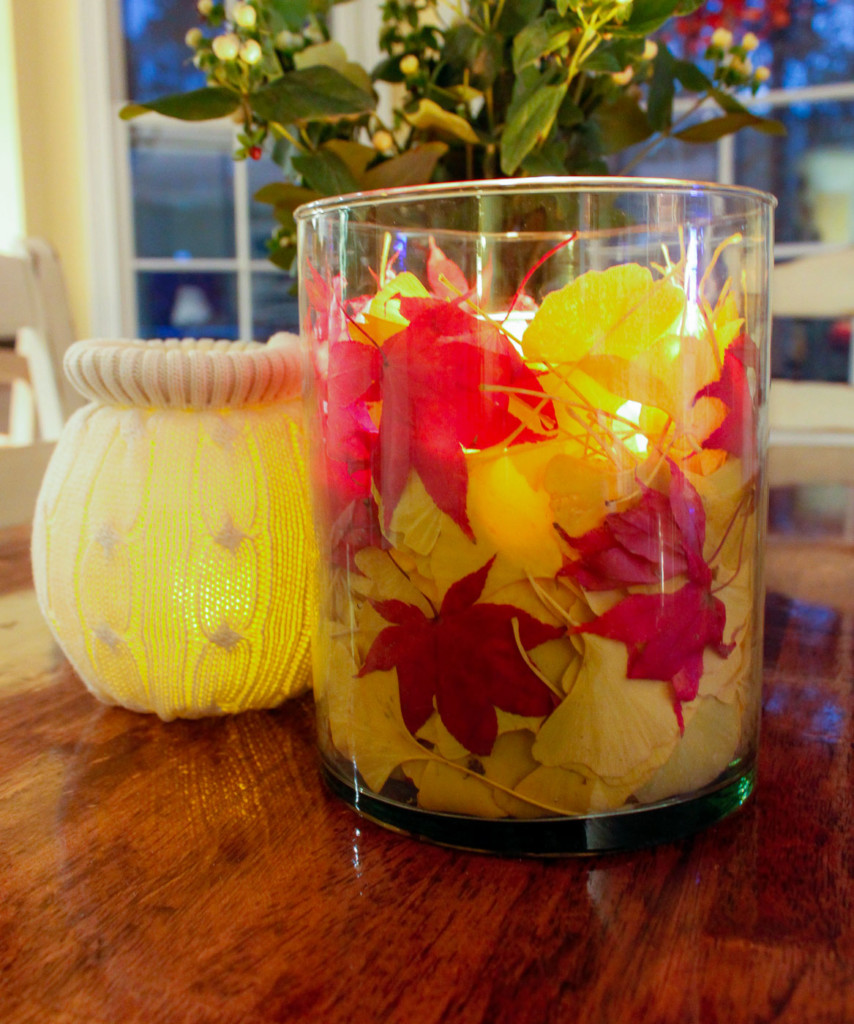
You can make another quick and easy fall vase by cutting the sleeve off an old sweater and wrap it around another vase or votive holder. Insert another battery-powered pillar candle and set it out with your Quick Fall Leaves Centerpiece!
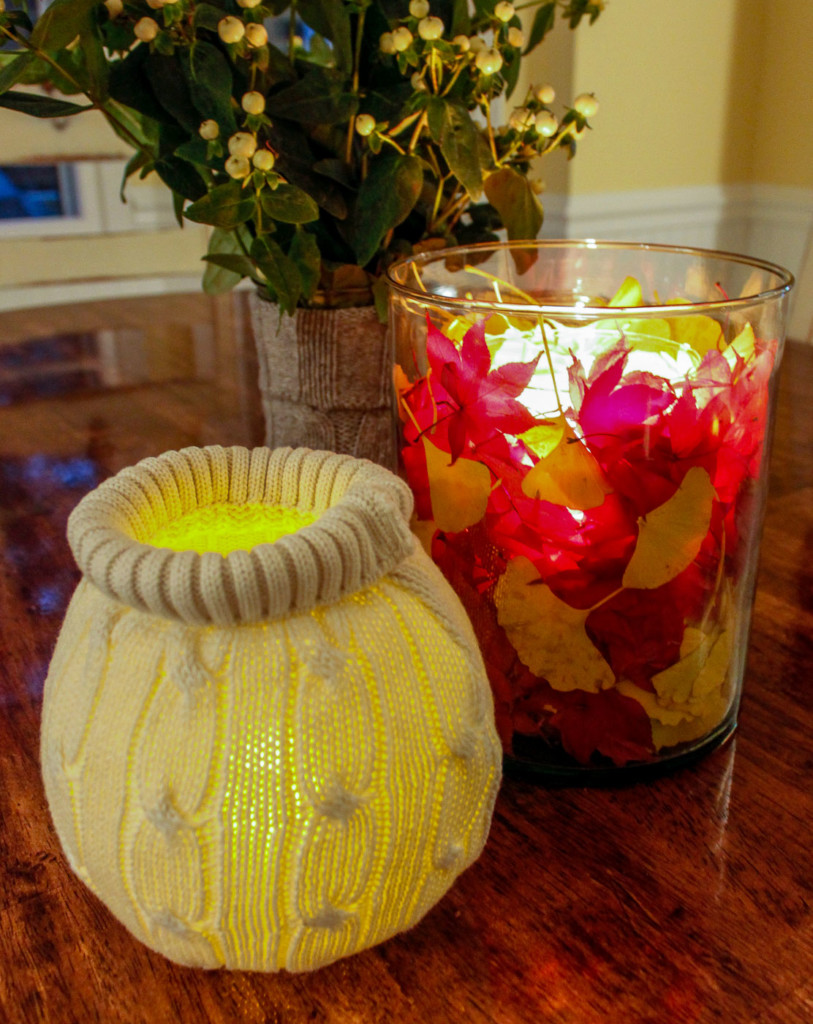
Set out your beautiful fall centerpieces and get ready for the cozy time inside on cold nights.
Anyone else looking forward to cool weather, hot chocolate, and curling up under the blankets to watch movies?