Learning how to install smart dimmer switches is one of those DIY skills that will improve your home and make life easier for you.
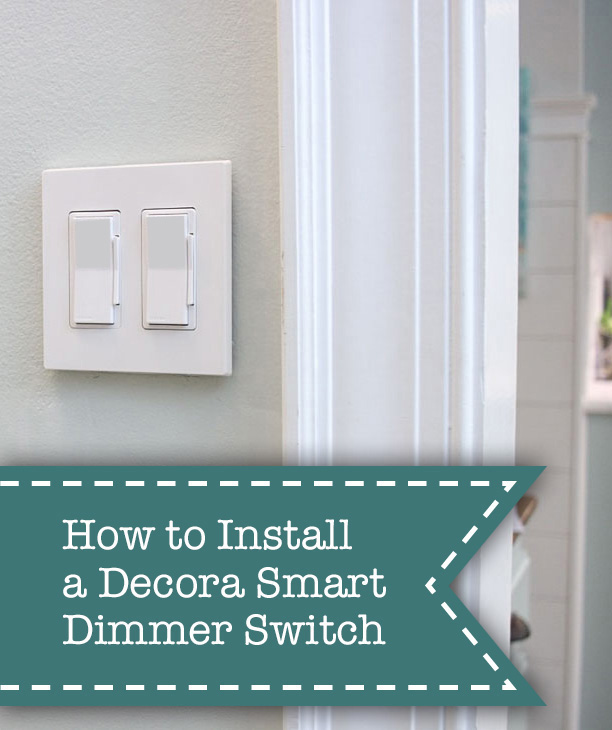
How to Install Leviton’s Decora Smart Dimmer Switches
I’ve resisted installing a lot of smart technology in my home. Basically I’m normally a no frills girl and am happy to function with low-tech appliances and light switches. But, one evening as my husband and I went through our usual routine of settling into the sofa to watch Netflix, I changed my mind.
Here’s how our Netflix evenings usually start:
Handsome Guy: “Ready to watch?”
Me: “Yes, just a minute, I want to grab a drink.”
Handsome Guy: “Ready now?”
Me: “Yes, go ahead and get the show started.”
I finally sink down into the couch.
Me: “Ugh, I forgot to turn off the light. Would you mind getting it?”
Handsome Guy: “I guess not.”
Handsome guy walks across the room and turns off the lights then returns to start the movie.
I can’t even begin to tell you how many times this happens. (Probably 99% of the time we sit down to enjoy a show.) But, when Leviton approached me about sharing the convenience of their Decora Smart products, my wheels began to turn. With the My Leviton app, I would be able to control the lights from my phone! Better yet, I can enable the smart home skills on our Amazon Echo and be able to control the lights with my voice. (The Leviton Decora Smart products also work with Google Assistant, Works with Nest, IFTTT (if this, then that) and of course Alexa.) Also, I liked the ability to set up schedules for the Decora Smart products (imagine a smart plug for your coffee maker so you can start brewing coffee the minute you wake up while your head is still on the pillow! Or set a schedule to turn your lights on and off when you are on vacation.) For those of us who are old school, the light switches always work like regular light switches: push them to turn on/off or to dim/brighten.
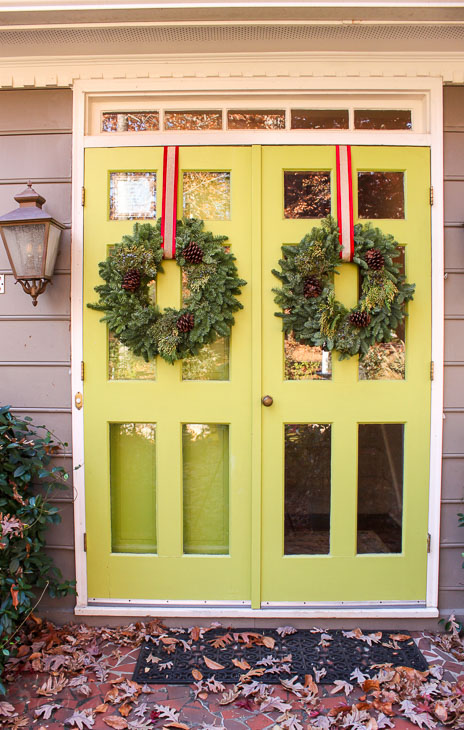
After learning all this, I decided it would be a great addition to our living room to end the need to jump up and turn off the lights before movie night.
How Easy Are The Decora Smart Switches to Install?
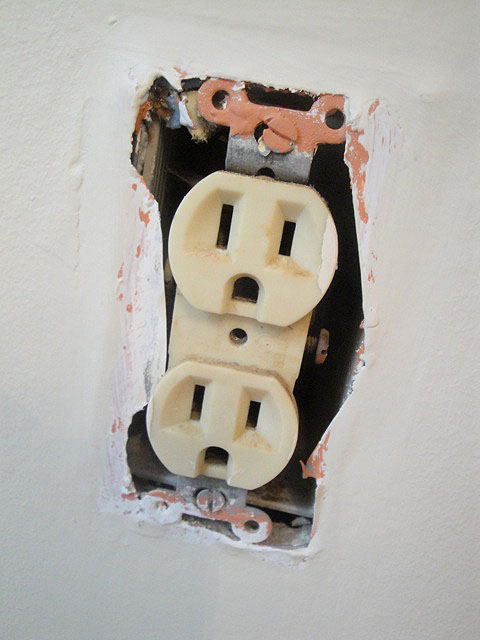
If you’ve ever wired an outlet or a light switch, you are capable of installing a smart dimmer switch. They are very straight forward and easy to install (if you have the proper wiring.) If you don’t, you might need to contact a licensed electrician to prepare your junction box to accept the dimmer switch. The Decora Smart Dimmer switches must be installed onto ground, neutral, load, and line wires.
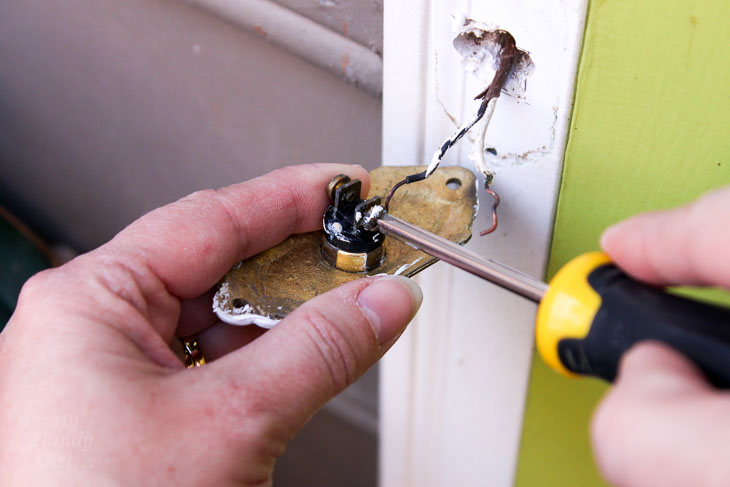
Unfortunately for me, my box was not wired correctly. Luckily my favorite electrician is only a phone call away. He was able to talk me through a few changes I needed to make to the wiring.
How to Install the Decora Smart Switches:
Ready to learn how to install your own smart dimmer switches? You too can control your lights from your phone, your voice, and set up an away schedule for your lights. Watch this short video to learn how to install the Decora Smart Switches and enjoy the brief re-enactment of family movie night ;-).
Smart Dimmer Switches Materials:
(I’ve included affiliate links for your convenience. I earn a small percentage from a purchase using these links. There is no additional cost to you. You can read more about affiliate links here.)
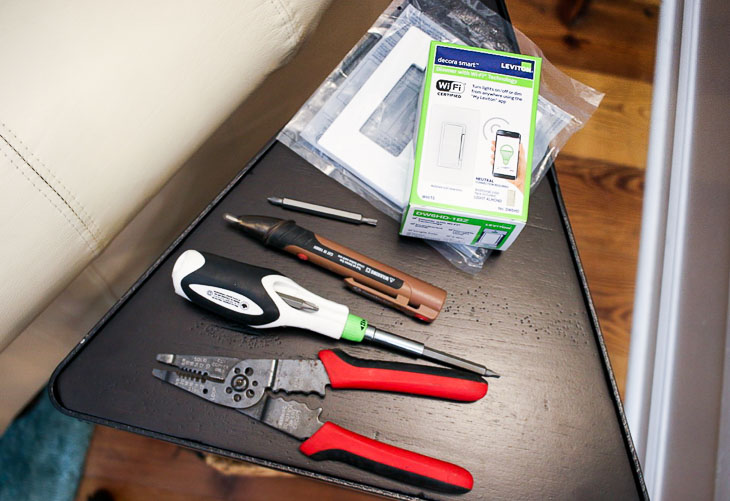
- Leviton Decora Smart Dimmer Switch
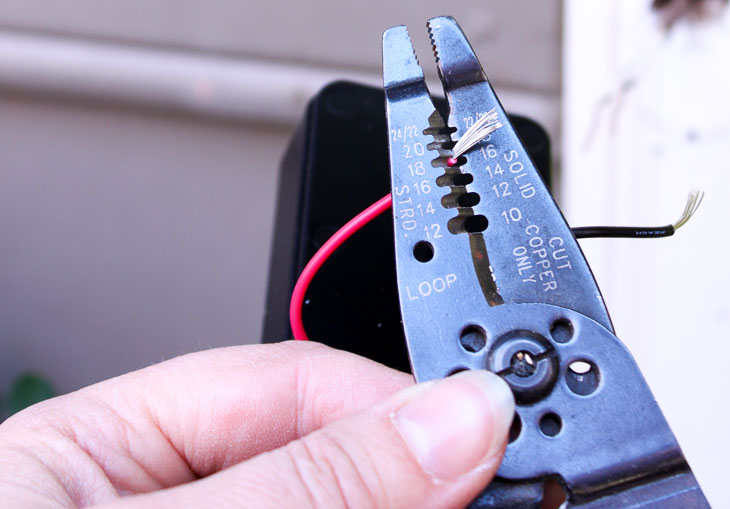
- Wire strippers
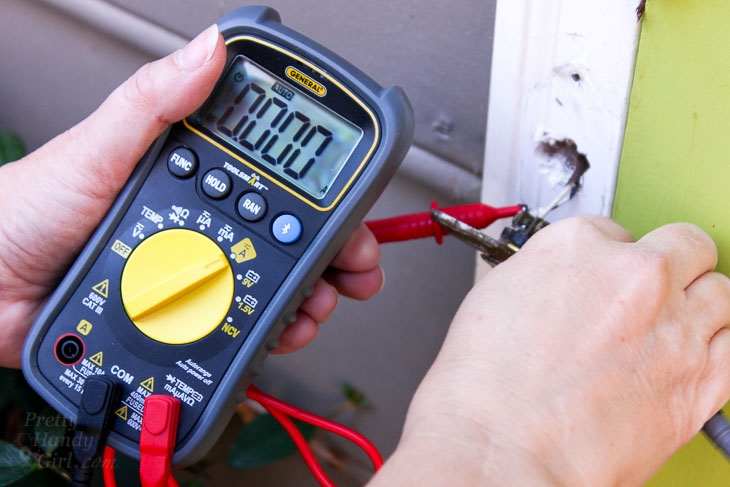
- Voltage tester
- Flat head screwdriver
- Philips head screwdriver
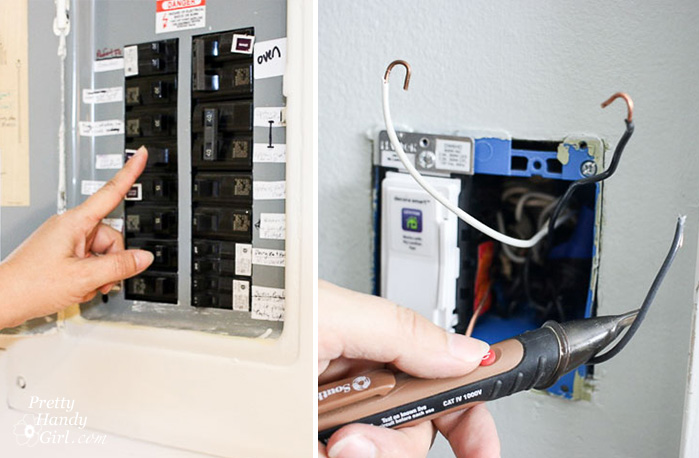
Required Safety Instruction:
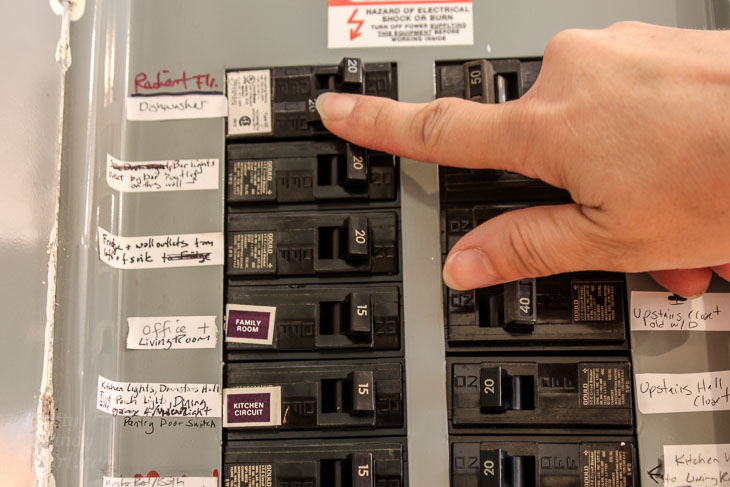
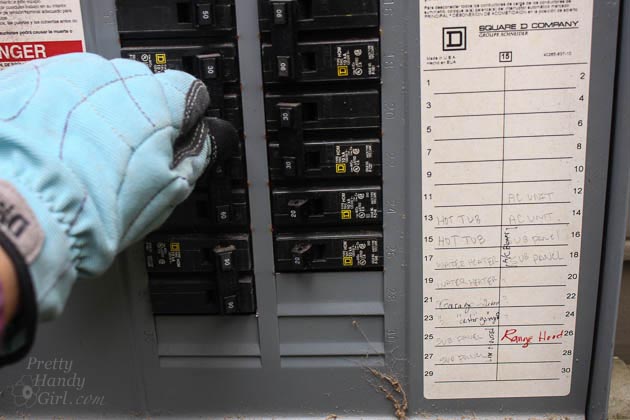
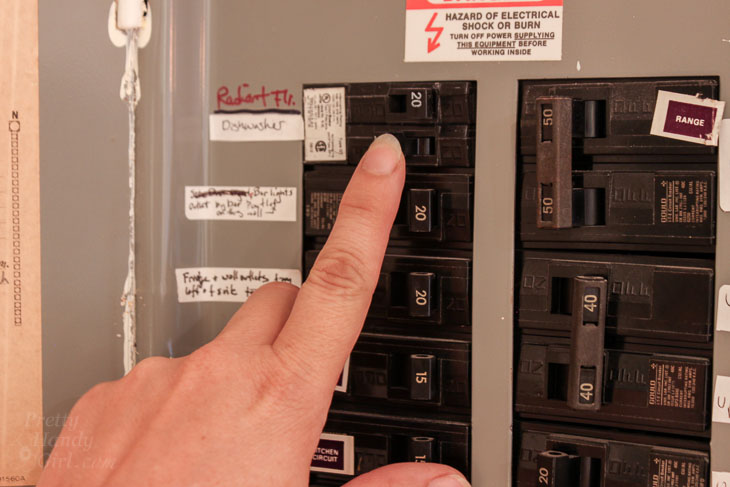
Always turn off the power to the fixture you are working on. It’s helpful to turn your lights on and then locate the circuit breaker to shut off the power to your lights. When your lights go out, you know you found the correct switch. For safety, double check the wires with a voltage tester to make sure the power has been turned off.
Smart Dimmer Switches Instructions:
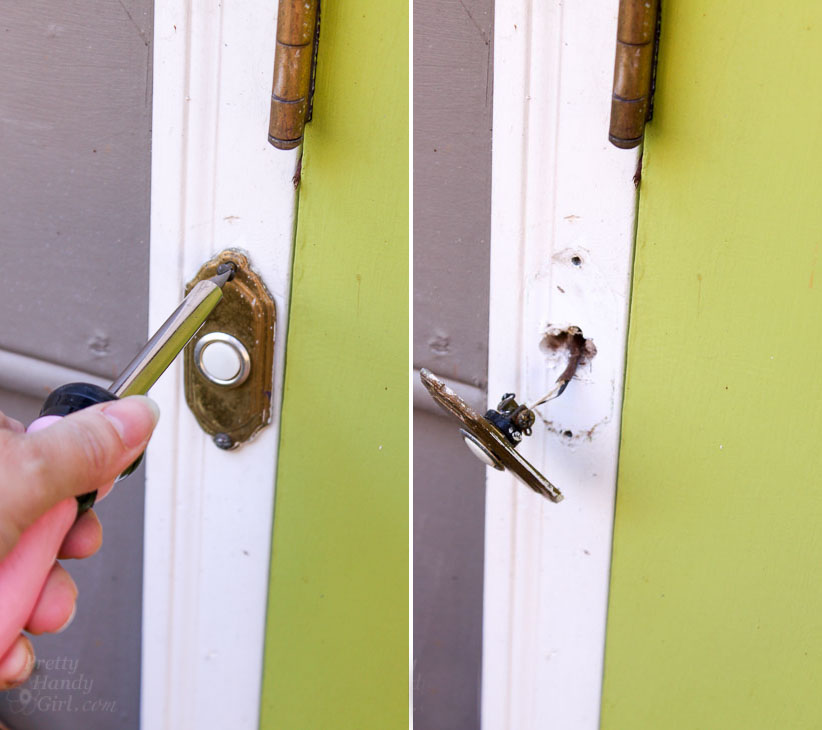
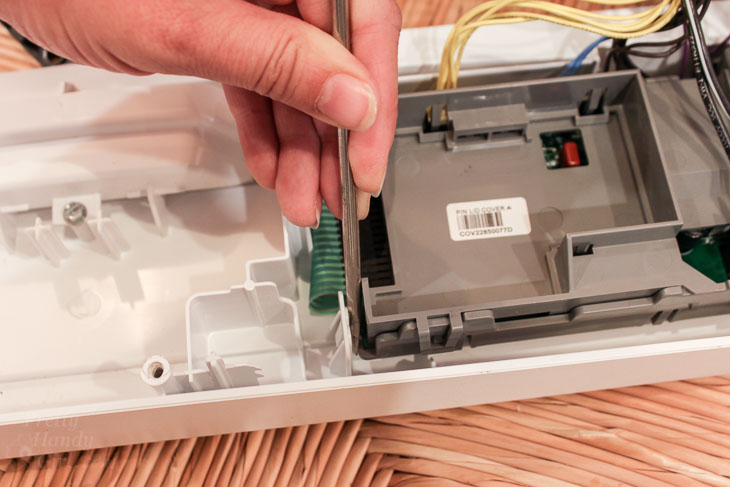
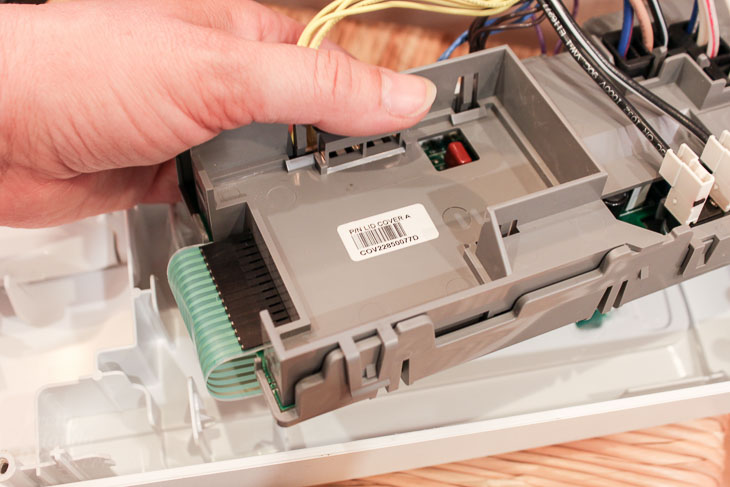
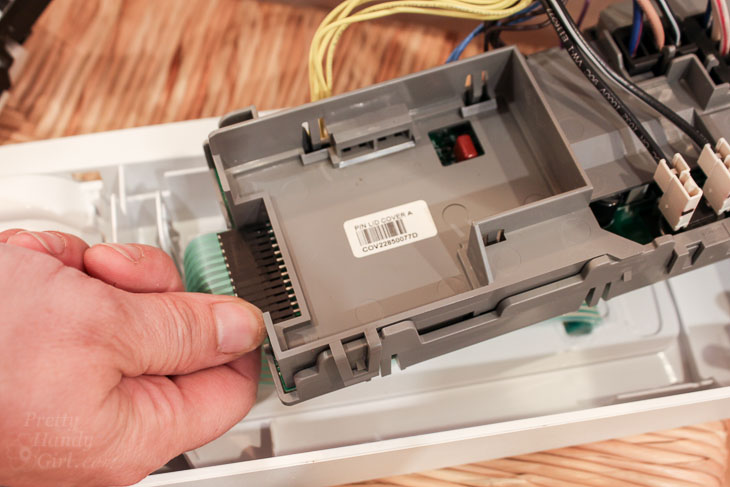
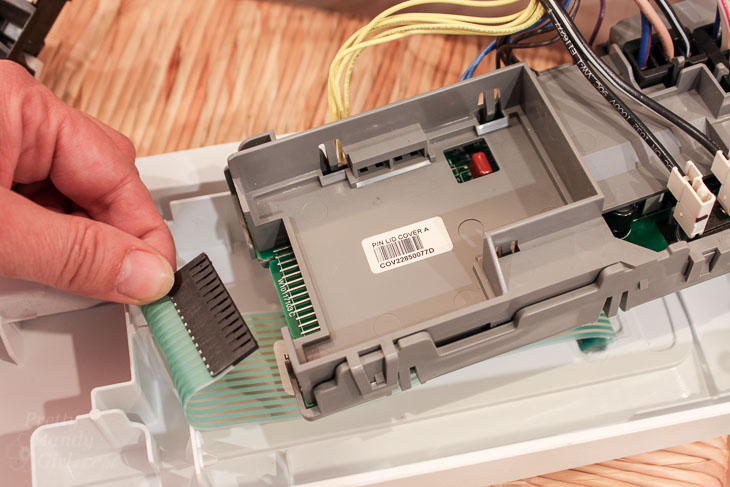
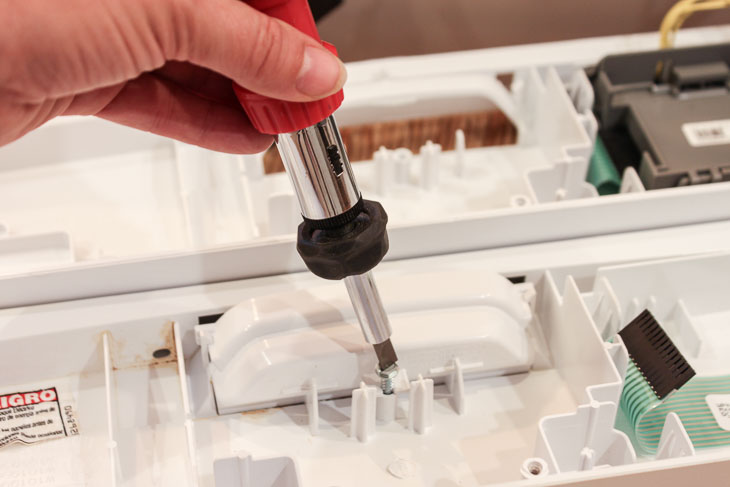
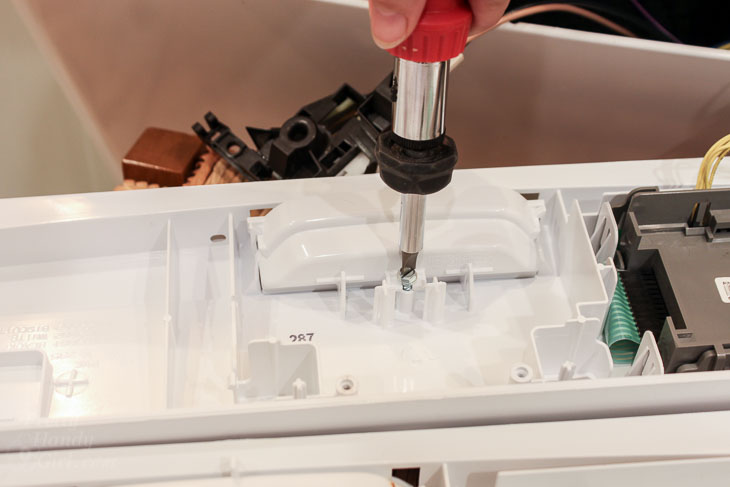
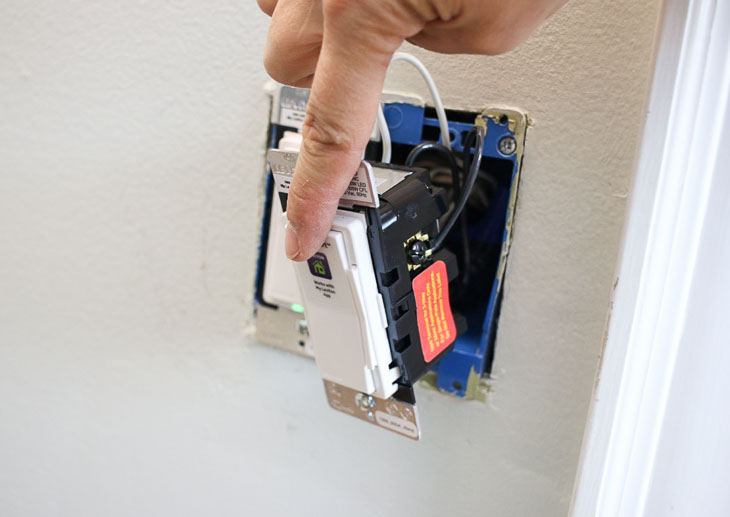
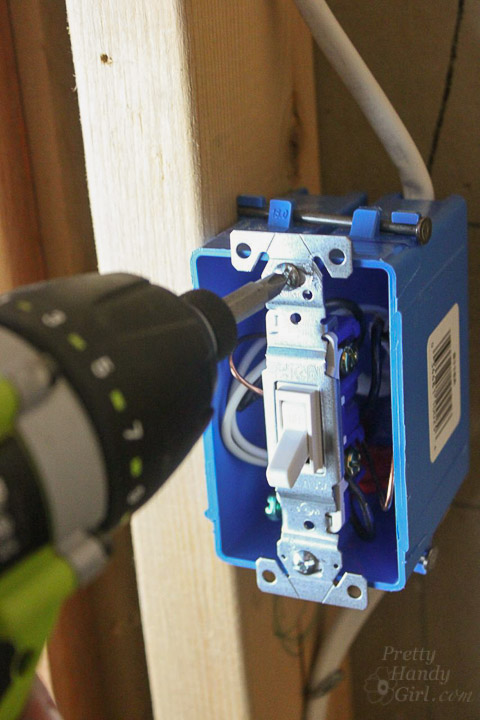
Remove your Leviton Decora Smart dimmer switch from the packaging.
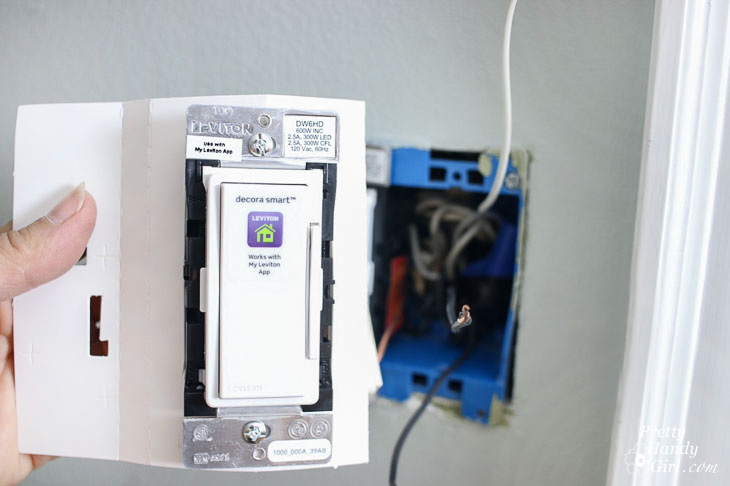
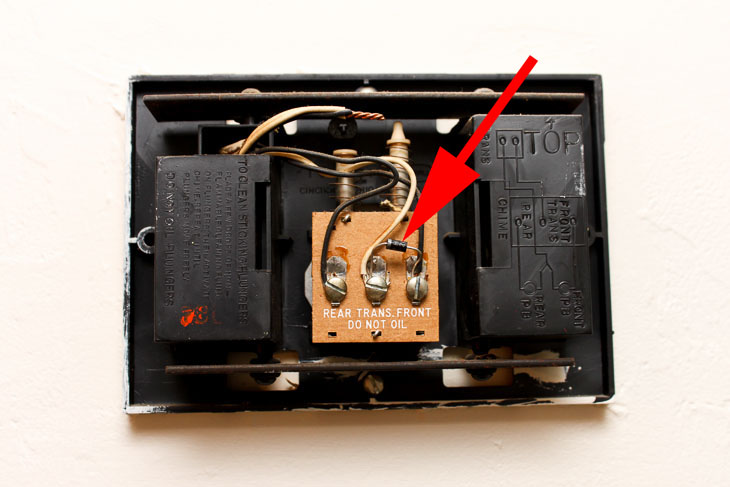
Familiarize yourself with the terminal screws on the sides of the switch.
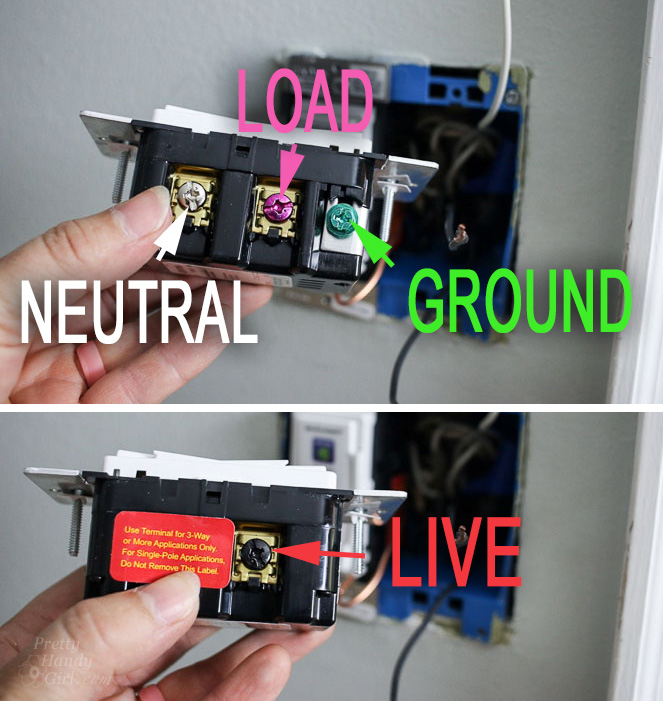
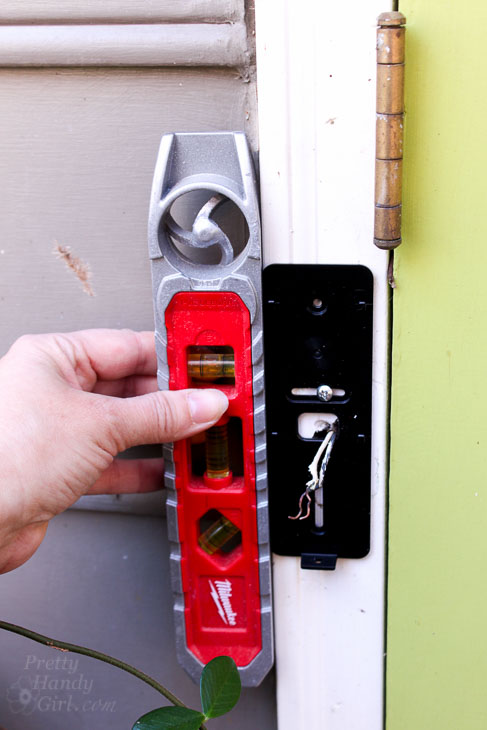
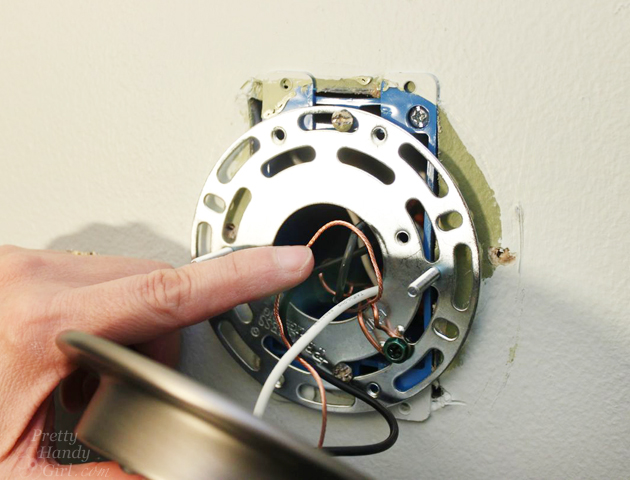
Your junction box should have wires to connect to all four terminals. If you have a three way switch, please follow the installation instructions provided by Leviton.
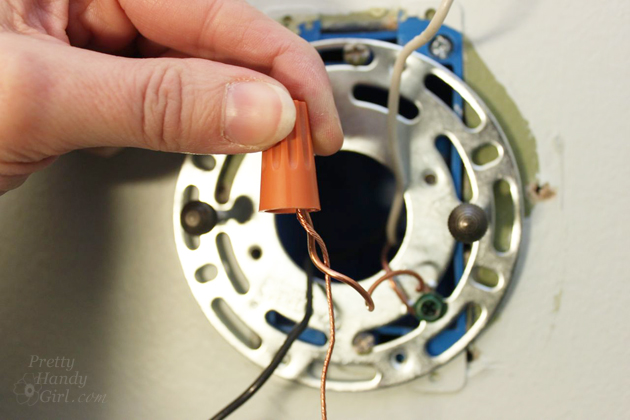
Wiring Your Dimmer Switch:
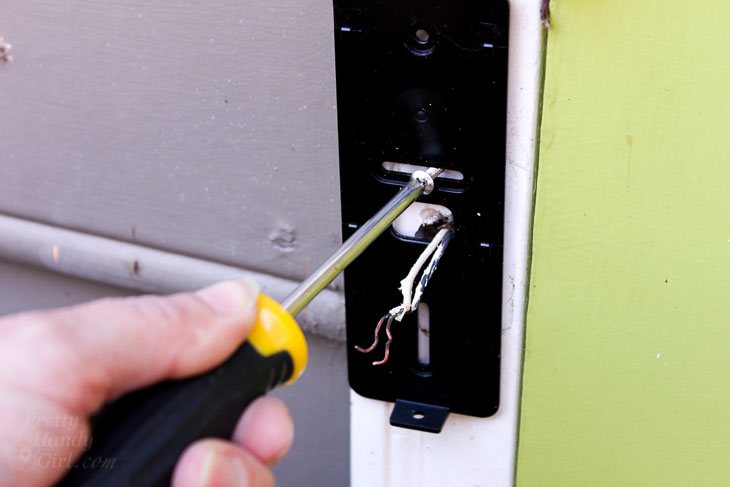
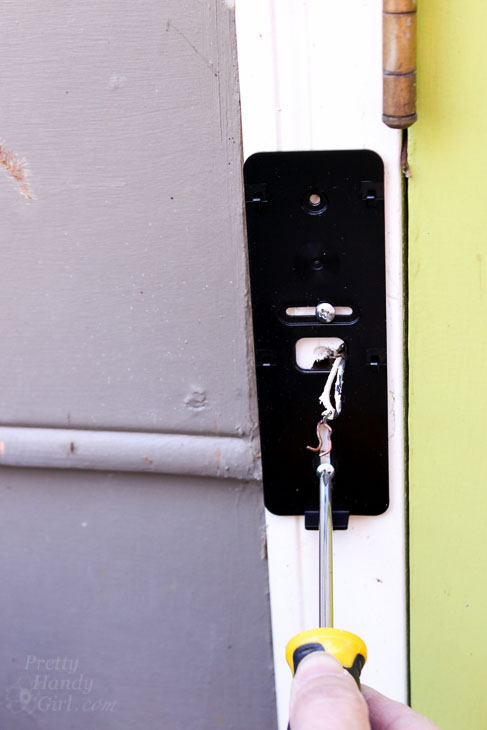
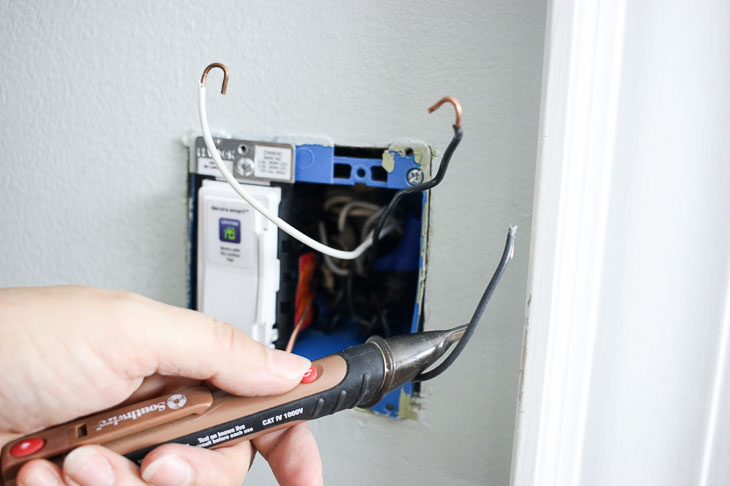
Use either a shepherd’s hook or straight wire ends to make your connections. The hook will slide under the terminal screws. A straight end will insert under the metal plate beneath the terminal screw.
If you are having trouble finding the “Line” wire, turn the power back on and use your voltage tester to determine which wire is carrying power. Turn the power off before proceeding.
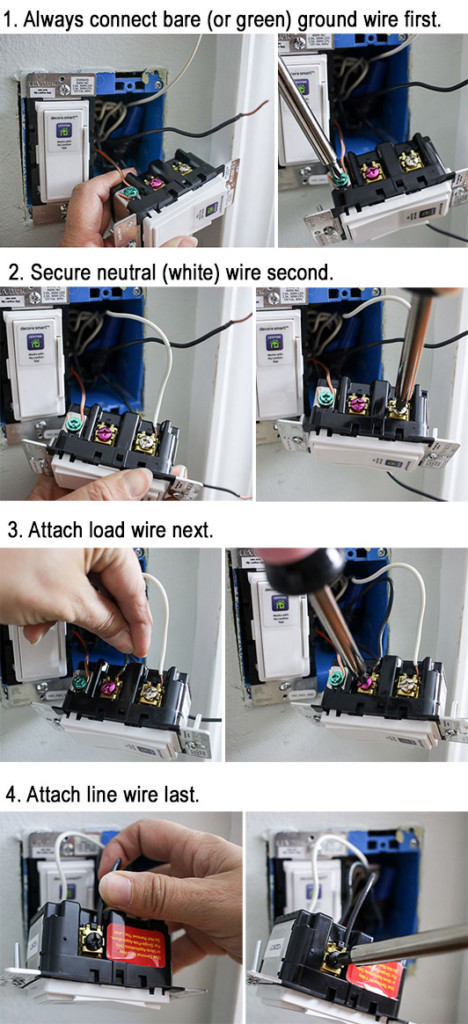
Follow the wiring order below:
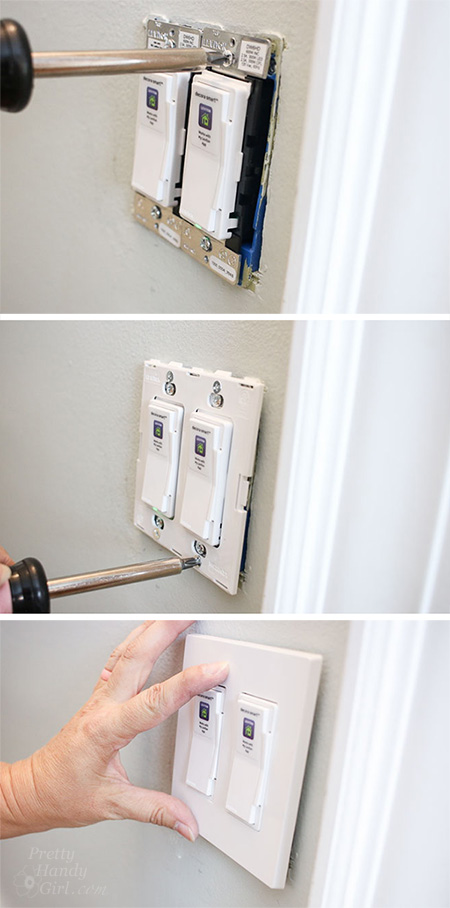
Turn the power on to your switch. Test the switch to see if it turns on your light.
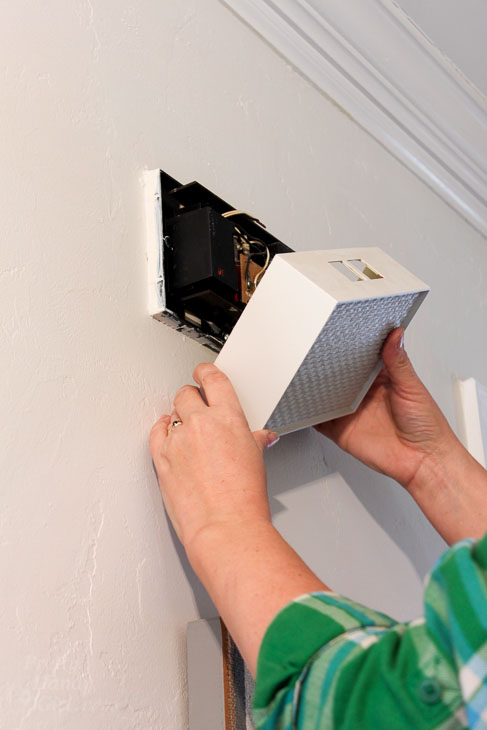
If it doesn’t work, turn off the power and check for loose connections. If it works, turn the power off and secure the switch to the junction box and attach the switch plate cover.
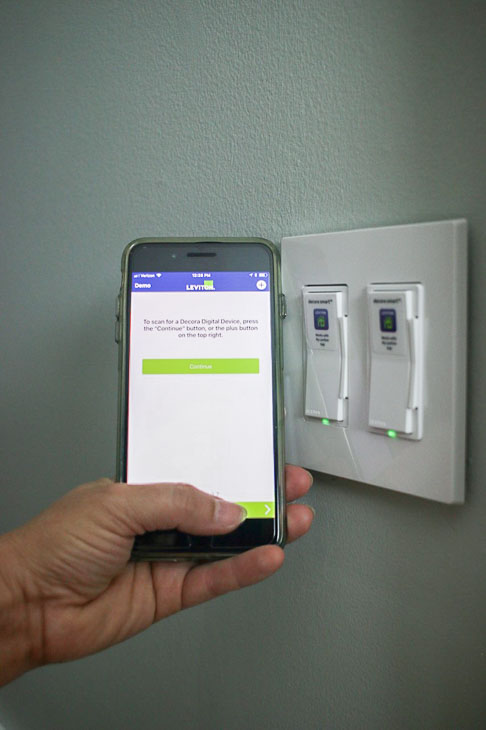
Turn the power back on to your light. Download the My Leviton app and follow the instructions to connect to your light switch. (Feel free to remove the stickers from the switches so you can amaze your friends when you can control them “magically.” Or leave the stickers on so your friends can admire how SMART your home is!)
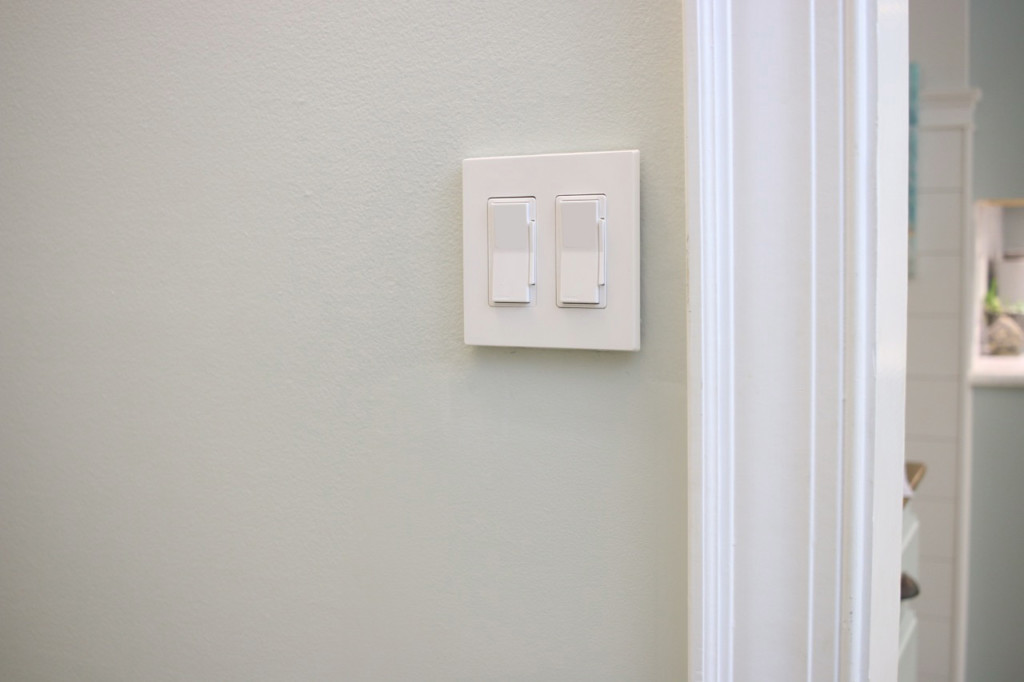
Now that I’ve installed these smart dimmers, I’m plotting other spots in my home to use them. They are seriously that cool! I’ll also be adding some more of the Leviton products into the Saving Etta house and I can’t wait to show those to you.
Where could you use a Decora Smart dimmer in your home? Visit the Leviton website for more information, installation instructions, and where to buy devices from Leviton’s Decora Smart product family.
![]()
Disclosure: This is a sponsored post for Leviton. I was compensated for my time and efforts to promote the Leviton Decora Smart products. However, all ideas and opinions are my own. I will always let you know when you are reading a sponsored post. You should also note that I’m very particular about the brands I work with.
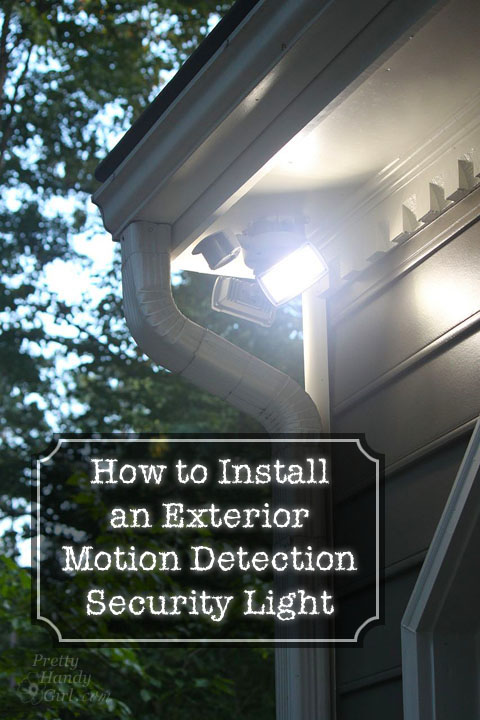
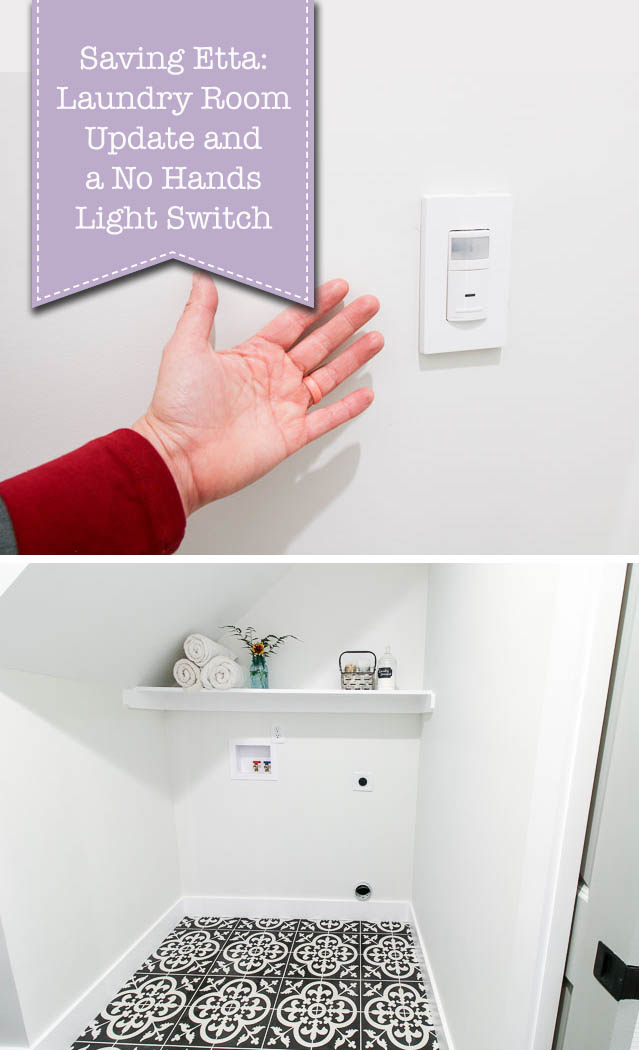
Did you like this smart home switch? Yes?! I know you’ll love learning how to install this motion sensor switch next:
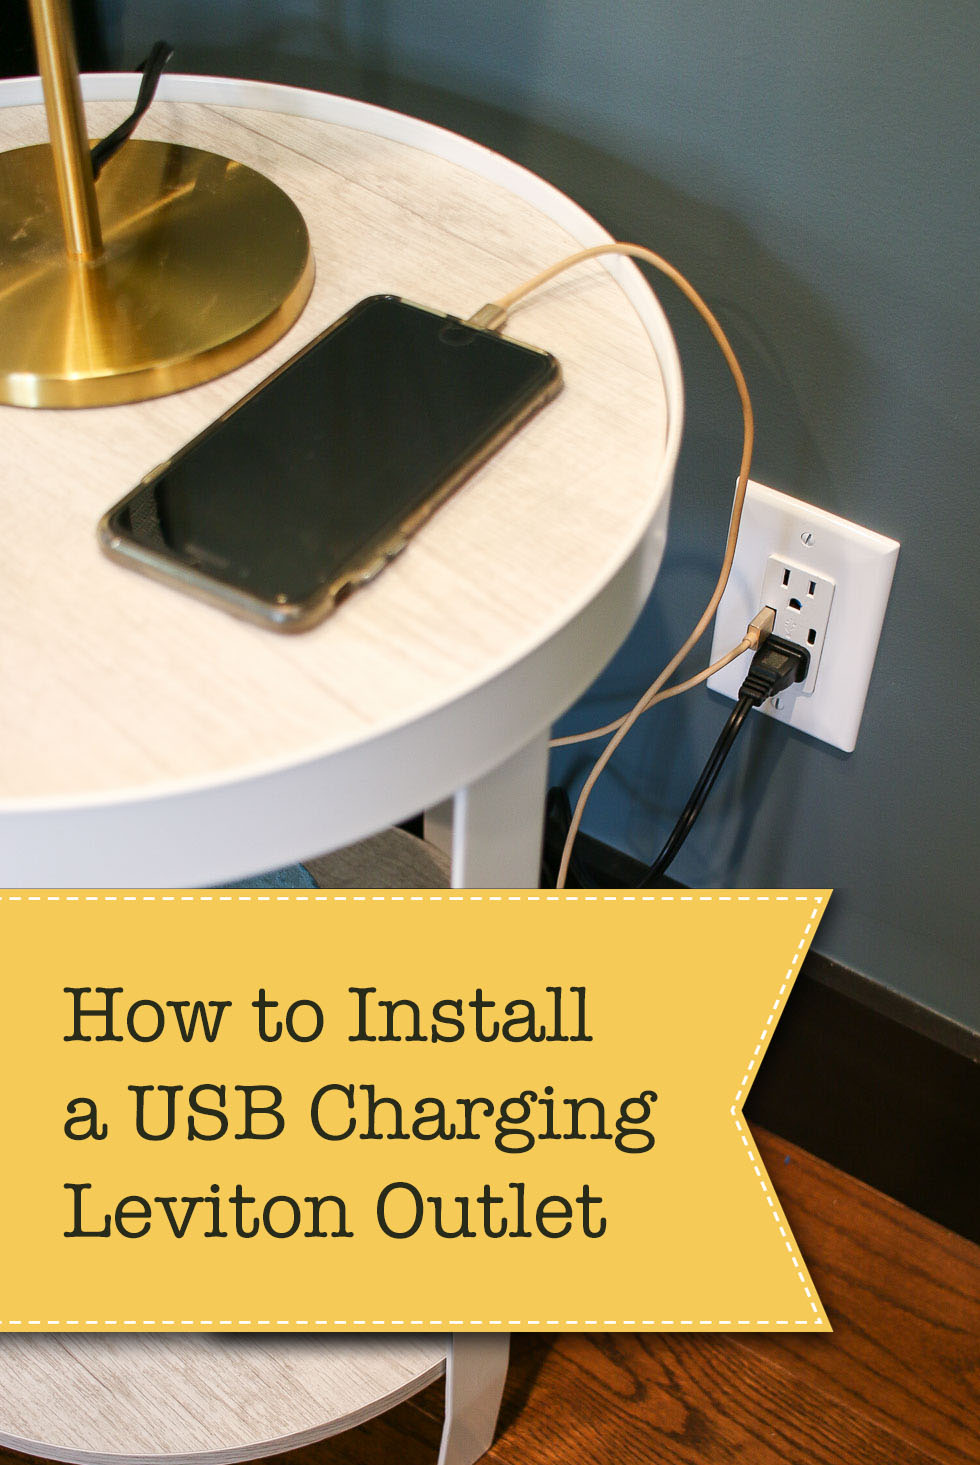
Or try installing one of these USB charging outlets and never look for your charging plug again!


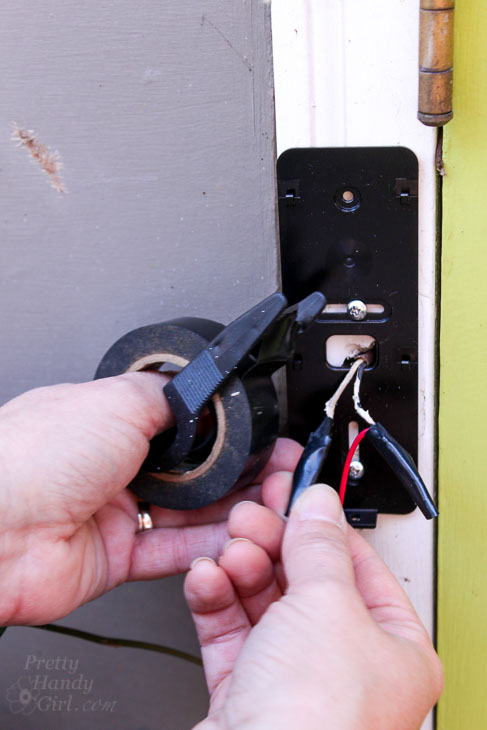
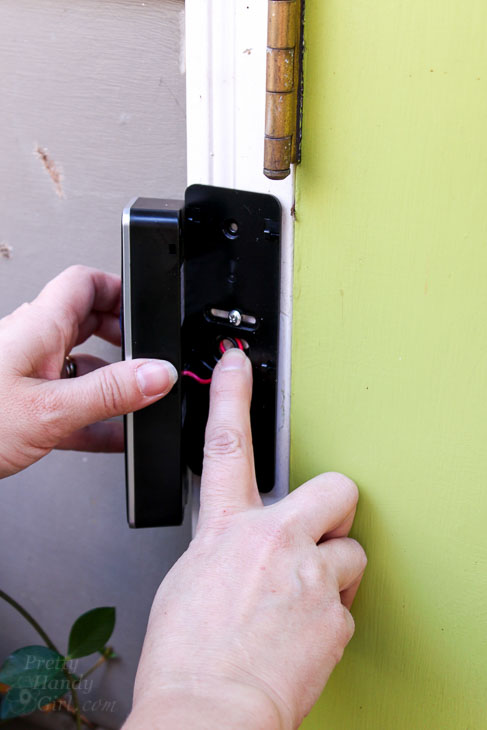
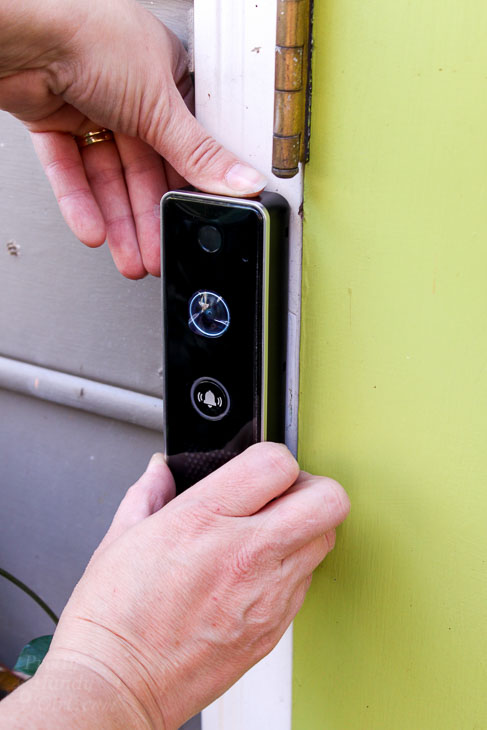
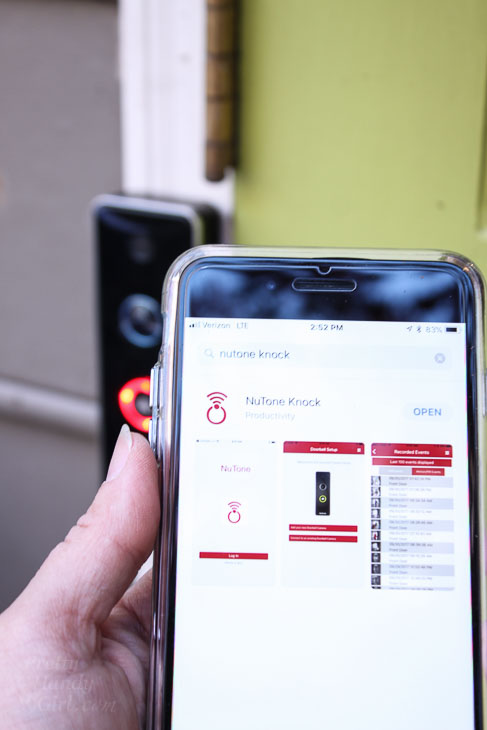
 How to Install a Video Doorbell