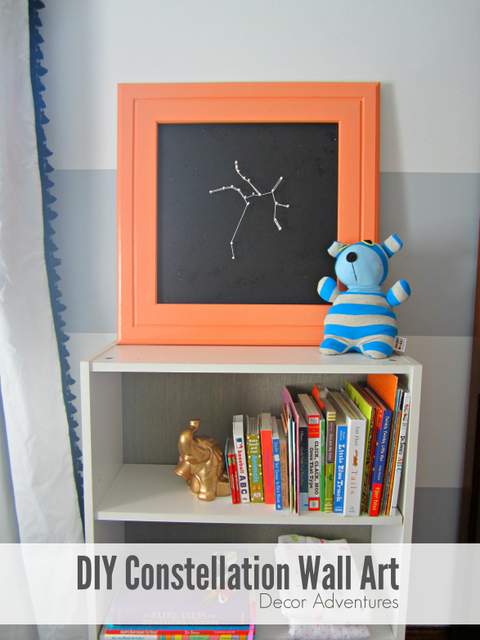
Happy New Year! It’s Jessica from Decor Adventures, back with a fun project for your walls this month. In late November, my husband and I had a baby girl! We are enjoying every minute of her and on the side I’ve been working on decorating her nursery. This idea for constellation wall art is both a way to add art to the walls, and some personalization of her birthday. It’s easy to put together and only requires a few basic supplies.
Materials
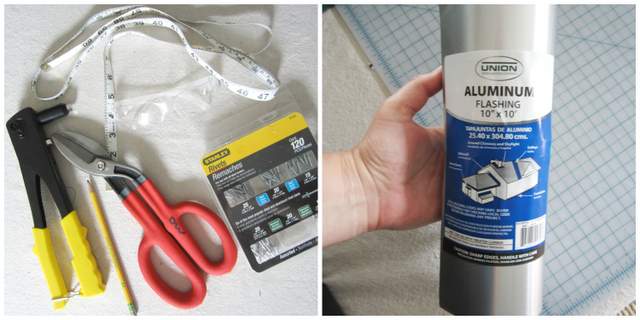
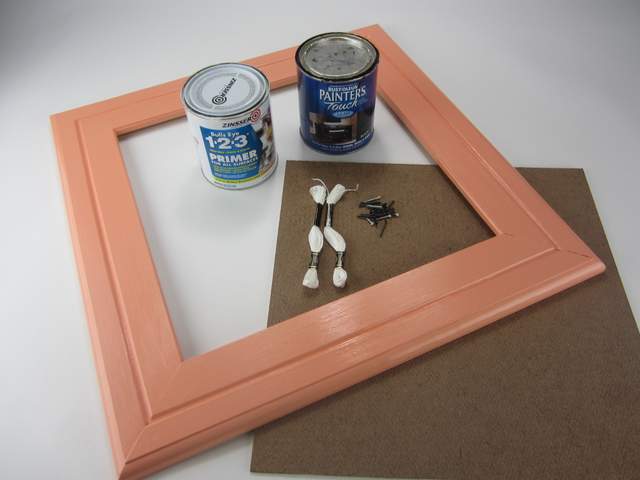
- Picture frame
- Hardboard to fit inside picture frame
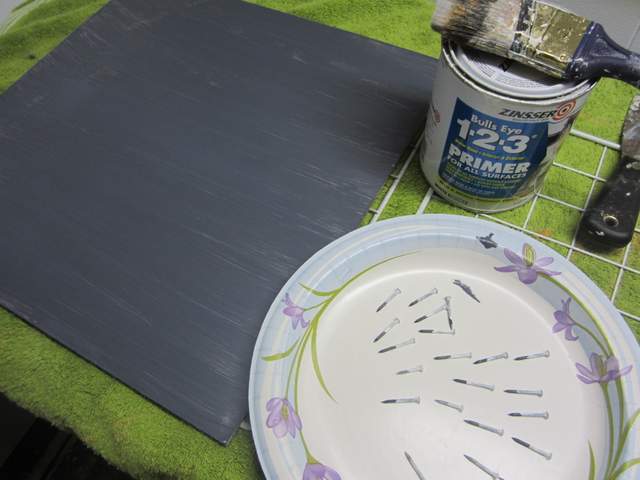
- Primer
- White and black paint
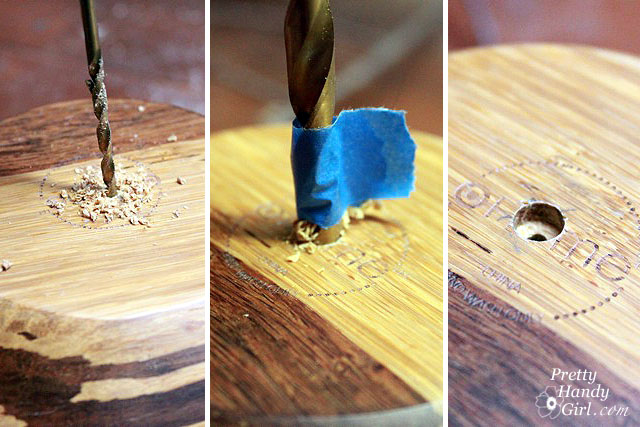
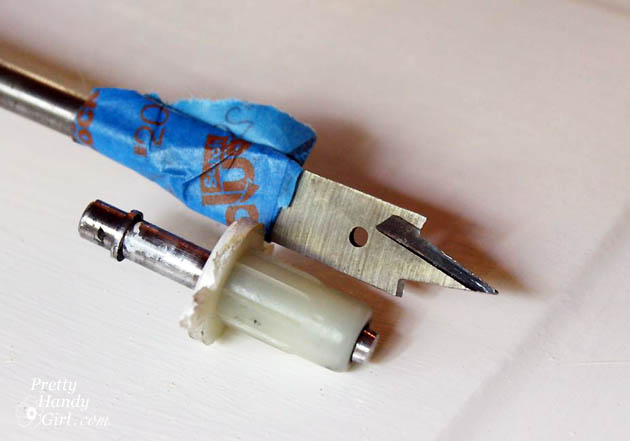
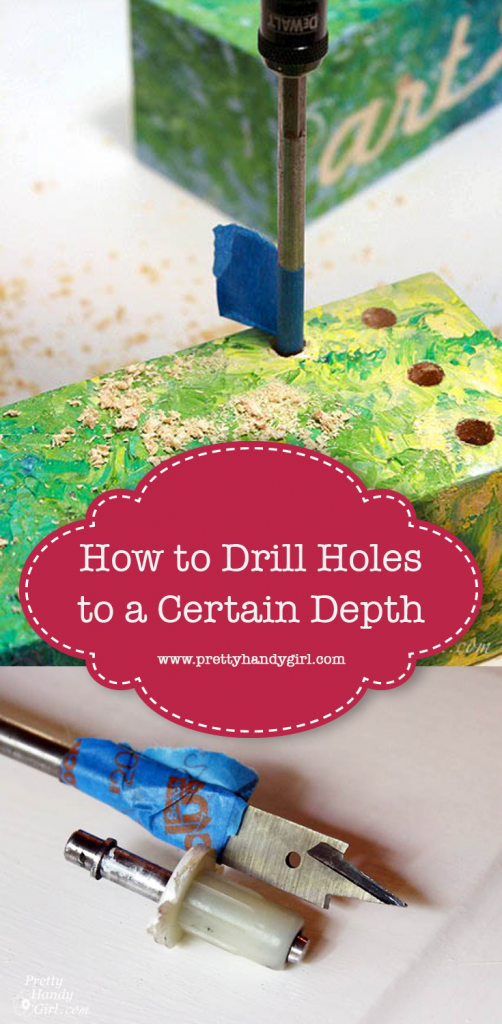
- Drill and drill bits
- Small nails
- Embroidery floss in white
- Computer, internet, printer, paper
- Hammer
- Glitter (optional)
Instructions
1. Paint your picture frame if desired. I used Smitten by Americana Decor chalky paint. I sealed it with 2 coats of polycrylic since chalky paint dries in a matte finish.
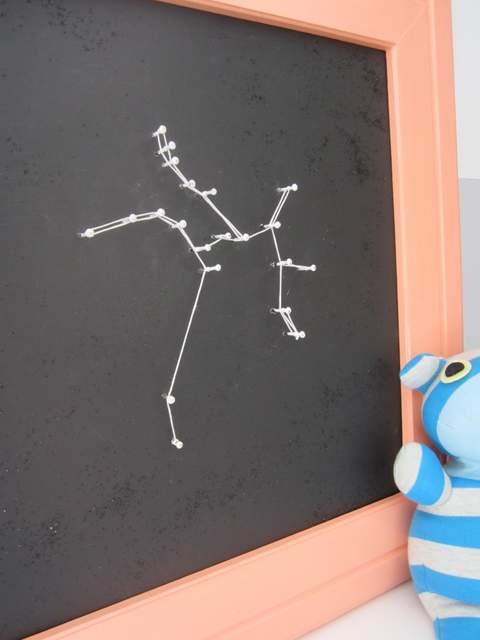
2. Prime and paint your hardboard with black paint. You could also use dark blue, since it will represent the night sky. I sprinkled a little bit of black glitter on the wet pant to add some sparkle (optional.)
Paint the nails white. These will be the “stars” in your constellation.
3. Find an image of the constellation you plan to use and print out an image of it. You can find this with a quick search online, but this is a good resource for pictures. Print it on paper to fit inside your frame. Read more