DIY Macrame Plant Hanger

DIY Macrame Plant Hanger

If you follow home decor trends (or just love to add something different or vintage to your home), then a textile and macrame project is a perfect project to try.  If you think they are a nod to the 70’s, you are right but this macrame project is fresh and fun. And it will make a great addition to your home.

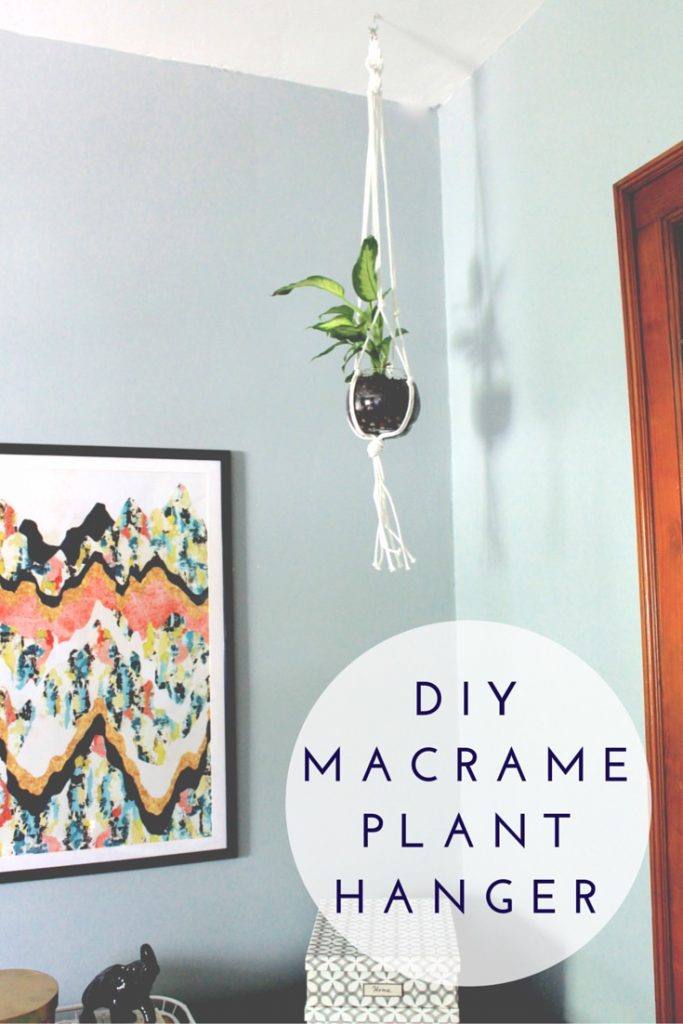
Today I have a quick and easy DIY macrame plant hanger to show you that can be customized by color and size. It’s also a new way to display plants instead of just putting them on a shelf or plant stand. Here’s how to make a DIY Macrame Plant Hanger.

Materials:
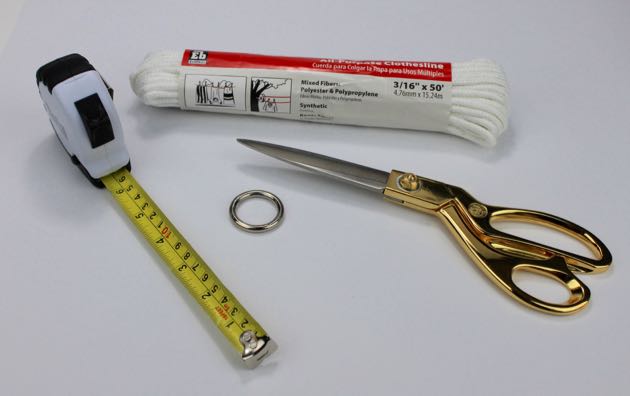
DIY Macrame Plant Hanger

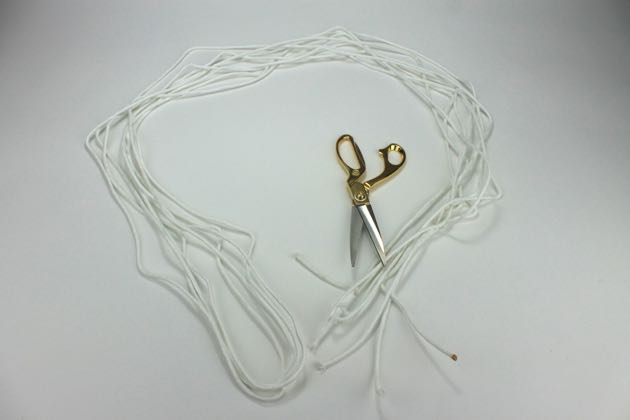
  • 50 feet of cotton or polyester clothesline
  • Scissors
  • Tape measure
  • Plant in a small pot or bowl
  • Small metal ring
  • Cup hook and anchor (Optional for hanging from the ceiling)

Instructions:

Open the clothesline and fold it in half three times so you have eight strands of clothesline of equal lengths. One end will have all of the ends still connected, and the other will have two looped ends and the two open ends of the clothesline.

DIY Macrame Plant Hanger

Read more

NauticalTowel Rack

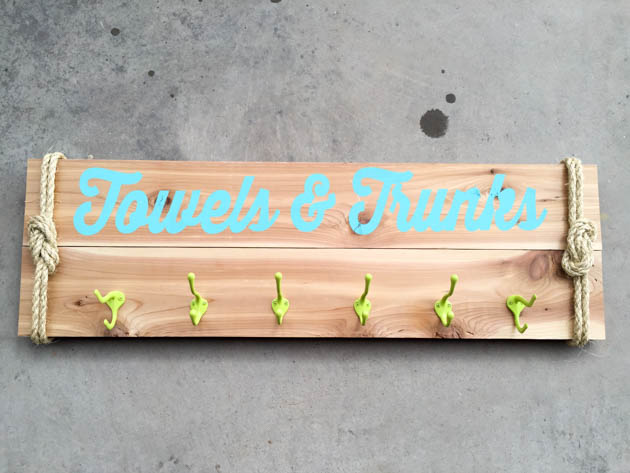
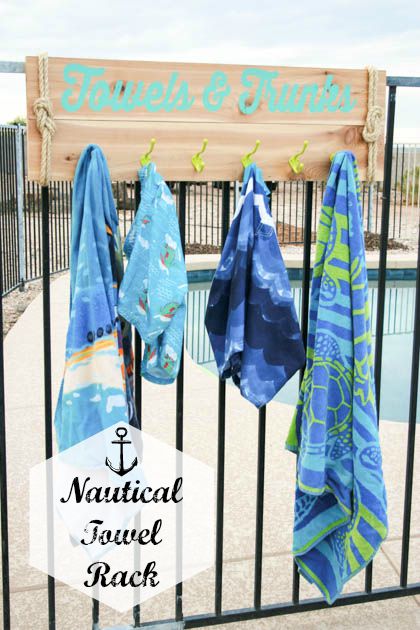
The kids are back in school, but we still have plenty of hot summer weather here in Arizona. This means a lot of time by the pool.  My boys swim every single day, and always leave a pile of towels left in their wake.  I was tired of the towels and swim trunks piling up in their bathroom, so I decided it was time to make a designated place for them to hang everything to dry.  This DIY Nautical Towel Rack keeps their bathroom picked up and it adds a little fun nautical decor to the pool area, so it’s a win-win!

Materials:

  • 1 – 1x6x8′ cedar board
  • 1 – 5 gallon paint stick
  • 1 roll of 1×2″ sisal rope (about 10 feet)
  • 6 coat hooks
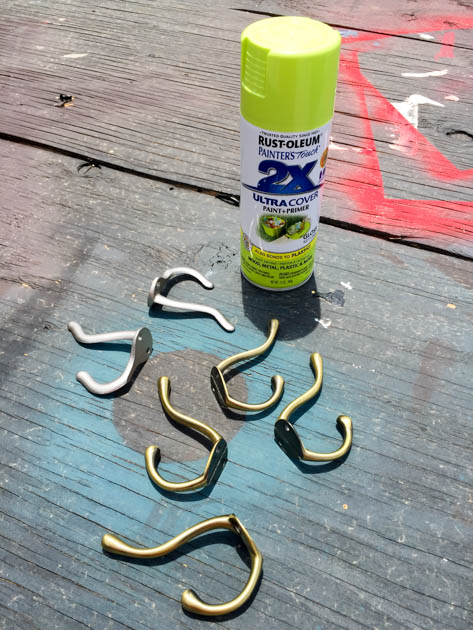
  • Green Apple spray paint
  • acrylic paint in the color of your choice (I used Americana Bahama Blue)
  • Wood Glue
  • Super Glue
  • Staple Gun with 3/4″ staples
  • 1 yard of adhesive vinyl and transfer paper for the stencil
  • Die-cutting machine
  • 1 1/2″ hose clamps
  • 1/2″ self-tapping screws

Instructions:

Spray paint the coat hooks and set them aside to dry.

edited-0363

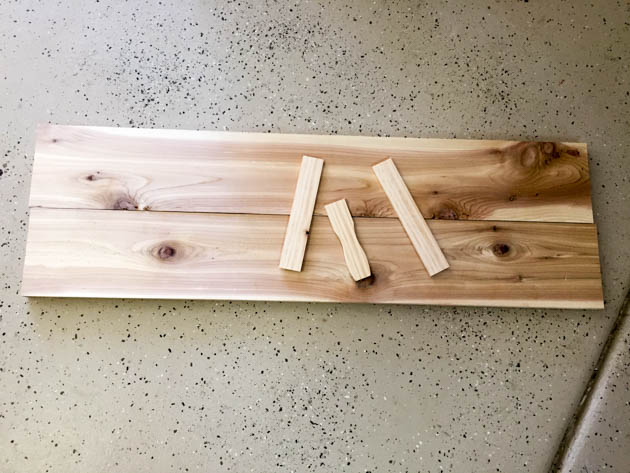
While the paint dries on the hooks, cut the cedar board into two 3′ sections.  (If you have a bigger family, you can always just cut it in half for a bigger towel rack. ) Cut the 5 gallon paint stick into three pieces to attach to the back.

cut-cedar-board-for-towel-rack

Line up the boards and attach the paint sticks to the back using wood glue and staples.  If you don’t have a staple gun, a brad nailer with 3/4″ nails will work as well. Read more

Reversible Tote Bag Tutorial by Sawdust Girl | Pretty Handy Girl

Are you enjoying Tote Week?!

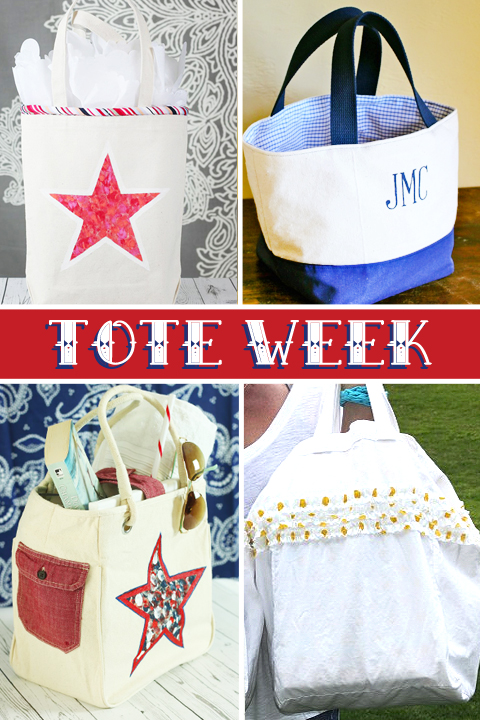
Tote Week | Pretty Handy Girl

If you’re just joining in here’s the line up:

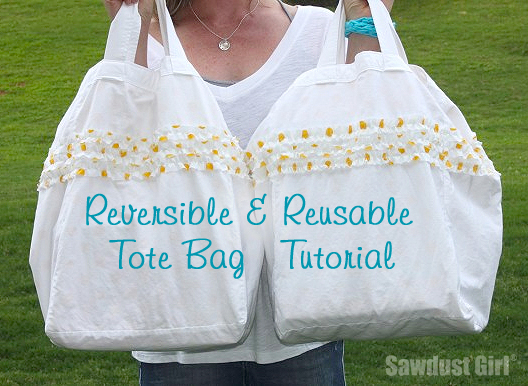
Today I have one of my closest friends and blogging buddies here. If you don’t know who I’m talking about, she’s the amazing, the incredible and the always vivacious Sandra from SawdustGirl.com. And she’s going to give you a tutorial for sewing those cute reversible and reusable tote bags!

page_break_2

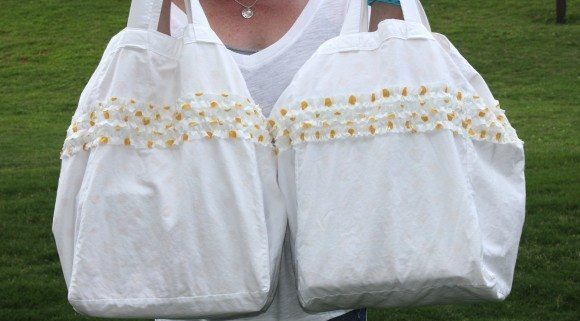
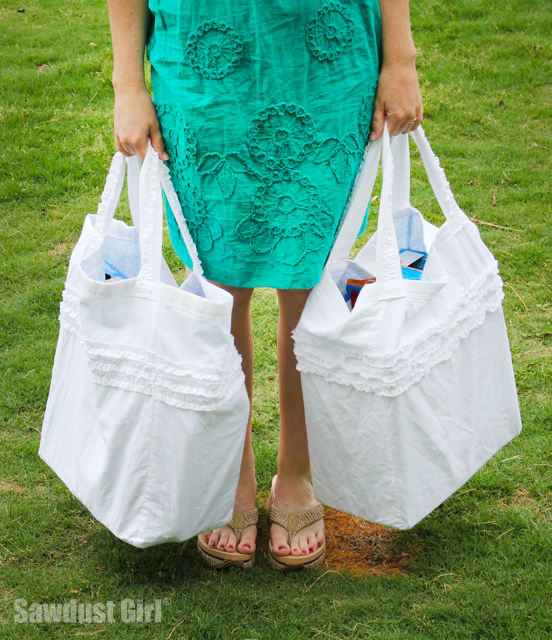
Howdy Handy friends! I’m Sandra of Sawdust Girl – formerly Sawdust and Paper Scraps. I try to reduce, reuse and recycle anyway so this tutorial for reusable, reversible, ruffled totes is fitting. Don’t ya’ think? I like to use my totes as grocery bags and have given a pair of these as gifts along with a few reusable produce bags found at the dollar store.

Reversible Tote Bag Tutorial by Sawdust Girl | Pretty Handy Girl

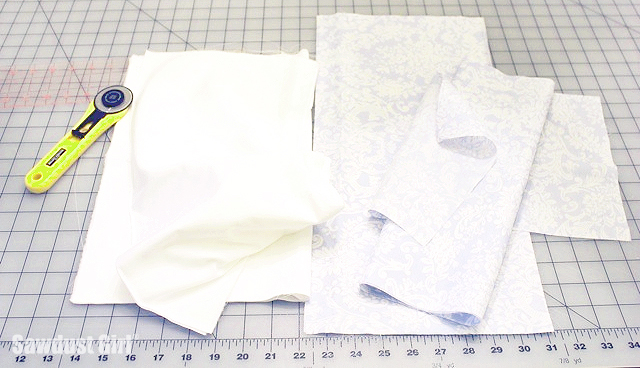
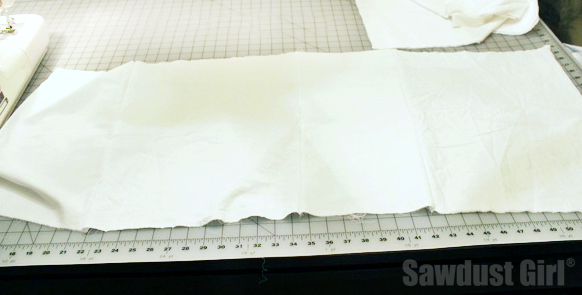
I used an old sheet and a set of pillowcases to make mine but for a gift item, maybe use new fabric. If you look for sheets on clearance you can get a LOT of fabric for just a few dollars.

Reversible Tote Bag Tutorial by Sawdust Girl | Pretty Handy Girl

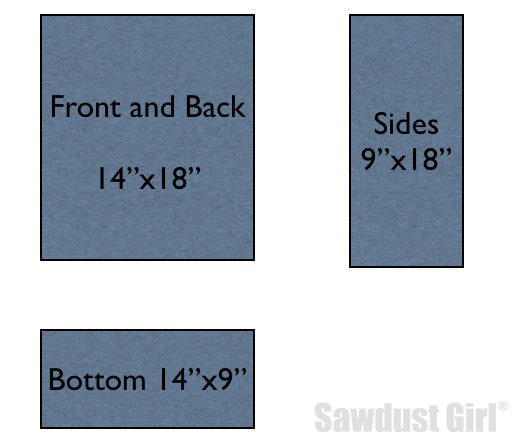
This is a really easy pattern that I made from looking at a canvas tote. (It fits perfectly on a standard pillowcase.)

*Seam allowance? I run the fabric along the right side of the foot. I think it’s a waste to take a wide allowance and then trim!

Instructions:

1. Use the same pattern for the bag and the liner. You could use the same fabric for both or mix it up for fun. I like to use 2 different fabrics so I can flip it inside out and have a totally different bag!

Reversible Tote Bag Tutorial by Sawdust Girl | Pretty Handy Girl

2. Sew all 4 pieces (excluding the bottom) together like this: front/side/back/side making one long piece of fabric.

Reversible Tote Bag Tutorial by Sawdust Girl | Pretty Handy Girl

3. If you are going to add any kind of embellishment, now is the time. I’m adding three rows of ruffles! Read more

Upcycled Cabinet Door Quote Art | Pretty Handy Girl

Upcycled Cabinet Door Quote Art | Pretty Handy Girl

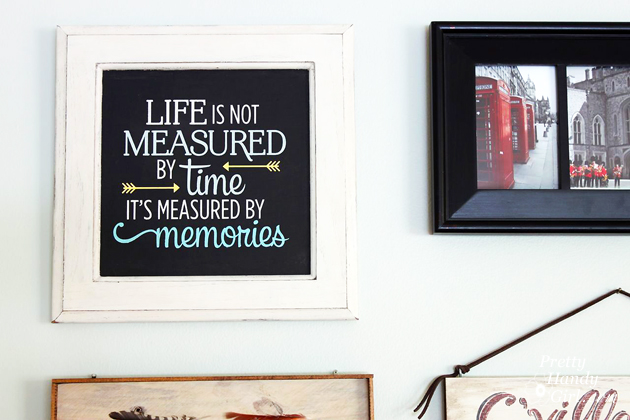
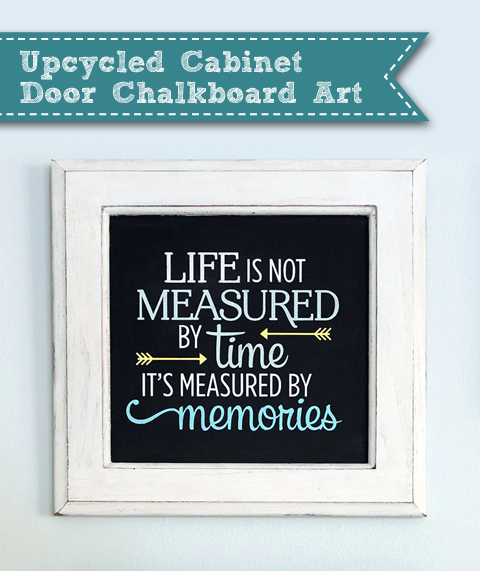
What do you do with an old cabinet door? Besides keep it with your wood scraps for ten years like I did (not recommended.) You can create pre-framed art! Today I have an easy Upcycled Cabinet Door Chalkboard Art project for you. If you have an old cabinet door, some paint, and a stencil, you can have yourself a unique and personalized art piece for your wall! Easy art!

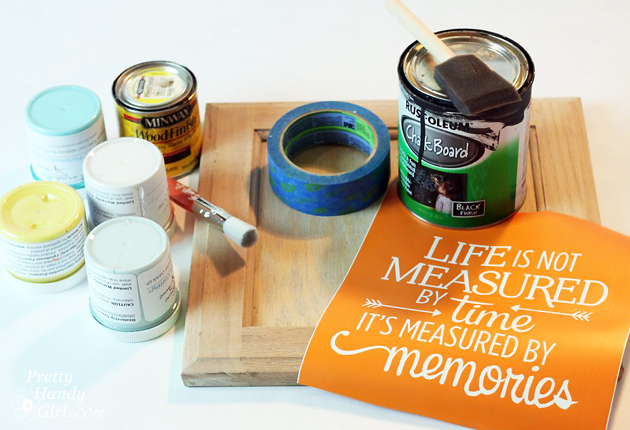
Materials:

Upcycled Cabinet Door Quote Art | Pretty Handy Girl

  • Cabinet door
  • Chalkboard paint
  • Foam brush
  • Sandpaper
  • Antiquing wax
  • Wax brush
  • Clean rag
  • Craft paint or chalky paint
  • Stencil brush
  • Painter’s Tape
  • Pencil
  • Stencil or cut vinyl

Optional: Stain and foam brush

Instructions:

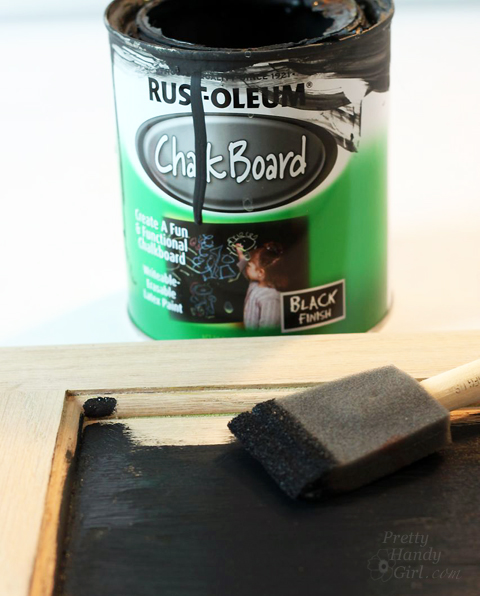
Paint the inside panel of your cabinet door with chalkboard paint. After the paint has dried, lightly sand any imperfections. Apply a second coat, brushing the paint in the opposite direction as the first coat.

Upcycled Cabinet Door Quote Art | Pretty Handy Girl

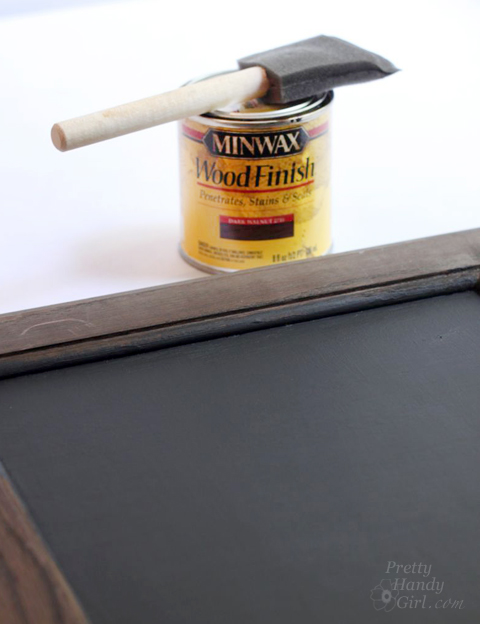
If you have an unstained cabinet door, you may want to stain it for an aged look.

Upcycled Cabinet Door Quote Art | Pretty Handy Girl

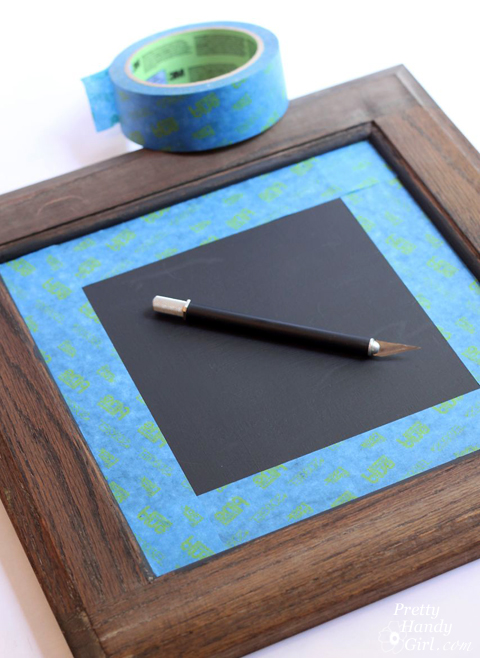
Apply painter’s tape to the inside face of the cabinet door.

Upcycled Cabinet Door Quote Art | Pretty Handy Girl

Paint the frame portion of the cabinet door. Allow to dry and apply a second coat of paint. Read more

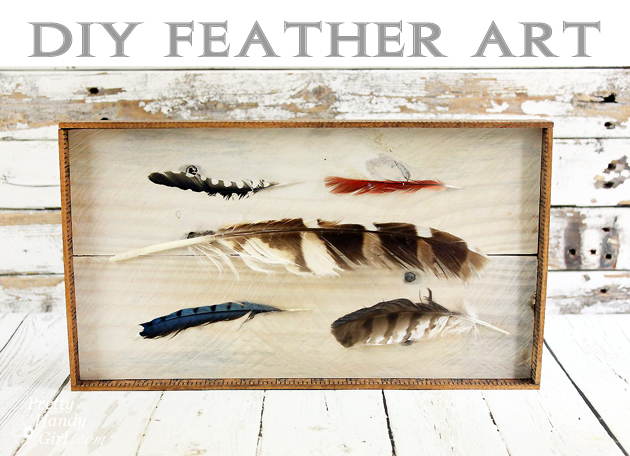
DIY-feather-art

DIY Feather Art | Pretty Handy Girl

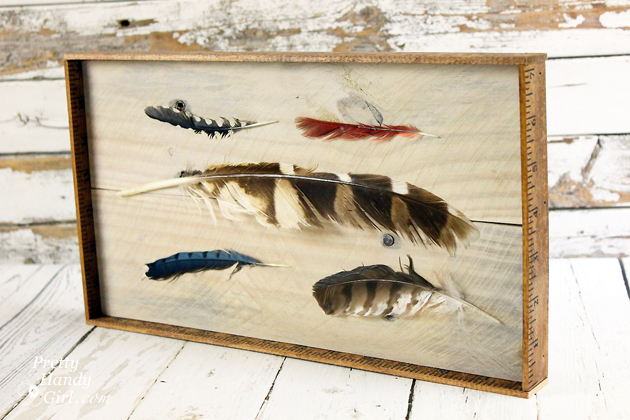
When I needed an extra piece of art for our living room gallery wall I created DIY Feather Art. You can create your own, but please purchase craft feathers, use fake feathers or paper feathers. (Per the Migratory Bird Treaty Act, it is illegal to collect feathers, nests and other anatomical parts of certain migratory birds.)

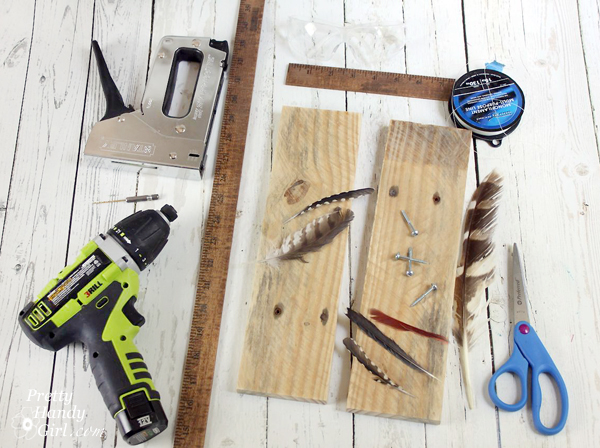
Materials:

DIY Feather Art | Pretty Handy Girl

  • Rustic 1×4″ boards (I used pallet wood)
  • Wood yardstick or lattice boards
  • Watered down white paint
  • Paint brush
  • Clamp
  • Scissors
  • Kreg Jig
  • Pocket hole screws (1.25″)
  • Nylon line
  • Small drill bit
  • Drill
  • Staple gun
  • 1″ finish nails
  • Hammer or nailgun
  • Wood glue
  • Feathers
  • Pencil
  • D-ring picture hangers

Instructions:

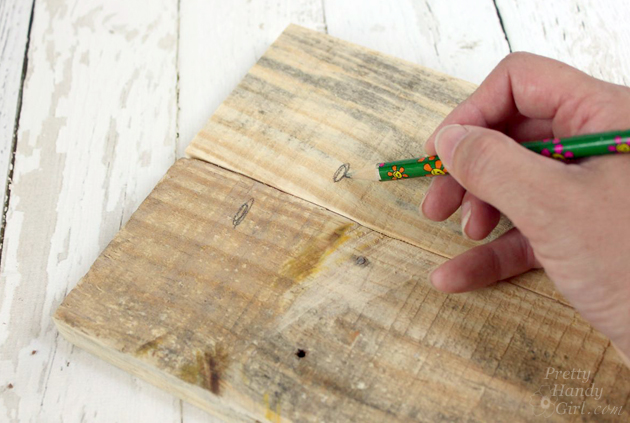
Cut your 1×4″ boards to size (or select one board the size you want for your art background.) To connect the two boards, mark the location to drill pocket holes.

DIY Feather Art | Pretty Handy Girl

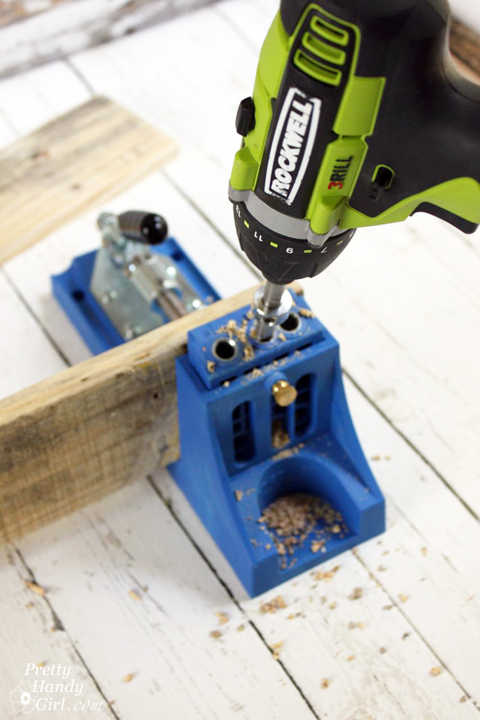
Use the Kreg Jig to drill pocket holes into the back of both boards.

DIY Feather Art | Pretty Handy Girl

Clamp the boards together and join them with 1 1/4″ pocket hole screws.

DIY Feather Art | Pretty Handy Girl

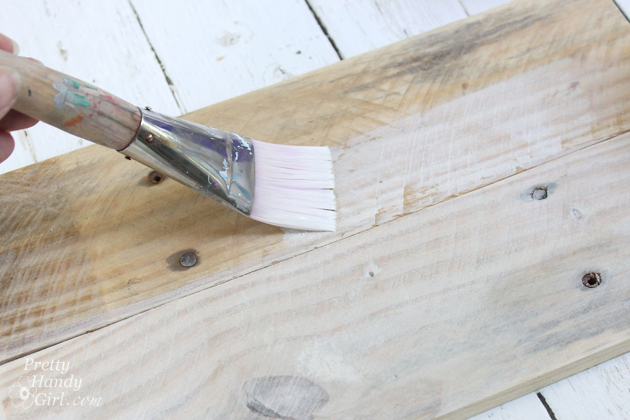
Flip the board over and paint it with watered down white paint for a white-washed look.

DIY Feather Art | Pretty Handy Girl

Mark the width of the white-washed board onto the yardstick. Cut two pieces the same length. Read more