On Wednesday, I had the morning to myself since the kids were in summer camp. I decided not to work since it was my birthday. Most people would probably take the free morning to get a massage, or a pedicure, or go shopping. I chose the later. But, the shopping mall wasn’t calling me. My destination was far from the marble floors and glittering displays. I was headed to the industrial part of town where warehouses and construction equipment rental stores reside. I visited my local Habitat for Humanity ReStore.
I am always amazed by the things that are donated to the ReStore. When I enter those doors, my mind begins to whirr. Before me are shelves and aisles of discarded items. Each one calling to me to transform him or her from an ugly frog into a beautiful prince or princess. I happen to possess the magical powers to do just that! It starts with the ability to see into the future (well, maybe just a vision of what could be.) Then it takes some concentration and before you know it…bippity boppity boo! There before me stands a beautiful object and no one can guess at its humble beginnings.
I’d like to give you a look at some of the visions I had. Won’t you join me on my tour?
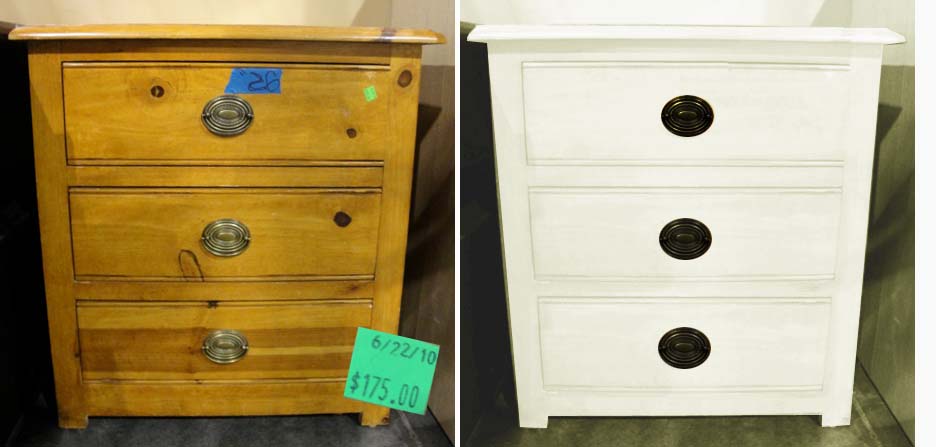
First I headed down the furniture aisle. This little knotty pine night stand whispered to me, “Psst, look at my beautiful handles!” She had only been at the ReStore for a few days, so her price was a little steep. But, her drawers were solid and on gliders. Structurally she was solid.
I closed my eyes and when I opened them, I saw this beautiful off white dresser. Freshly painted a crisp white and her handles had a satin black finish. Beautiful!
Then I heard the sounds of water splashing on a classic marble sink. I turned the corner and saw this builder’s special white vanity with brand new brushed nickel faucet.
It didn’t take much to invision this gentleman with a black tuxedo coating of paint and brushed nickle knobs and handles. At $75, he is a diamond in the rough. The sink set alone would cost that!
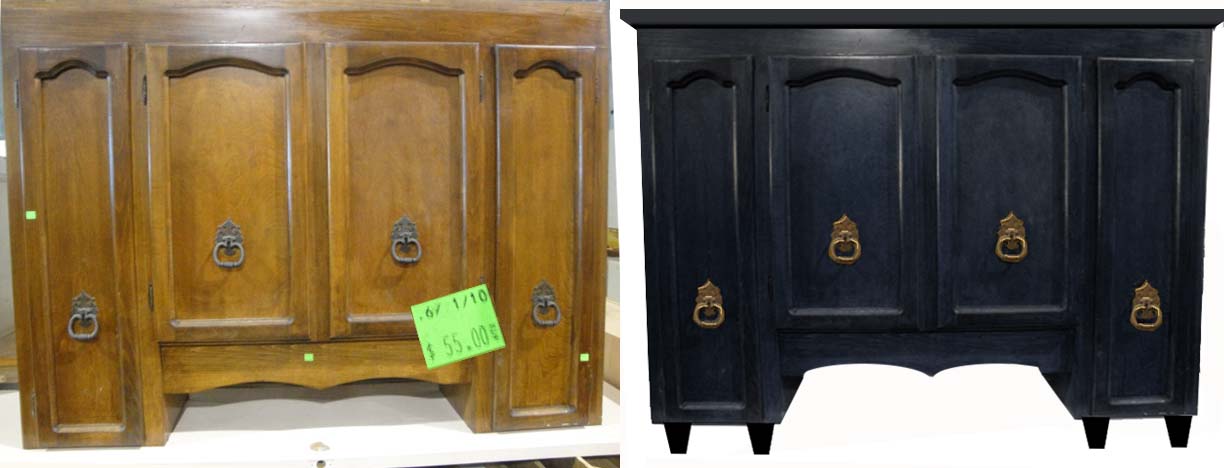
But, the best is yet to come. Continuing down the cabinet aisle, I see this poor late 70’s kitchen cabinet set. Her handles are charming and exotic. She has some nice curves and pretty lines.
I squint my eyes and begin to see a miraculous transformation! Antique gold handles pop out. Legs grow at her base and a table top sprouts on her head. Oh she will be the belle of the ball as a sideboard in anyone’s dining room.
The next cabinet can not be ignored with a $5 price tag. He begs for someone to take him home.
Imagine a built in cabinet and window seat in a dormer window. Fresh white paint and slate blue trim with black handles.
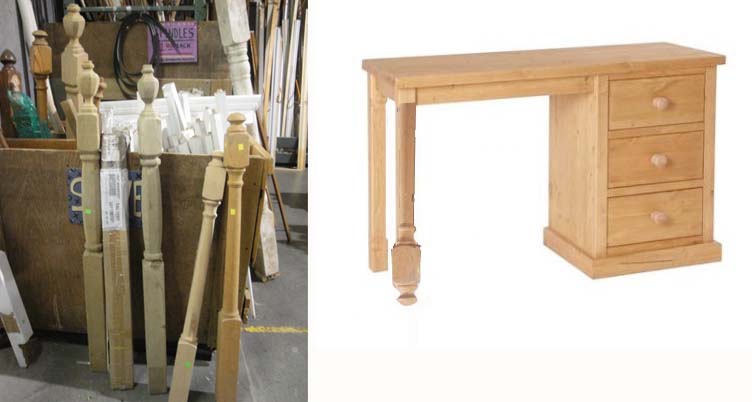
It doesn’t take too much imagination to see these old newel posts cut down and fitted onto a plain jane desk to add more curvaceous legs:
Now it’s your turn. Imagine these items transforming before you very eyes:
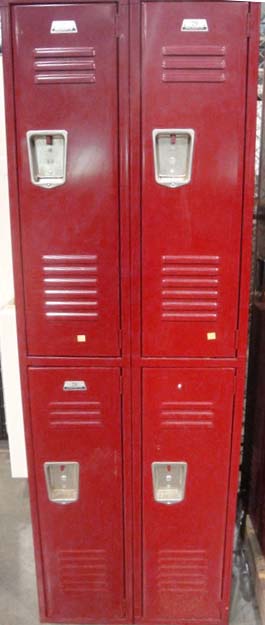
I have a friend who has an old set of lockers by her door. It is her upright family organization center. Each child has a locker and he/she can store shoes, book bag, etc. inside.
I can just see this set of red lacquer cabinets in a retro modern dining room or living room:
A little black paint on the shelves and some feet. Maybe a black marble or granite top?
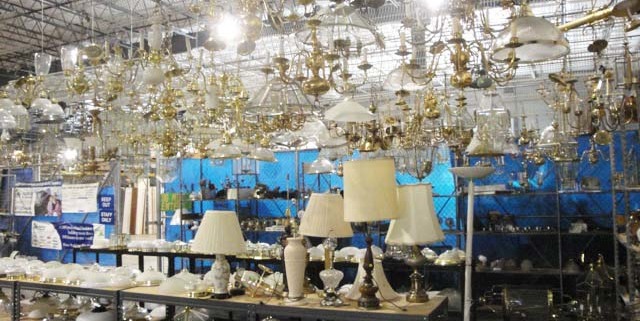
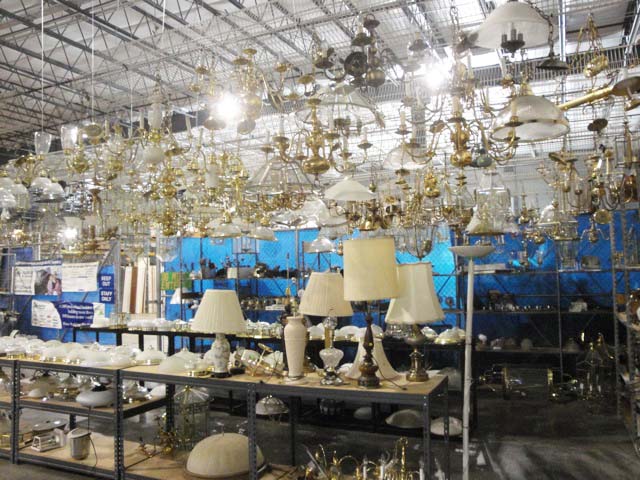
The ReStore has a large selection of donated lights. Chandeliers twinkle in the light above your head. Envision the shiny gold fading to a beautiful oil rubbed bronze. Another friend shared this link with me detailing such a transformation with Krylon spray paint.
The ReStore staff actually has a display model that someone has transformed into a shiny black chandelier with crystals dripping off her arms.
With an $8 price tag, it is hard to walk away from these beauties. But, I’m seeking something in particular. A new hanging fixture for our foyer.
I find these two potential hanging lights.
At $5 a piece I should bring them both home. But, I decided I prefer the one on the right with his open base and seedy glass. Check out the transformation here!
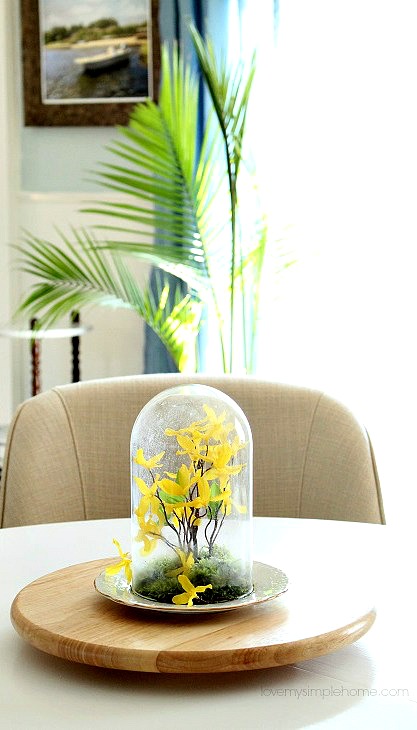
This glass globe used to be a large exterior hanging light fixture!
Can’t you just see it as a cloche in your garden? At $35, her price was a bit steep for me, but maybe she will still be there in a few weeks with a lower price tag. (Update: I went back to buy this exterior light and the second lantern above, but they were both gone. My loss, but hopefully someone else’s gain.)
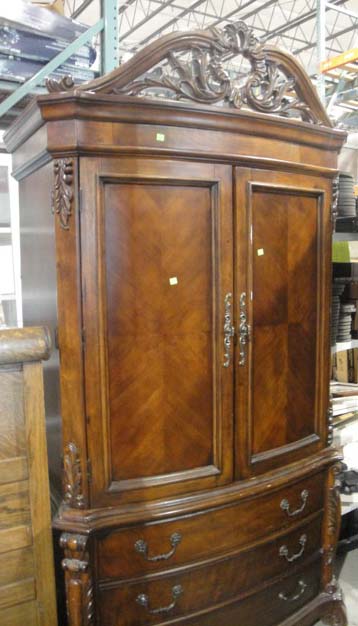
As I gather my treasures (the hanging light, an old rickety ladder, some decorative moulding and a copper wall sconce) I am nearly bowled over by the detail on this solid armoire. At $450, it would be a nice addition in someone’s bedroom, but alas our rooms are too small for this towering king.
I hope you enjoyed the tour and check back soon to see the magic I am going to perform on the treasures I bought: copper sconce, decorative moulding, ladder, and hanging lantern.
In the meantime, I have a busy weekend ahead building a built in reading bench with storage in my youngest son’s extra closet.
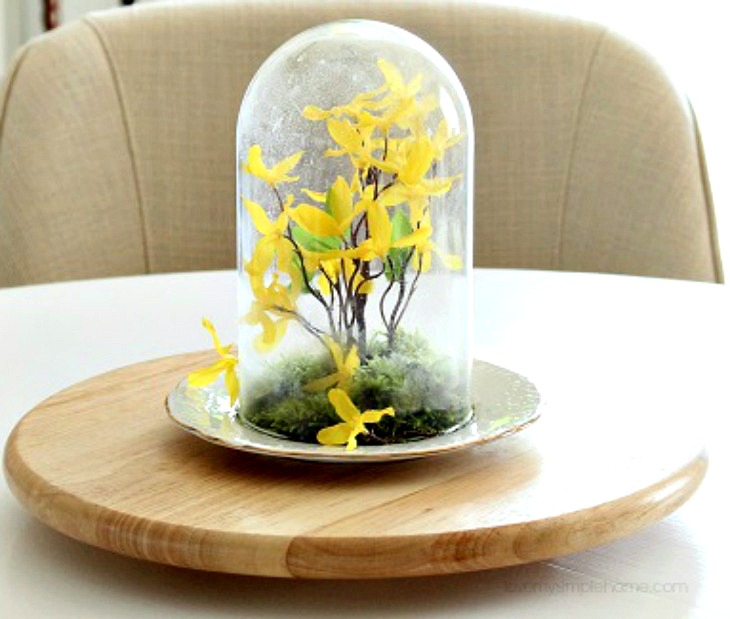
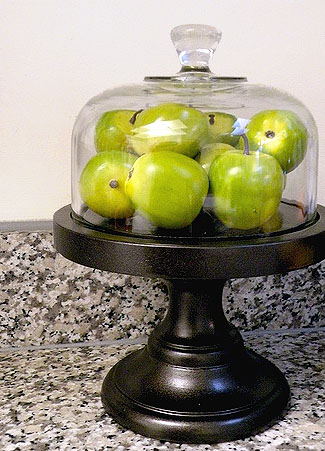
 Spring Cloche Idea