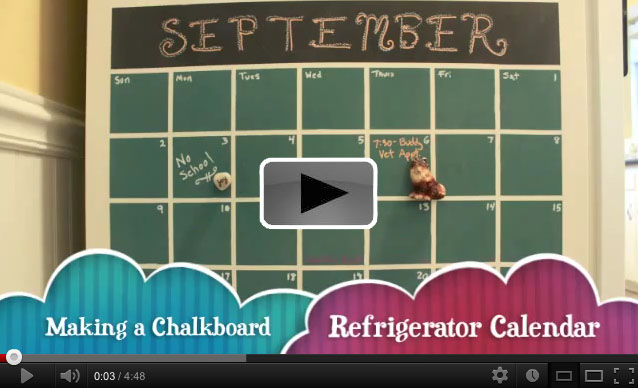
Create this DIY Chalkboard Calendar to get you and your family organized. It will only take you about half an hour to create but it will save you the headache of double booking yourself and get the kids on board with upcoming activities and trips.
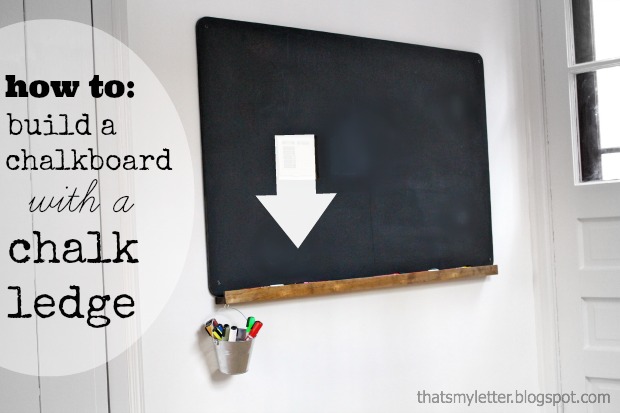
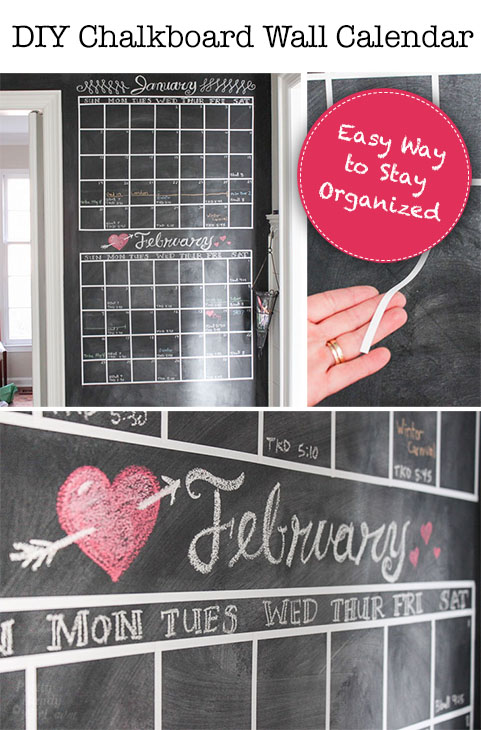 DIY Chalkboard Wall Calendar
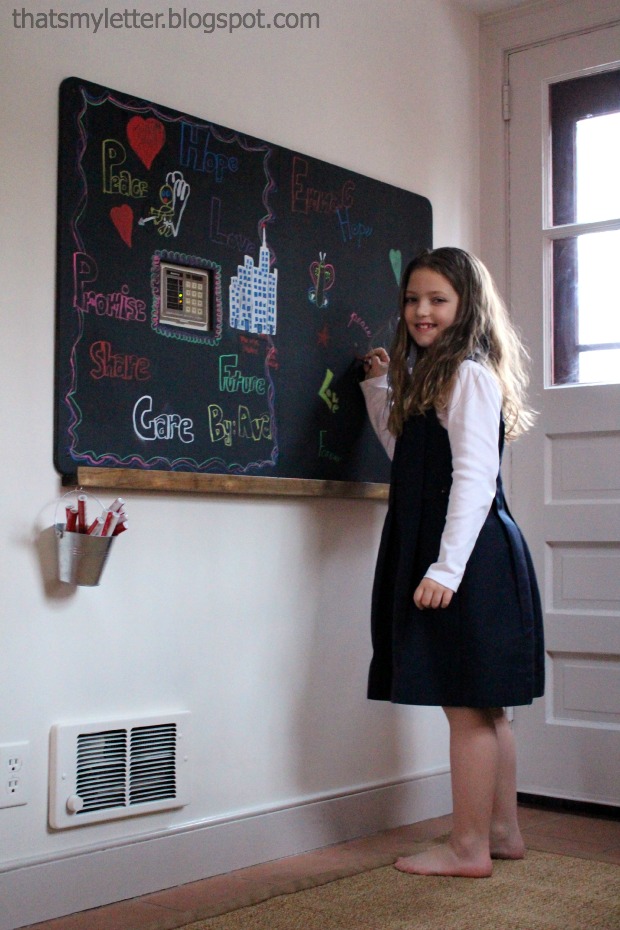
I’m bring back this tutorial for those of you that may have missed it. Why? Because this DIY Chalkboard Wall Calendar has been in our kitchen for over four years and it has held up beautifully! This calendar is an important part of our daily routine. My kids look at it frequently to see what activities and trips are coming up. My husband and I use a Google calendar to stay current, but this calendar is a great way to keep the kids organized and to let me look at a glance what’s coming up while I’m on the phone. Seriously, this is one of the best things I created for our family. In the spirit of getting organized, I’m going to share with you my easy DIY chalkboard wall calendar. But, first here are some great uses for a chalkboard calendar.
Ways to Use a Chalkboard Calendar:
- Keep Track of After School Activities
- Menu Plan
- Chore Reminders
- School Lunch Menu
- Holidays
- Birthdays
- Reminder for Pets Flea, Tick and Heartworm Medicine
- Business Trips
- Vacations
- Date Nights
- Family Activities
- Blog Calendar
- Schedule Meetings
- Work Calendar
- Project Planning
Have I left anything out?
Easy to Clean:
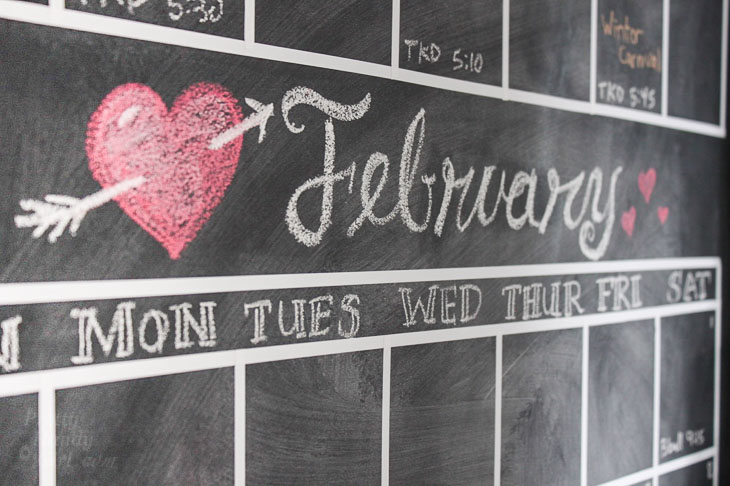
In the past I used to draw out the calendar lines, but trying to erase inside the lines was tedious and time consuming. What busy mom has time for that?! By using the vinyl stripes, I can easily erase the calendar after two months and add new dates.
To save extra time, I like to put recurring items on the bottom line so I can wipe around them and keep the items there from month-to-month.
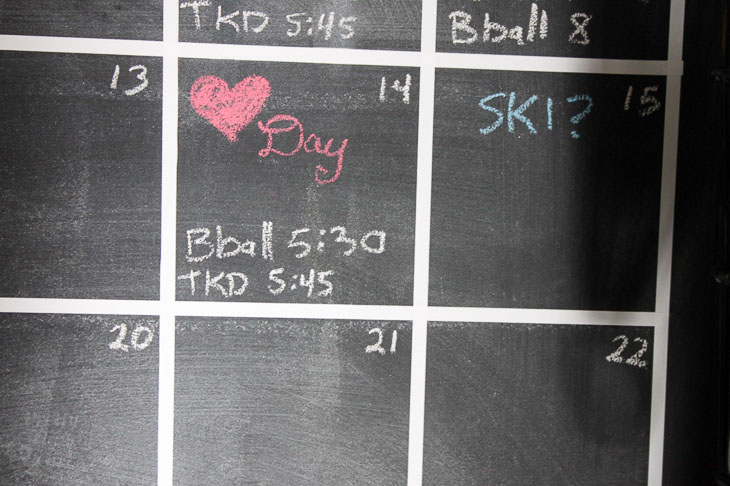
I also use consistent color coding. One color per person and I use separate colors for school or trips. But, feel free to do what works for your family.
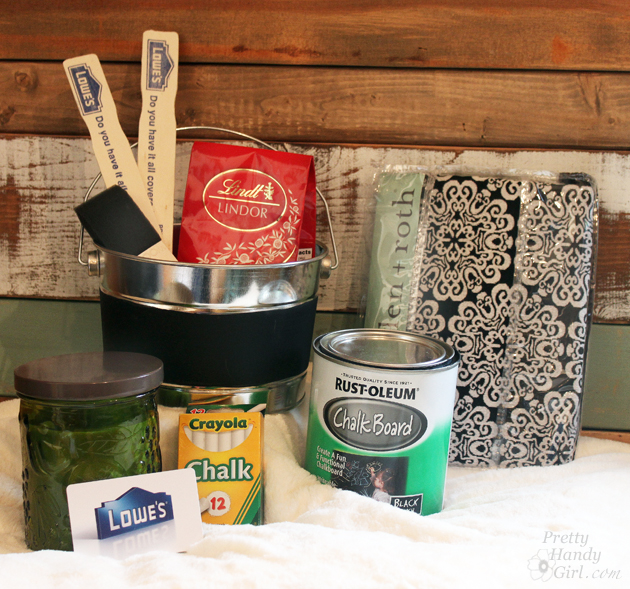
To create this quick chalkboard calendar you need to start with a chalkboard wall (or large chalkboard.) Then gather some supplies.
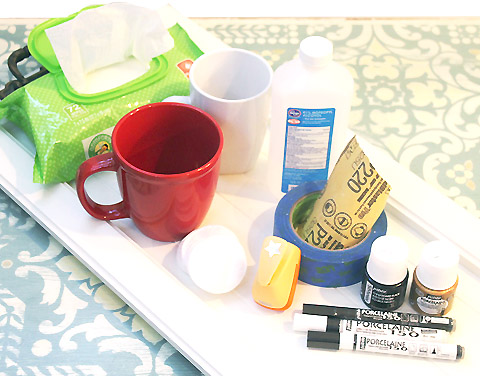
Materials:
(I’ve included affiliate links for your convenience. I earn a small percentage from a purchase using these links. There is no additional cost to you. You can read more about affiliate links here.)
- Chalk
- Ruler
- Level
- Vinyl lines (cut your own on a cutting machine or purchase this one from Leen the Graphics Queen)
Instructions:
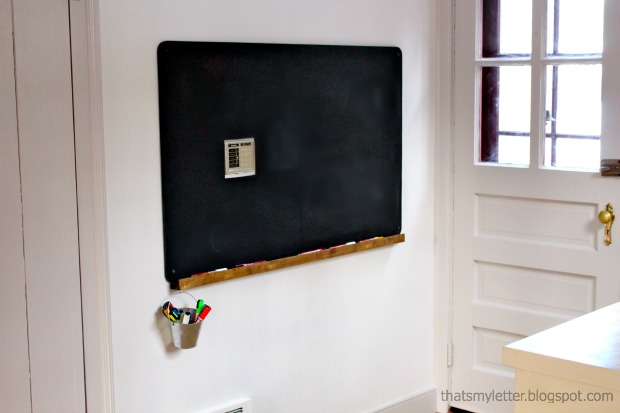
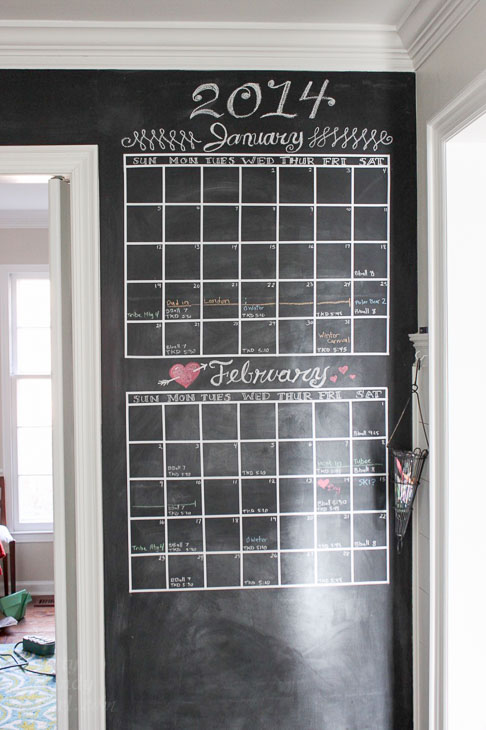
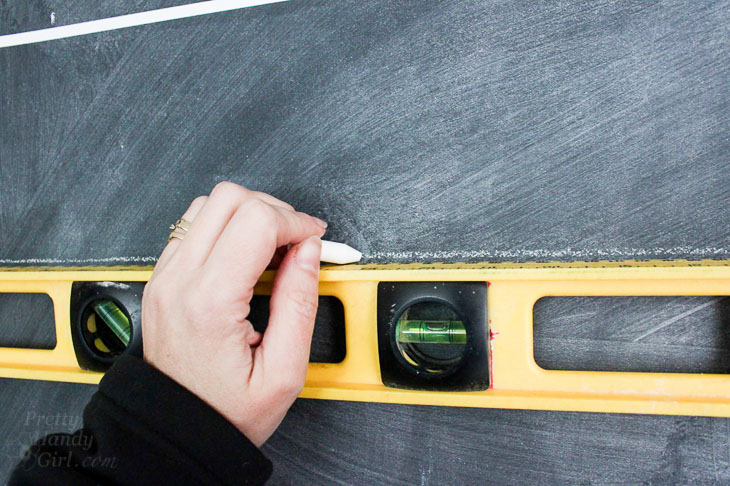
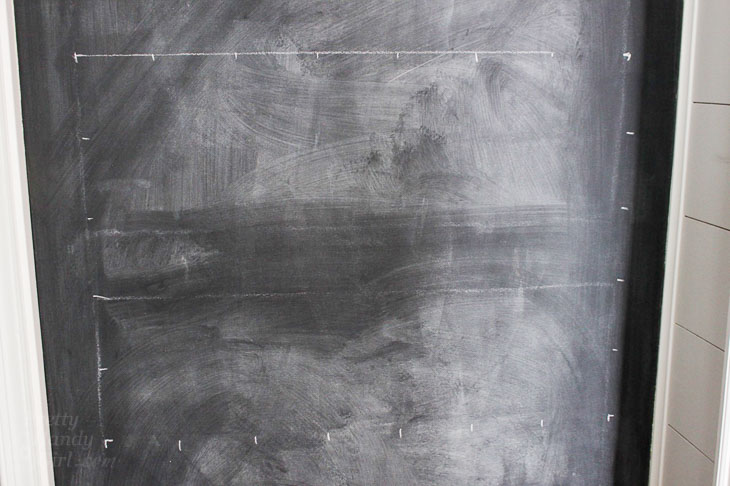
Using the level, make a straight (and level) line for the top of your calendar. (Mine is 28″ wide.)
Using your ruler, mark a tick mark horizontally every 4″ (more or less depending on your space availability) for the 7 days. Make 5 tick marks down from the top line vertically every 4″. Repeat on the opposite side. Then add your horizontal tick marks for the days at the bottom.
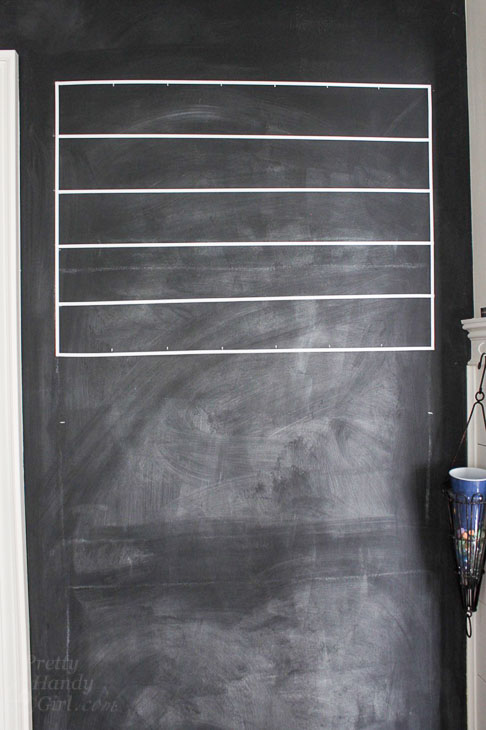
Use your vinyl lines to outline the calendar and create the horizontal lines.
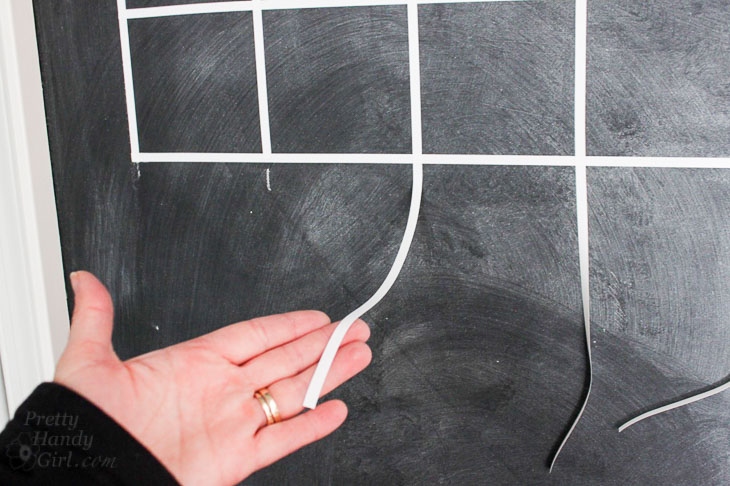
Connect the vertical tick marks with vinyl lines. If you have excess vinyl, snip off the excess with a pair of scissors. (Our calendar is 20″ tall.)
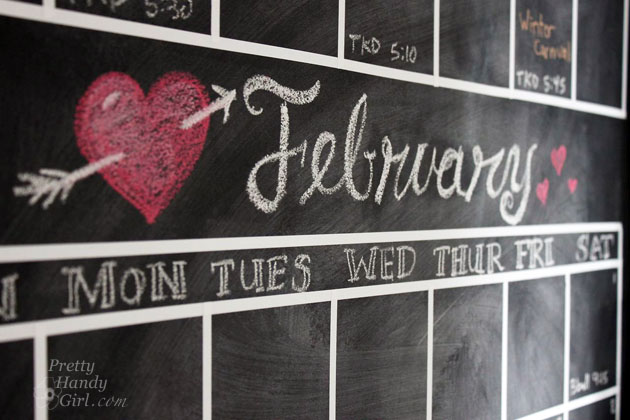
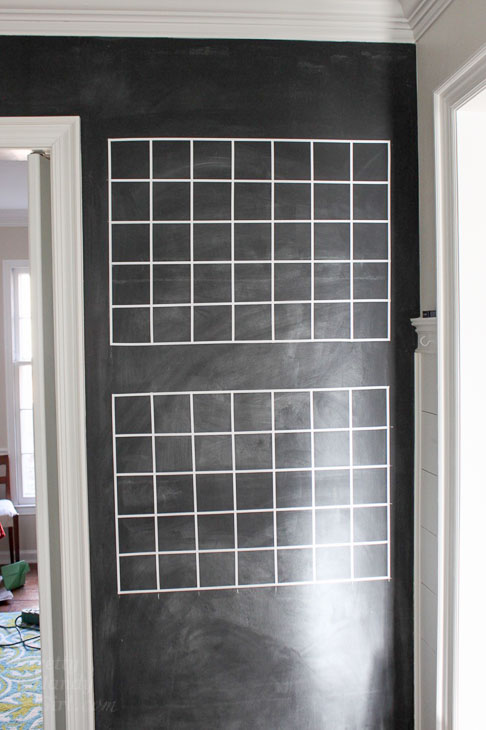
In our house I added two calendars. It’s always nice to see a month ahead! Sometimes I contemplate moving the calendars up and added a third month, but for now this works well for us.
The chalkboard calendar lets you get creative and practice your chalk lettering. (It’s been fun for me to practice since picking up these hand-lettering books.)
Can you think of other ways to keep you and your family organized? I’d love to hear it.
By the way, Leen has a chalkboard calendar for those of you that don’t want to commit to a large painted chalkboard wall in your home!

![]() Disclosure: This is NOT a sponsored post. Leen is just a good friend and my go to source for vinyl graphics and designs.
Disclosure: This is NOT a sponsored post. Leen is just a good friend and my go to source for vinyl graphics and designs.
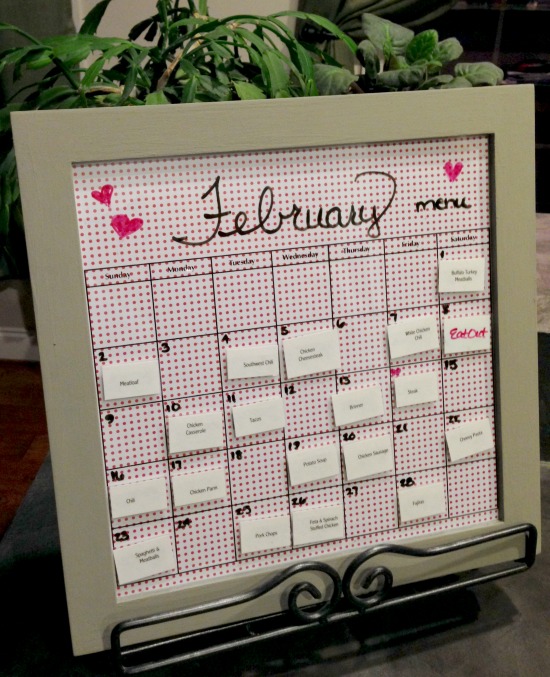
You may also like Jacque’s Perpetual Menu Calendar:
Or this refrigerator chalkboard calendar: