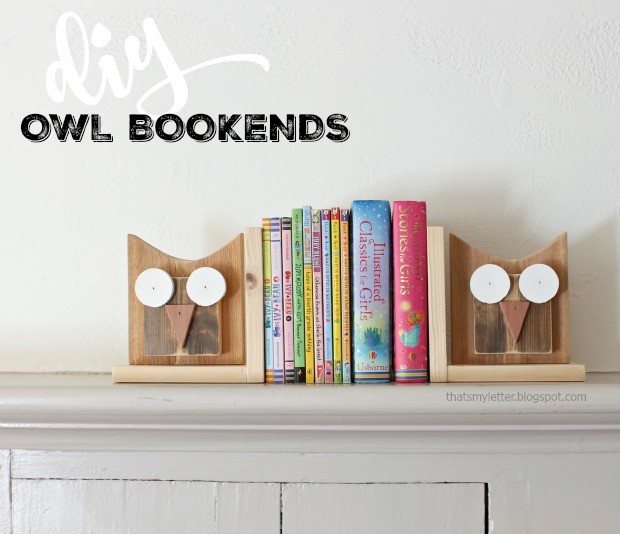
Pretty Handy readers Happy New Year! Jaime here today from That’s My Letter to share how to make scrap wood DIY Owl Bookends. It’s January and everyone is in cleaning, purging, and organizational mode. While you’re cleaning out the scrap wood bin, save a few scraps to make these cute owl bookends. They are adorable and will help straighten up your bookshelf, too.
I used scrap wood pieces straight from my cut off bin to quickly put together these bookends. These wood pieces happen to be different colors (some stained, some cedar, some painted) but you could easily use new lumber and paint the owls in fun colors.
This is a great gift idea for adults and kids alike! I sent this pair off to my sister who happened to have an owl get down her chimney (someone left the flue open!) and was flying around in her house.
Below are the step-by-step instructions including materials and a cut list. Always follow all safety precautions when using power tools.
It’s a new year and I want to give a few rooms in our house a fresh new look. Our office was one of the first spaces I completed when I started this blog (has it really been 5 1/2 years!)
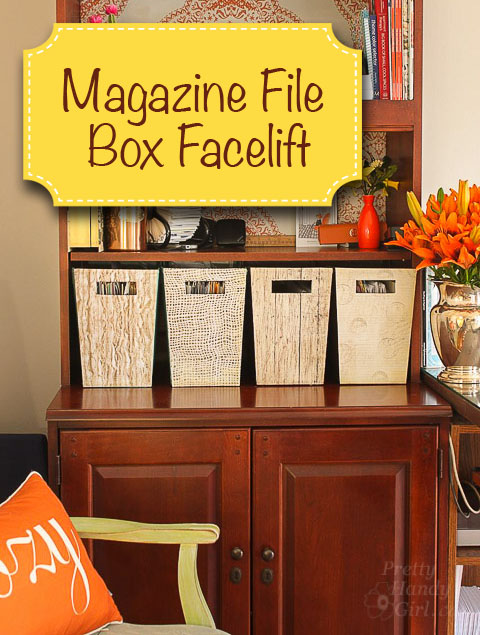
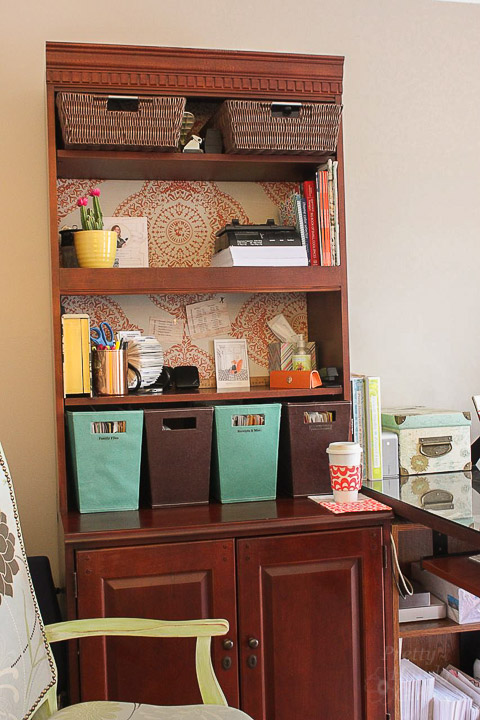
I’m tired of staring at the same room day after day. I know many of you feel the same way. You have that itch, or a burning desire to hop in the car and drive to your nearest Home Goods, World Market or The Container Store to buy cute colorful decor or storage bins. I almost caved into that desire because I was tired of looking at the two tone boxes I bought 6 years ago. But, that would mean discarding the old ones. You know how I feel about throwing things away! If I can upcycle it, I’m going to!
Within 10 minutes you could give a Magazine File Box a Facelift (or a storage box)! I saved a lot of money reusing the old. Factor in the gas money I saved by not driving to the store. And the time I saved by not leaving the house. I think I deserve a big fat high five! Put ‘er there fellow savers!
Here’s How to Give Your Magazine File Box a Facelift:Read more
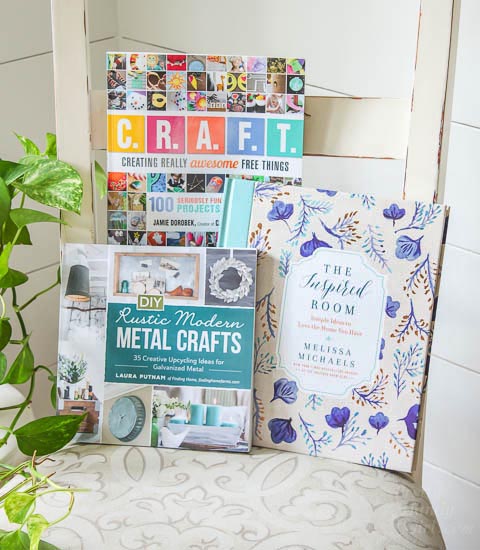
I’m thrilled to share with you a selection of 3 DIY books this holiday season. If you are looking for ideas for someone on your gift list who: has children who love to create; loves rustic metal decor; or wants some simple ideas to love the home they are living in…I have the book for you!
Let’s start with C.R.A.F.T – Creating REALLY Awesome Free Things(affiliate link). This book by Jamie Dorobek was not a book I had originally planned on reviewing. But, when I opened the envelope and set the book on the counter it was instantly whisked away from me. My boys took the book and read it from front to back!
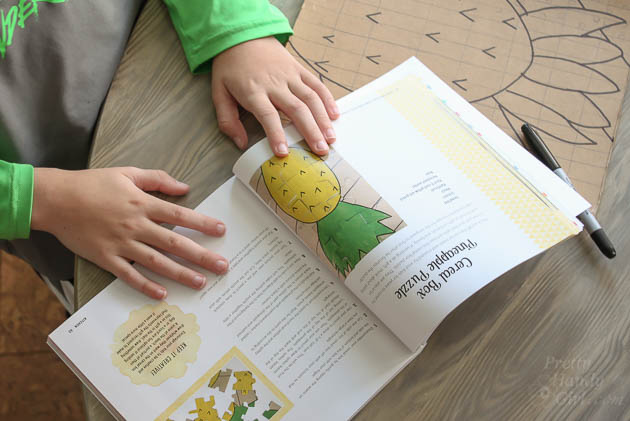
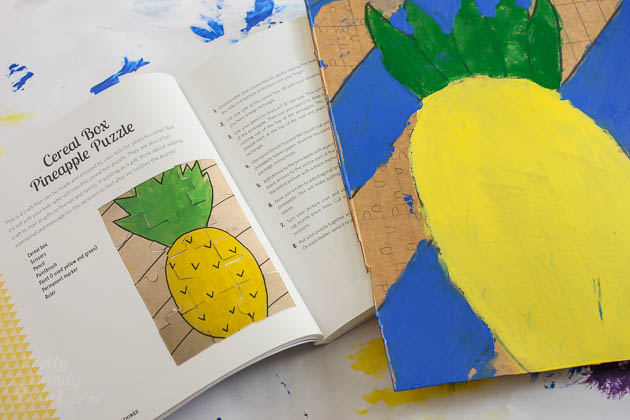
Within 30 minutes, my oldest (a middle schooler) had already cut up a cereal box and was working on his own puzzle.
The next day, my 3rd grader had a playdate at our house. He and his friend asked for the materials to make their own Emoji masks. Read more
I’m a firm believer that one can never have enough storage within their home. Especially, when you’re talking about a multi-purpose room. A lot of people (myself included) have one room that has to function as many spaces. For us, the guest room has to function as a room to store books, crafts supplies, and plants. Today I’ll show you how you too can build a custom built-in bookshelf. Don’t fret, this is a DIY project anyone with a few tools can accomplish.
First off, let’s take a quick look at the basic structure that will make up the bookcase. (My plans have dimensions, but you should alter the plans to fit within the spatial constraints of your own home.) The basic frame of the bookcase can be built using 1×12’s, along with a small platform that is made using 1×3 boards. I have a large double window in this room so the best place to install the bookcases are on either side of the window (flanking the window).
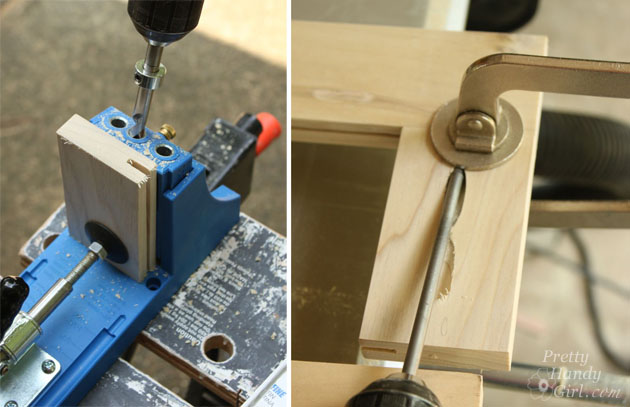
One of the easiest ways to assemble your bookcase frames is by using pocket holes.
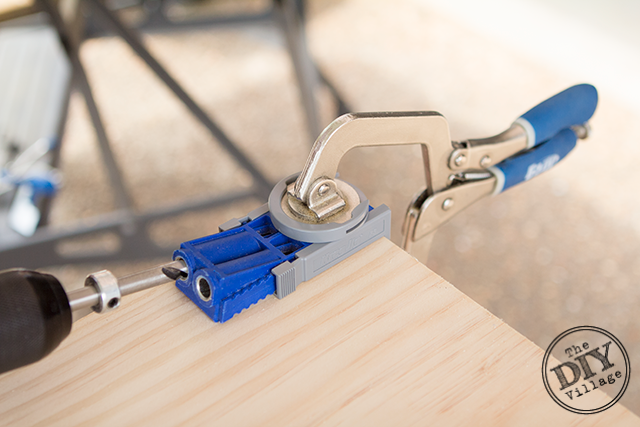
Using a pocket hole jig will make easy work of your assembly. Once all your lumber is cut to length, you’ll need to drill pocket holes at the top and bottom of each side.
Position and secure the jig in place using a clamp, then using the supplied drill bit, go ahead and drill your pocket holes.
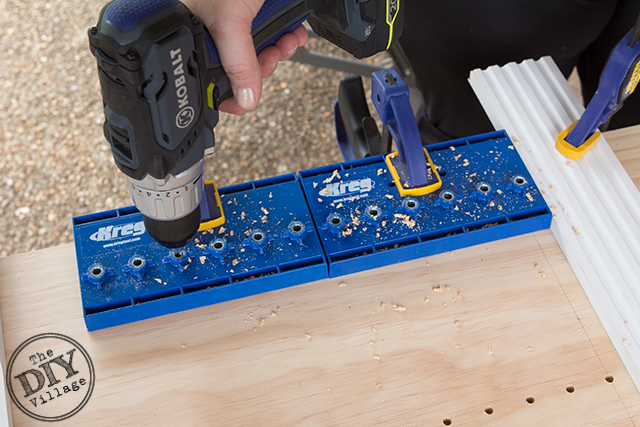
Now decide how many adjustable shelves you want above and below the fixed shelf, and utilizing a shelf pin jig, go ahead and drill the holes for your shelf pins.
Since you’re about ready to install the frame, now would be a good time to prime as much of your bookcase as you can.
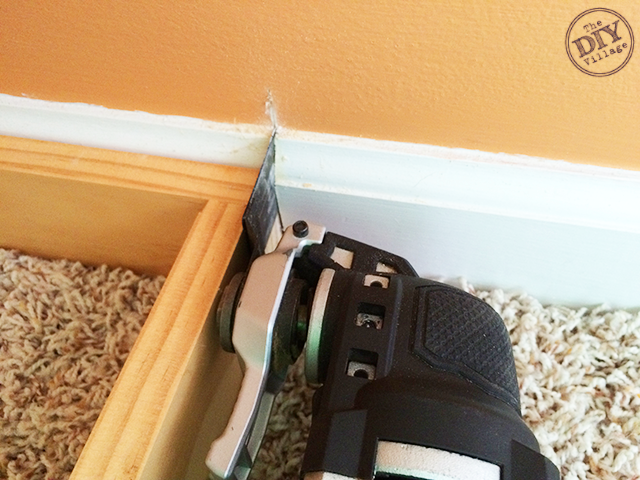
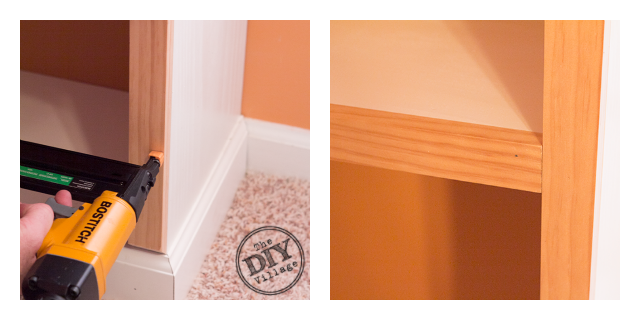
With the basic structure of your bookcase assembled, it’s time to prep the area where you’ll be installing them. You may need to cut out the existing baseboard in order to install the bookcase flush against the wall. If your space requires this kind of prep, consider using an oscillating cutting tool. It will make light of the work and will help with the custom built in look.
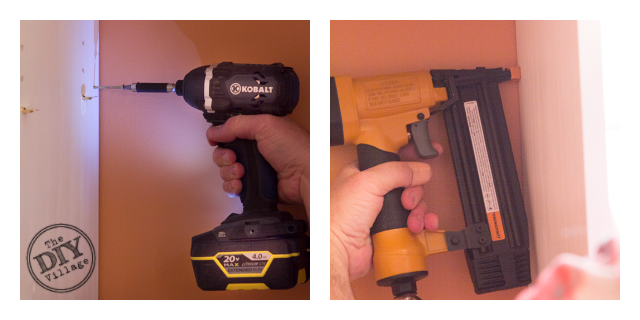
Next, position your platform in place and secure it to the wall, preferably into a stud. Then, place the bookcase frame on the platform and secure it as well. (In my configuration, I was able to secure one side to the wall using screws and had to secure the opposite side to the window casing using nails.)
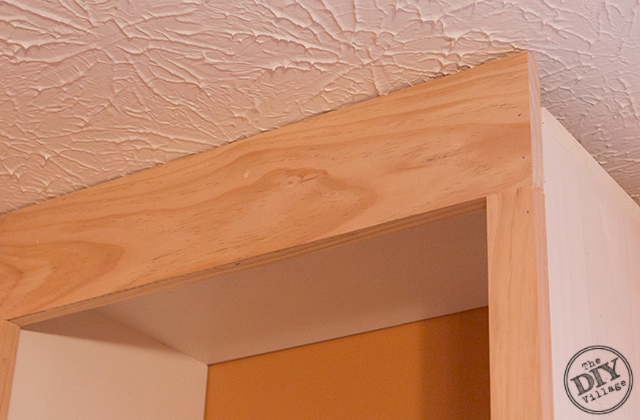
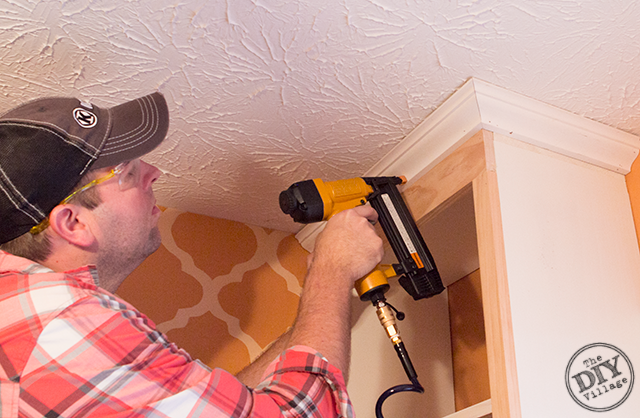
In order to give the bookcase frame a built-in look, you’ll need beef it up a bit by adding 1×2 facing strips, baseboard, and crown molding. At the top of the bookcase, bridge the gap from the top of the bookcase frame and the ceiling with a piece of 1×6 ripped to the appropriate width.
(This will allow for more surface area to nail in your crown molding)
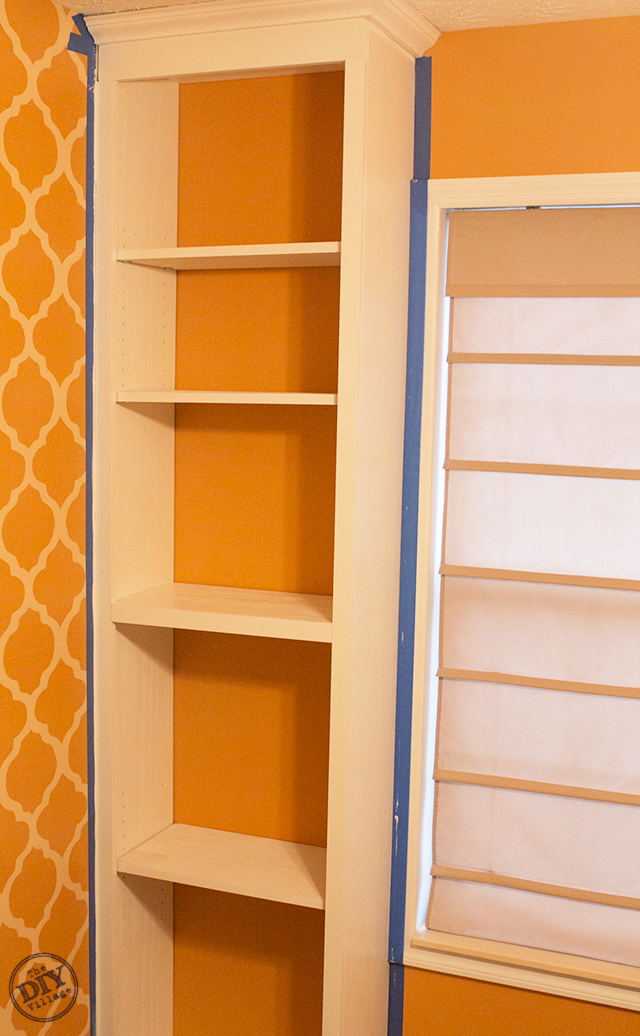
Now would be a great time to add a few coats of paint!
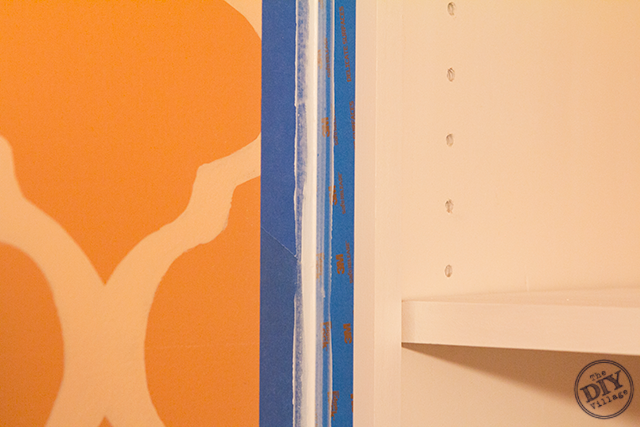
Lastly, you’ll need to caulk any gaps. I find that taping off on both sides of the area you’re caulking will result in a much cleaner caulk line.
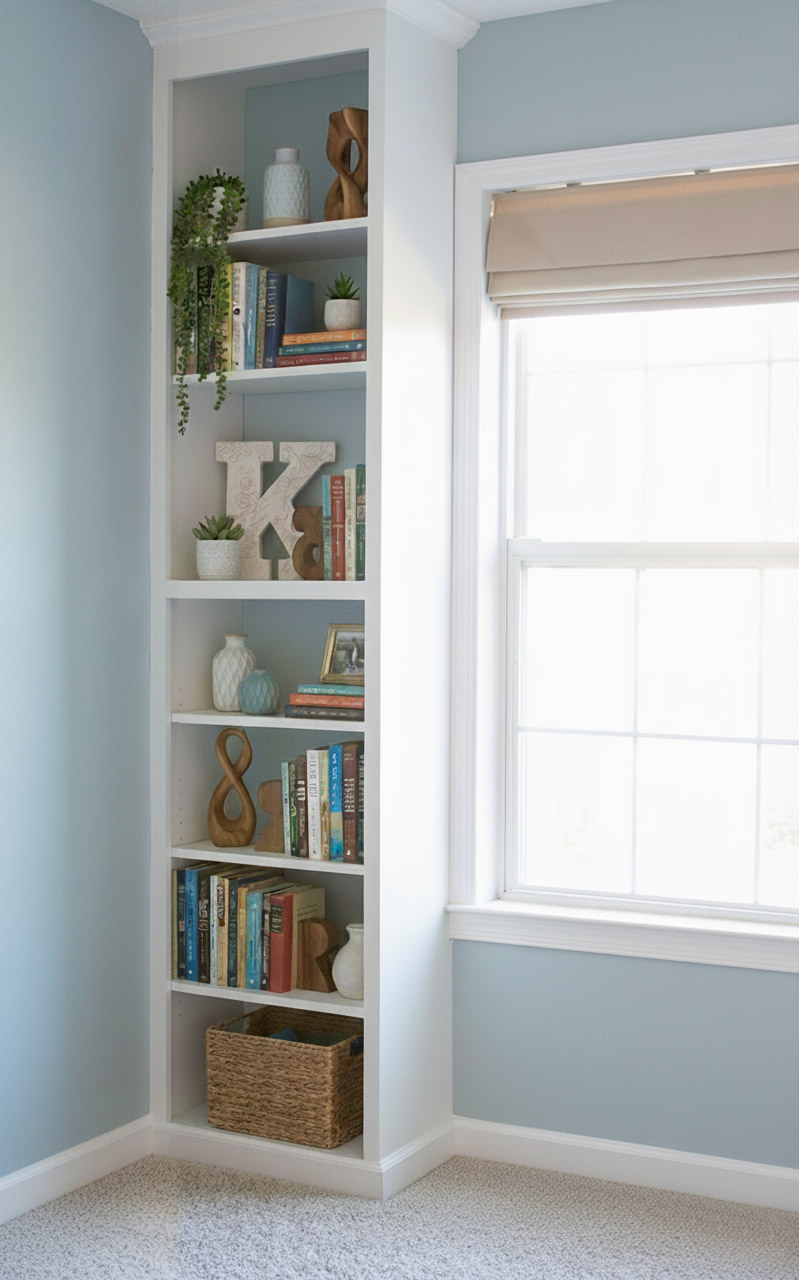
With the custom built-in bookcases complete, the only thing left to do is to turn the room back over to the owner and let them fill up those shelves!
In this case I had them filled up in no time flat and was already deciding how many extra shelves I need. Eventually we would like to complete this area by installing a window seat with even more storage!
Built-In Amazing! What a great project for anywhere in your home! I hope you’ll take on this relatively simple DIY project and send me picture!
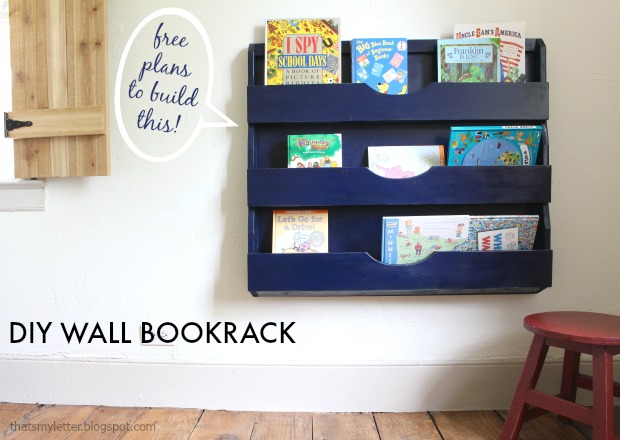
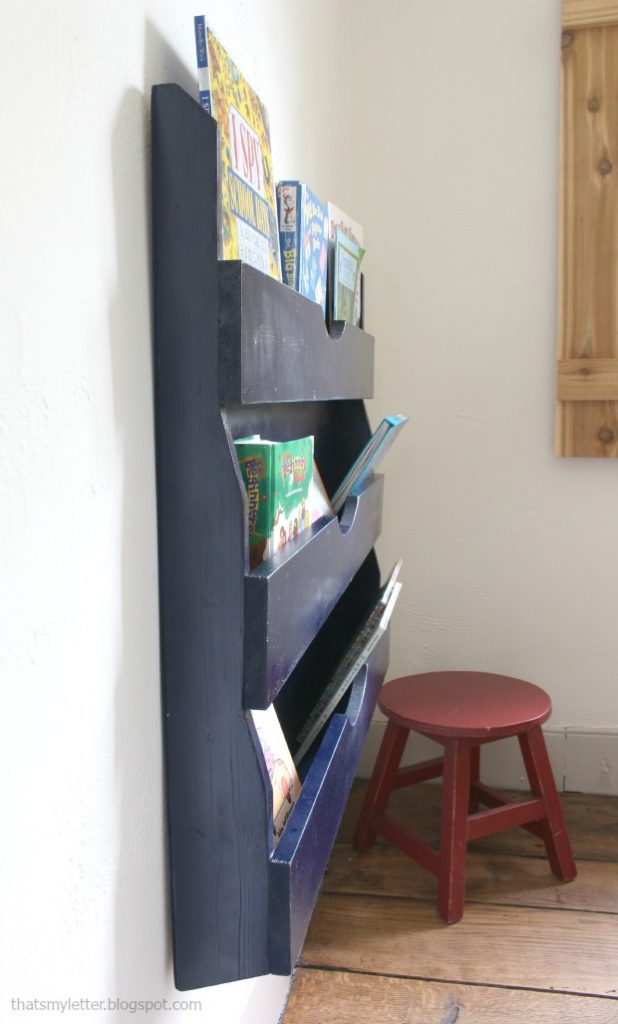
Who needs kids book storage that is easily accessible and holds a ton of books? I’m Jaime from That’s My Letter and today I’m sharing a DIY wall bookrack with free plans to build your own.
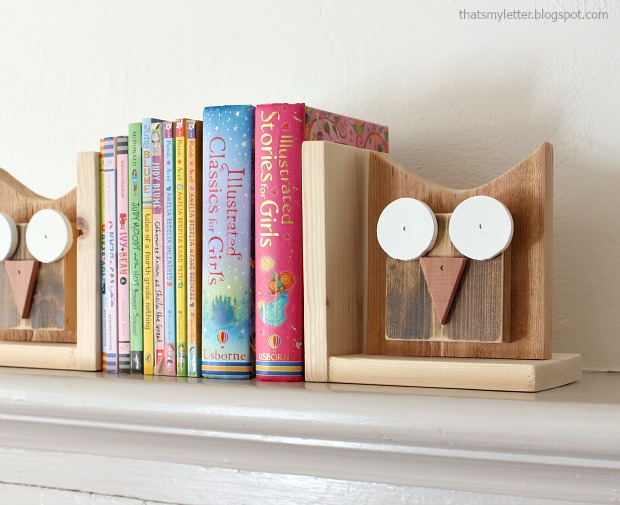
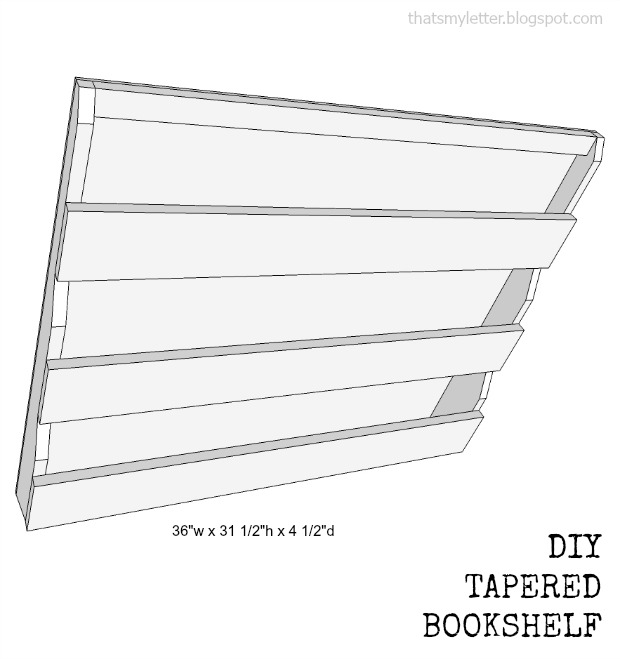
This bookrack building project will have all your books corralled in no time. The shelves are tapered and have plenty of depth for multiple books or thicker books.
Personally I love this display style storage because it allows kids to see the book covers, easily making reading more enticing!
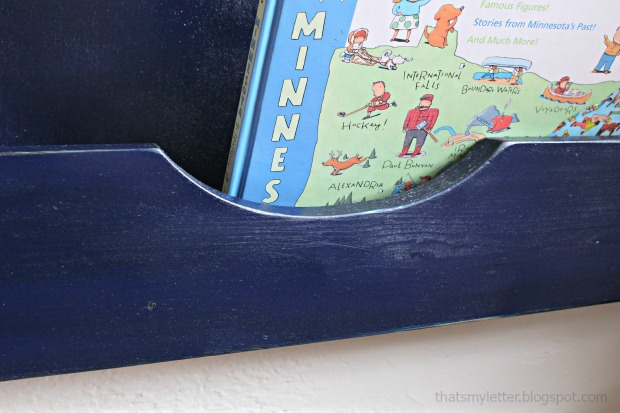
I added a center cut out for style points, but this is totally optional. It doesn’t affect the operation of the bookrack.
At only 4 1/2″ deep the bookrack is unobtrusive but still provides plenty of useful storage.