Vintage Map Lampshade | Pretty Handy Girl

Vintage Map Lampshade | Pretty Handy Girl
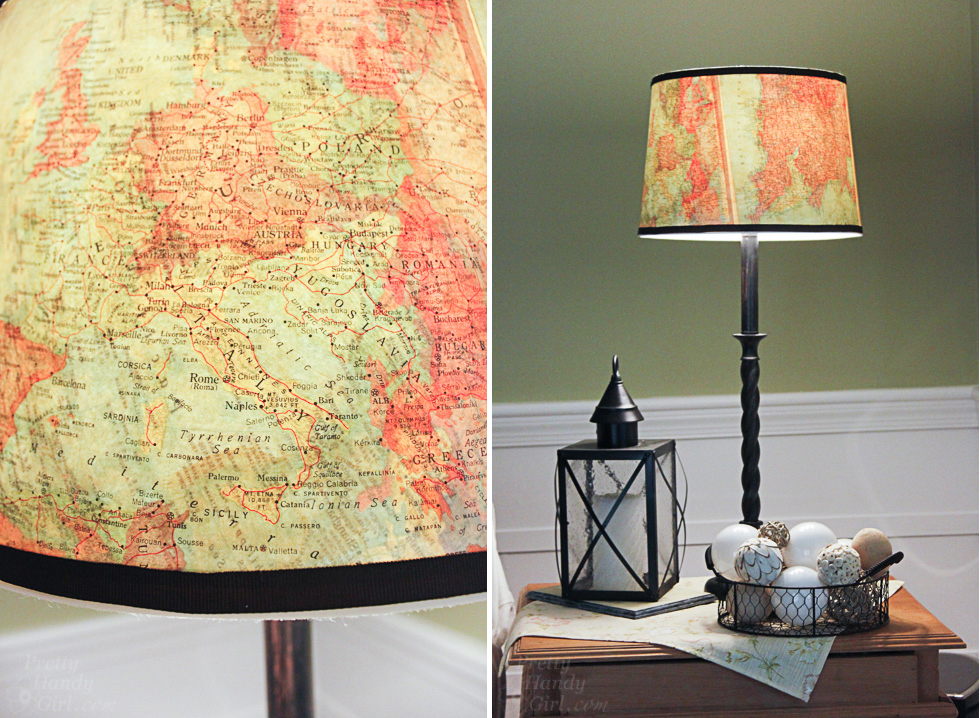
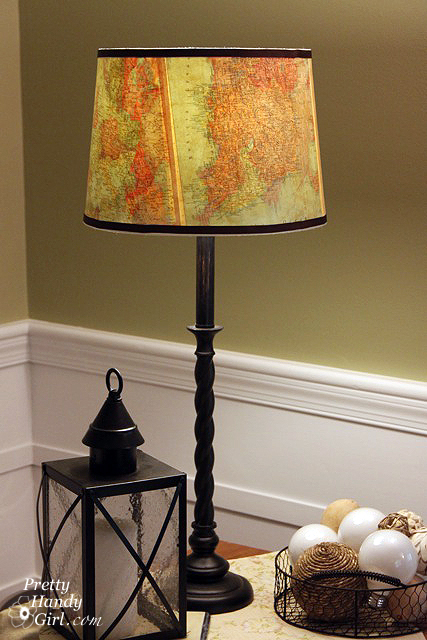
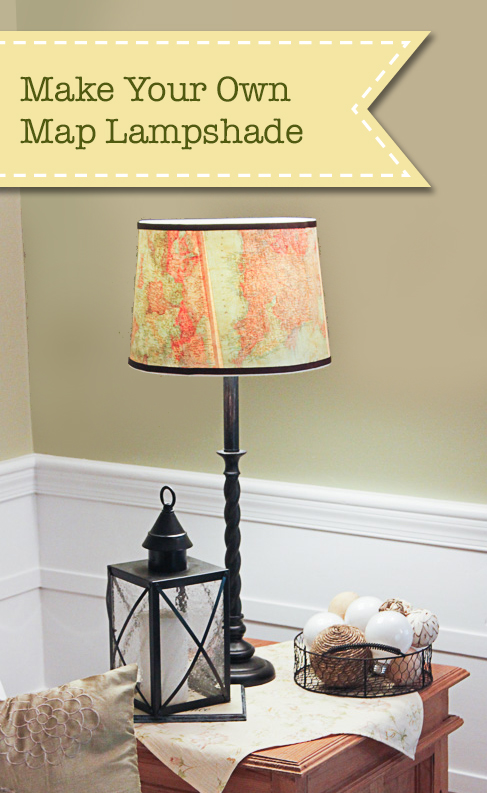
Do you want to update a plain vanilla lamp shade? Do you have a vacation you want to remember? You can do both with this vintage map lampshade!

The process to create a Vintage Map Lampshade is easy, especially if your lamp shade is close to a perfect cylinder. But, what do you do when you have a cone shaped shade? The instructions are a little more complicated, but I can show you how.

Pull up a seat and I’ll show you how to create a cool decorated lampshade. (Keep in mind you don’t have to use maps. You could use wallpaper, fabric, a poster, or anything you want!) Let’s do this.
Vintage Map Lampshade | Pretty Handy Girl

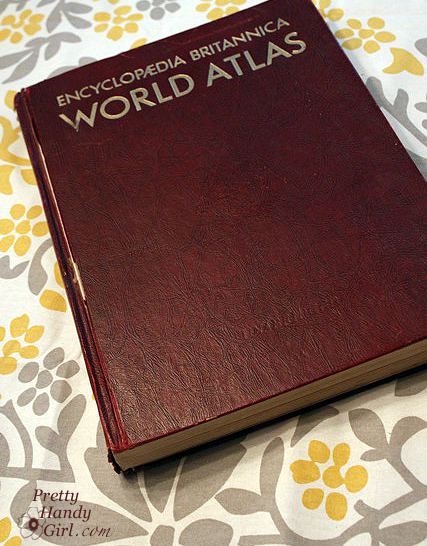
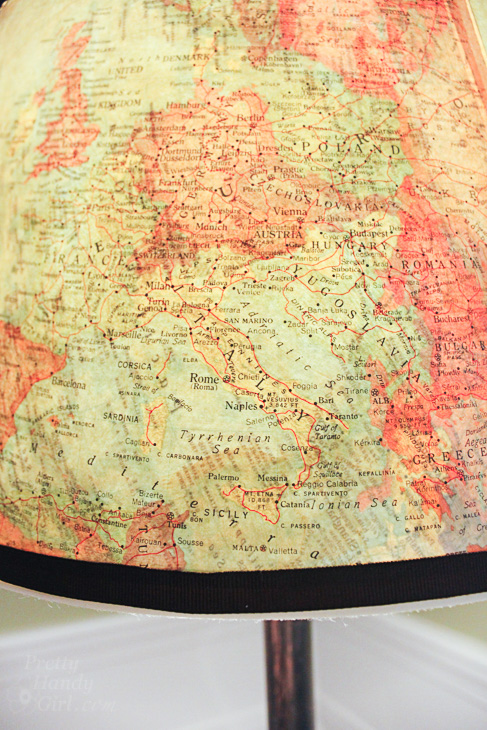
During a trip to my local thrift store, I discovered an old atlas and knew I could use it for oodles of projects. As I walked out of the store a flood of ideas came to me. One of them was to make a Vintage Map Lampshade.

Materials:

(I’ve included affiliate links for your convenience. I earn a small percentage from a purchase using these links. There is no additional cost to you. You can read more about affiliate links here.)
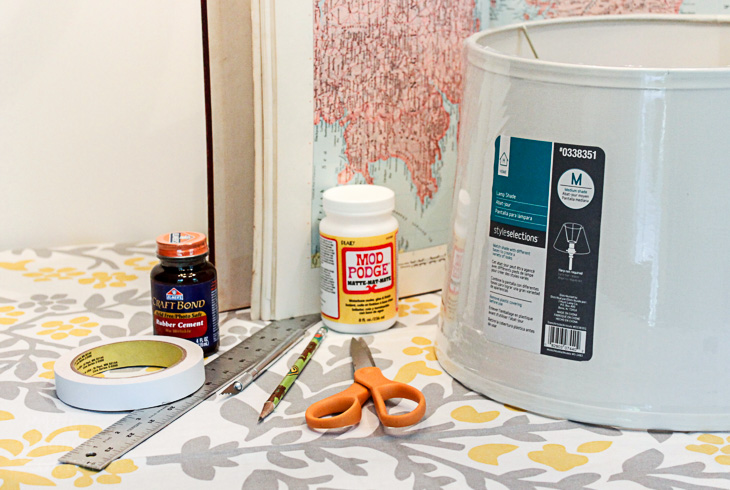
To add a vintage glaze you will also need:


Instructions:

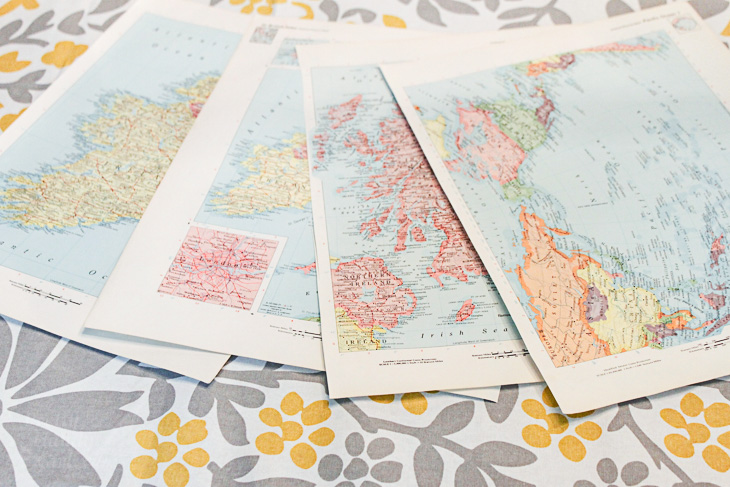
Start by selecting the maps or paper you want to use. Carefully cut them out along the spine using a fresh x-acto blade — don’t let your blade get dull. (I use a new one for each project. Your cuts are much cleaner when working with a fresh blade.)

Set your pages aside for now.
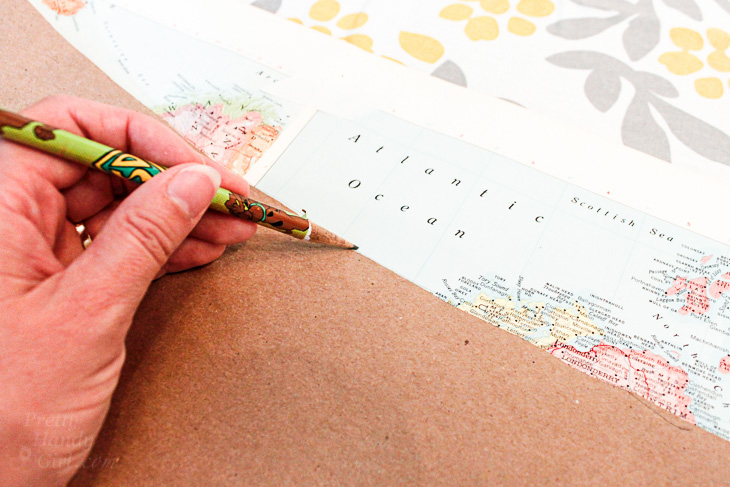
To make a template for your shade, roll out a large piece of craft paper. Lay your lampshade on the craft paper. Start at the vertical seam on the shade (to give you a visual of where to start and stop) and set your pencil along the bottom edge of the lampshade.
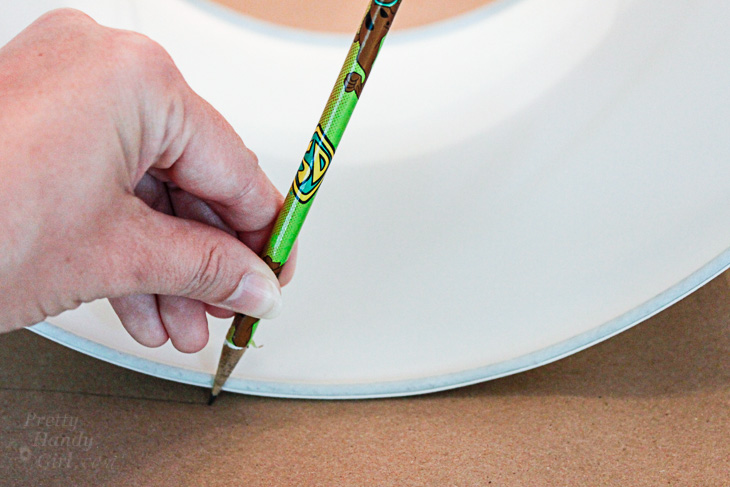
Gently roll the shade on the paper and mark along the bottom edge of the shade.
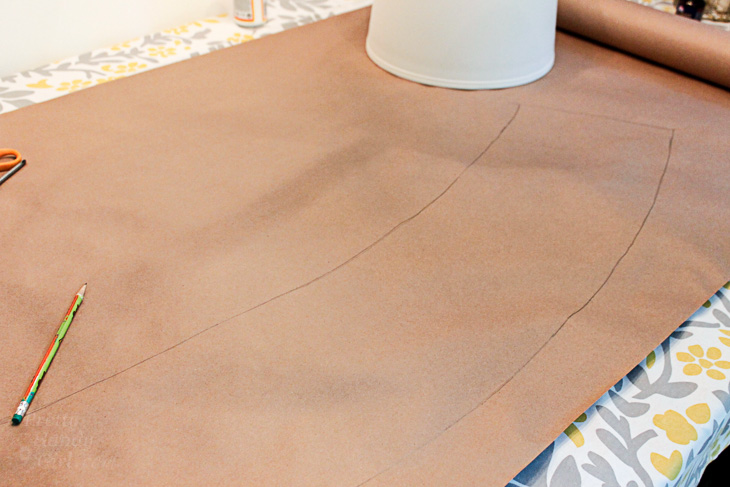
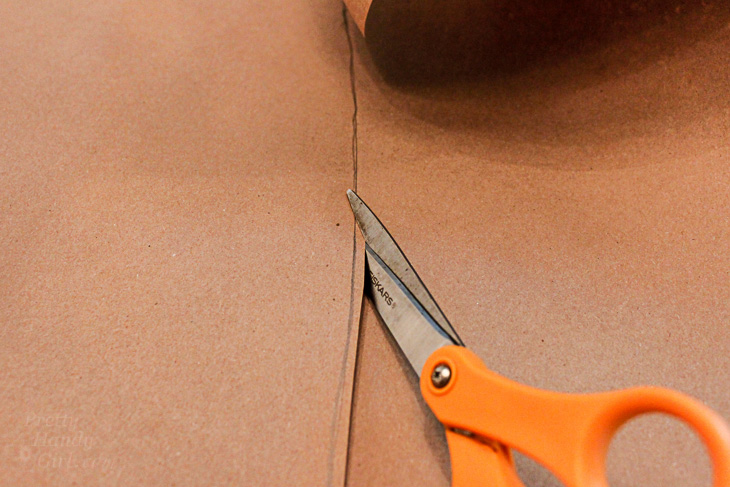
When you reach the end, reverse your shade and draw along the top edge. At the end, add an inch or two for overlap. Cut along the outlines to create your lampshade template.
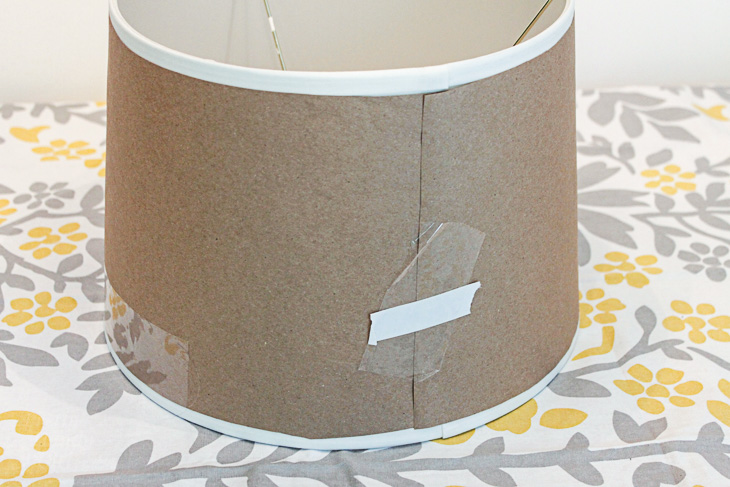
Tape the template onto your lamp shade using the low tack tape. Make sure it fits snugly.
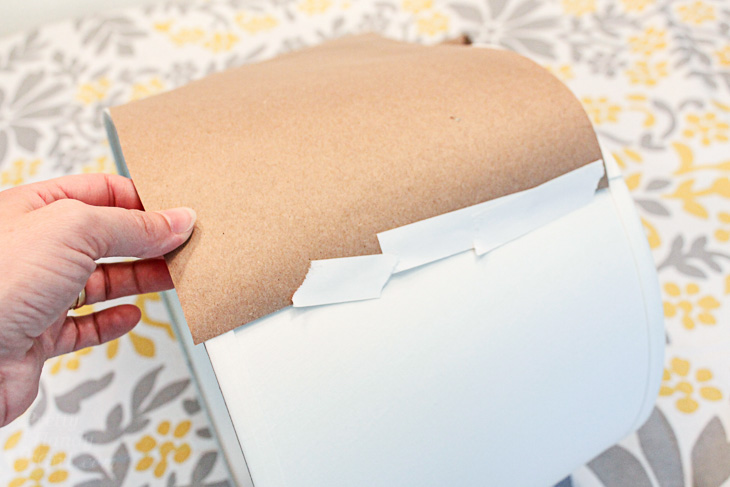
Trim any excess from the edge of your template. Should you choose, trim excess to allow room for the grosgrain ribbon.
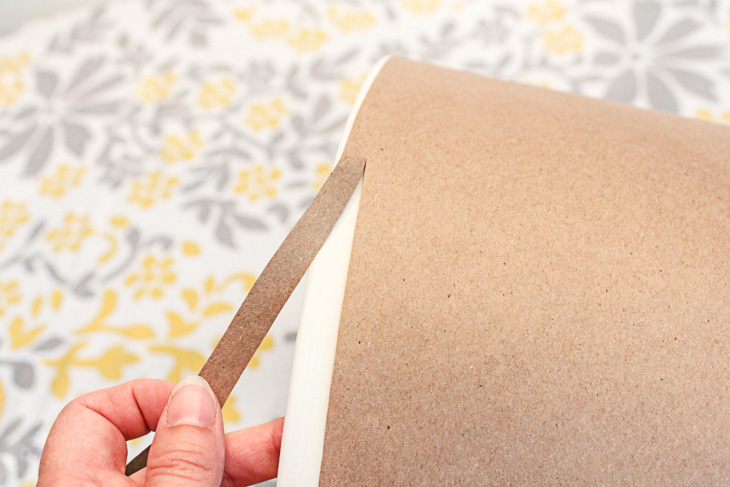
Make sure your template fits perfectly before you proceed.
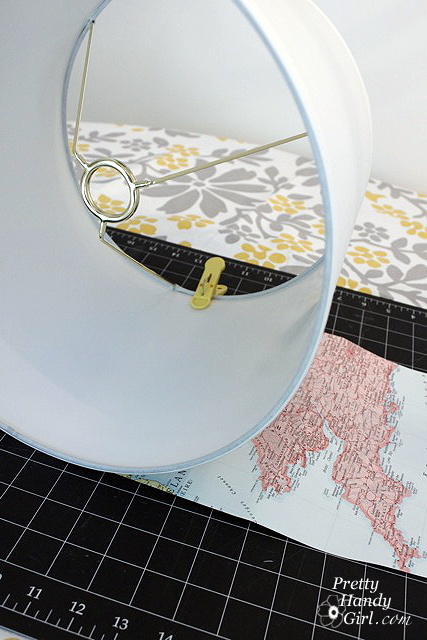
Lay out your craft paper template on top of the map pages. Make any adjustments to the page layout.
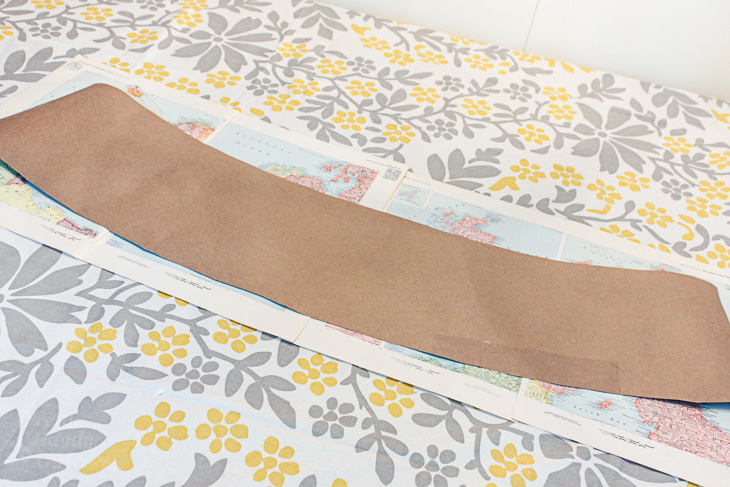
Tape your map pages together using clear packing tape on the inside only.
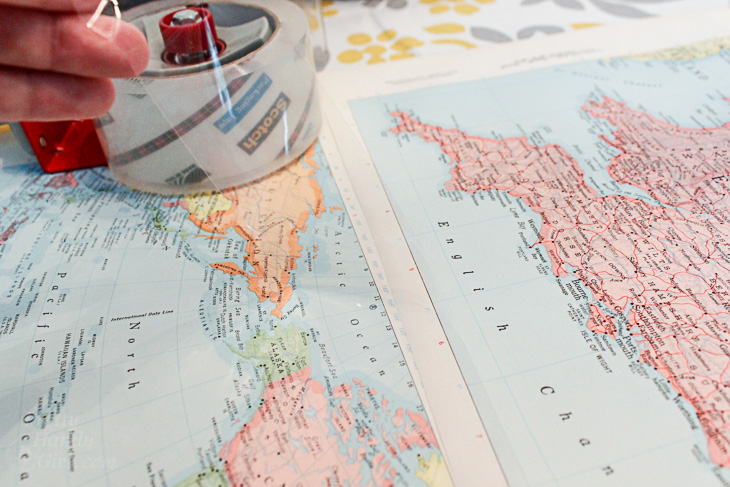
Trace the template on top of the map pages.
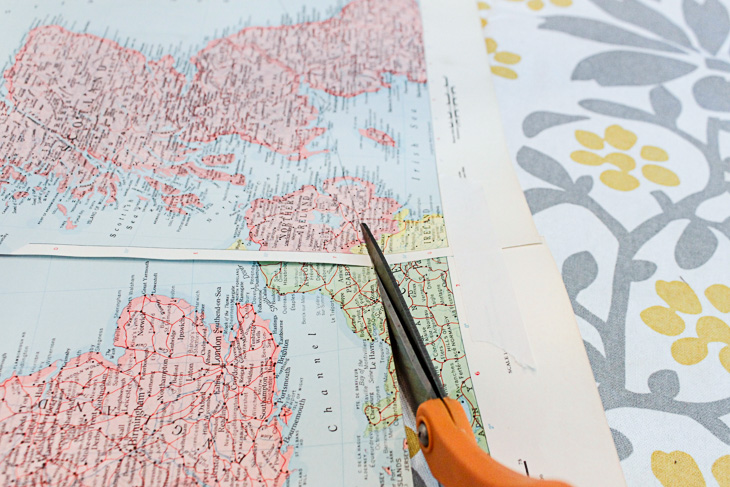
Cut out the shape along the pencil line.
Wrap the lampshade with your cut out map pages.  Clip the edges with clothes pins.

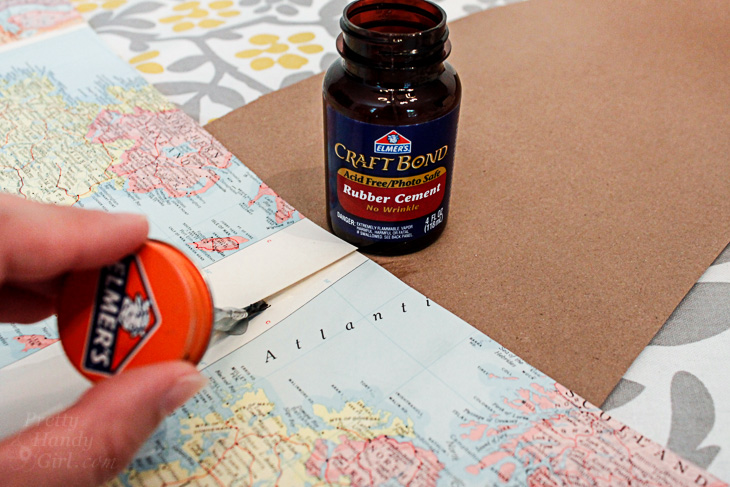
Working in small 8″ sections, brush rubber cement onto the map and the lamp shade. Wait a minute or two for the glues to dry. Then press them together. This is the best way to get maximum adhesion when using regular rubber cement. It creates a stronger bond than just one coat applied and joined while it is still wet. Alternatively you could use spray adhesive (especially if you are using fabric.)
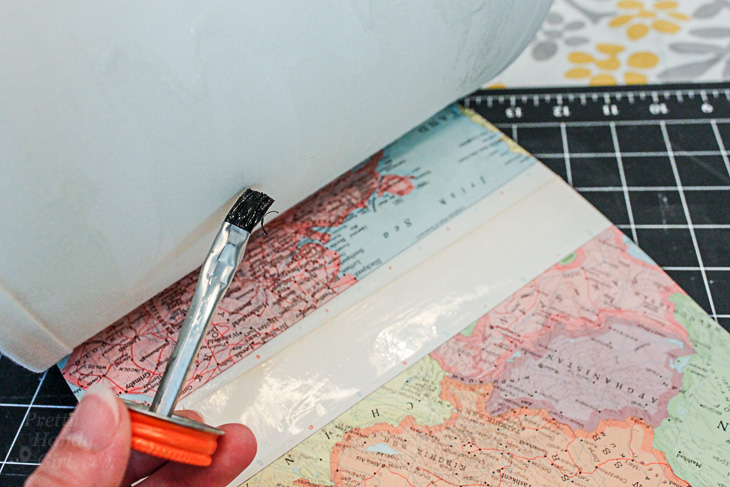
Continue by gluing another section until you reach the end. To finish the seams on the outside, brush some rubber cement under the seams where your maps overlap. Press and hold them down until the glue dries.
Add a Vintage Aged Glaze:

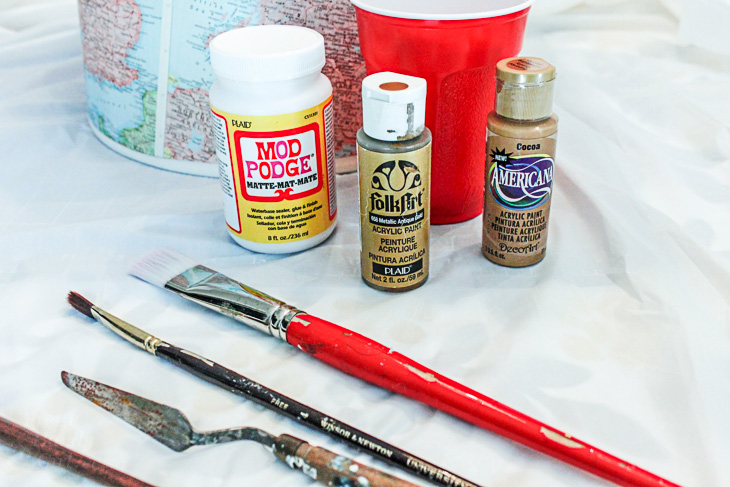
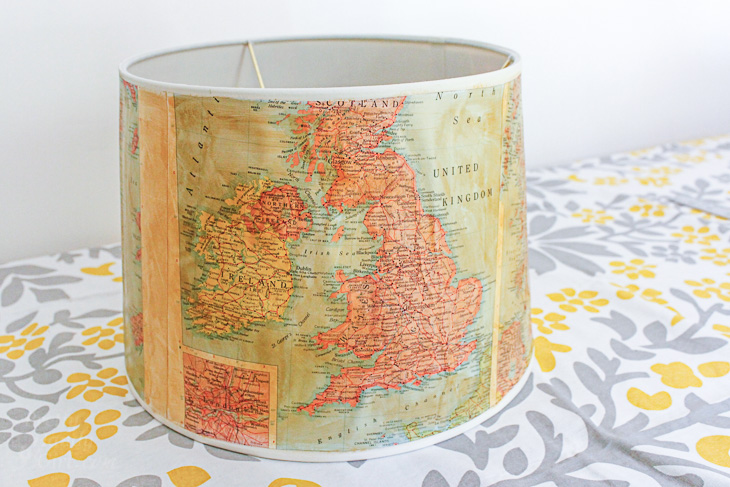
Time to give your maps a vintage aged look! Pour 2 parts mod podge into an empty cup. Add about 1 part cocoa paint. Mix them together. Test some of the glaze on a scrap piece of paper. If you like the glaze color, start brushing it onto the lamp shade. Be careful not to use too much of the glaze or the paper will start to wrinkle. (If it does, no worries, some of the wrinkles will come out when it dries. Any remaining wrinkles make it look old.)

Let the glaze dry.
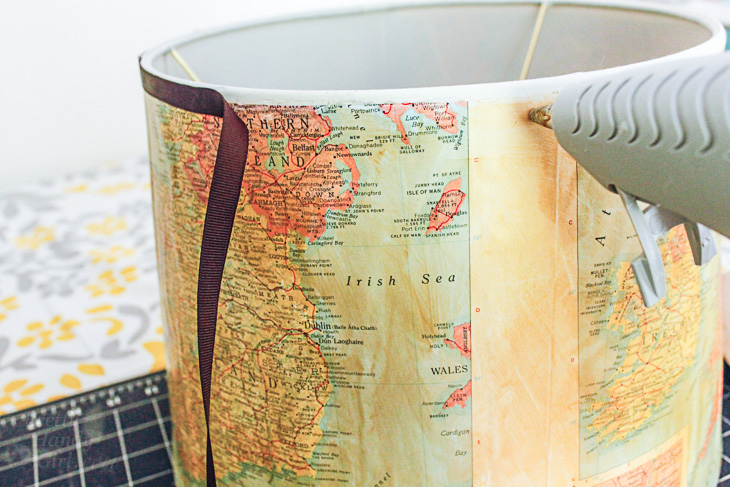
Cut two strips of grosgrain ribbon the circumference of your lamp shade plus an inch for overlap.

Hot glue the ribbon onto the top and bottom edges of your lamp shade. (Please, please, protect your fingers, read my hot glue gun safety post before working with hot glue!)

Put your lampshade on your favorite lamp.

Admire your unique lamp shade that brings back fond memories of a special trip.

If you make one of these, what map would be on your’s? Your home state? The place you were born? Where your family’s heritage resides? Or something completely different? I would love to hear your ideas.

Did you like this tutorial? Want to learn how to revamp another lamp shade with paint chips!
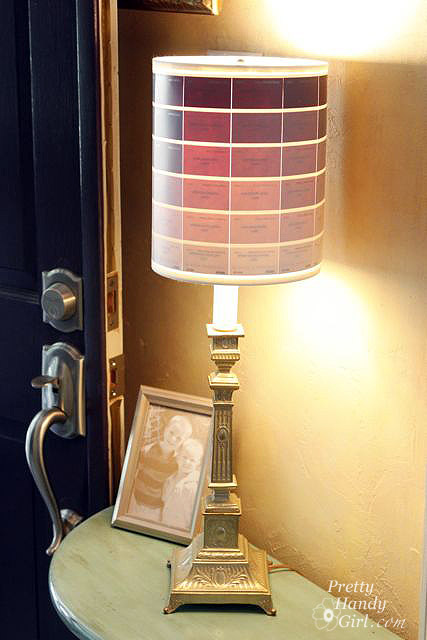
The result are a beautiful ombré lamp that is fun and colorful.


How to install rain gutter bookshelves

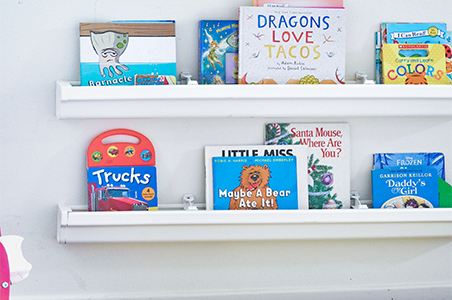
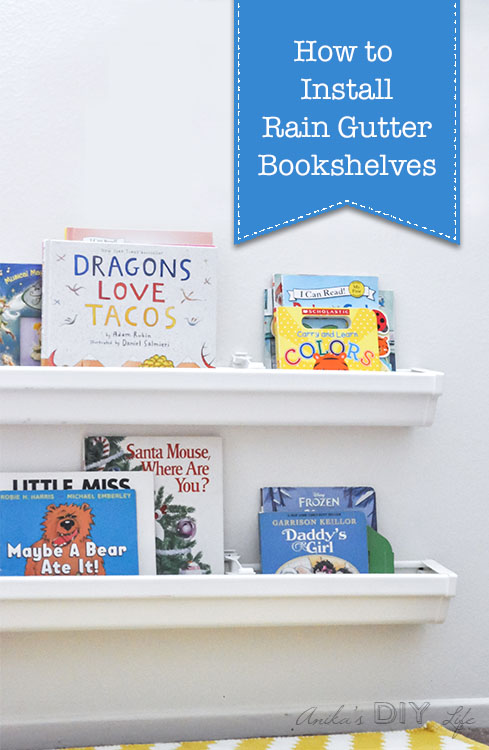
Hi, everyone! It is Anika from Anika’s DIY Life again. Today, I want to share an easy and cheap project that is perfect for any kid who loves to read! I have been working on making the kids’ playroom more functional and organized. The room is long and narrow, so I built a toy organizer along one wall. The corner of the opposite wall seemed like a good spot to create a reading nook. Of course, any proper reading nook needs book storage! Enter rain gutters from the home improvement store. I have used rain gutter bookshelves in previous homes to easily and inexpensively add book storage. Get ready to learn how to install rain gutter bookshelves!

It is well known that the best way to encourage little kids to read books is to have the front of books visible to little readers.  Rain gutter bookshelves hold books in this face front view which is perfect to peak a child’s curiosity. The kids’ bedside table with book storage also works great for this purpose!

Here is a step-by-step guide for how to install the rain gutter bookshelves.

Materials:

(I’ve included affiliate links for your convenience. I earn a small percentage from a purchase using these links. There is no additional cost to you. You can read more about affiliate links here.)

  • Vinyl rain gutters (choose from a variety of colors)
  • Vinyl rain gutter hangers
  • K-type vinyl end caps
  • Hand saw
  • Stud finder (my favorite stud finder!)
  • Level
  • Long straight edge – yardstick or pine board
  • #8 – 1 ½” screws
  • Pencil
  • Sandpaper
  • Tape measure
  • Drill

Instructions:

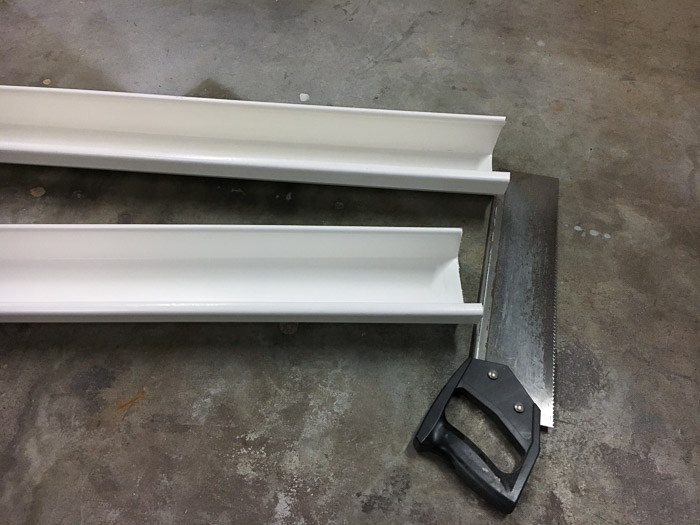
Step 1 – Start by deciding the length of the bookshelves you want and cut the rain gutters to size with a hand saw. (For my project I cut two 40″ bookshelves to fit under a window.) Sand all the rough edges.

How to install rain gutter bookshelves

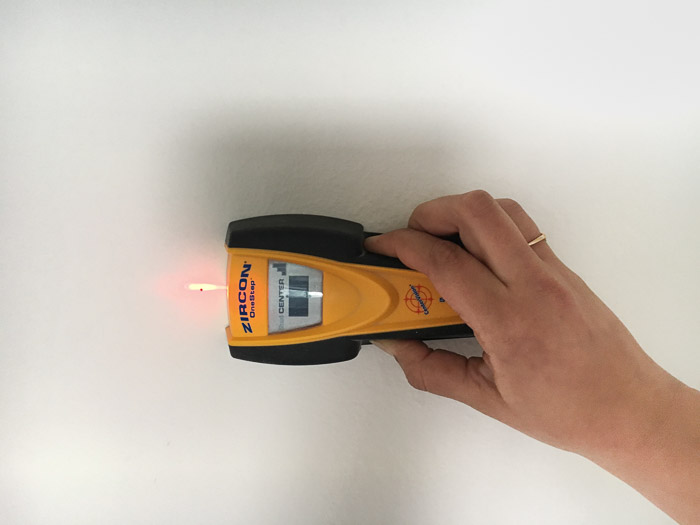
Step 2 –Find the studs in the wall using the stud finder and mark them with pencil. (Don’t have a stud finder? Here are 5 Ways to find Studs without one.) Wall studs are typically 16″ apart, so for the 40″ shelves I anchored two anchors at 32″ apart. For shelves longer than 48″ you might need more hangars.

How to install rain gutter bookshelves

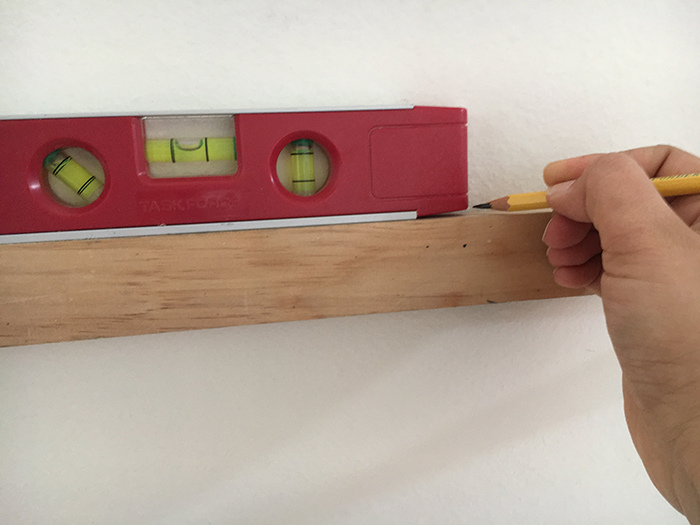
Step 3 – Use a level mounted onto a straight edge while you mark the locations for the hangars. This will insure straight shelves.

How to install rain gutter bookshelves

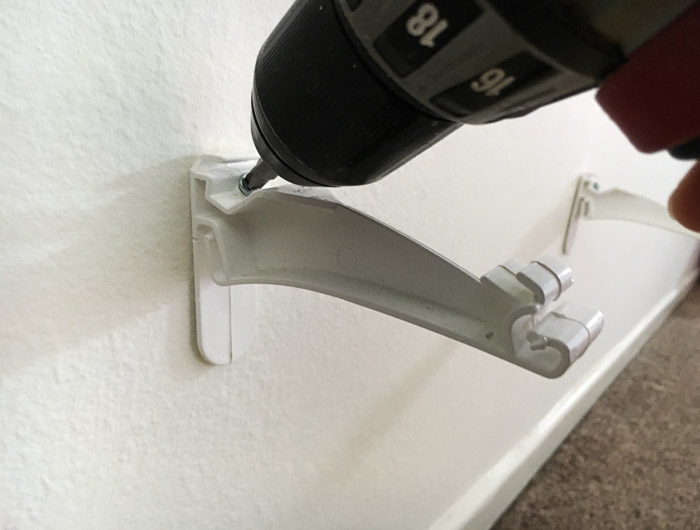
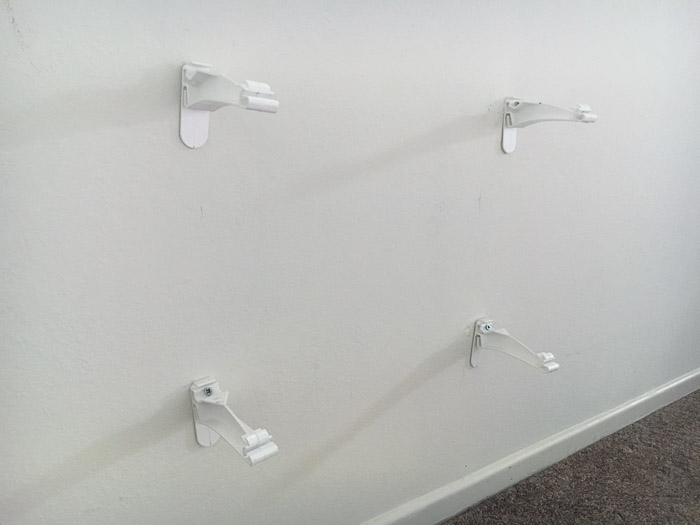
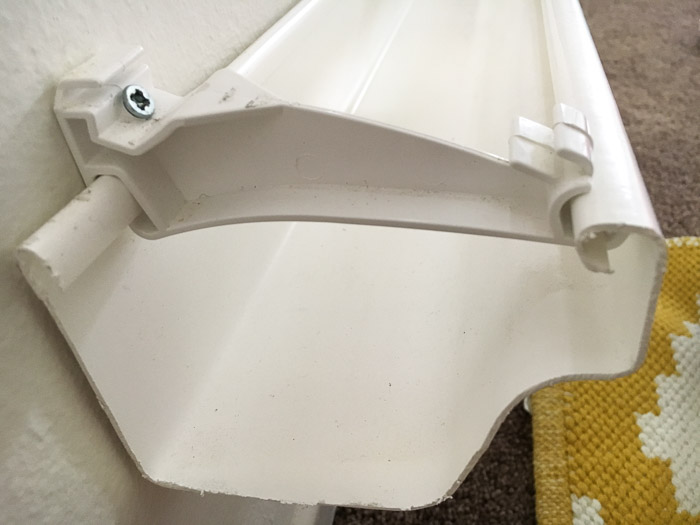
Step 4 –  Install the hangers using the 1 ½” screws.  The screws should go in at an angle. Make sure the tip of the screw is positioned on the spot you marked when  you start to drive the screw in. It is important to anchor the hangers to studs. Unfortunately, you cannot use anchors because of the angle the screws go into the wall.

How to install rain gutter bookshelves

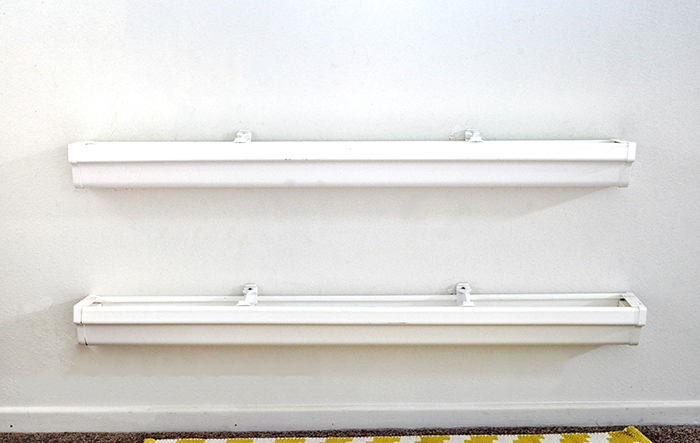
(I found that about 15″ spacing between the bookshelves is sufficient height to accommodate most picture books.)

How to install rain gutter bookshelves

Step 5 – Carefully slide the rain gutter through the hangers.

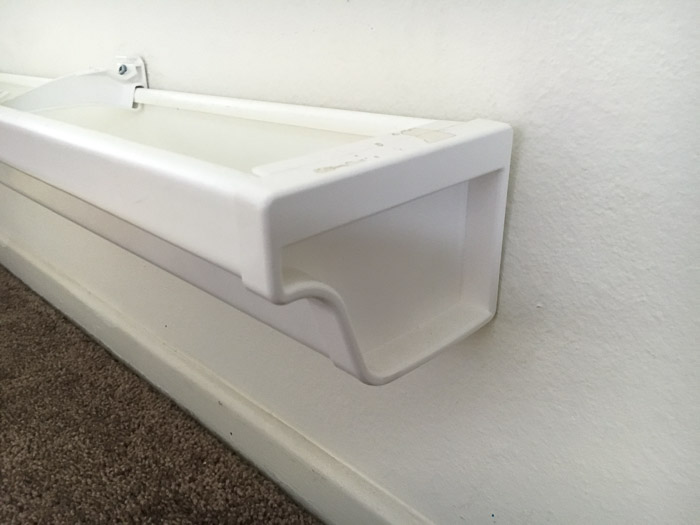
Step 6 – Install the end caps. They can be a bit tricky to get on and may need a little “persuasion”. Once you get them on, they should stay on nice and tight.

How to install rain gutter bookshelves

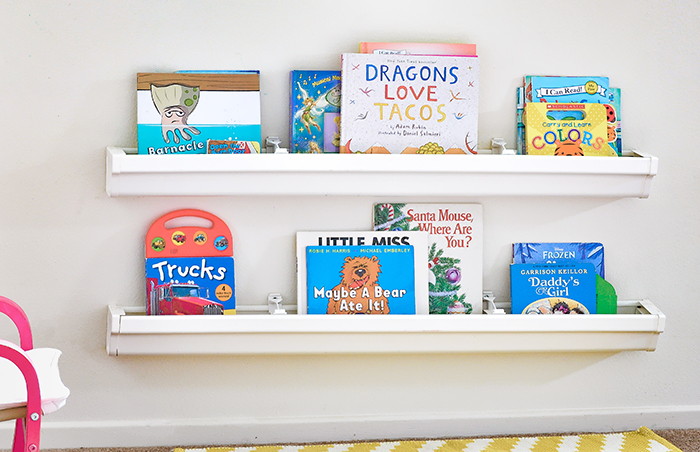
That’s it! Here are the installed rain gutter bookshelves:

How to install rain gutter bookshelves

Behold, an inviting wall full of colorful books. Instant fuel for lots of reading!

How to install rain gutter bookshelves

I am off to add more fun details to our reading nook. I have an accent wall planned along with some more unique projects. Be sure to follow along at Anika’s DIY Life to see how this space evolves.

Until next time!

~ Read More of Anika’s Tutorials ~

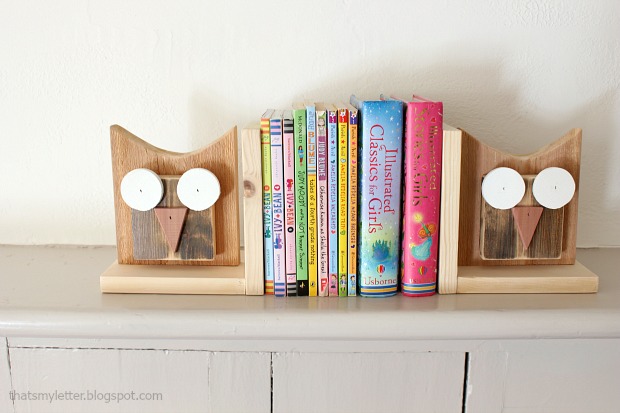
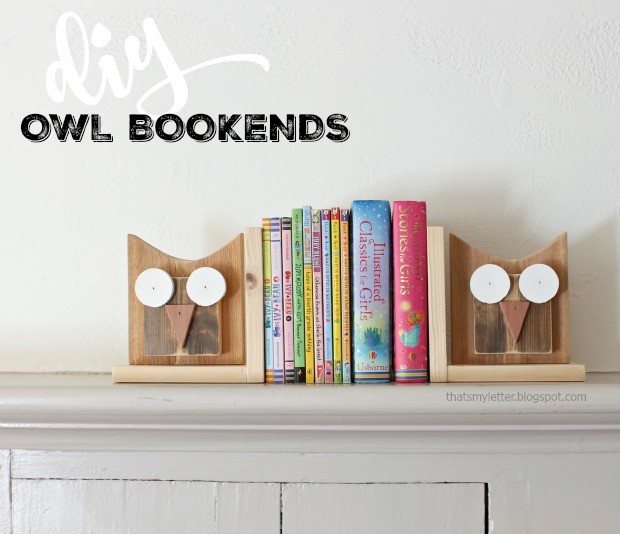
diy owl bookends

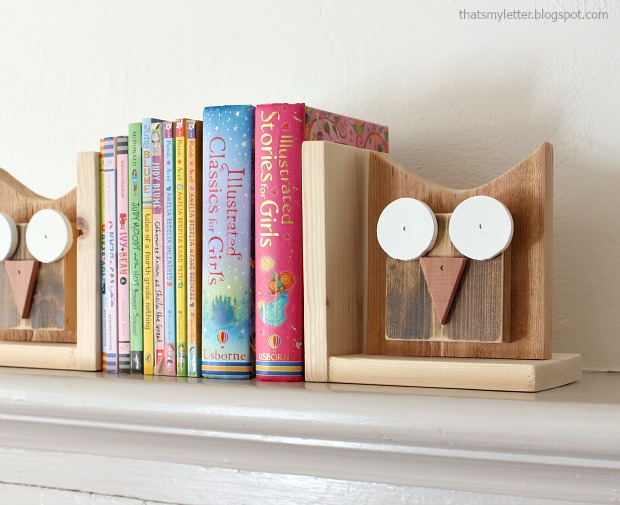
Pretty Handy readers Happy New Year!  Jaime here today from That’s My Letter to share how to make scrap wood DIY Owl Bookends.  It’s January and everyone is in cleaning, purging, and organizational mode.  While you’re cleaning out the scrap wood bin, save a few scraps to make these cute owl bookends. They are adorable and will help straighten up your bookshelf, too.

I used scrap wood pieces straight from my cut off bin to quickly put together these bookends.  These wood pieces happen to be different colors (some stained, some cedar, some painted) but you could easily use new lumber and paint the owls in fun colors.

owl bookends 1

This is a great gift idea for adults and kids alike!  I sent this pair off to my sister who happened to have an owl get down her chimney (someone left the flue open!) and was flying around in her house.

owl bookends 3

Below are the step-by-step instructions including materials and a cut list.  Always follow all safety precautions when using power tools.

owl bookend tml

Materials: Read more

three-book-recommendations

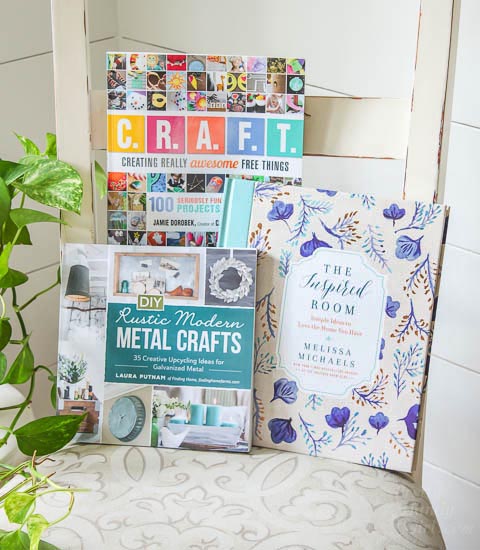
I’m thrilled to share with you a selection of 3 DIY books this holiday season. If you are looking for ideas for someone on your gift list who: has children who love to create; loves rustic metal decor; or wants some simple ideas to love the home they are living in…I have the book for you!

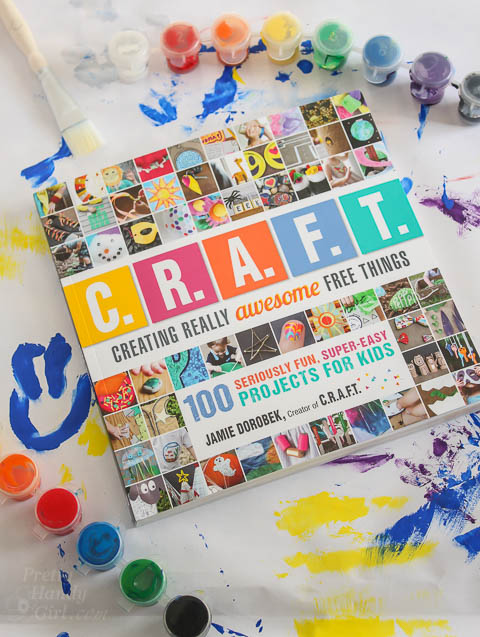
Let’s start with C.R.A.F.T – Creating REALLY Awesome Free Things (affiliate link). This book by Jamie Dorobek was not a book I had originally planned on reviewing. But, when I opened the envelope and set the book on the counter it was instantly whisked away from me. My boys took the book and read it from front to back!

C.R.A.F.T. Book Review

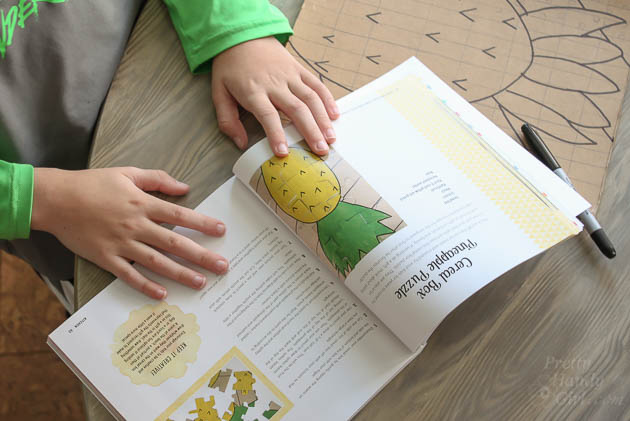
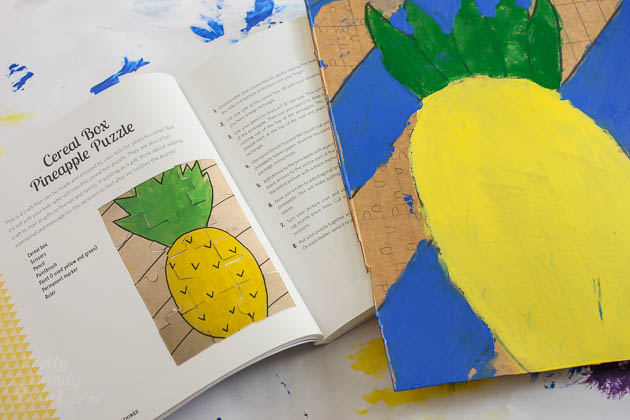
Within 30 minutes, my oldest (a middle schooler) had already cut up a cereal box and was working on his own puzzle.

C.R.A.F.T. Book Review

C.R.A.F.T. Book Review

The next day, my 3rd grader had a playdate at our house. He and his friend asked for the materials to make their own Emoji masks. Read more

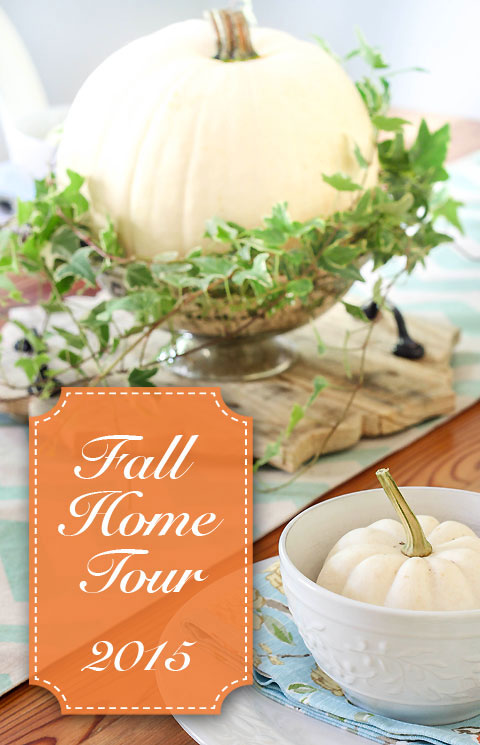
Fall Home Tour 2015 | Pretty Handy Girl

Fall Home Tour 2015 | Pretty Handy Girl

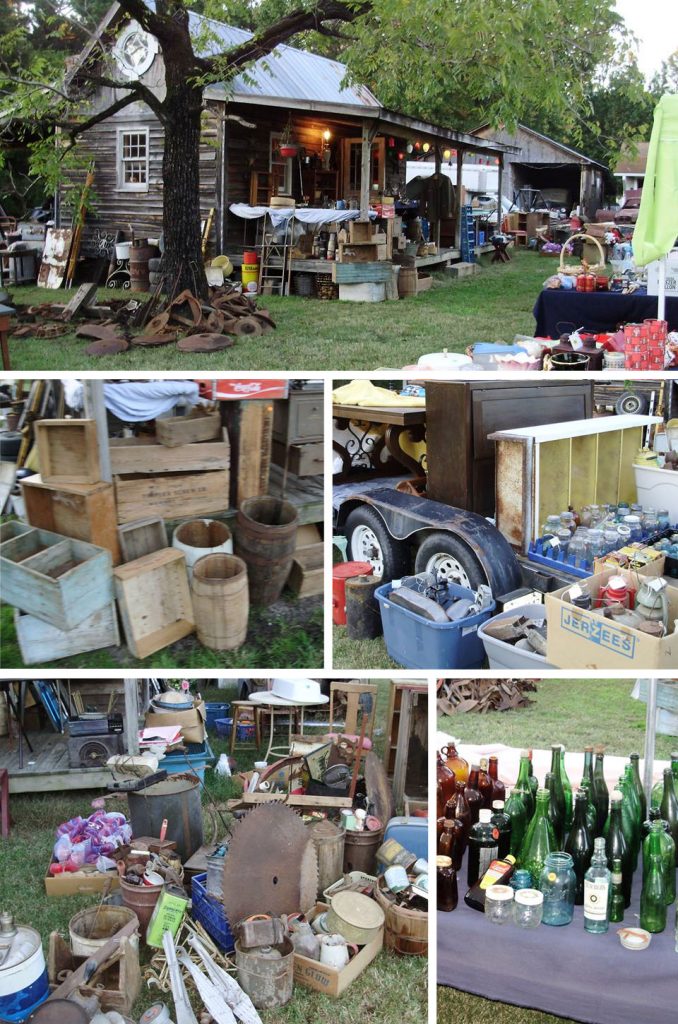
When I got back from my extended stay in Houston (after my sinus surgery), I was so anxious to decorate for fall. All those magazines I’d been perusing and all the beautiful Instagram photos had me craving some beautiful autumn decor. It took me a few days to get my energy back after I got home. In fact, I was still feeling a little worn out when I spotted this post on Facebook about a local multi-family yard sale that ran Monday – Saturday.

Rustic Yard Sale

I thought it was a joke or a dream. But, something told me (more like fifty of my fans on Facebook) that I should get off the couch and high tail it to this sale. My sweet friend Candace from Rusted Roots Blog was easily persuaded to meet me there, so I wouldn’t be the only fool who fell for a yard sale mid-week.

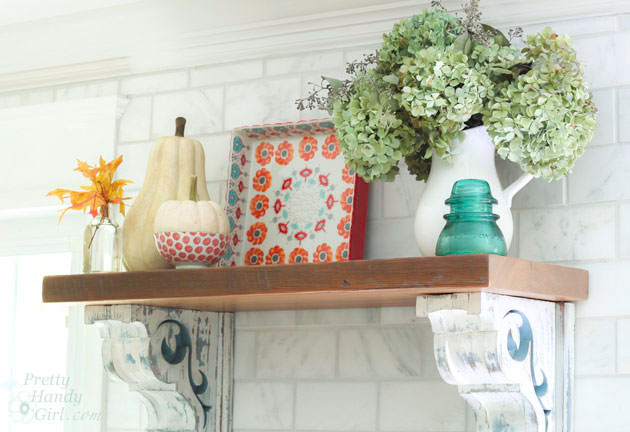
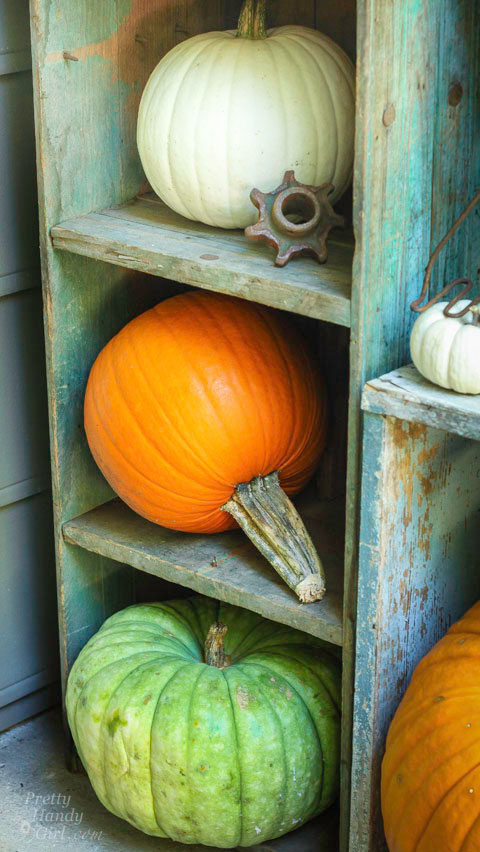
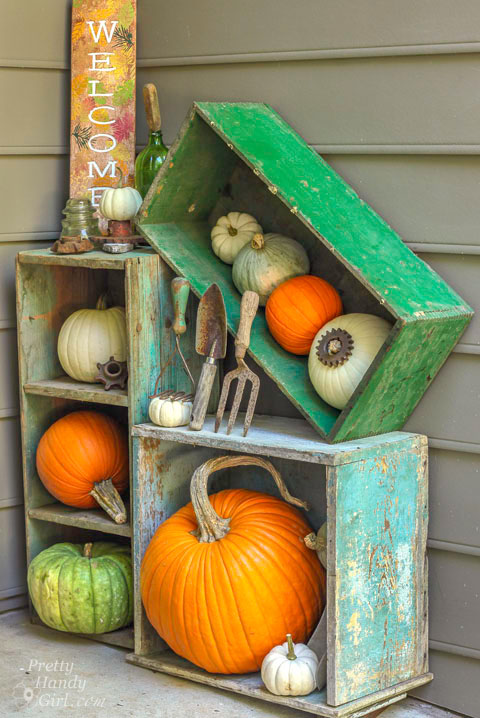
We both filled our cars with some great finds! I got home and quickly put together a little pumpkin and rustic relics display by our side door.

Fall Home Tour 2015 | Pretty Handy Girl

Fall Home Tour 2015 | Pretty Handy Girl

Fall Home Tour 2015 | Pretty Handy Girl Read more