Magazine File Box Facelift | Pretty Handy Girl

Magazine File Box Facelift | Pretty Handy Girl

It’s a new year and I want to give a few rooms in our house a fresh new look. Our office was one of the first spaces I completed when I started this blog (has it really been 5 1/2 years!)

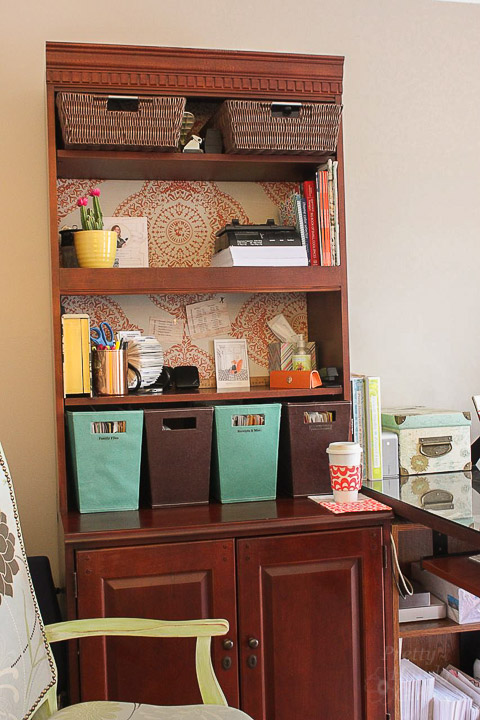
I’m tired of staring at the same room day after day. I know many of you feel the same way. You have that itch, or a burning desire to hop in the car and drive to your nearest Home Goods, World Market or The Container Store to buy cute colorful decor or storage bins. I almost caved into that desire because I was tired of looking at the two tone boxes I bought 6 years ago.  But, that would mean discarding the old ones. You know how I feel about throwing things away! If I can upcycle it, I’m going to!

Magazine File Box Facelift | Pretty Handy Girl

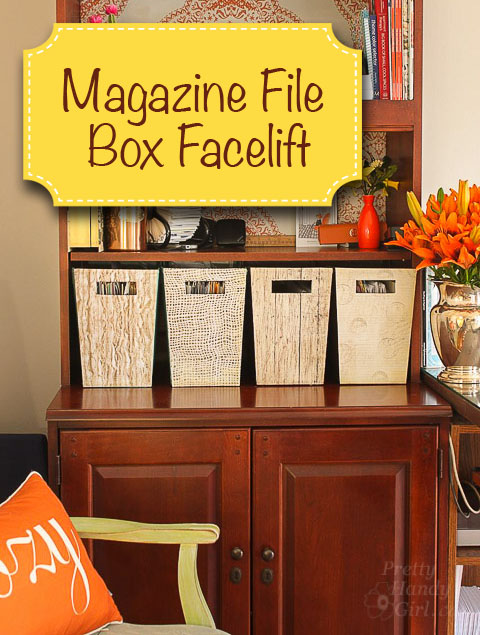
Within 10 minutes you could give a Magazine File Box a Facelift (or a storage box)! I saved a lot of money reusing the old. Factor in the gas money I saved by not driving to the store. And the time I saved by not leaving the house. I think I deserve a big fat high five! Put ‘er there fellow savers!

Here’s How to Give Your Magazine File Box a Facelift: Read more

Building-Custom-Bookshelves

Matt & Jacque are here today to show you an amazing feat. They will show you how to build custom built in bookcases. You may remember this DIY Performing duo as former contributors. I know you’ve missed them and I’m sure you’re excited to see Matt & Jacque back again!

matt-jacque

Matt & Jacque are the powerful DIYers at The DIY Village. They tackle all types of home improvement projects while raising their daughter Josslyn. These are some busy renovators.Rockstar DIY Series

I believe that’s the whine of two drills that I hear! Let’s give it up for Matt & Jacque.

page_break_2

Matching-Built-In-Bookcases

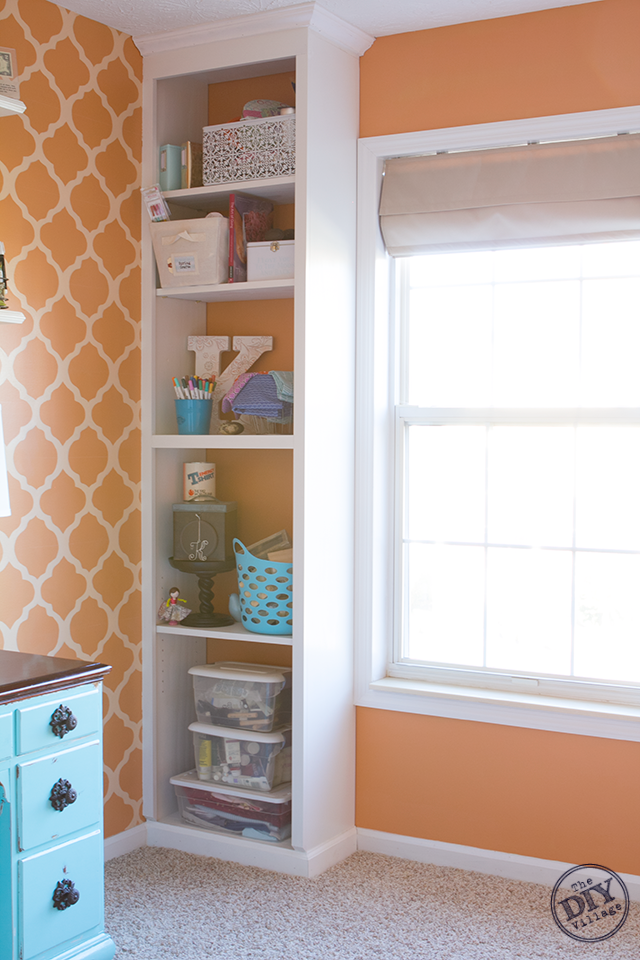
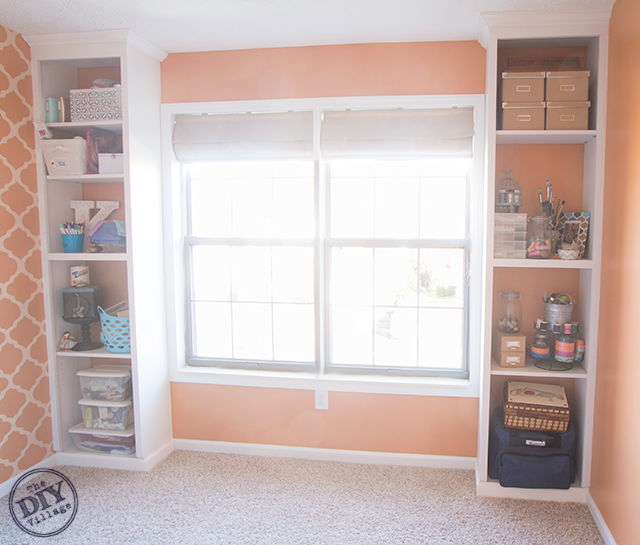
I’m a firm believer that one can never have enough storage within their home! Especially, when you’re talking about a craft room! When we purchased our current house, my husband and I agreed would convert one of the bedrooms into a room where I could let my craft “freak” flag fly. Looking back on that decision, I still wonder what he was thinking, but nonetheless, fast forward three years. I have accumulated quite the inventory of supplies and came to the conclusion that the only storage solution would be the addition of matching built-in bookcases.

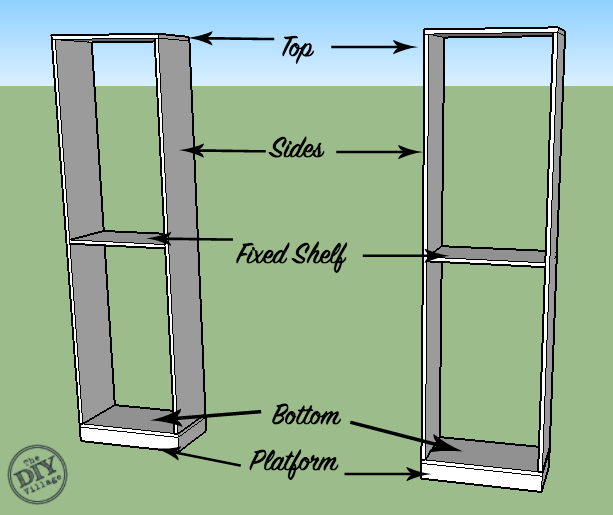
First off, let’s take a quick look at the basic structure that will make up the bookcase. (I won’t be including any dimensions, as you’ll need to work within the spatial constraints of your own home) The basic frame of the bookcase can be built using 1×12’s, along with a small platform that is made from 1×3. I have a large double window in this room so the best place to install the bookcases is on either side of the window, flanking the window.

Custom-Built-In-Bookcases

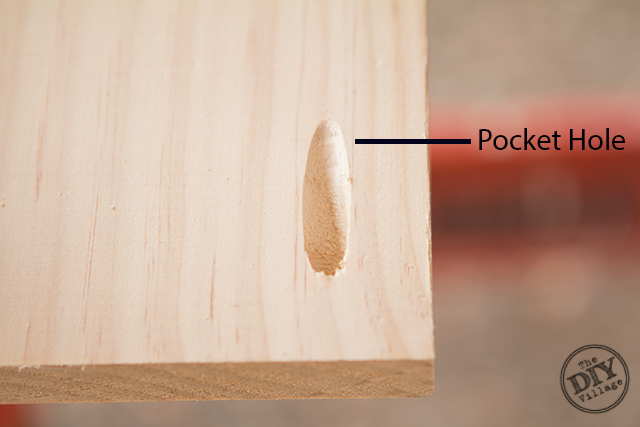
One of the easiest ways to assemble your bookcase frames is by using pocketholes.

Pocket-Hole-Joinery

Using a pocket hole jig will make easy work of your assembly. With all of your lumber cut to length, you’ll need to drill pocketholes at the top and bottom of each side. Read more

bookrack title 1

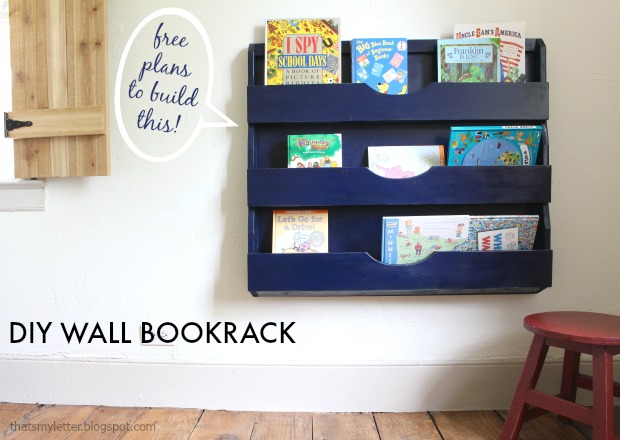
Who needs kids book storage that is easily accessible and holds a ton of books?  I’m Jaime from That’s My Letter and today I’m sharing a DIY wall bookrack with free plans to build your own.

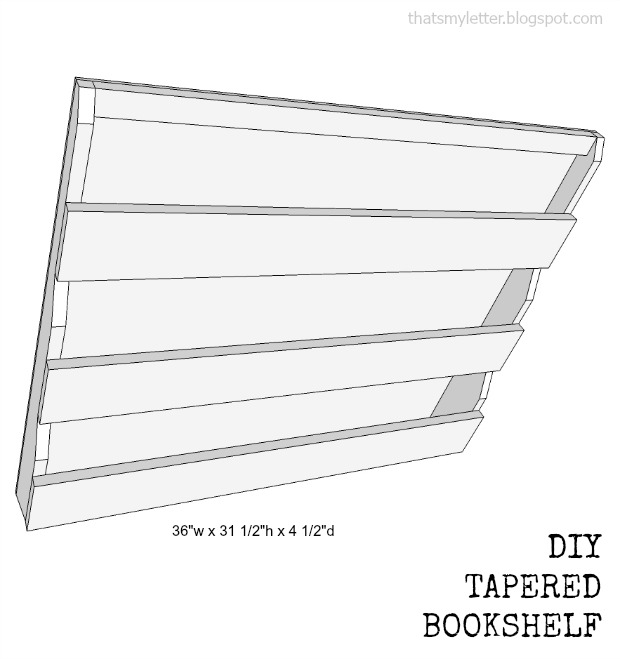
This bookrack building project will have all your books corralled in no time.  The shelves are tapered and have plenty of depth for multiple books or thicker books.

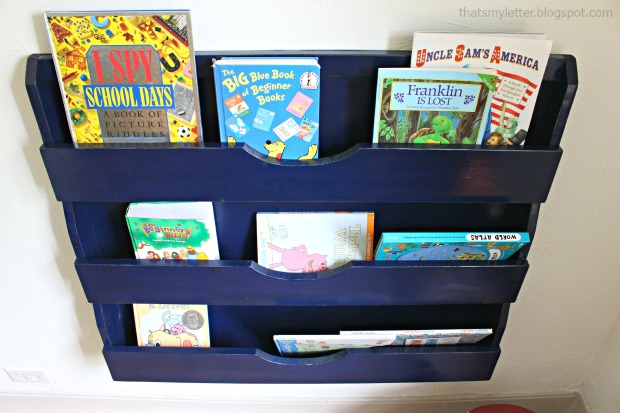
bookrack 2

Personally I love this display style storage because it allows kids to see the book covers, easily making reading more enticing!

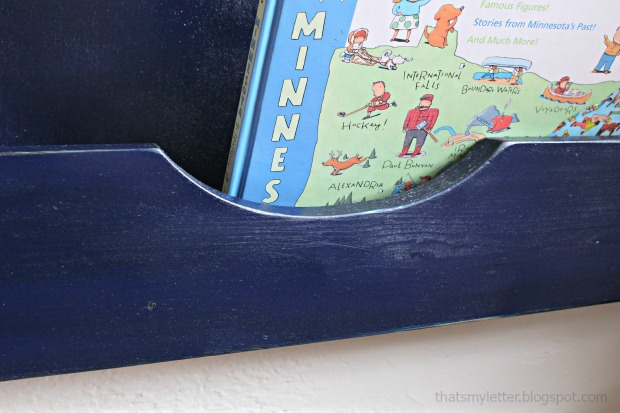
bookrack detail

I added a center cut out for style points, but this is totally optional. It doesn’t affect the operation of the bookrack.

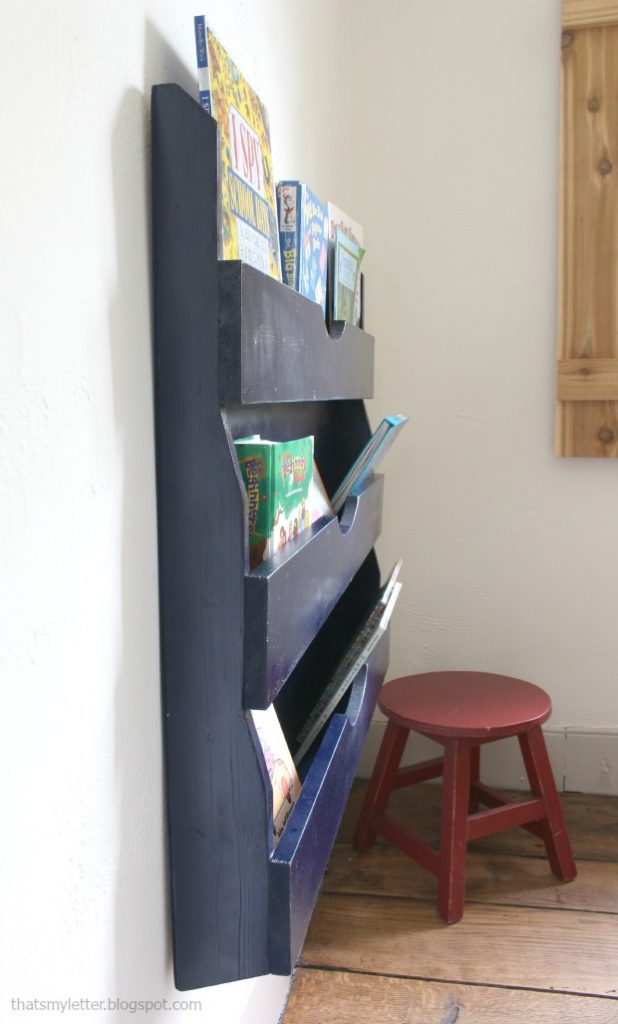
bookrack profile

At only 4 1/2″ deep the bookrack is unobtrusive but still provides plenty of useful storage.

Materials:

  • 1 – 1x5x10 pine board
  • 1 – 1x4x10 pine board
  • 1 – 1x3x6 pine board
  • 1 – 1x2x6 pine board
  • 1/4″ plywood (1/2 sheet)
  • chop saw
  • measuring tape
  • pencil
  • sandpaper
  • wood putty
  • drill
  • pocket hole jig
  • 1 1/4″ pocket hole screws
  • 1 1/4″ & 3/4″ finish nails
  • finish nailer or hammer
  • wood glue
  • french cleat

Instructions:

Click here to download the step-by-step instructions to construct this bookrack.  Read through plans first before beginning.

bookshelf tapered plans

Cut list:

2 – 1×4 @ 31 ½” (sides)

3 – 1×5 @ 36” (shelf fronts)

1 – 1×4 @ 34 1/2” (bottom shelf base)

1 – 1×3 @ 34 ½” (middle shelf base)

2 – 1×2 @ 34 ½” (top shelf base & top cross support)

1 – ¼” plywood @ 36” x 31 ½” (back)

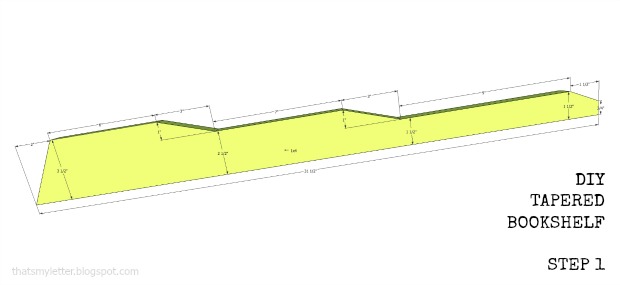
bookshelf tapered step 1 plans

Step 1: Sides. Follow measurements in guide above to cut out sides. Use a jigsaw and clamps to hold your wood steady. Cut 2 sides.

bookshelf tapered step 1 real

Tip: To ensure sides are equal, clamp together then sand smooth.

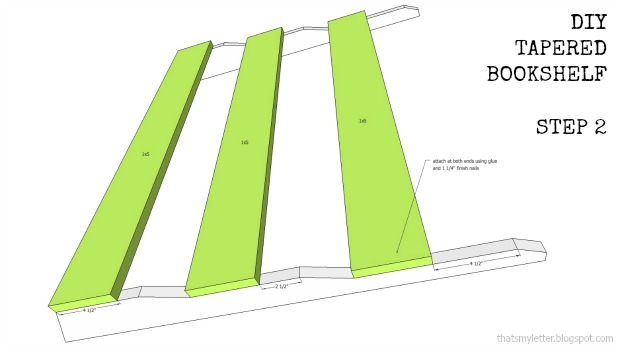
bookshelf tapered step 2 plans

Step 2: Shelf fronts. Attach (3) shelf fronts to sides at notched locations using glue and 1 ¼” finish nails. Read more

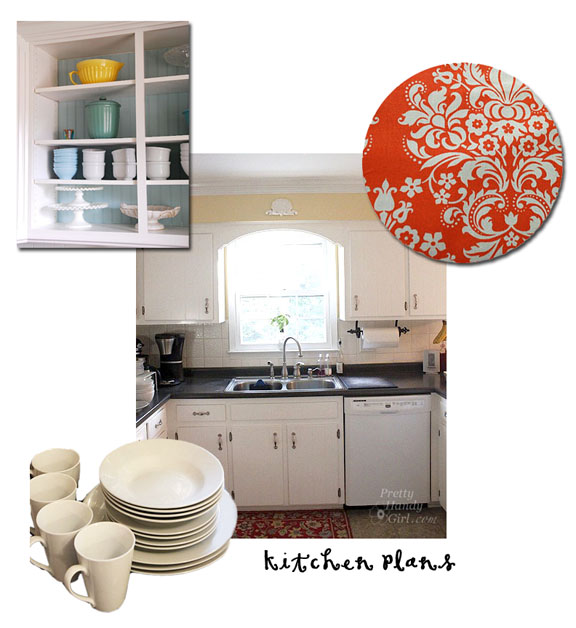
I’m back to show you the updates I made to my kitchen. Remember the plans I shared with you? These fabric backed cabinets made the kitchen new.
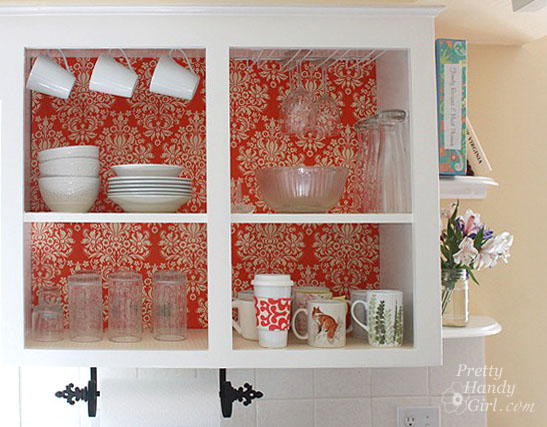
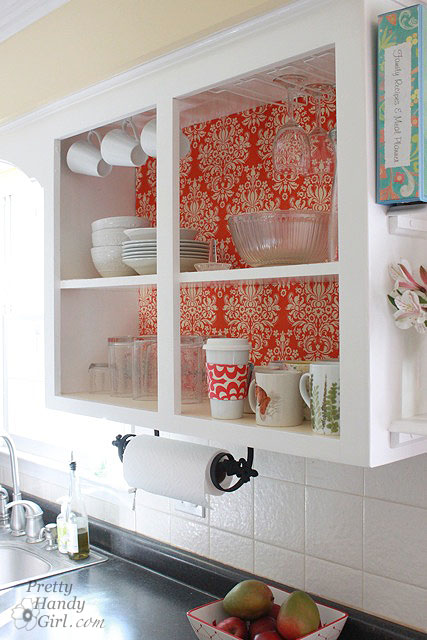
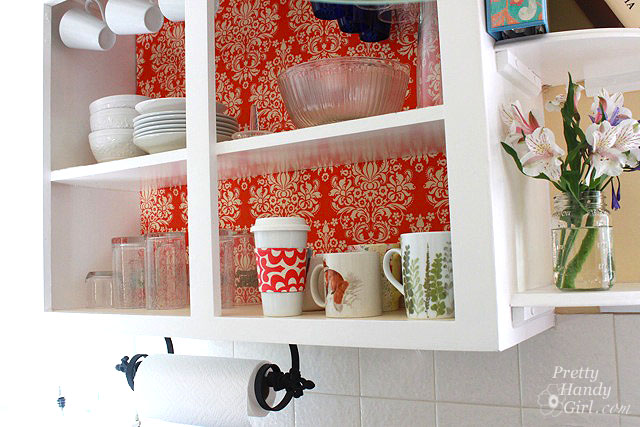
Well, they have been implemented and I LOVE the results! Best of all, the materials I bought cost me under $25 and that included the white dish set. But, the cherry on top is that I can easily reverse the changes if we move (or get sick of the look.)

And now, I present to you:
Fabric Backed Open Cabinets for the Kitchen

When we first met these sad cabinets, they were dark, dreary and had an eclectic collection of mugs:
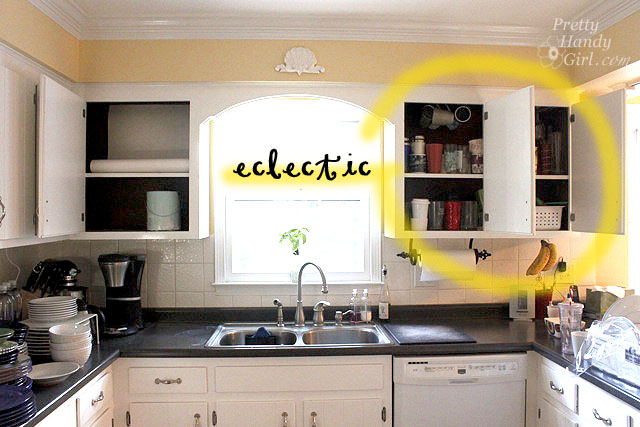
Within only a few hours (minus drying times), I had a stylish new look that is bright and cheery!
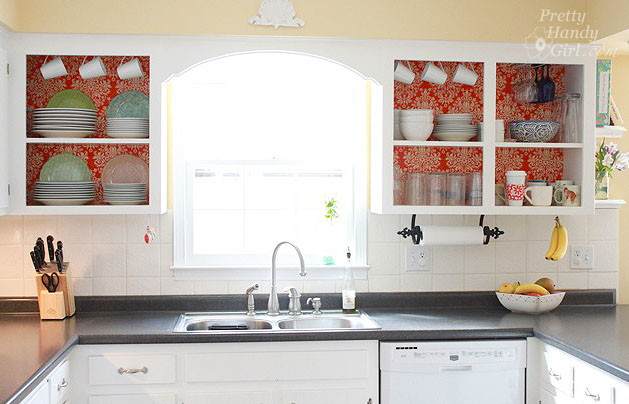
Follow along for the tutorial and the 50 cent tour (please deposit your pocket change on the way out.) Just kidding. I’ll let you in for free.

Materials:

(I’ve included affiliate links for your convenience. I earn a small percentage from a purchase using these links. There is no additional cost to you. You can read more about affiliate links here.)

Optional: 

Difficulty: Easy

Step 1: Empty your cabinets.

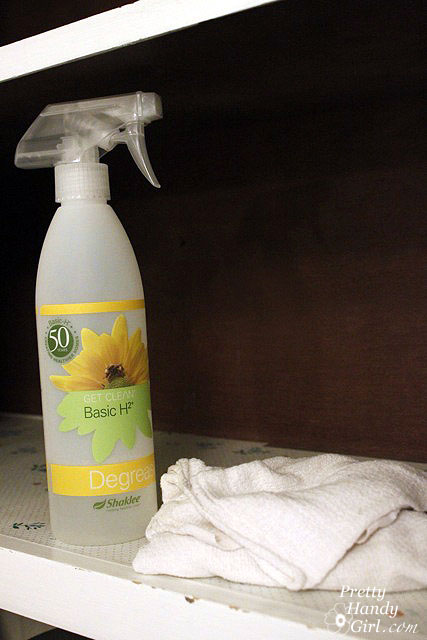
Clean the insides with an all purpose kitchen cleaner.
Step 2. Starting from the bottom, remove the screws from the cabinet door hinges. The last screw should be the very top hinge (to keep the weight of the door from wrenching the screw out of the wood.)
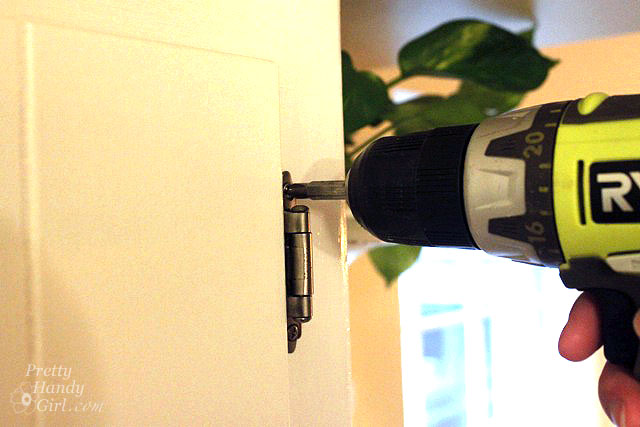
Put screws into a ziplock bag and label your cabinet doors in order so that you can return them to the appropriate cabinet opening at a later date.
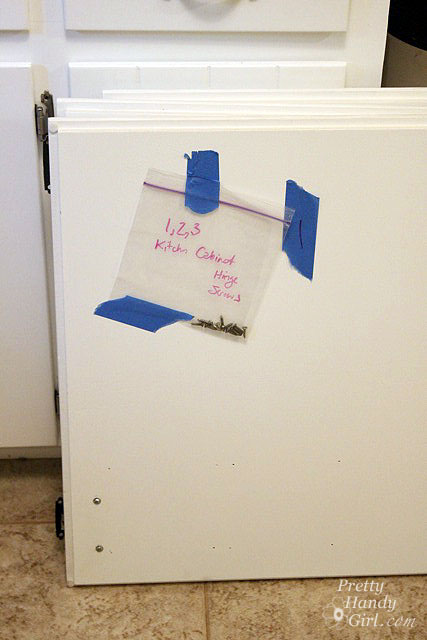
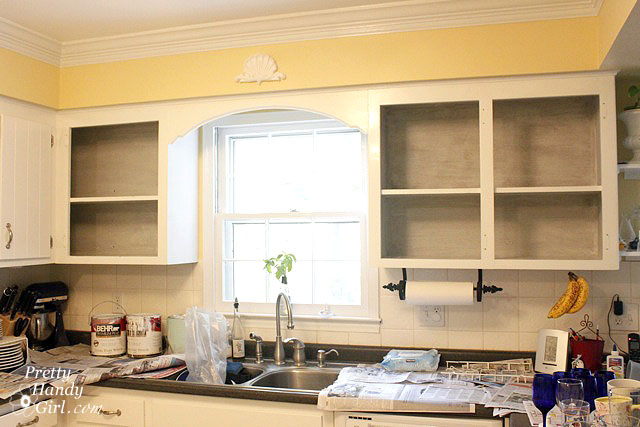
Now you should have a clean slate like this:

Step 3. If your cabinets are dark inside, you may or may not decide to paint the insides. (Be sure to check with your landlord if you are renting.) I chose to paint mine because the interiors were so dark. If you want to skip this step, fast forward to the next step.

Prime the insides by rolling on primer over the flat surfaces. Use a brush to get into the corners and crevices.
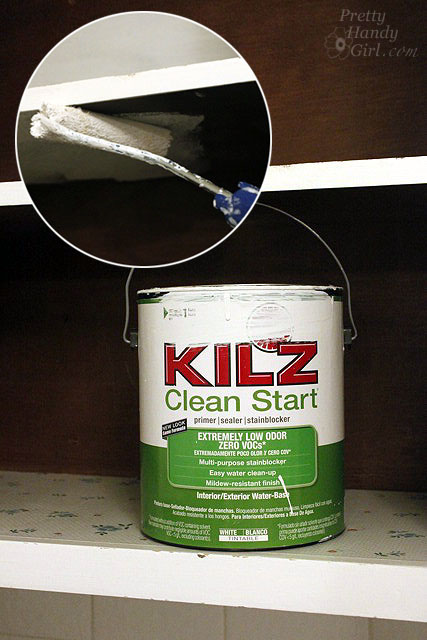
Once the primer has dried, get out the wood putty and putty knife.
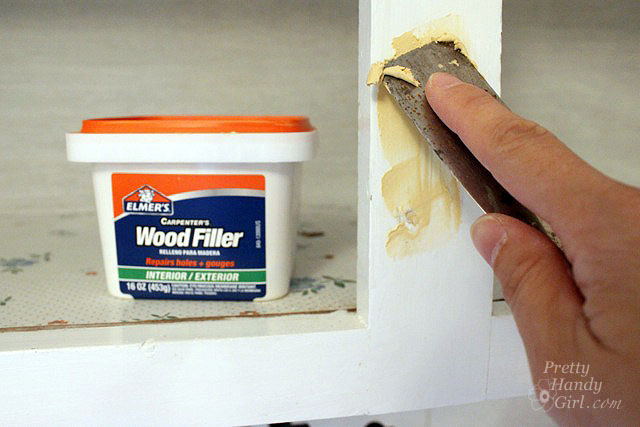
Step 4. Using the putty knife, spread a small amount of putty over the holes where the hinges were. Push the putty into the holes, then scrape the excess off. Allow the putty to dry completely.
Step 5. Sand the puttied holes until smooth.
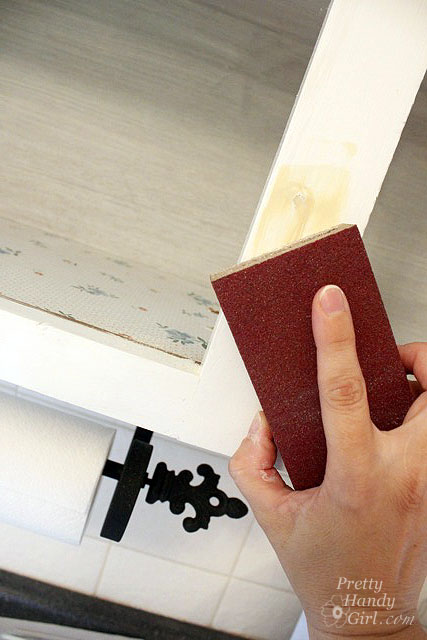
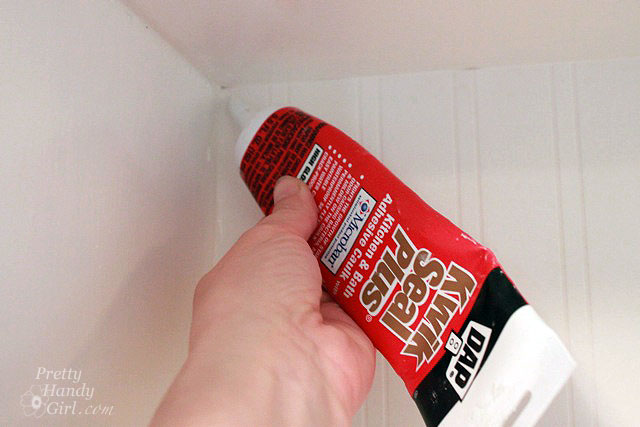
Step 6. Touch up the putty holes with paint or stain. Add caulk to any cracks or seams at the back of your cabinet. Allow the caulk to dry thoroughly.
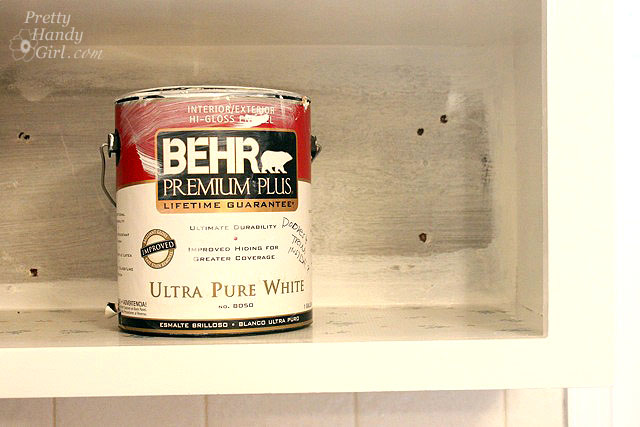
If you are painting the inside of the cabinets, roll on paint with the small roller and use the brush to smooth out the paint and get into the grooves.
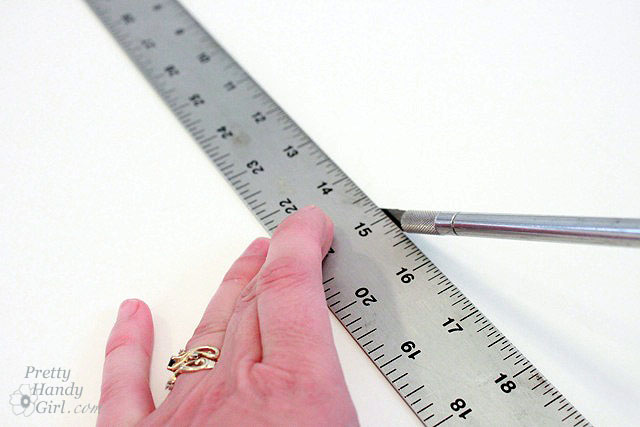
Step 7. Measure the dimensions of the back of your cabinets. Make sure your measurements are precise (measure twice, cut once is a good adage.)
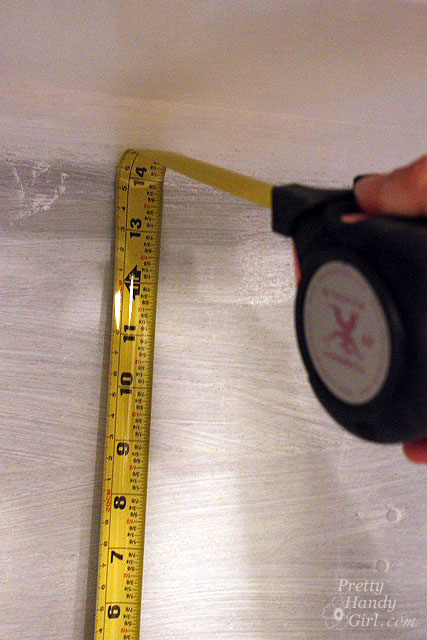
Cut a piece of foam board using the measurements you just took.
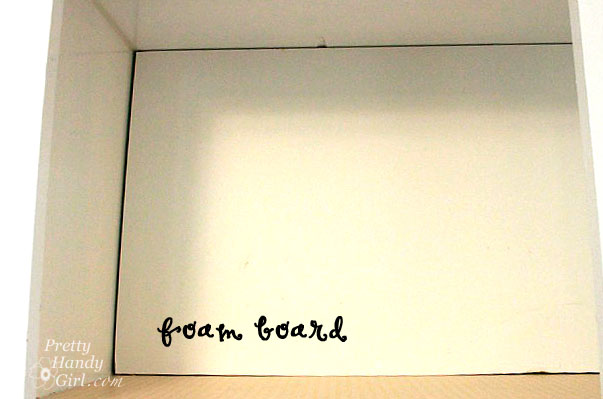
Test fit the foam board into the back of the cabinet. If your cabinet’s face frame is smaller than the cabinet back, you will probably have to bend the foam board to get it in.
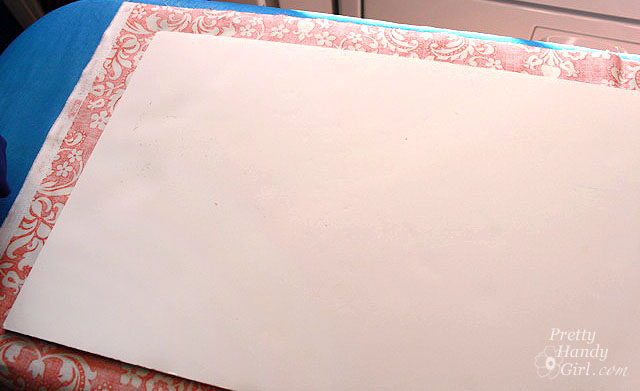
Step 8. Iron your fabric. Make sure to iron all the wrinkles out.

Cut the fabric 3 inches wider than the foam board. Lay the foam board on top of the fabric (wrong side facing up.)
Step 9. Tape the edges of the fabric onto the back of the foam board. Be sure to pull the fabric taut.
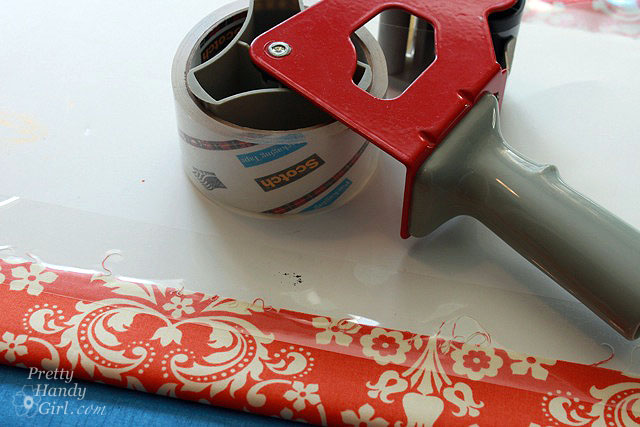
Fold the edges of the fabric as you would on a gift. Tape the ends to the back of the foam board.

Step 10. Insert the foam board into the cabinet.
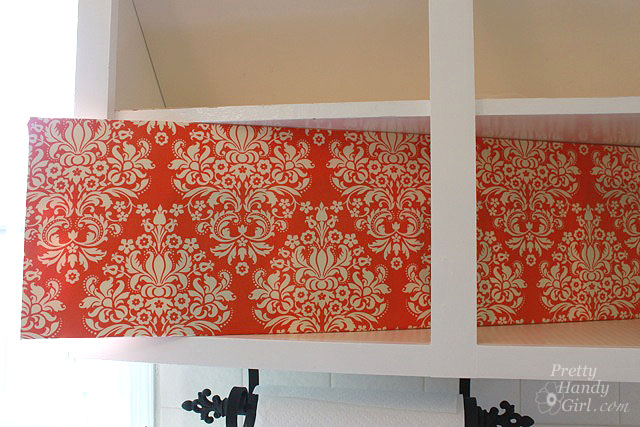
Push the foam board firmly against the back of the cabinet. The tension of the fabric and the board against the edges of the cabinet should hold it in place, no need to tape or glue anything!
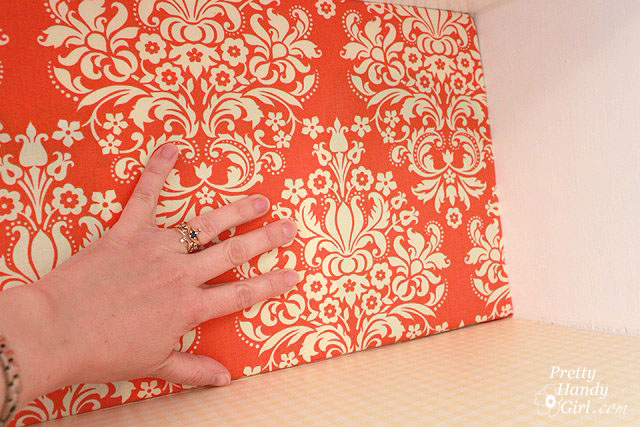
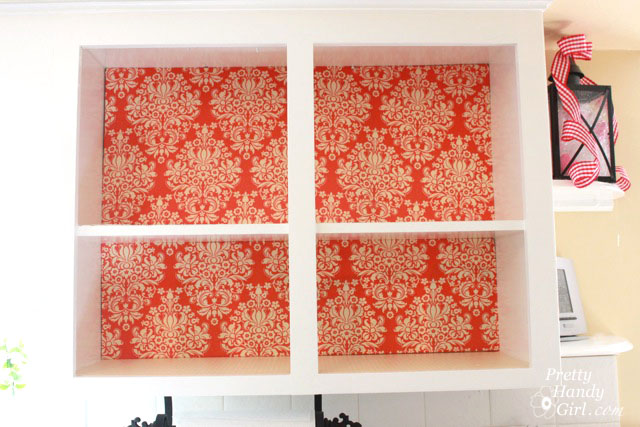
It is a good idea to try to line up your pattern if you have multiple shelves. (Do as I say, not as I do.)
Start putting your coordinated dishes back into the cabinet. Think about displaying them as you might see in a store to complement these fabric backed cabinets.
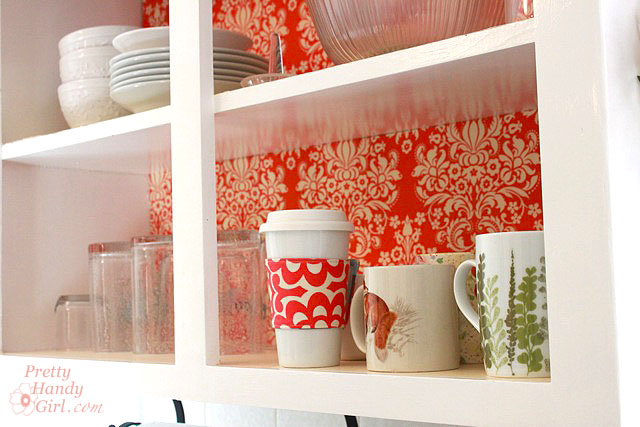
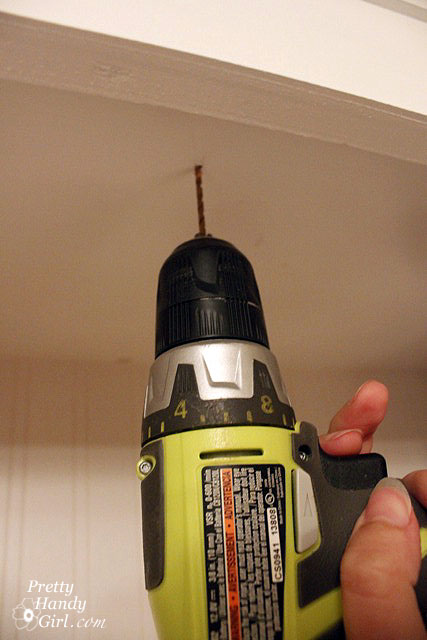
For visual interest and extra storage, I hung some mugs from the top of the cabinet.
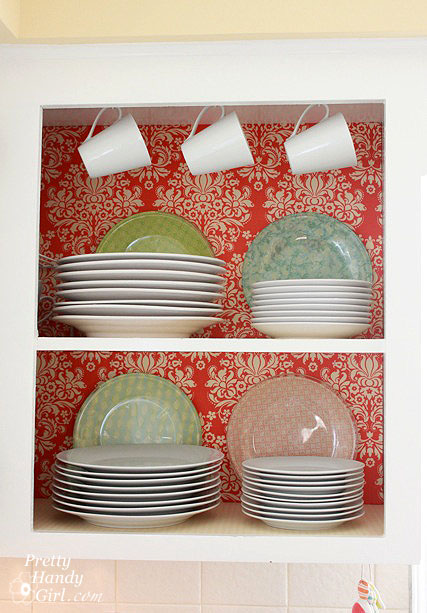
It was as simple as pre-drilling some holes and screwing in white cup hooks. (I did measure the same distance back from the face frame and spaced the hooks evenly. But, I’m a perfectionist like that.)
I am in love with my new kitchen! And all it took was less than $25 in supplies and a few hours.

What do you think?

The best part about this project is that I can easily remove the foam boards…
…or tape new fabric onto the back when I want to update the look!
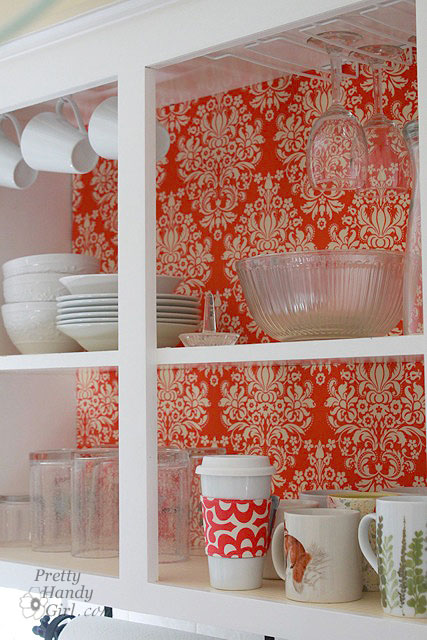
Can you imagine a cheaper, easier or more glamorous update to your kitchen?
Are you an apartment dweller that is restricted from making permanent changes to your home? Or does your budget limit the renovations you’d really like to make? Why not make a few frugal changes that reflect your own style. These fabric backed cabinets are a win for any kitchen!

Apartment Guide has changes you can make that won’t break the bank:

Want to find even more design tips for your home? Apartment Guide has budget friendly ideas and DIY how-tos for people in any sized home on https://www.movingtoday.com and https://www.apartmentguide.com/blog/

Disclosure Statement:

Apartment Guide and owner Consumer Source, Inc. partnered with bloggers such as me to participate in their monthly blogger program.  As part of that program, I received compensation.  They did not tell me what project to create or what to purchase. Nor did they influence my opinions! We believe that consumers and bloggers are free to form their own opinions and share them in their own words. Consumer Source’s policies align with WOMMA Ethics Code, FTC guidelines and social media engagement recommendations.
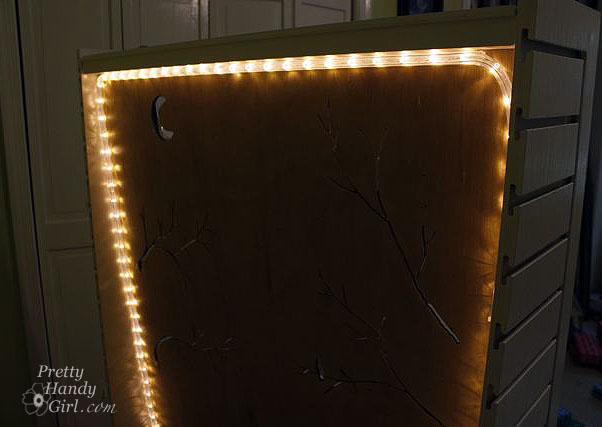
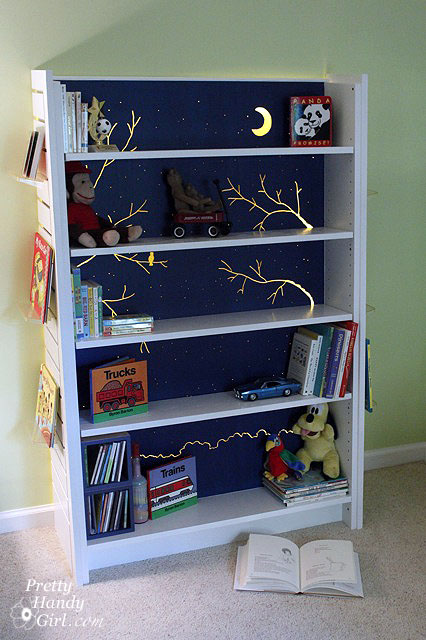
I promised to show you how I lit my son’s bookcase. It really isn’t anything fancy.

But, a promise is a promise. Here is the view of the back of the bookcase:

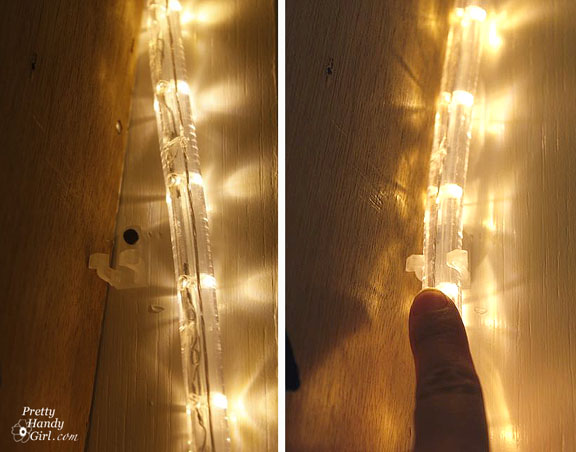
I purchased the LED rope lights at Home Depot. They came with little snap in holders. You simply drive a screw into the mounting hole. Then snap the rope light into the holder.

On the top edge, I used a long channel strip (sold separately near the rope lights. It has a self adhesive backing. Then you firmly press the rope light into the channel. This took some serious strength, but I finally got the length of the rope light inside the channel.

Finally, I plugged the light into a timer.

The lights are set to come on at bedtime and turn off shortly before sunrise.

That’s it! And this is probably the shortest tutorial I ever wrote.

So, I’ll share a few pictures from my sister’s flower garden in California. Check out all the pollen on the back legs of this bee! They are the orange masses hanging from his legs.

The bees were loving the agapanthus as well.

The pink blossoms are from a lemon tree that grows in their back courtyard. Sadly none of them were ripe while I was there. I can only imagine how fresh and sweet lemonade from those fresh picked lemons would taste. Mmmmm!

Be back later this week with more DIY tutorials!