
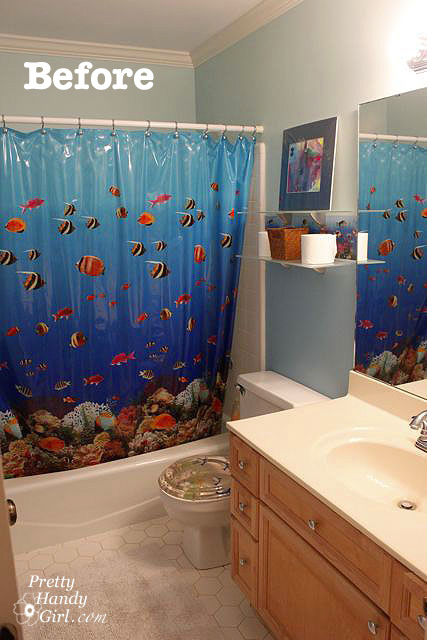
Board & Batten moulding is very popular right now. And why not? It is easy to work with and looks great (after it is painted)! If you remember, I used board and batten in my my son’s closet turned reading nook last year.

I decided to create a similar look in the boys’ bathroom. Only this time I wanted to round the edges of the battens for more visual interest. I’m warning you now, this tutorial is a bit photo intensive. But, how else would I give you a step-by-step tutorial?
I started by purchasing my lumber at Lowe’s. Did you know you can buy cheap furring strips for your battens? It will save you money. Especially if you don’t mind sifting through the stacks to find the straighter boards and sanding the face of your boards after cutting them. I bought 1x4x8 boards for the battens. And 1x3x8 boards for the upper ledge. I also purchased quarter round moulding and decorative moulding for underneath the upper ledge.

Removing Baseboard Tiles:
The bathroom had baseboard tiles that had to be removed. I grabbed a few tools and made quick work of removing them. The ear muffs and safety glasses were definitely a must!

Score the edges of the tile with a utility knife.

Hammer a flat pry bar behind the tiles.

Remove each tile one at a time.

Take some time to patch any holes that are in your wall. You can view a tutorial on patching drywall HERE. I needed my walls to be as smooth as possible since I wasn’t going to add board behind the battens.

Installing Board and Batten Moulding:
Mark the height where you want the top of your moulding to be. I used 5′ as the height, but then ended up lining up the bottom of my boards on the 5′ mark. So, for the 8′ ceiling room, the top of my moulding was at 65″. Use a level mark as a guide line across the width of your room.

Next measure the widths of the sections that your horizontal boards will be attached to.

Cut your boards to size.

Test fit your boards.

I cut the board that butted up to my mirror at a 30 degree bevel.

Once you have cut all the boards and they fit. Sand down the face and edges.

A nail gun and compressor are not a necessity, but they do make the job a lot easier! Otherwise, you will be doing a lot of hammering and nailing while holding boards in place.

I used the compressor at 110psi, which worked well for the 1″ pine boards. I used 2″ nails for the boards and battens and 1.5″ nails for the quarter round.

Be sure to wear your safety gear. The compressor is LOUD and no need to risk your eyesight. I know, you are jealous of how attractive I look in my safety gear (not!)

For the horizontal top boards, I added some construction adhesive. This is not 100% necessary unless you have monkeys for children. And I do, so the extra adhesive seemed like a good idea.

Press the board onto the wall.

Shoot several 2″ nails into the moulding to hold it in place. Be sure to angle your nails to make it more secure.

That board shouldn’t go anywhere now!

Repeat the same steps for the baseboard boards (minus the construction adhesive.)

Next, measure the vertical distance between the top and baseboard battens. Be sure to measure at the exact location that a vertical batten will go. I’m sure your heights will vary.

Cut all your vertical boards and sand them down.
When you are figuring out the spacing, be sure to take into account if you will be adding a towel bar or other fixtures to the wall. My old towel bar was 24″ wide, so I made sure to space the battens to accommodate the towel bar.

While installing the battens you may run into a few inconveniences. Like, a toilet or something that can’t be moved. To deal with the toilet, I cut a piece of cardstock the same width as my batten. Then I slid it behind the toilet and scribed around the edge of the toilet.

Then I cut along my line and transferred the line to my batten.

Use a jigsaw to cut out the scribed profile (I tried to use my Dremel Trio to cut out the small section, but it failed miserably. I think the Trio is best used for thin stock like the back of a bookcase.)

Then you can install your batten around the “inconvenient” object.

By now your room should resemble something like this:

Installing Quarter Round Moulding:
Now comes the step that requires a little more precision. Cutting the quarter round moulding can be a little tricky, but don’t fear I know you can handle it. Remember the old carpenter’s adage, “Measure twice, cut once.”

Well, I admit it, I forgot! Ugh. Even I can make mistakes, so don’t be afraid to mess up once in a while. We all learn from our mistakes:

You will need to meaure the width and heights of the rectangle between your battens. Be precise for better accuracy and less caulk later!
Set your miter saw at a 45 degree angle.

This is what it should look like. The saw should be straight up and down at a 90 degree angle from the saw stand (in other words, no bevel cut).

Cut your quarter round so that the longest point on the moulding equals the measurement you took from the rectangle. You may have to face the “round” edge in towards the fence for some cuts. And it might take a few cuts to figure out the angles. But, I know you can do it. Once you have all your quarter round cut and dry fit, you can proceed with the install.
Remember those “inconvenient” objects. End your quarter round right before the toilet.

Add a 30 degree angle when butting up to objects like light switch covers and outlets.

Load the 1.5″ trim nails into your nail gun. Aim your nail gun into the quarter round at an angle so the nail ends up going through the quarter round and into the battens.

Hey, you are about 80% of the way done with installing the moulding!

Installing the top ledge and decorative trim moulding:
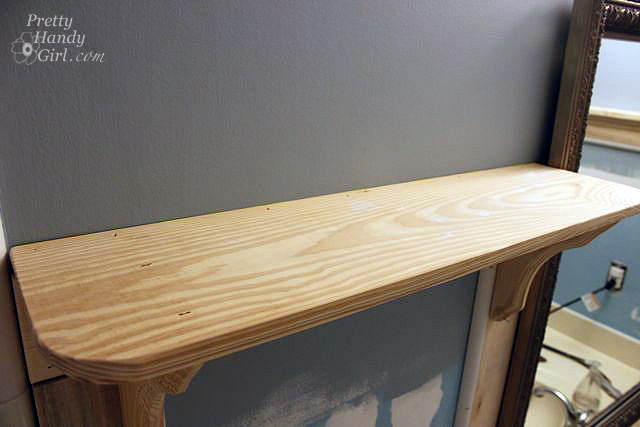
Cut the top ledges to size and sand them down. It is a good idea to round any exposed corners with the sander. This will undoubtedly prevent future dents to the head.

Lay the ledge boards on top of the upper battens. If your walls are uneven, your ledge will likely look like this.

No biggie. Grab your grade school compass. And set the two arms to the width of the widest gap. Then drag your compass along the ledge and the wall.

Get out your trusty jigsaw again and cut off that scribed line (have I told you how much I love my Porter Cable Jigsaw?! It pays to buy good quality power tools.)

Ahhh, much better. Any smaller gaps will be filled in with caulk later.

Nail the ledge into the batten below it. You can use construction glue for extra stability. (Yes, it is monkey protection for us.)

My favorite part of the moulding project is adding a little extra “bling”. I chose this decorative moulding to sit below the ledge and to give it extra support (again I have monkeys!)

Don’t forget to cut a 30 degree angle wherever you cut a batten at that angle.

Nail the decorative moulding onto the batten just below the ledge.

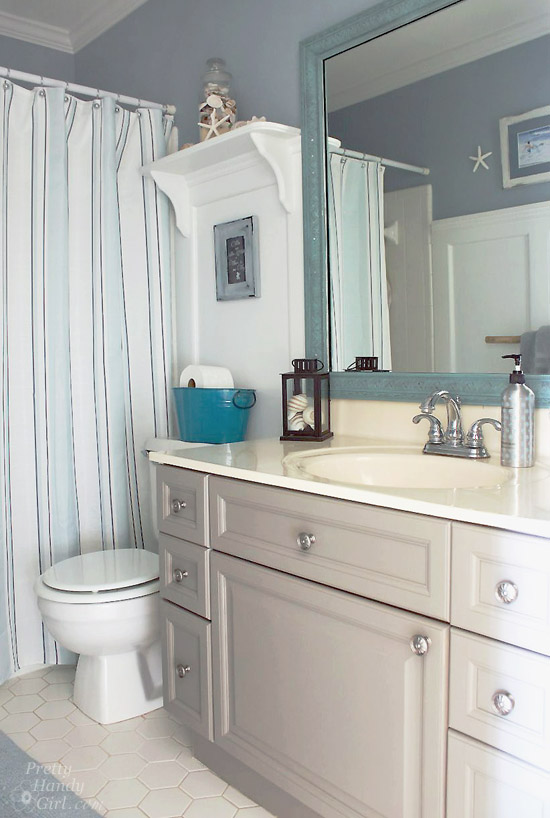
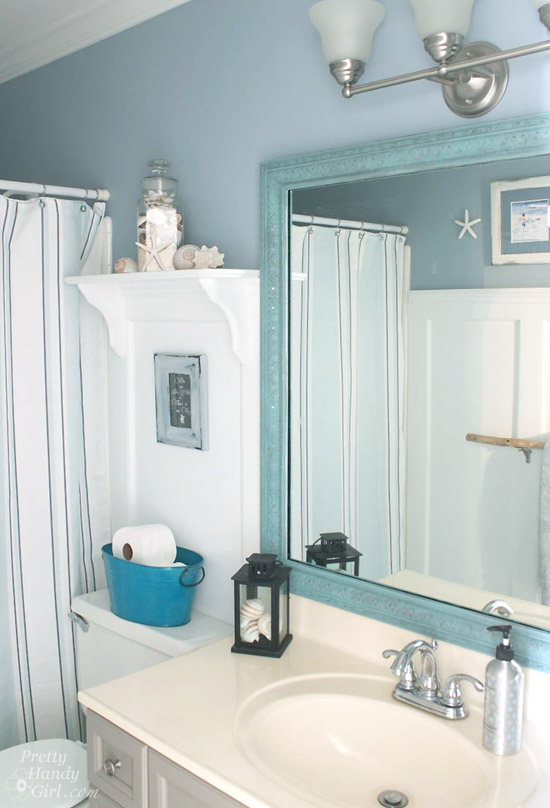
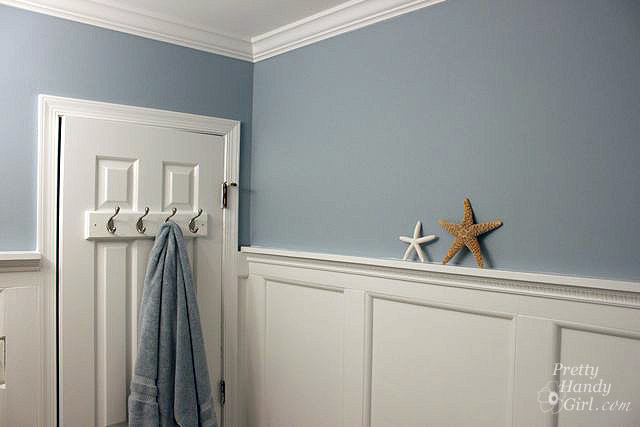
Now doesn’t that look beautiful?!
Fixing a few nail problems:
Remember how I said I make mistakes too? Well, here are two easy mistakes to fix when using a nail gun. When the nail doesn’t go all the way in (this usually happens if you don’t keep pressure on the gun when you squeeze the trigger), simply use a hammer and a nail set to hammer it into the wood.

Occasionally a nail may hit something when entering and end up popping out. Grab the end of the nail and pull it all the way through the wood. You may take some wood with it, but you can patch it with wood putty.

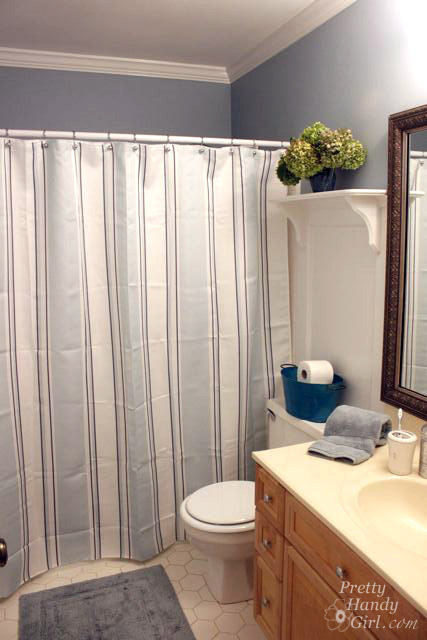
I’ll be back to show you how to caulk and paint this beautiful moulding! And then the final reveal of my Boys’ Fishy to Fabulous Bathroom! Finally, a bonus post on creating a branch towel bar.


 ” border=”0″ alt=”Photobucket”>


